
Towers return in The Legend of Zelda: Tears of the Kingdom, and while they’re not essential for exploring and navigating the world - you can still find points of interest, set markers, and generally make your way around - having the geography of the area you’re exploring does really help at times. In addition, Towers launch you into the sky as part of their survey process, and on subsequent visits you can launch yourself into the sky to glide to cover ground, scope out points of interest, like Shrines, or use the elevation you can to reach Sky Islands. Suffice to say, towers are useful both for revealing the map, and exploring, so it’s not a bad idea to seek them out and complete them as you adventure through Hyrule. This page will cover, in brief, the locations of every Skyview Tower in The Legend of Zelda: Tears of the Kingdom.
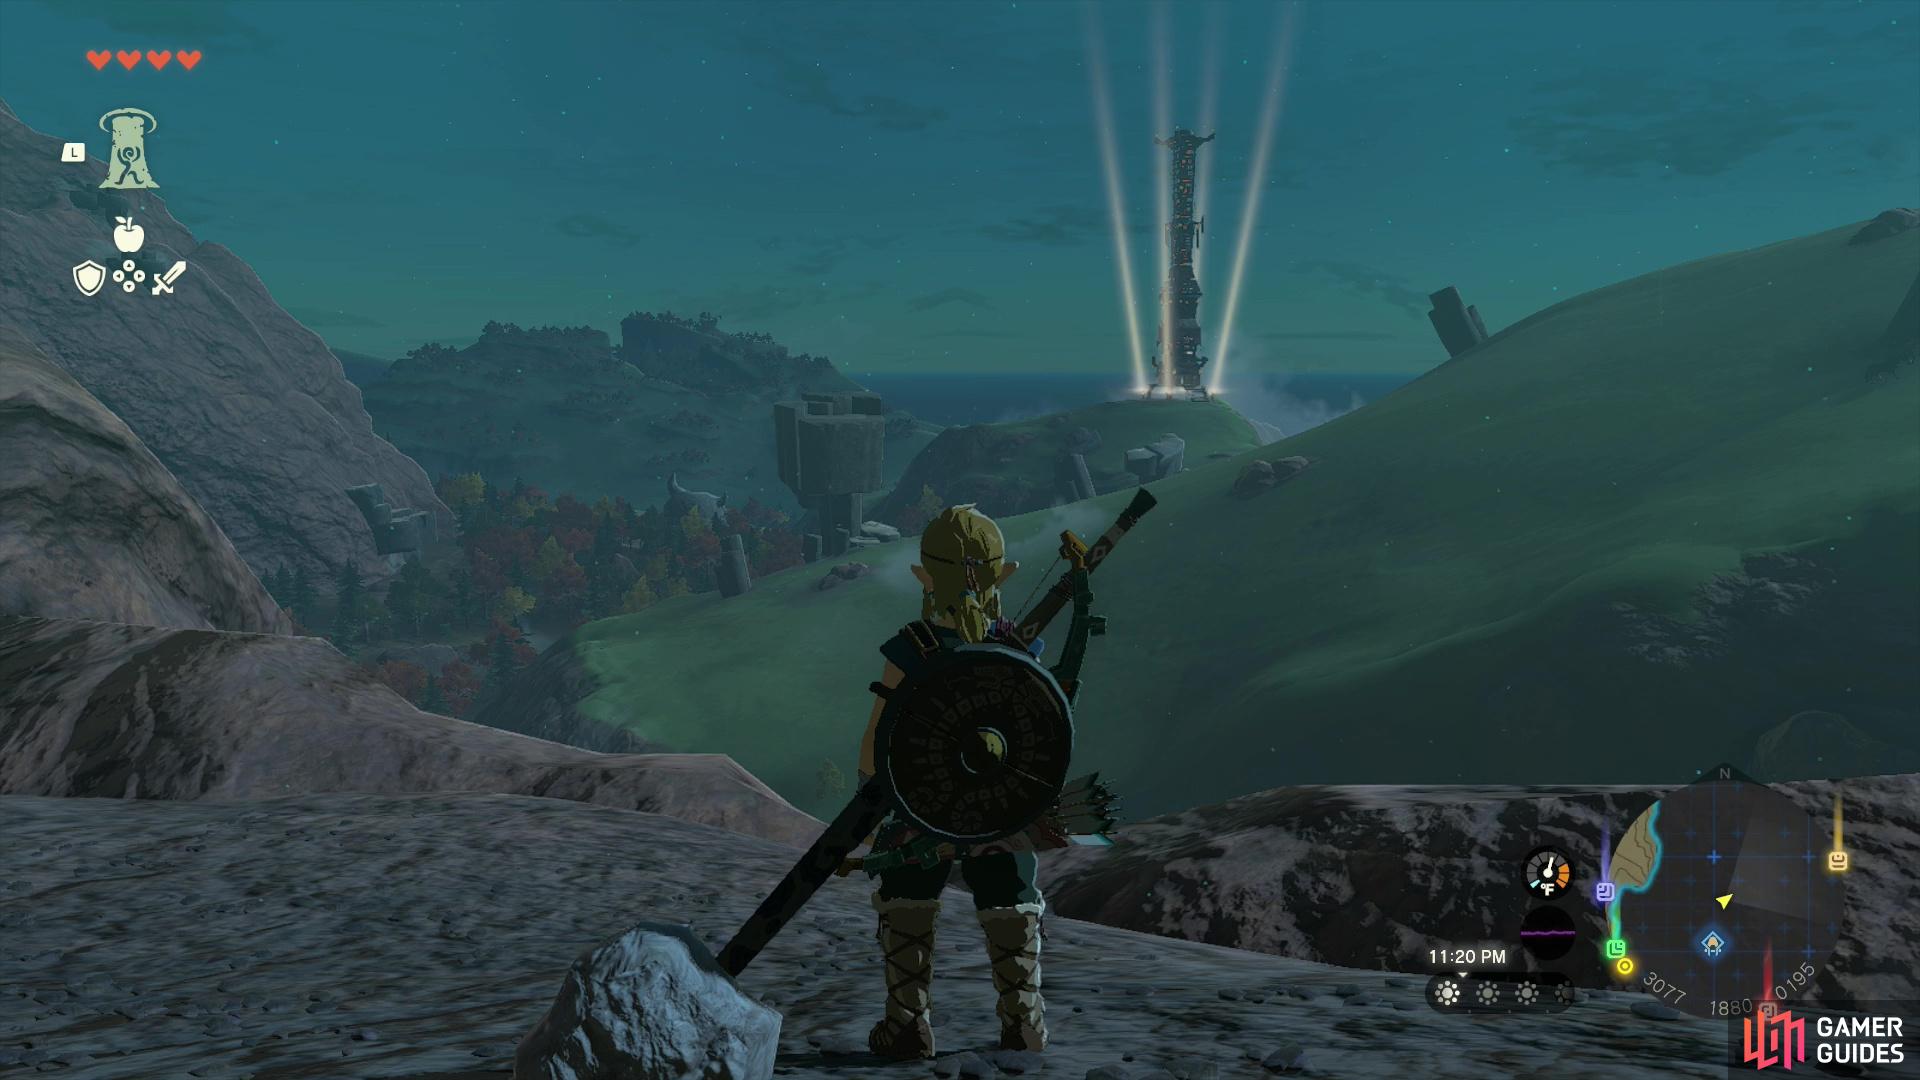
Towers are easy to spot from afar thanks to their spotlights.
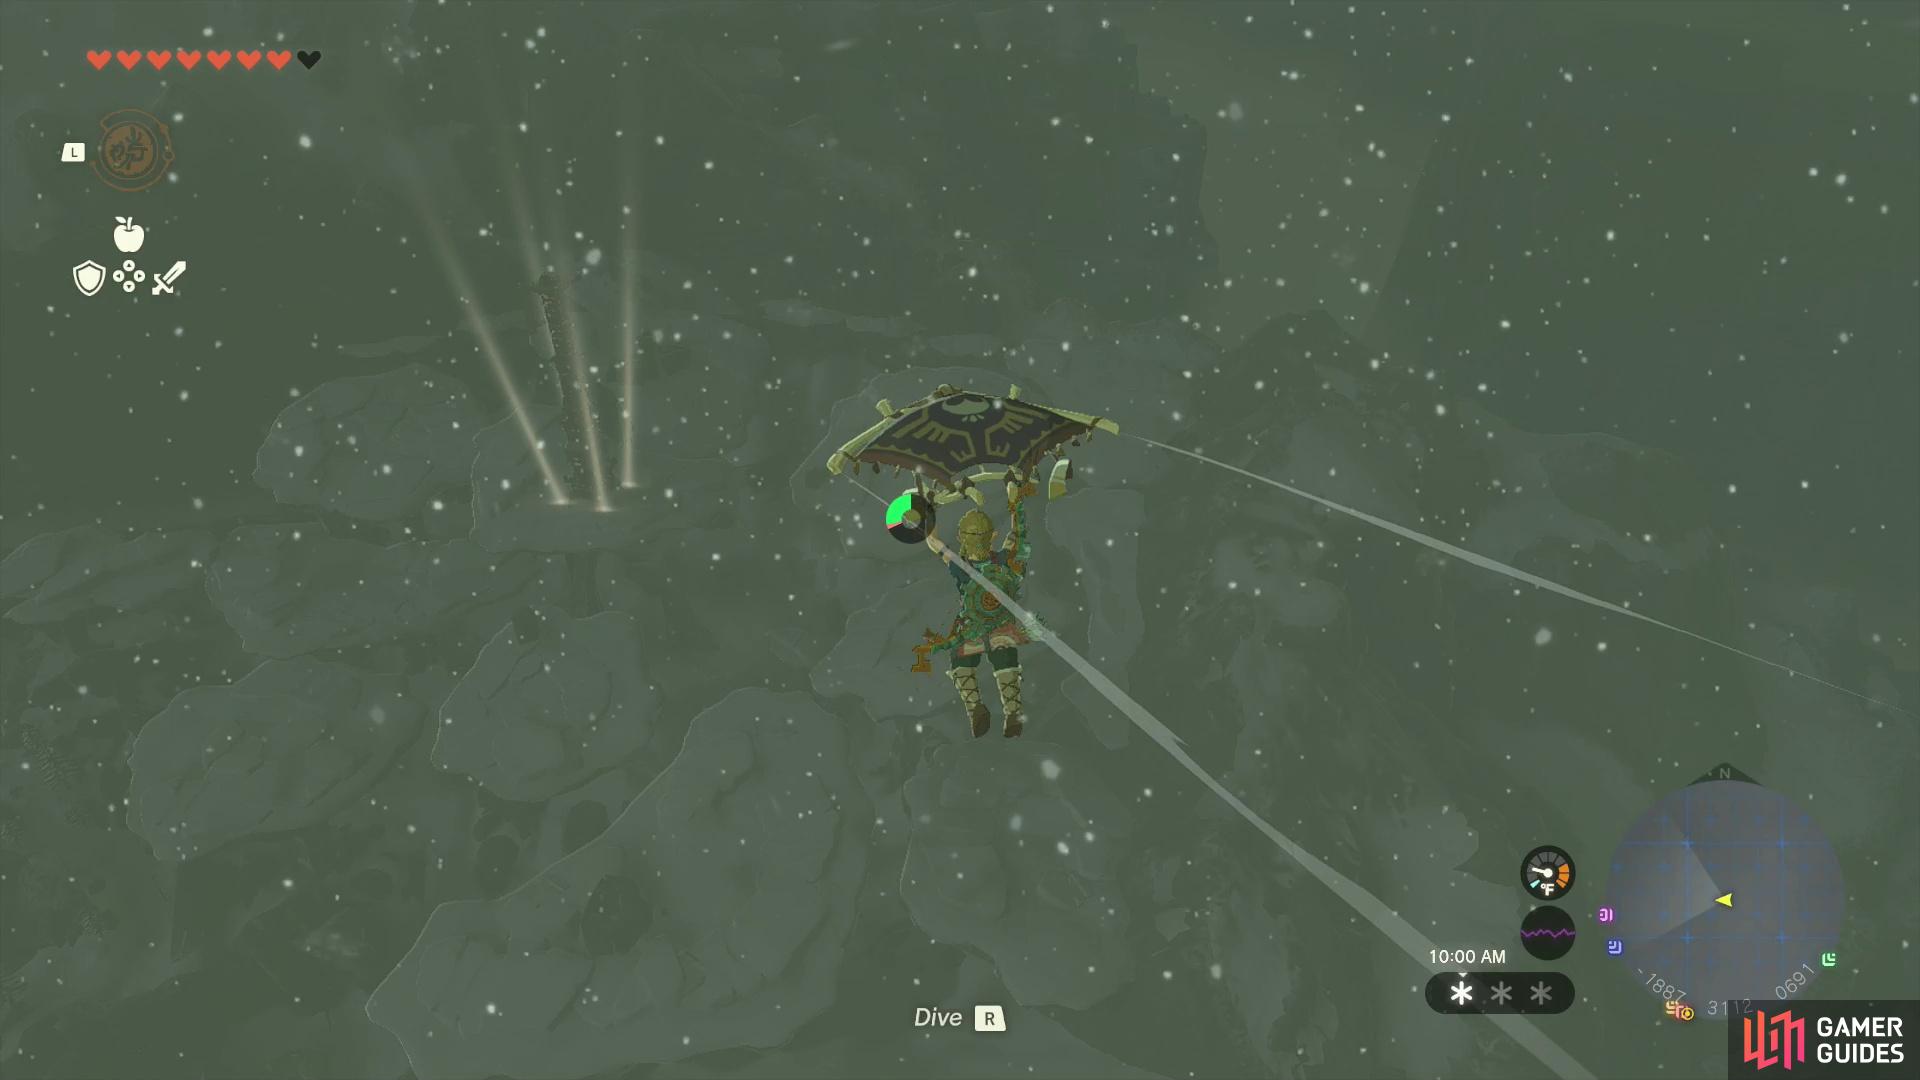
Ironically, you can usually spot new towers after launching yourself from other towers. Look for their lights, mark their location, then glide over towards the new towers.
How to Find Skyview Towers in Tears of the Kingdom
While towers are sufficiently large to stand out, and are often elevated enough to make their artificial nature more distinctive, they can end up silhouetted by terrain or otherwise obscured to casual searches. Fortunately, each tower is equipped with four skyward-pointing spotlights near the base, and searching for these beams of light is usually the best way to spot distant towers. Ironically, the best way to scope out towers is from… other towers. When you use a tower you’ll invariably end up launching yourself into the sky, where you can press the  to use your
 ![]() Purah Pad and scan the environment. Look for these tower spotlights without the
Purah Pad and scan the environment. Look for these tower spotlights without the ![]() Purah Pad, then use the Purah Pad to mark their locations, after which you can make your way to them by whatever contrivance you have available to you, repeating the process every time you complete a new tower and launch yourself into the sky.
Purah Pad, then use the Purah Pad to mark their locations, after which you can make your way to them by whatever contrivance you have available to you, repeating the process every time you complete a new tower and launch yourself into the sky.
It’s technically possible to complete all fifteen Skyview Towers immediately after escaping from Great Sky Island, and claiming the first Skyview Tower at Lookout Landing will be one of the first story objectives you’ll complete when you touch down on Hyrule. Not only is this a recommended start if you’re just keen to find more Skyview Towers, but everybody should do this to unlock the Paraglider, which makes exploring the world much, much easier, faster, and safer.
While enemies are a nuisance as you search for towers, the weather is often a more persistent threat. Getting some warm clothes will making claiming all the towers much easier.
While it’s possible to complete every tower with three hearts, some gumption (and perhaps a bit of save-scumming), that doesn’t mean it’s not fraught with peril. Many enemies will be difficult to defeat as you move further away from ![]() Lookout Landing, and discretion is definitely the better part of valor here. Avoiding enemies is possible, especially if you’re willing to save/load away your mistakes, but there’s another, more persistent hazard that can’t be save-scummed quite so easily - the climate. A few towers are found in areas with unbearable cold or unbearable heat, although the former is by far the greatest danger; you can almost always just wait until night to continue exploring to deal with the heat, but for cold you’re going to want to either bring some food that boosts your cold resistance, or better yet, get some clothes that grant cold resistance while worn.
Lookout Landing, and discretion is definitely the better part of valor here. Avoiding enemies is possible, especially if you’re willing to save/load away your mistakes, but there’s another, more persistent hazard that can’t be save-scummed quite so easily - the climate. A few towers are found in areas with unbearable cold or unbearable heat, although the former is by far the greatest danger; you can almost always just wait until night to continue exploring to deal with the heat, but for cold you’re going to want to either bring some food that boosts your cold resistance, or better yet, get some clothes that grant cold resistance while worn.
You’ll obtain Archaic Warm Greaves on Great Sky Island, but a few towers require even more cold resistance, and for this you can buy an accessory from Gerudo Town or other articles of cold weather clothes from Rito Village. Check out our guide for earning Rupees fast should you need to raise funds to make these purchases. You may also want to seek out some climbing gear to make the trip easier - climbing can shortcut a lot of problems, and you’ll have to do some climbing to reach these towers. Climbing gear will make this easier.

When you complete a tower, you’ll launch yourself into the sky and survey the terrain,
unveiling sections of the map.
Where to Find All Towers in Tears of the Kingdom
Below you’ll find a list of all the Skyview Towers in the game, and information about completing them.
| Tower | Map Link | Location |
|---|---|---|
| Eldin Canyon | (map link) | Along the southwestern edge of the Eldin region, on the border between |
| Gerudo Canyon | (map link) | In the Gerudo region along the southwestern corner of the map. |
| Gerudo Highlands | (map link) | In the Gerudo Highlands subregion to the west, southwest, approach these mountains from the north and make use of sky stones to get up. You will need two bars of cold resistance. When you reach the tower, enter |
| Hyrule Field | (map link) | Southwest of |
| Lindor’s Brow | (map link) | Northwest of |
| Lookout Landing | (map link) | In the middle of |
| Mount Lanayru | (map link) | Along the eastern edge of the map, between the Necluda and Lanayru regions, atop a mountain north of Hateno Village. You must have two tabs of cold resistance to reach this tower. |
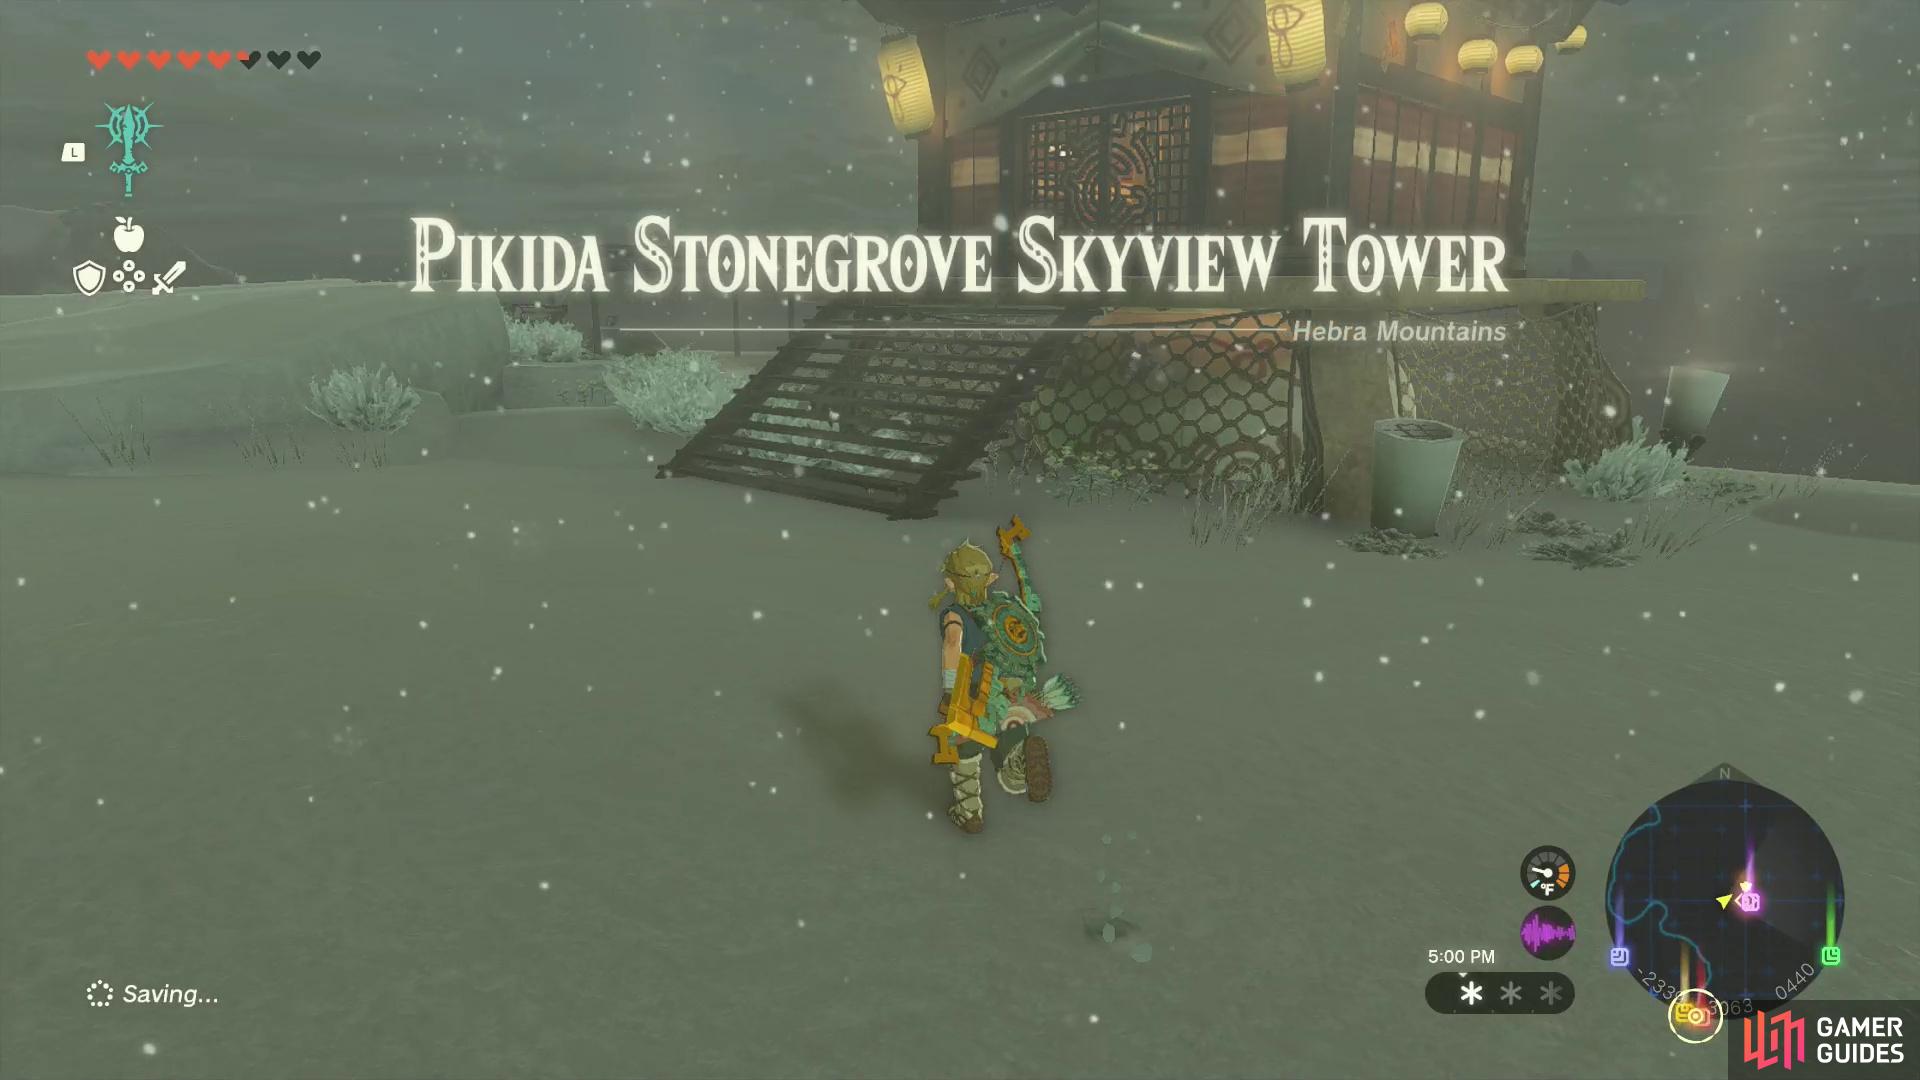
| Pikida Stonegrove | (map link) | Located on the border of the Hebra Mountain and the Tabantha Tundra subregions, along the northwestern edge of the map. You will need cold resistance for this tower. |
| Popla Foothills | (map link) | South, southeast of |
| Rabella Wetlands | (map link) | In the Necluda region in the far southeastern corner of the map. Navigate some brambles to reach the exterior of the tower, then burn away the brambles blocking the door. If it’s raining, use some nearby building supplies to build a crude roof over the brambles so they can burn without being quenched. |
| Rospro Pass | (map link) | North of Rito Village in the Hebra Region, along the northwestern edge of the map. You will need cold resistance to reach this tower. You will also need to burn away some brambles to gain access to the tower. |
| Sahasra Slope | (map link) | Southeast of |
| Thyphlo Ruins | (map link) | Found in the Thyphlo Ruins along the north-center of the map. You must use rockets and Zonai platforms to reach the roof of the tower, where you can move a platform obstructing the top of the tower. |
| Ulri Mountain | (map link) | Found in the Akkala region along the northeastern corner of the map. Kill a thieving |
| Upland Zorana | (map link) | In the Lanayru region, far to the east of |
No Comments