
This quest begins immediately after Beyond Fear. After a brief period back in Ravensthorpe as Eivor confronted some aspect of their fear, you now find yourself back in Svartalfheim. It’s time to return to the Hodda Shelter to speak with Ivaldi and Brokkr.
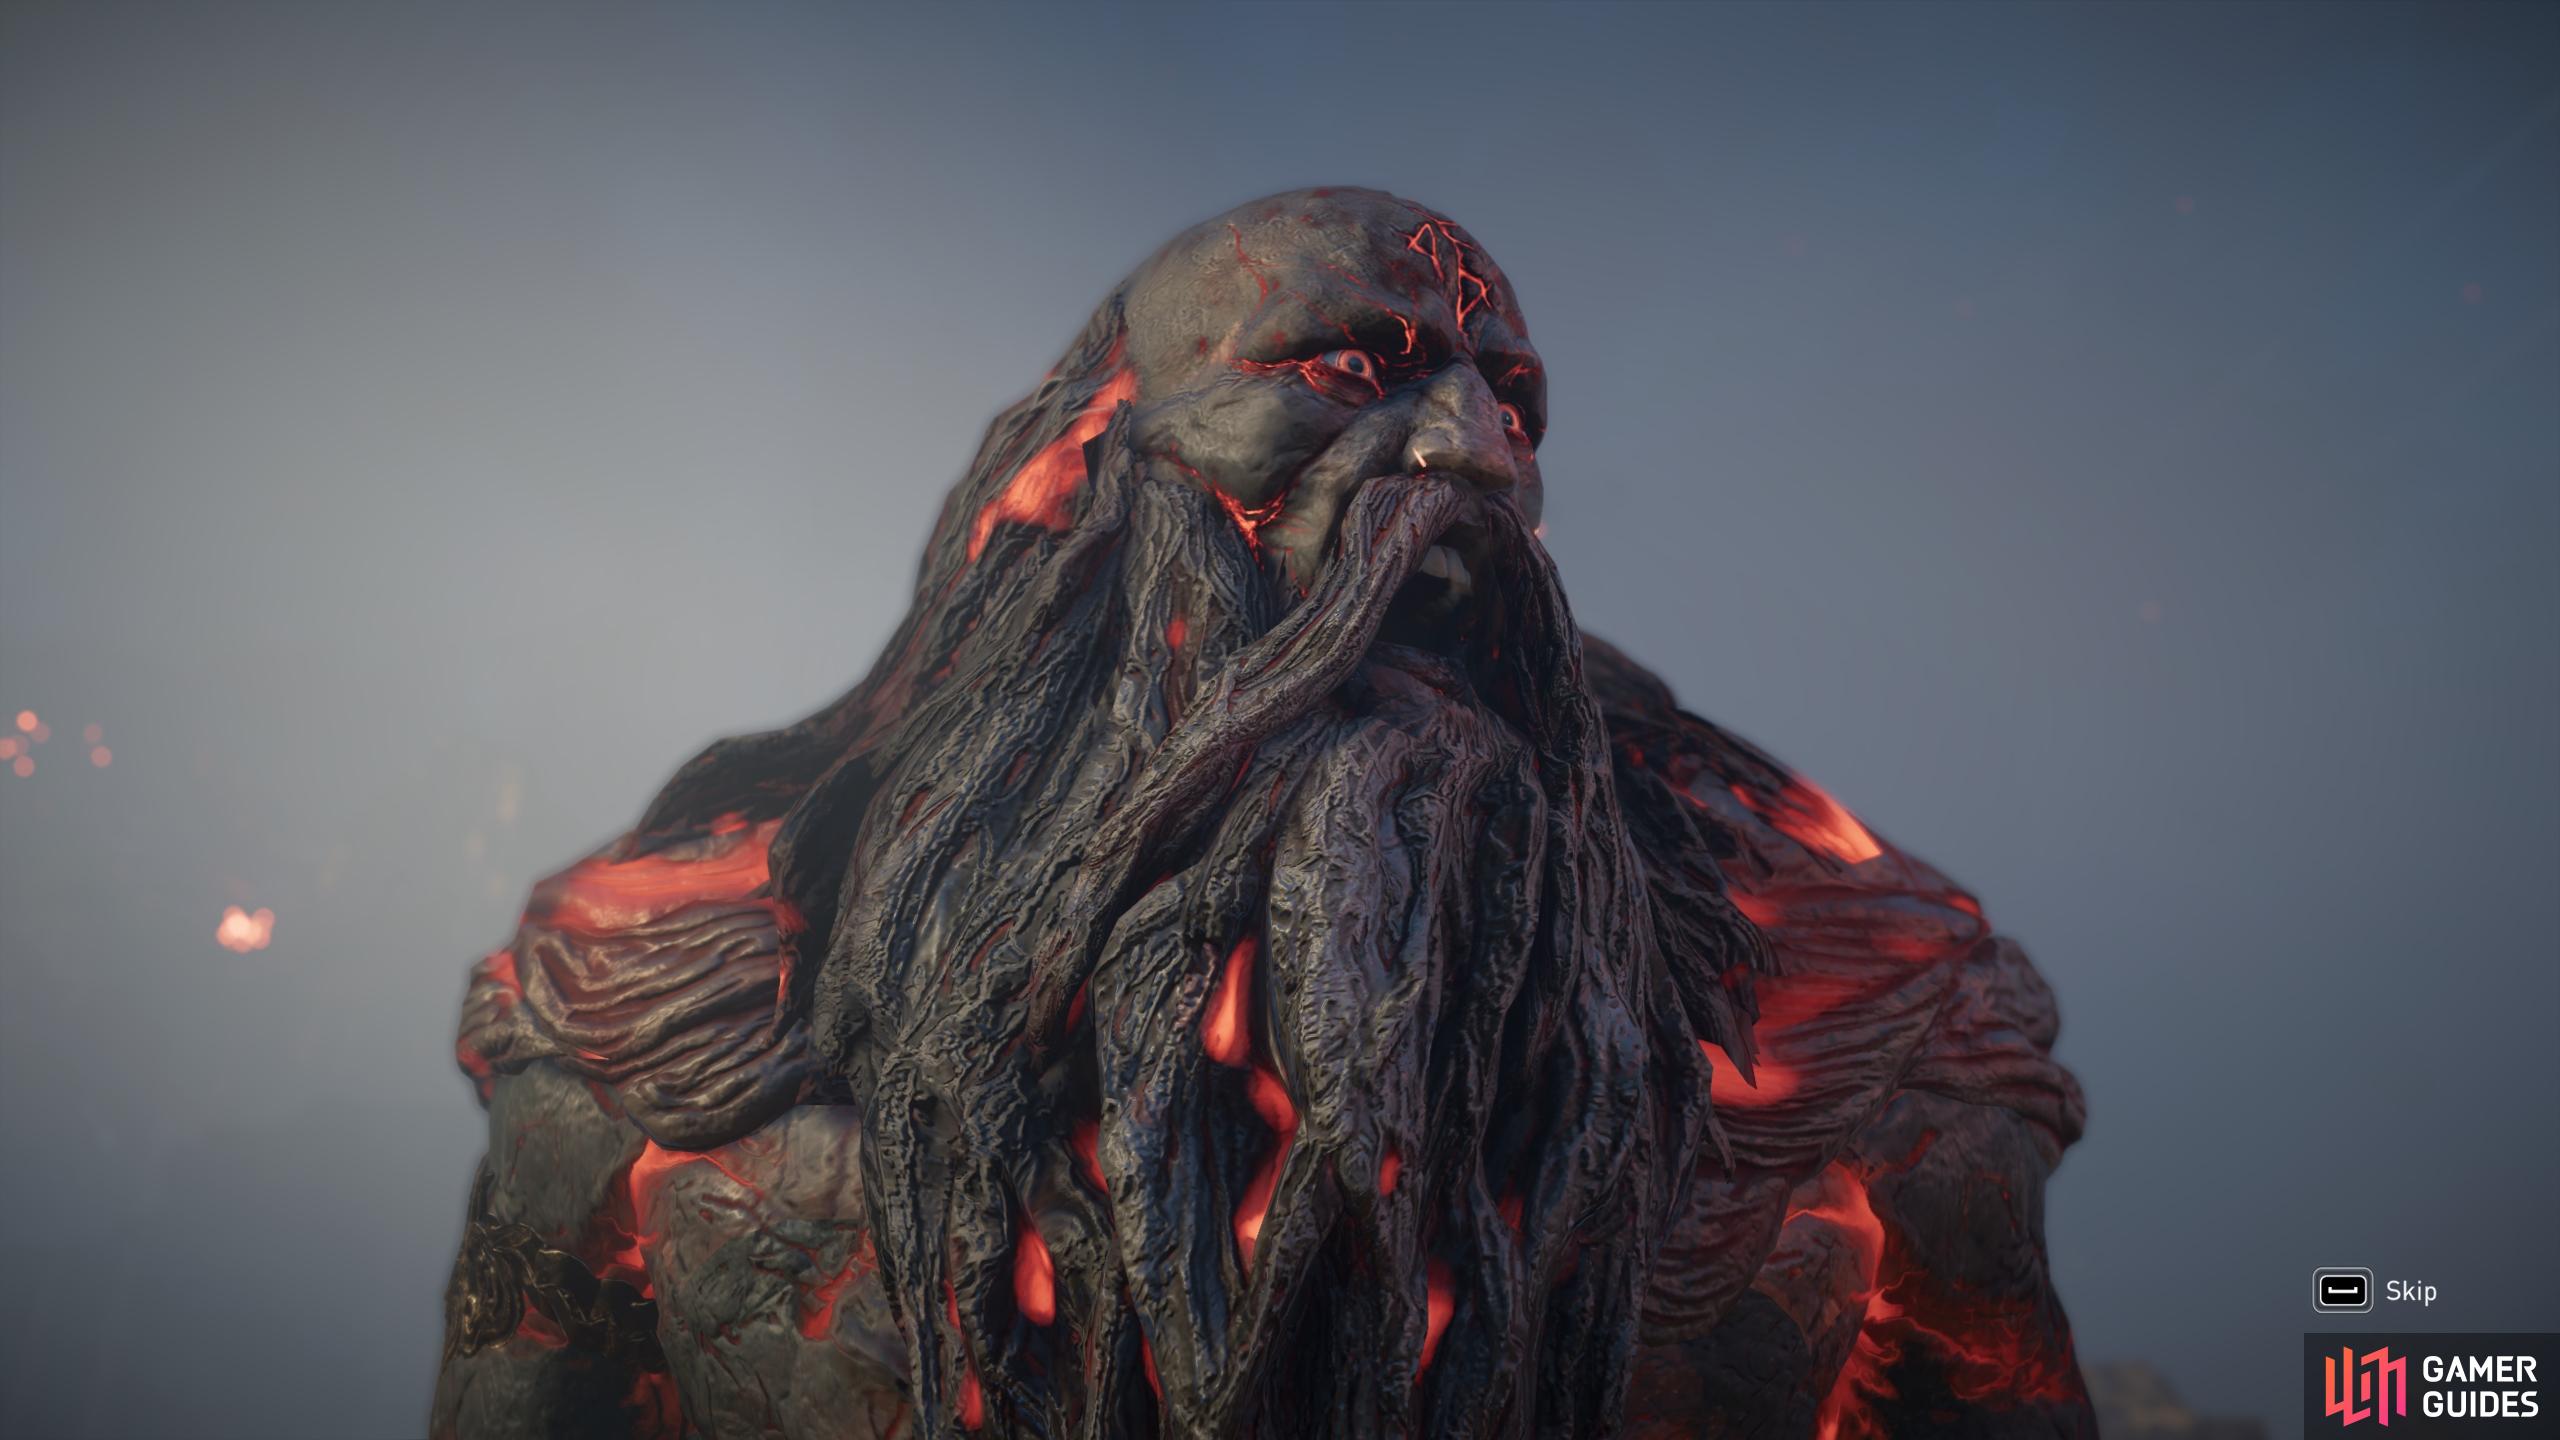
The Reckoning, Dawn of Ragnarok DLC.
Defeat the Muspels at the Hodda Shelter
As you enter the Hodda Shelter you’ll quickly realize that many dwarves are missing, and others are tied up in the central chamber, including Ivaldi. There are Muspels patrolling this chamber, so you’ll need to kill them before you can untie and speak with Ivaldi. There aren’t too many enemies here, but try not to hit the dwarves as you take them down.
When you free Ivaldi, he tells you that Brokkr left the shelter with the Salakar just before the attack from the Muspels happened. Many of the dwarves find this rather suspicious, but Havi is only interested in finding out where Brokkr and the Salakar can be found. Ivaldi states that he is probably in Eitri, as that’s where he said he’d be going.
Find and Stop Brokkr
As the large central settlement and the seat of the king, you’ll find Eitri in the centre of Svartalfheim, directly east of the Hodda Shelter. When you arrive you’ll need to use your raven to scout the area and look for the general region in which Brokkr can be found, which will be highlighted in teal. As you near the area Havi will make a comment and you can speak with Brokkr. He’ll tell you that he fell while trying to investigate something…
Regardless of his story, you need to take Brokkr to safety. There’s a marked spot to the northwest where you can carry him. Once there, Havi will question him a bit more during a cutscene. After that, you’ll need to head southeast along the trail which begins with a fallen tree to reach Surtr at the King’s Palace.
Boss Fight: Surtr Phase 1
This final boss fight with Surtr comes in two phases: the first is rather easy, especially after the arguably more difficult fight with Sinmara. You will experience all the same attacks that you did in the first fight with Surtr, near the beginning of this story. However, he will have more health and he inflicts more damage, especially with his special attacks.
Surtr’s Weak Points
Surtr has three weak points located on his right ankle, left upper arm, and right upper arm. You should aim to hit this as soon as possible in the fight, since you can then initiate a stun attack which will inflict massive damage. It may prove difficult to hit the arm weak points at times, but you can make this easier by waiting to dodge an attack incoming from Surtr, then make use of the slowed time granted by the Brush with Death skill. This should give you a good opportunity to hit the weak point while he’s relatively stationary, especially if you flank him properly.
Power of Muspelheim
As during the fight with Sinmara, the Power of Muspelheim Hugr-Rip ability will be extremely valuable in this fight. It will make you immune to all of Surtur’s fire damage attacks, and allow you to run over the lava pits without being hurt. You may only be able to use this once during the fight, as you won’t find many sources to replenish the Hugr-Rip. However, if you’ve upgraded the bracelet to have two bars of Hugr, you should be able to use the ability twice, but you’ll need to time your uses carefully to make the most out of them. You won’t need to worry too much about positioning while the power is active, since the main reason to keep moving normally throughout this fight is to avoid the fire damage. Just focus on dodging the melee attacks from Surtr’s sword as you inflict damage with your own.
Although powerful, this part of the fight should be fairly easy once you know how to avoid each of the attacks (see the below gifs for demonstrations of what to look out for). Once you’ve depleted all of Surtr’s health, a cutscene will begin.
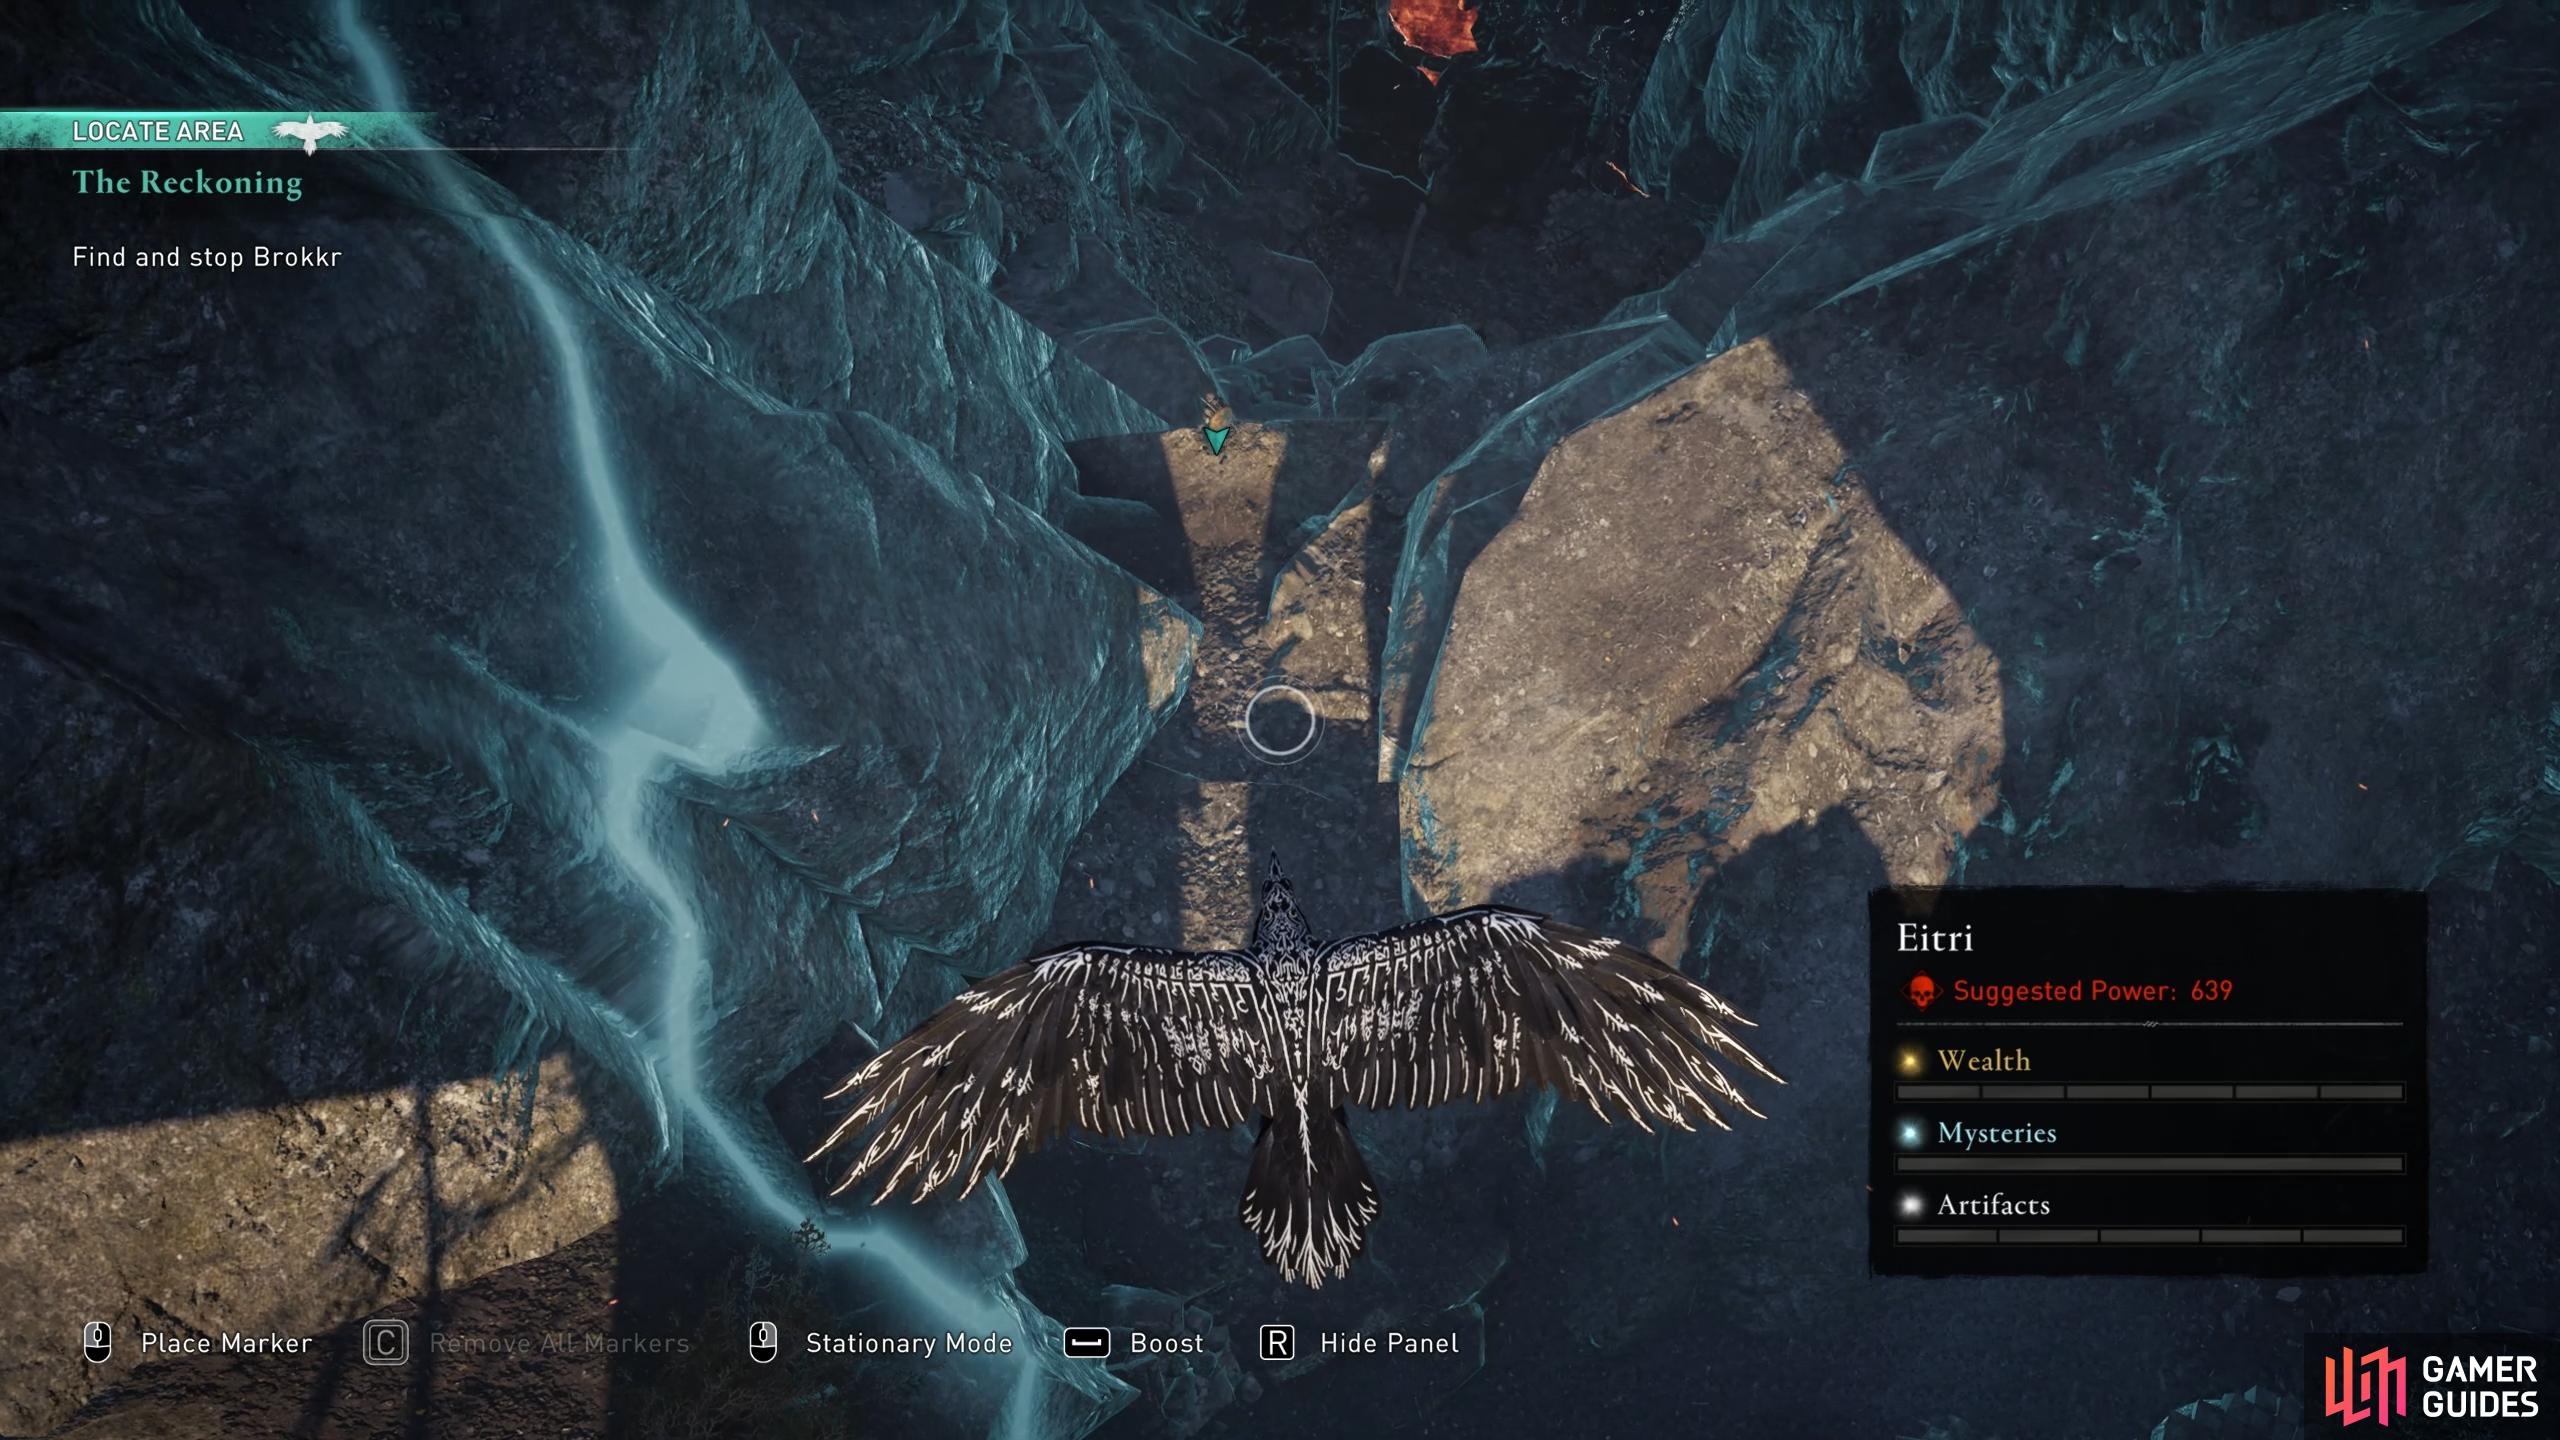
You’ll find Brokkr in a small canyon within Eitri.
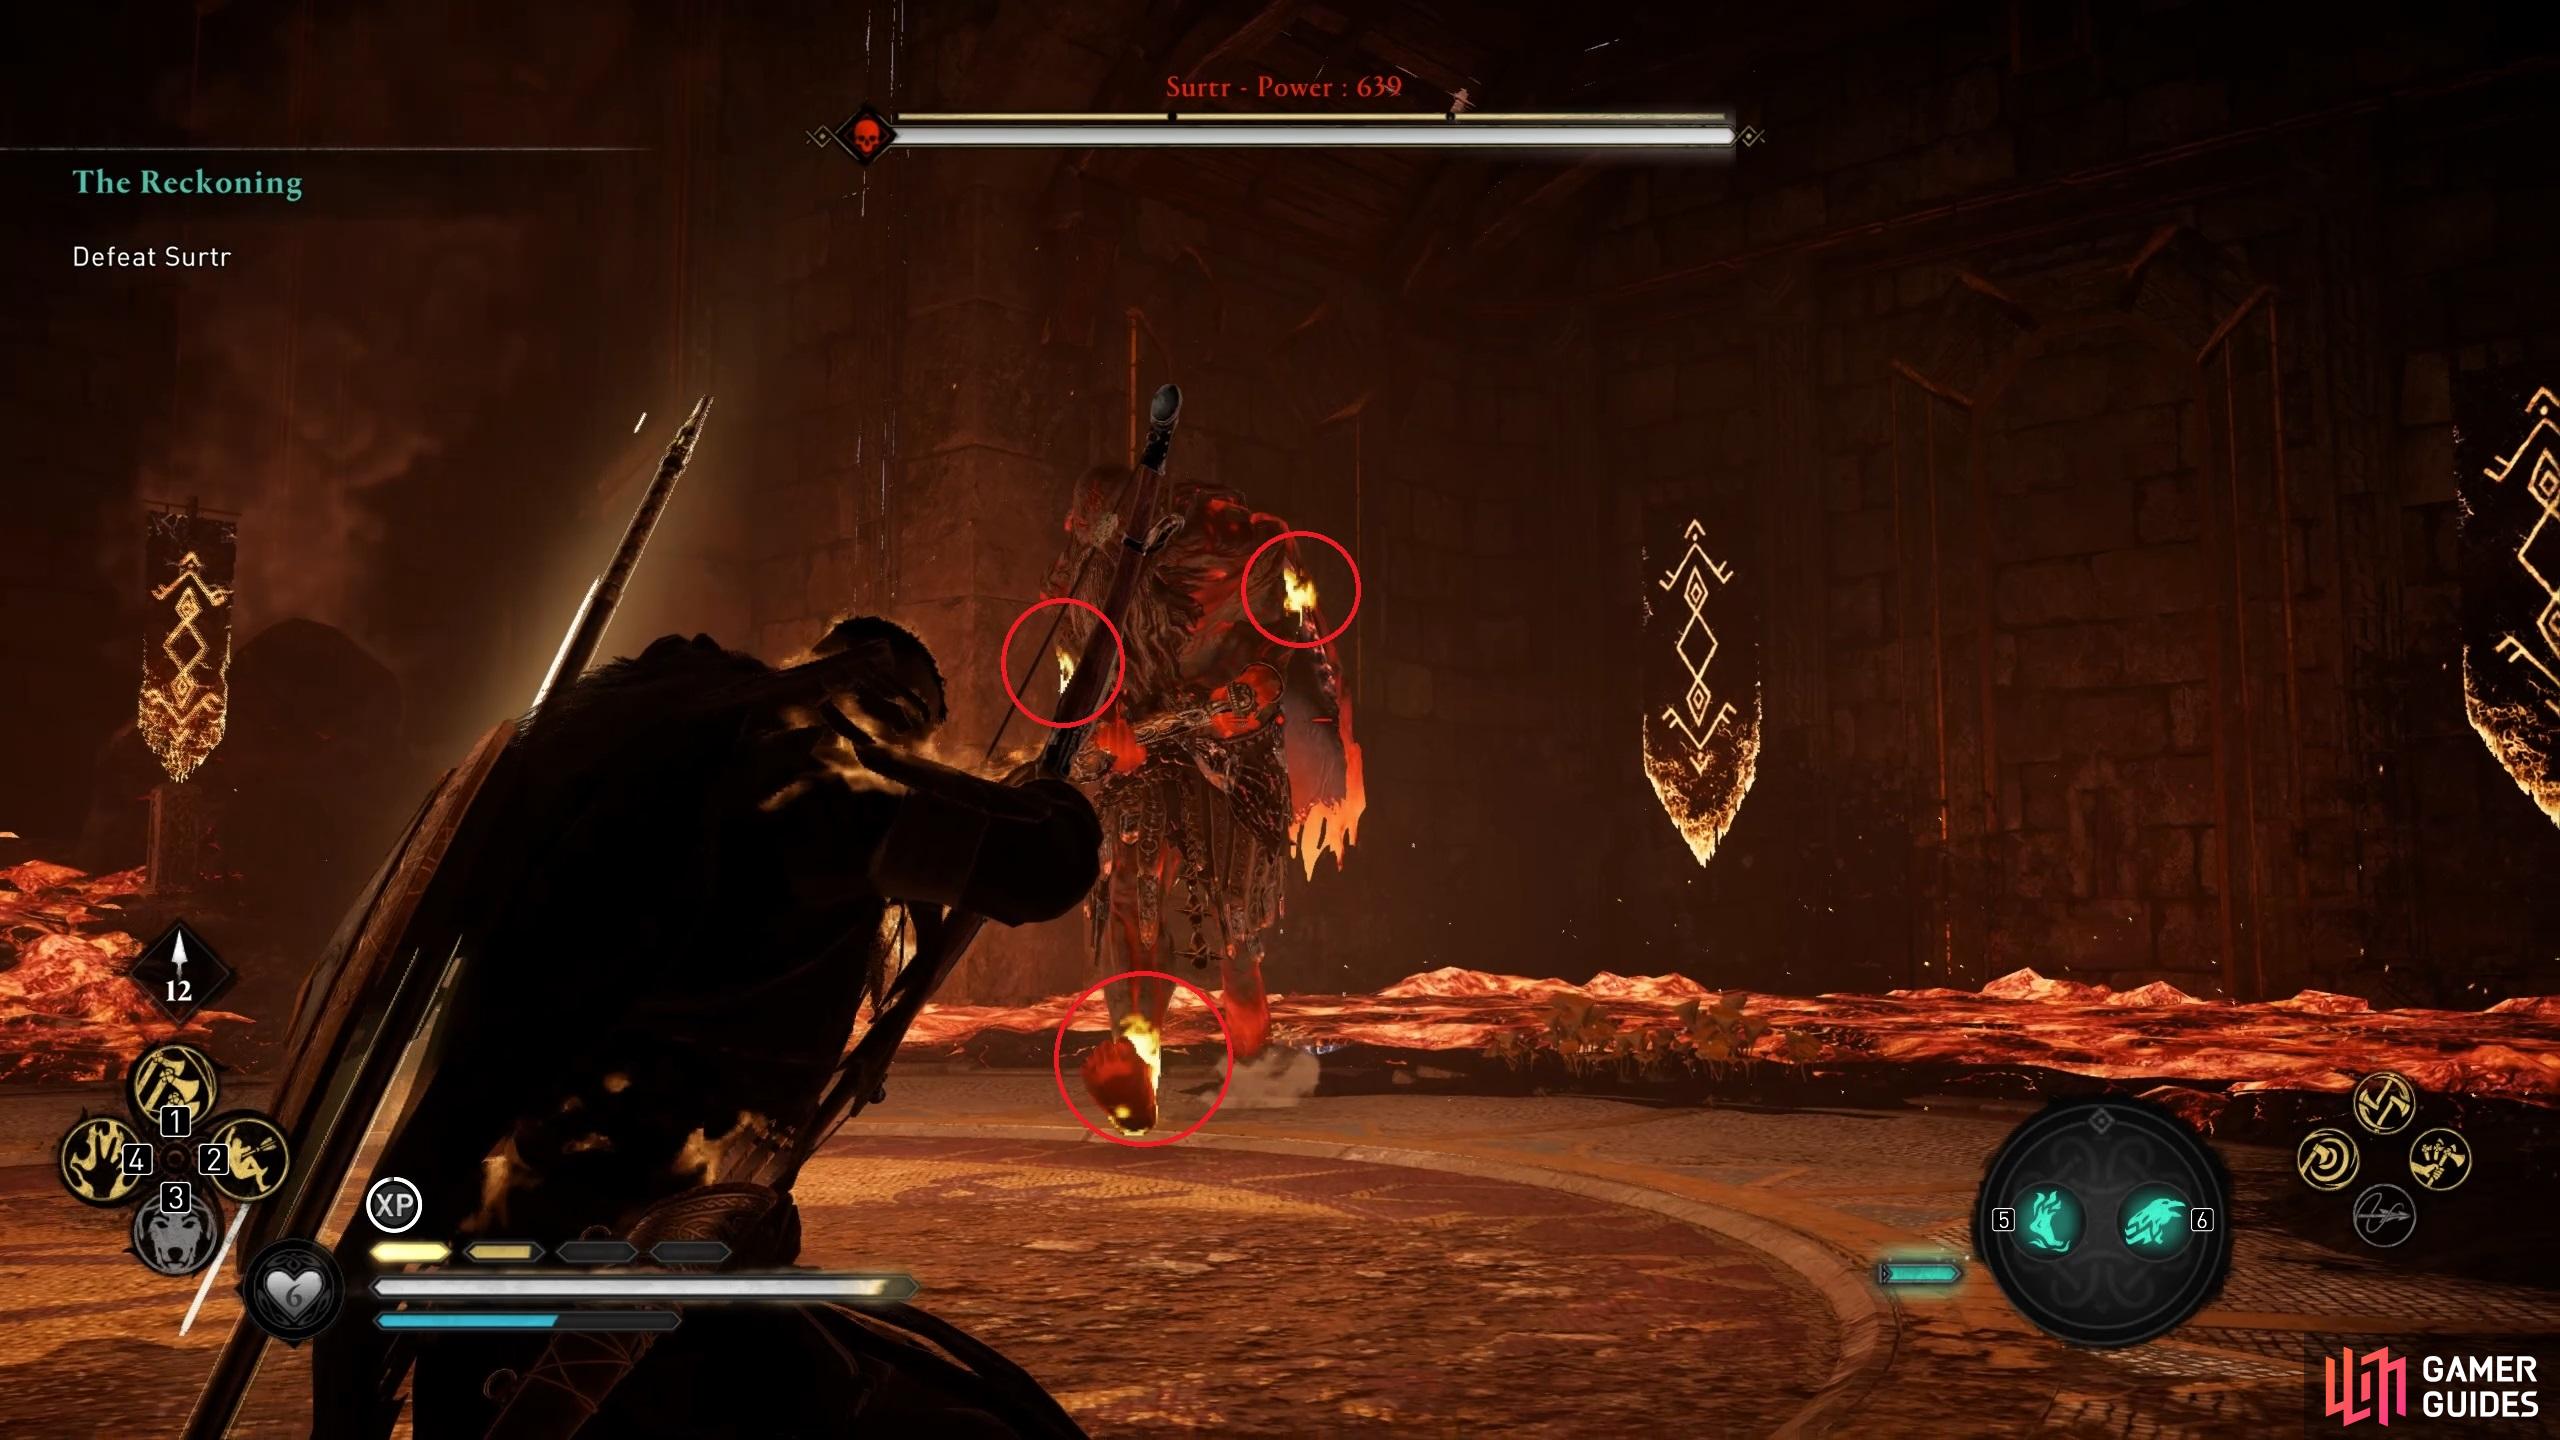
Be sure to hit Surtr’s weak points early on in the fight.
Reach the Tower
After the cutscene, you’ll need to run towards the tower to the southwest. You’ll be chased by numerous Muspel enemies during this, but so long as you keep moving and use dodge / roll appropriately, you should be fine. If you really need to, you can stop to fight the Muspels before you move on, but you may quickly find yourself overwhelmed and you won’t gain much from defeating them, so it’s best to keep moving until you get to the tower. Don’t worry about using too many rations or arrows along the way: all of these should be replenished when you reach the tower, ready for the second phase of the fight with Surtr.
Boss Fight: Surtr Phase 2
This second phase of the fight will play out in a similar way to the last one, only this time you have slightly more space to work with. Surtr will continue to spam his special attacks, and you’ll need to gradually whittle his health down as you did the first time. You can hit all three of his weak points again to initiate a stun attack, and be sure to use the Power of Muspelheim if you need some time to recover, as this will at least keep you safe from fire damage for a while.
There is one new attack here which comes in the form of a meteor shower. Surtur will often use it when he moves into the lava pits on the edge of the room. You can actually dodge most of the fireballs cast at you just by moving as far back as possible, on the opposite side of the room from Surtr. This is essentially the same meteor shower attack that Sinmara used, so you should be somewhat familiar with its pattern.
In addition to this new special attack, Surtr will begin to chain his melee sword attacks more, making it more difficult to dodge multiple strikes in a row. If you need to use dodge 3-4 times in a row, be sure to hit Surtr soon after so that you can regain some stamina. The last thing you want is to find yourself without stamina as Surtr is charging you, or as he’s beginning to use a devastating special attack, as you often won’t be able to get out of the way in time without the use of a dodge.
Surtr’s Attacks
Raised Hand Explosion
This attack is one of the most difficult to avoid, since it hits you less than a second after the warning sign. Surtr will raise his hand before a fire explosion occurs beneath your feet. The best way to avoid it is to look out for the moment when his hand is raised, then immediately dodge out of the way.
Stomp Fire Arc
This attack is fairly easy to avoid, since Surtr will almost always cast it around you. A triangular arc will be cast outward from him, and if you make contact with the ground where the flames erupt, you’ll take fire damage. What makes this attack more deadly is that Surtr will often follow it up with a few melee hits, forcing you to move out of the way and towards the direction of the fire lines.
Rolling Fireball
This attack is almost exclusively used from the lava pits on the edge of the room. You’ll see the warning sign for this attack as Surtr places his hand in the lava pit, pulling a large fire rock from it which he then casts towards you. It will roll in your direction slowly, even tracking you, so don’t bother dodging until the last second. If you dodge too early you will most likely be caught by it.
Fire Meteor Shower
This attack occurs during the second phase of the fight, at the tower. Surtr will stand near the edge of the room before smashing his sword on the ground to initiate the meteor shower. You’ll need to avoid numerous fireballs at this point by moving as far to the other side of the room as possible. This is the same attack that Sinmara used during your fight with her, so you should be reasonably familiar with it.
Sword Combos
One of the most deadly forms of attack that Surtr can use is actually a string of sword attacks. Once he gets going, he can be relentless in continuing to hit you with melee attacks. You’ll be forced to dodge most of these, as running away from them will often get you caught in the back, since Surtr has a lot of range. If you can perform a perfect dodge to initiate Brush with Death, you’ll save some stamina, so try to time your dodges well rather than spam them repeatedly in a panic.
Return to the Hodda Shelter
Once you’ve defeated Surtr, the quest will end. However, there’s still a cutscene that you should experience by returning to the Hodda Shelter. Here you’ll encounter the Jotnar Hyrrokin, who brings word from Asgard: Loki has escaped along with Fenrir, and he is amassing an army. Havi will also have to contend with the wrath of Suttungr soon enough, and all of this was brought about by his slaying of Surtr. Or at least that’s what Hyrrokin would have him believe. Havi is convinced that he is the one who initiated Ragnarok, but he seems ready to embrace his fate…
No Comments