
This page offers a guide on how to complete the Cold Embers main quest, which is a part of the Vessel of Souls quest arc in the Dawn of Ragnarök DLC.
This quest is only available to you once you’ve completed The Warlord’s Daughter, which involves finding Eysa, fighting her and then examining a mural in Stor Mylna.

Cold Embers, Dawn of Ragnarök.
Find Sol-ok-Mani Vault
Your first task following the examination of the mural in Stor Mylna is to locate a vault found north of Stor Mylna and located between two mountains. The location in question is Sol-ok-Mani which is pretty far north near a large lake. If you’ve unlocked the synchronization point to the north of Stor Mylna, you can save yourself some time and fast travel there and then continue north. You could even use the Power of the Raven to travel by skies - saves some time!
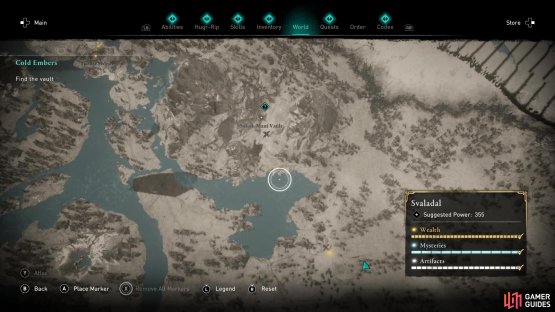
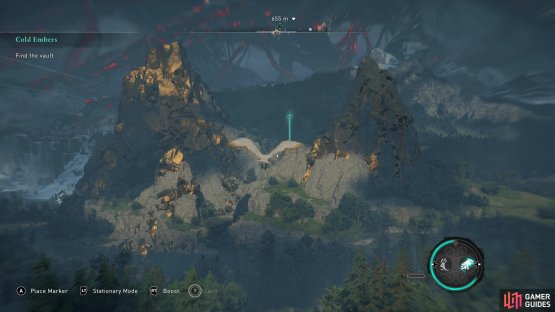
(1 of 2) Sol-ok-Mani vault is found north of Stor Mylna
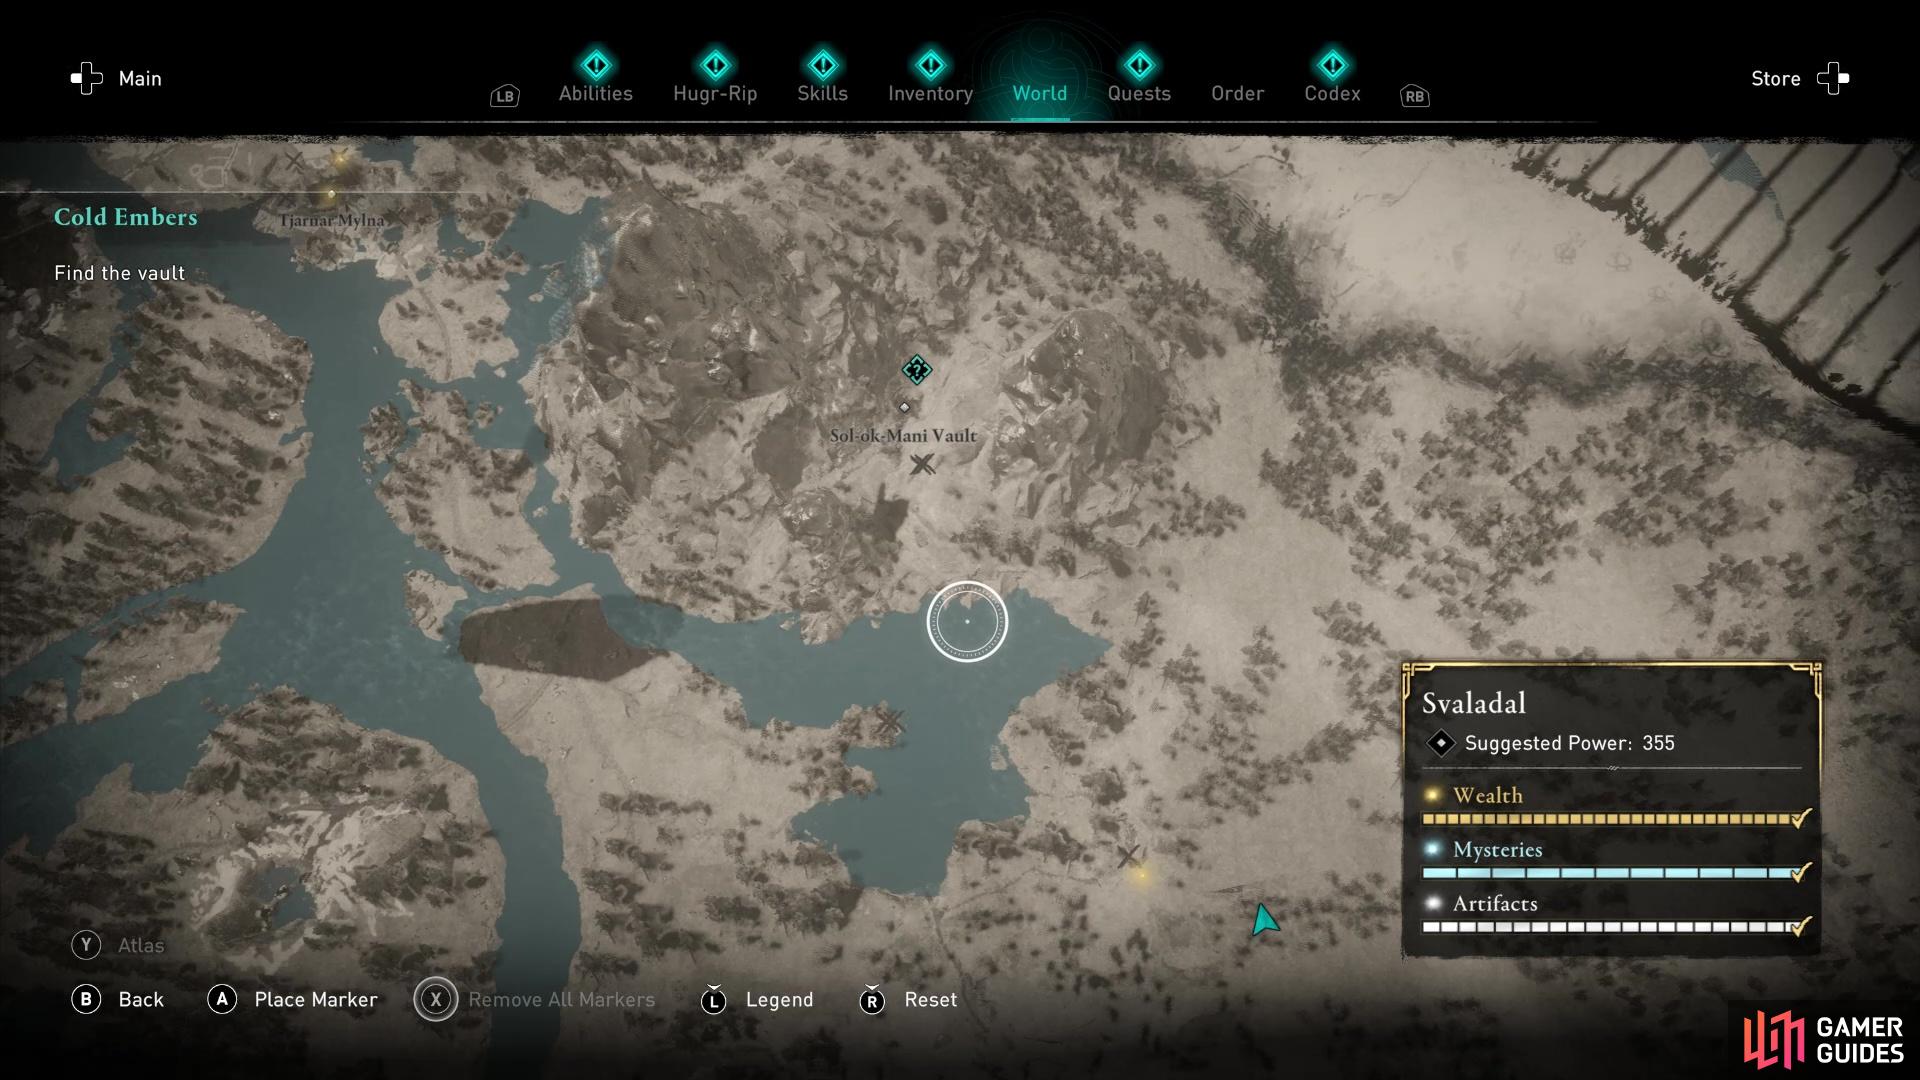
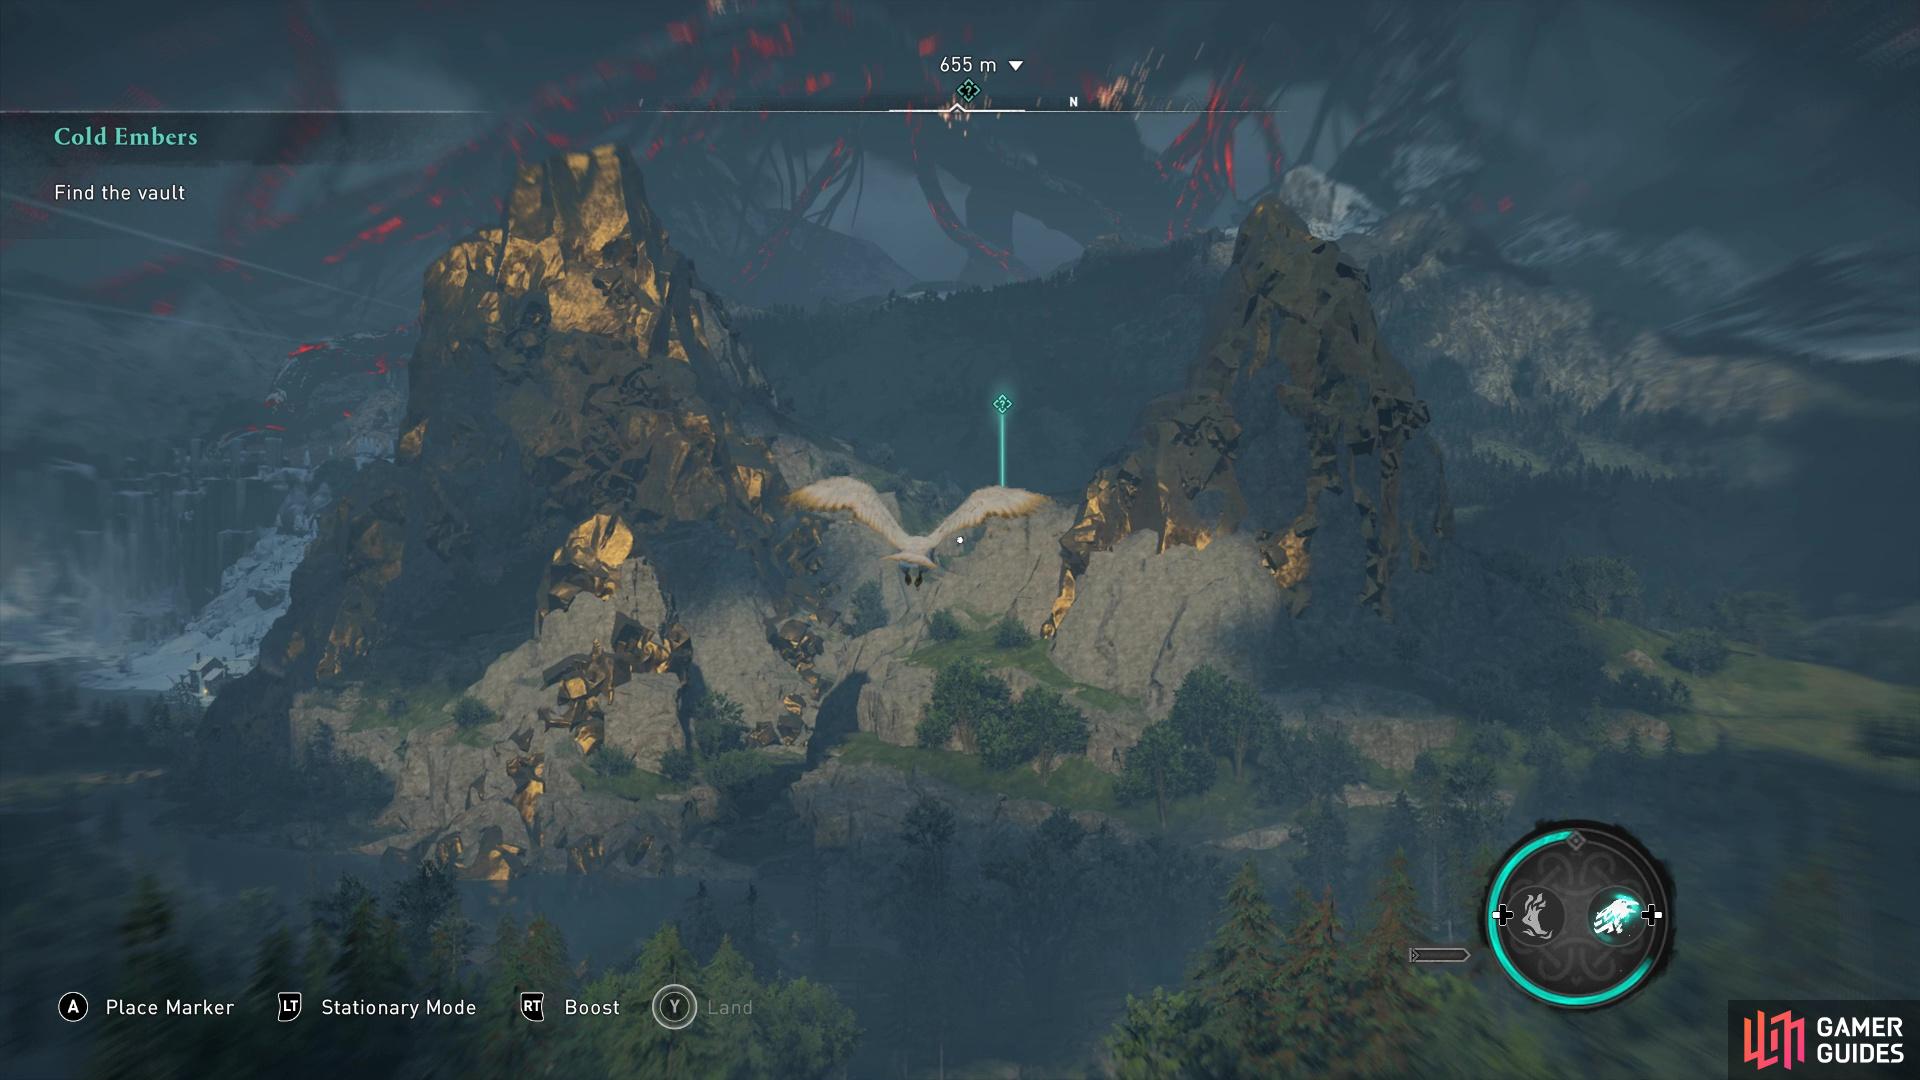
Sol-ok-Mani vault is found north of Stor Mylna (left), look for the two mountains facing each other. (right)
Sol-ok-Mani Puzzle
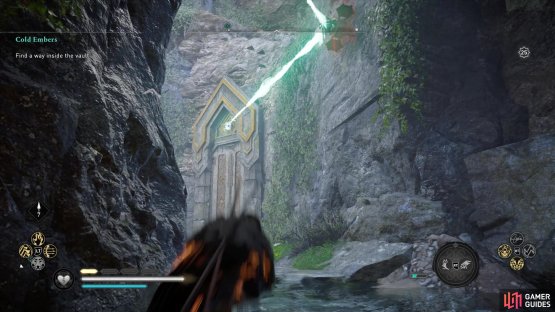
Once you’re between the two mountains, search for an arch and pass through it to find a courtyard with a light projector puzzle. The first thing you’ll want to do is make sure it’s day time! There are two projectors, the one you want for the quest only emits light during the day, but the one in the lava emits light in the night time. If you want the Explosive Retreat book of knowledge and Cosmetic Scheme found in one of the locked rooms, you’ll have to use the night time projector.
For the main quest, however, you’ll need to use the projector that’s lit up during the day. Aim the light beam at the reflector on the wall to the right. Then use your bow and arrow to change the direction of the beam until it’s directed at the target above the rightmost door.

(1 of 2) Direct the light beam at the reflector opposite
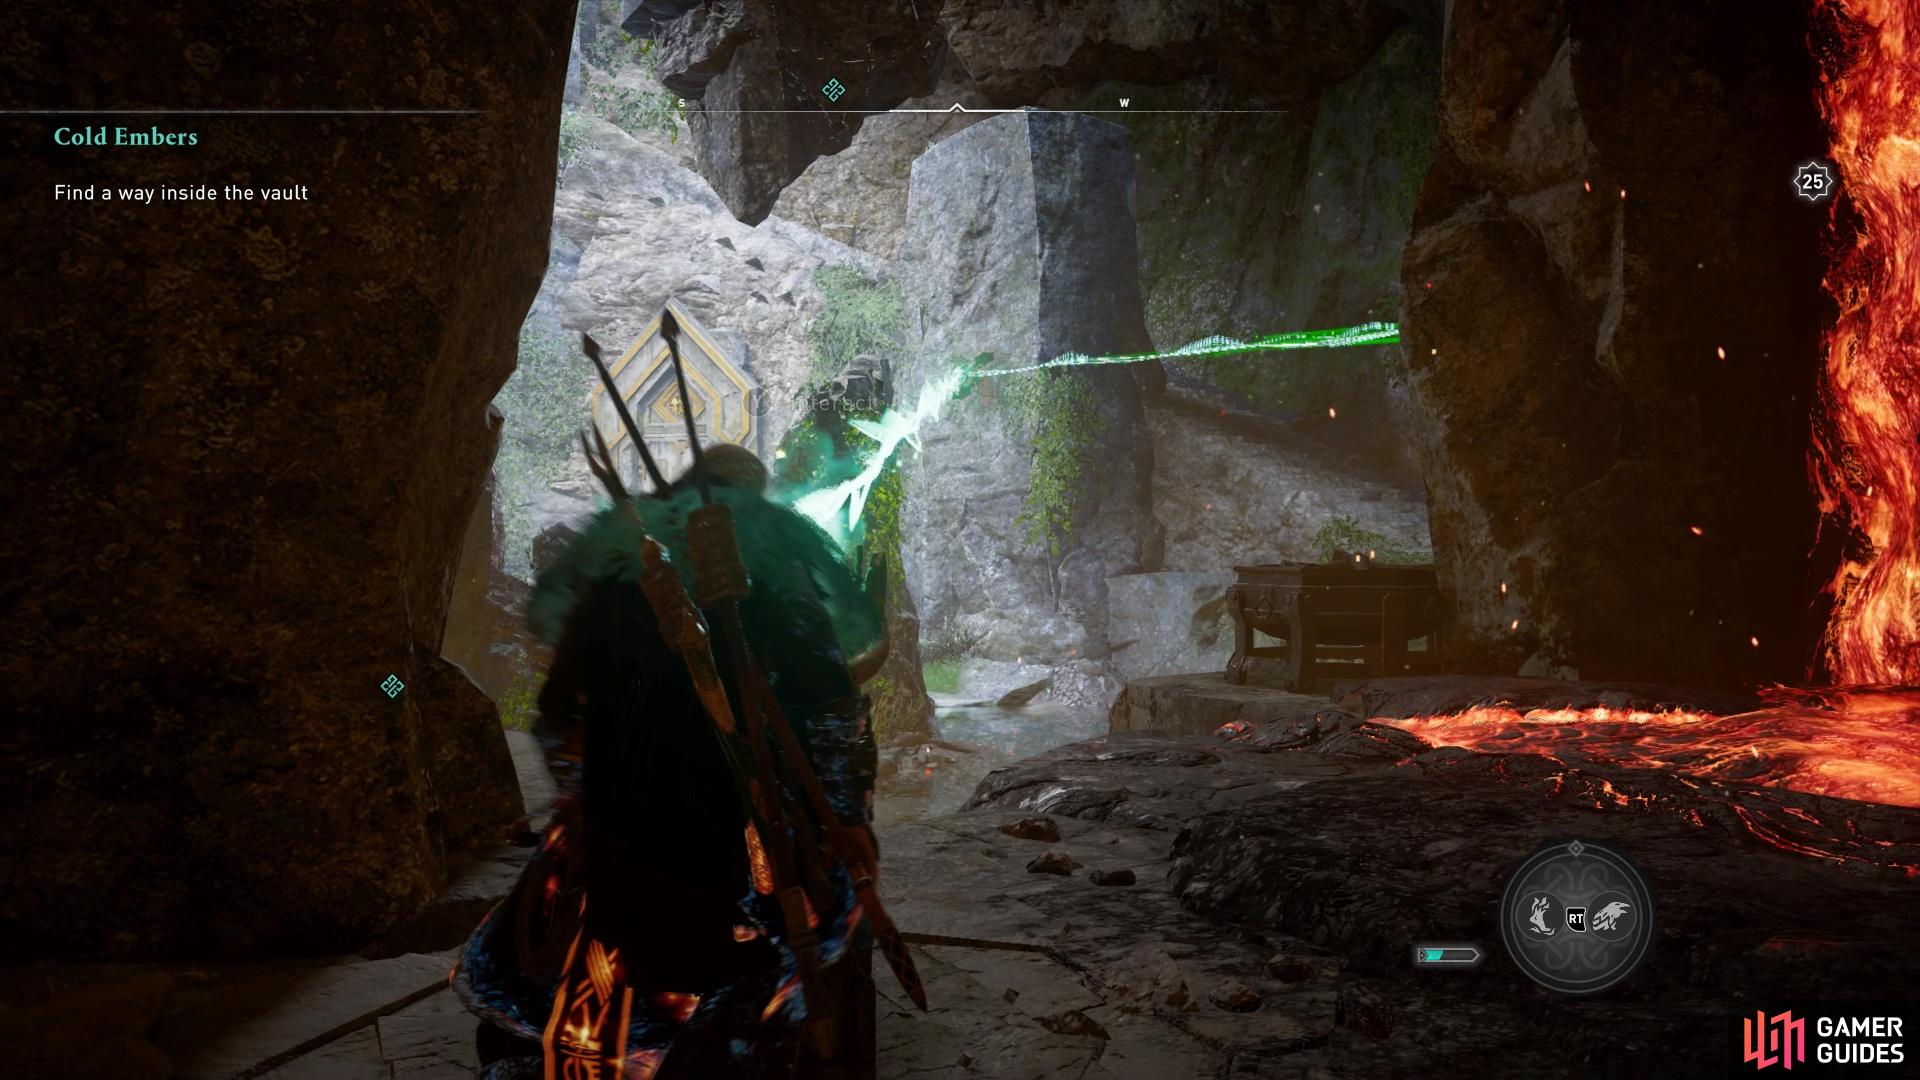
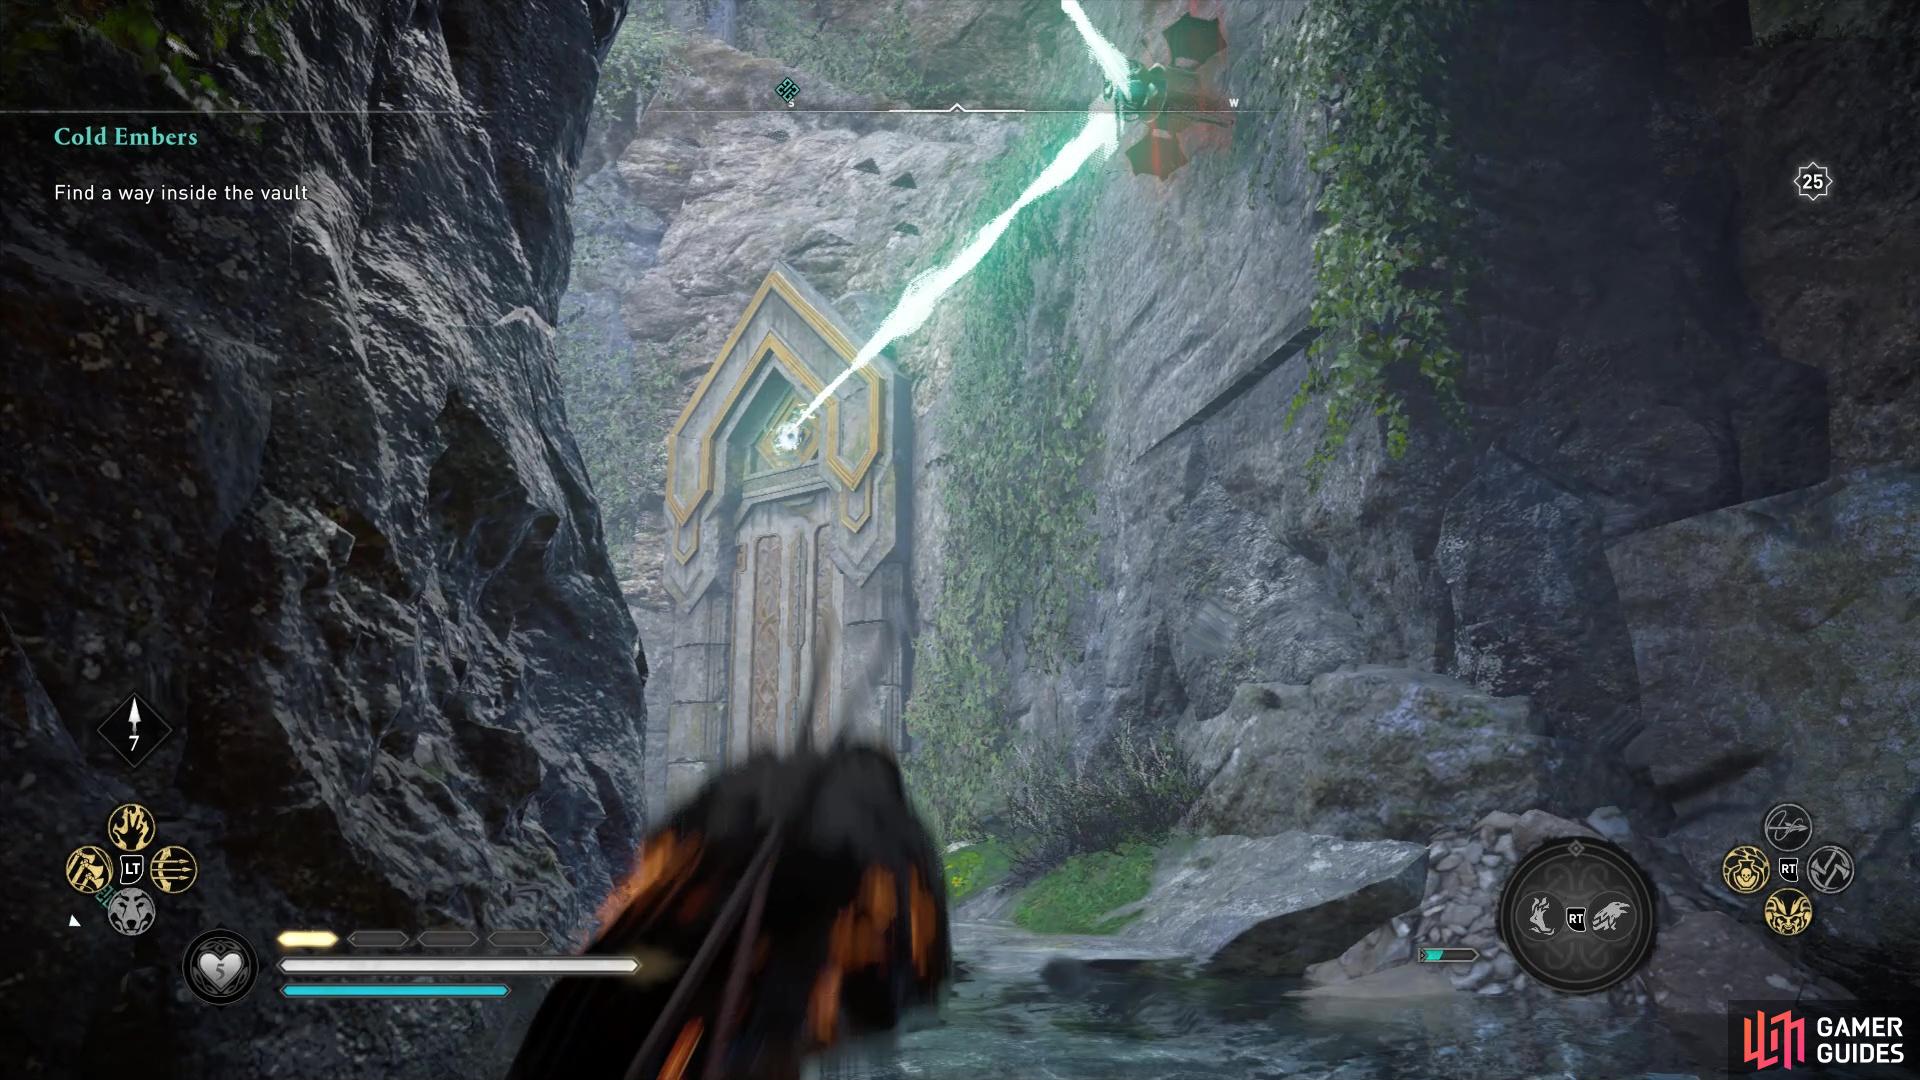
Direct the light beam at the reflector opposite (left), then hit the fans to direct the beam at the door. (right)
Head into this room and you’ll be prompted to examine the bloody scene inside. The first evidence to examine is right in front of the door. The second is a little farther in, next to a lit sconce. The third bit of evidence to examine is a set of bodies next to a ritualistic symbol on the ground. And then finally, you’ll have to also examine the wall at the end of the vault.
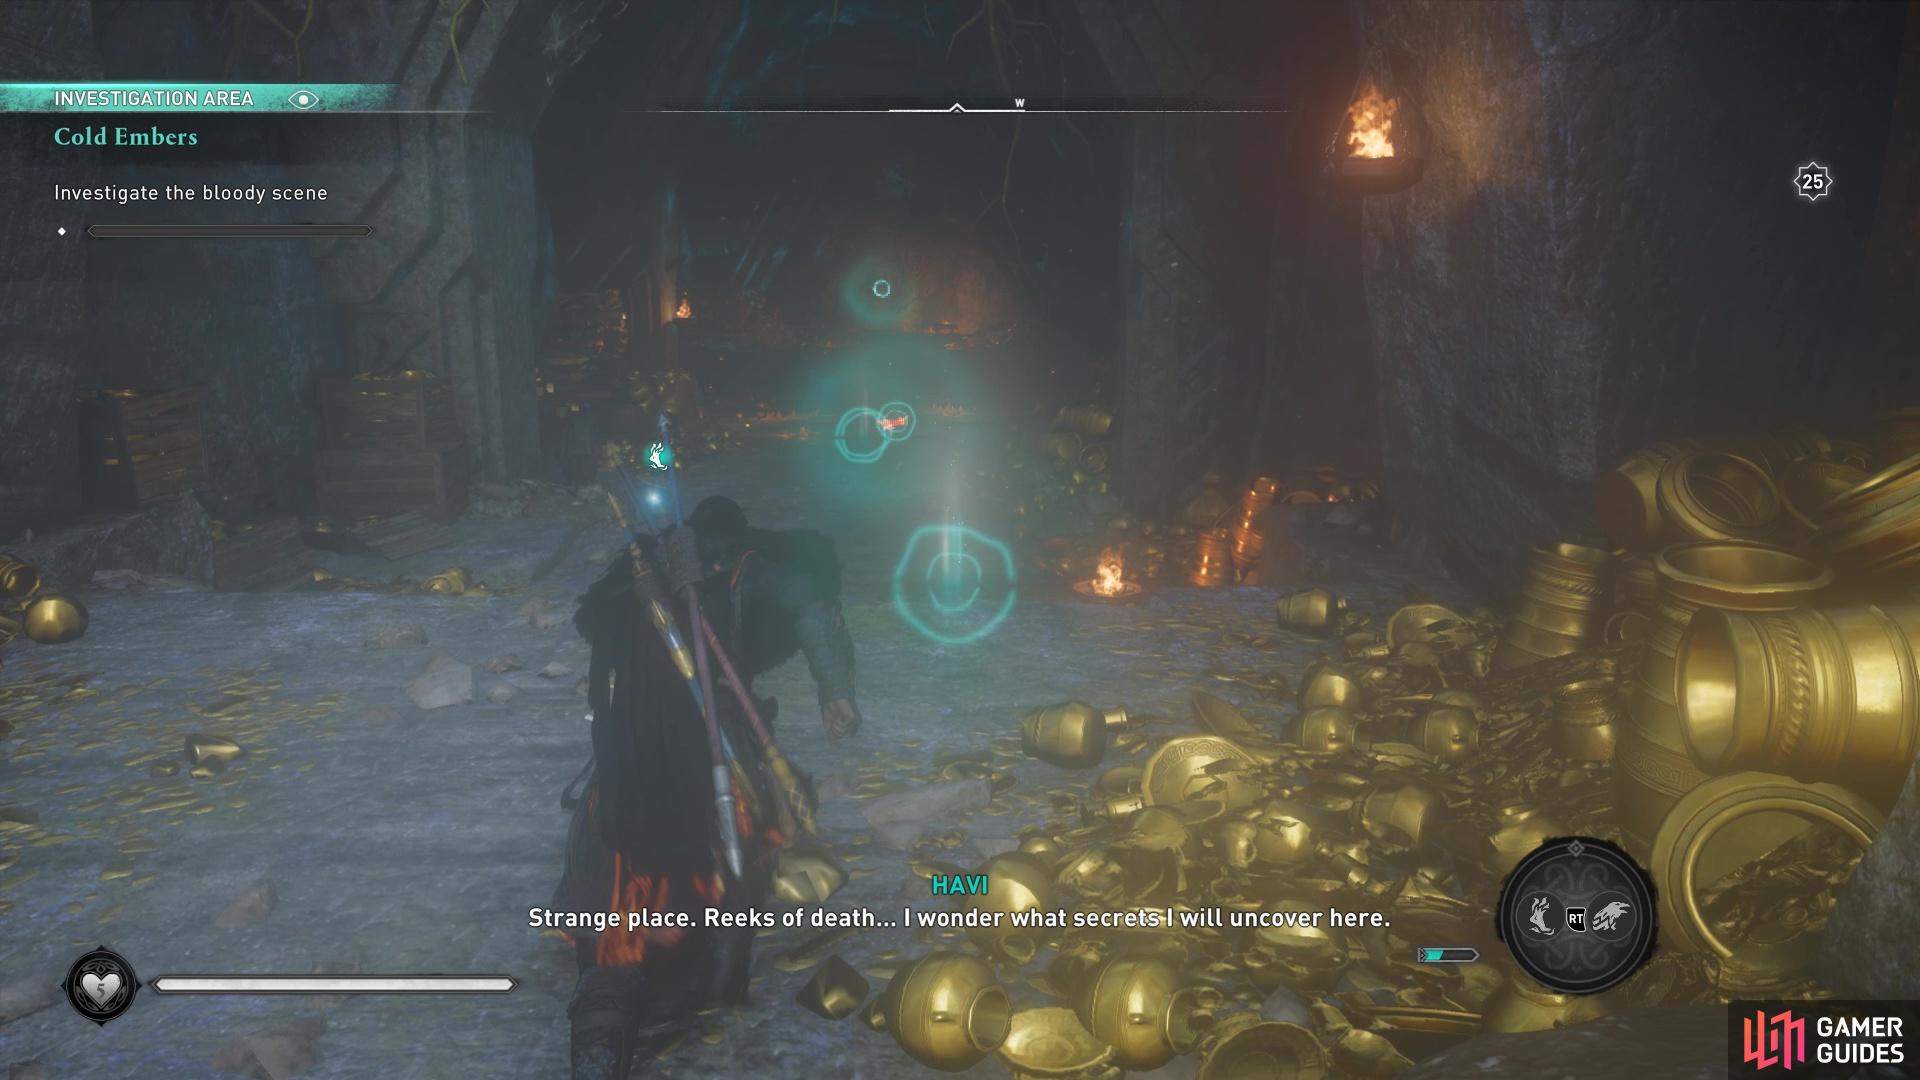
Examine all the evidence in Sol-ok-Mani vault to come to a conclusion.
After witnessing a brief cut scene where Havi solves the mystery, you’ll be prompted to locate the murderer who’s performed this ritual. You’ll get the following clues:
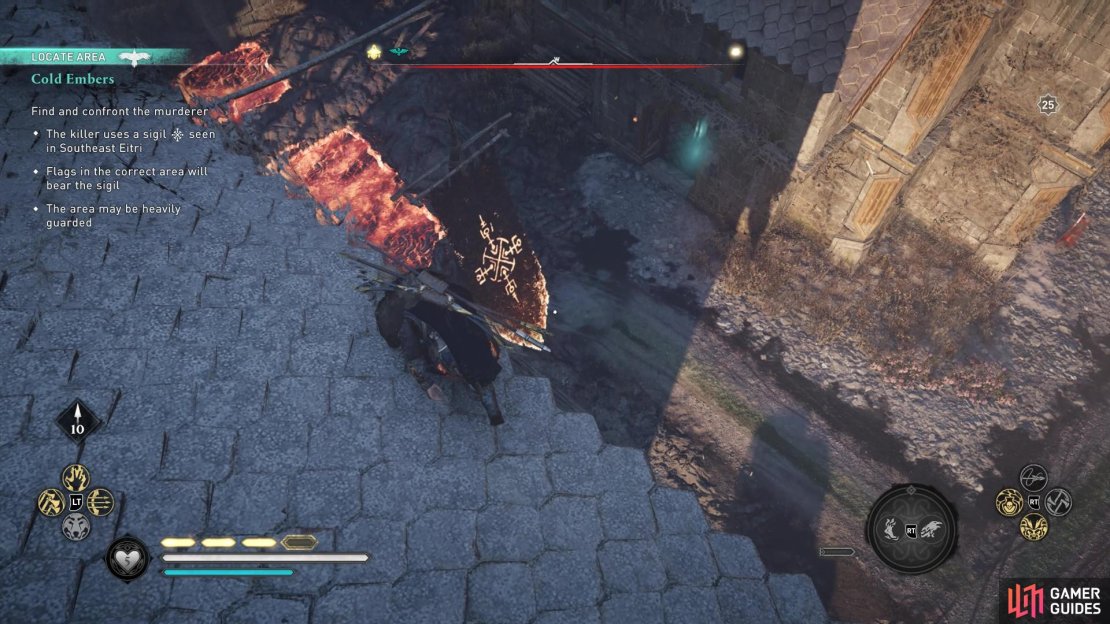
- The killer uses a sigil seen in Southeast Eitri
- Flags in the correct area will bear the sigil
- The area may be heavily guarded
Find the Murderer in Eitri
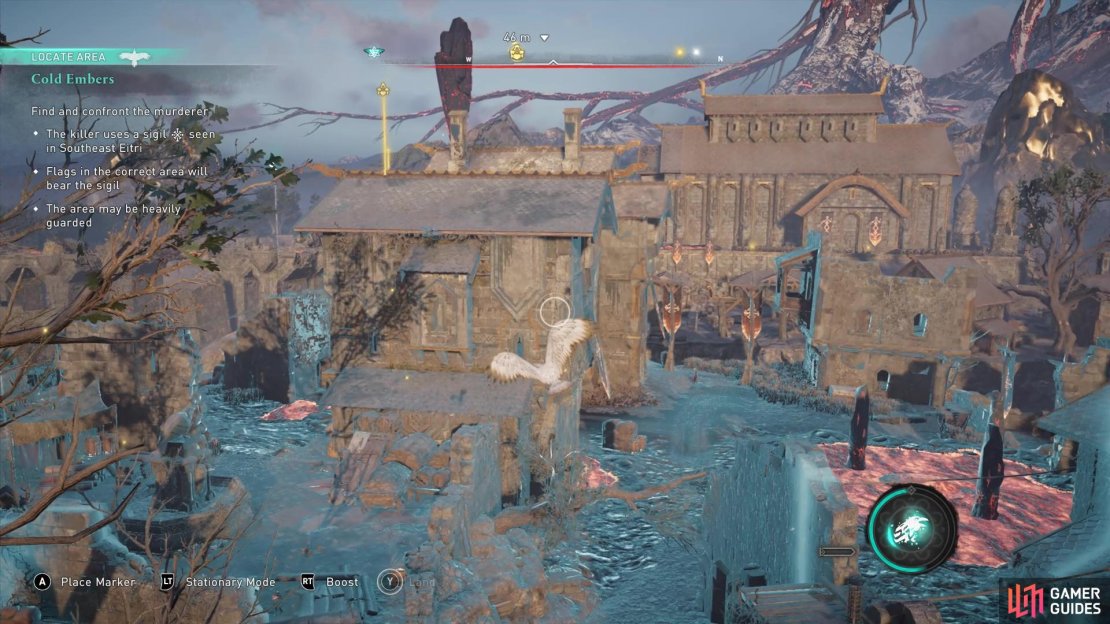
Your next task is to find the area in question. Eitri is a small area in central Svartalfheim. First head to the southeast area of Eitri. You might find it easier to search for the flags from the skies, so consider activating the Power of the Raven to fly up and get a bird’s eye view.
The area you’re searching for is called Jarn Herad and there are a lot of flags bearing the sigil.
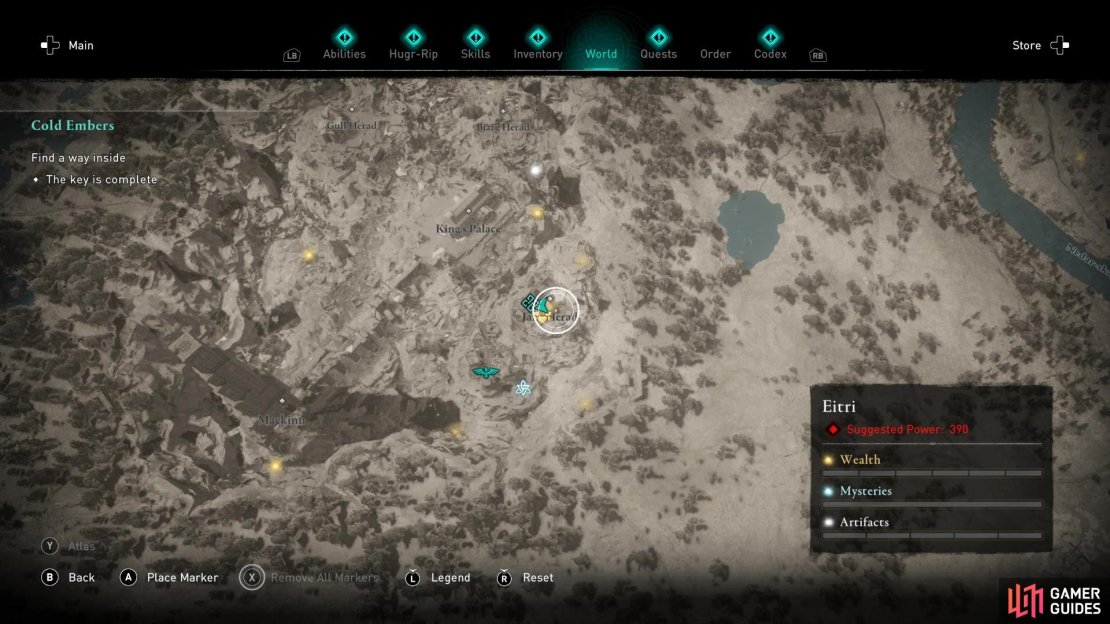
(1 of 3) Jarn Herad is found in the southeast of Eitri.
Find the Key Pieces in Jarn Herad
To unlock the central building in Jarn Herad, you’ll need to find x3 key pieces. They’re held by three separate elite enemies in the area. You can use Odin’s Sight to reveal a small key symbol above the enemies holding the keys. There are a lot of enemies in Jarn Herad, and a lot of them are also elite, so you’ll probably need to take them out in addition to the key-holding enemies. There’s an enemy alarm above a small lava pond and you’ll also want to destroy that before more enemies are alerted and join the fight.
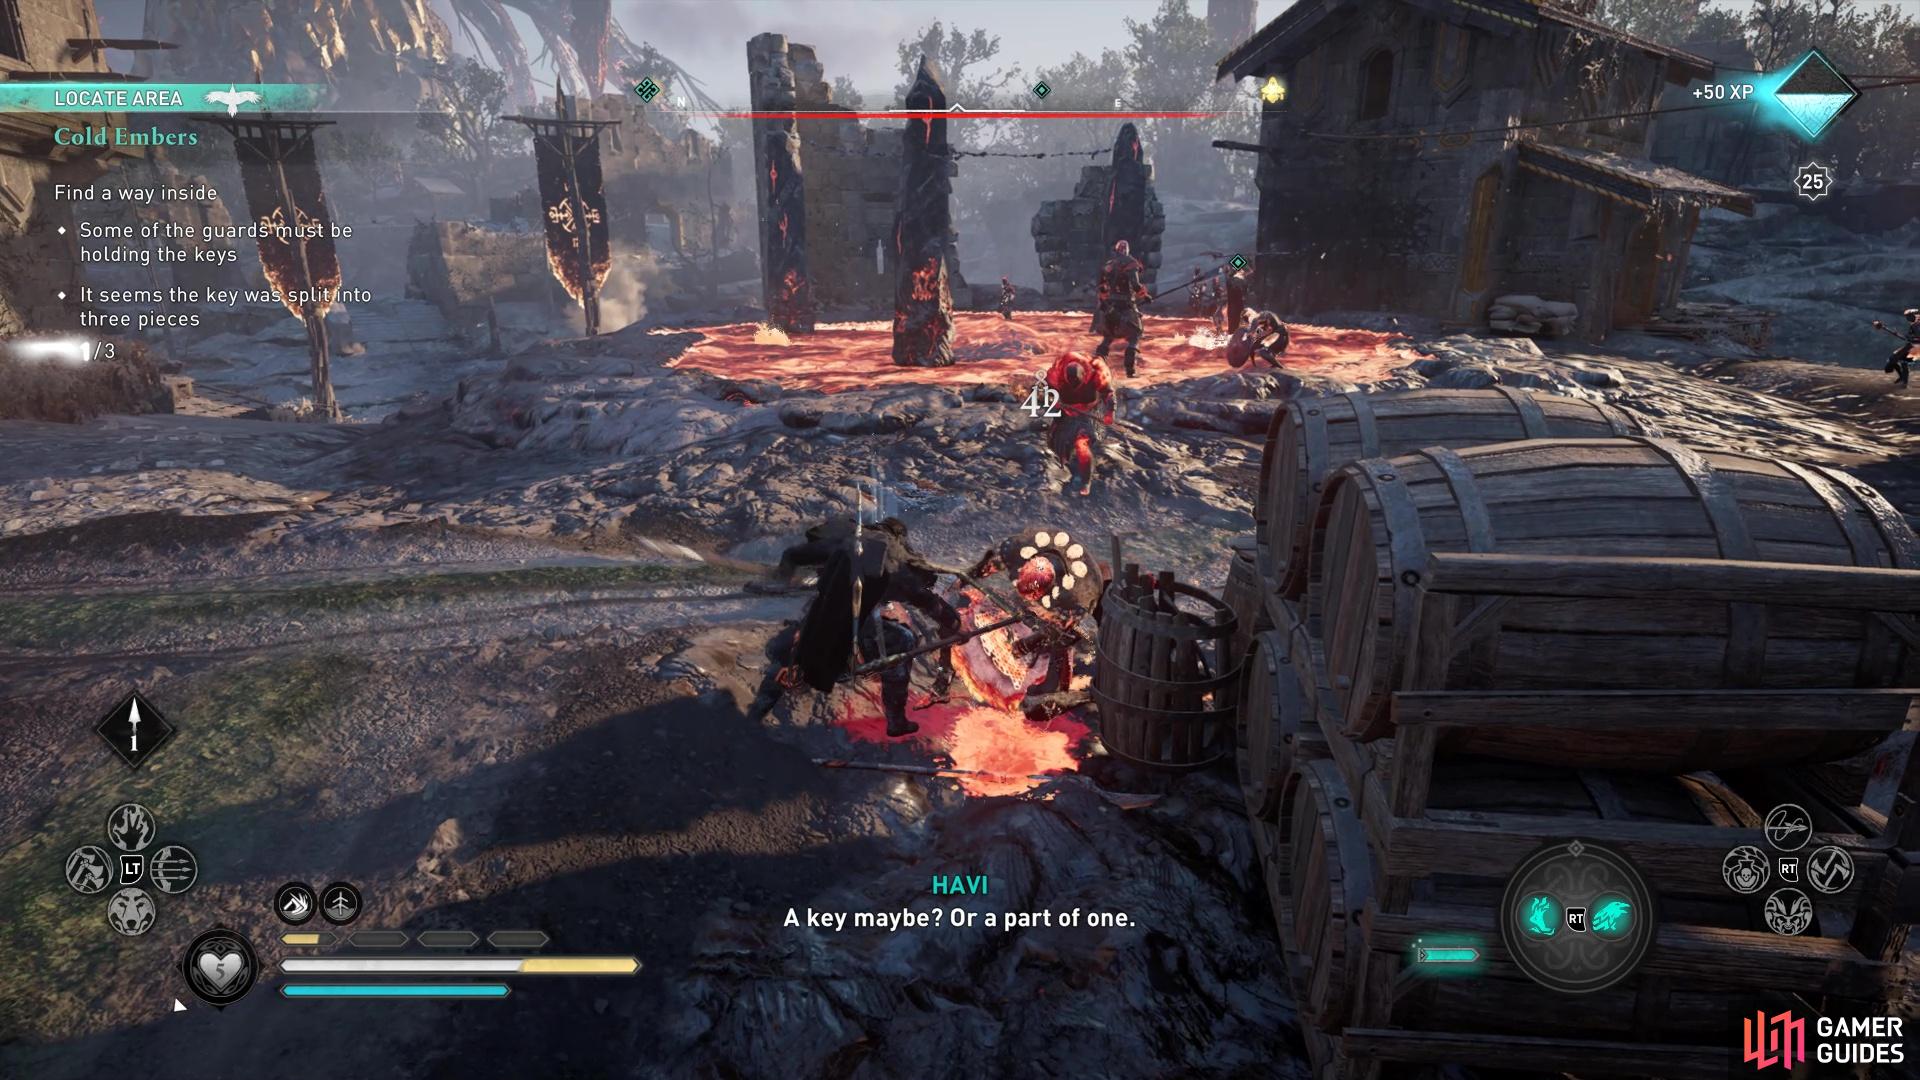
Find the three keys to unlock the door to the central building in Jarn Herad.
Investigate the Jarn Herad Building
Once you have the keys, you can open up the building and soon after entering, you’ll be prompted to investigate. The first thing you’ll likely spot is the open book to the right. Next, you’ll want to investigate the two sets of paper scrolls on the opposite end of the room. On the upper floor, you’ll find another sheet of paper to investigate near a window. And finally, climb up through the hole to enter onto the 3rd story where you’ll find another sheet of paper to investigate.
Upon filling up the investigation bar, Eysa will come in through a window and you’ll witness a brief cut scene in which Havi announces their plans to find Caldar and the salakar.

Eysa seems to be on Havi’s side.
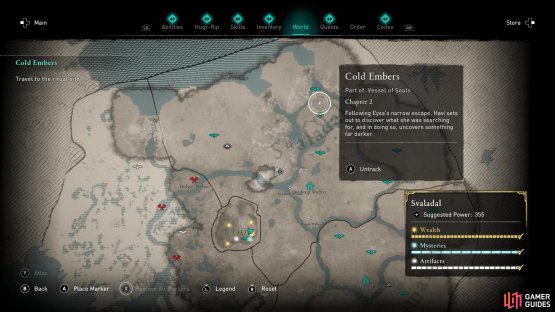
Your next task after speaking to Eysa will be to travel to the ritual site to find Calder and the salakar. The ritual site is in Gullthorp, which is all the way in the northern portion of Svaladal. Your first task will be to head up onto the roof of the building overlooking the ritual site. You can get there by traversing the ropes from one roof to the next.
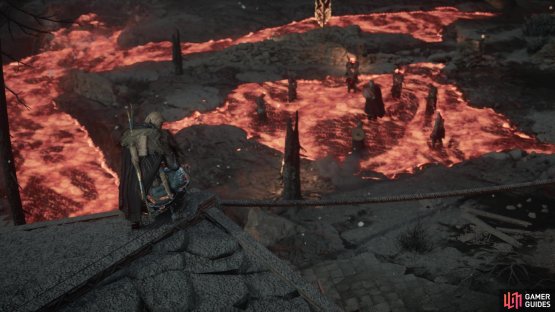
(1 of 2) Head to the vantage point on top of the roof to witness the ritual.
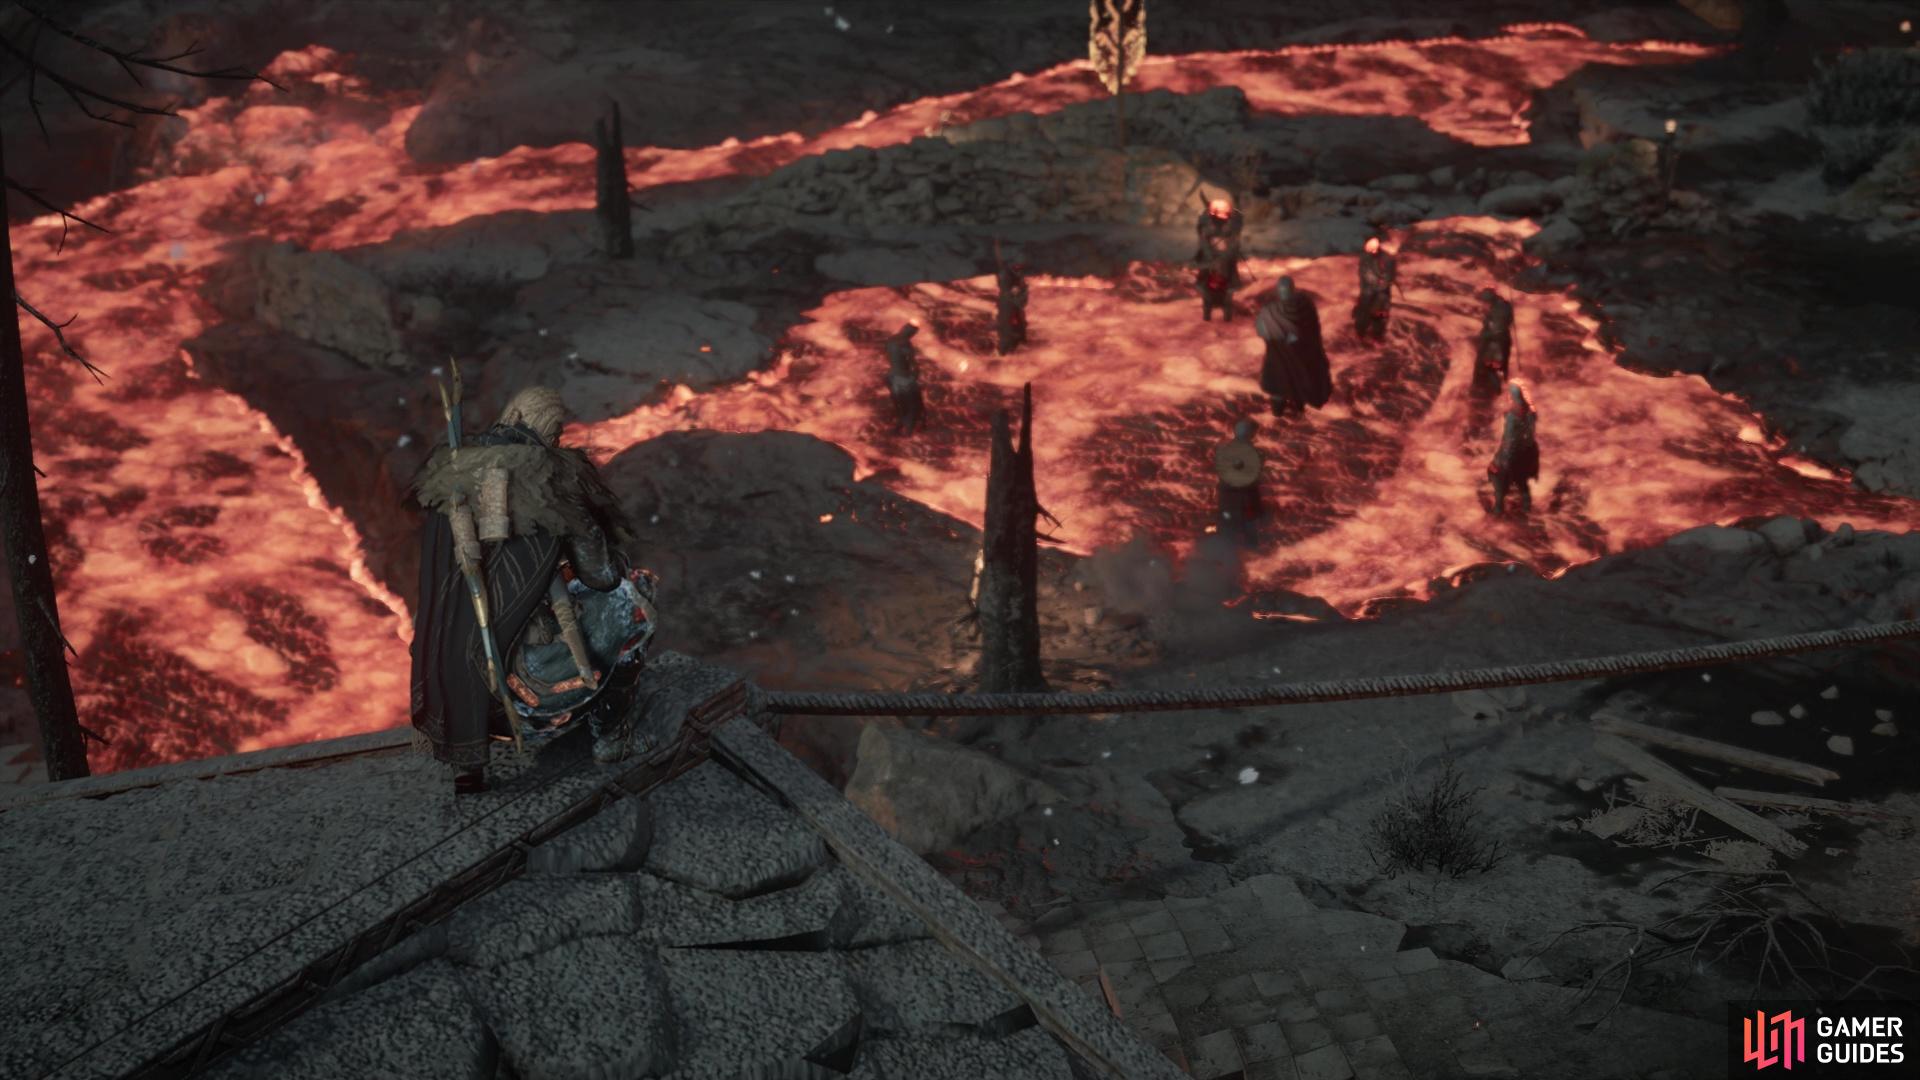
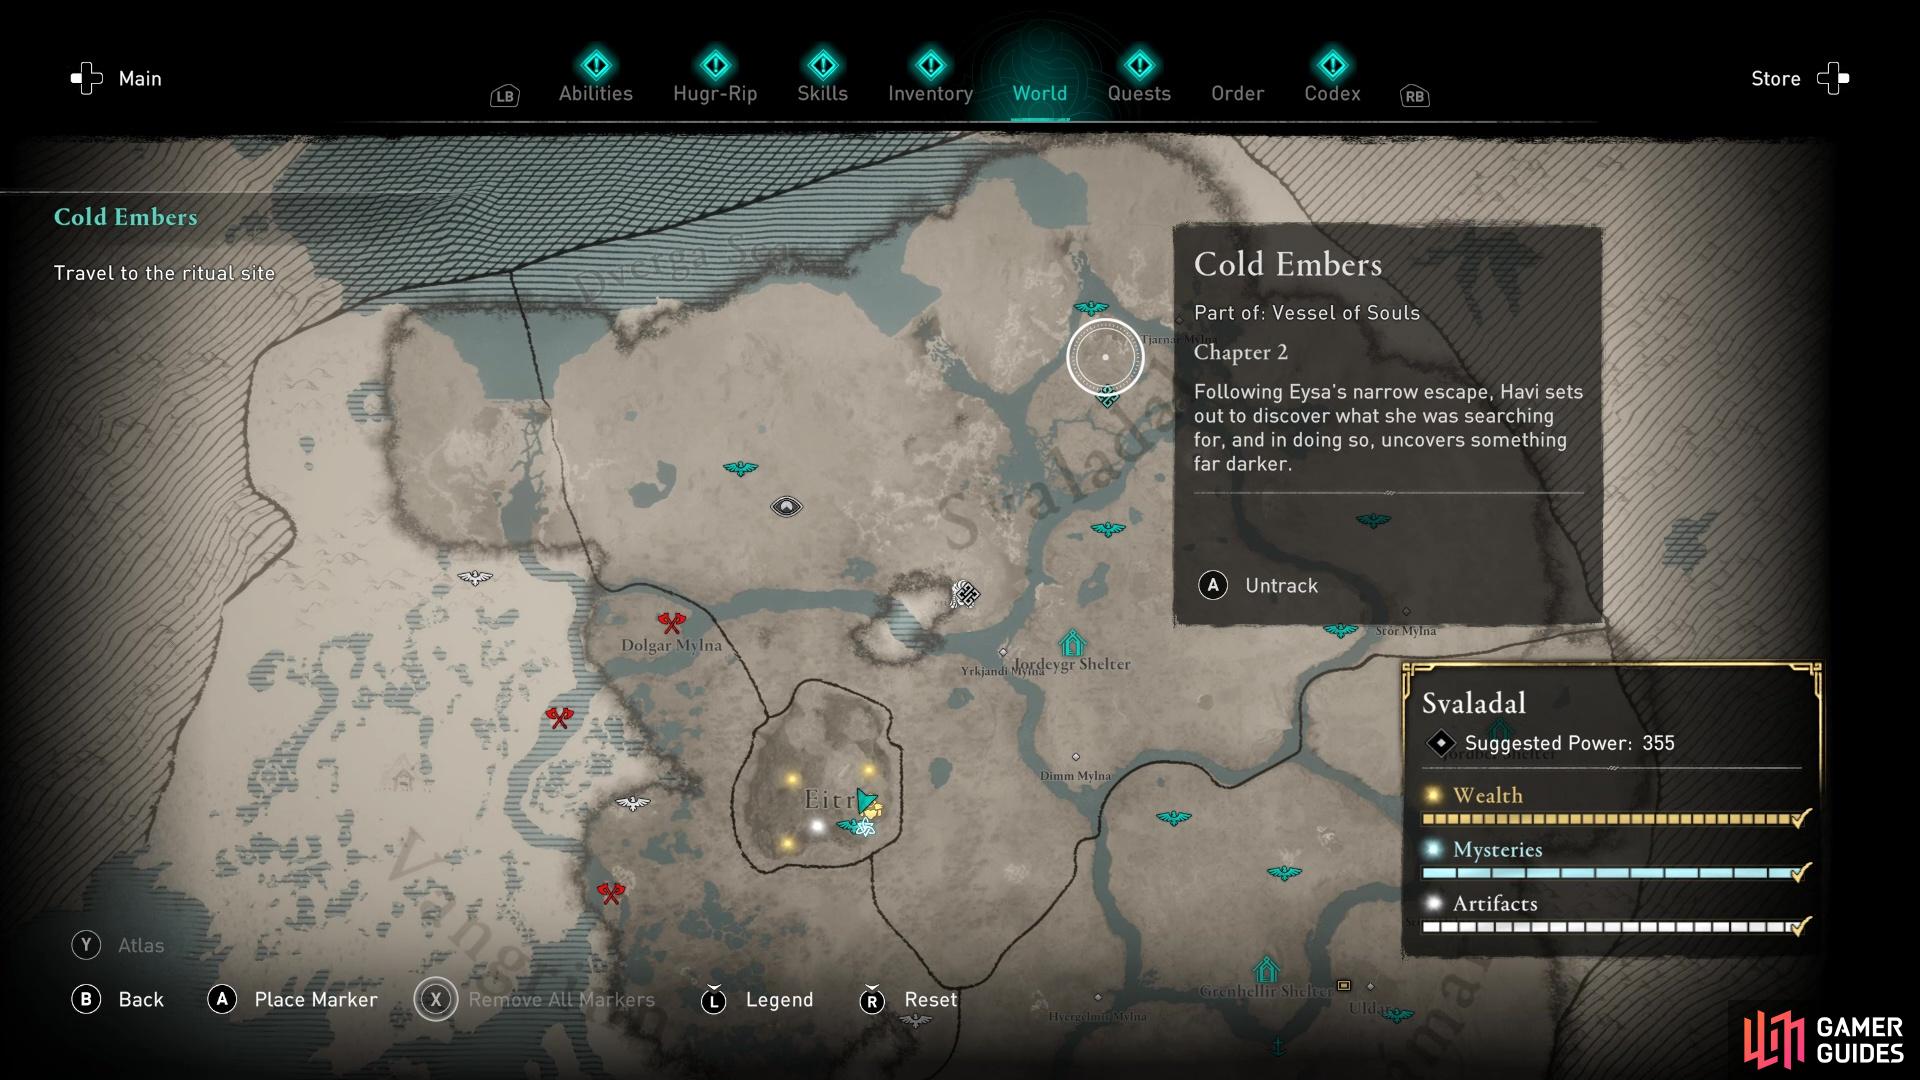
Head to the vantage point on top of the roof to witness the ritual. (left), Gullthorp is found in the northern region of Svaladal. (right)
Interact with the vantage point on the roof to watch a brief cut scene of the ritual beginning in a patch of lava. After the cut scene, you’ll be instructed to disguise yourself and join the circle in the lava.
How to Witness the Ritual in Gullthorp
In order to witness the ritual, you need to disguise yourself as a Muspel using the Power of Muspelheim. If you haven’t already got the power in your Hugr-rip, you’ll be able to obtain it from an enemy with the fiery Muspel foot symbol above their head. You cannot be detected though as this will foil the entire ritual so make sure to assess your surroundings and assassinate the enemy stealthily. If you need to refill your hugr bar there’s a hugr tree right next to the vantage point!
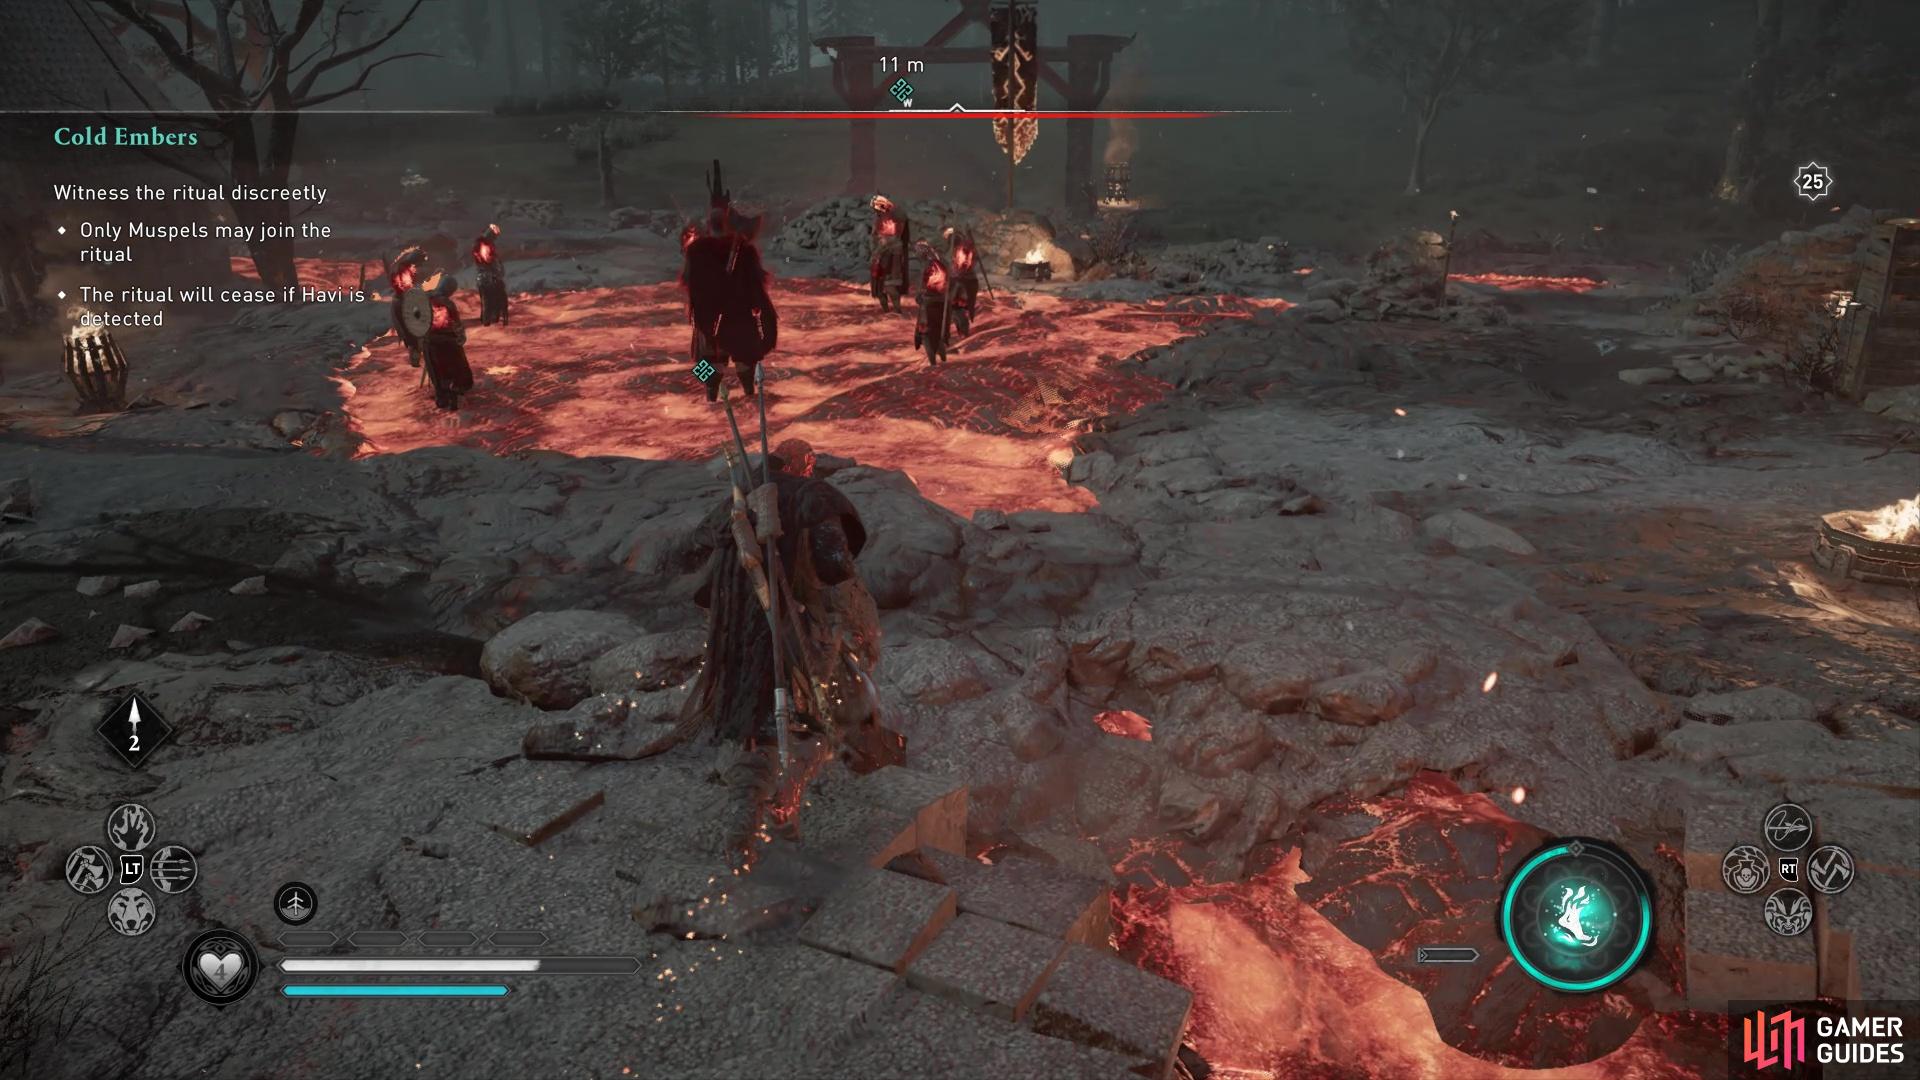
Use your Power of Muspelheim to sneak into the ritual.
Once you’re in your Muspel disguise, head over to the ritual and take your place in the circle. You’ll be subjected to another cut scene and Eysa will interrupt the ritual and chase after Calder, heading northwest.
You’ll be instructed to escape Gullthorp. During this time you can either choose to fight off a bunch of enemies or just run out the arch to the northwest - the enemies will eventually stop chasing you! Escaping Gullthorp will conclude the quest and begin Blazing a Trail.
No Comments