
This page offers a guide on how to complete the Blazing a Trail main quest, which is a part of the Vessel of Souls quest arc in the Dawn of Ragnarök DLC.
This quest becomes available following your escape from Gullthorp and the completion of the Cold Embers main quest.
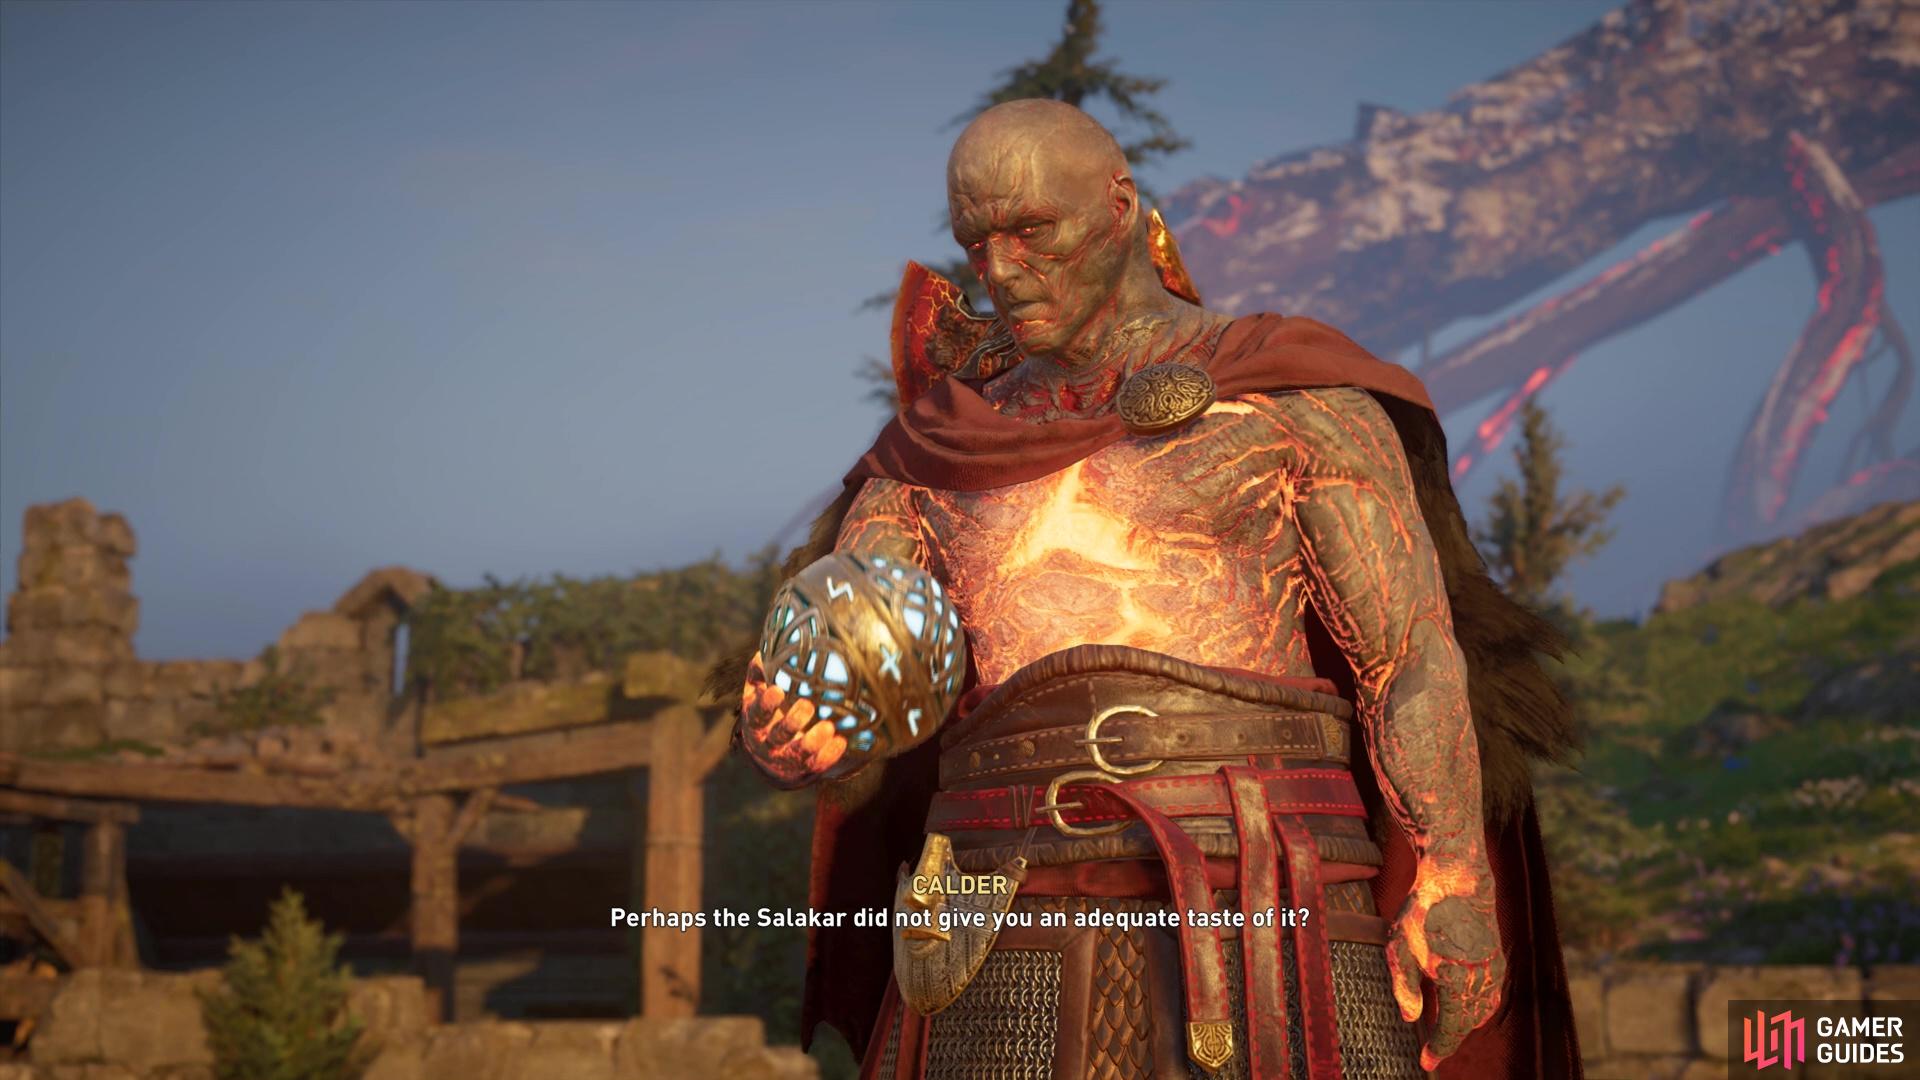
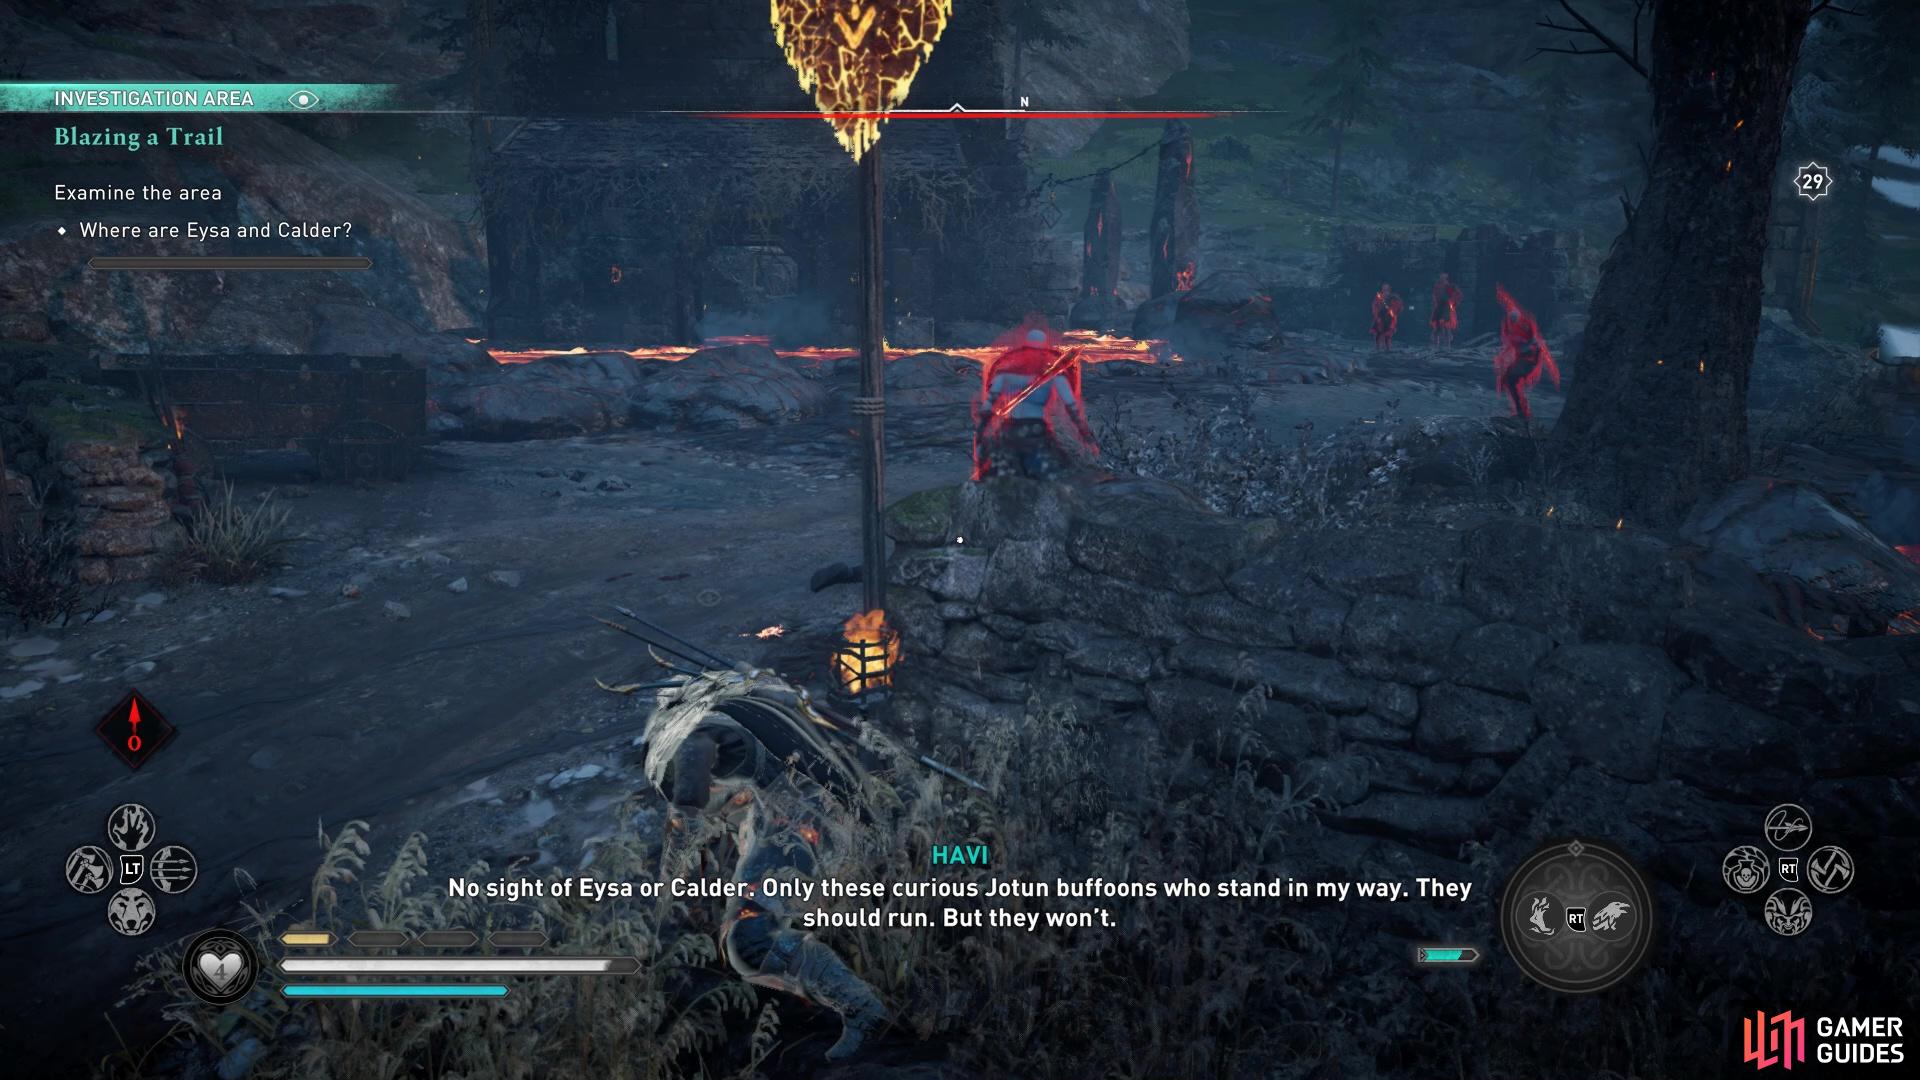
Calder and the Salakar.
Pursue Eysa and Calder
Once you’ve escaped Gullthorp, you’ll be prompted to track Eysa and Calder down. Your first plan of action should be to head in a general northern direction, towards the nearby synchronization point. You’ll soon come across a lava pit, and several bodies strewn about. You’ll need to examine three separate dead bodies in the lava pit to learn of what happened with Eysa and Calder. You’ll want to activate the Power of Muspelheim to traverse the lava pit without being burned. The first body to examine is found at the top of the lava pit area, then the next is found slightly to the right. The final bit of evidence to examine is found at the bottom, to the north. Once you’ve examined all the evidence, you’ll be prompted to head west. You’ll come to a river and you can either swim across or use the conveniently placed boat to make the short journey to the otherside.
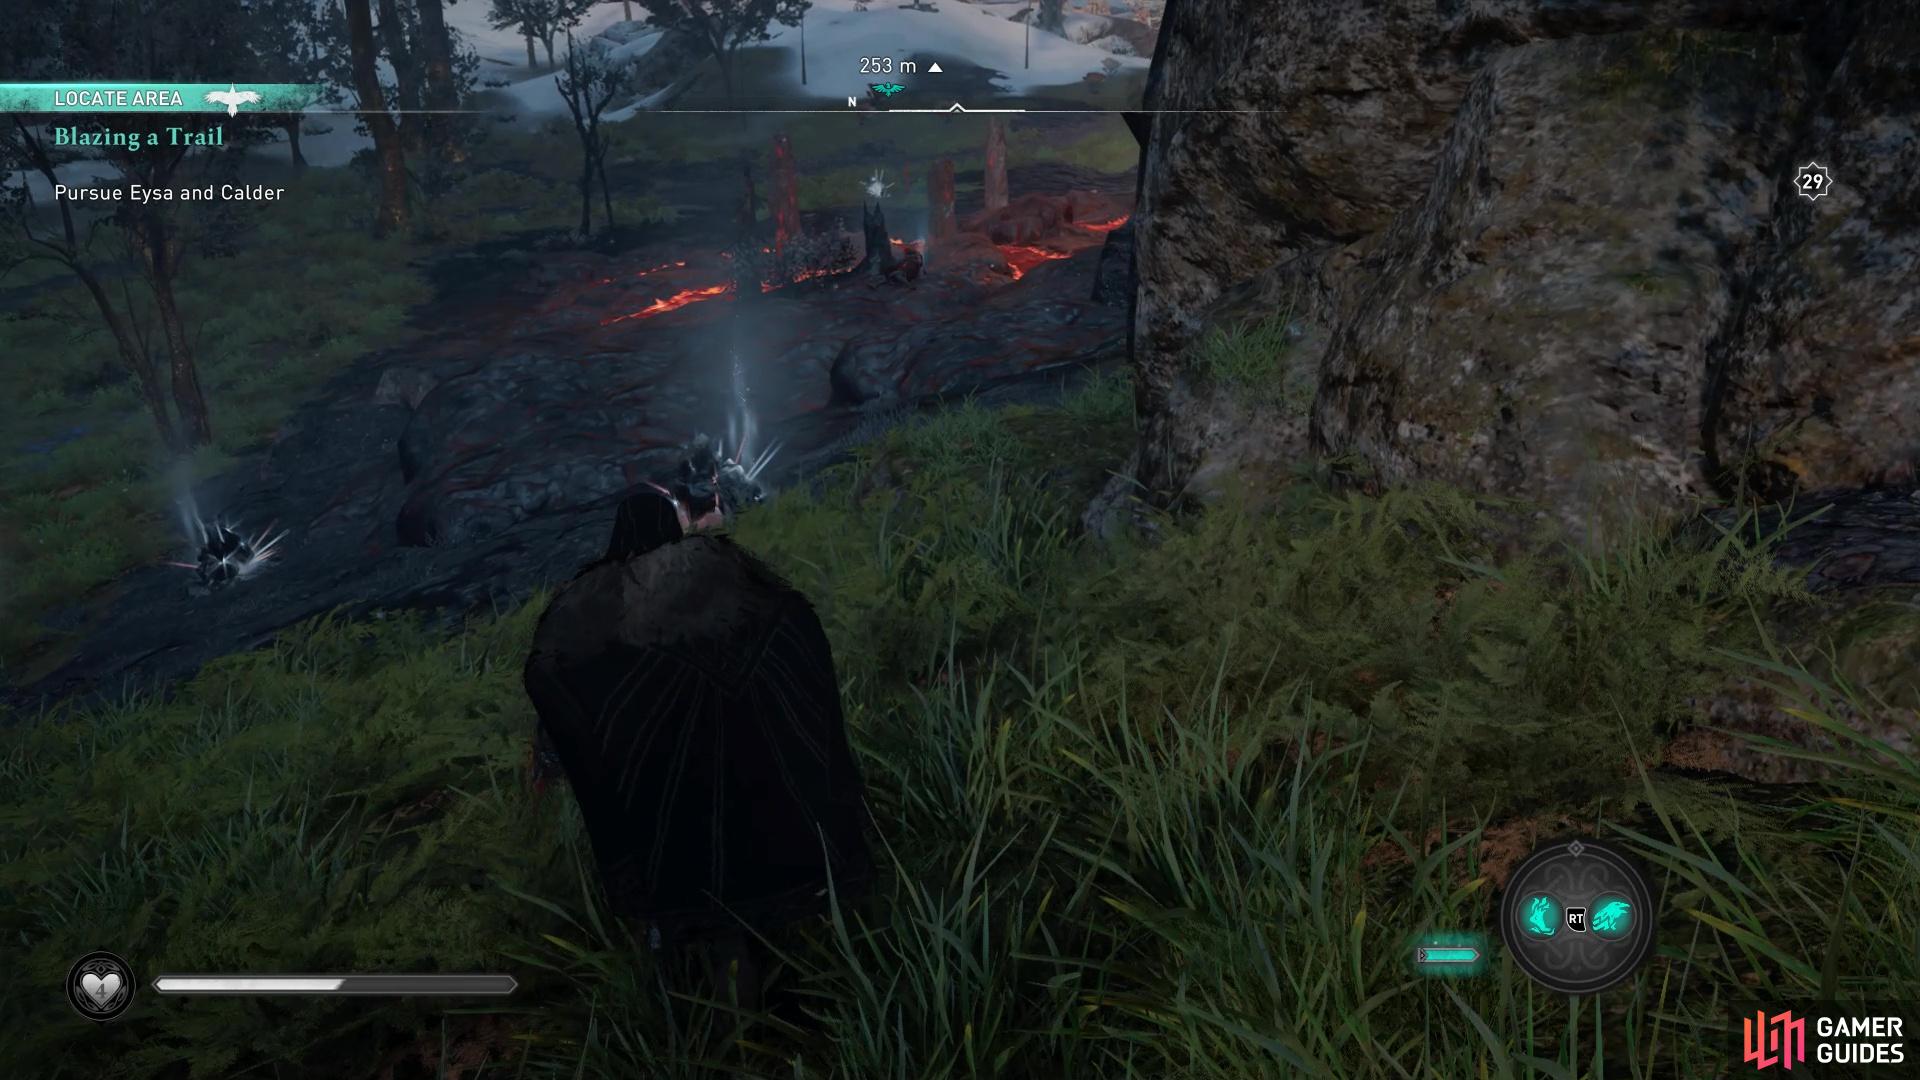
Examine the dead bodies near the lava pit
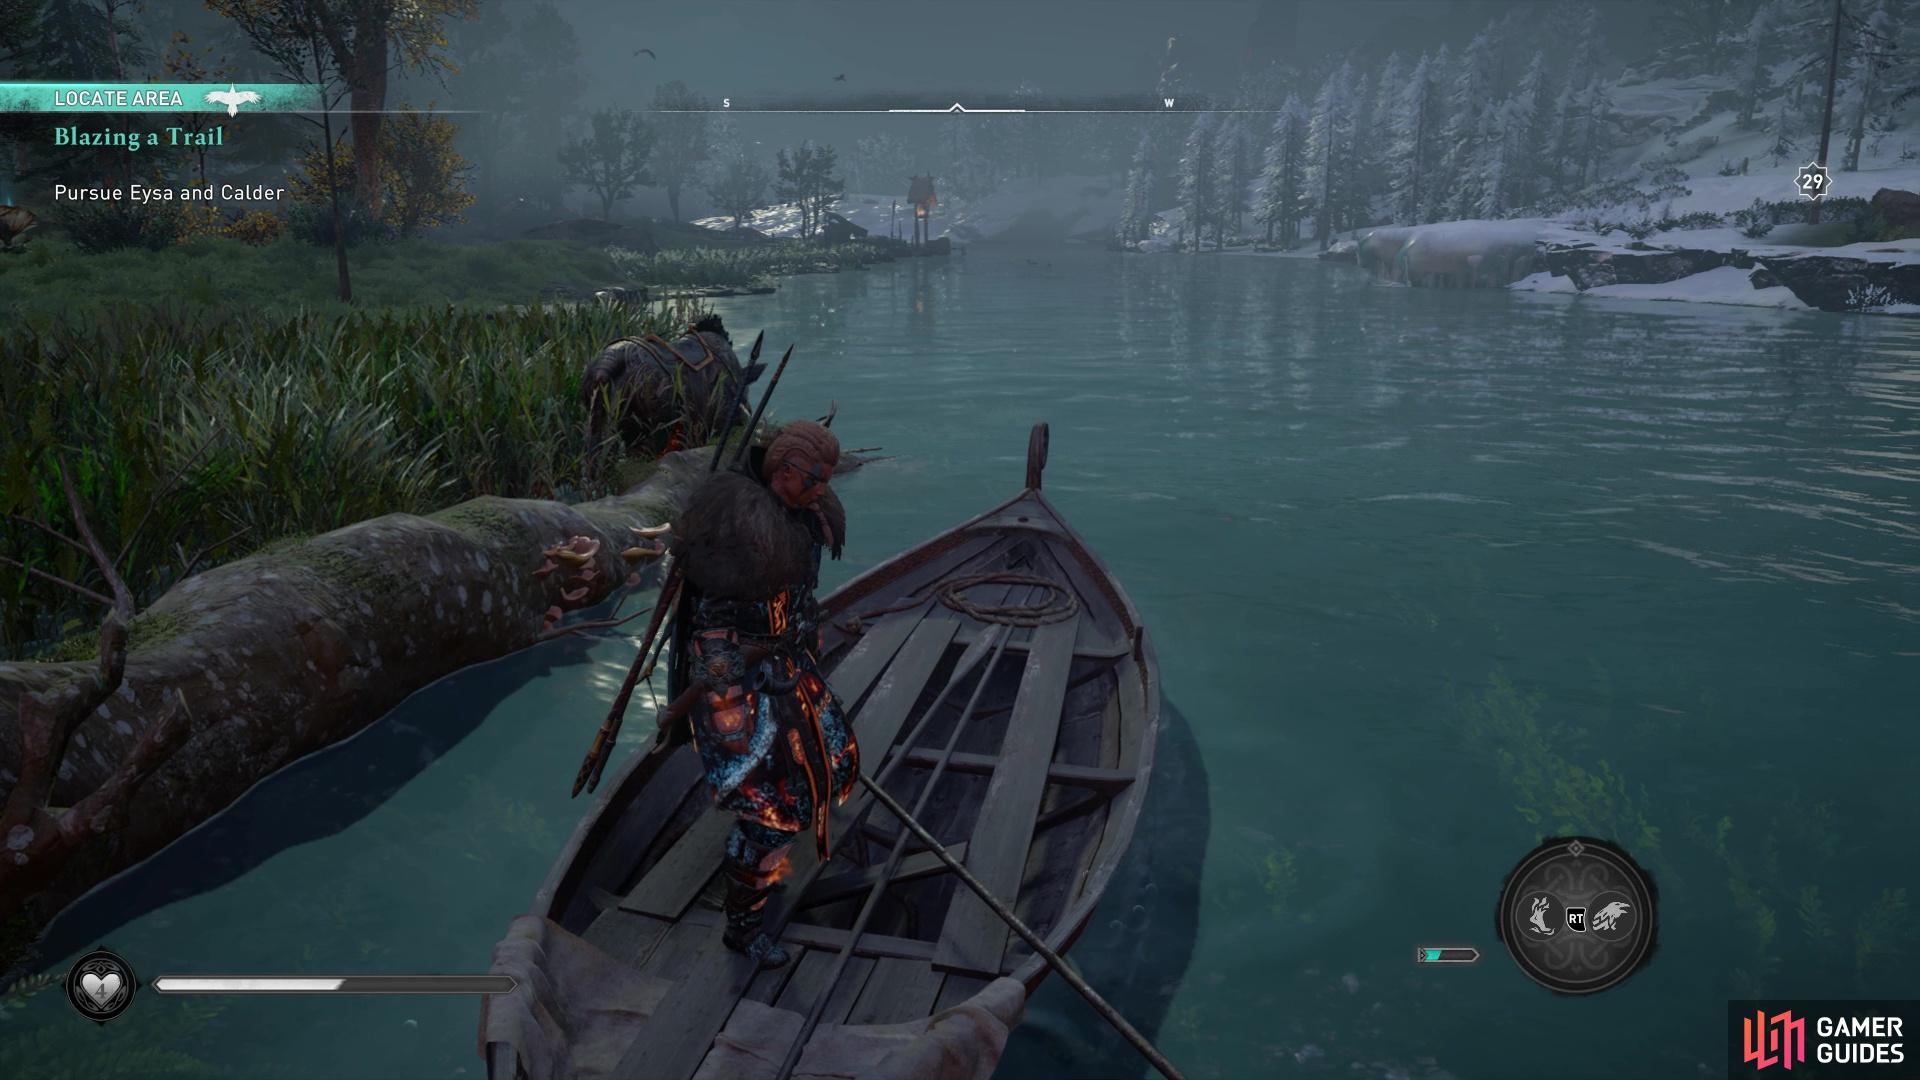
then head to the river and continue the pursuit!
Once across the river, you’ll have another detective puzzle. Find the two fiery trails and examine them to learn some more about what happened to Eysa and Calder. The first bit of evidence is found right next to the river bank on a rock and the second is found right up the hill.
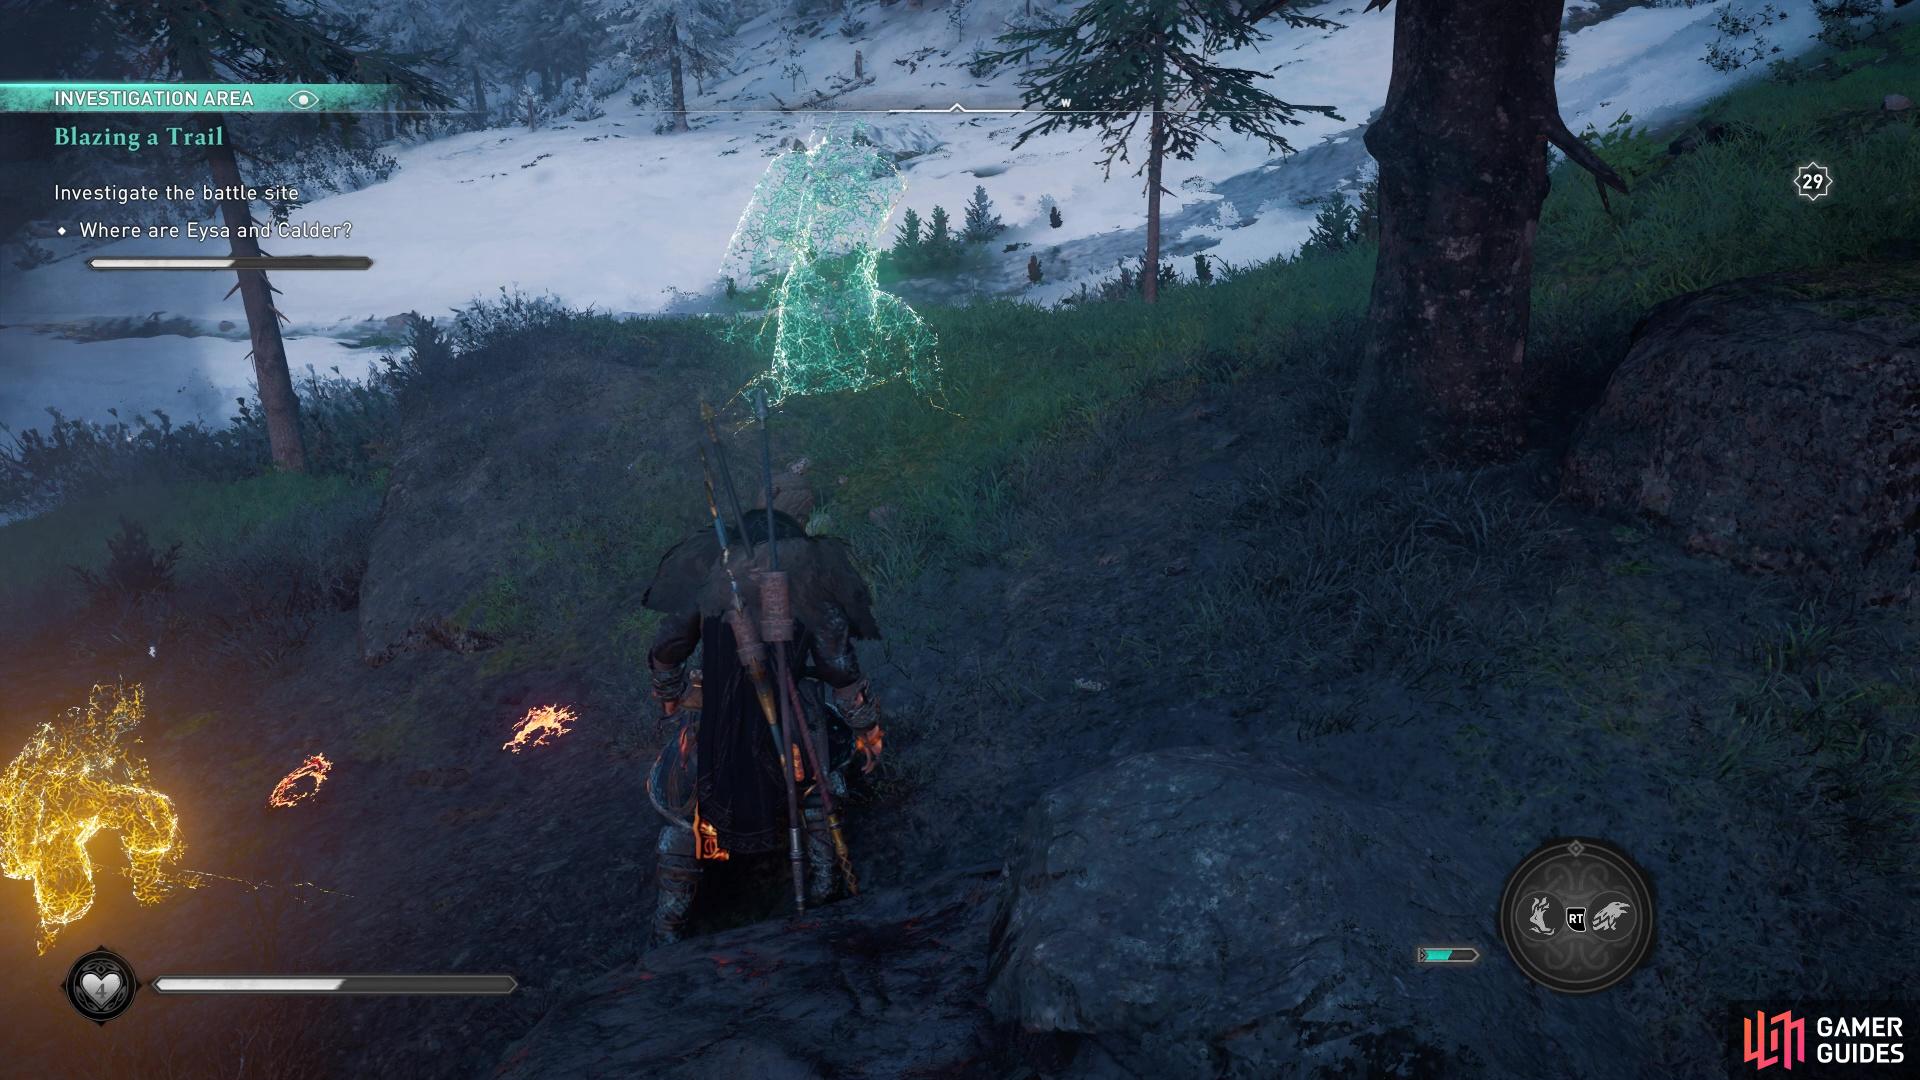
Examine the tracks near the river.
After examining both trails, you’ll be prompted to head further up the hill towards a small Muspel camp. You’ll need to take out the several enemies residing in the camp before you can examine the scene again. There are 4 bits of evidence to examine, one can be found near the entrance, the second further into the camp. The next is to the right and then the final evidence to examine is nearby the lava pond.
First take out all the enemies in the camp, then you can examine the scene.
Once you’ve witnessed another brief cut scene, you’ll continue your pursuit of Calder and Eysa west. You can follow the road from the camp up towards Midalstifla. Along the way you can find extra bits of evidence (use Odin’s Sight to highlight them) to know you’re on the right track. When you arrive atop the hill near the dam, you’ll discover Eysa injured on the ground. Calder will appear soon after you check on Eysa, and it’s time for a boss fight!
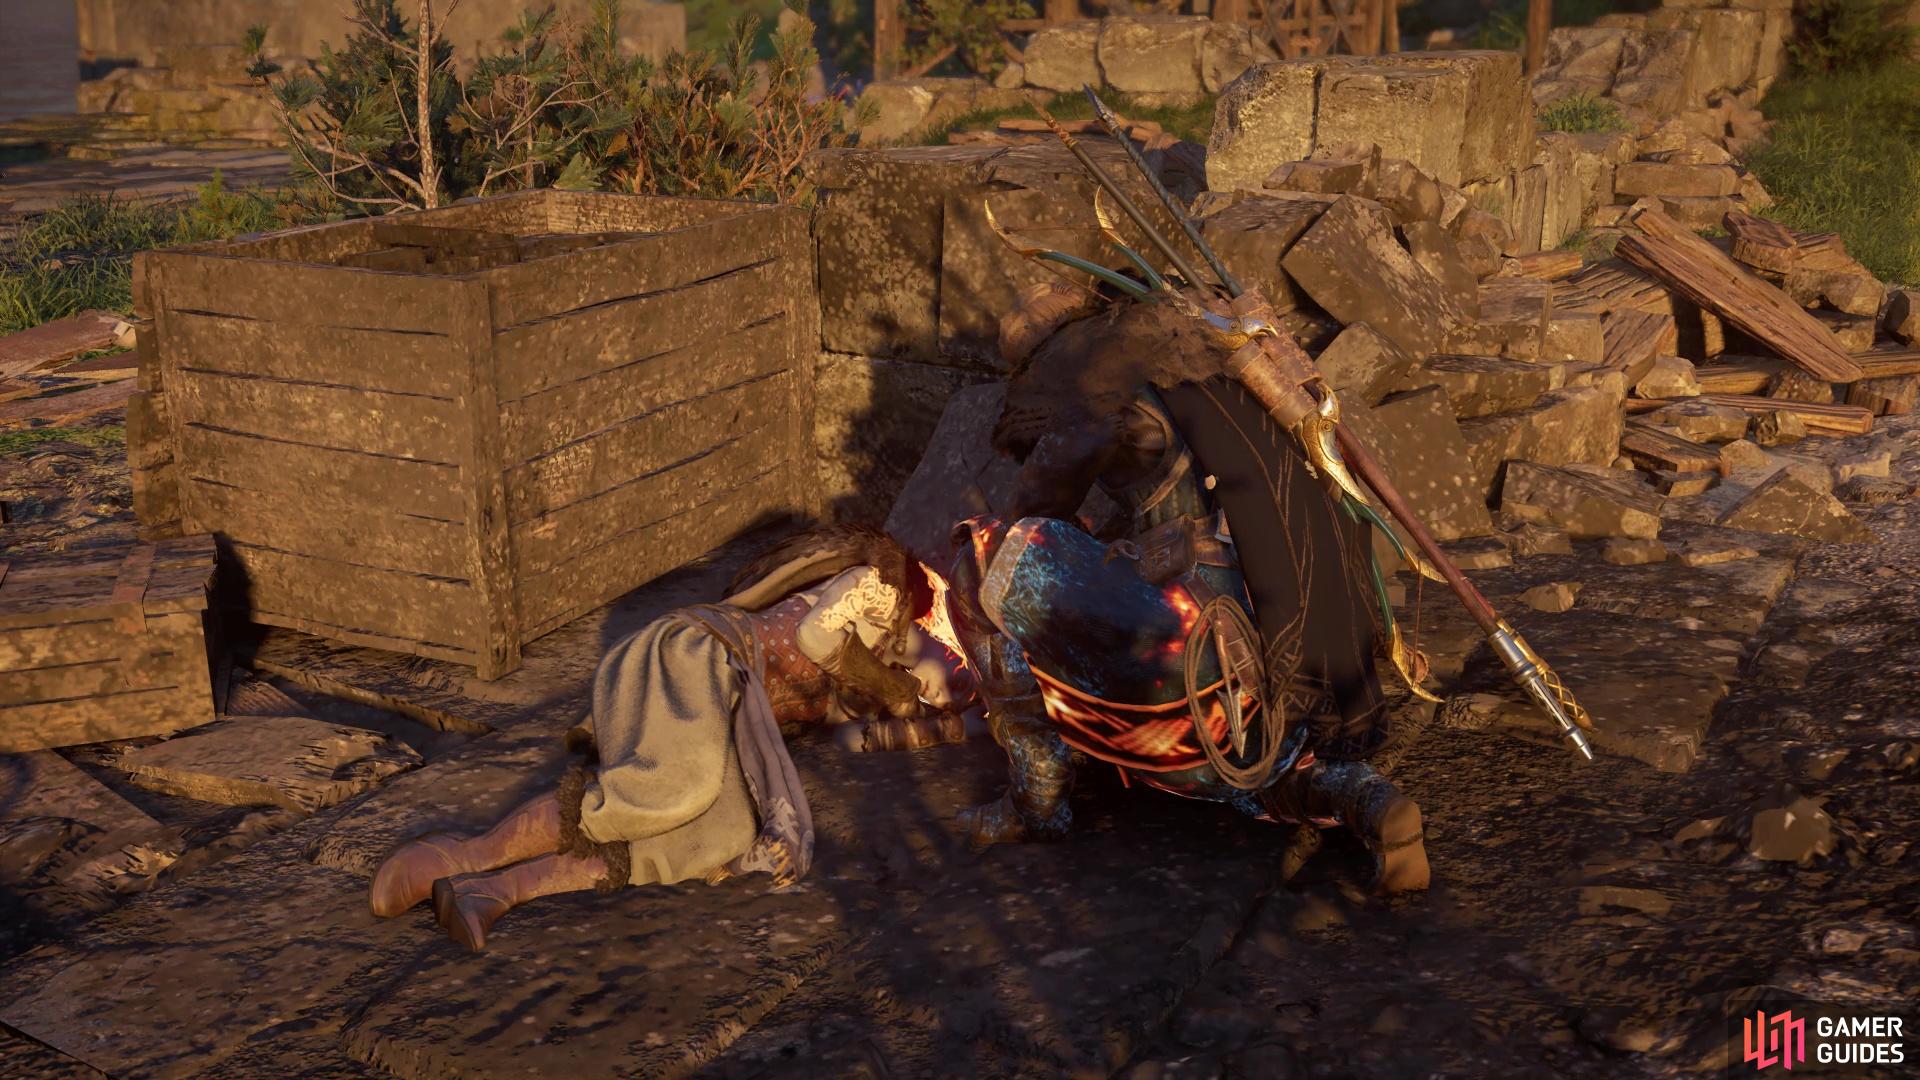
Check on Eysa, who’s injured on the floor away from the cart.
How to Defeat Calder
Calder is a pretty powerful Muspel enemy meaning he’ll have a few fiery special attacks up his sleeve in addition to his halberd weapon. He has three weak spots: both shoulders and his left knee. They’re actually pretty easy to hit as well since he doesn’t use a shield that might block damage to his weak spots. The skill Brush with Death is an especially useful tool in this fight - if you successfully dodge an attack, it’ll trigger a slowed period of time in which you can get in some uncontested damage. During these slowed periods of time, you can disengage and attempt to hit his weak points. If you manage to hit all three weak points and deplete his stamina bar, you’ll be able to perform a powerful stun attack that does lots of damage!
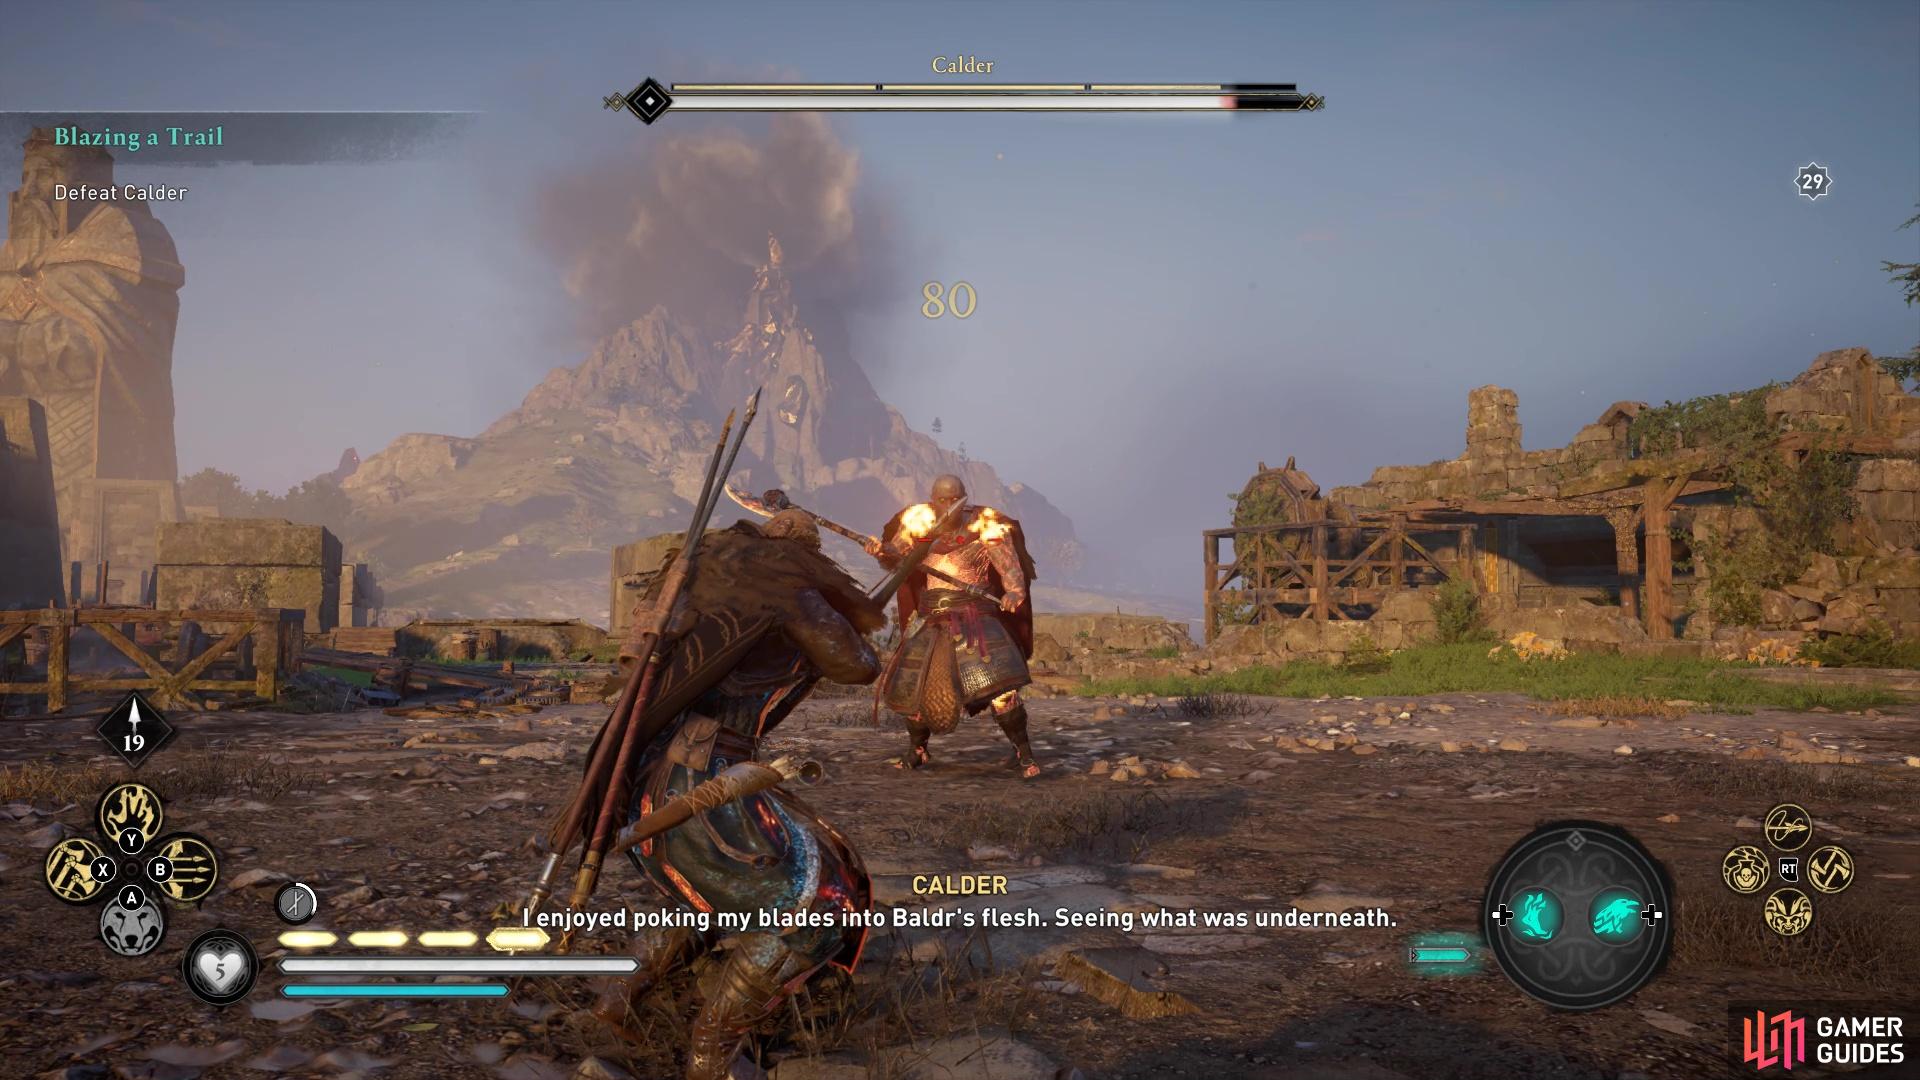
Calder has three weak points: his shoulders and his left knee.
Below you’ll find a break-down of Calder’s special attack moves and abilities that you’ll want to dodge!
Spinning Halberd Attack
During this attack, Calder will charge towards you then spin his halberd around. If you get caught in the halberd’s path you’ll get knocked down as it’s a pretty damaging and heavy attack. He’ll sometimes use this attack as a follow up after one of his fiery special attacks or if you’ve tried to disengage. It’s quite a slow attack so it’s easy to dodge!
Lava Pool
During this attack, Calder will slam down his halberd into the ground and create a large pool of lava around him. This pool is temporary but takes up around 75% of the arena and will cause burn damage if you’re stood in it. There are two solutions to dealing with the lava: activate the Power of Muspelheim or keep to the outskirts of the arena. If you’ve upgraded your Power of Muspelheim to have an increased duration you’ll be able to fight for a long time in the lava.
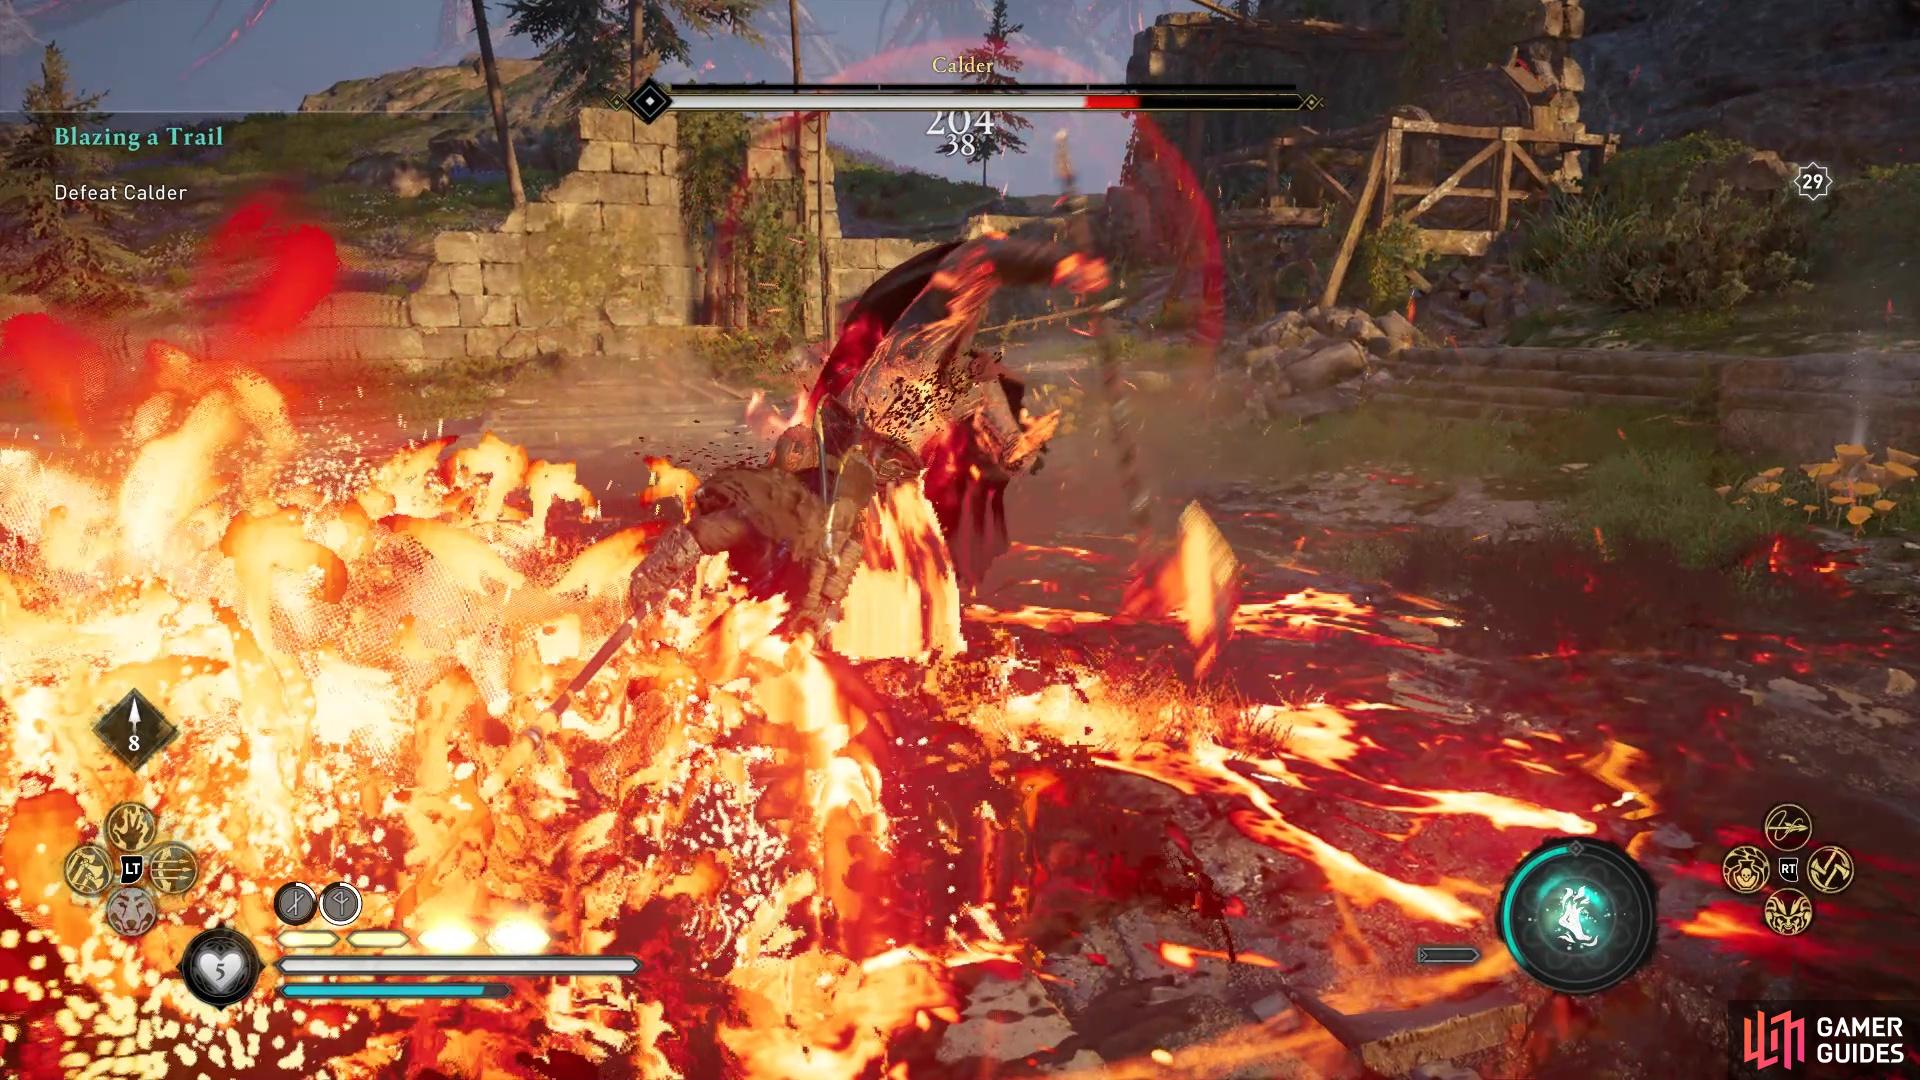
Calder will create a huge lava pool and you’ll want to either use Power of Muspelheim or avoid the lava.
Fiery Slam Down
Calder will slam his fists into the ground and create a small explosion of lava around him. If you’re caught in this, you’ll be knocked back, incapacitated and set on fire. It does a whole heap of damage too so it’s definitely an attack to avoid!
Calder doesn’t have a second phase or anything so knowing his three main big attacks, as outlined above, will make this fight pretty easy. If you’re having issues with the burning attacks, consider equiping some runes that help with fire resistance!
After defeating Calder, he won’t actually be dead but Eysa will use the Salakar to absorb his soul! Once you’ve witnessed the cut scene you’ll begin the quest, Malvigr.

Eysa will use the Salakar to absorb Calder’s soul.
No Comments