

This page details everything you need to know about how to level the Ravensthorpe Settlement in Assassin’s Creed Valhalla. We cover all of the six levels for the settlement, where to find supplies and draw materials to construct and upgrade buildings, and recommended buildings to construct first.
Ravensthorpe Settlement Levels
There are a total of 6 levels to your settlement, each of which represent a new stage of growth and an increase in the renown of the Raven clan. The levels are as follows:
- Encampment
- Colony
- Hamlet
- Borough
- Village
- Town
You can track the progress to your next settlement level by hovering over Ravensthorpe on the world map, or scouting with your raven while you’re in the settlement. This will also show your current settlement level. Your settlement level will increase each time you construct new buildings such as a Blacksmith, Trading Post, or Fishing Hut. To construct these and more, you’ll need to acquire both Supplies and Raw Materials.
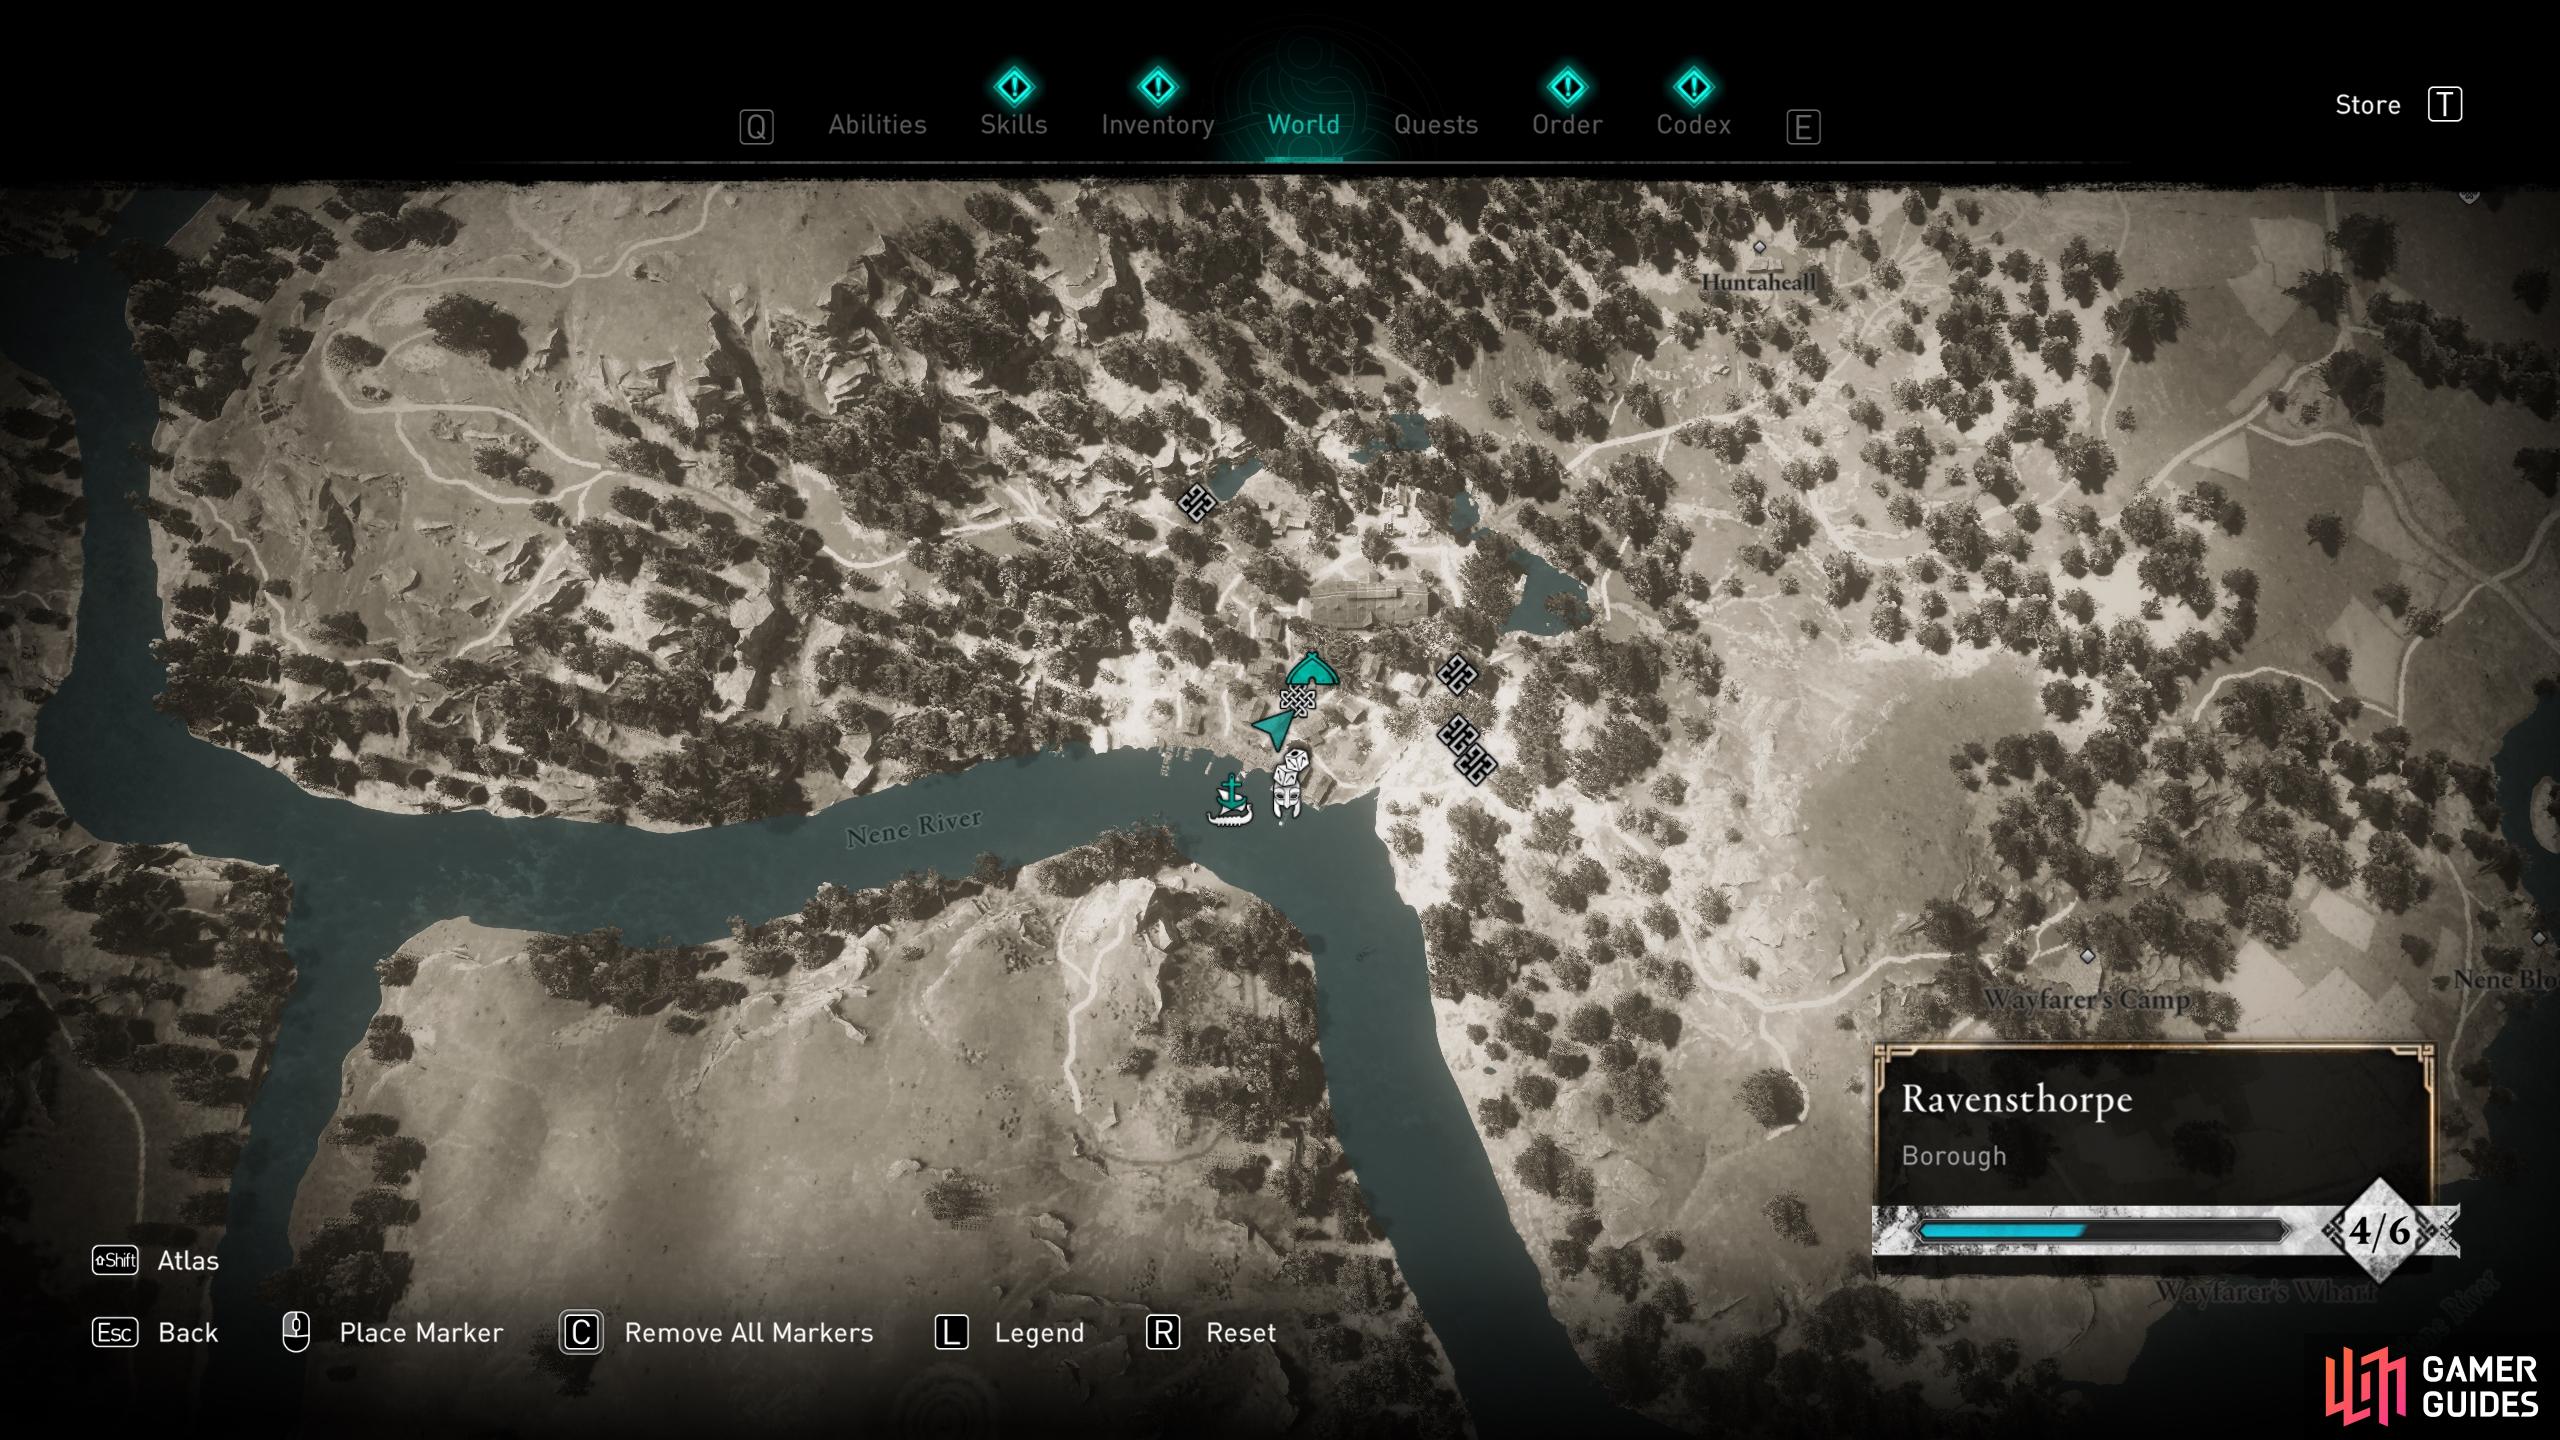
You can check the level of your settlement by hovering over it on the world map.
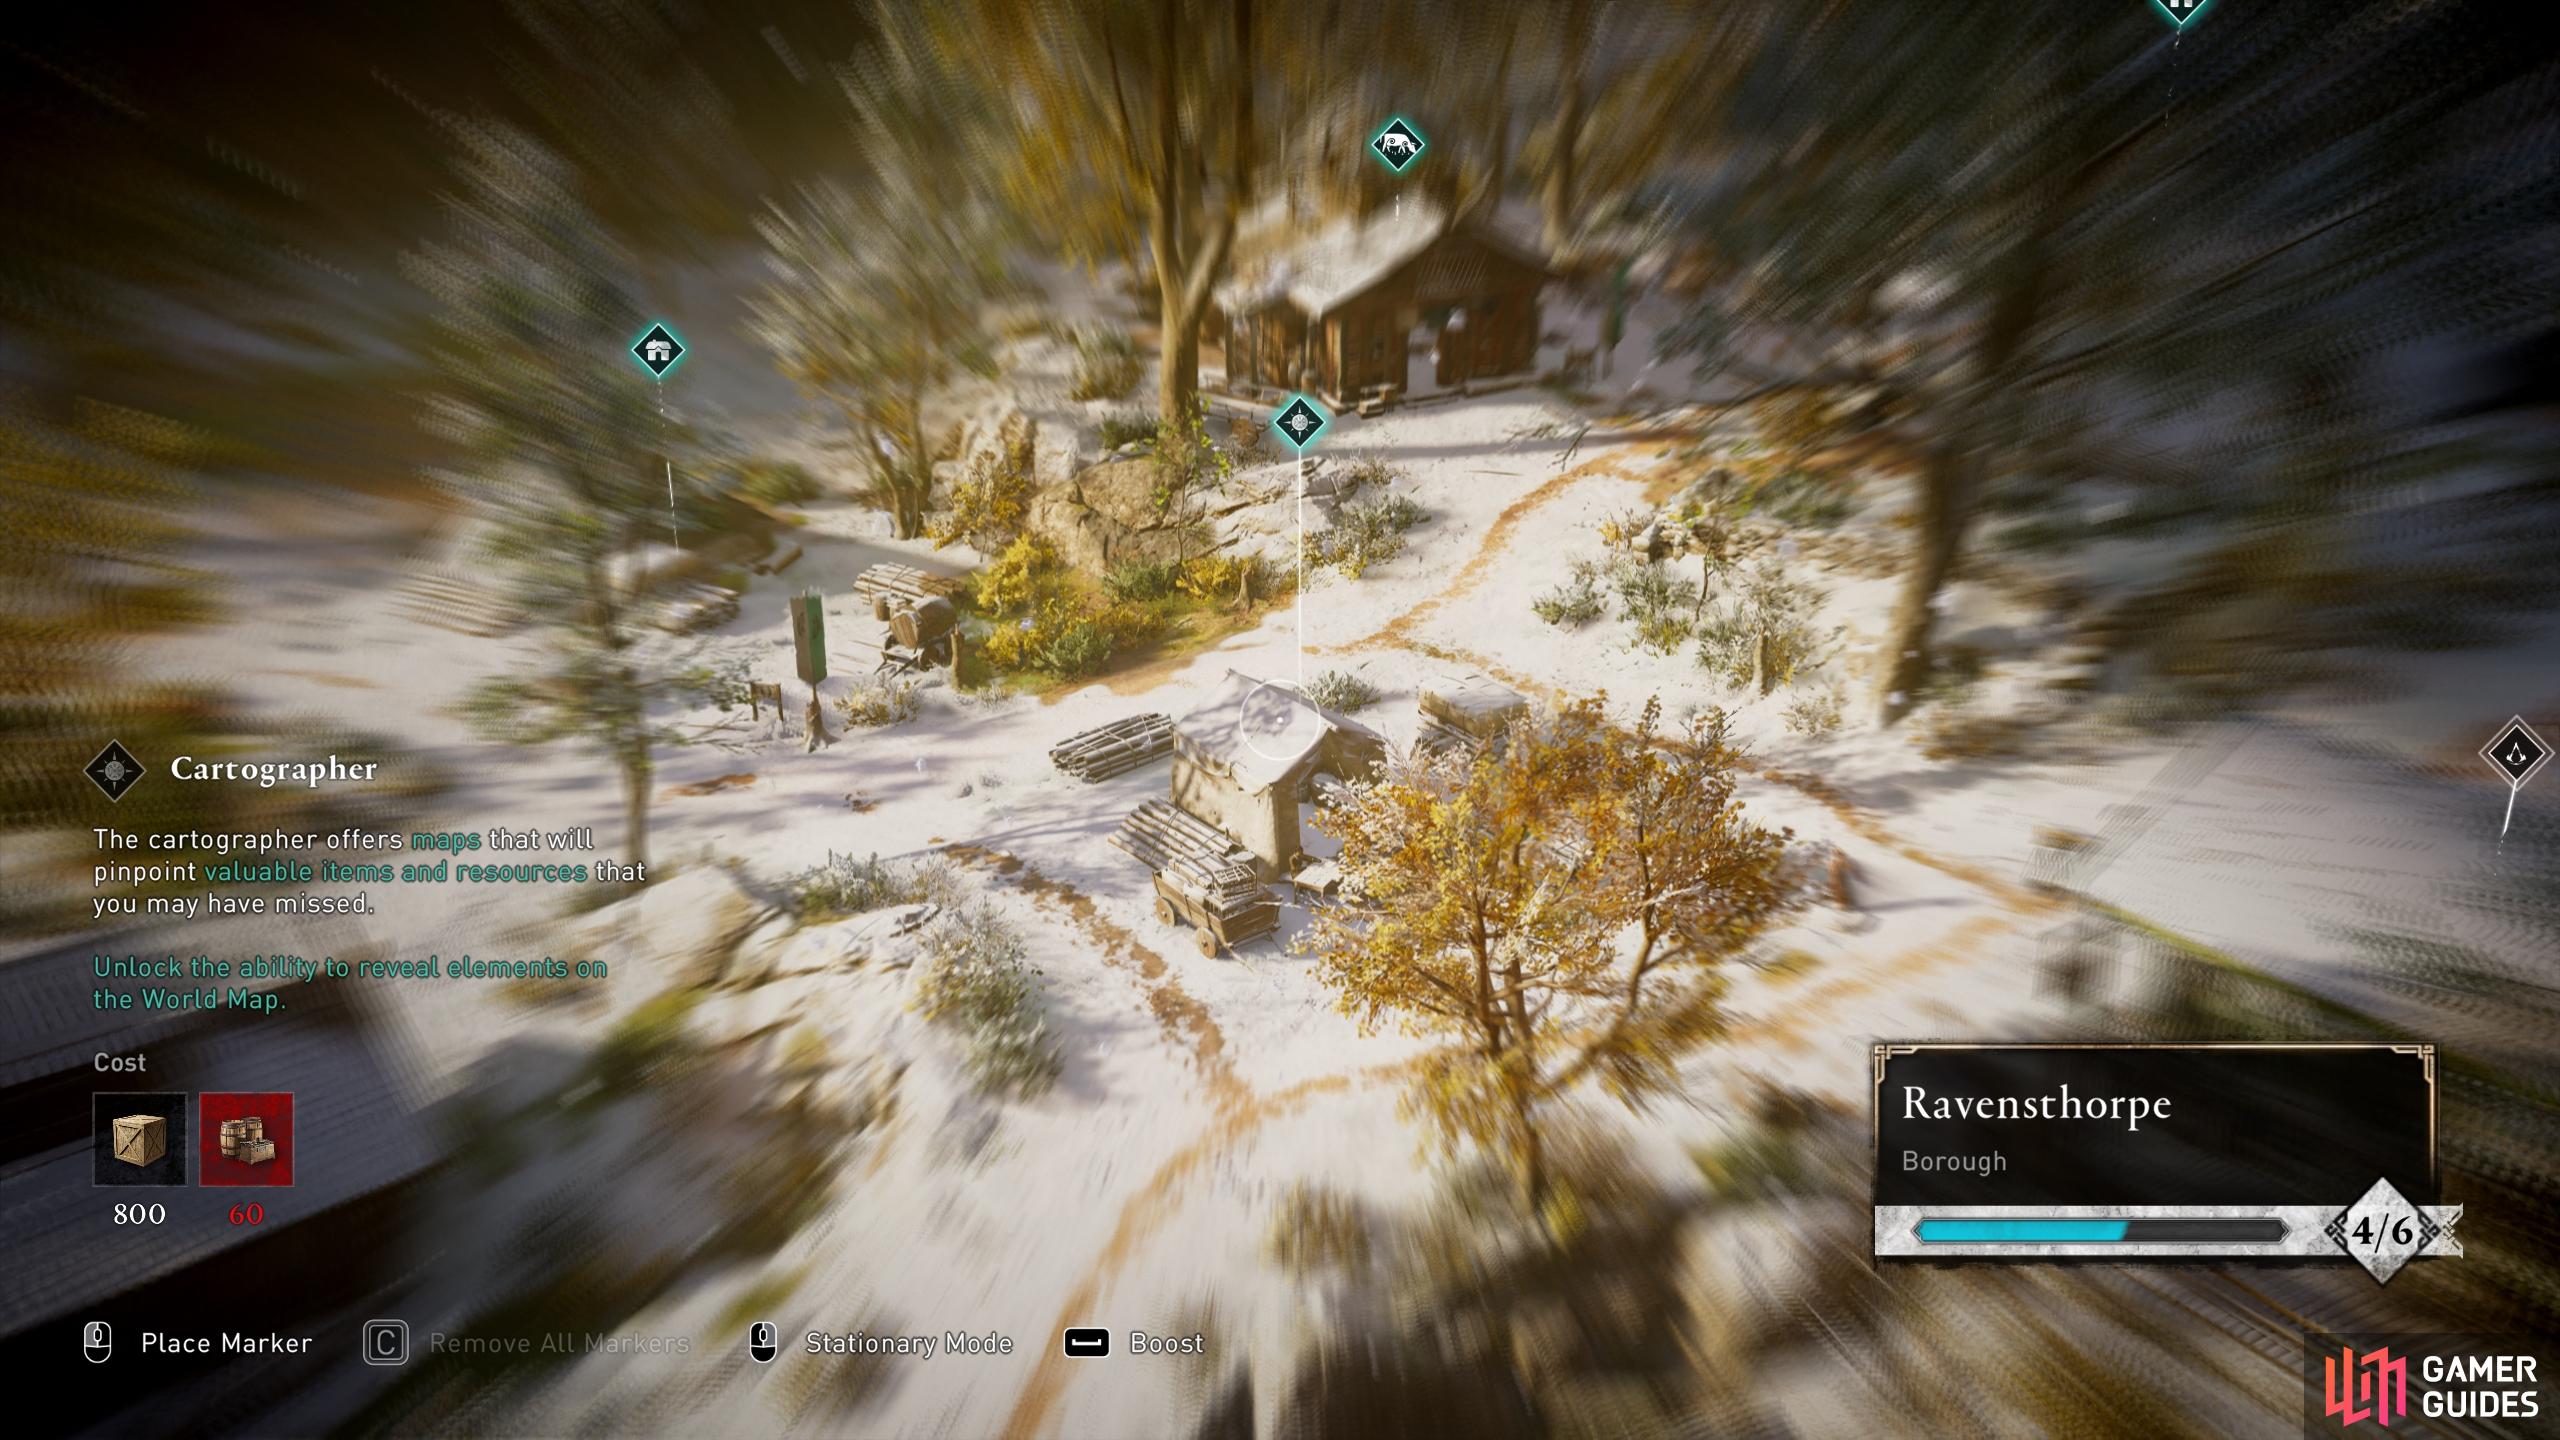
Use your raven in your settlement for an overview of the buildings available to construct.
Where to Find Supplies & Raw Materials in AC Valhalla
The main source for Supplies and Raw Materials is from raiding monasteries and abbeys, both of which contain large chests which require at least one other longship crew member to open alongside Eivor. Almost all of these chests will provide you with at least 20 Raw Materials each. Supplies are more varied in their source, with one of the best places to find them being civilian settlements such as villages and towns, but also monasteries and abbeys, and sometimes even small farmsteads.
Although you can purchase maps from the Cartographer in your settlement which reveal the locations of minor treasure in specific regions, this shouldn’t be necessary if you make a habit of using Odin’s Sight as you explore any new settlement. The maps can be useful if you want to be sure that you’re not missing anything or to speed up the process, but you should see a steady flow of Supplies and Raw Materials as you play through the game without necessarily focusing on it.
The other main source for Supplies and Raw Materials comes from pledging to specific territories and completing their associated story arcs. You can view which territories provide raw materials upon completion by hovering over them from the alliance map, which can be accessed by speaking with Randvi in the longhouse.
Ravensthorpe Settlement Buildings
Below is a list of buildings associated with each settlement rank. You will start off being able to construct only a handful of buildings, but as your settlement grows the types of buildings you can construct will expand. In some cases, you can upgrade an existing building to enhance its properties. This mostly comes in the form of improving the Feast Buff by upgrading things like the Cattle Farm, Grain Farm, or Fowl Farm. Each of the buildings have a use, but some will be more useful to you than others in the early game. For a list of buildings that we recommend you build first, see Ravensthorpe: What to Build First in our Tips & Tricks section.
Level 1 - Encampment
Longhouse
The longhouse is the centre of operations for the Raven clan. Inside you can speak with Randvi to learn about new territories and pledge to them, opening up new quest arcs such as The Kingmaker’s Saga or The Song of Soma. You can also use it to track the progress of your settlement from Eivor’s living quarters, which provides a brief overview of what you’re capable of constructing at your specific rank. You can also read letters from your living quarters, which you will receive throughout the game as you encounter new people. Finally, you can use your living quarters for… you guessed it: sleep! This will function in the same way that Meditation from your quick actions wheel does, essentially providing a way to cycle between day and night.
Blacksmith
Gunnar’s Blacksmith is the first building that you construct in Ravensthorpe, during the quest Settling Down. You can visit Gunnar at any time to enhance the quality of your gear from Fine, to Superior, Flawless, and eventually Mythical. To do this you will need the following ingots:
- Carbon Ingot - Upgrades gear to Superior quality
- Nickel Ingot - Upgrades gear to Flawless quality
- Tungsten Ingot - Upgrades gear to Mythical quality
Each time that you upgrade your gear, it will be given a new appearance. This won’t change the basic appearance too much, but rather enhance it with higher quality fabrics and metals, additions of richer colors, and subtle patterns. In addition, upgrading your gear will open a new rune slot up to a maximum of 3, and will allow you to further upgrade the item from your inventory using leather, iron ore, fabric, and titanium. These upgrades improve the base stats of the gear in terms of attack damage, speed, crit, stun, and defences such as evasion and resistances. All of this will result in Eivor becoming much more powerful, making Gunnar’s Blacksmith an indispensable asset.
Hidden Ones Bureau
The Hidden Ones Bureau provides access to a new tab in your list of menus, named ‘Order’. This tab allows you to track your progress in identifying and eliminating members of the Order of Ancients. As you explore the world and go through the main story, you will encounter clues indicating whereabouts of specific members. Once you have identified them, you can track them from the menu and they will appear as a unique marker on your map. You can also learn more about them in terms of where they sit in the hierarchy of the order, their Suggested Power level, clues associated with them, and even a little bit about their backstory.
Aside from the Order menu, you can also use the Hidden Ones Bureau to supply Hytham with Order medallions and Codex pages. Order medallions can be found on each Order of Ancients member that you defeat, and you can hand them in (9 at a time) in exchange for unique abilities. Codex pages can be found at other Bureaus associated with the Hidden Ones throughout the world. There are 6 in total, and each one will yield a new piece of the Hidden Ones armor set. Finally, when you build the Hidden Ones Bureau Hytham will take you on a brief quest, during which you are taught how to use the classic Leap of Faith skill, familiar to all veterans of the Assassin’s Creed franchise.
Trading Post
The trading Post essentially provides Ravensthorpe with a permanent shop. Here you can buy and sell items as you would at any other shop, only this one is a little more special in that you will have access to almost all items across all other shops throughout the world. The shop will replenish its stocks every few days, allowing you to purchase useful items such as ingots, leather, iron ore, titanium, and fabric. You can also purchase arrows (Hunter, Predator, and Light), unique armor and weapons, runes, settlement cosmetics, longship cosmetics, tattoo cosmetics, hair cosmetics, and more.
Barracks
The Barracks allow you to create and customize your own Jomsviking warrior who will become a member of your longship crew. You can choose a unique bodily appearance for them from a vast selection of presets, and equip them with your own unique gear from your inventory. You can also manage your longship crew at the barracks. This involves assigning unique characters to your crew, whether from the base pool of warriors that you brought with you from Fornburg, or any new characters that you recruit from the world while doing story quests. You can even hire a Jomsviking that a friend has created for 100 silver, and they can return the favor by hiring yours. Your unique Jomsviking will also be placed randomly in the game world of other players, recruitable by anyone who encounters them. Creating your custom Jomsviking unlocks the It's Alive! trophy.
Alongside the Jomsviking and longship crew features of the barracks, it will also come with Mundi, an Orlog player who will always be eager to play. You’ll find him just outside the barracks, though sadly there is no betting here, so you’ll be playing for the joy of the game alone.
Stable & Aviary
The Stable & Aviary is exactly what you might expect: a place for you to purchase and manage new mounts and raven skins. These will only serve appearance purposes, but you can also train your mount from the stable by speaking with Rowan. This will cost you some silver, but you will be able to upgrade the health of your mount and their stamina efficiency. You can also train your mount to swim here, and increase the speed at which it swims with a further upgrade. Once purchased, the upgrades will be permanent and will apply to any new mount that you acquire.
Reda, Thousand Eyes Merchant Guild
This one is more of a small tented area rather than a defined structure, but Reda will remain in your settlement permanently once he arrives. Reda is a prodigy child who established the Thousand Eyes merchant guild, which consists entirely of orphaned children. You will find these children throughout the game world, with whom you can trade Opals in exchange for unique cosmetic schemes, mounts, tattoo designs, and powerful items in the form of weapons and armor. Unlike the other buildings on this list, Reda will only appear once you have completed your first story arc within England, which will be either The Kingmaker’s Saga or The Song of Soma. This means that you won’t have to purchase a place for him to stay. He will move in on his own and introduce himself when you walk by. You’ll find him just to the east of Gunnar’s Blacksmith.
Level 2 - Colony
Fishing Hut
The Fishing Hut is required if you want to access the fishing line from your quick actions wheel. This will allow you to fish in a more graceful and peaceful manner, rather than slashing your blades around in the water or shooting fish with overpowered arrows. The mini game of fishing in Assassin’s Creed: Valhalla is rather basic, but it certainly does the trick in terms of allowing you to escape the flow of the story for a little while as you appreciate the world around you, which is often bustling with life. Using the fishing line will also allow you to fish the greatest variety of small, regular, and big fish in various waters. But the Fishing Hut isn’t all about just catching fish for the sake of it or to sell them for silver, you can also hand in specific types of fish in exchange for rewards such as runes, ingots, and schematics.
Catching a fish of each type with the fishing line unlocks the Good Catch! trophy.
Hunter’s Hut
The Hunter’s Hut introduces you more fully to the story of Petra and her adoptive brother, Wallace. These two are interesting characters who will be involved with a few settlement quests, eventually resulting in a romance with Petra. In addition, much like with the Fishing Hut, you will be able to bring animal parts to Wallace in exchange for rewards such as runes, ingots, schematics, and trophies. You can also visit Wallace whenever you defeat a legendary animal, which will prompt him to create a trophy of the beast to be mounted in the longhouse, while also providing you with a unique settlement cosmetic.
Shipyard
The Shipyard provides you with a place to cycle through the available ship designs that you’ve acquired during your travels. This includes the Hull, Sail, Shields, Figurehead, and Tail. There really isn’t much more to it, other than to say that you can combine cosmetic schemes between all of these categories, allowing you to create something fairly unique to your tastes, so long as you have enough designs. You will find longship cosmetics from different traders throughout the world.
Tattoo Shop
The Tattoo Shop is where Svend and Tove work on new tattoo designs for Eivor. You can apply tattoos to Eivor’s Head, Chest, Left Arm, Right Arm, and Back. Svend and Tove also offer their services in hair styling, allowing you to change the appearance and colour of your hair, both on your head and your beard. While there are plenty of basic hair and beard styles to choose from, you will need to purchase more from a Trading Post if you want access to additional colors and styles. You will find tattoo designs in the form of artifacts, which you can find in each region.
Brewery
The Brewery allows the famed Tekla to open up shop in Ravensthorpe. This is the first structure, alongside the Bakery, that you can build which will improve the Feast Buff, providing Eivor with +25 Health.
Bakery
The Bakery, much like the Brewery, essentially serves as a structure which primarily improves the Feast Buff. Building it will provide Eivor with an additional +25 Health whenever the Feast Buff is active.
Museum
The Museum provides a place for Octavian, a budding Roman enthusiast, with a place to curate all the interesting Roman-themed finds that you come across throughout the world. These will come in the form of Roman Artifacts, which you can give to Octavian (in stacks of 10) in exchange for a unique settlement cosmetic with a Roman theme. You will also have the opportunity to pursue quests for Octavian occasionally.
Level 3 - Hamlet
Reaching settlement level 3 unlocks the Builder trophy.
Valka’s Hut
Valka’s Hut, also known as the Seer’s Hut, provides a place where Eivor can explore his visions with the help of Valka. This is essentially your portal into the realms of Asgard and Jotunheim, where Eivor assumes the position of Odin as you explore a quest line solely associated with the realms of the gods and the giants.
Cartographer
The Cartographer can be extremely useful if you want to prioritize locating elements on the world map such as minor treasure locations, artifacts, and mysteries. To view them you’ll need to purchase specific maps for each region from the cartographer, Olsen, so it’s not entirely free. However, if ever you find that you have more silver than you know what to do with, then you know who to come to. Or you can always use our Mysteries, Wealth, and Artifacts pages for detailed descriptions of each.
Cattle Farm
The Cattle Farm is a modest structure which operates in much the same way as the Bakery and the Brewery, in that it improves the Feast Buff. In this case, you will receive +3.0 Ranged Damage.
Grain Farm
The Grain Farm is almost identical to the Cattle Farm in that its sole purpose is to provide you with a Feast Buff. This one will provide you with +3.0 Armor.
Fowl Farm
The Fowl Farm is another structure which improves the Feast Buff, this time in the form of +3.0 Melee Damage. Unlike the Cattle and Grain farms which you’ll find fairly close to each other in the west of the settlement, the Fowl Farm is far to the east of them, on the other side of Ravensthorpe.
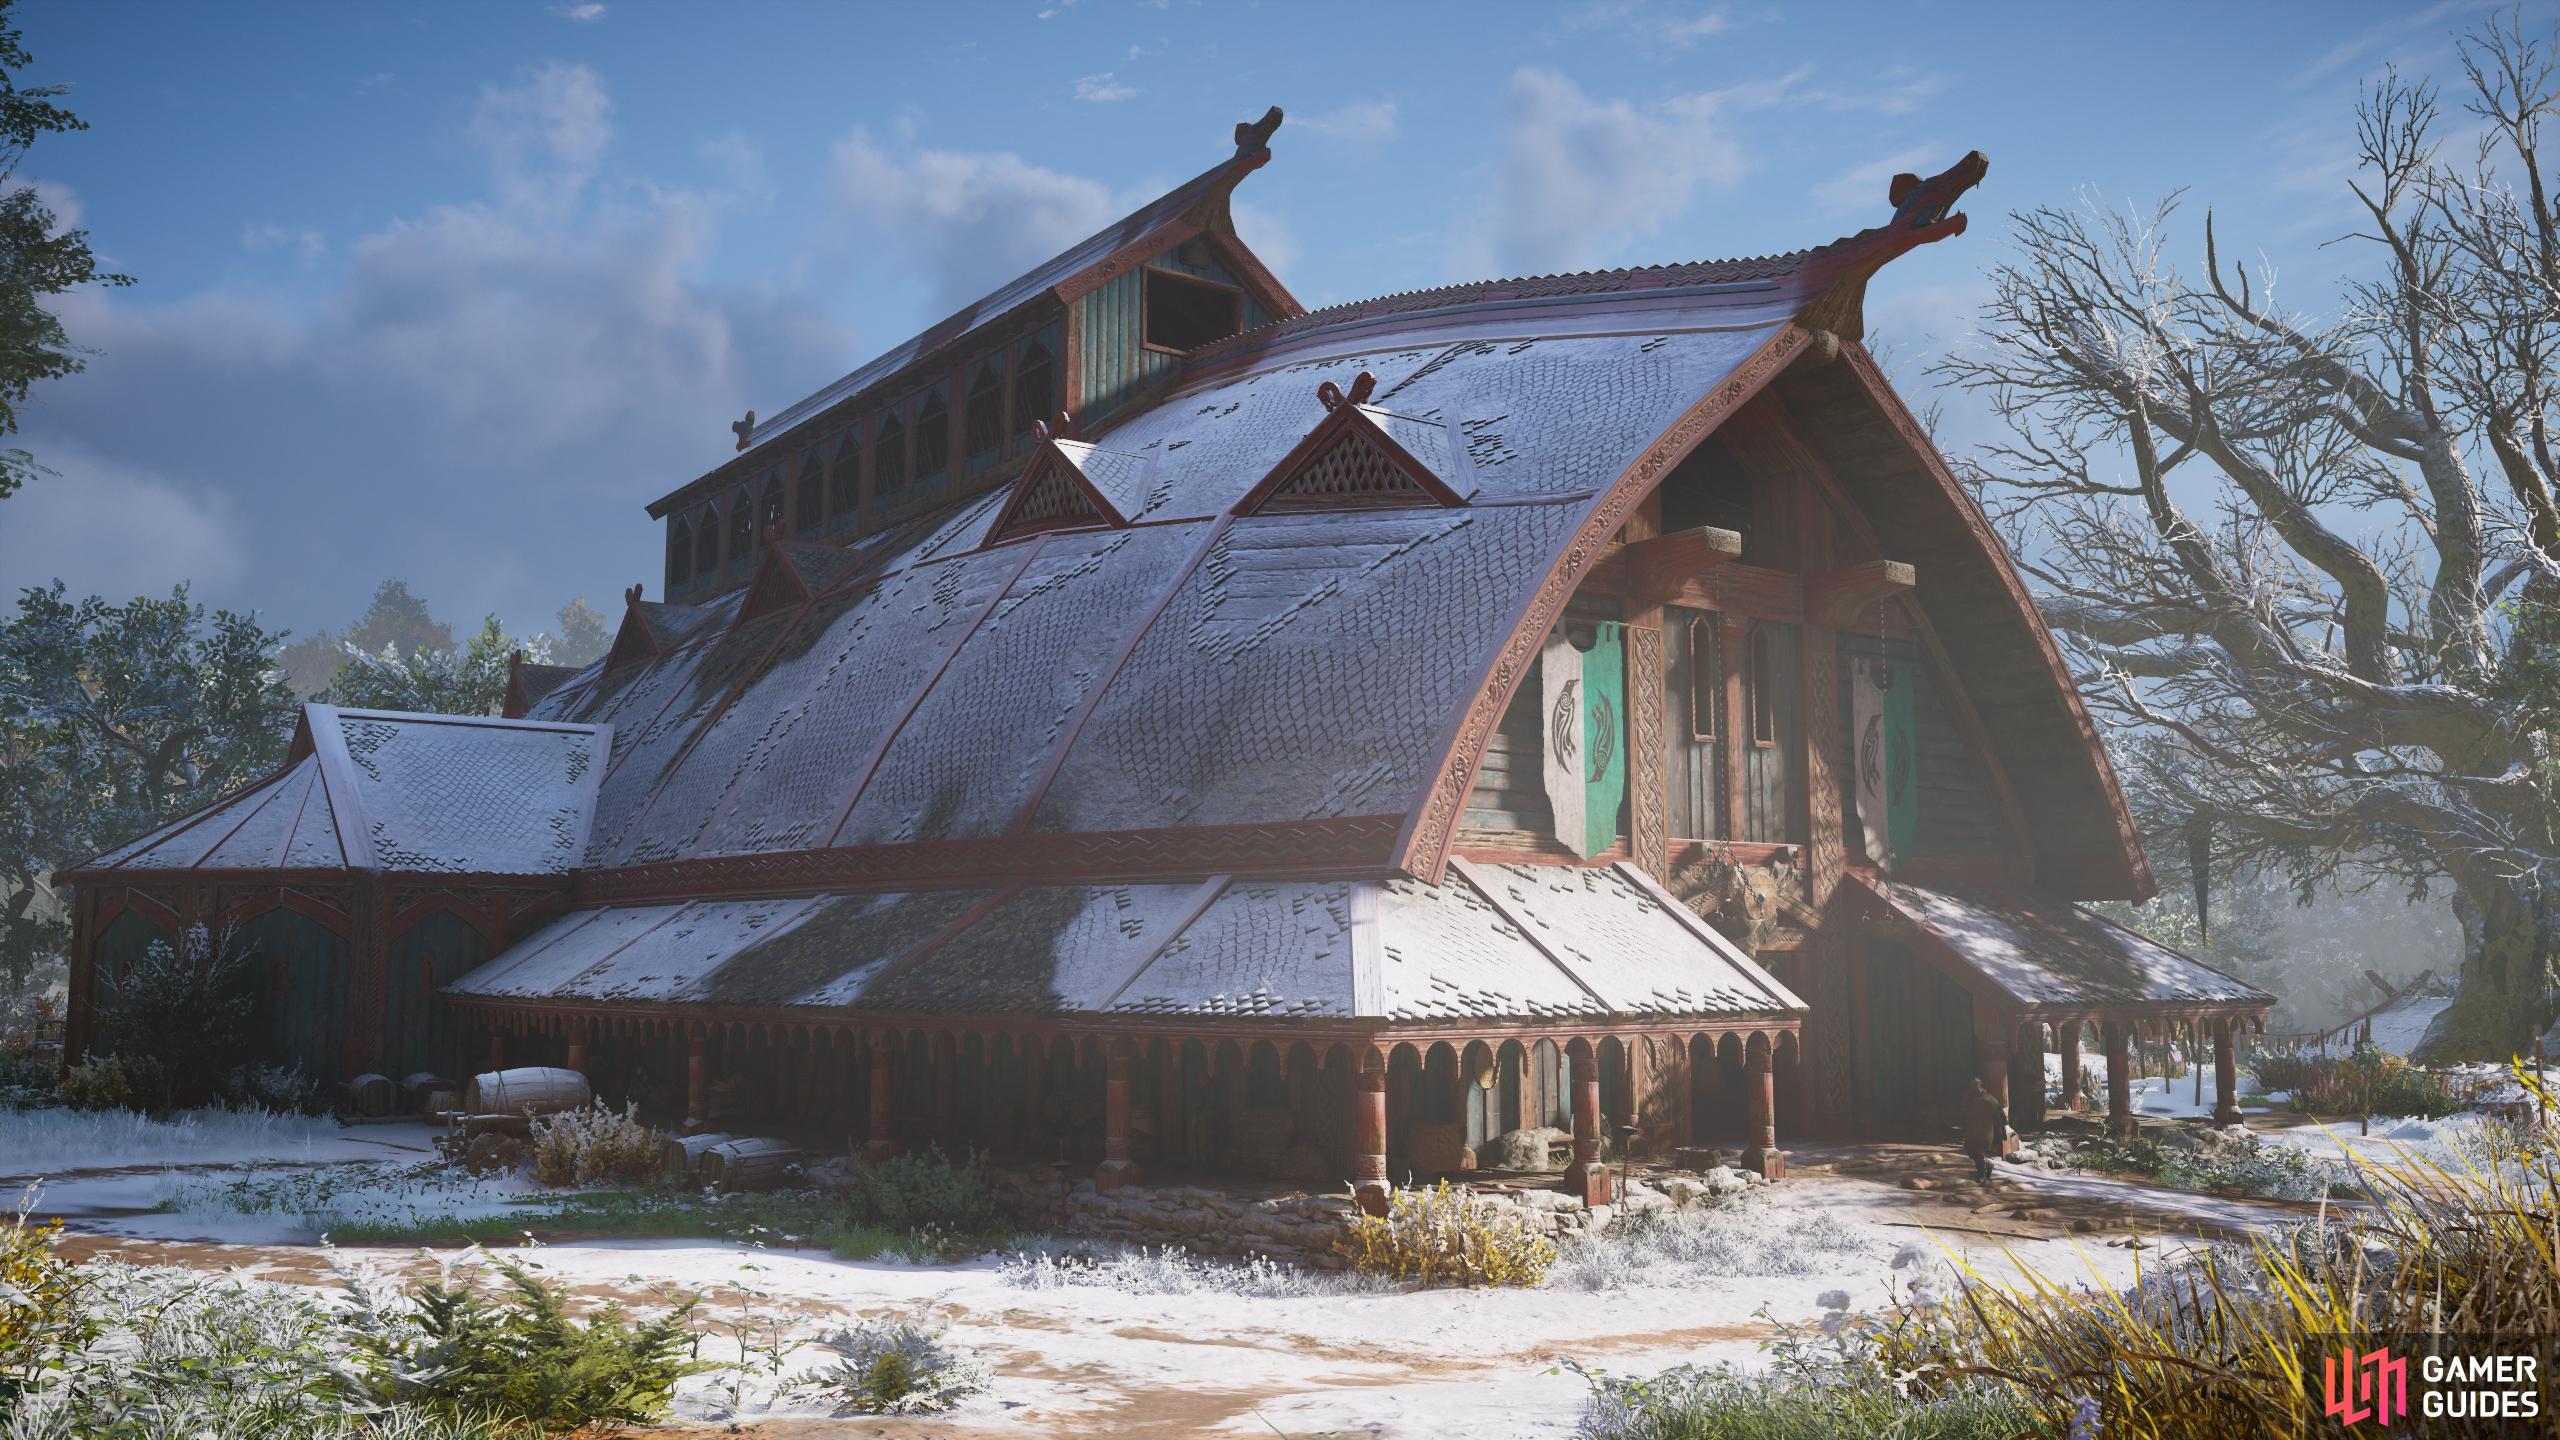
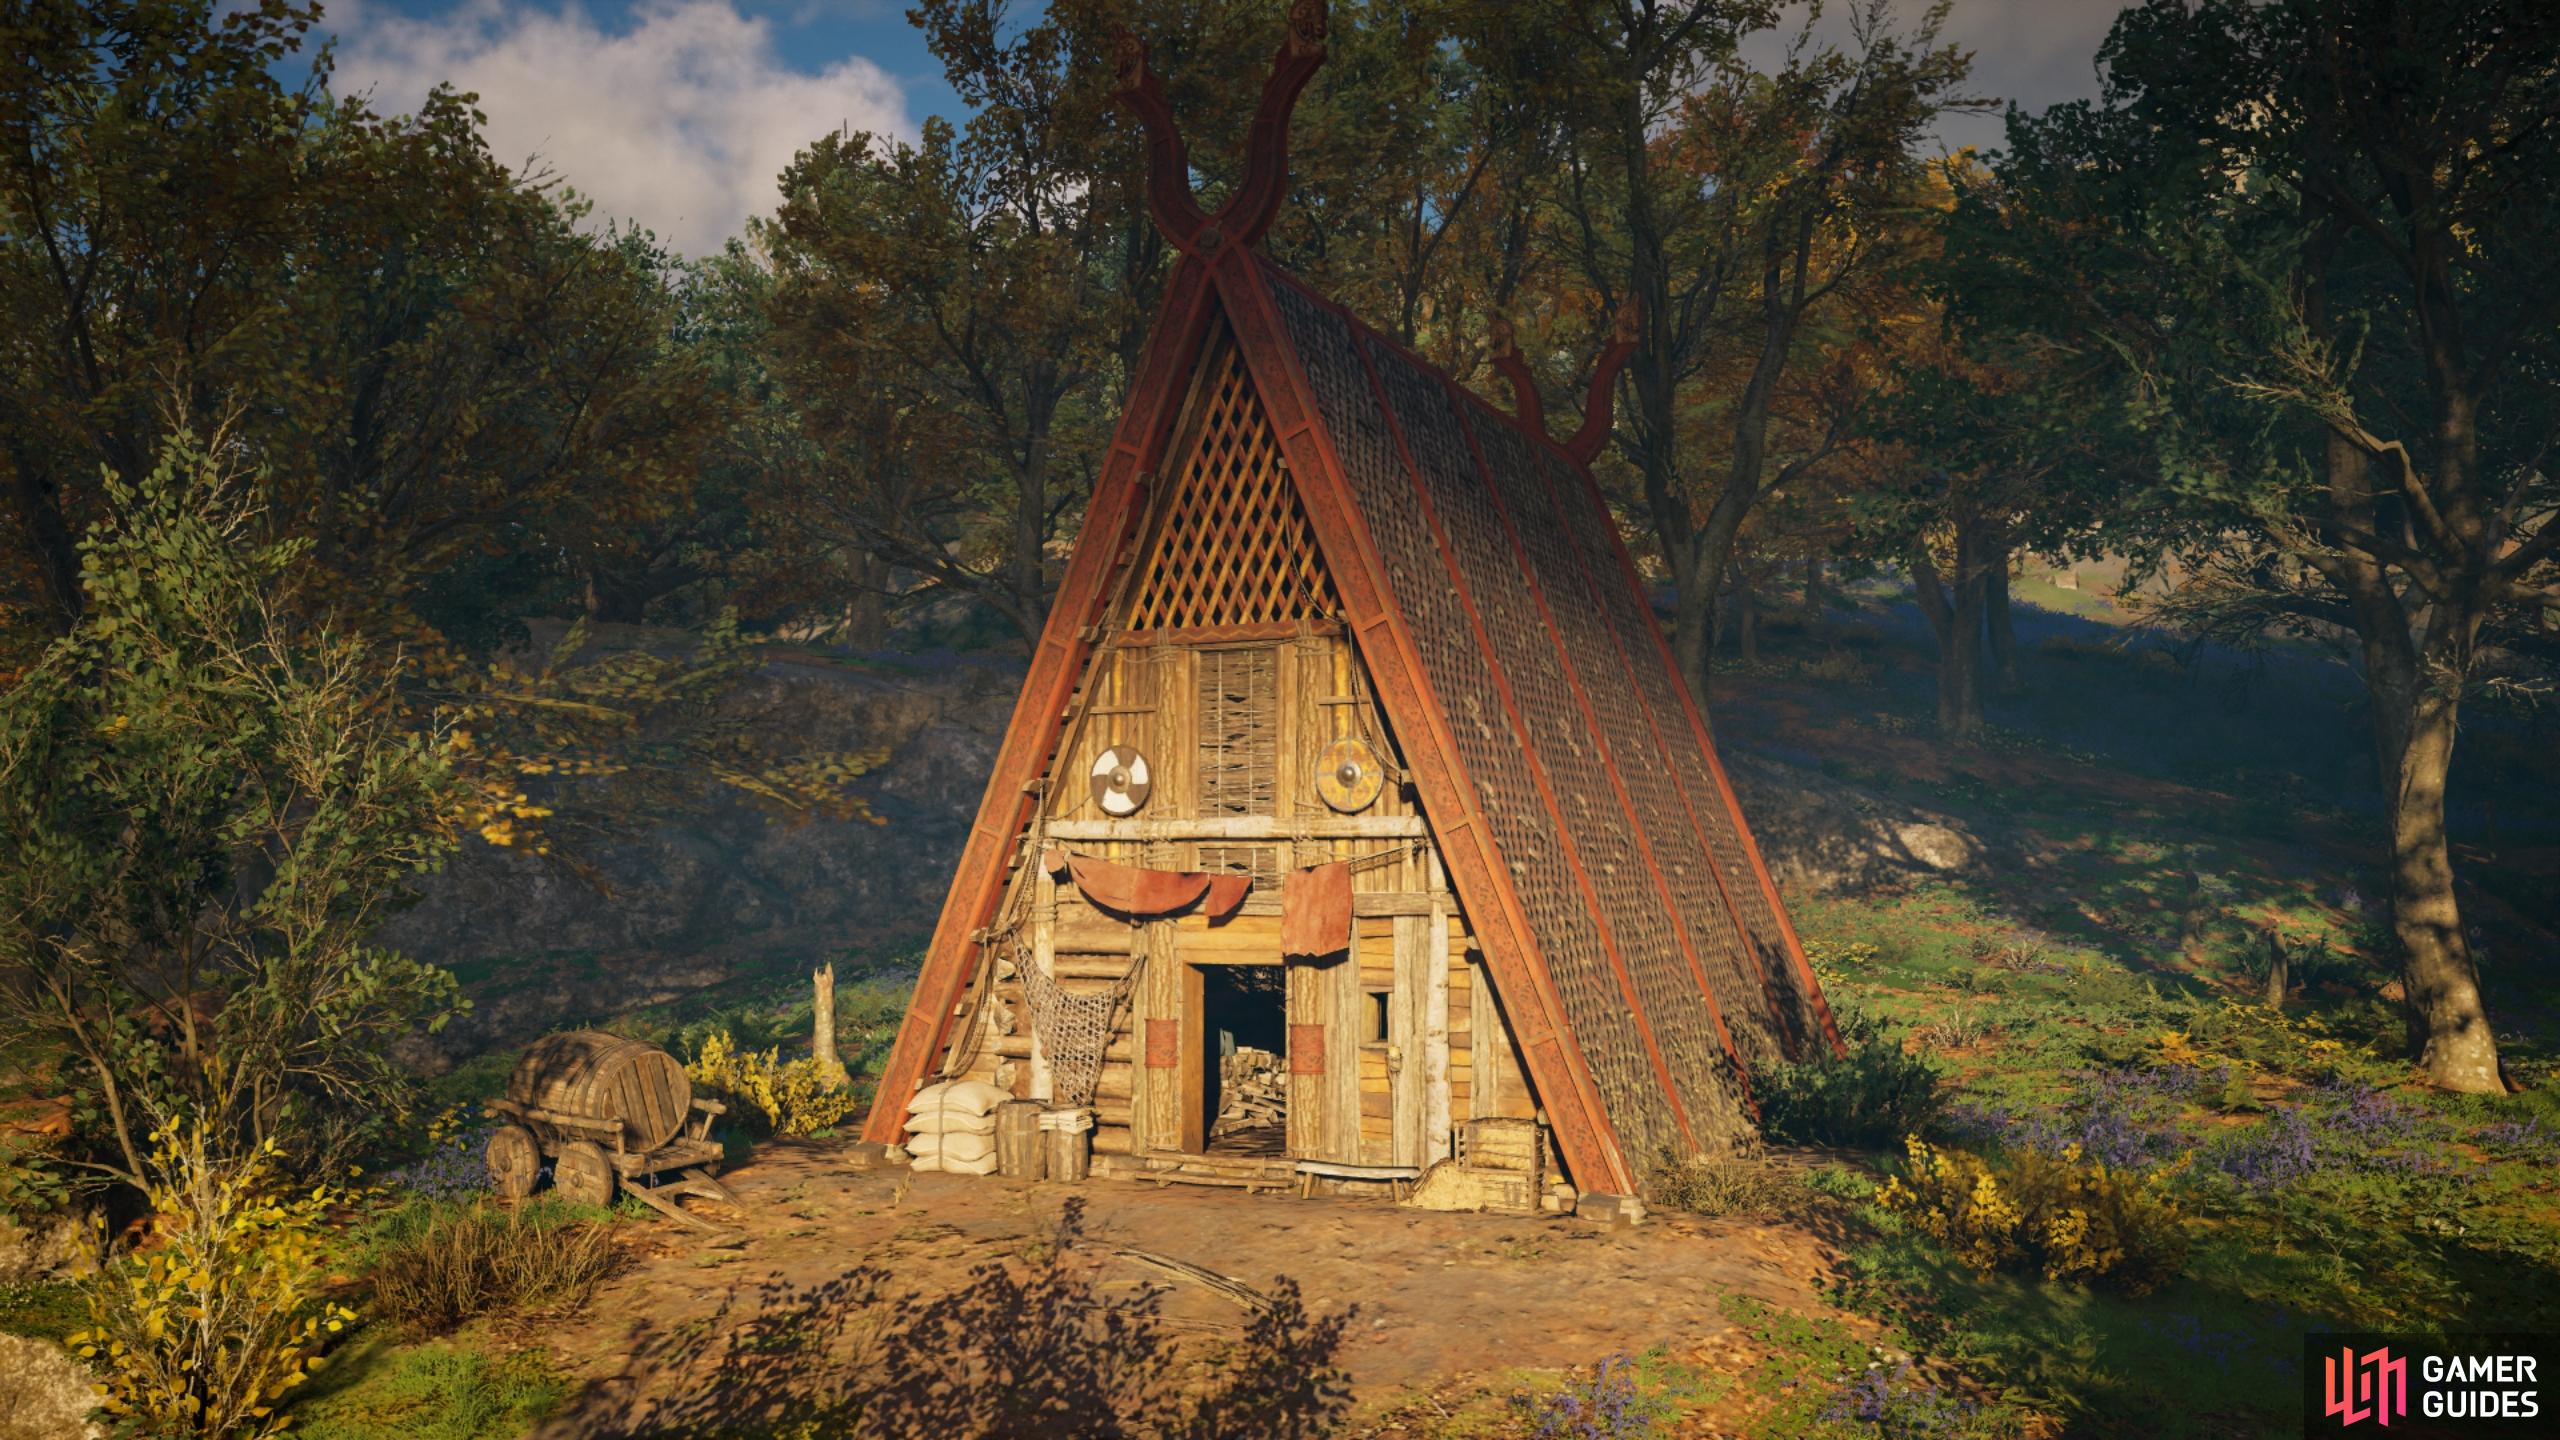
Alvis and Holger’s House
Alvis and Holger’s House functions in much the same way as the above farms do, in that it provides Eivor with a Feast Buff. This one provides Eivor with +3.8 Assassination Damage. This house also comes in the form of an impressive triangular structure.
Level 4 - Borough
Kari’s House
You guessed it: another structure which improves the Feast Buff. Kari’s House provides Eivor with the same boost as Alvis and Holger’s House, +3.8 Assassination Damage.
Mayda’s House
Another Feast Buff structure in the form of Mayda’s House. As with Alvis and Holger’s House and Kari’s House, you’ll receive +3.8 Assassination Damage, providing a total of +11.4 Assassination Damage if you build all three houses. A significant enhancement to be sure, but we would advise waiting to build these structures last, once you’ve built those which have a bit more to offer such as the Hidden Ones Bureau, Fishing Hut, and Hunter’s Hut.
Cattle Farm - Upgrade (1 of 3)
Purchasing the first upgrade for the Cattle Farm will further boost the Feast Buff by providing more Ranged Damage.
Grain Farm - Upgrade (1 of 3)
Purchasing the first upgrade for the Grain Farm will further boost the Feast Buff by providing more Armor.
Fowl Farm - Upgrade (1 of 3)
Purchasing the first upgrade for the Fowl Farm will further boost the Feast Buff by providing more Melee Damage.
Level 5 - Village
Cattle Farm - Upgrade (2 of 3)
Purchasing the second upgrade for the Cattle Farm will further boost the Feast Buff by providing more Ranged Damage.
Grain Farm - Upgrade (2 of 3)
Purchasing the second upgrade for the Grain Farm will further boost the Feast Buff by providing more Armor.
Fowl Farm - Upgrade (2 of 3)
Purchasing the second upgrade for the Fowl Farm will further boost the Feast Buff by providing more Melee Damage.
Miscellaneous
Hunwald and Swanburrow’s House
This building isn’t unlocked at any specific settlement level. Instead, it will become available for construction once you have completed the The Lay of Hunwald arc. In particular, you will need to complete the quest Reporting on Lincolnscire before you can construct the house.
Level 6 - Town
You won’t unlock any new buildings when you reach settlement level 6. However, you will unlock the Home Sweet Home trophy.
No Comments