

This quest begins immediately after Puppets and Prisoners. Now that you know where the real Tedmund can be found, it’s time to assault Rouecistre Fortress.
Sink the Naval Chain
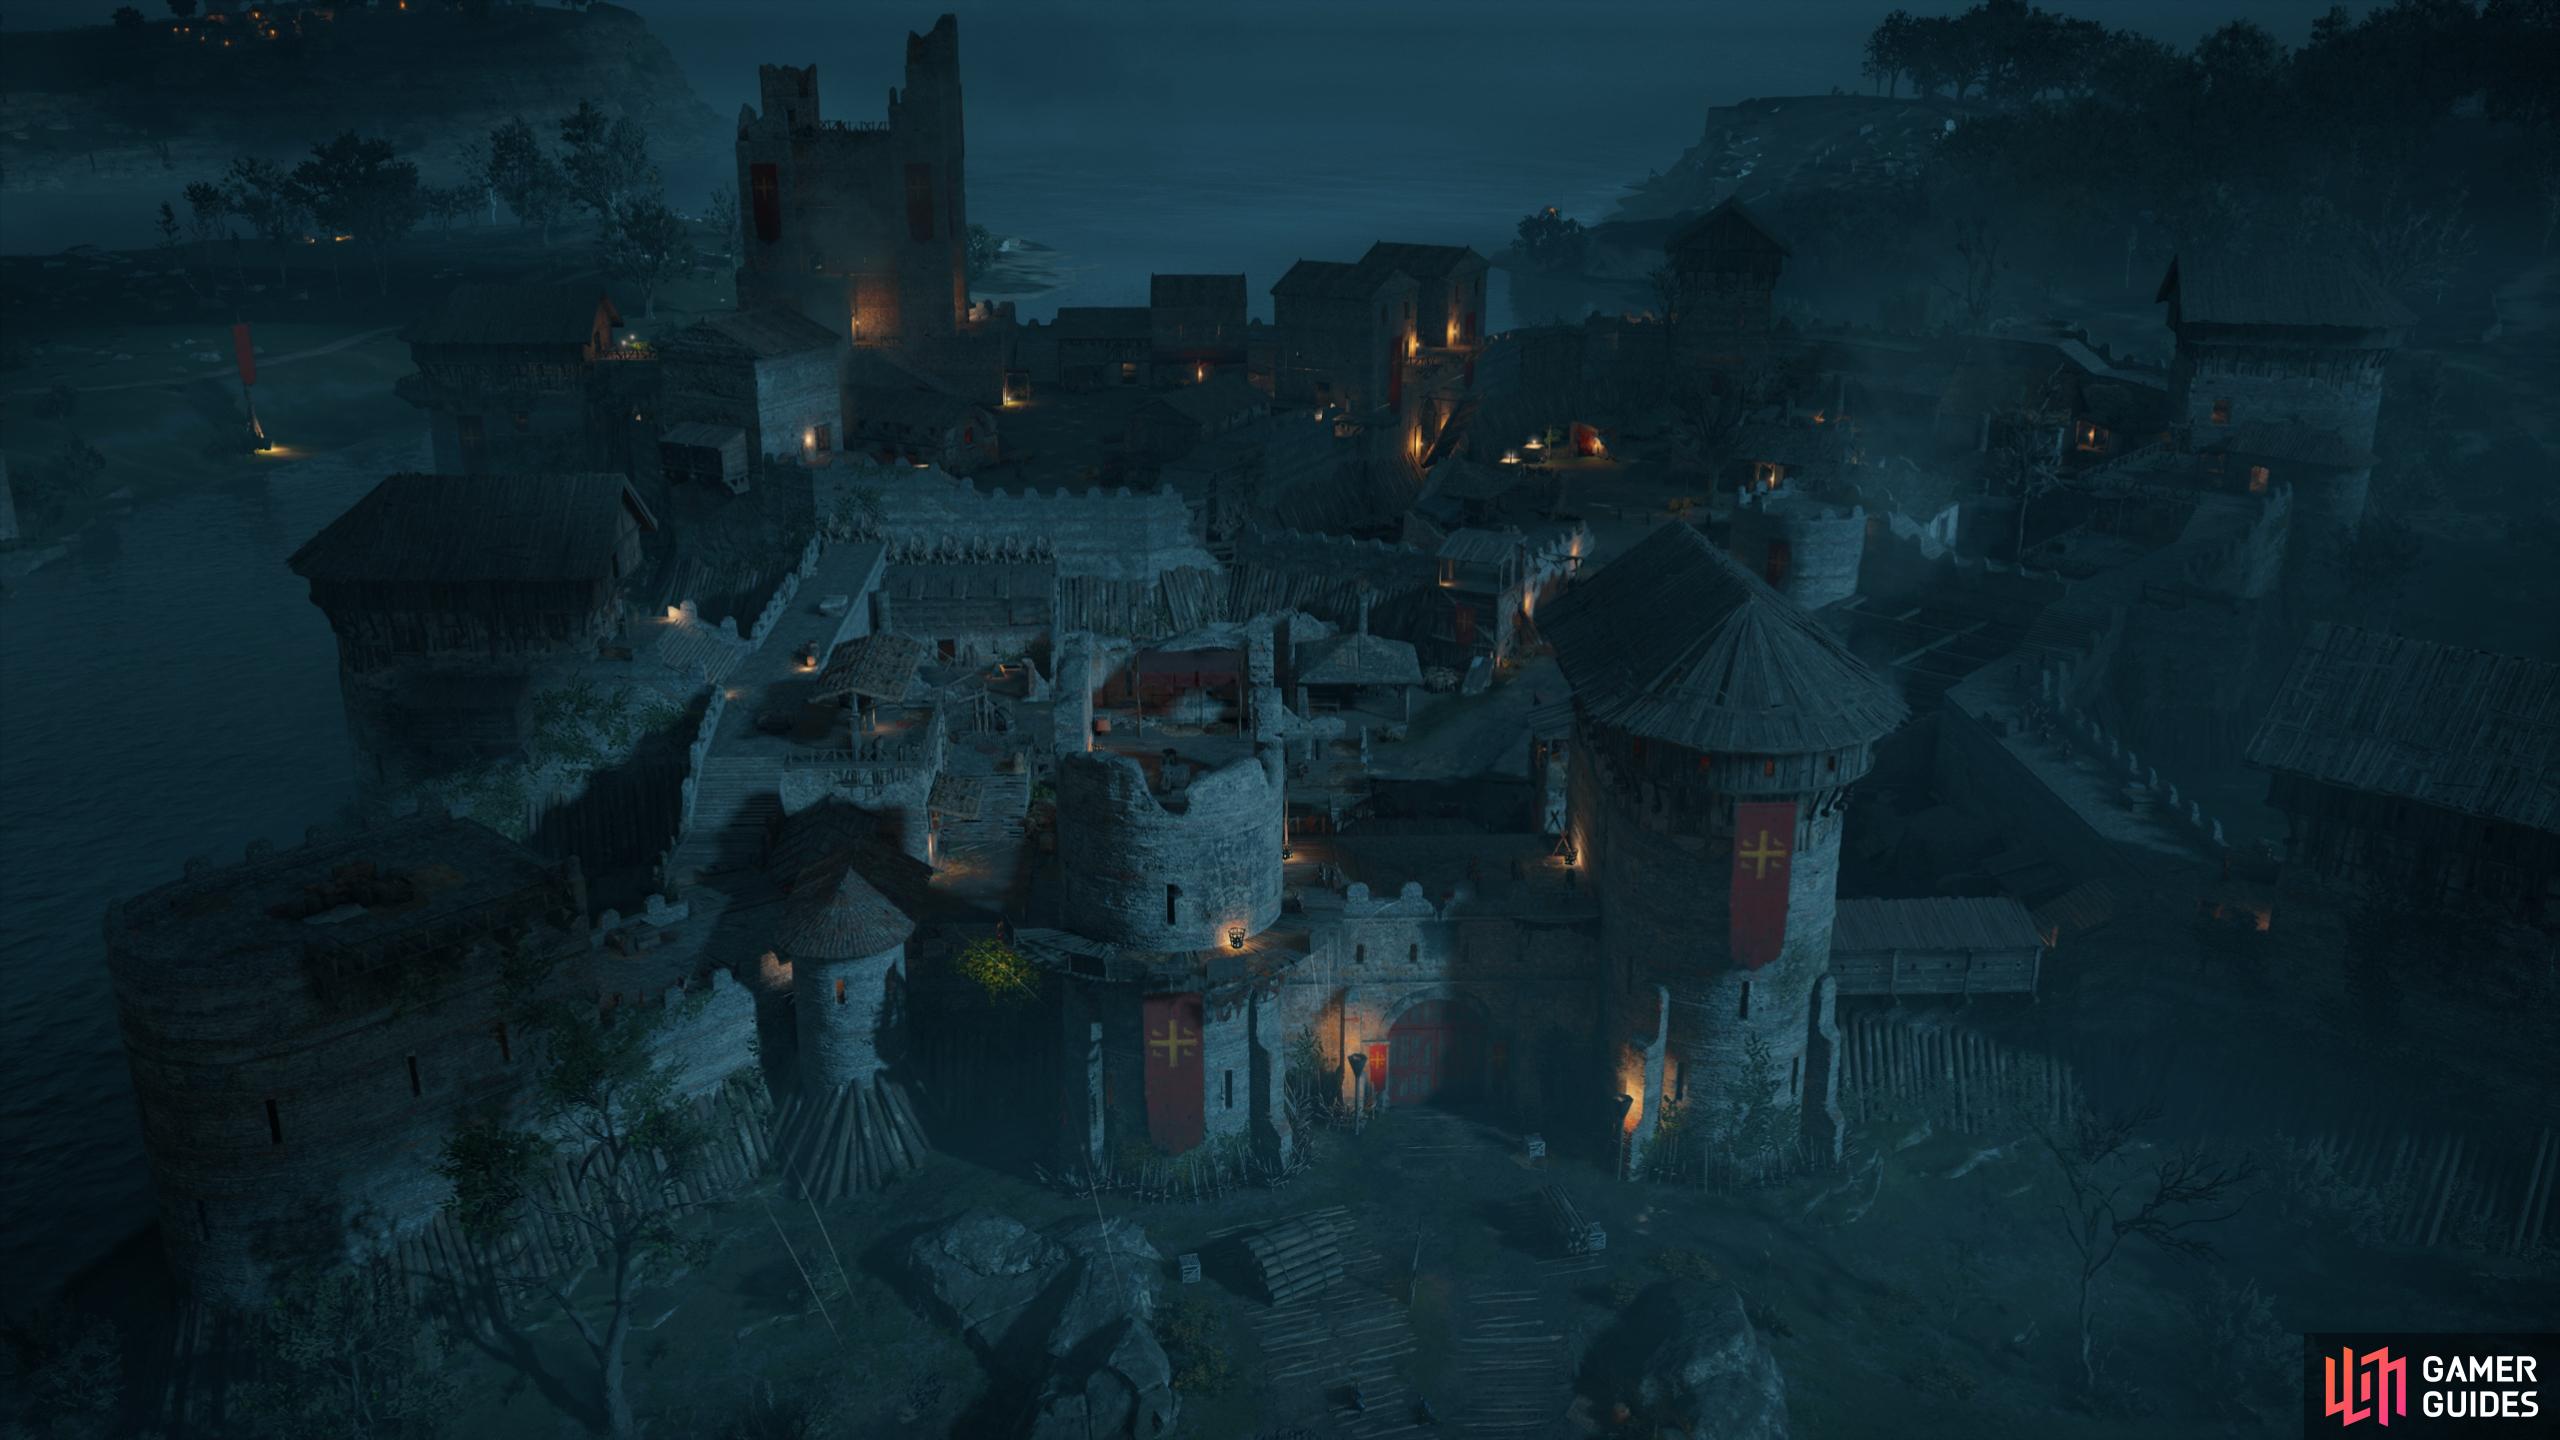
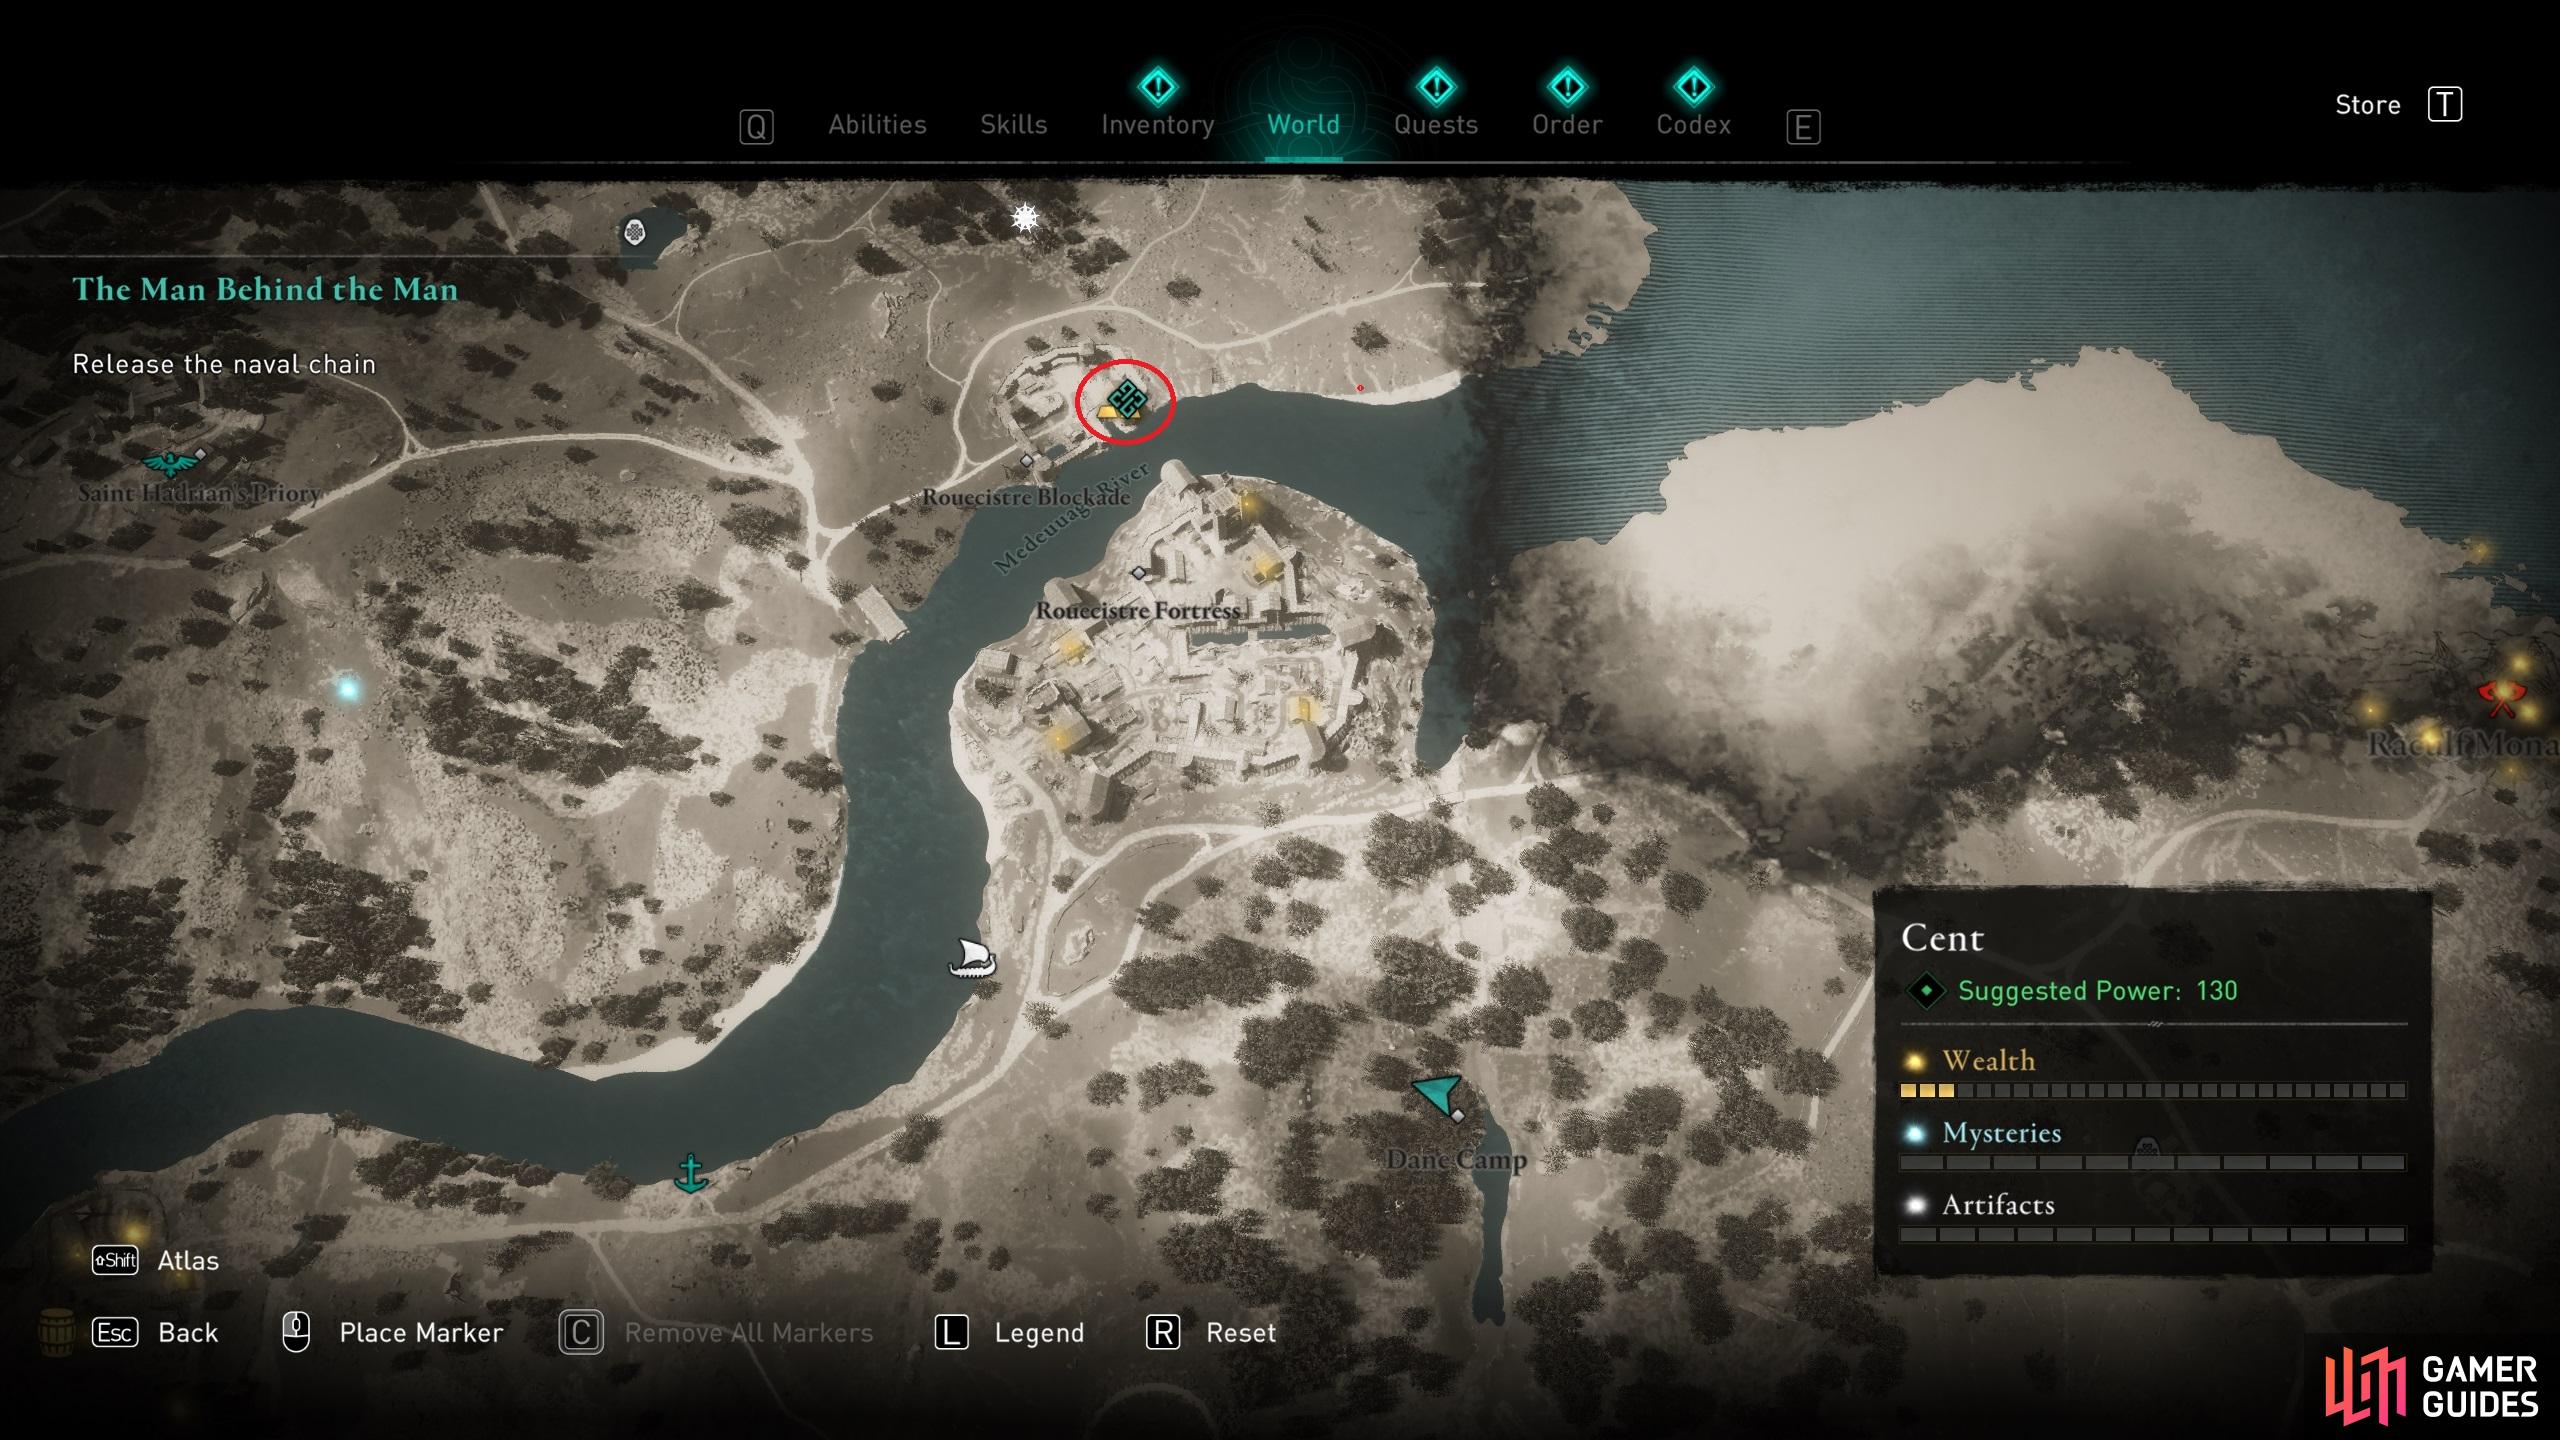
You’ll find Rouecistre Fortress just north of the Dane Camp. The first thing you’ll need to do before the assault begins is release the naval chain which is blocking the way from the sea to the river system. To gain access to the mechanism for the naval chain, you’ll need to kill a guard within the small fort north of the fortress to obtain the key. While you’re here, you might as well summon your entire longship crew and assault the fort as you would with any other raid. Alternatively, you can kill all the guards on your own if you prefer.
Once you’ve killed the guards and obtained the key, use it to unlock the door to the mechanism room for the naval chain. You’ll have to shoot the lock behind the door inside to be able to access the room where you’ll find the mechanism for the naval chain. While down here, you’ll also find a chest containing a Nickel Ingot. Shoot both sides of the mechanism to sink the chain, then leave the room through the window in front of you.
Assault on Rouecistre Fortress
With the naval chain sunk, you should meet with your allies in the small camp to the northeast. Speak with one of your warriors there to begin a brief cutscene. You’ll then have the option to begin the assault immediately, or wait until a more convenient time.
Destroy the First Gate
You should be familiar with the process of assaulting larger fortresses by now, and this one isn’t much different. You’ll need to help your warriors with the small battering ram to destroy the first gate. The only difference here is that the defenders will be throwing oil down at the battering ram, and then firing at your with fire arrows. This will be marked by a small red circle, so look out for that and get out of the way as soon as it appears. A regular arrow volley will be marked by a slightly larger red circle.
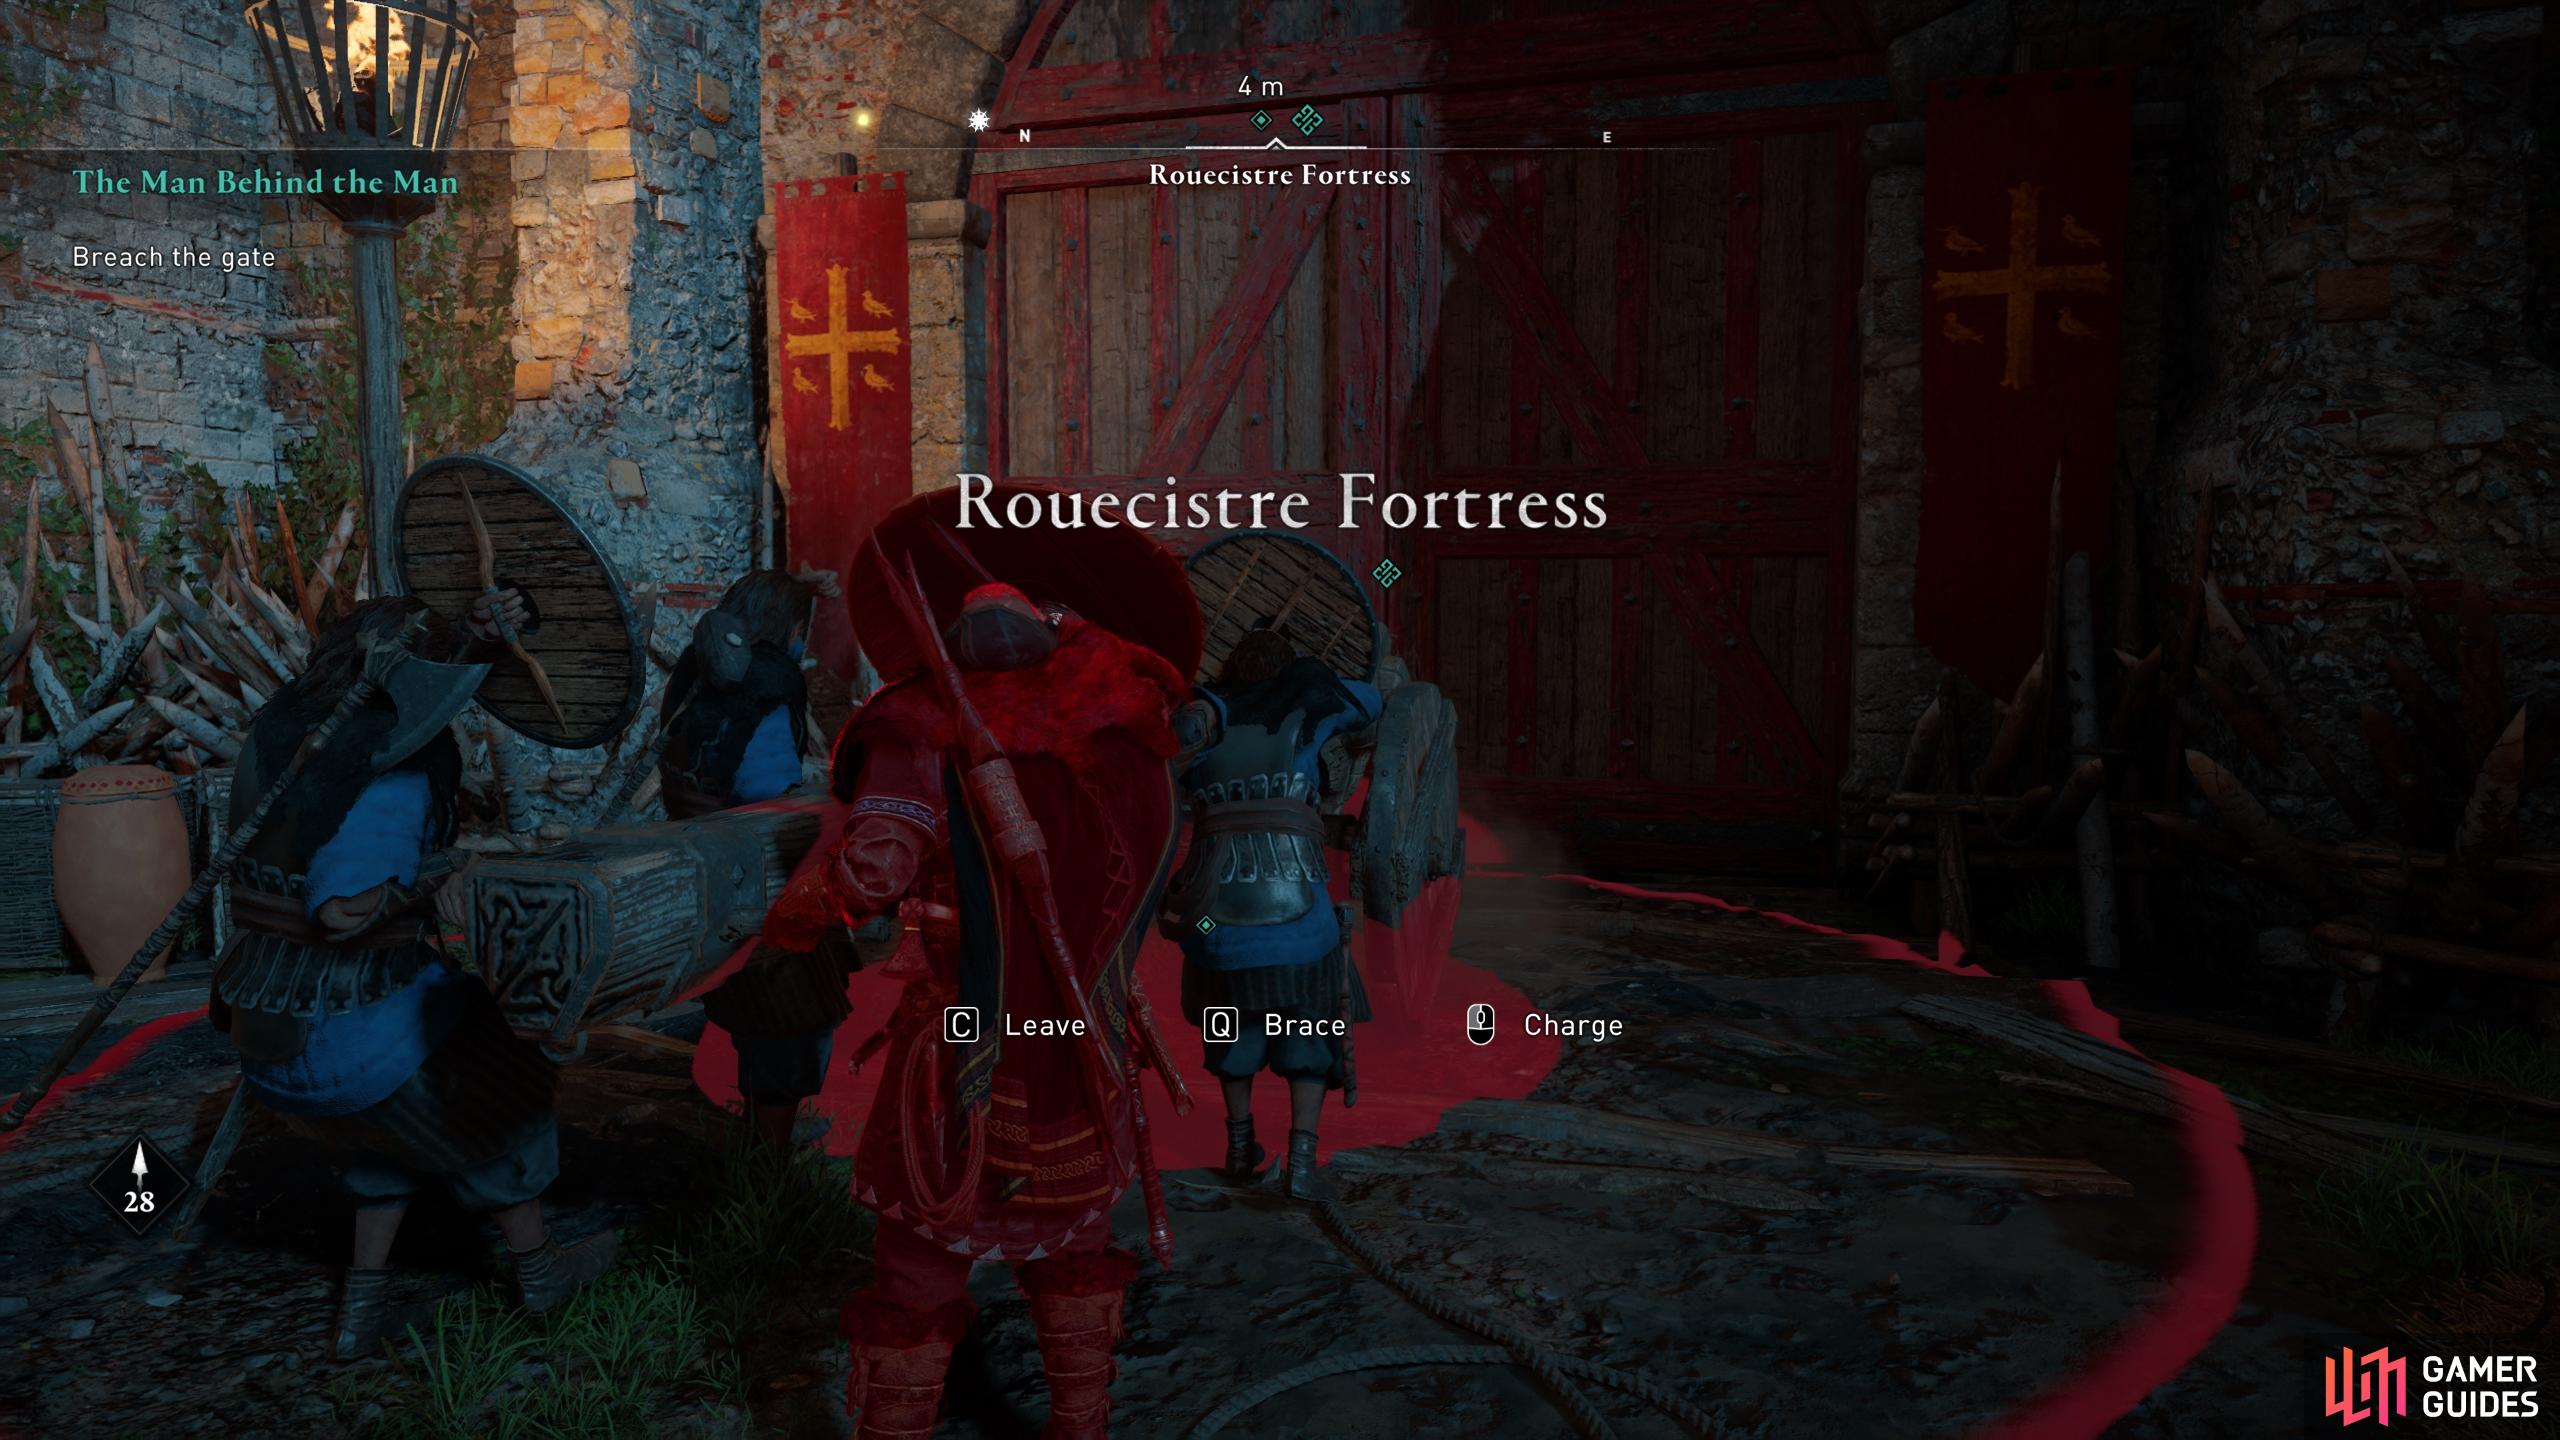
When you see the small red circle, step back immediately to avoid the oil.
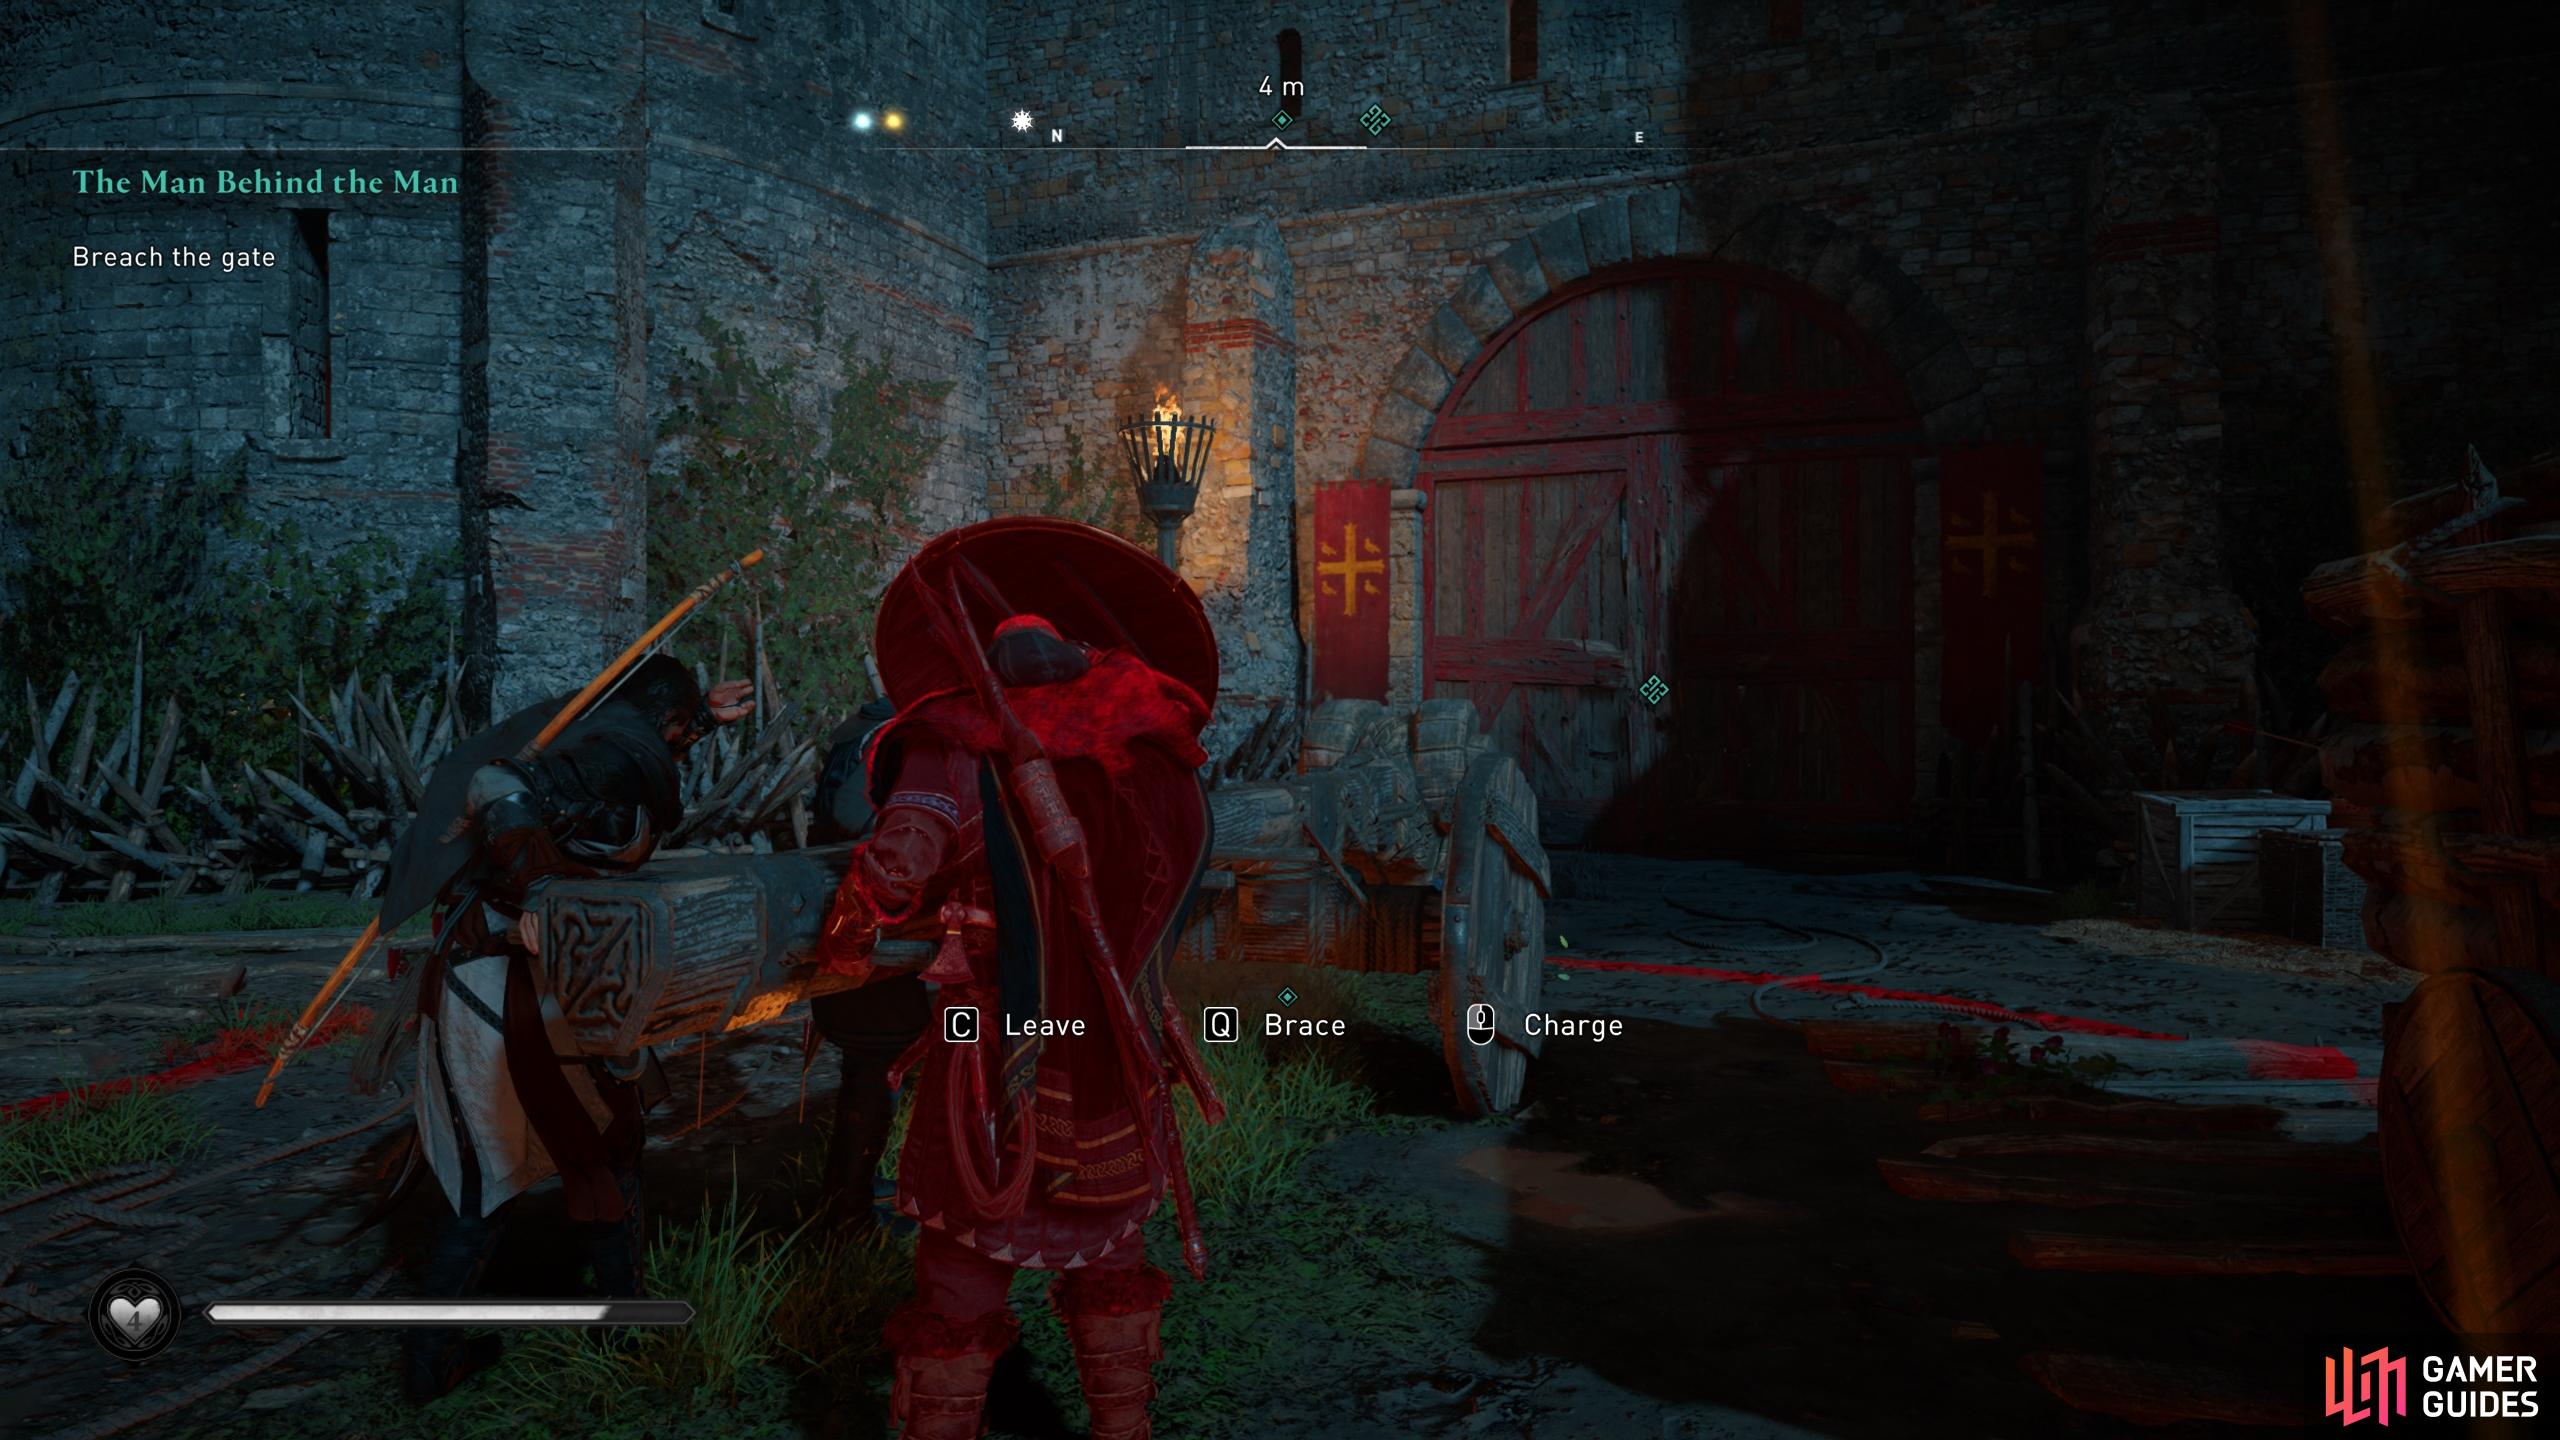
You’ll need to brace whenever you see the larger red circle indicating an incoming arrow volley.
Destroy the Oil Cauldrons
It’ll take a handful of charges at the gate with the battering ram before it’s destroyed. When it is, you’ll need to act fast to destroy some oil cauldrons on the walls either side of the path in front of you. You can take out the guards operating them, but the only way to properly destroy them is by shooting the mechanisms on their side. These are highlighted in red, as with the naval chain mechanism. If there are fire pots near them, you can also shoot those to destroy the cauldrons with one shot. You’ll have two lots of these oil cauldron formations to destroy. After the second formation of oil cauldrons, you’ll have to cut through some enemy warriors, including an elite unit called Gedriht.
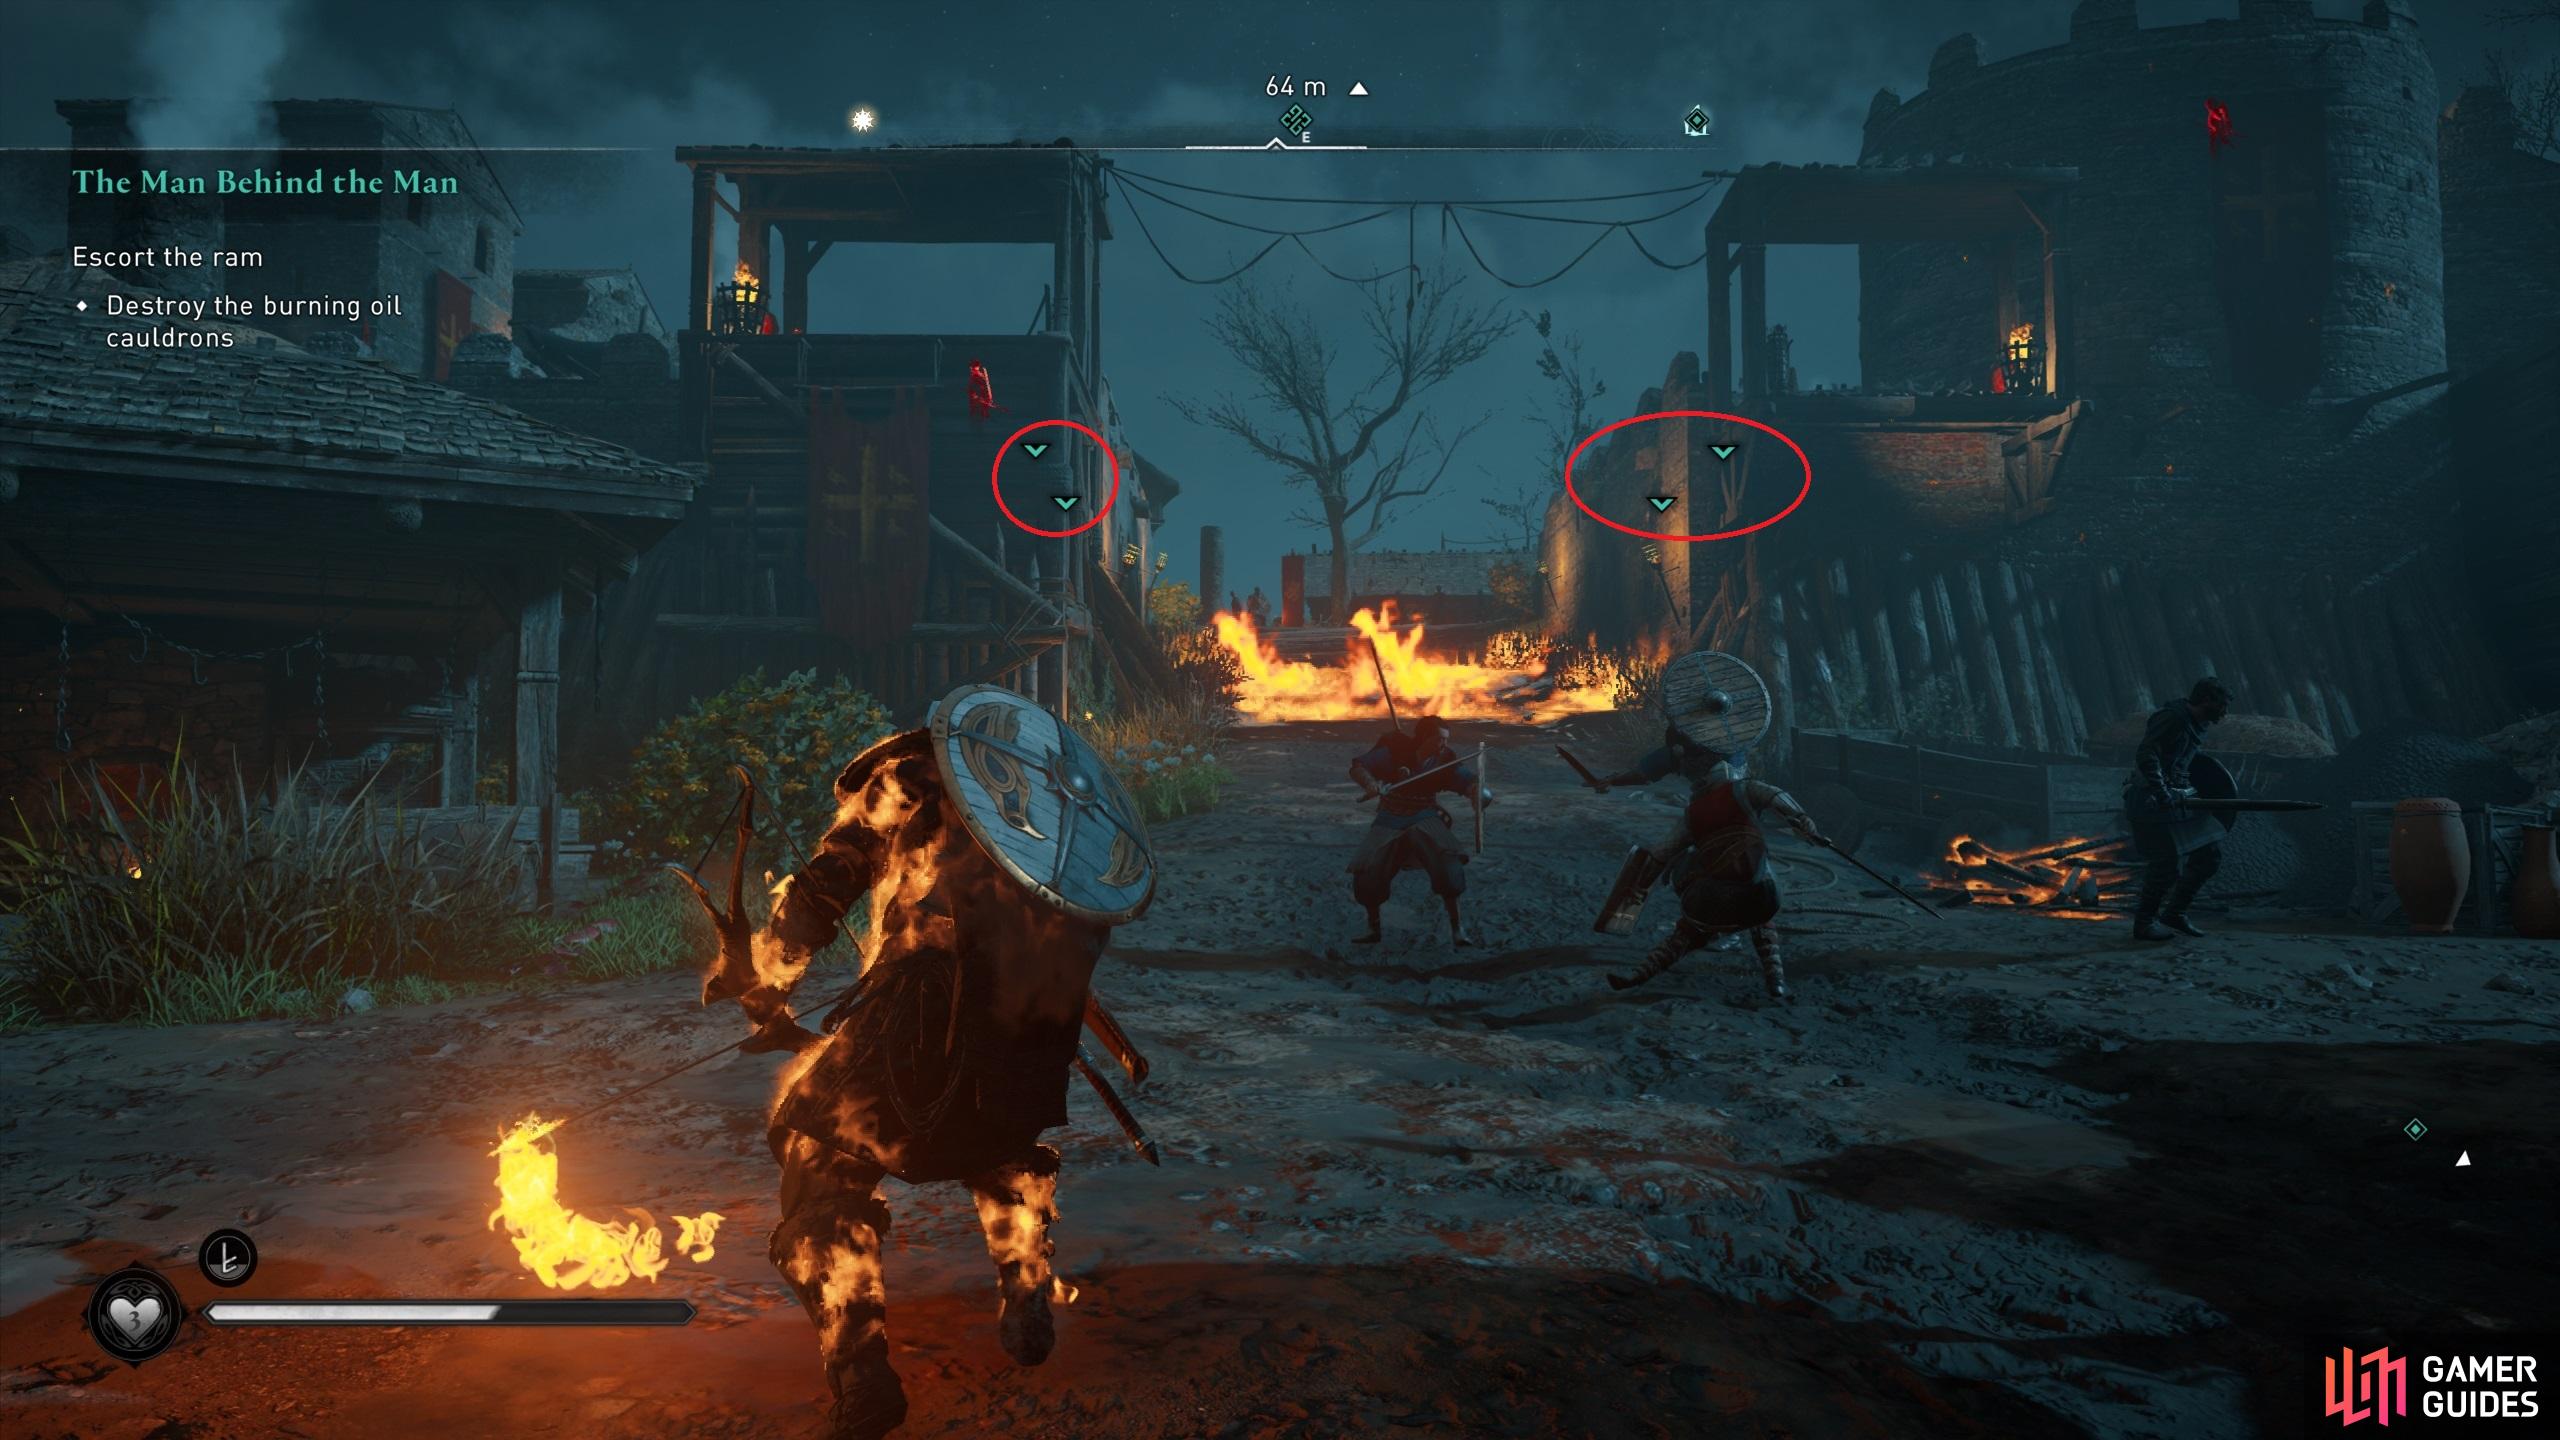
The locations of the oil cauldrons will be marked by teal objective markers.
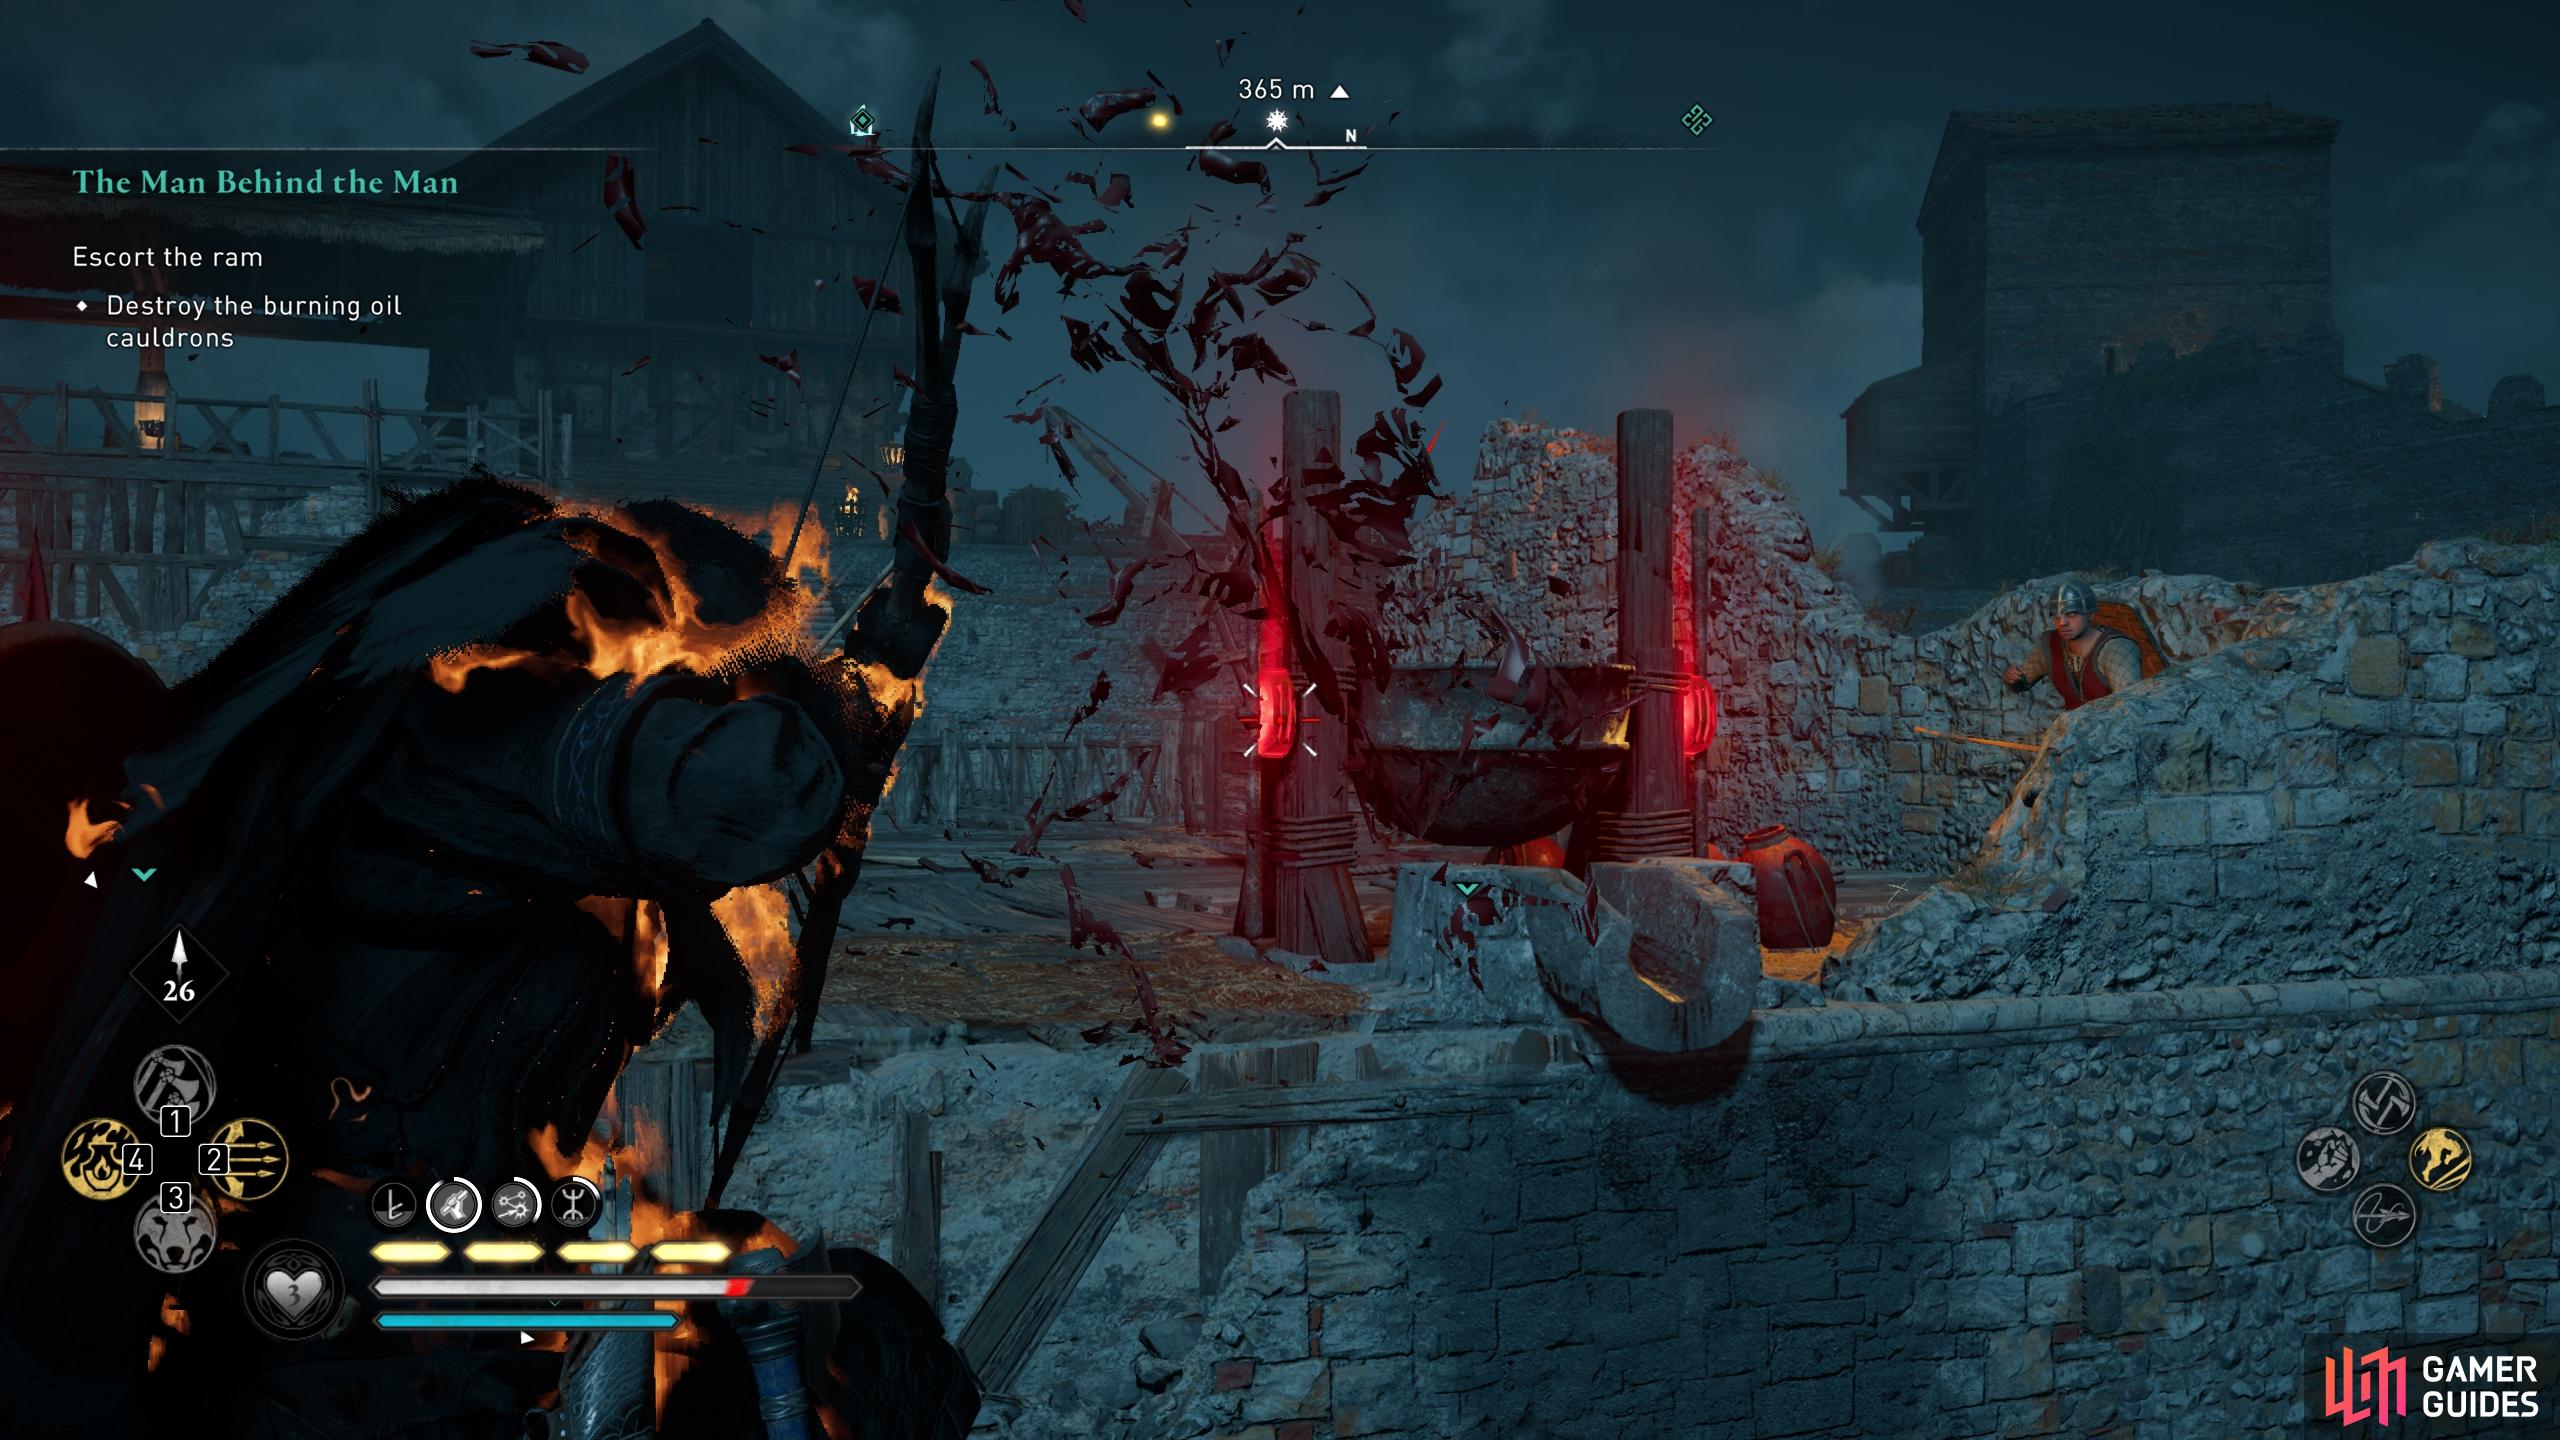
Shoot the links on the oil cauldrons to destroy them, thereby allowing the battering ram to proceed.
Shoot Links to Lower Drawbridge & Destroy Second Gate
When you’ve defeated Gedriht, don’t bother too much with the other warriors. They’ll just keep coming until you lower the drawbridge by shooting the links on either side of it. This will be much like any other drawbridge that you’ve encountered, in that you’ll need to find a vantage point on either side of the bridge to shoot the links. You’ll also need to avoid incoming arrow volleys while you do it, marked by large red circles.
With the drawbridge lowered, you’ll need to smash through the second gate with the battering ram. This will function in exactly the same way as the first gate, so be sure to brace when you see a regular arrow volley incoming, and get out of the way when the oil is about to be poured.
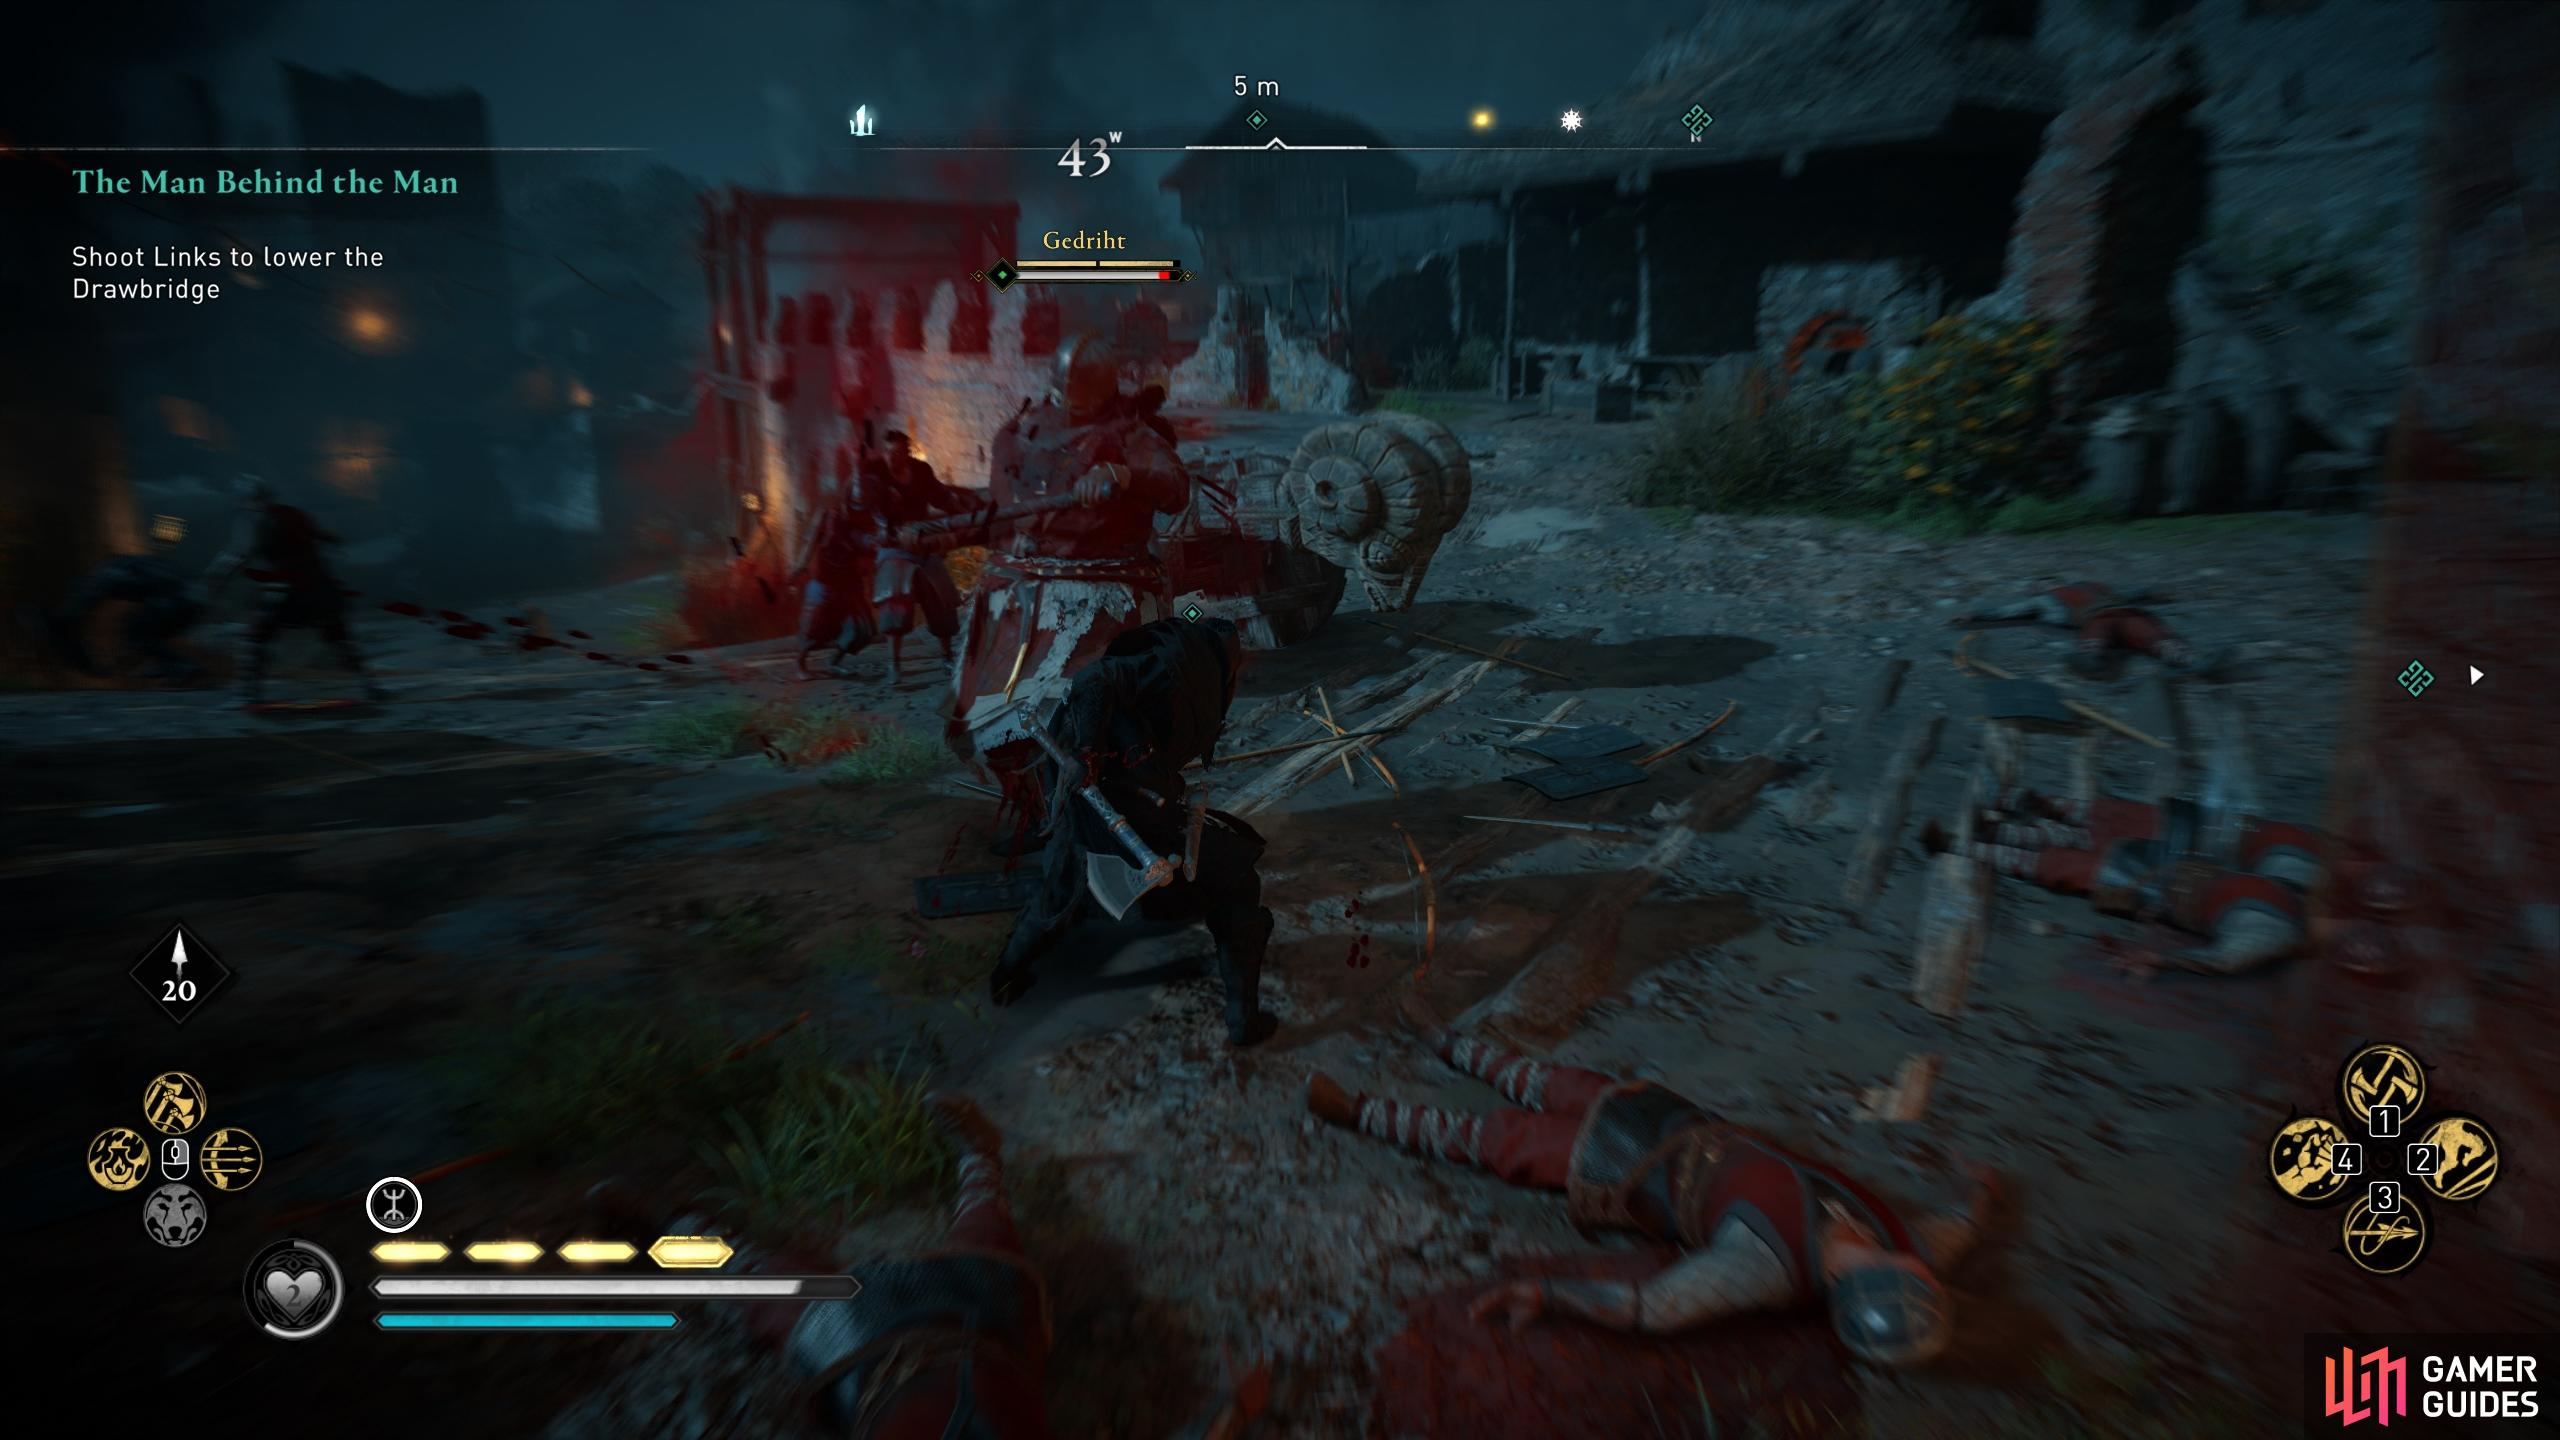
(1 of 4) You’ll need to defeat Gedriht, an elite unit who can inflict a lot of damage if you’re not careful to avoid.
Boss Fight: Tedmund
Once you’re through the second gate, you’ll need to find Tedmund. Use Odin’s Sight to highlight the location in the keep where you’ll find him. You will have to climb the walls to the north until you reach the top of the keep. Here you will find Tedmund waiting.
As soon as you approach Tedmund, the fight will begin. As he wields a shield and a flail, it’s not recommended that you mindlessly spam light attacks. Instead, you’ll need to use heavy attacks to break through his shield defences, then quickly follow it up with a light attack before he reaffirms his shield stance. The one exception to using light attacks is when Tedmund is mid-swing with his flail. Any light attack here will interrupt him and land a successful hit. Same with a shield attack. Turns out the flail and shield isn’t a great combo.

If you leave too much distance between Eivor and Tedmund for too long, he will throw one or two throwing knives at you. These don’t do much damage so don’t be too concerned about them, but it’s worth trying to avoid them with a dodge nonetheless. All in all, Tedmund is a predictable opponent and you can easily avoid most of his attacks even by running past him. If you flank him after he’s committed to a flail attack, you can easily hit him in the back for increased damage and a potential knockback if you have the Backstab skill. You’ll find weak points on his left arm, right arm, and left knee.
Meet with Cynebert
When you’ve defeated Tedmund, Cynebert will arrive with an army, as planned. Mount up and follow Basim with Tedmund tied up on the back of his horse. When you meet with Cybebert Tedmund will have a scent for the plot, but it’s too late: he dies of poisoning. After the scene, speak with Geadric to complete the quest.
No Comments