
This page details everything you need to know about how to complete the Trial of the Raven at the Suthsexe - Anderitum Hideout Mastery Challenge.
How to Get the Gold Medal
Trial of the Raven Objectives
To earn the gold medal for the Trial of the Raven at the Anderitum Hideout, you need to earn the following points for each objective, which amount to the perfect score of 1,000 points combined.
| Objective | Mastery Points |
|---|---|
| Loot chests | 440 |
| Remain non-lethal | 330 |
| Remain anonymous | 170 |
| Carry the prisoner outside | 60 |
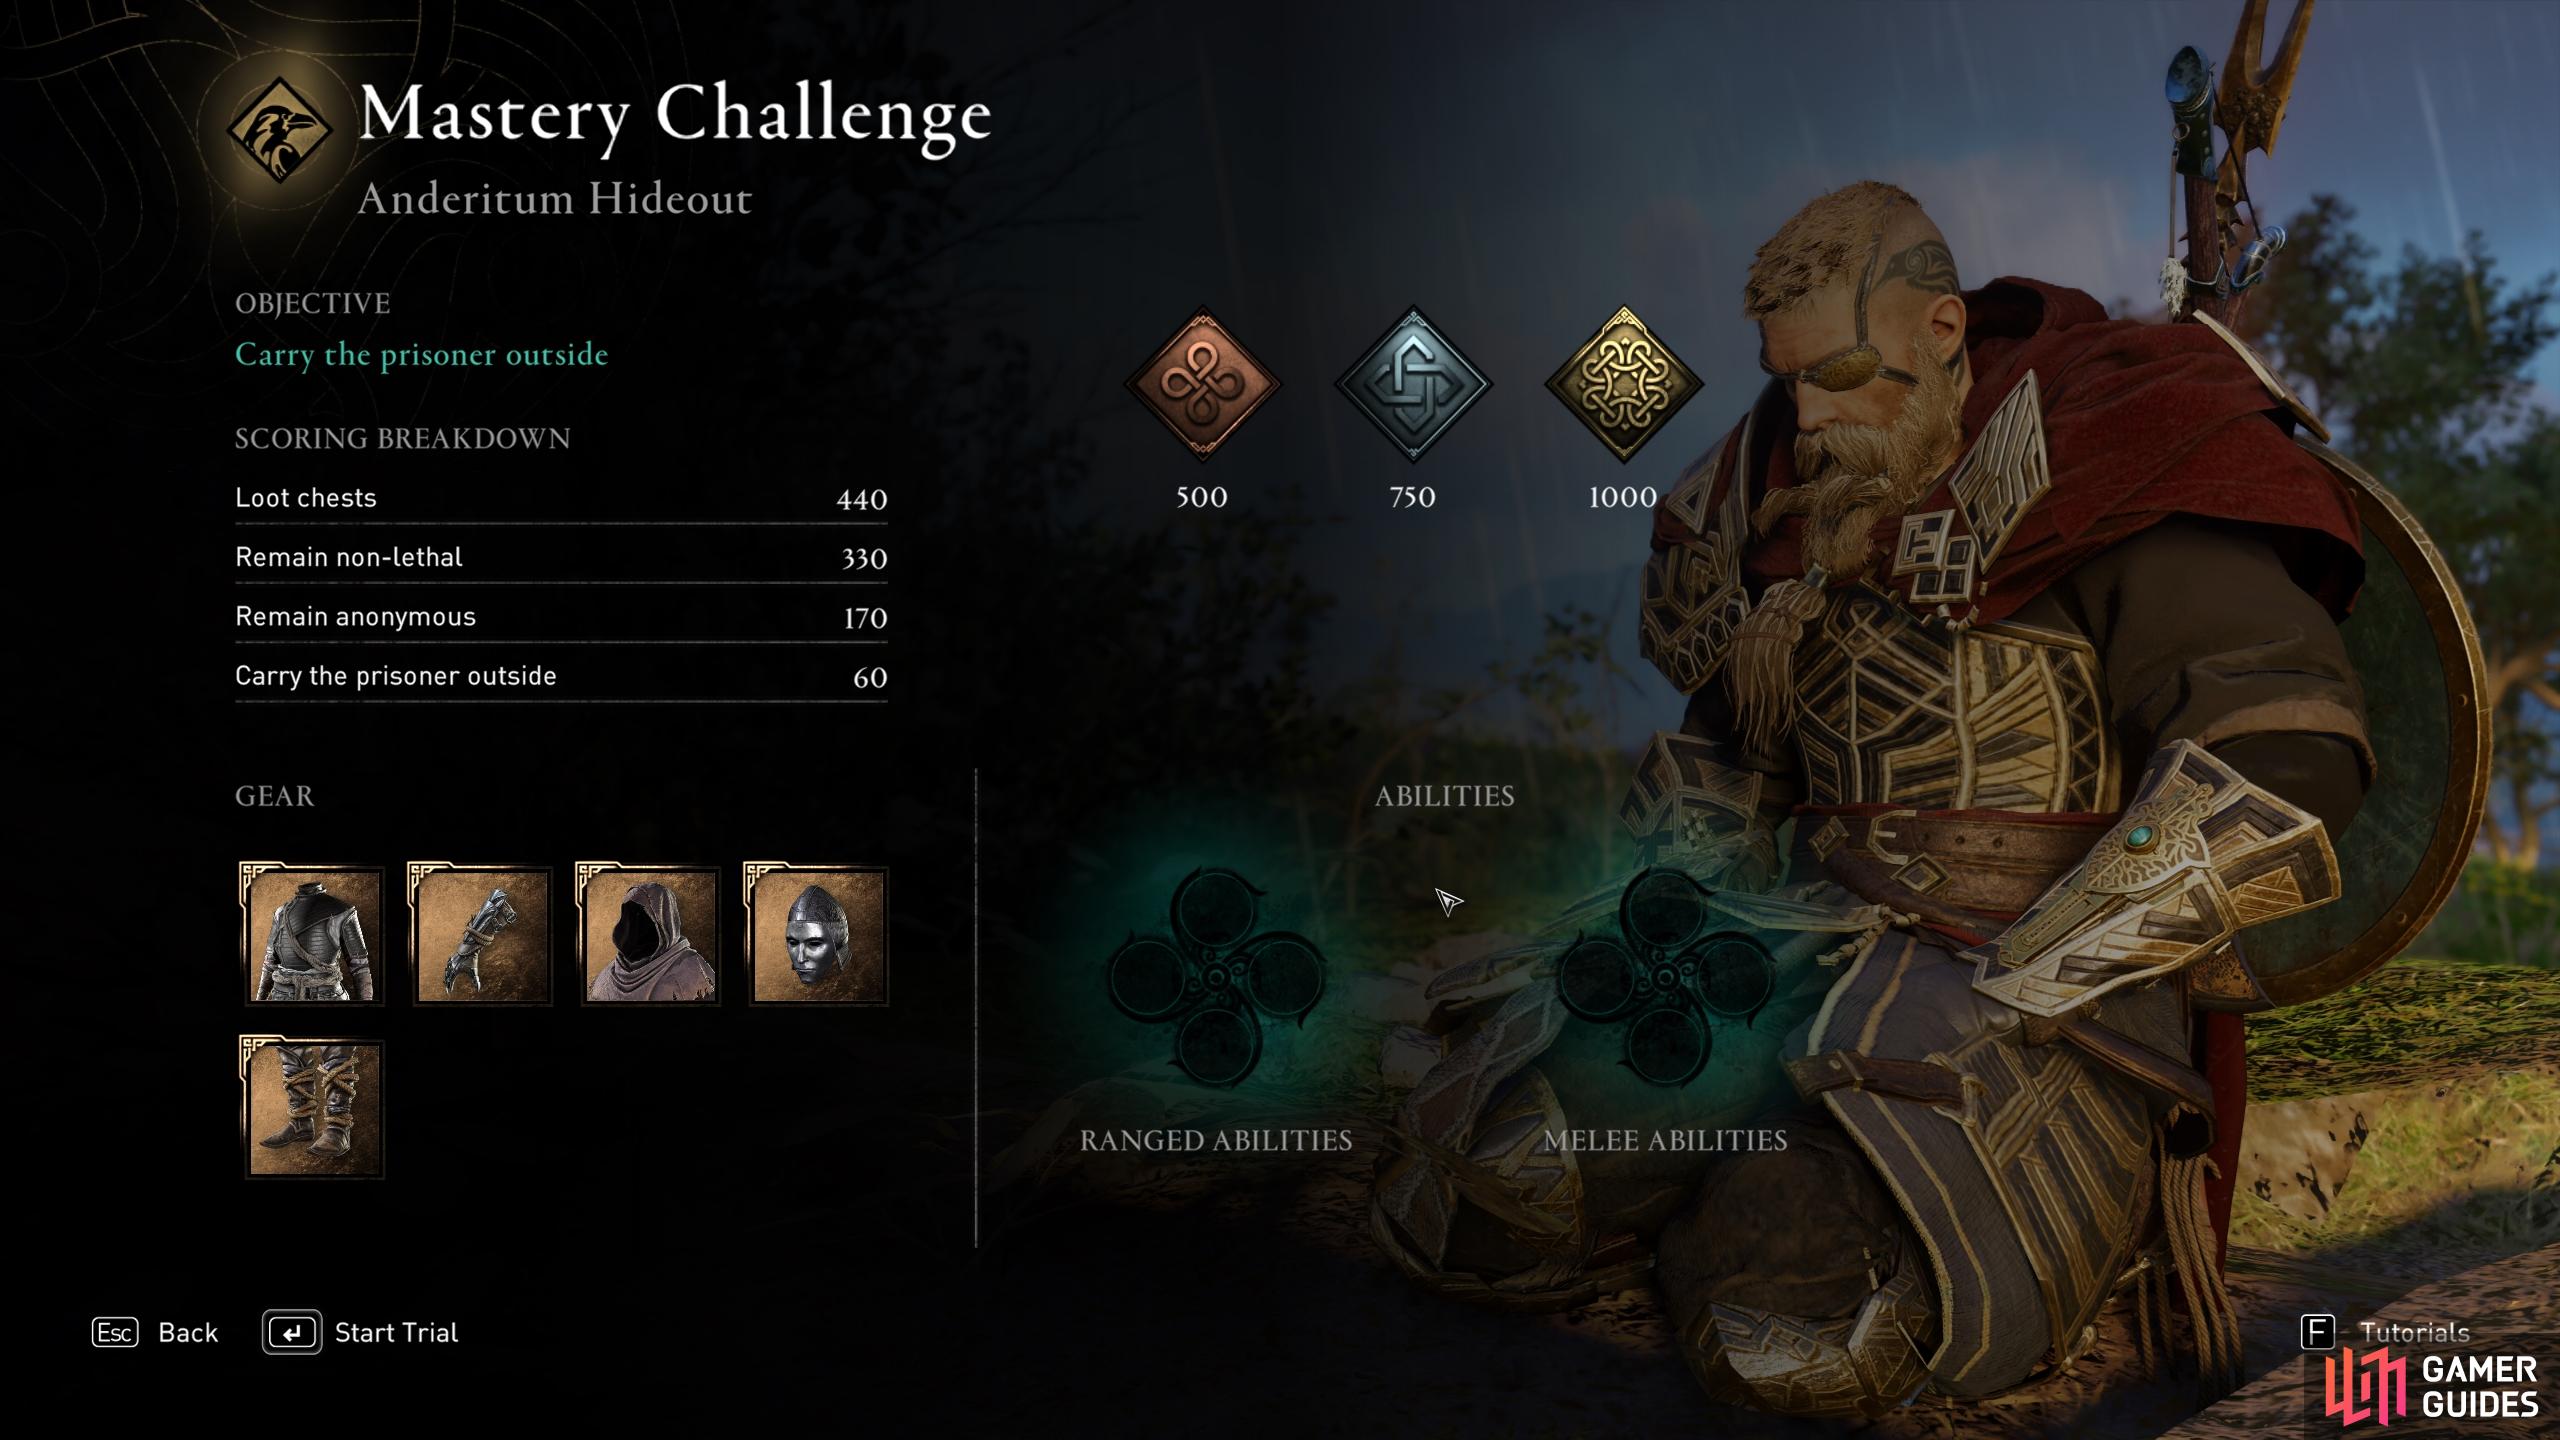
This is one of the few trials where you’re not allowed to kill any enemies.
How to Avoid Being Seen by the Guards
This is perhaps one of the most stressful and time-consuming trials to complete, since not only must you remain anonymous but you’re not allowed to kill or knockout any enemies that you come across. Instead, you need to avoid being seen altogether as you loot chests, steal the key to a cell door, and carry a prisoner from that cell back outside. The good thing is that to earn a bronze medal, you can just loot all the chests and carry the prisoner outside, even if you kill all of the guards. However, if you want to earn the maximum amount of Mastery Points and therefore obtain the gold medal, you’ll need to be a lot more careful. We’ll take you through a step by step process of navigating your way through this trial without being seen.
You can expect to spend a good 20 minutes going through this trial if you follow this guide, but you’ll save yourself a lot of trouble if you follow it closely, rather than running through the area on a whim.
Follow the Guards Down the Stairs
The first thing you should do is enter the bush at the bottom of the first set of stairs in front of you, then wait here for the guard to turn their back. As soon as they start walking in the opposite direction, move out of the bush and head towards them, entering the bushes to their left. You can now look to your left and head down the next set of stairs when you see the guard there begin walking to the right. Quickly follow them and enter the bushes before they turn around to see you. When the second guard begins moving back to their previous position, move down the next set of stairs and wait behind the stone wall to avoid being seen by the third guard at the bottom of the stairs. All of the above steps are shown in the gif below.
How to Loot the First Chest
Now that you’re at the bottom of the stairs, you’ll need to wait for the guard here to begin walking towards the right. At this point you can sneak forward and go through the doorway straight ahead of you. Turn right here to see the first chest located just in front of where the guard was walking. Wait here for the guard to begin moving back, and as soon as they begin to walk you should sneak forward, loot the chest, and then get back behind the wall. All of these steps are shown in the gif below.
How to Loot the Second Chest and Steal the Key from the Guard
The second chest isn’t far from the first, but you’ll need to move a barricade out of the way before you can move it, then steal the key to the prisoner’s cage, all within just a few seconds while avoiding detection from the large brute who holds the key. This sounds more difficult than it is if you time things correctly.
From the position behind the wall where you looted the first chest, look for the hole in the wall where you can slide through into some bushes on the other side. Do this when the guard begins to move to make sure that you’re not seen. You can see a picture of the hole in the wall below.
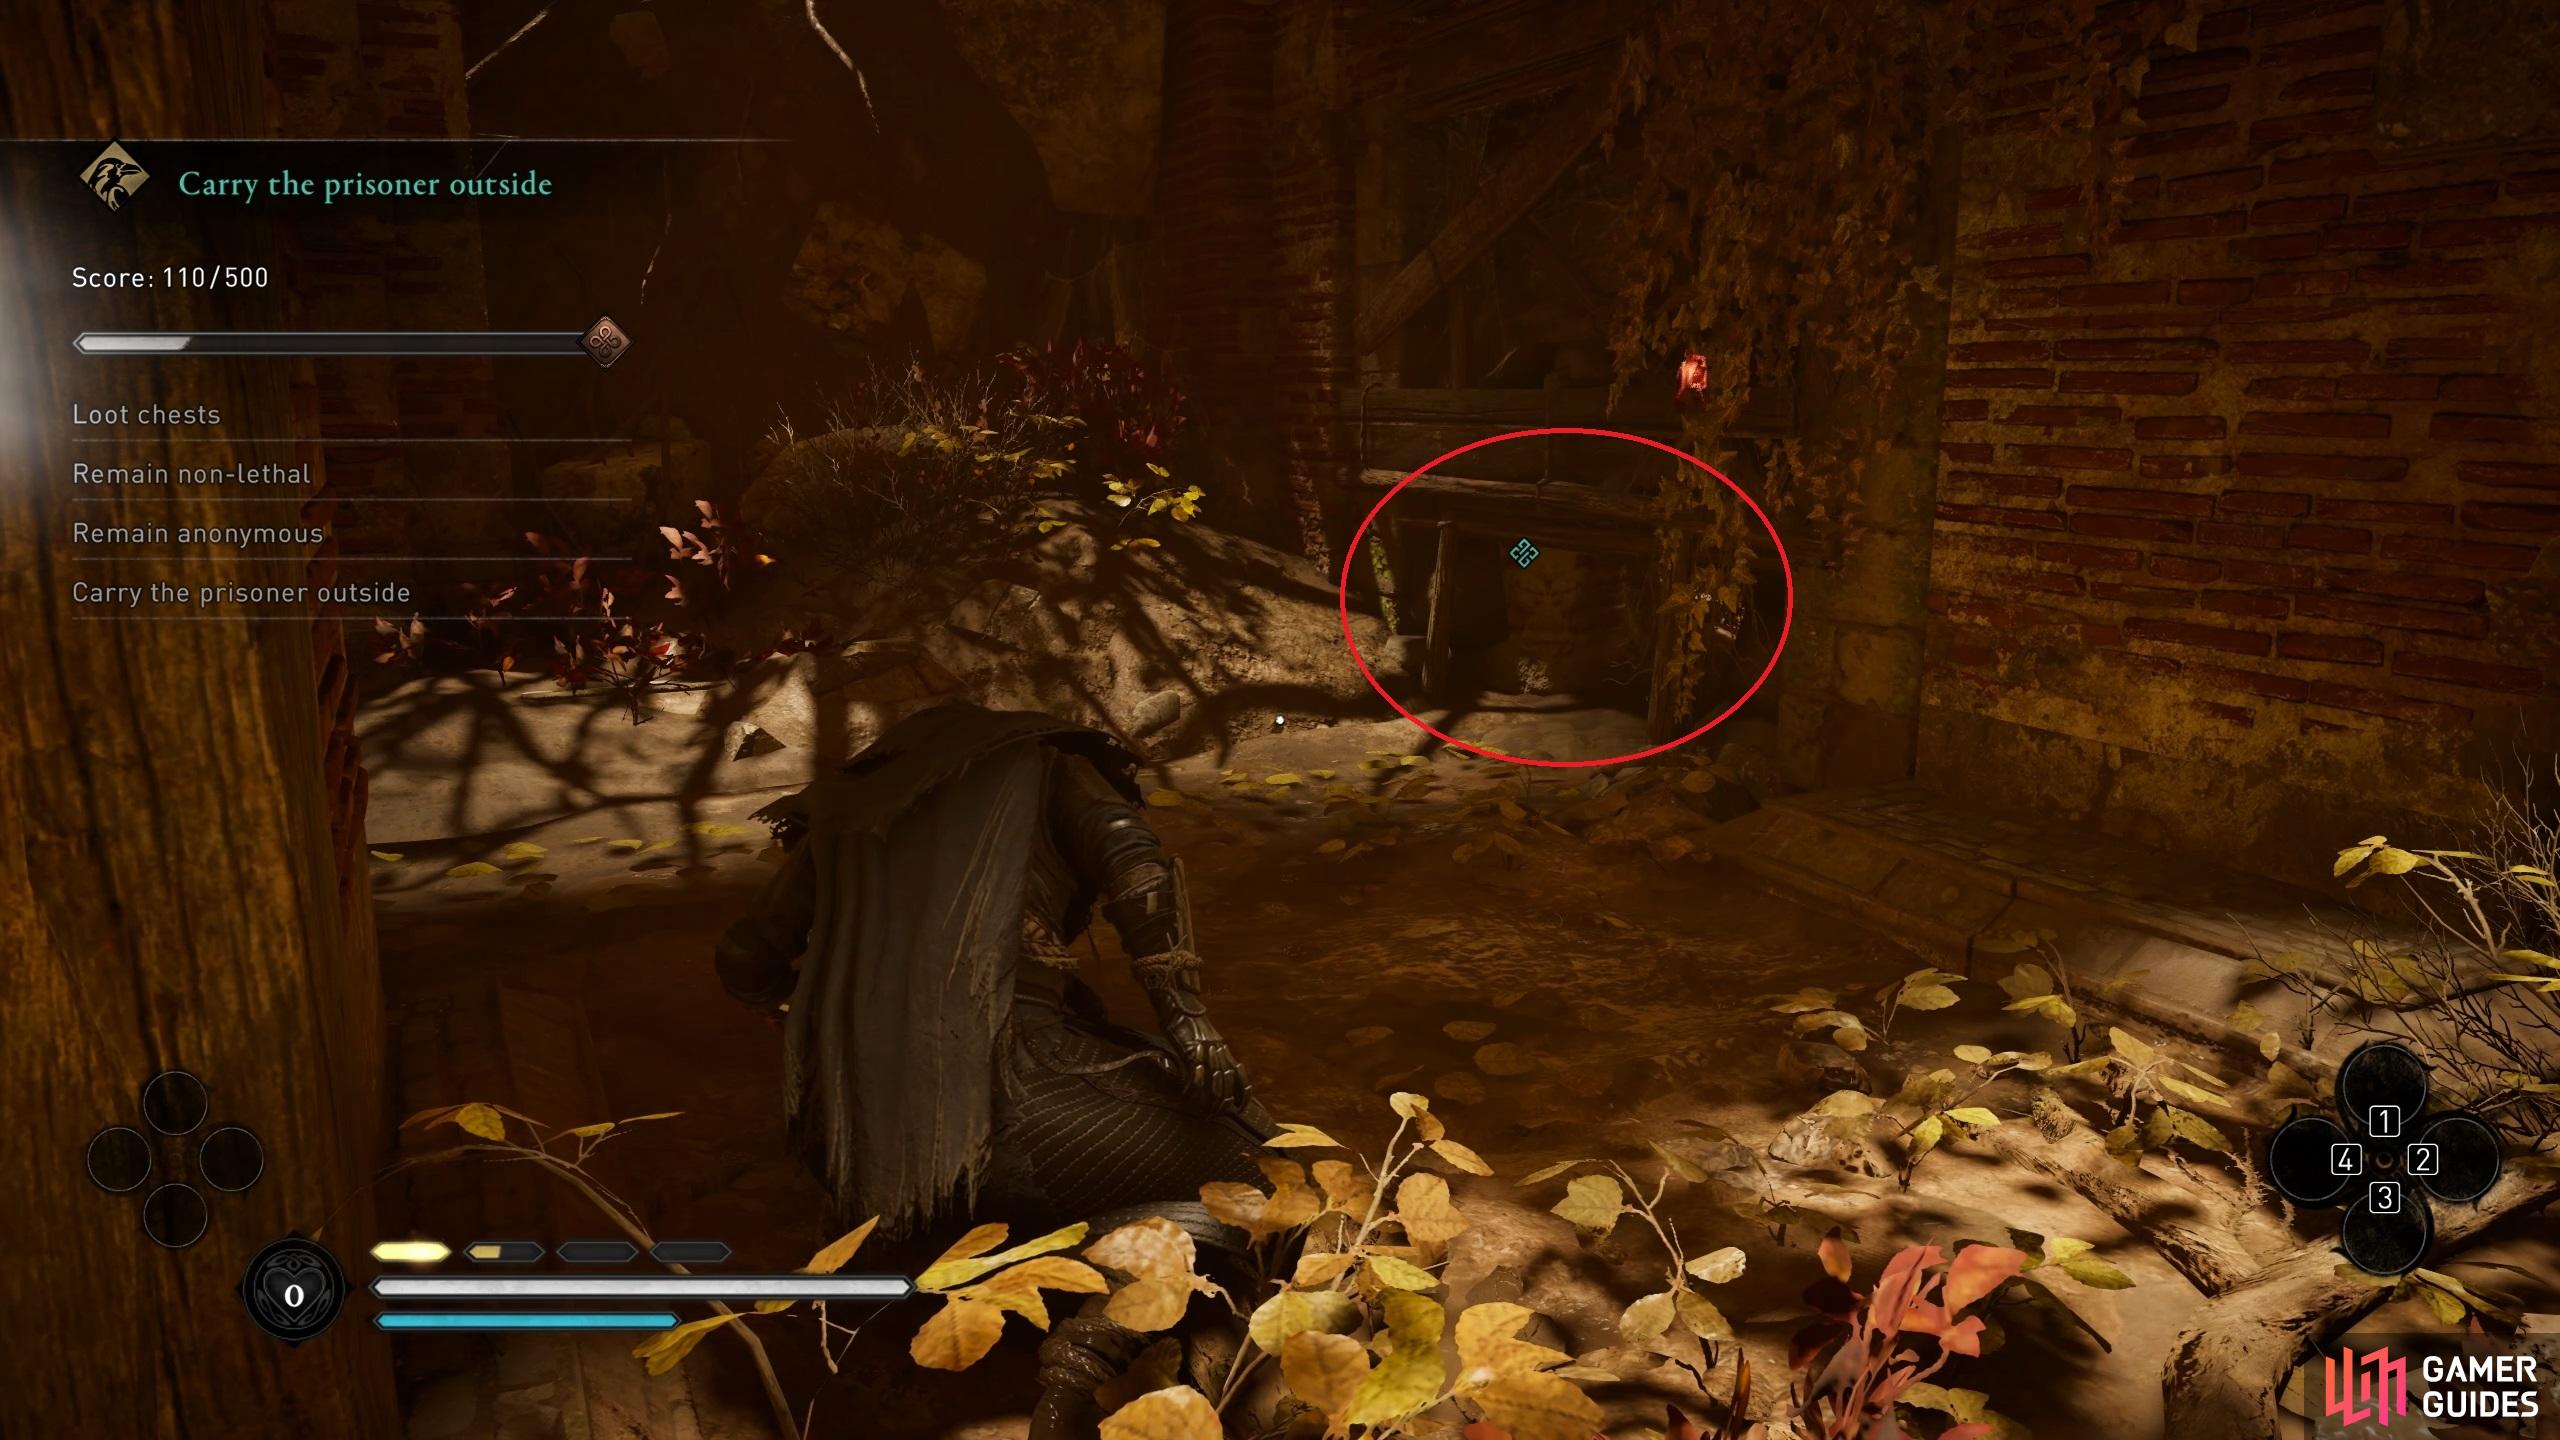
Slide through this hole in the wall to find yourself in some more bushes on the other side.
From the bushes here, look ahead to see a brute guard patrolling. You’ll need to time your movements well here to loot the chest, steal the key, and avoid detection. Wait for the brute guard to stand still as they look forward towards you. When they turn to your right and begin to move, follow them immediately and trace their steps until you reach the movable barricade. Quickly move this to the right and loot the chest behind it, then follow the steps of the guard to the point where they’ve stopped. You can now steal the key from them before taking cover in the bushes to your right which lead into the next room, as shown in the gif below.
How to Loot the Third Chest
This next set of movements forms one of the trickiest parts of the trial, though it may not seem like it at first. Your timing will need to be perfect here, and you’ll need to wait in some bushes as you observe the patrol movements of the guards. You’ll need to wait for the guard in front of you to begin walking to your left, at which point you should turn right and run to the bushes next to the chest. However, before you make this run you’ll need to make sure that the patrol on this side of the room isn’t nearby, so you’ll have to observe both patrols and make your move when the other patrol is walking away from you. If this sounds confusing, see the gif below for a better idea of what to do for this step.
Once you’re in the bushes next to the third chest, you should wait here again as you observe the movements of the guards patrolling. You will need to move towards the third chest only when both guards are walking away from you, or when the guard at the other side of the room is far enough away that they won’t be able to see you move towards the chest. It’s a fairly simple step, but getting the timing right is essential. Do take your time here since one wrong move will mean that you’ll have to start again from the beginning. The gif below should give you a good idea of when to make the move.
After you’ve looted the third chest, get back into the bushes and observe the guards patrolling again. You’ll need to wait for both guards to be walking away from you before you head towards the wall to your left and jump over it at the first gap in the wood. You should land directly next to the cage where the prisoner is being held, as shown in the gif below.
How to Loot the Fourth Chest
Now that you’ve found the prisoner in the cage, you can use the key that you stole from the brute guard to open it if you wish. However, it’s not time to leave with the prisoner yet. There’s one more chest to loot first. While you’re down here with the patrolling bannerman, take the time to observe their patrol movements so that you’re sufficiently familiar with them. You can wait in the bushes next to the cage to remain unseen as you do so. You’ll need to climb the wall behind where the bannerman patrols to reach another set of bushes above you, where another guard waits. See the gif below to get an idea of the best time to do this.
Once you’re in the bushes after climbing the wall, you’ll see the fourth chest just to your left. Wait for the guard to begin walking to your right, then quickly loot the chest before returning to the bushes, as shown in the gif below.
After looting the fourth chest, you’ll need to carefully observe the movements of the guard on top of the wall, but also the patrol of the bannerman below, before you climb back down into the bushes below. Just wait for both of them to be walking away from you, and make sure that you’re familiar with their patrol movements so that you’re not caught as you move down. You can just drop off the ledge using  on PC,
  on Xbox or
  on PS to reach the bushes below.
How to Carry the Prisoner Outside
Now that you’re back on the level where the prisoner in the cage is located, you’ll need to make your way to the cage and pick the prisoner up. With all the chests looted, your final task is to carry the prisoner outside without being detected. Wait for the bannerman to be walking away from you, then make your way to the prisoner, pick them up and carry them to the other side of the room, as shown in the gif below.
You now need to wait for the bannerman to walk away from the stairs that you need to take the prisoner up. At this point you can make your way to the bushes at the top of the stairs, where you’ll find another guard patrolling. Wait here and observe their movements.
From the bushes at the top of the stairs, wait until the guard begins walking away to your left, then make your move forward and into the bushes in the hallway, as shown in the gif below.
At this point you should wait again as you observe the movements of the brute guard that you stole the keys from earlier. Wait for them to begin moving down the hall to the left, then immediately move forward and turn right. You’ll need to slide under the hole in the wall here as you avoid the guard walking to your left by running up the stairs and hiding behind the stone wall. All of these movements are shown in the gif below.
Now that you’re on the stairs leading outside again, wait for the guard patrolling above to begin walking to the left, then follow them immediately and hide in the bushes to your right. Wait here again for the guard to pass by, moving only when they are behind you, and head up the stairs here. You can wait around halfway until the next guard above you begins walking to the right, then hide in the bushes to your right. The final step here is to wait for the guard to walk by you again, then stop crouching, stand up, and sprint up the stairs as quickly as you can. All that remains now is for you to follow the stairs up to the marker, where the trial will end. All of the above steps are shown in the gif below.
No Comments