

This page details a guide for the An Island of Eels main quest, part of The Song of Soma story arc in Assassin’s Creed Valhalla.
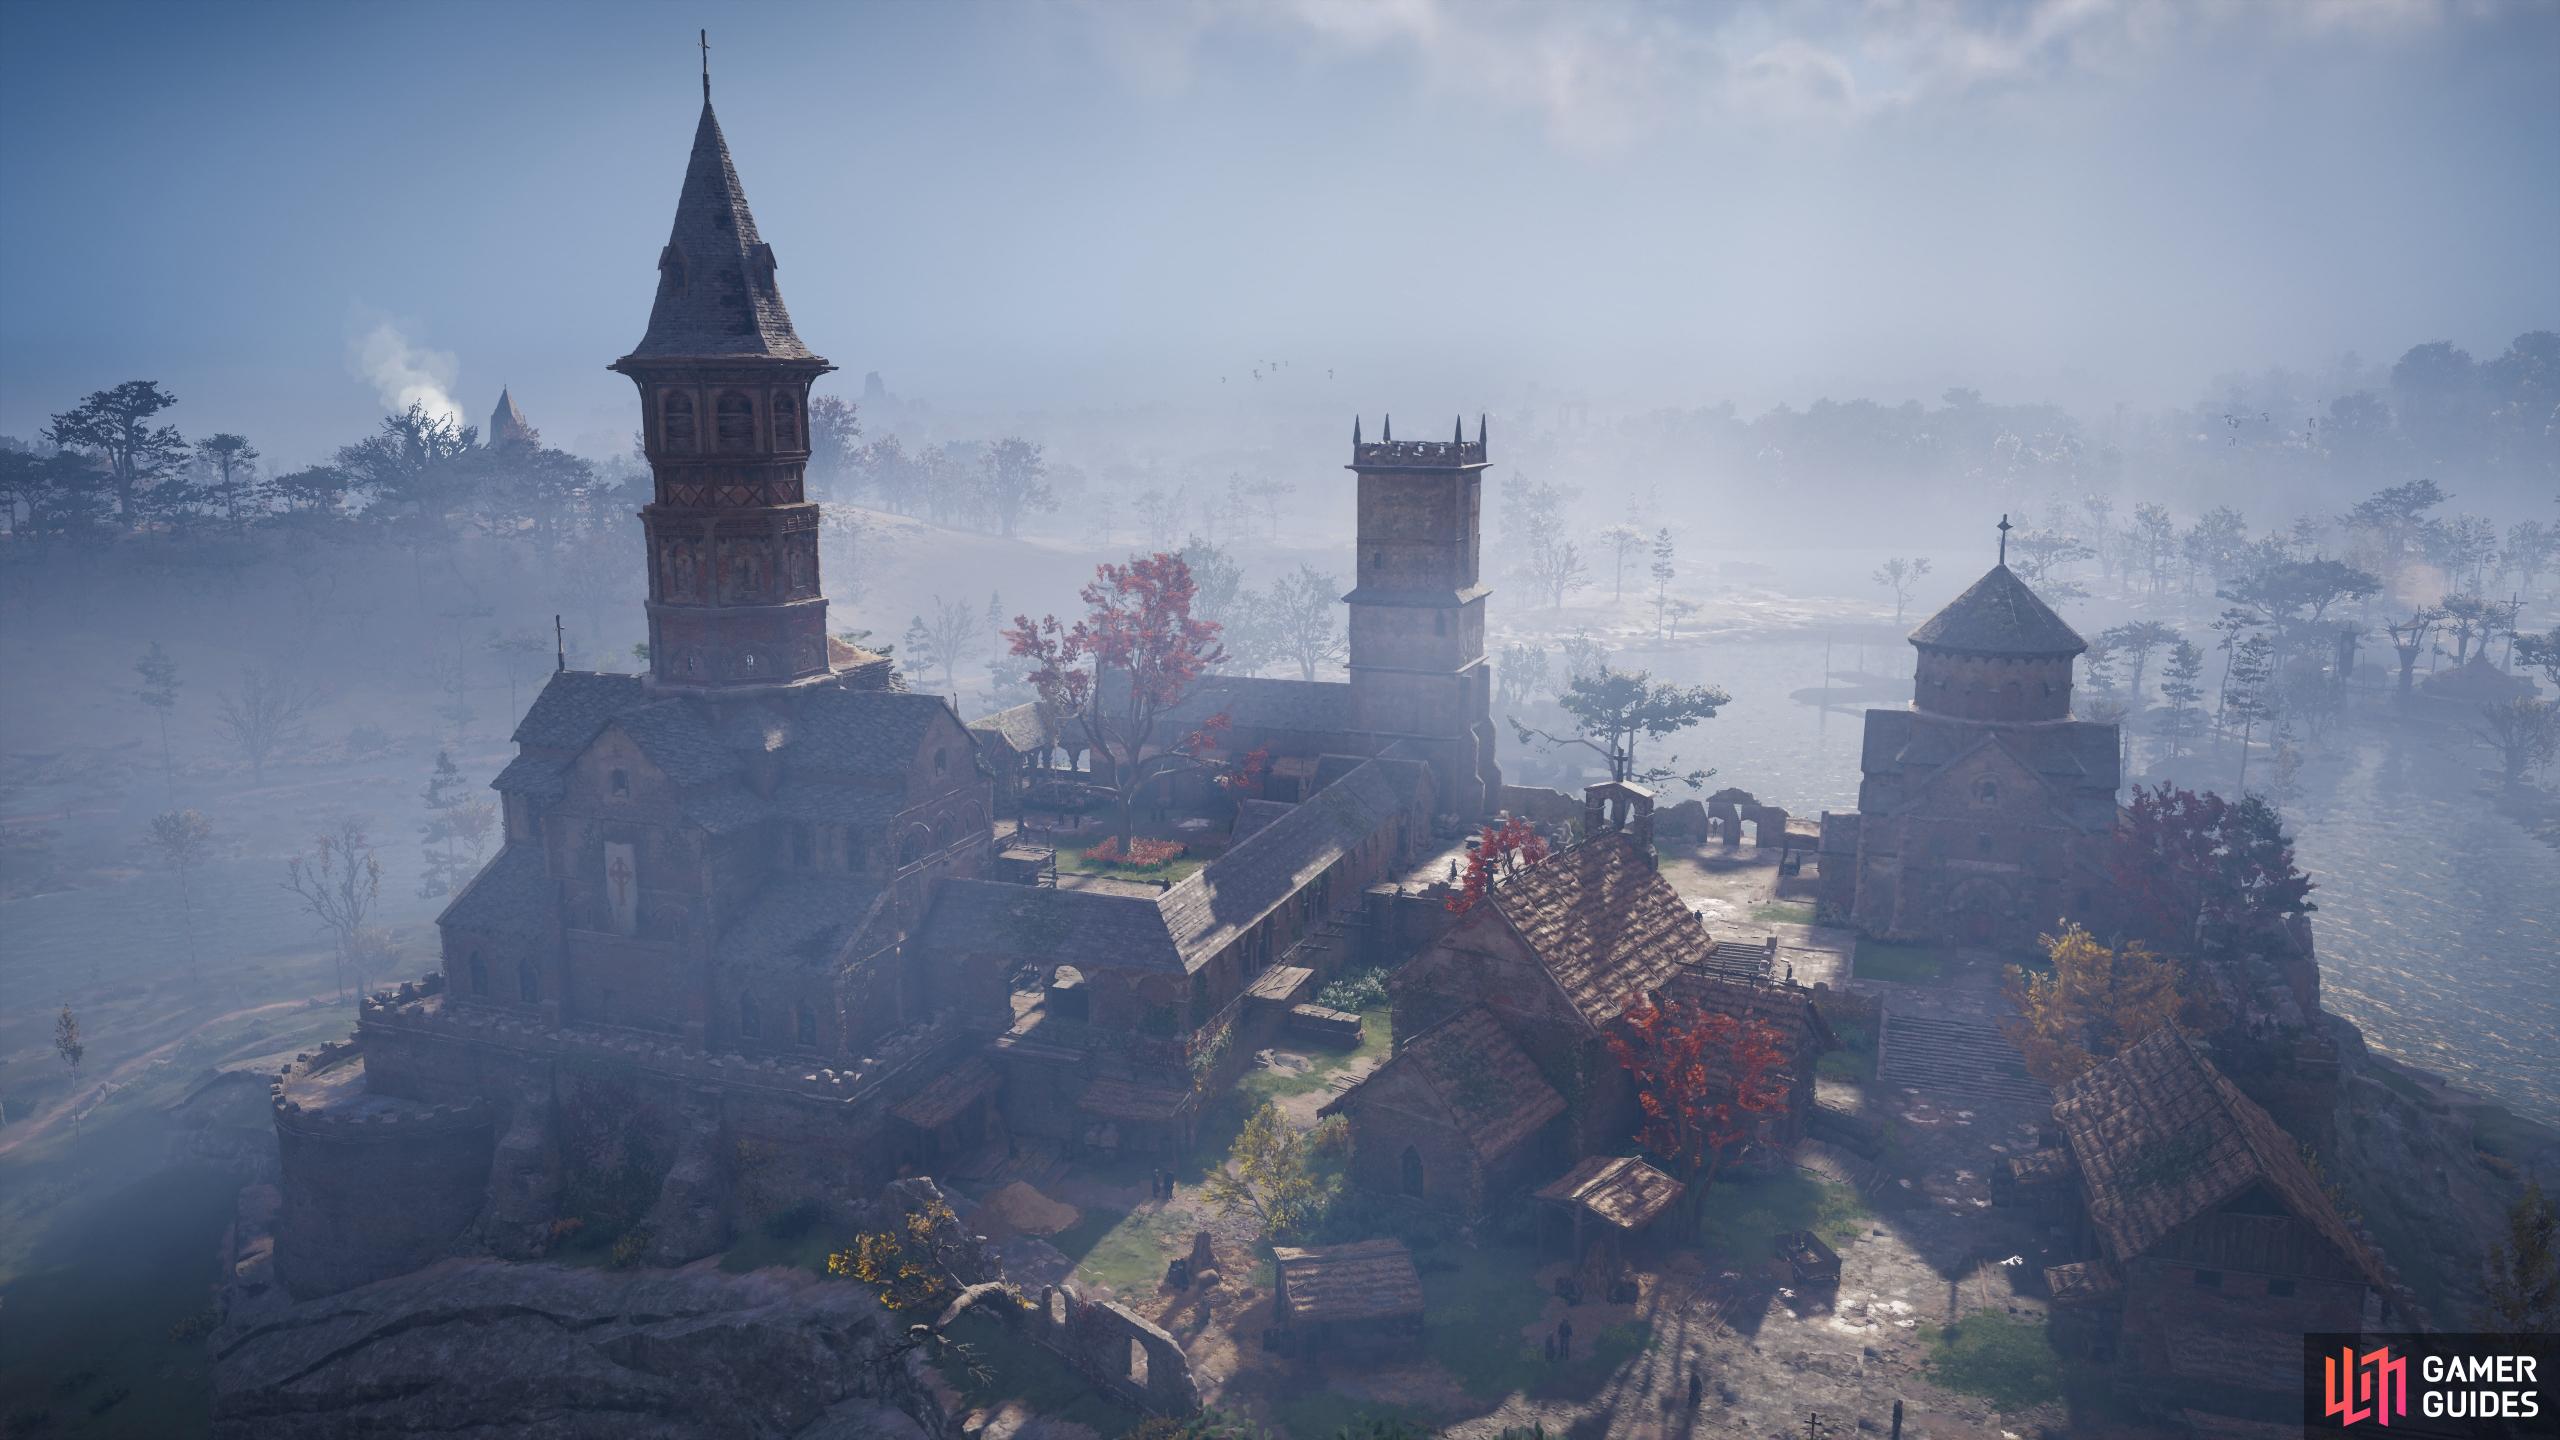
Find Wigmund at the Isle of Ely Monastery
This quest begins immediately after The Stench of Treachery. Now that you know where to find Wigmund, at the Isle of Ely Monastery, you should regroup with Soma and her clan in a small camp northeast of Grantebridge, or just northwest of the Isle of Ely Monastery. Make your way there by longship to find Soma addressing her warriors in the centre of the camp. If you’re low on arrows, you’ll find plenty scattered on the floor of this camp. Speak with Soma on the rock when you’re fully stocked and ready to proceed.

The location of the camp, marked here by a red circle, northeast of Grantebridge.
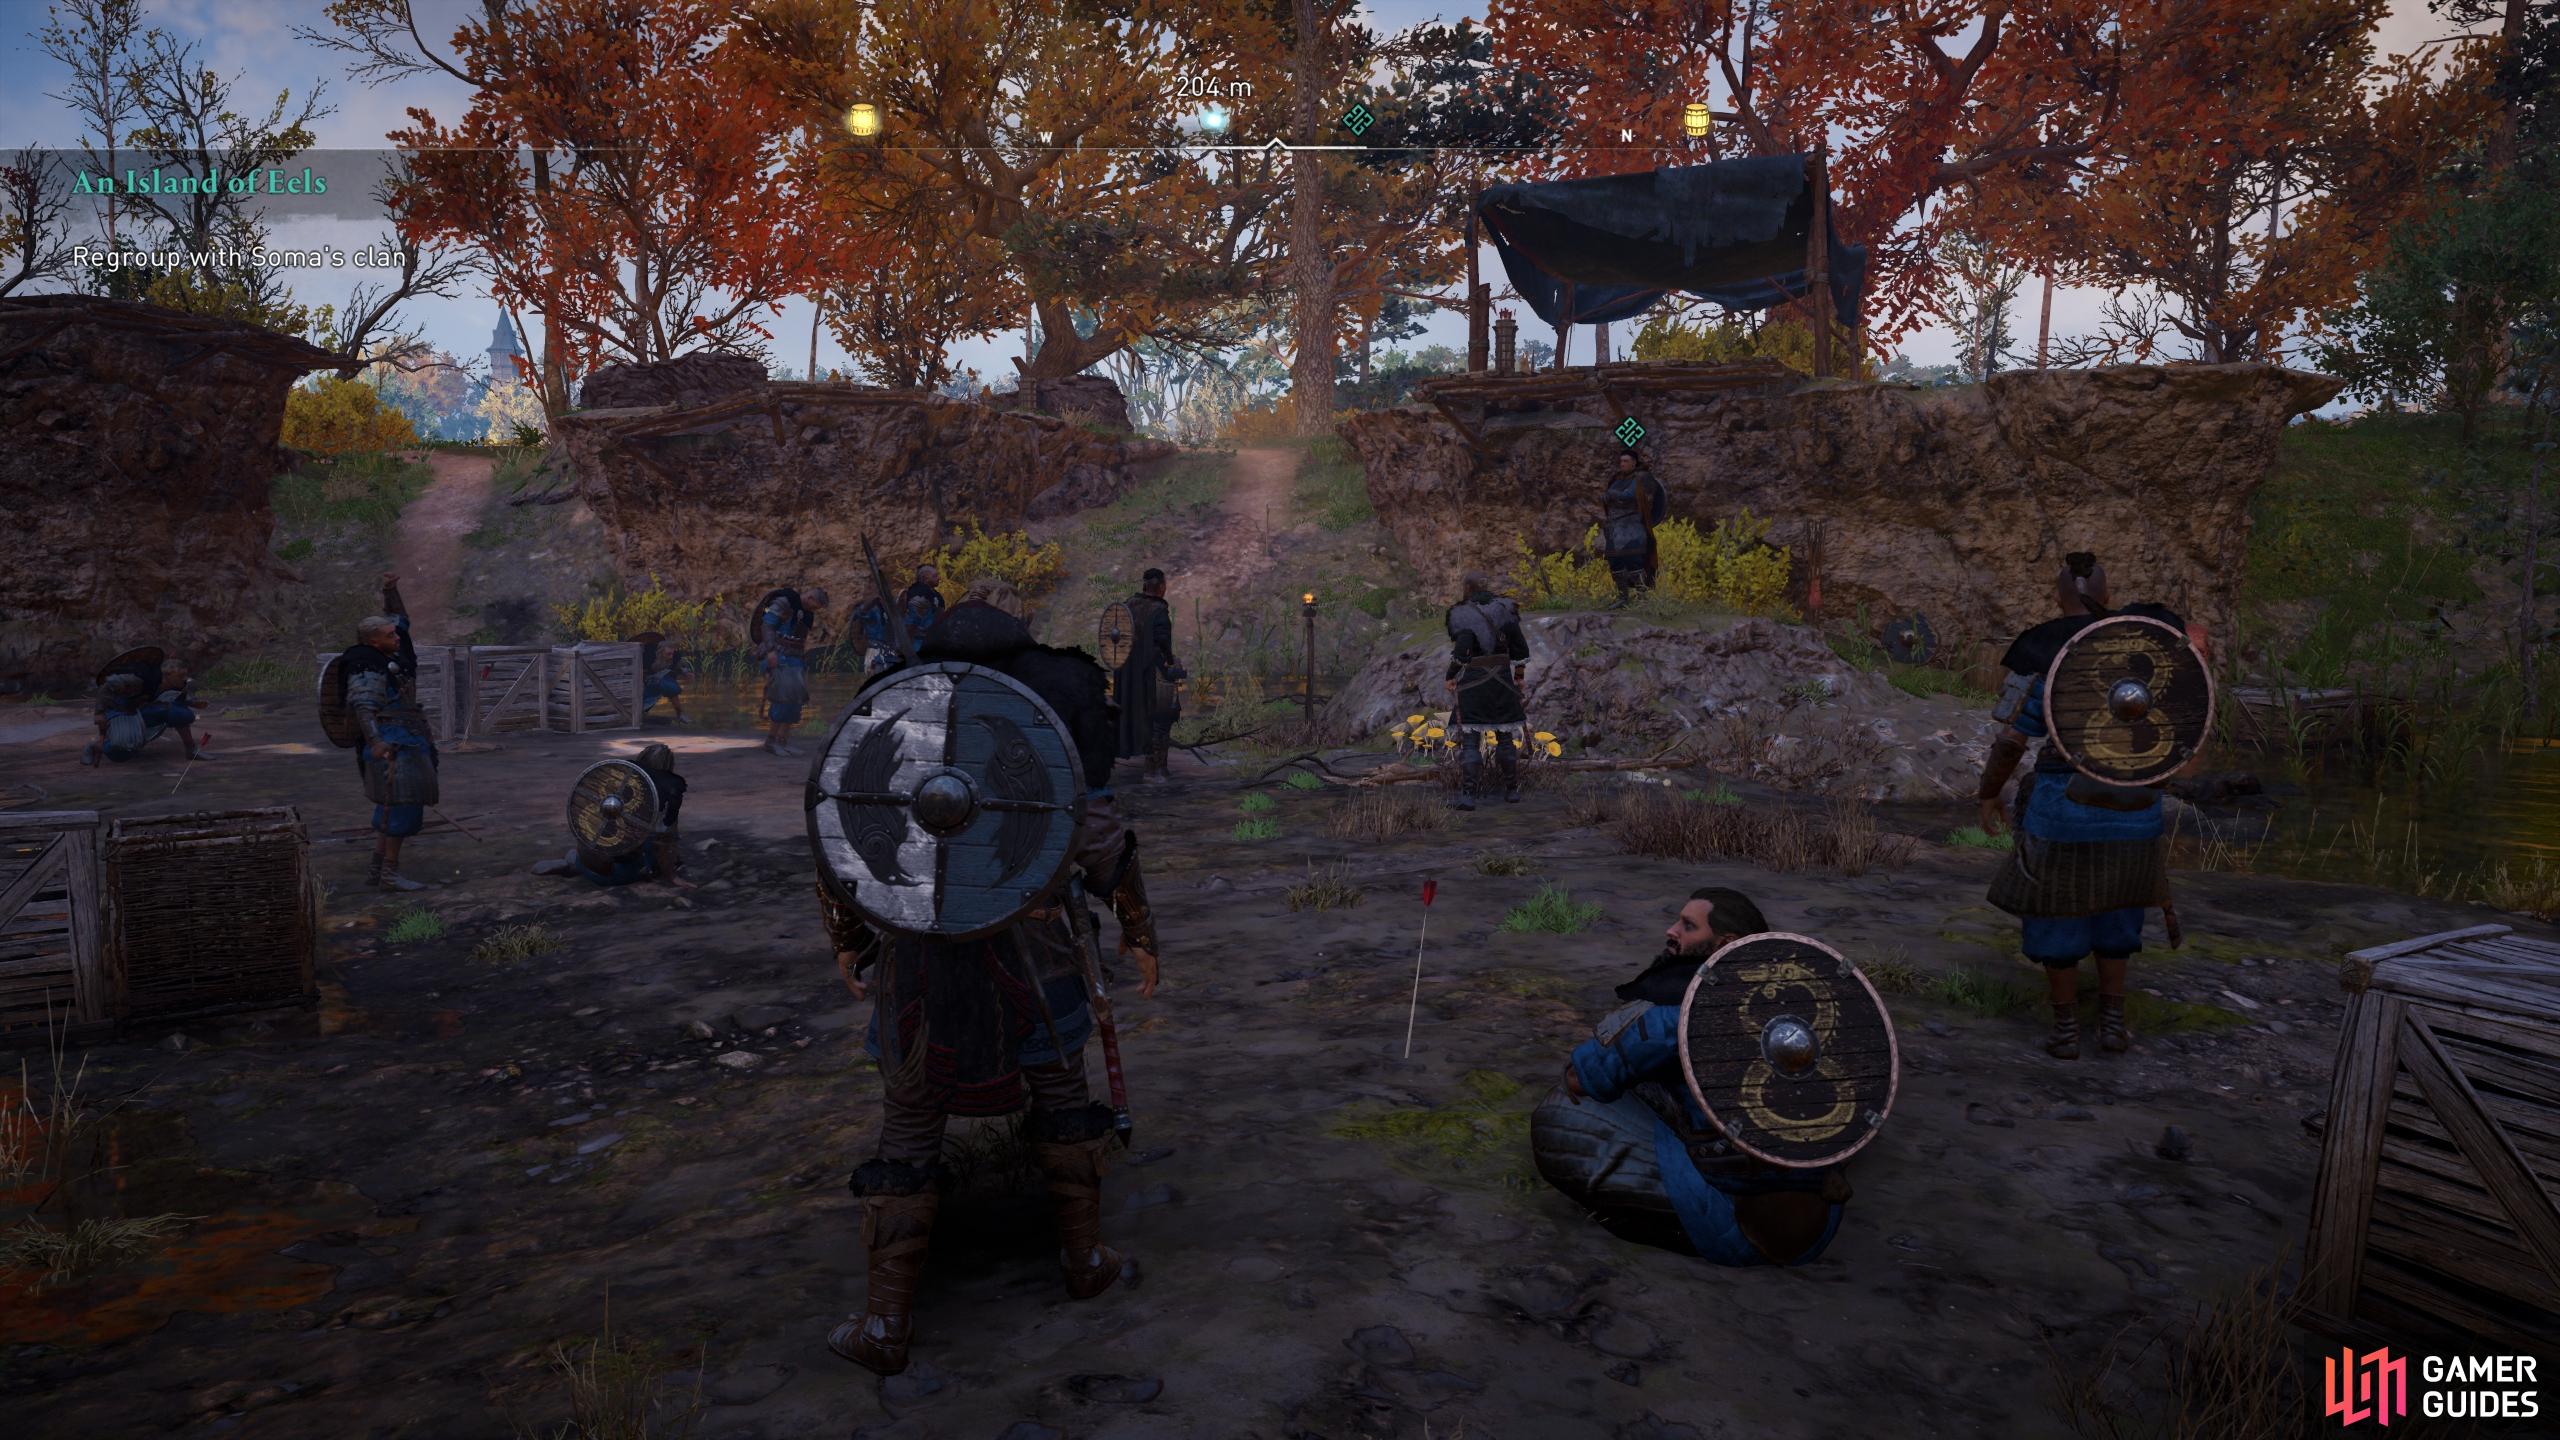
Speak with Soma in the camp to proceed with the quest.
Raid Ely Monastery
After speaking with Soma you can head southeast toward the monastery. It doesn’t matter how you approach it from here, the aim is to kill everyone and loot everything inside; a proper raid! As you approach the northwestern walls you’ll begin to notice a few archers on the walls. Use Odin’s Vision to highlight them if necessary, and take them out in whatever way you prefer. A swift arrow to the head will eliminate them as a threat later on. Most of the guards at the northwestern gate will be regular units, but as you move further into the monastery you’ll encounter a couple of Yeomen. At this point you’ve probably killed a fair few of these units, so you’ll know that they’re slightly tougher than the others. Use heavy attacks to break their shield defences, well timed blocks and parries to counter their special attacks, and your own unique abilities to bring them down swiftly.
Once you’re beyond the gates you’ll see a large building to the southwest. In here you’ll find some minor treasure in a chest on the second level. After looting the chest, continue south to another large building which contains a large treasure chest filled with Raw Materials. To enter this building and loot the chest you’ll need the help of your crew, so now is a good time to summon them with your horn. Don’t worry if your ship is far away; your crew should turn up anyway. Once inside the building you’ll need to move the structure blocking access to the large chest, or climb over the woodwork. Once you have the Raw Materials, head back outside and continue north down the steps. At the bottom of the steps, enter the building on your right, using Odin’s Vision to highlight the treasure within (more Raw Materials).
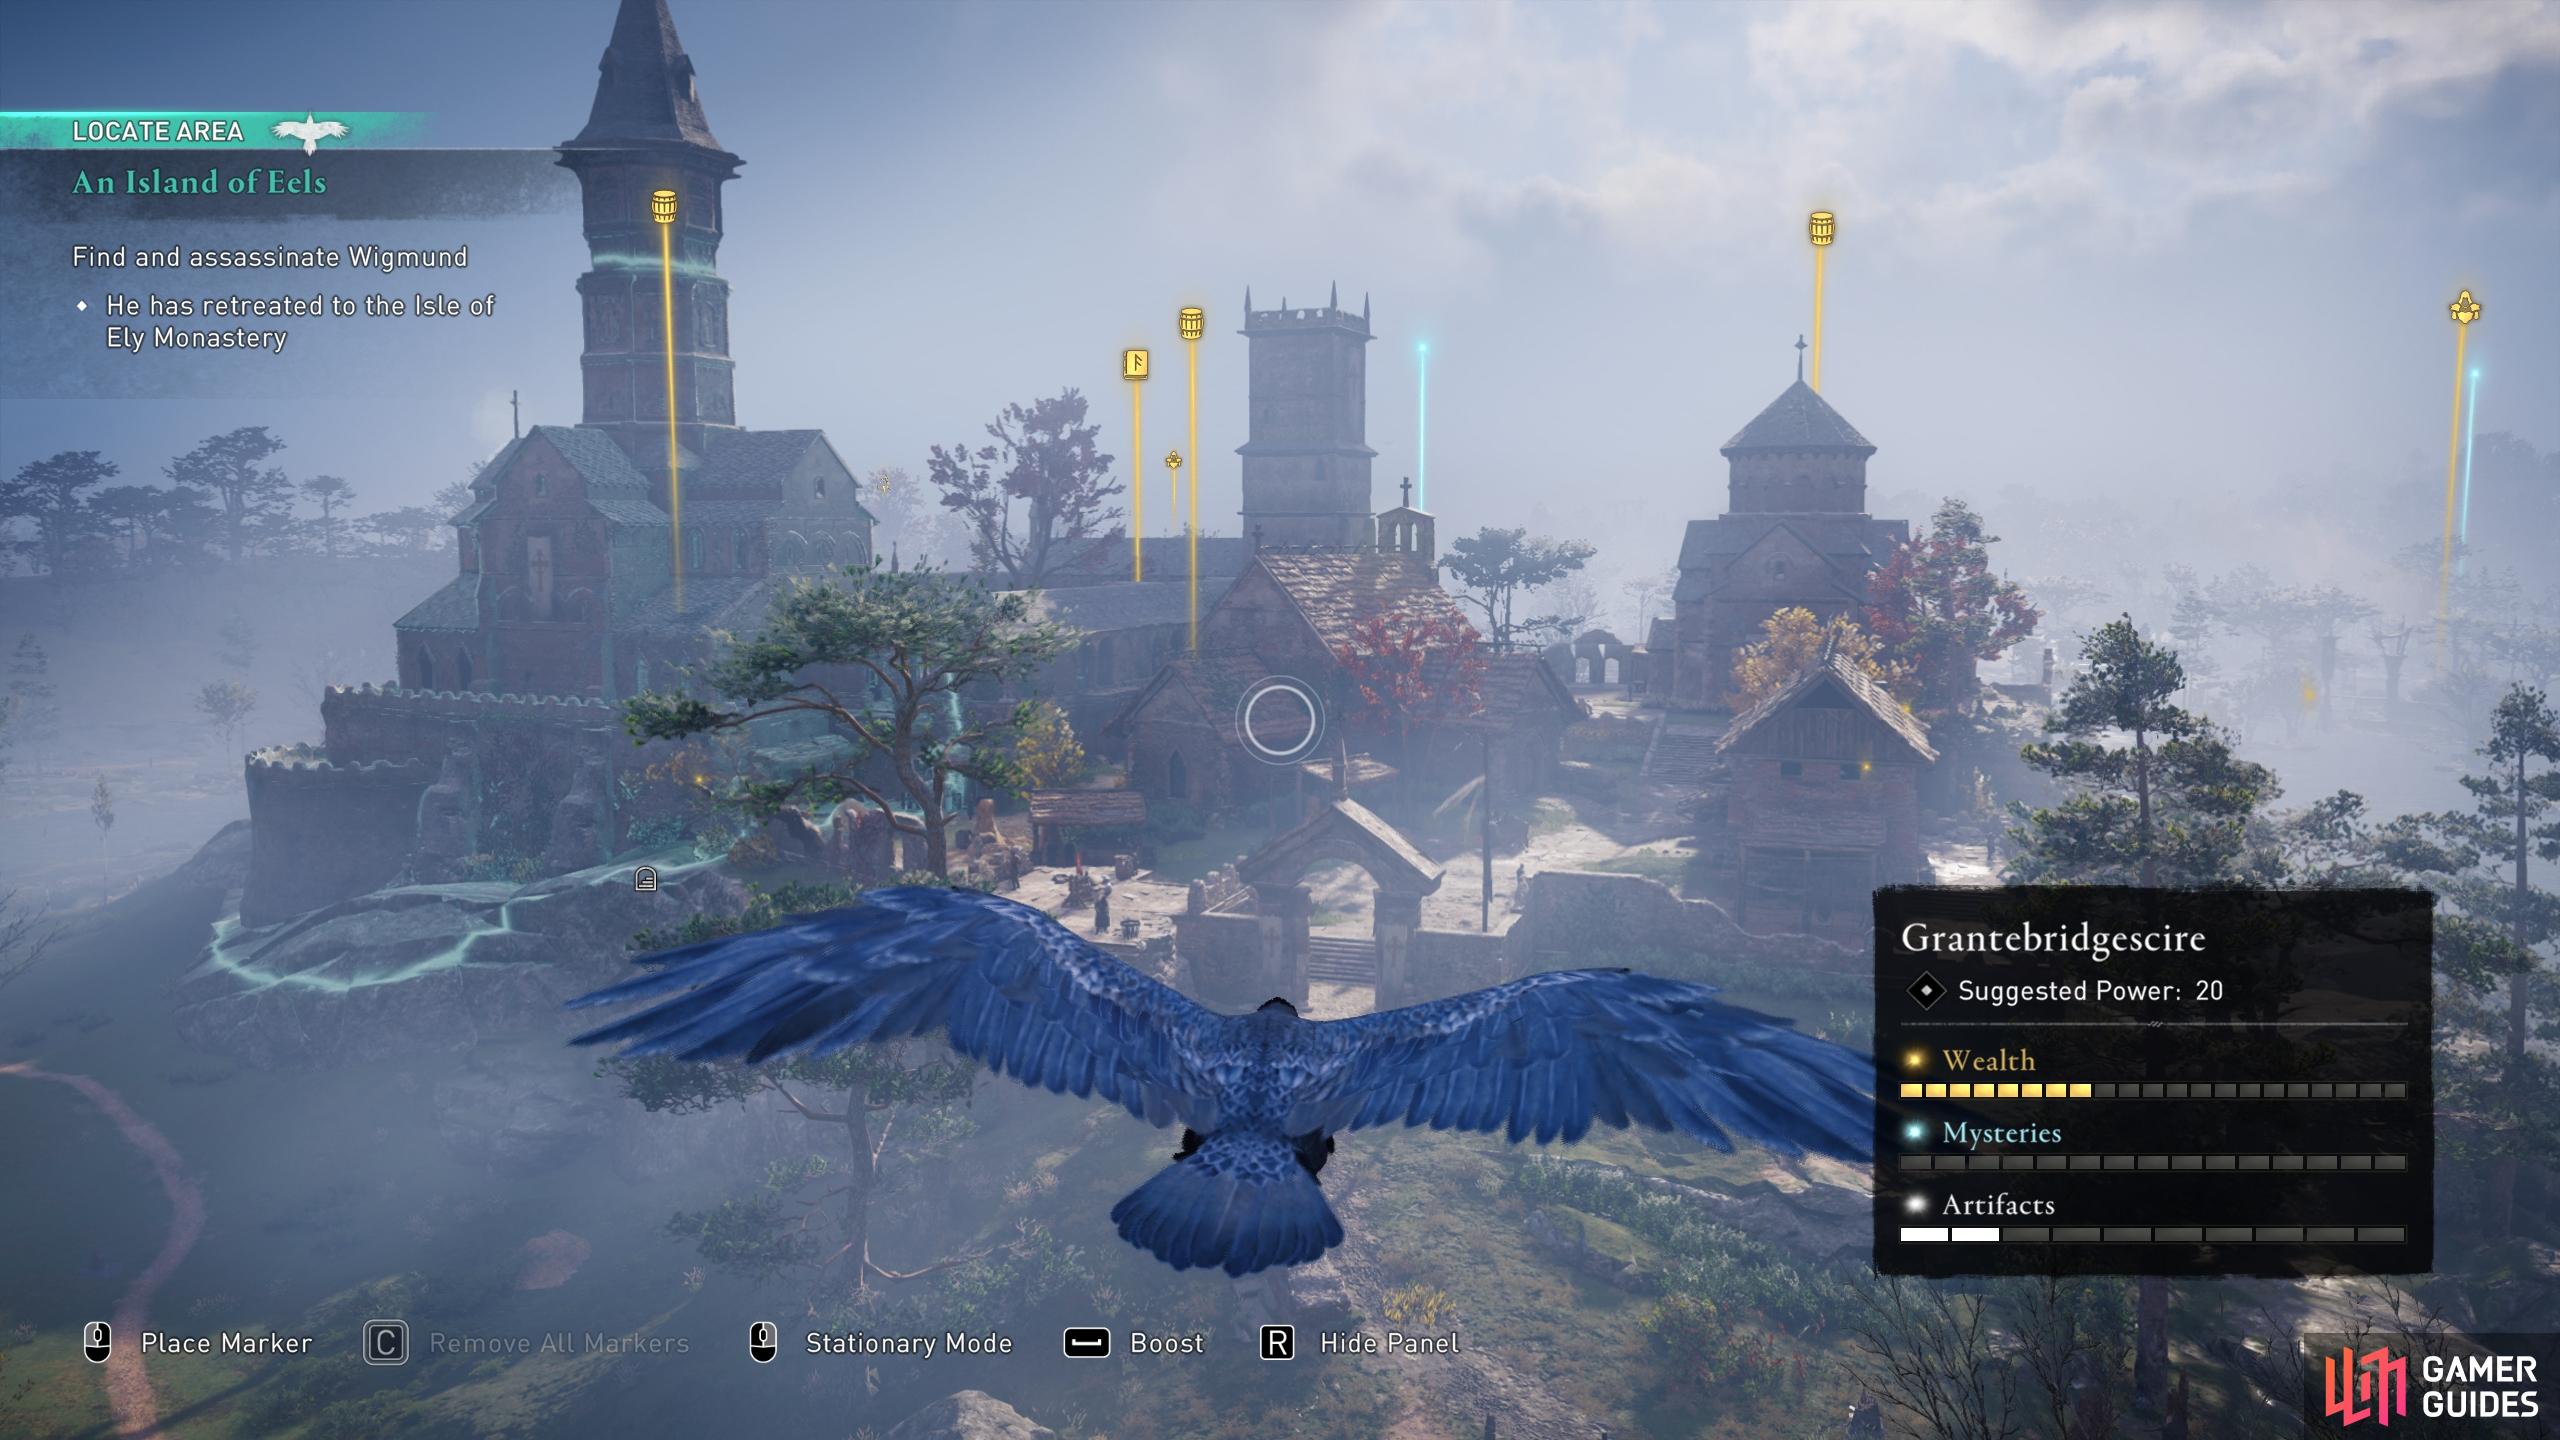
(1 of 7) Use your raven to scout the monastery. You can also see the locations of the treasure from this image.
Find and Kill Wigmund
Next, continue northeast to the cloister, and use Odin’s Vision to highlight the treasure in the building northeast of it. You’ll need Soma or a crew member to open the door with you, but once inside you should make short work of the guards. Wigmund will charge you at this point, but despite a few swift attacks he isn’t much of a foe. Soma will focus her attacks on Wigmund regardless, so you can leave him to her if you’d rather loot the area. However, you will need to return to Wigmund to confirm the kill once he’s down. This will trigger a cutscene similar to all those which occur when you kill a member of the Order of Ancients. After the cutscene, you will be encouraged to return to the camp in the northwest, but we’re not quite done looting here yet. At the northern end of the room where you found Wigmund, you’ll find another chest filled with Raw Materials.
Once you’ve looted the last chest of Raw Materials, you’ll be notified that the raid of the monastery is complete, but that’s not quite true. There’s still a Book of Knowledge to be found beneath the cloister. To reach it, you’ll need to enter through a secret passage which can be found by the shore to the east. Once you’ve found the passage, the route to the Book of Knowledge is entirely linear. However, be sure to pick up the Opal from the ground in the cave just before the first doorway toward the book. Collect the book to receive the Dive of the Valkyries melee ability. With this you can return to camp, safe in the knowledge that you’ve acquired all the treasure there is to be found at the Isle of Ely Monastery.
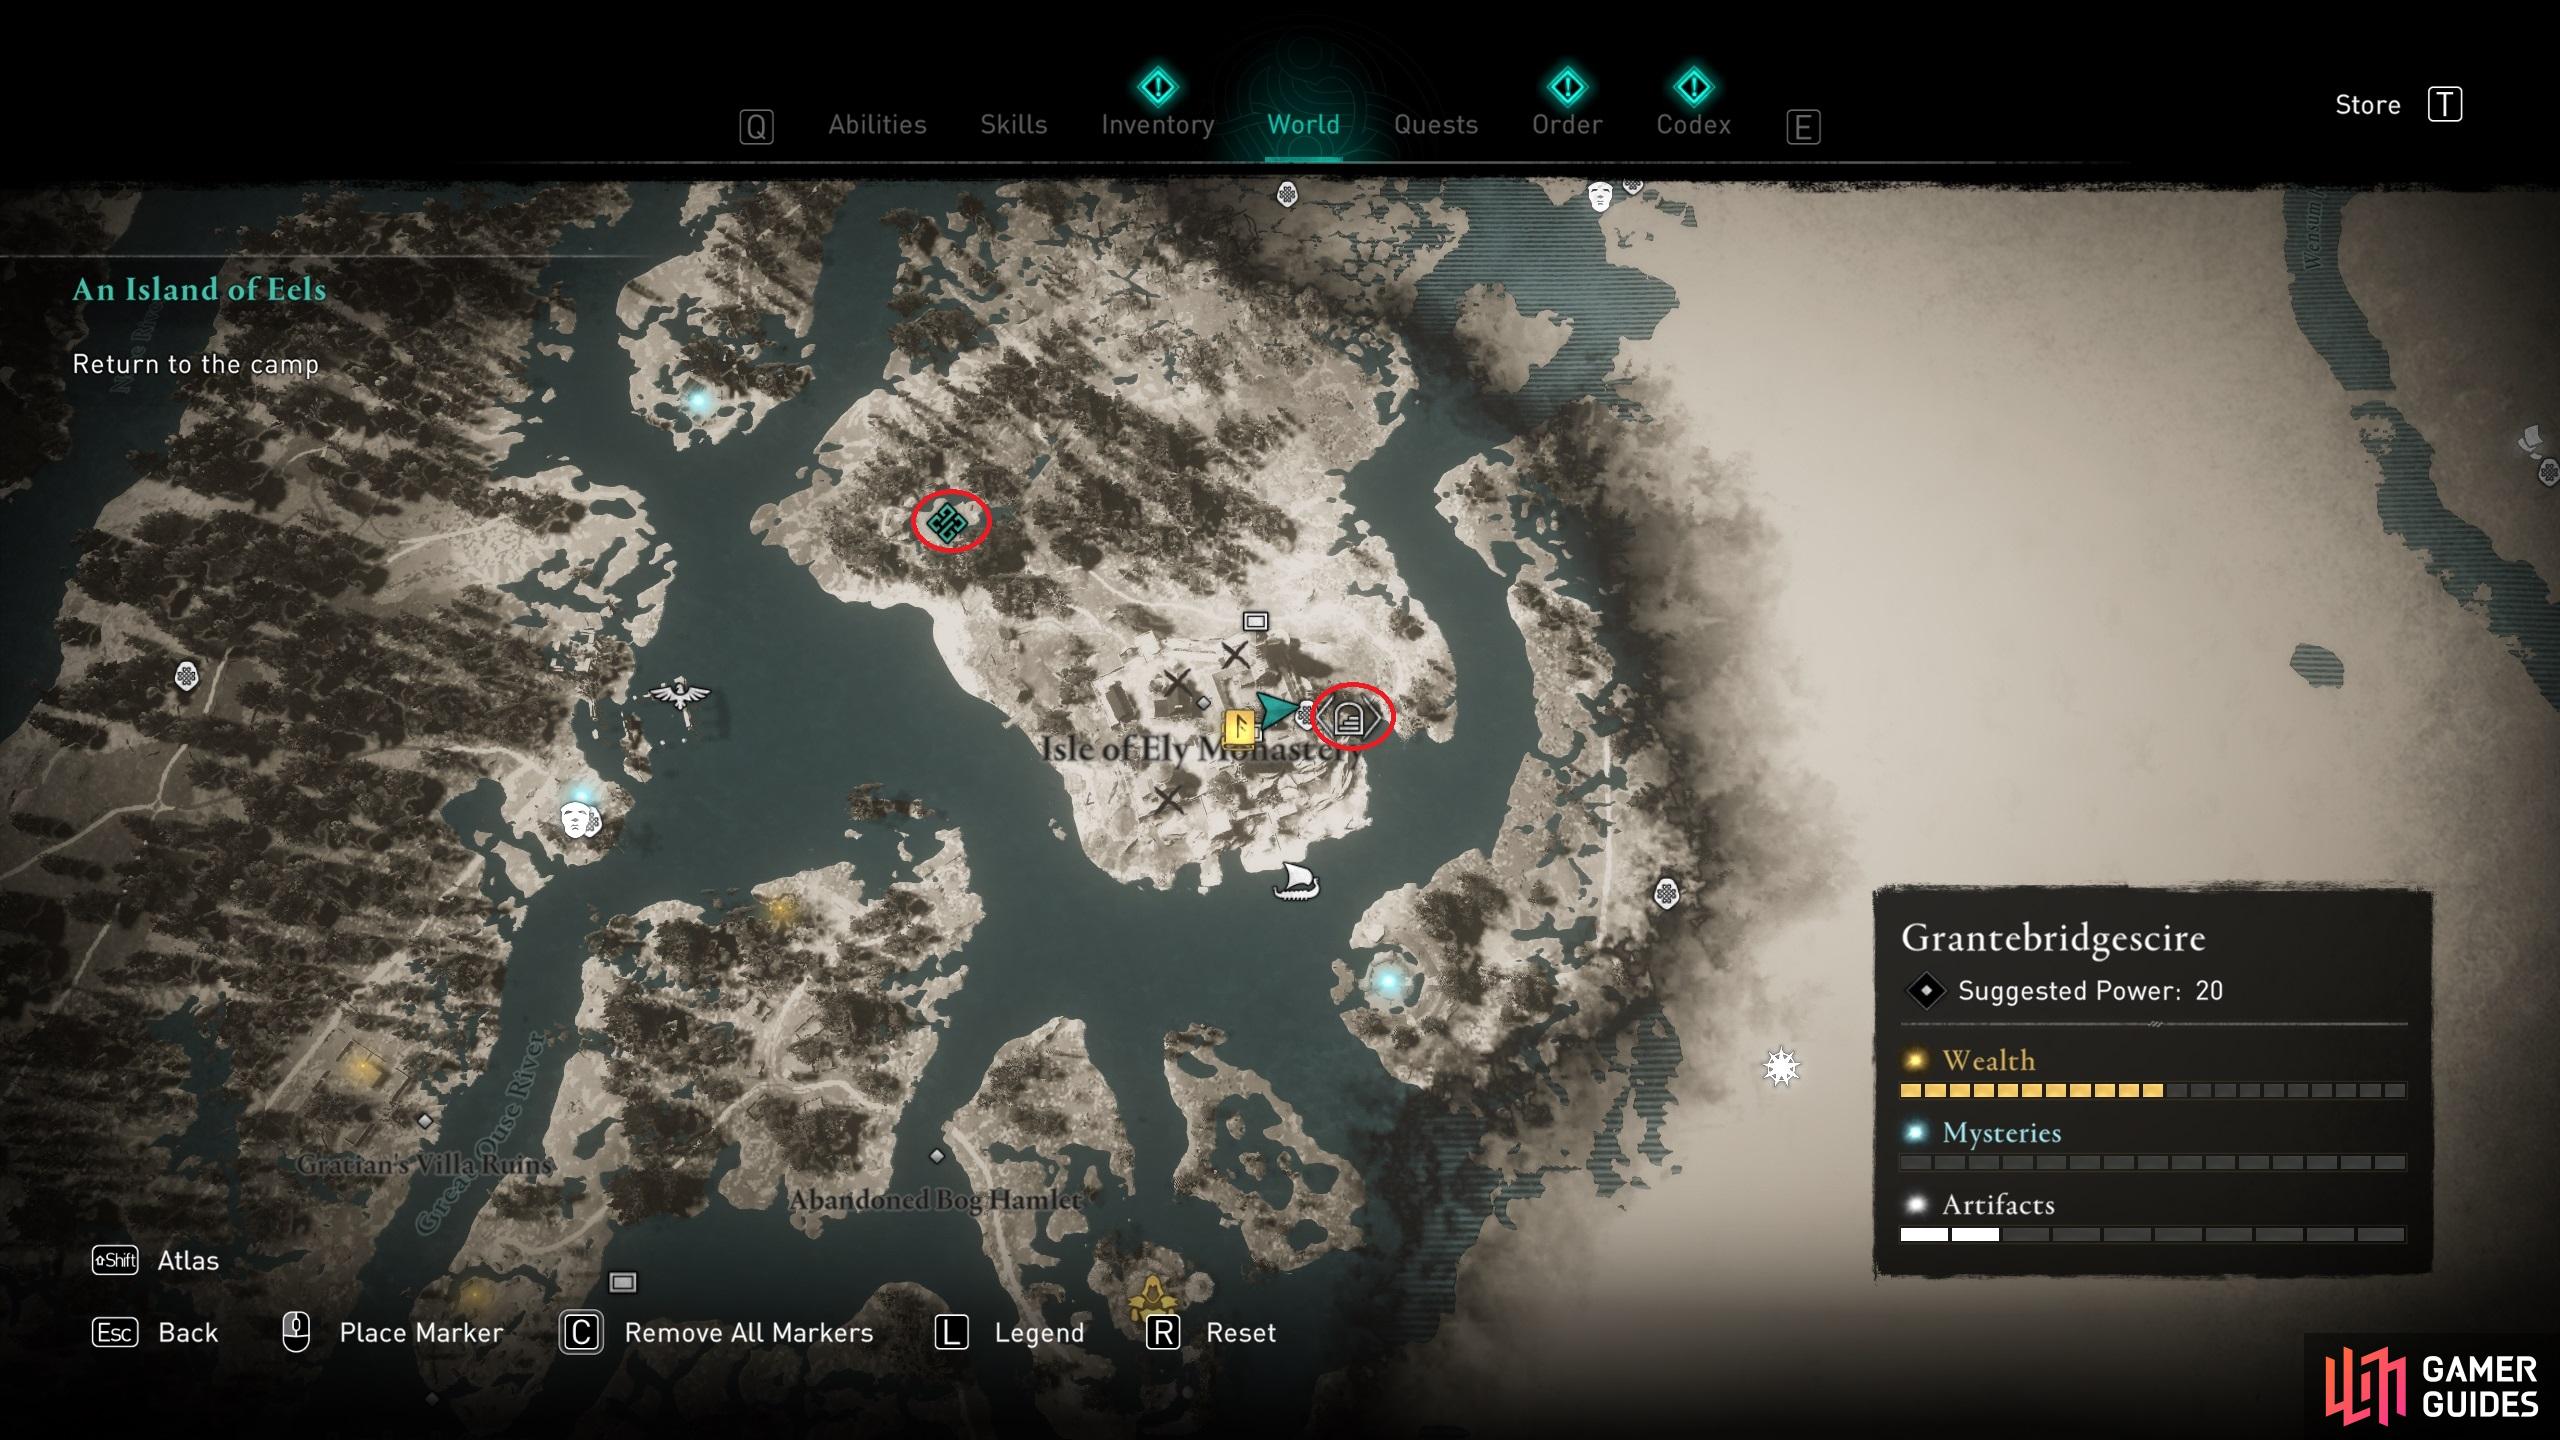
(1 of 4) The location of the camp (northwest) and the entrance to the secret passage (southeast)
When you’re back at the camp you’ll find Soma’s warriors celebrating. Enter the camp for a cutscene to begin, at which point you’ll go through some dialogue options. None of these have any significant impact, so don’t worry about choosing any over the other. Just go with your own preference. At the end of the scene, assuming you accused the real traitor during The Stench of Treachery, you’ll have a brief scene with Birna in which she asks to join your crew. When the conversation is done, the quest will end.
No Comments