
This page details everything you need to know about how to complete Verica’s Tomb, part of the Tombs of the Fallen Pack 2 update for AC Valhalla, and where to find the Verica’s Tomb artifact.
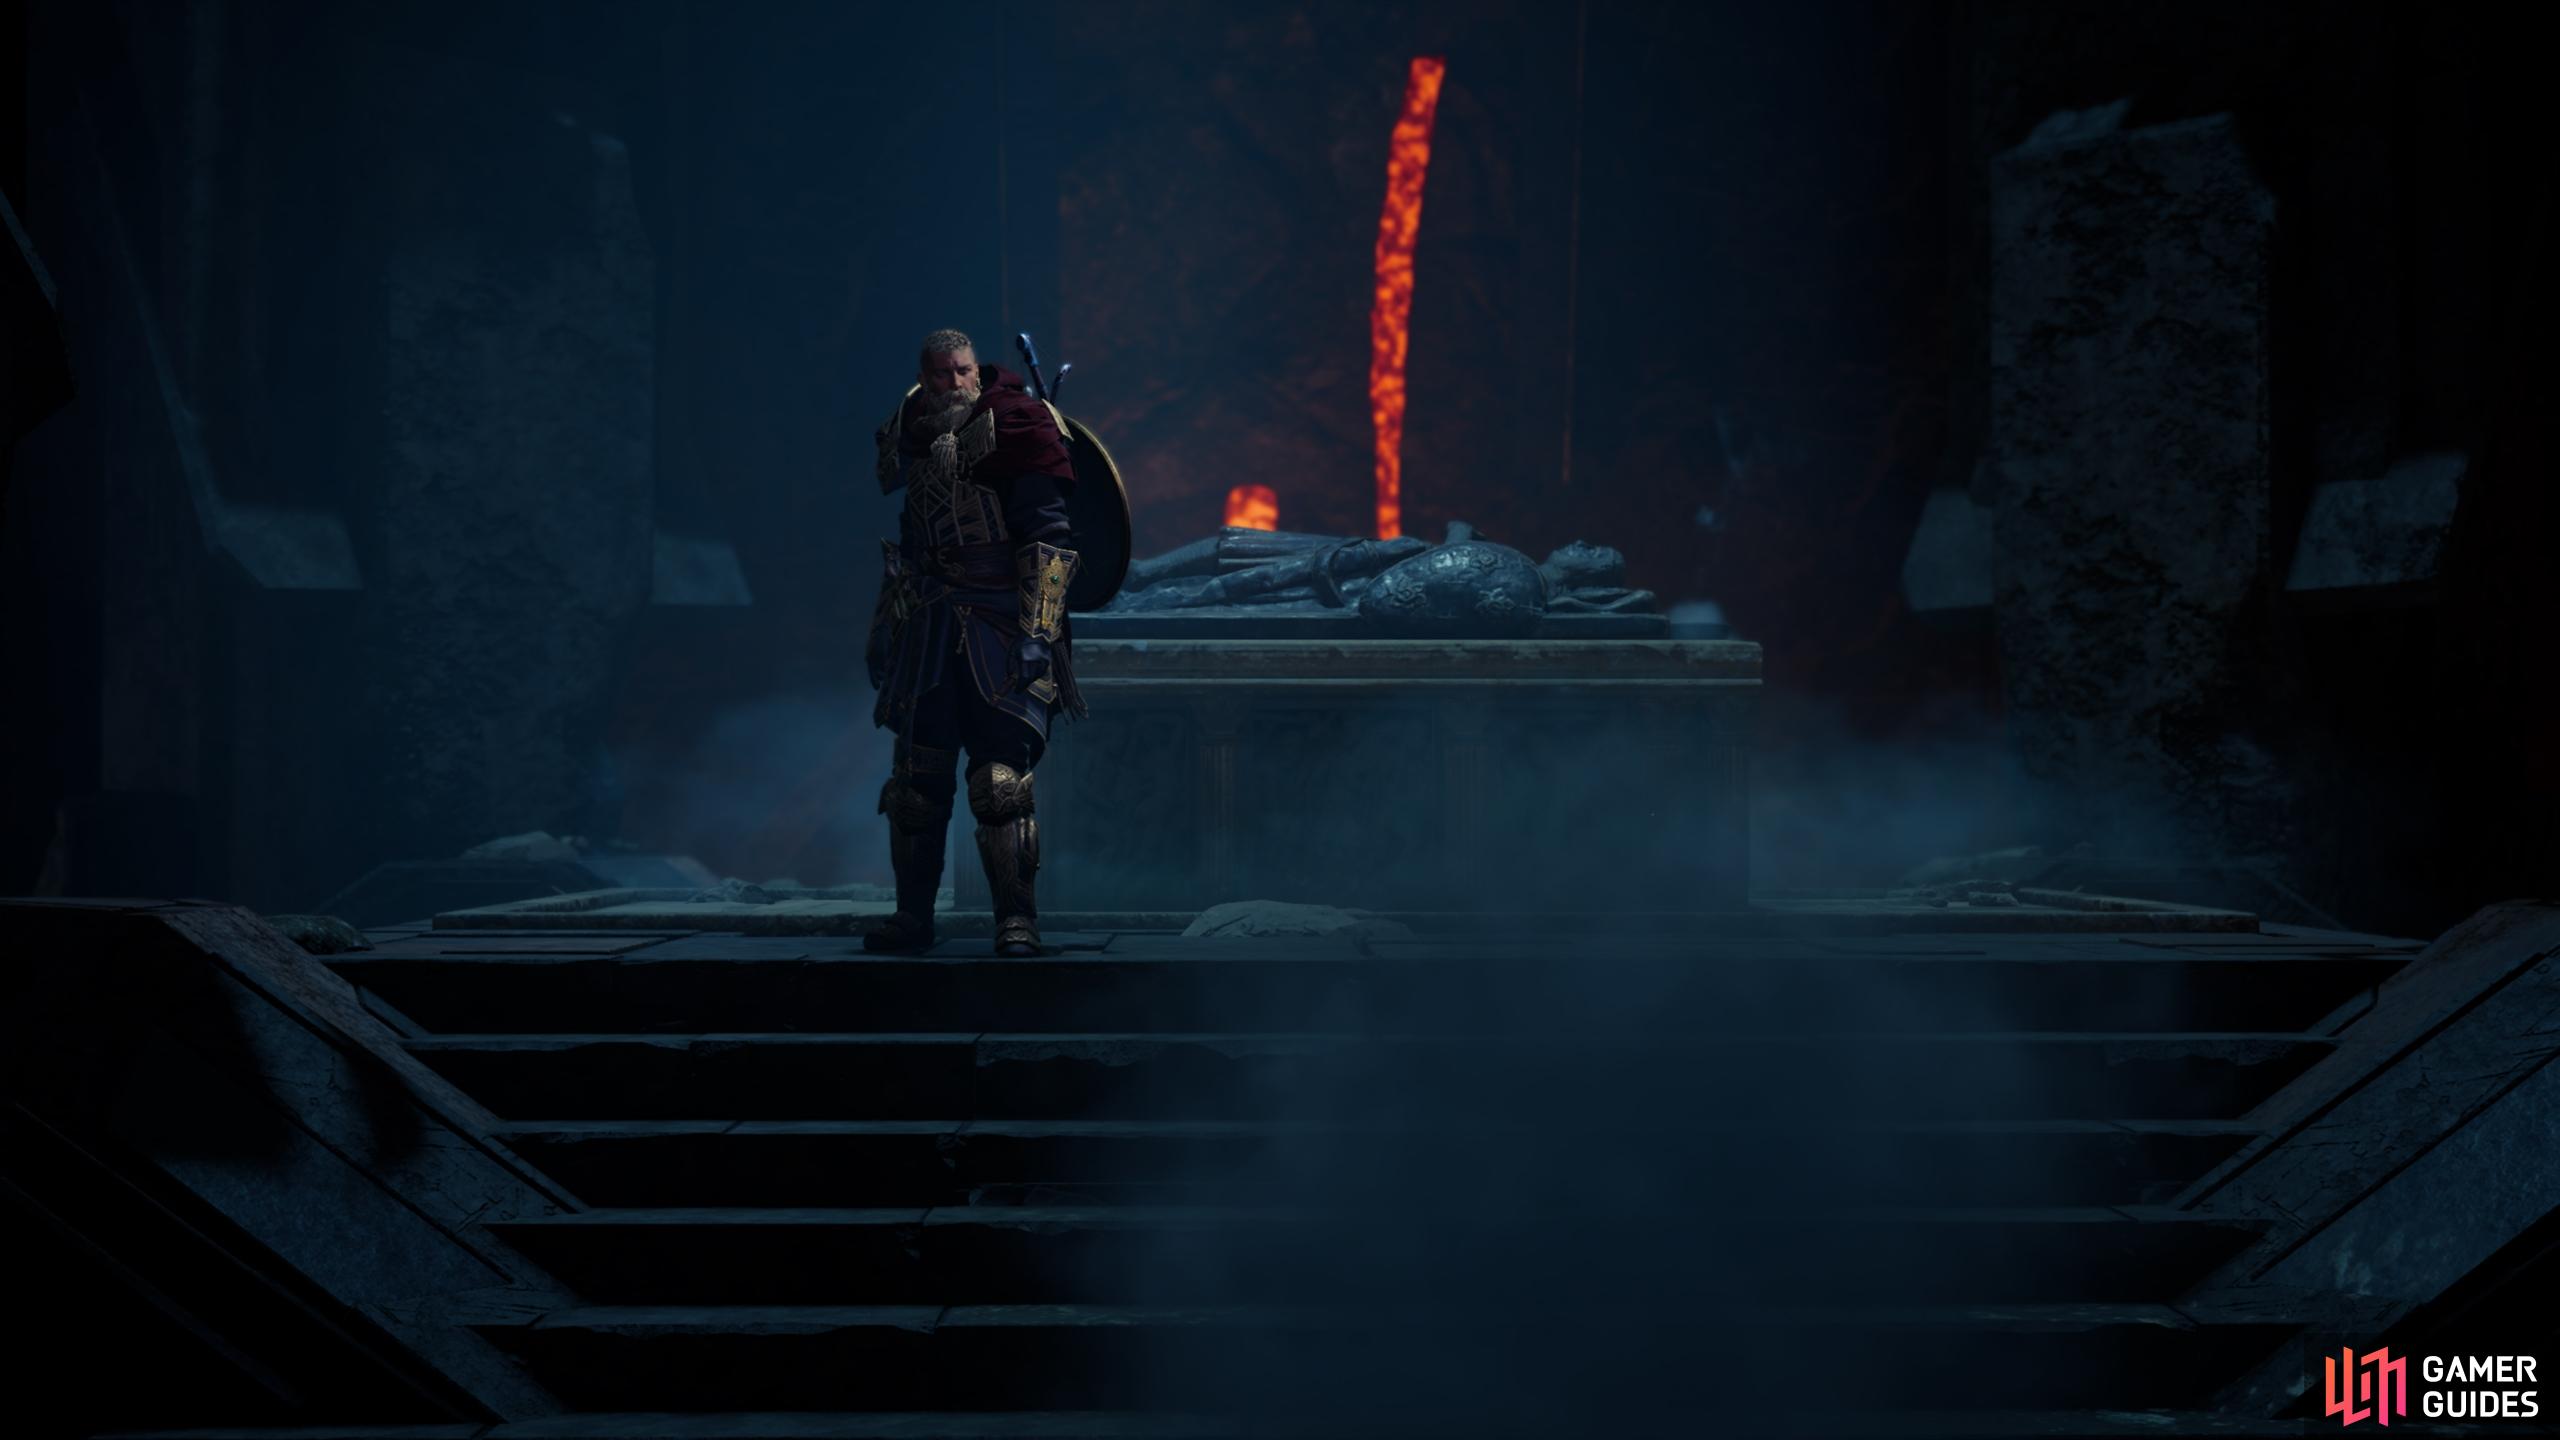
Verica’s Tomb, Tombs of the Fallen.
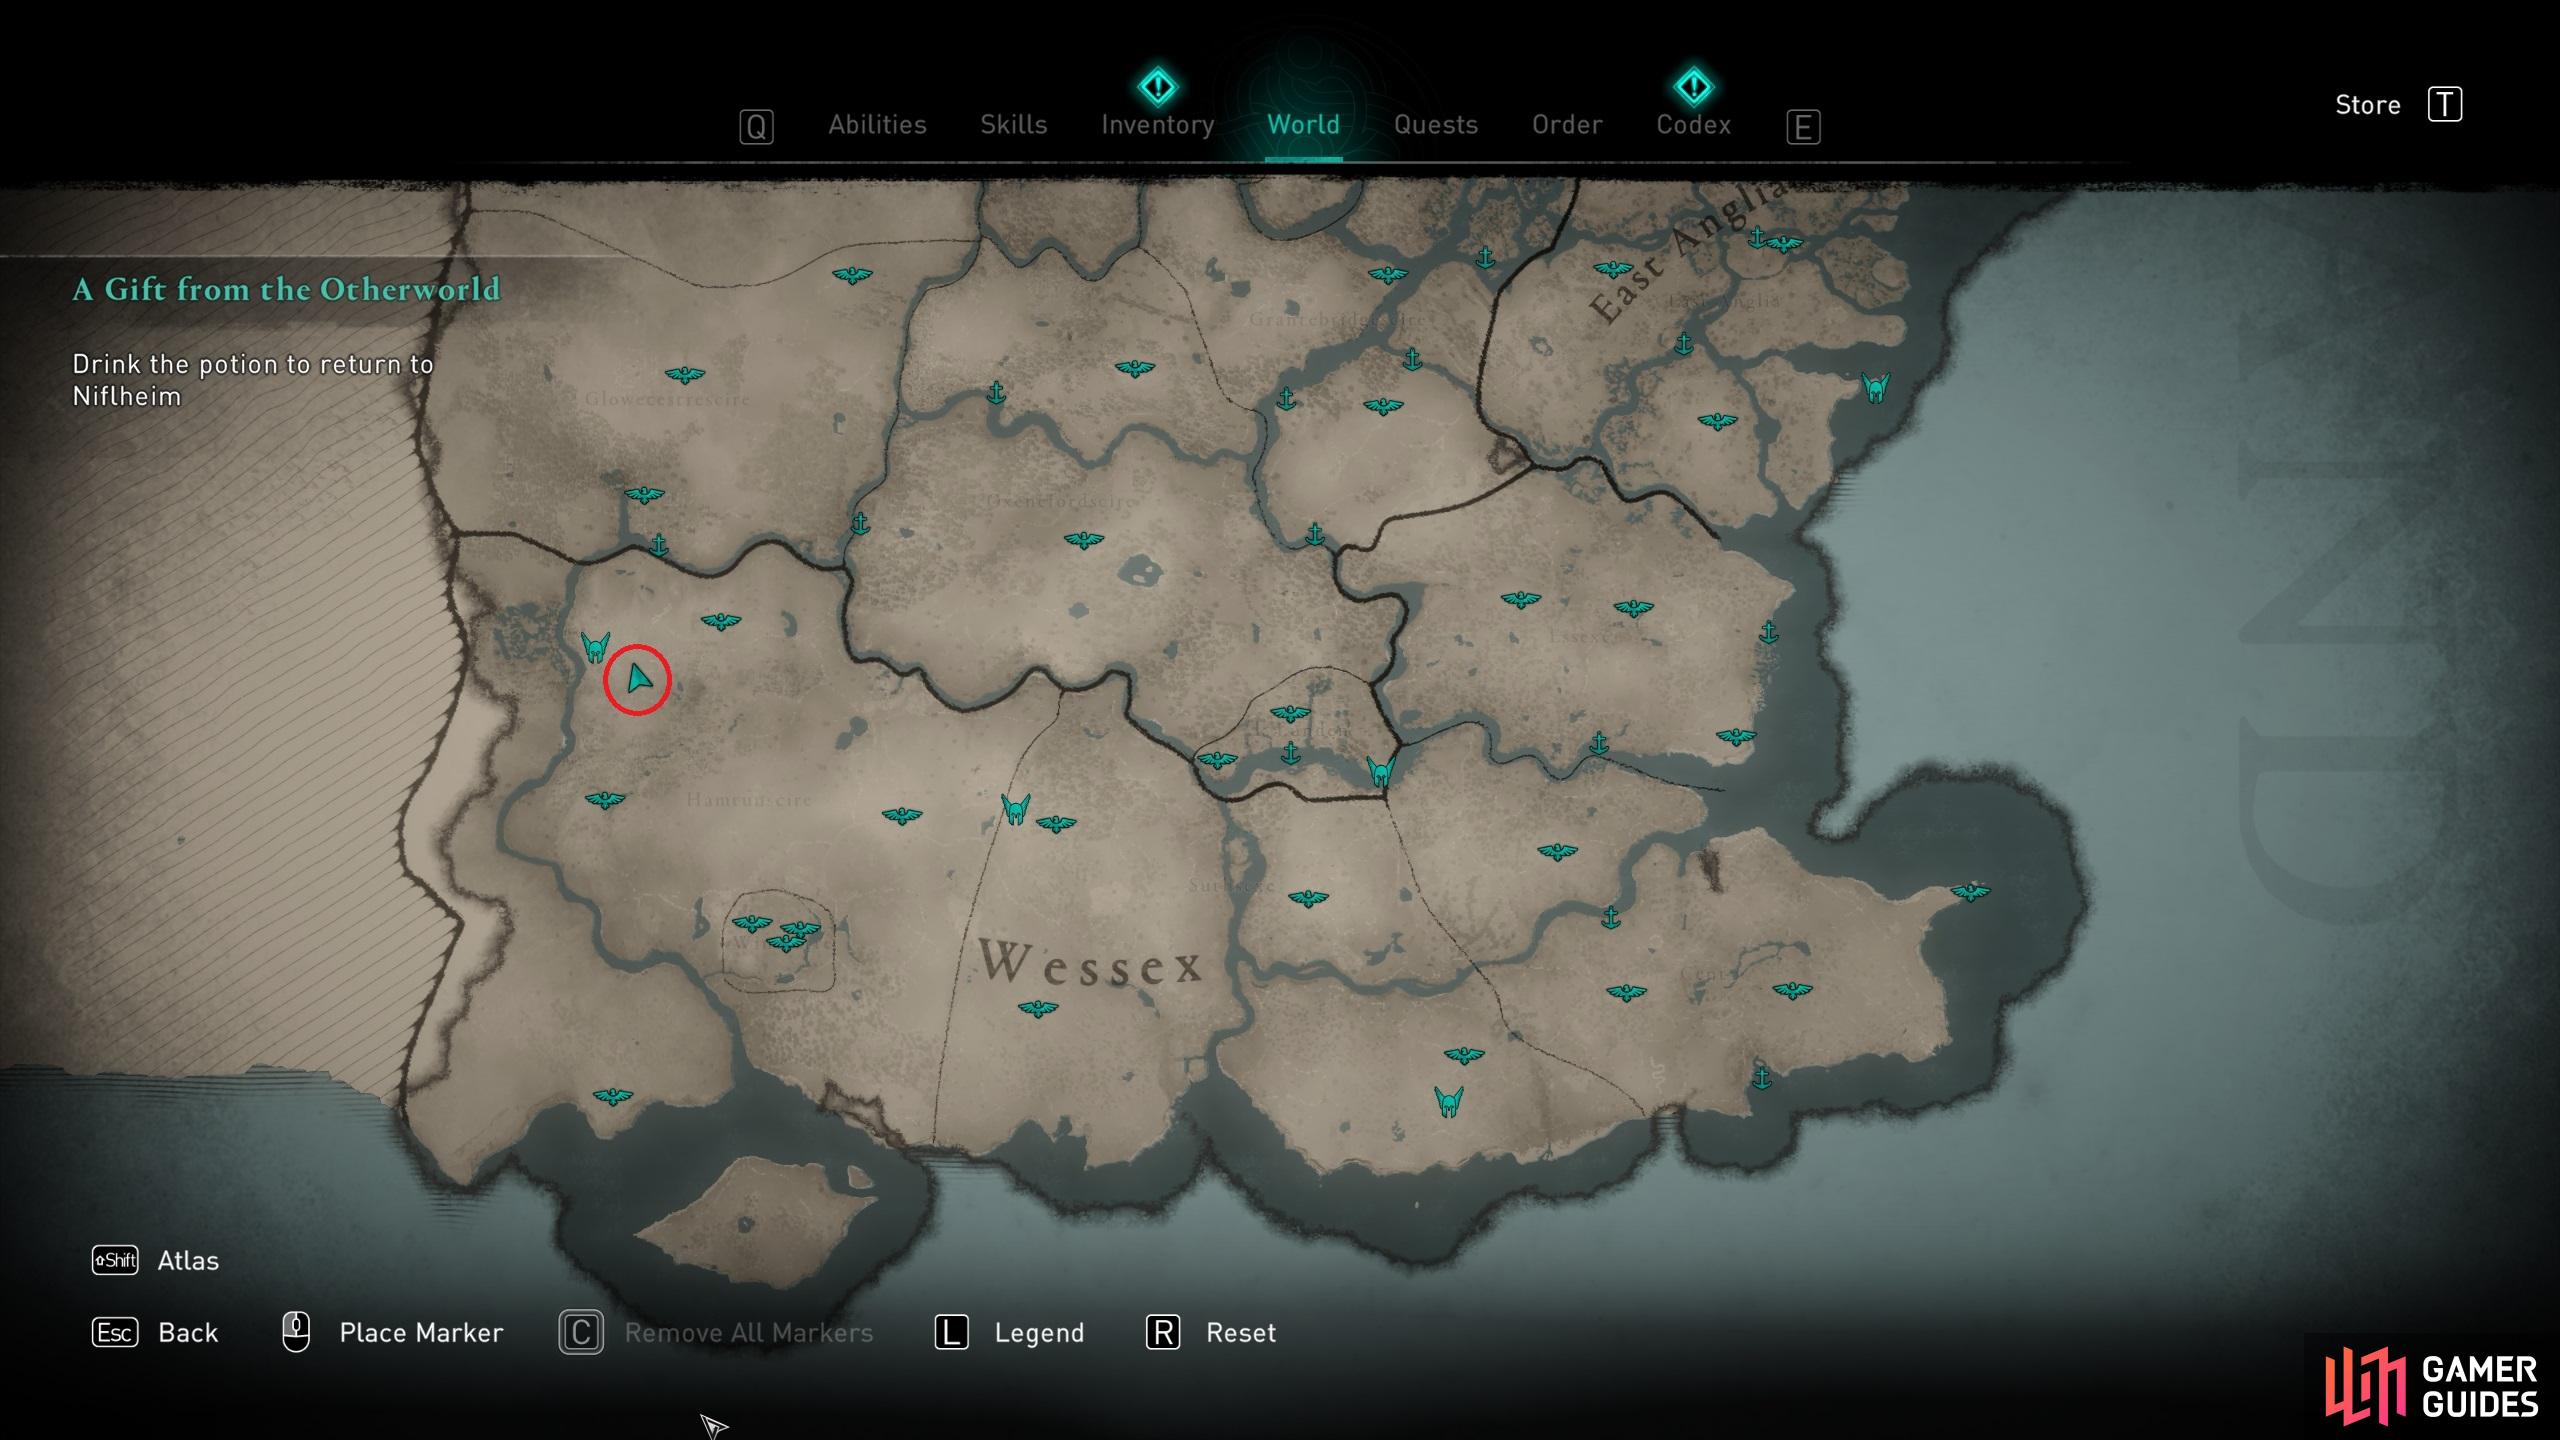
Where to Find Verica’s Tomb
You’ll find Verica’s Tomb east of Aethelnay in Hamtunscire, at the southeastern part of the map of England. You can use your raven to scout the area when you’re close. The entrance to the tomb will be highlighted, and you can use Odin’s Sight to further highlight the markings on the wall. You’ll need to interact with these to open the tomb, and once you’re inside the location will be marked on you map.
How to Complete the First Puzzle
There are four main puzzles that you’ll need to complete in Verica’s Tomb before you can enter the tomb itself. The first one is incredibly simple, and you can reach it by taking the rope wire down to the southwest, smashing the wooden wall to your right, and placing the movable pillar here on the nearby platform, as shown in the gif below.
This will reveal more platform puzzles that you can now complete. We’ll cover all of these below.
How to Complete the Second Puzzle
To reach the second puzzle, take the rope wire down to the south from where you finished the first, then climb the wooden platforms to the southeast and follow the path through the tunnel as you turn southwest. You’ll see a locked gate here, but you should continue to the left of it through the hole in the wall. Once you’re through this you’ll need to slide down the rock while avoiding the spinning spikes, and at the bottom you’ll find a body of toxic water along with the beginning of the second puzzle.
Now that you’re at the beginning of the second puzzle, you’ll need to start by shooting three wooden platforms in front of you, which will in turn release parts of the structure that you can climb over to reach the top of an area with the next part of the puzzle, as shown in the gif below.
At this point you’ll need to shoot another wooden platform holding a movable barricade above you to the northwest, then pull the barricade to your left (south) onto the platform that begins to rise. Next, turn north again to see a destructible wooden wall just beneath you, which can be shot with an arrow to reveal another movable barricade. Pull this out and on to the platform to make it lower, then jump back up to where you were and climb on top of the movable barricade which is placed on the platform to the south. You can now jump up the wall to the northwest and climb it to the top, and further up the ladder. This is a lot to take in without seeing the visuals, so check the gif below if you’re having trouble.
Now that you’re at the top you’ll see a number of pots that you can loot for silver, and a lift to the right of them. Take the lift up and smash the wooden wall to the north. You’ll find a lever behind this (to your left) which you’ll need to pull to activate a platform in front of you, which will then begin to move from north to south. You’ll need to jump onto this platform and then aim at a destructible wooden platform above the barricade to the north. Shooting this will cause an explosion which will destroy the stone barricade, allowing you to pass through.
Once you’ve passed through you’ll see another destructible stone barricade in front of you to the north. The first thing you’ll need to do here is turn west and look up above the locked door. You’ll see a piece of wood that you can shoot to destroy, then climb up and over the door. On the other side you’ll find a lever to pull, after which you’ll see the platform over the lava begin to move from north to south. Shoot the wooden wall to the northeast and then go through the door to jump on the platform. You can then jump onto the stone ledge to the northeast, and onto the wooden platform above you to the south, where you’ll find a fire pot. Take this and jump back down onto the moving platform, then throw the fire pot at the destructible stone barricade, as shown in the gif below.
Once you’re through the hole where the stone barricade was, jump over the lava to the north until you reach another lever which releases a spherical object. Take the object and head over the lava to the northeast, using the stone on the right side to avoid falling in where possible. You’ll soon be in a room with a door and some wooden walls to your left. Put the object down here, then destroy the wooden walls to reveal some movable barricades. You’ll need to move both of these towards the right, then take the stone pillar out and place it in the centre of the room. You can now stand on the stone pillar to loot a key from a corpse just above you.
Use the key to open the door, then pick up the object again and take it through the door. All you need to do now is place the spherical object on the nearby platform, as shown in the gif below. This completes the first puzzle and reveals another platform puzzle.
How to Complete the Third Puzzle
To reach the third puzzle, head down the rope wire to the west of where you placed the spherical object from the second puzzle. Go through the door and climb up the wall to the west to find a fire pot on top of a broken wooden platform. Pick this up, jump down, and throw it at the stone barricade on the western wall.
You’ll now see a gap in the wall that you can walk through, and another room with a puzzle on the other side. Here you’ll need to jump down onto the wooden planks to your right and walk over them to pick up another fire pot on the other side. Jump down with the fire pot and look to the corner on the northwest wall to see another destructible stone barricade. Throw the fire pot at this and then pull out the movable barricade that was behind it. You’ll need to push this into the water to your left, giving you a platform to carry the stone pillar over.
You now need to pull the stone pillar and place it on the platform to your south, then pull the lever behind you, causing it to rise. Walk on the platform to be taken up with it, and at the top push the stone pillar onto the wooden platform in front of you.
The next thing you’ll need to do is lower the bridge in front of you by shooting the locks on either side of it. You can highlight these using Odin’s Sight, but before you can aim at them you need to shoot at the pots above you, to the left of the bridge. This will cause an explosion which will cause the platform to your left to lower, allowing you to jump onto it and then onto the stone structure. The platform will need to be sufficiently lowered so that you can aim at the bridge lock on this side, so you may need to step on it again if you can’t get a good view, as in the screenshots below.
Now that the bridge is lowered you can push the stone pillar over it. You’ll then need to push the pillar into the water to your right, and onto a platform in the water. Pull the lever behind you to raise the platform, then run along the wall to your left to get on the other side of the room, where you’ll find another lever. Pull this and then get back to the stone pillar, which you can now push over both raised platforms.
You’ll see a door to your right which you’ll need to shoot the lock from, then open it and push the stone pillar through. Keep pushing the pillar until it drops below you, then jump down and continue to push it through the door to the east, and onto the platform to your left. This will complete the puzzle and open another part of the tomb gate.
How to Complete the Fourth Puzzle
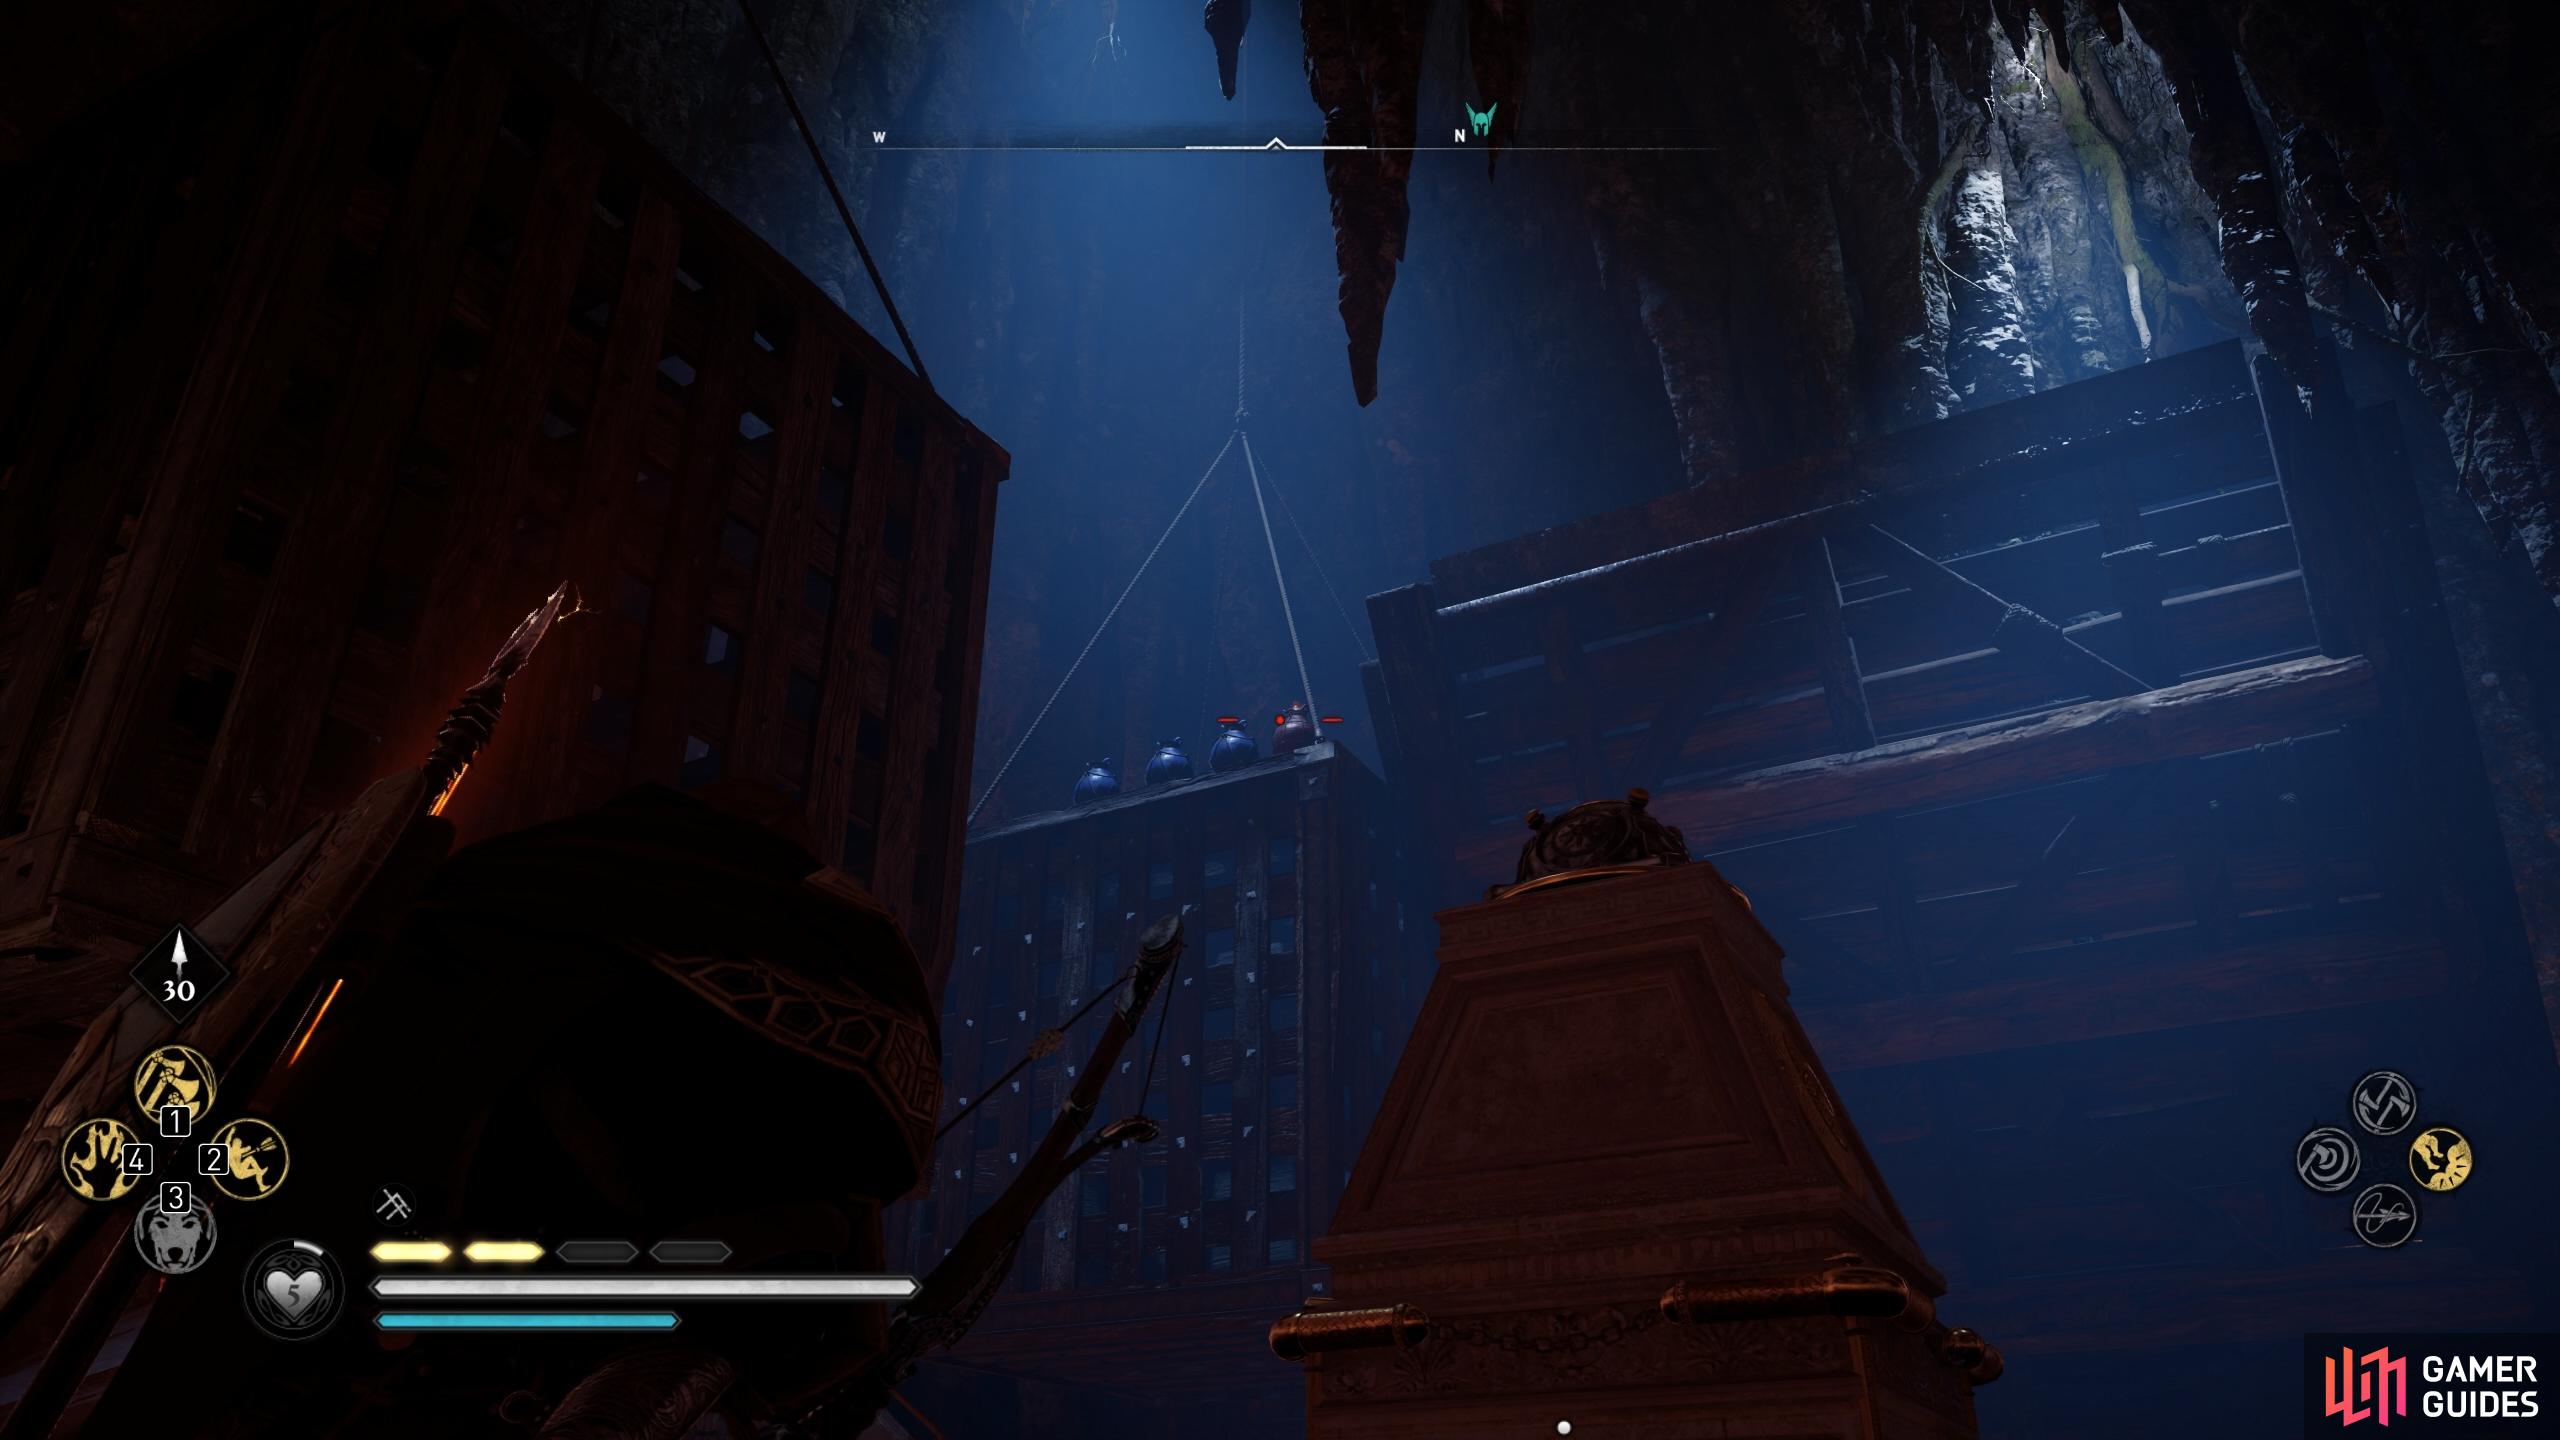
To reach the fourth and final puzzle, climb the wooden structure to the northeast and follow the path to the north, over a rope and to a platform with another lever. Your task here is to pull the lever to cause the platform in front of you to begin moving. You can now jump onto it when it’s close enough, then jump to the platforms with the fire pots to your left. Pick up one of these pots and then jump back onto the movable platform, before jumping over to the northeast side of the room. Here you’ll see a destructible stone barricade which you can destroy by throwing the fire pot at it, as shown in the gif below.
You can now go beyond where the barricade was to find some weighted platforms, and some stones scattered on the floor. Head over to the southern side of the room and throw the stones here onto the nearest platform, causing it to lower. You can now jump onto the platform to make it lower even more, then climb up to the platform to the northeast and quickly jump up onto the wall to the south, where you’ll find another lever, as shown in the gif below.
From here, pull the lever to reveal a spherical object, which you can then pick up and jump down onto the platform beneath you to the south. Once on the platform, turn southeast and wait until you can jump onto the stationary platform where the other lever is located. Keep running south from here and follow the path up until you reach some stacked boxes to your left. You’ll need to jump onto the tallest of these and then throw the spherical object up to the platform above. You can now go back down to the south and take the lift up.
Pick up the spherical object again and head south over the hanging platforms, then over the rooftops. You’ll find the platform where the object needs to be placed just beyond the rooftops, which will finally open the main gate to the tomb.
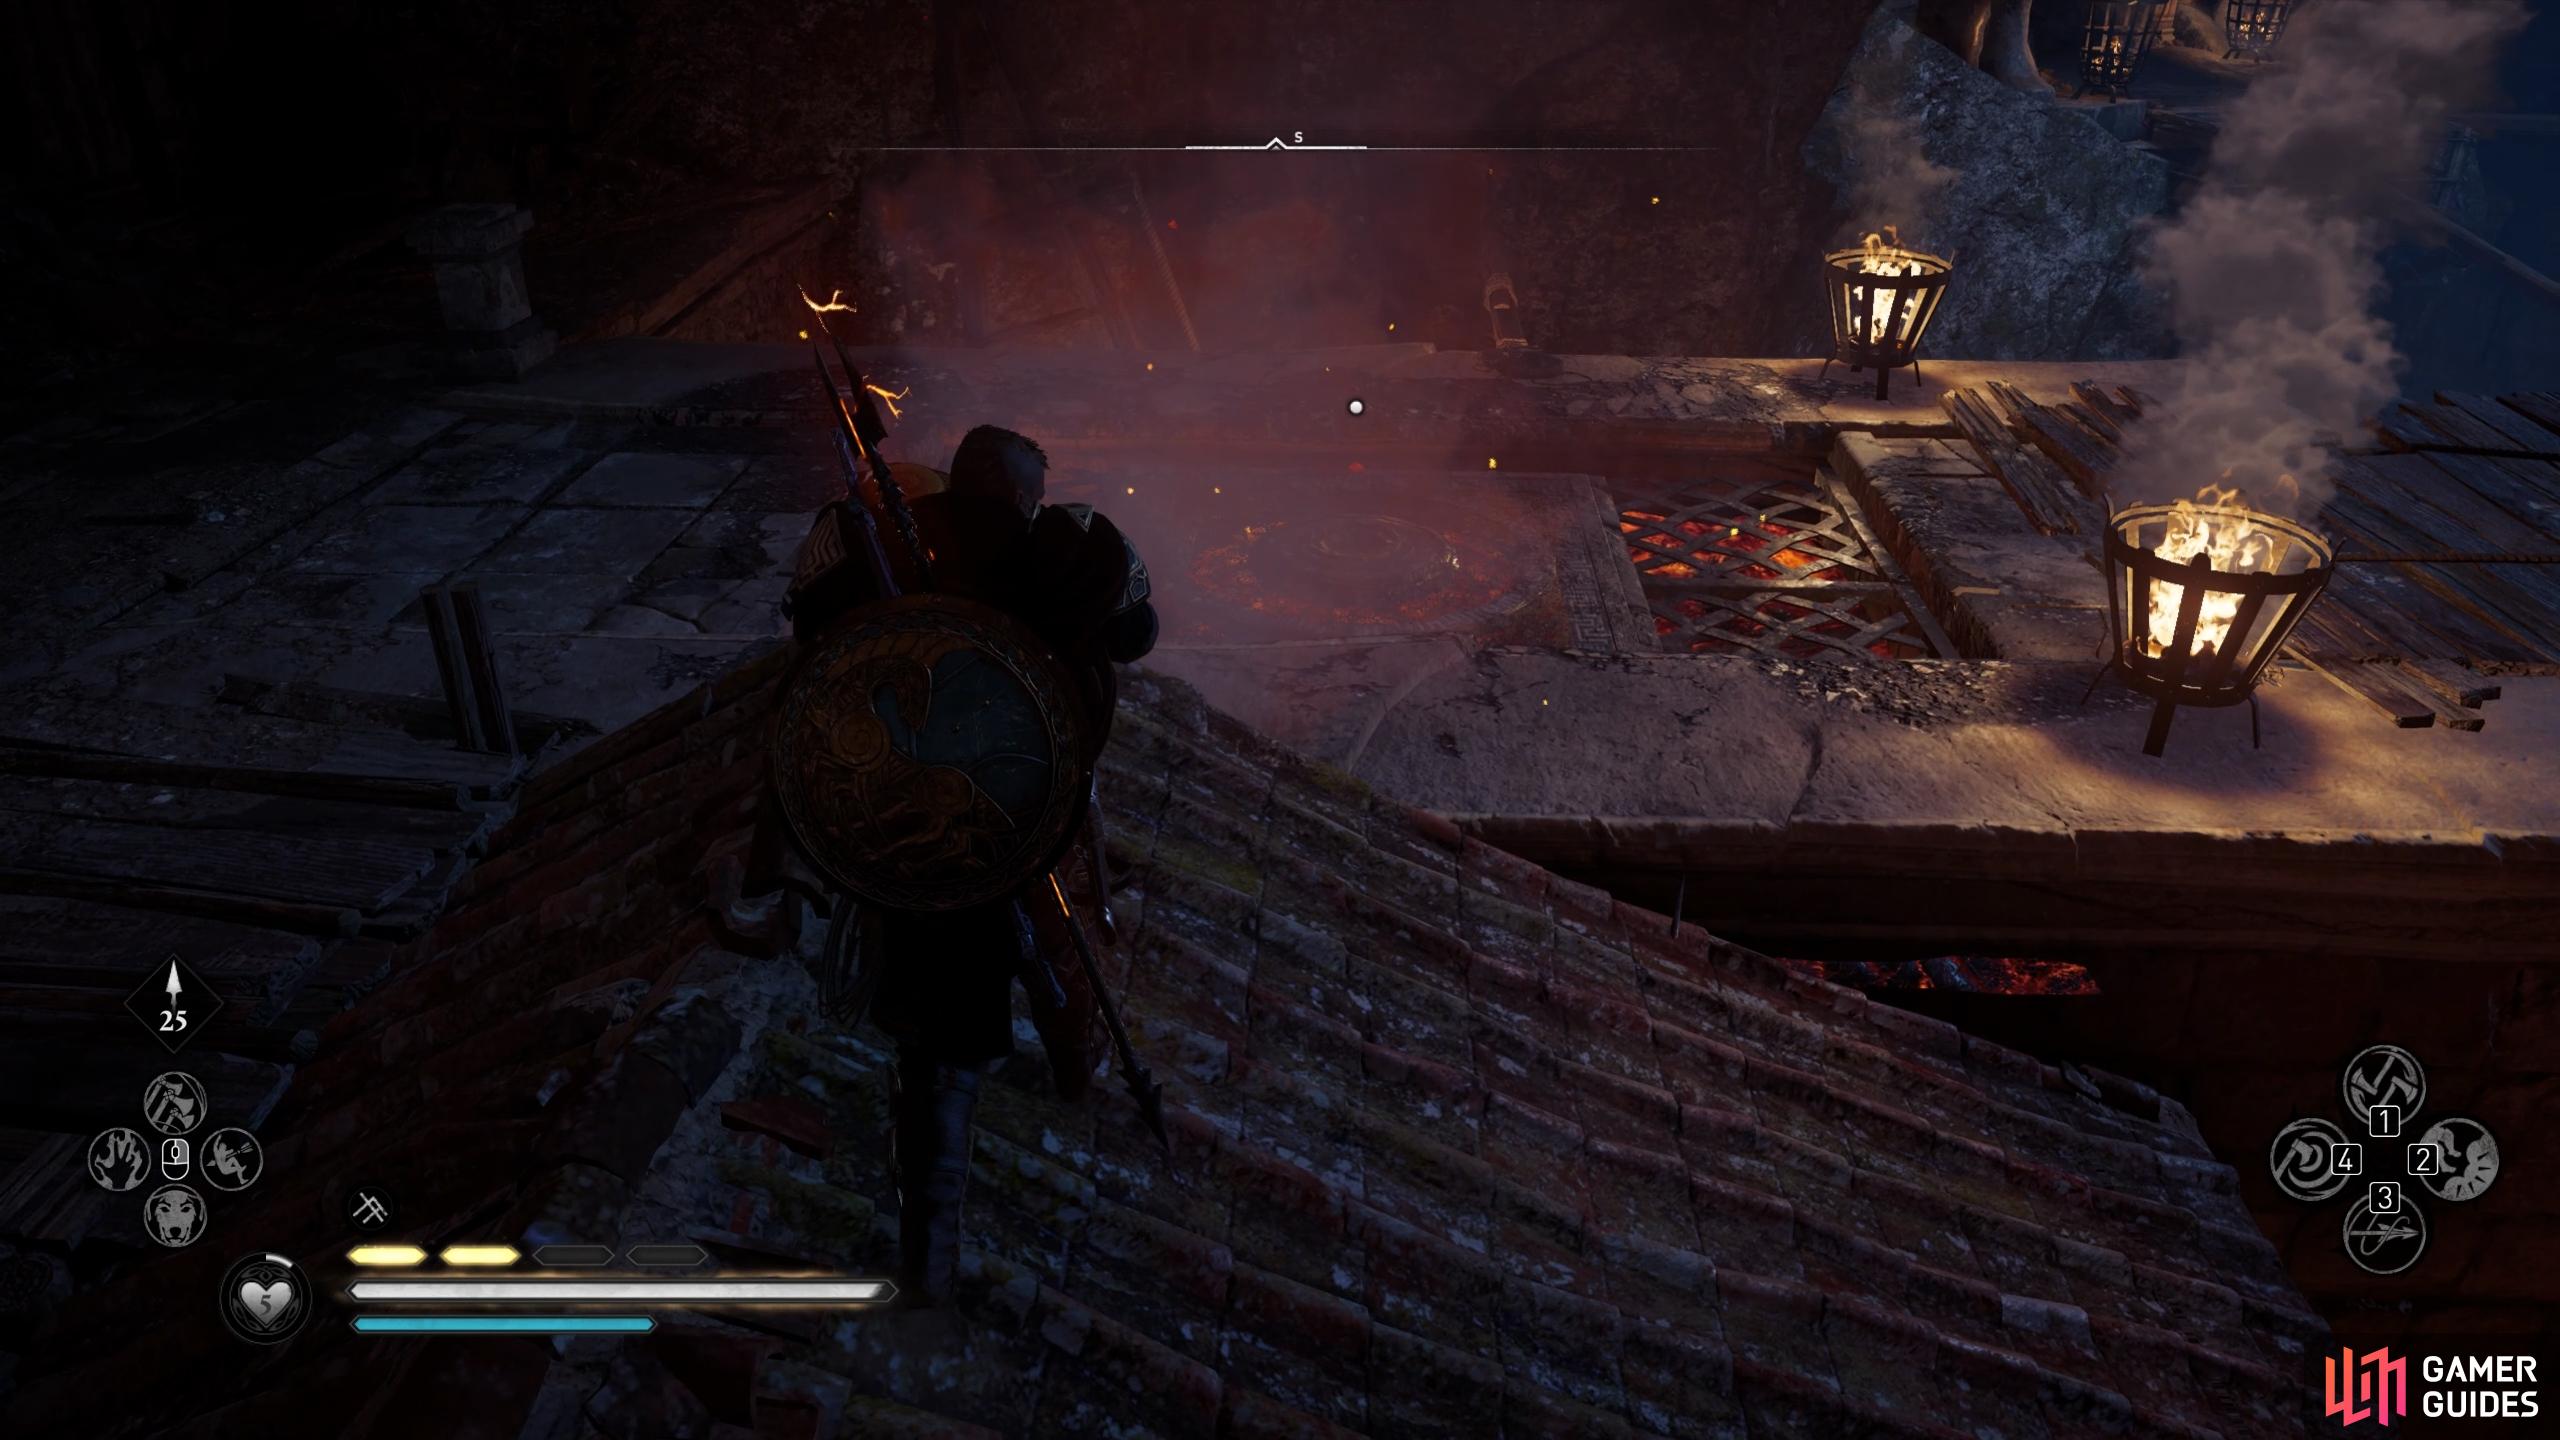
Place the spherical object on the platform beyond the rooftops to complete the puzzle.
Where to Find Verica’s Tomb Artifact
Once you’re inside the main tomb a cutscene will begin with Verica. This will be fairly brief, as with the others, but you’ll be able to loot a nearby chest to the northeast for Verica’s Sickle at the end of it. To find Verica’s Tomb Artifact, you’ll need to continue through the path to the north and follow it up a lift, a ladder, then another lift, until you reach a point where you can head east through a gap in the wall, or down a ladder to the north. Take the path down the ladder and then through a small gap in the wall to the east, beyond which you’ll find the artifact as shown in the gif below.
Now that you have the artifact you’re all done here, so you can teleport out or go back up to exit the tomb through the gap where the path diverged to the east.
No Comments