

This page details a guide for the A Cruel Destiny main quest in Assassin’s Creed Valhalla, part of the Battle for the Northern Way story arc in Norway.
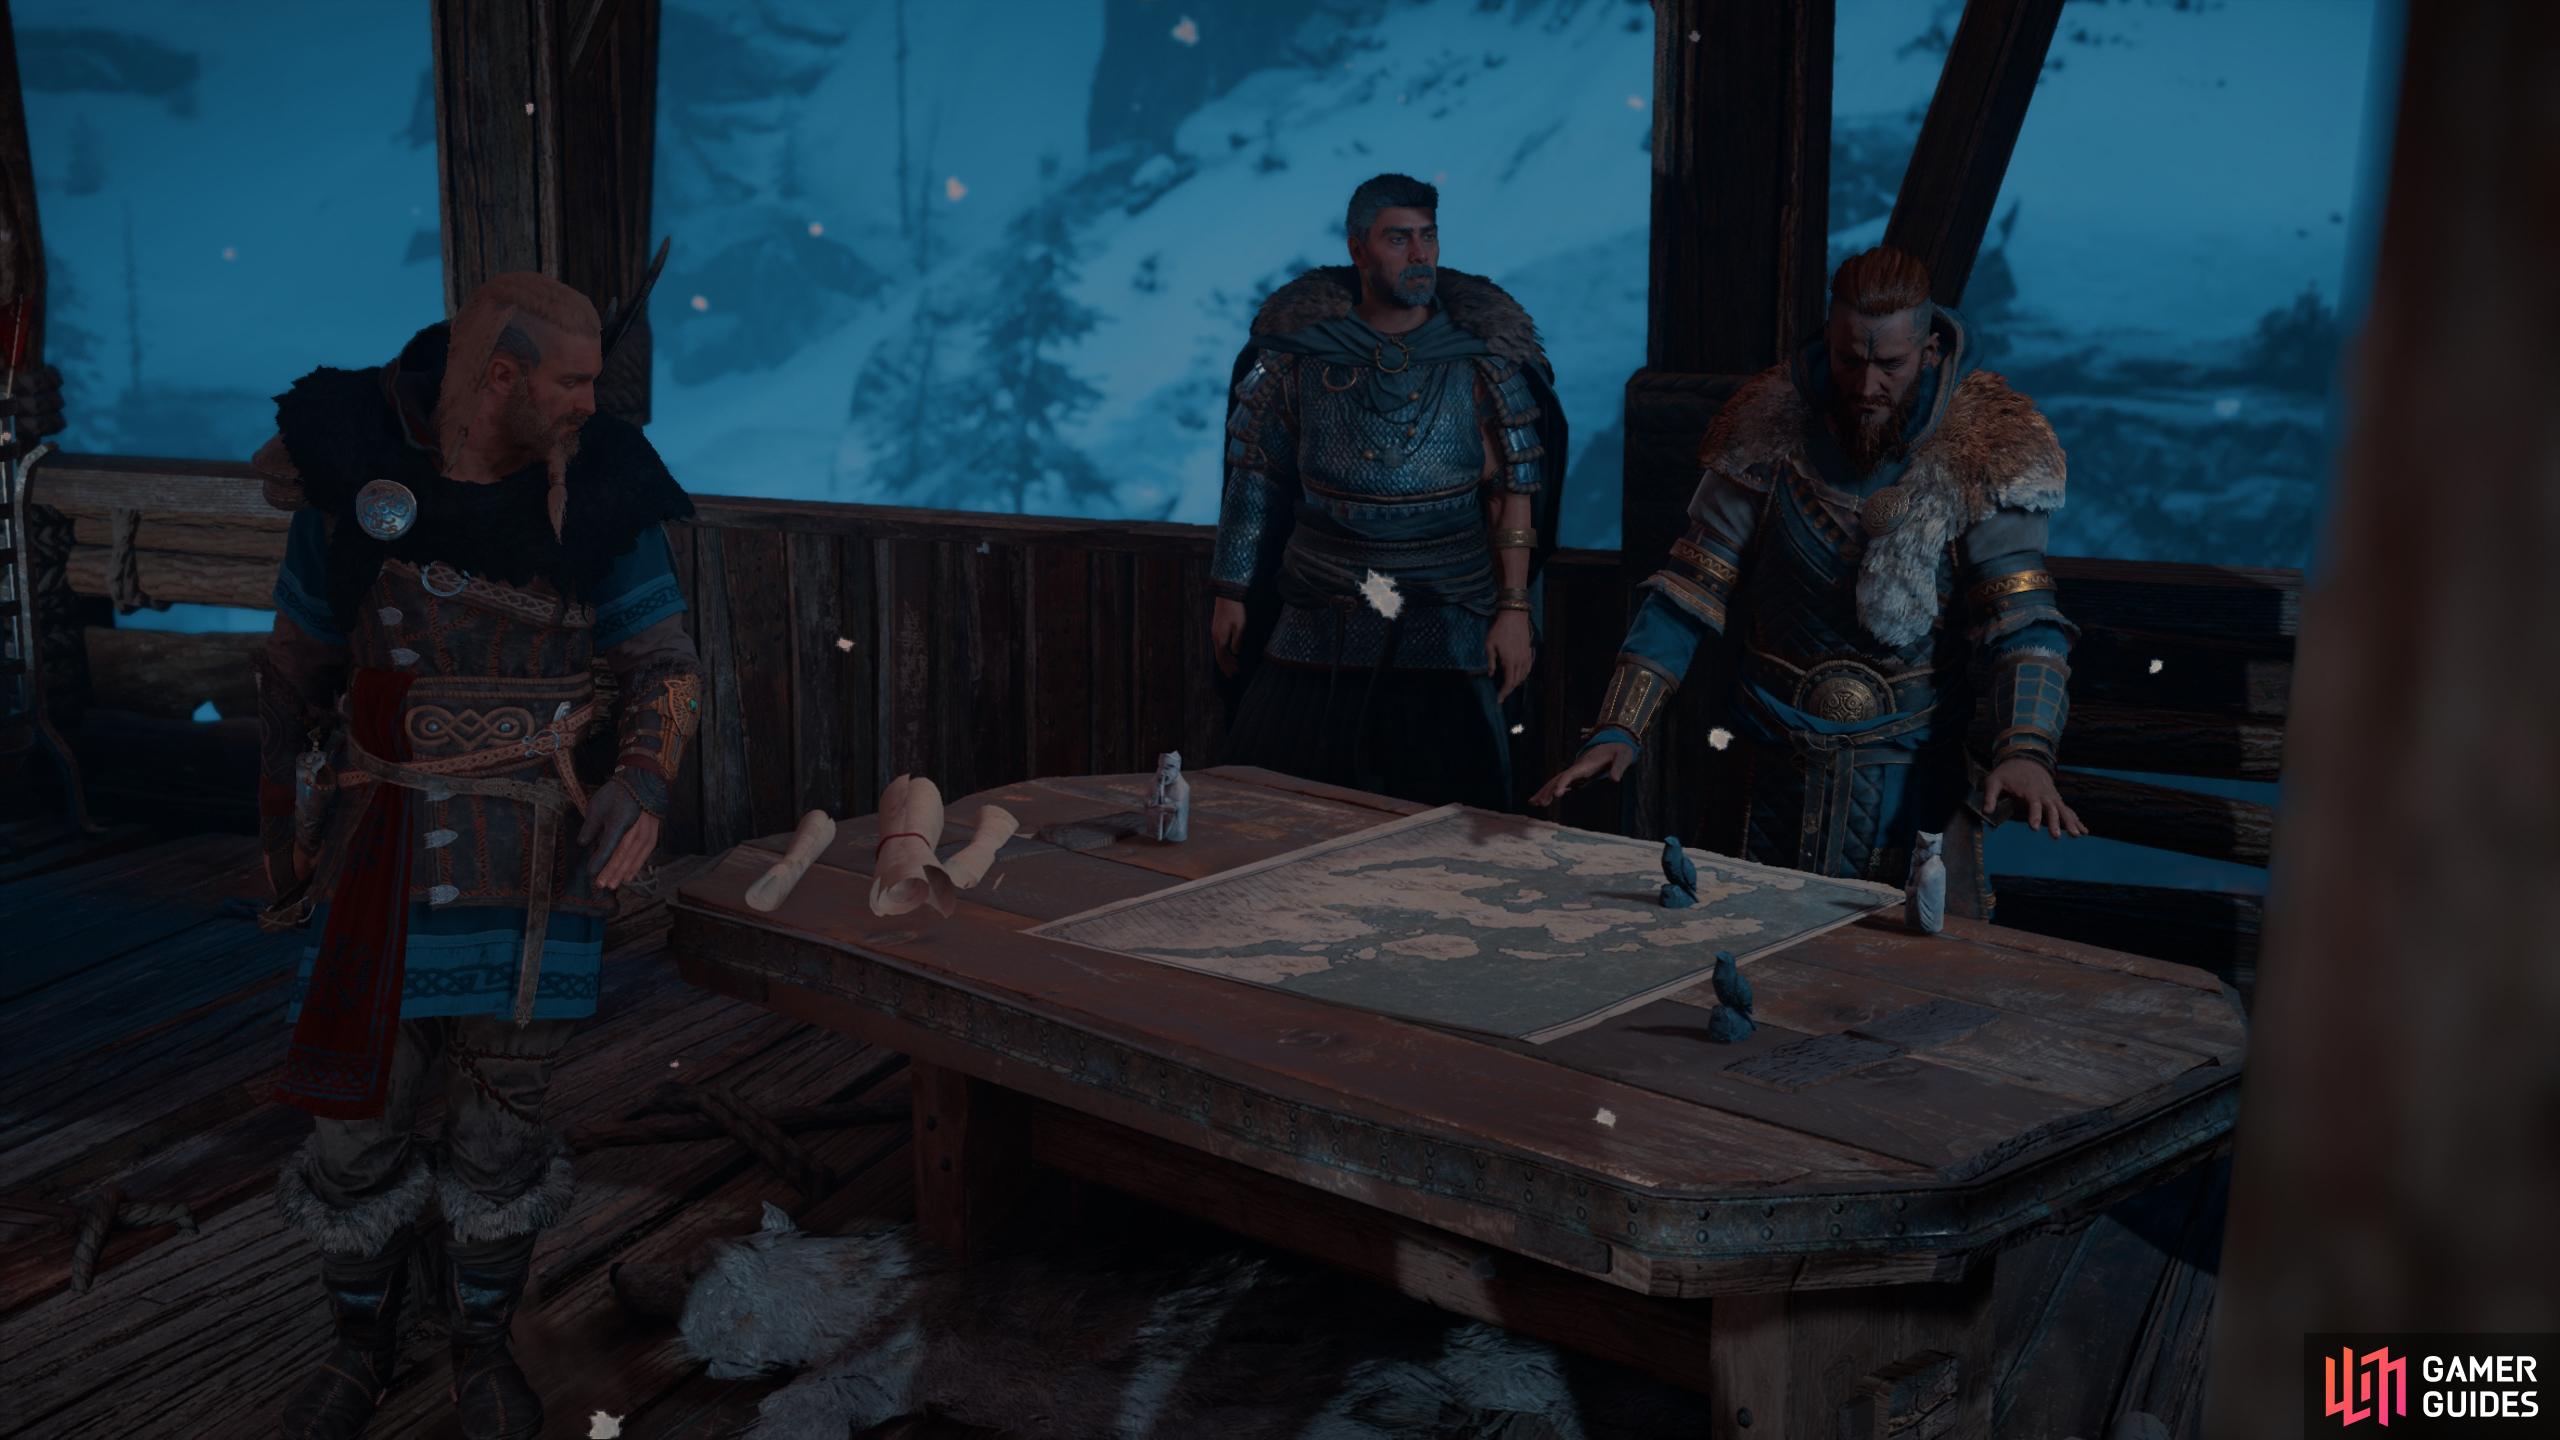
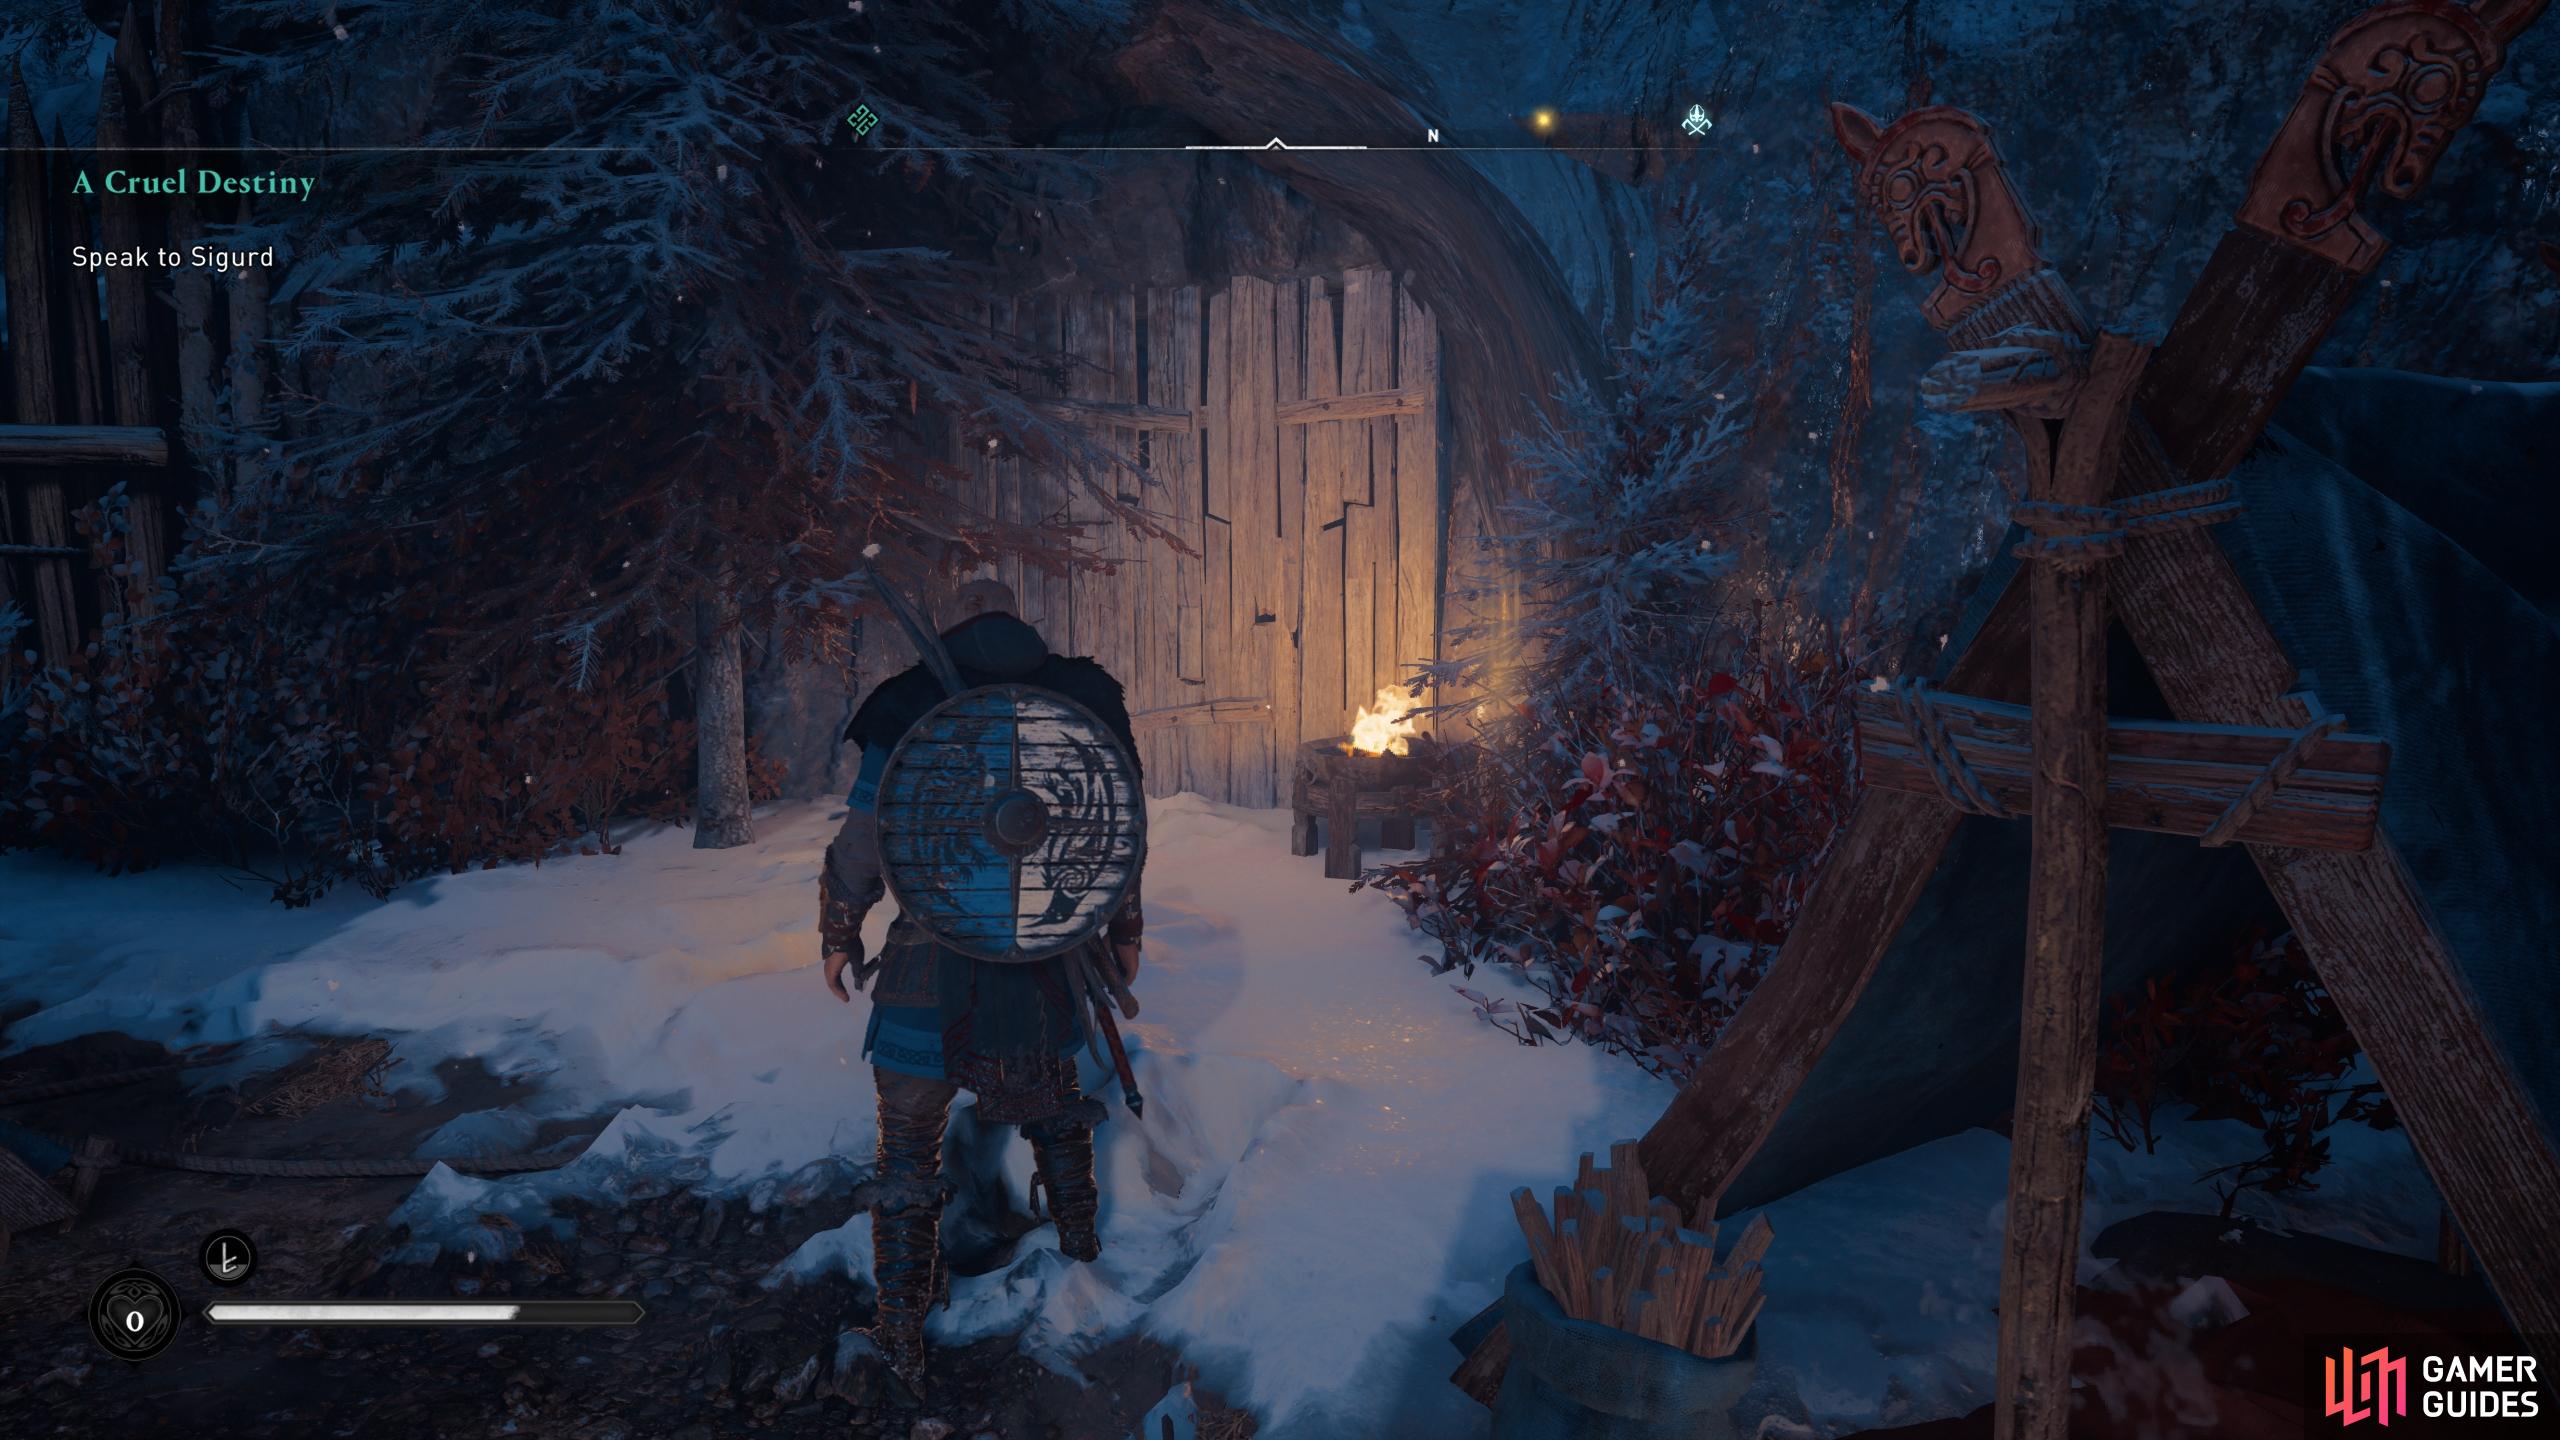
This quest begins after Rude Awakening. You’ll find yourself on the shores of Florli, from which the plan to attack Kjotve will be finalized. Enter the settlement and loot the bodies in front of the gates. You’ll also find a treasure chest to the north in a small cave. Destroy the wooden barrier to gain access to the loot. After that, head to the top of the house to the northeast and loot the opal on its roof. You can now head south and climb the tower, where Sigurd and Guthorm are waiting at the top.
After speaking with Sigurd you’ll be able to start the attack, or decline if you want to do something else first. After the cutscene, you’ll find yourself in a one on one duel (or Holmgang) with Kjotve.
Boss Fight - Kjotve the Cruel
Phase 1
The fight begins with Kjotve charging at you without any weapons, but don’t be fooled; he still packs a mean punch, and one which is unblockable. Rather than attempting to block, make use of dodge and roll as often as possible, but try not to spam them lest you run out of stamina. The last thing you want is to have no ability to evade Kjotve’s devastating hits.
As soon as you’ve evaded an incoming attack with dodge or roll, retaliate with a few swift strikes and then get out of the way before Kjotve has time to land another hit. As soon as you’re far enough away, try to get in a few shots with your bow, preferably headshots, to weaken Kjotve without the risk of being hit by a sudden strike. When you take out about a quarter of Kjotve’s health, he’ll pick up his two one-handed axes.

A red aurora will appear when Kjotve is about to initiate a punch attack.
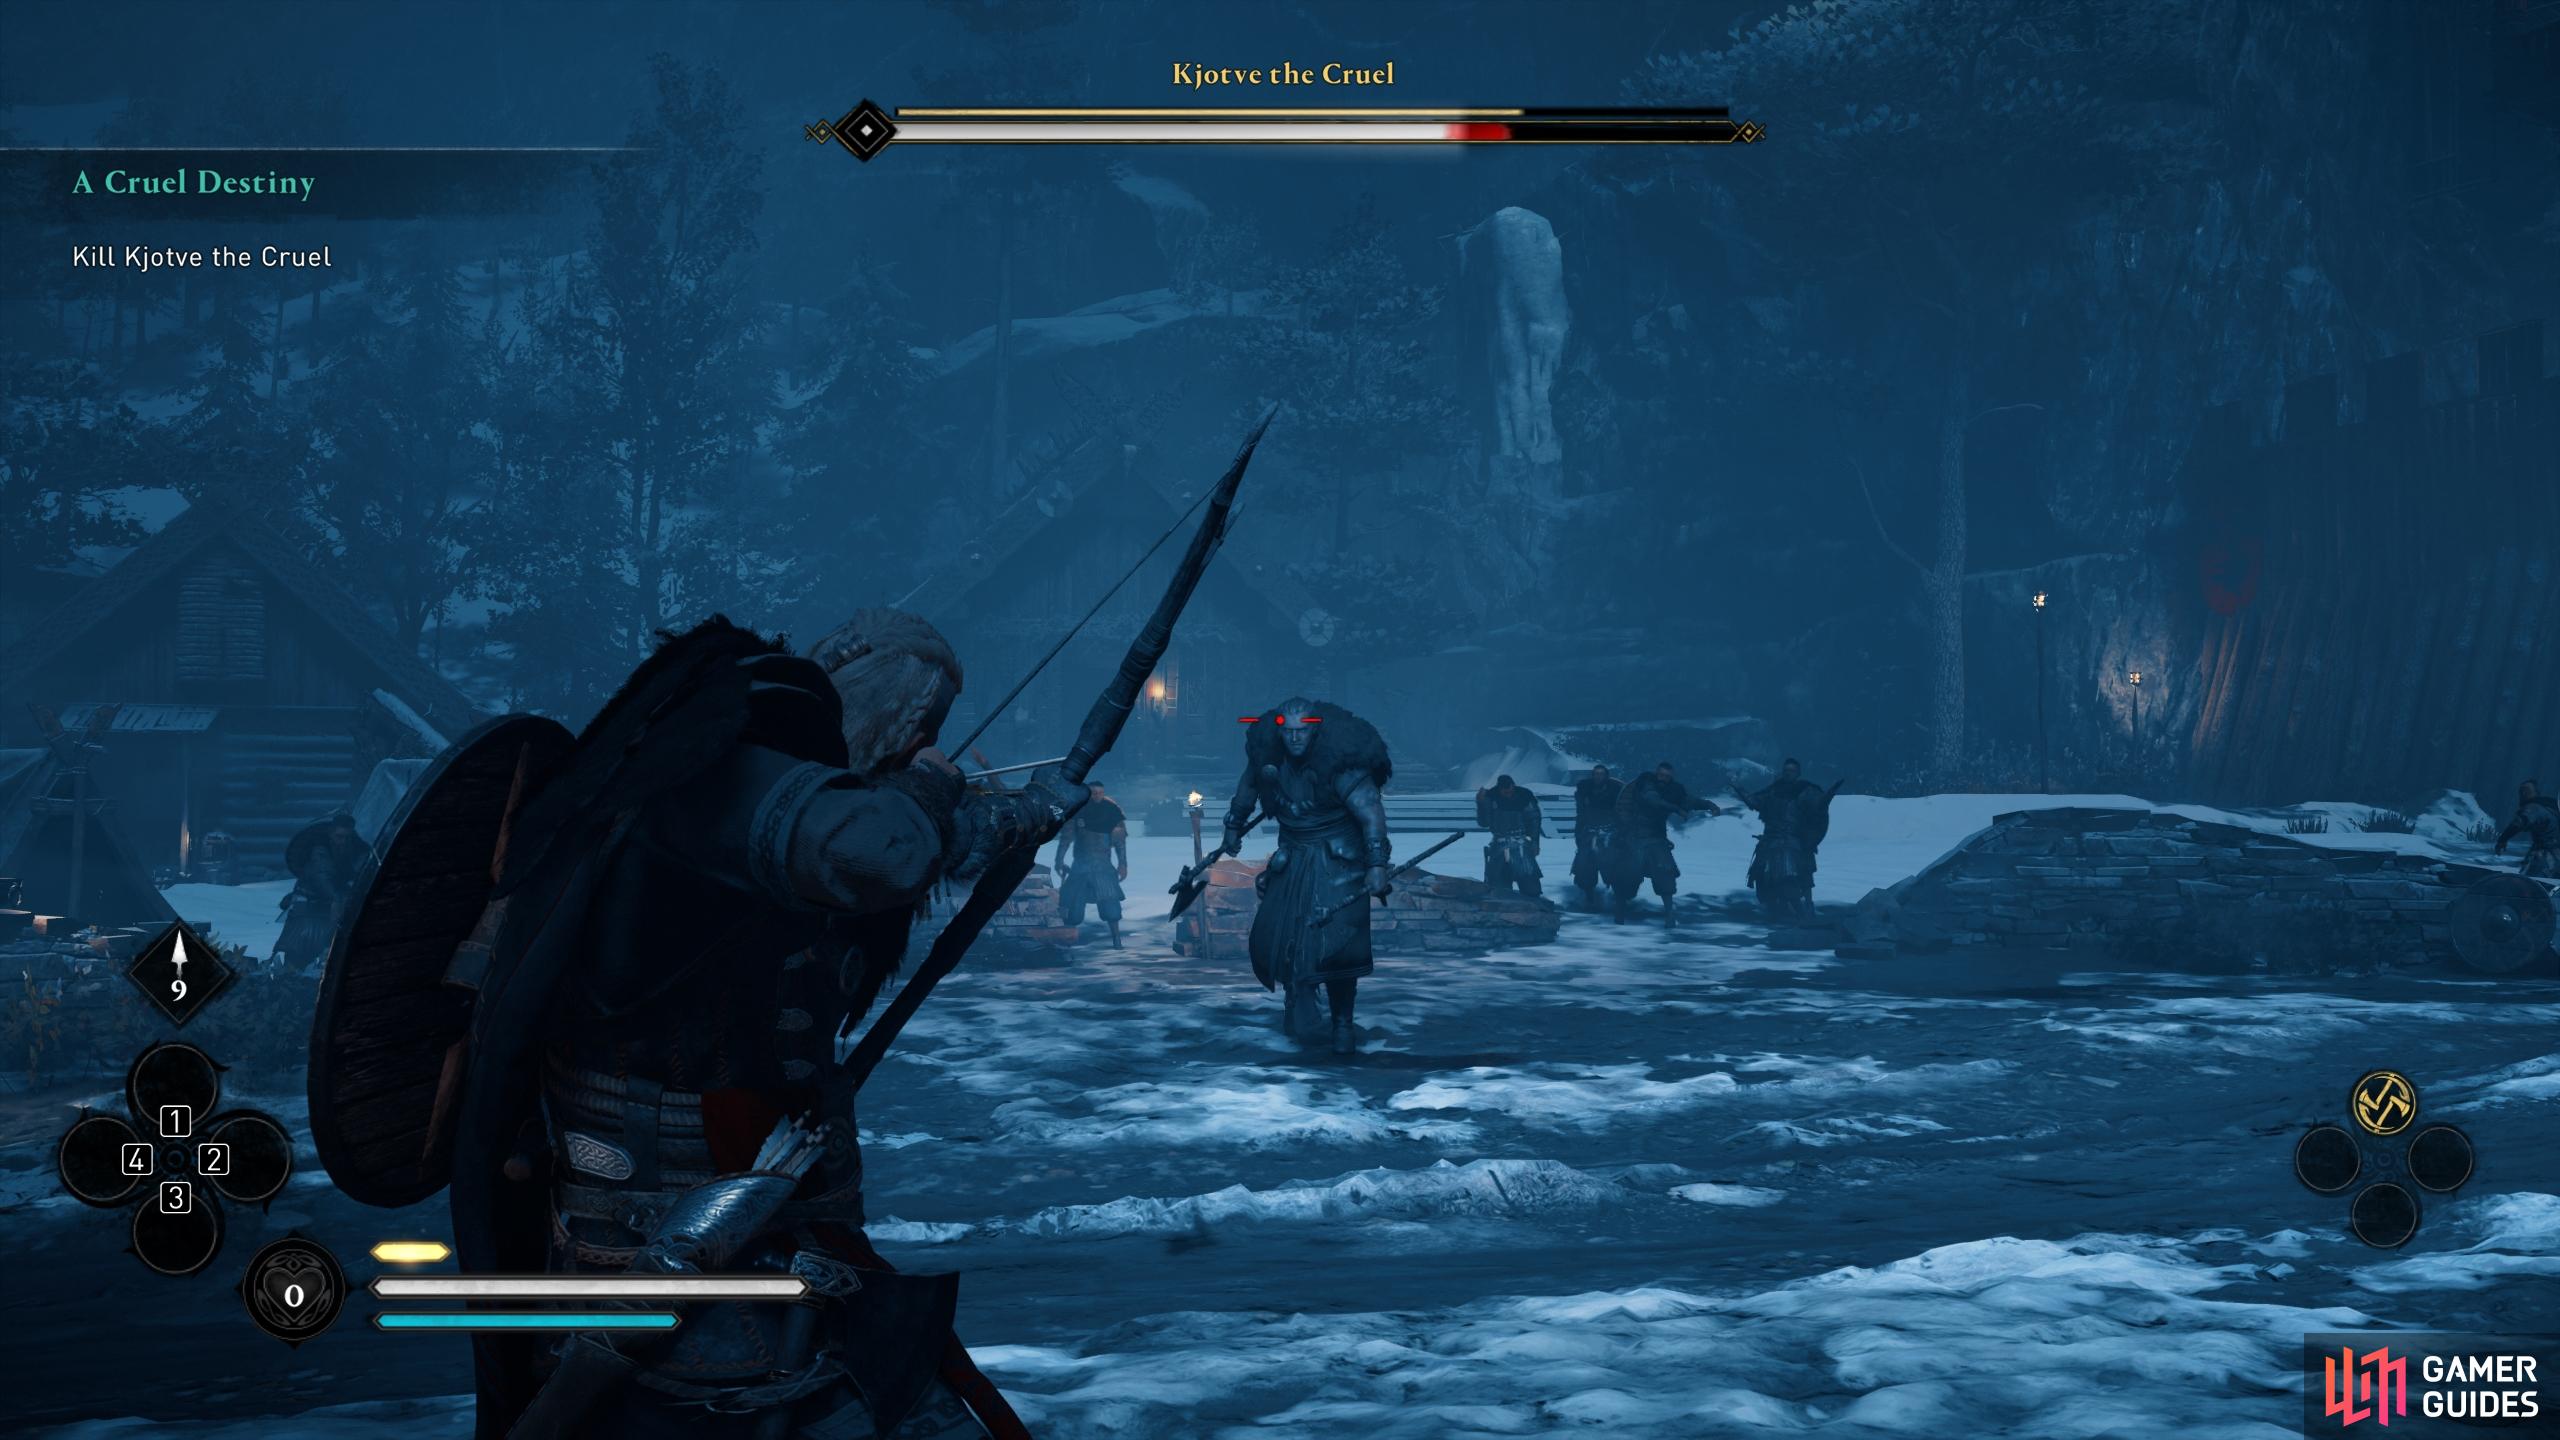
Shoot Kjotve as often as possible in his fist phase, but don’t bother when he’s wielding his axes.
Naturally, Kjotve is much more deadly when wielding his axes, and not just in melee. Your bow will be less effective from now on, as Kjotve has the ability to parry incoming arrows with his axes. An ability he seems to have had quite a lot of practice with. Instead, you’ll need to try to get in a few light strikes whenever he’s done with a special attack. As with Rikiwulf, Kjotve is especially vulnerable at this time, and won’t be able to respond to any attack within 1 - 2 seconds of executing a special attack.
In terms of special attacks while dual-wielding two one-handed axes, Kjotve will incorporate a charge attack which culminates with him attempting a high knee to the face. This is easily avoidable with a quick dodge to the side, as you experience the joy of watching Kjotve knee the air in vain. Kjotve will now swing both axes rather laboriously, marked by the same red flash animation as all of his other attacks.
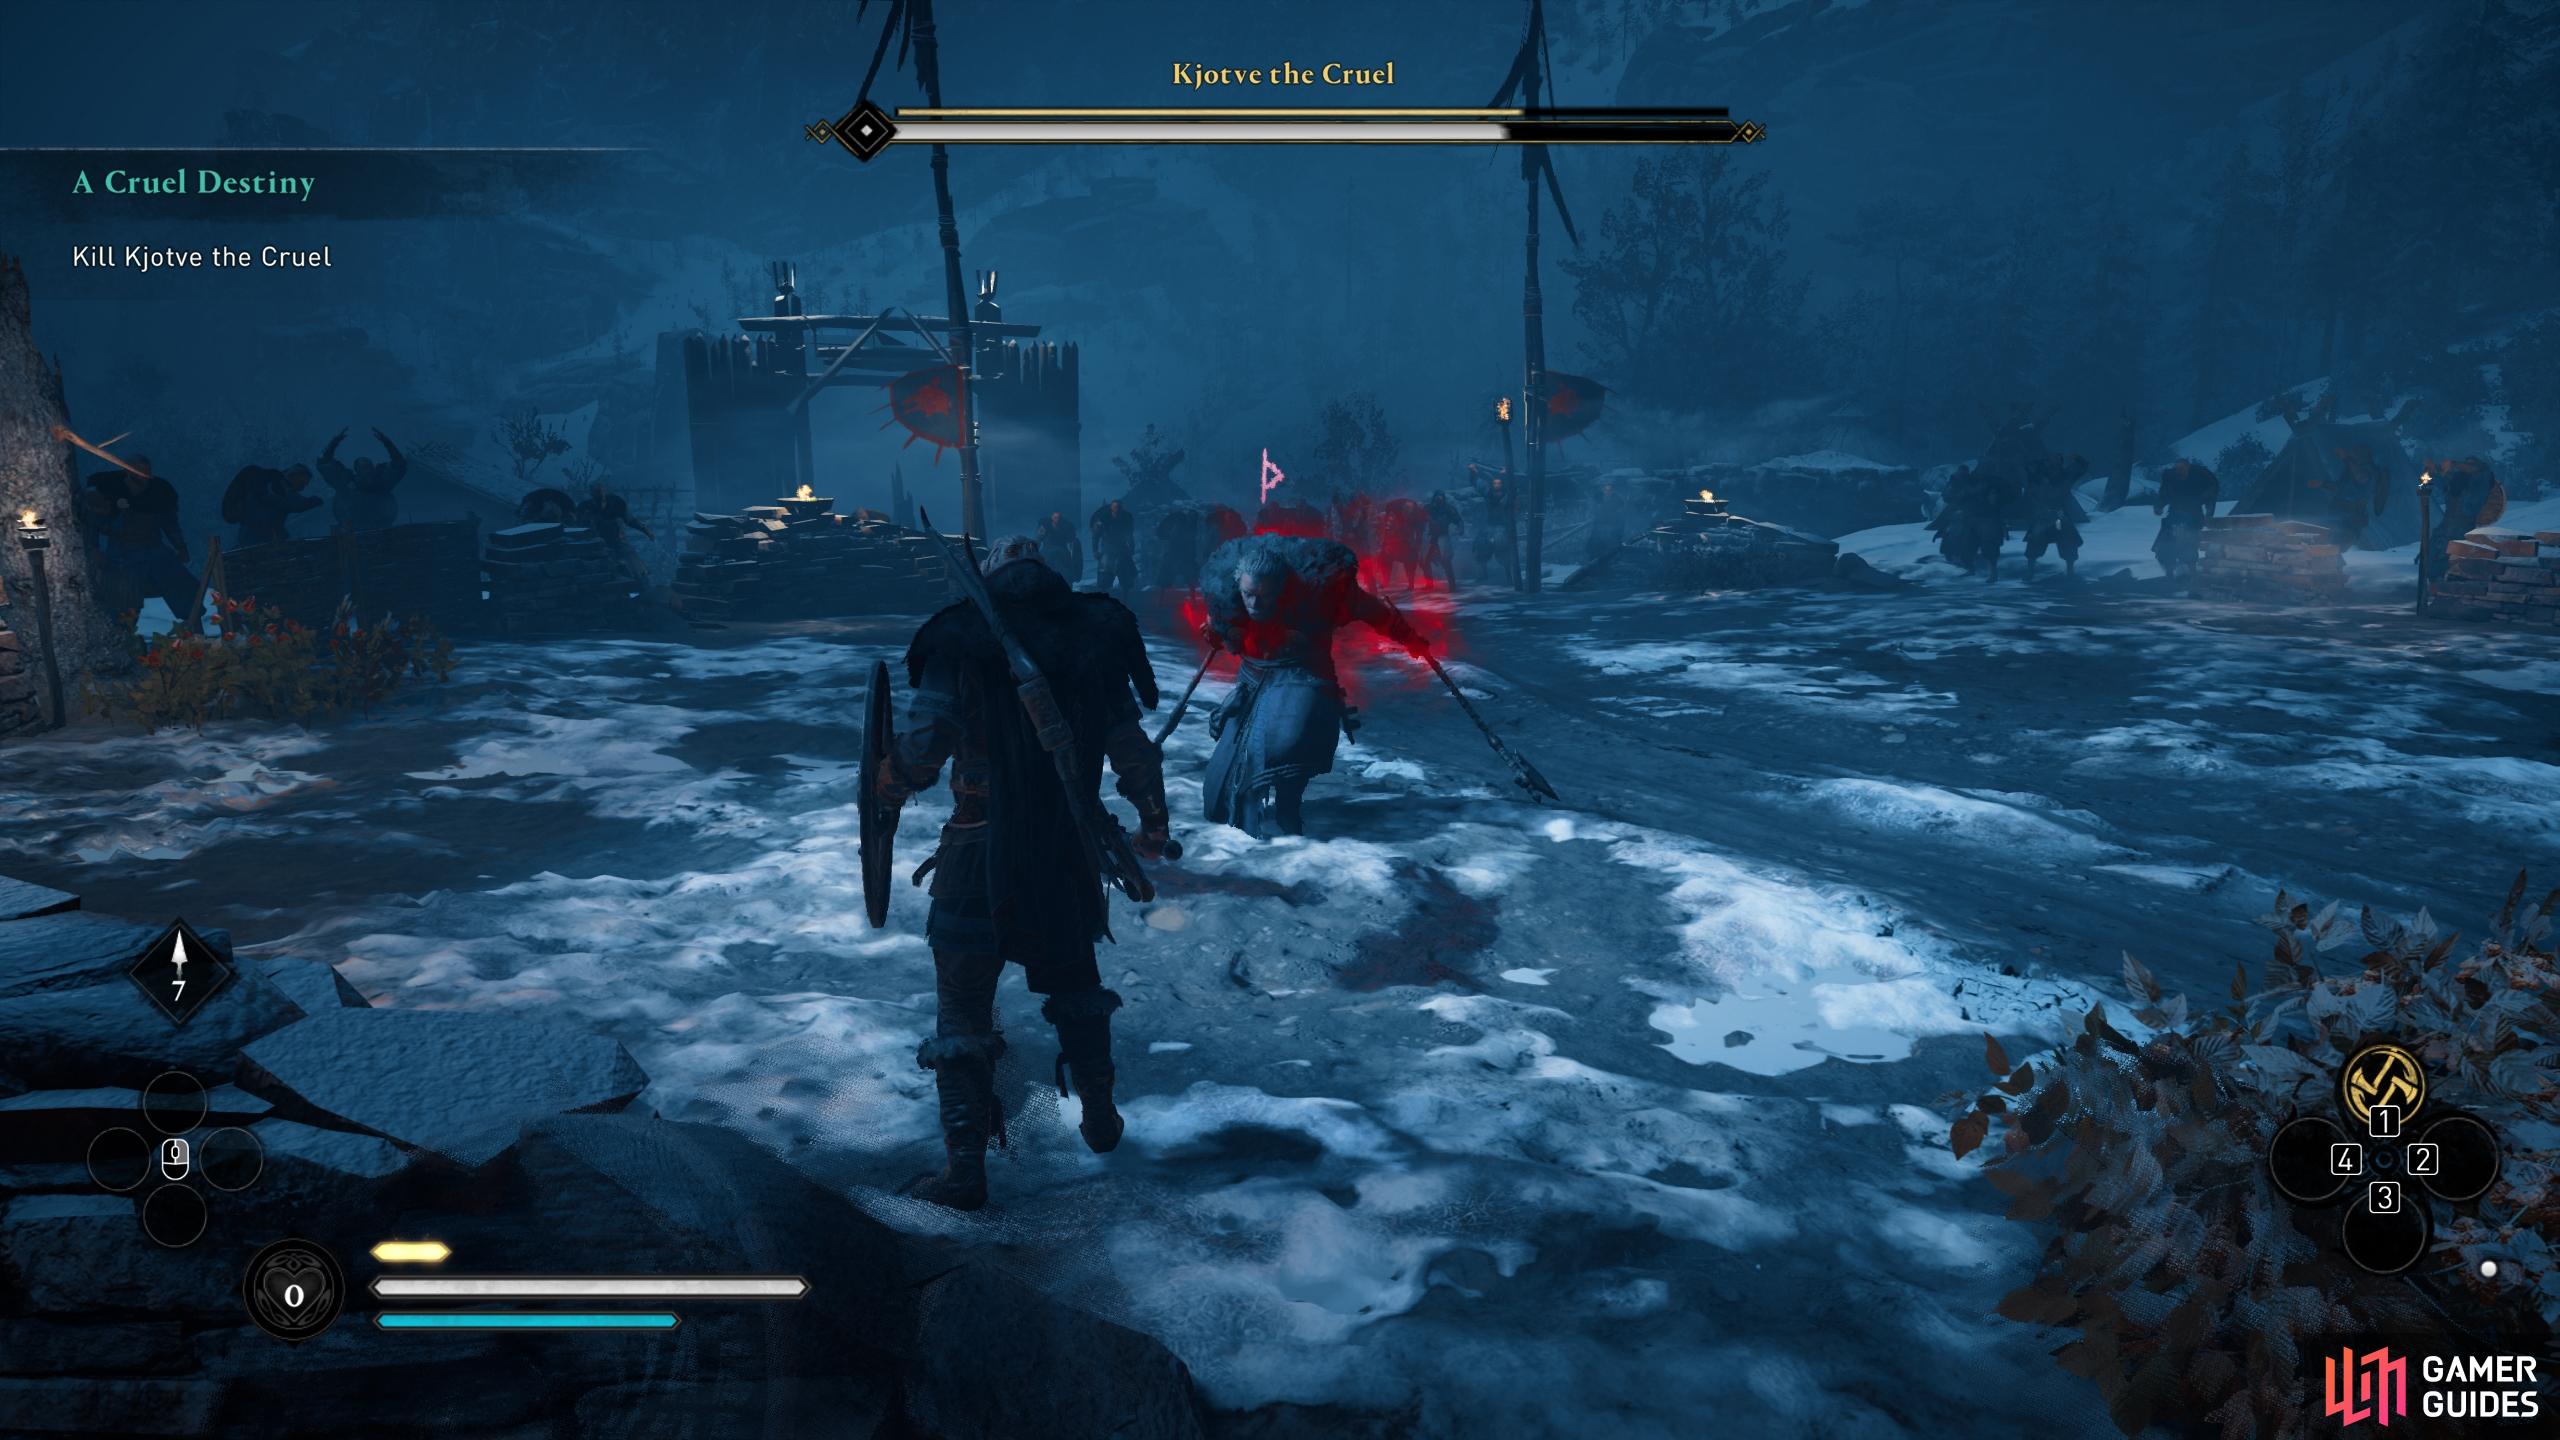
Look out for the red aurora whenever Kjotve charges you. As soon as it appears, dodge or roll to avoid the attack.
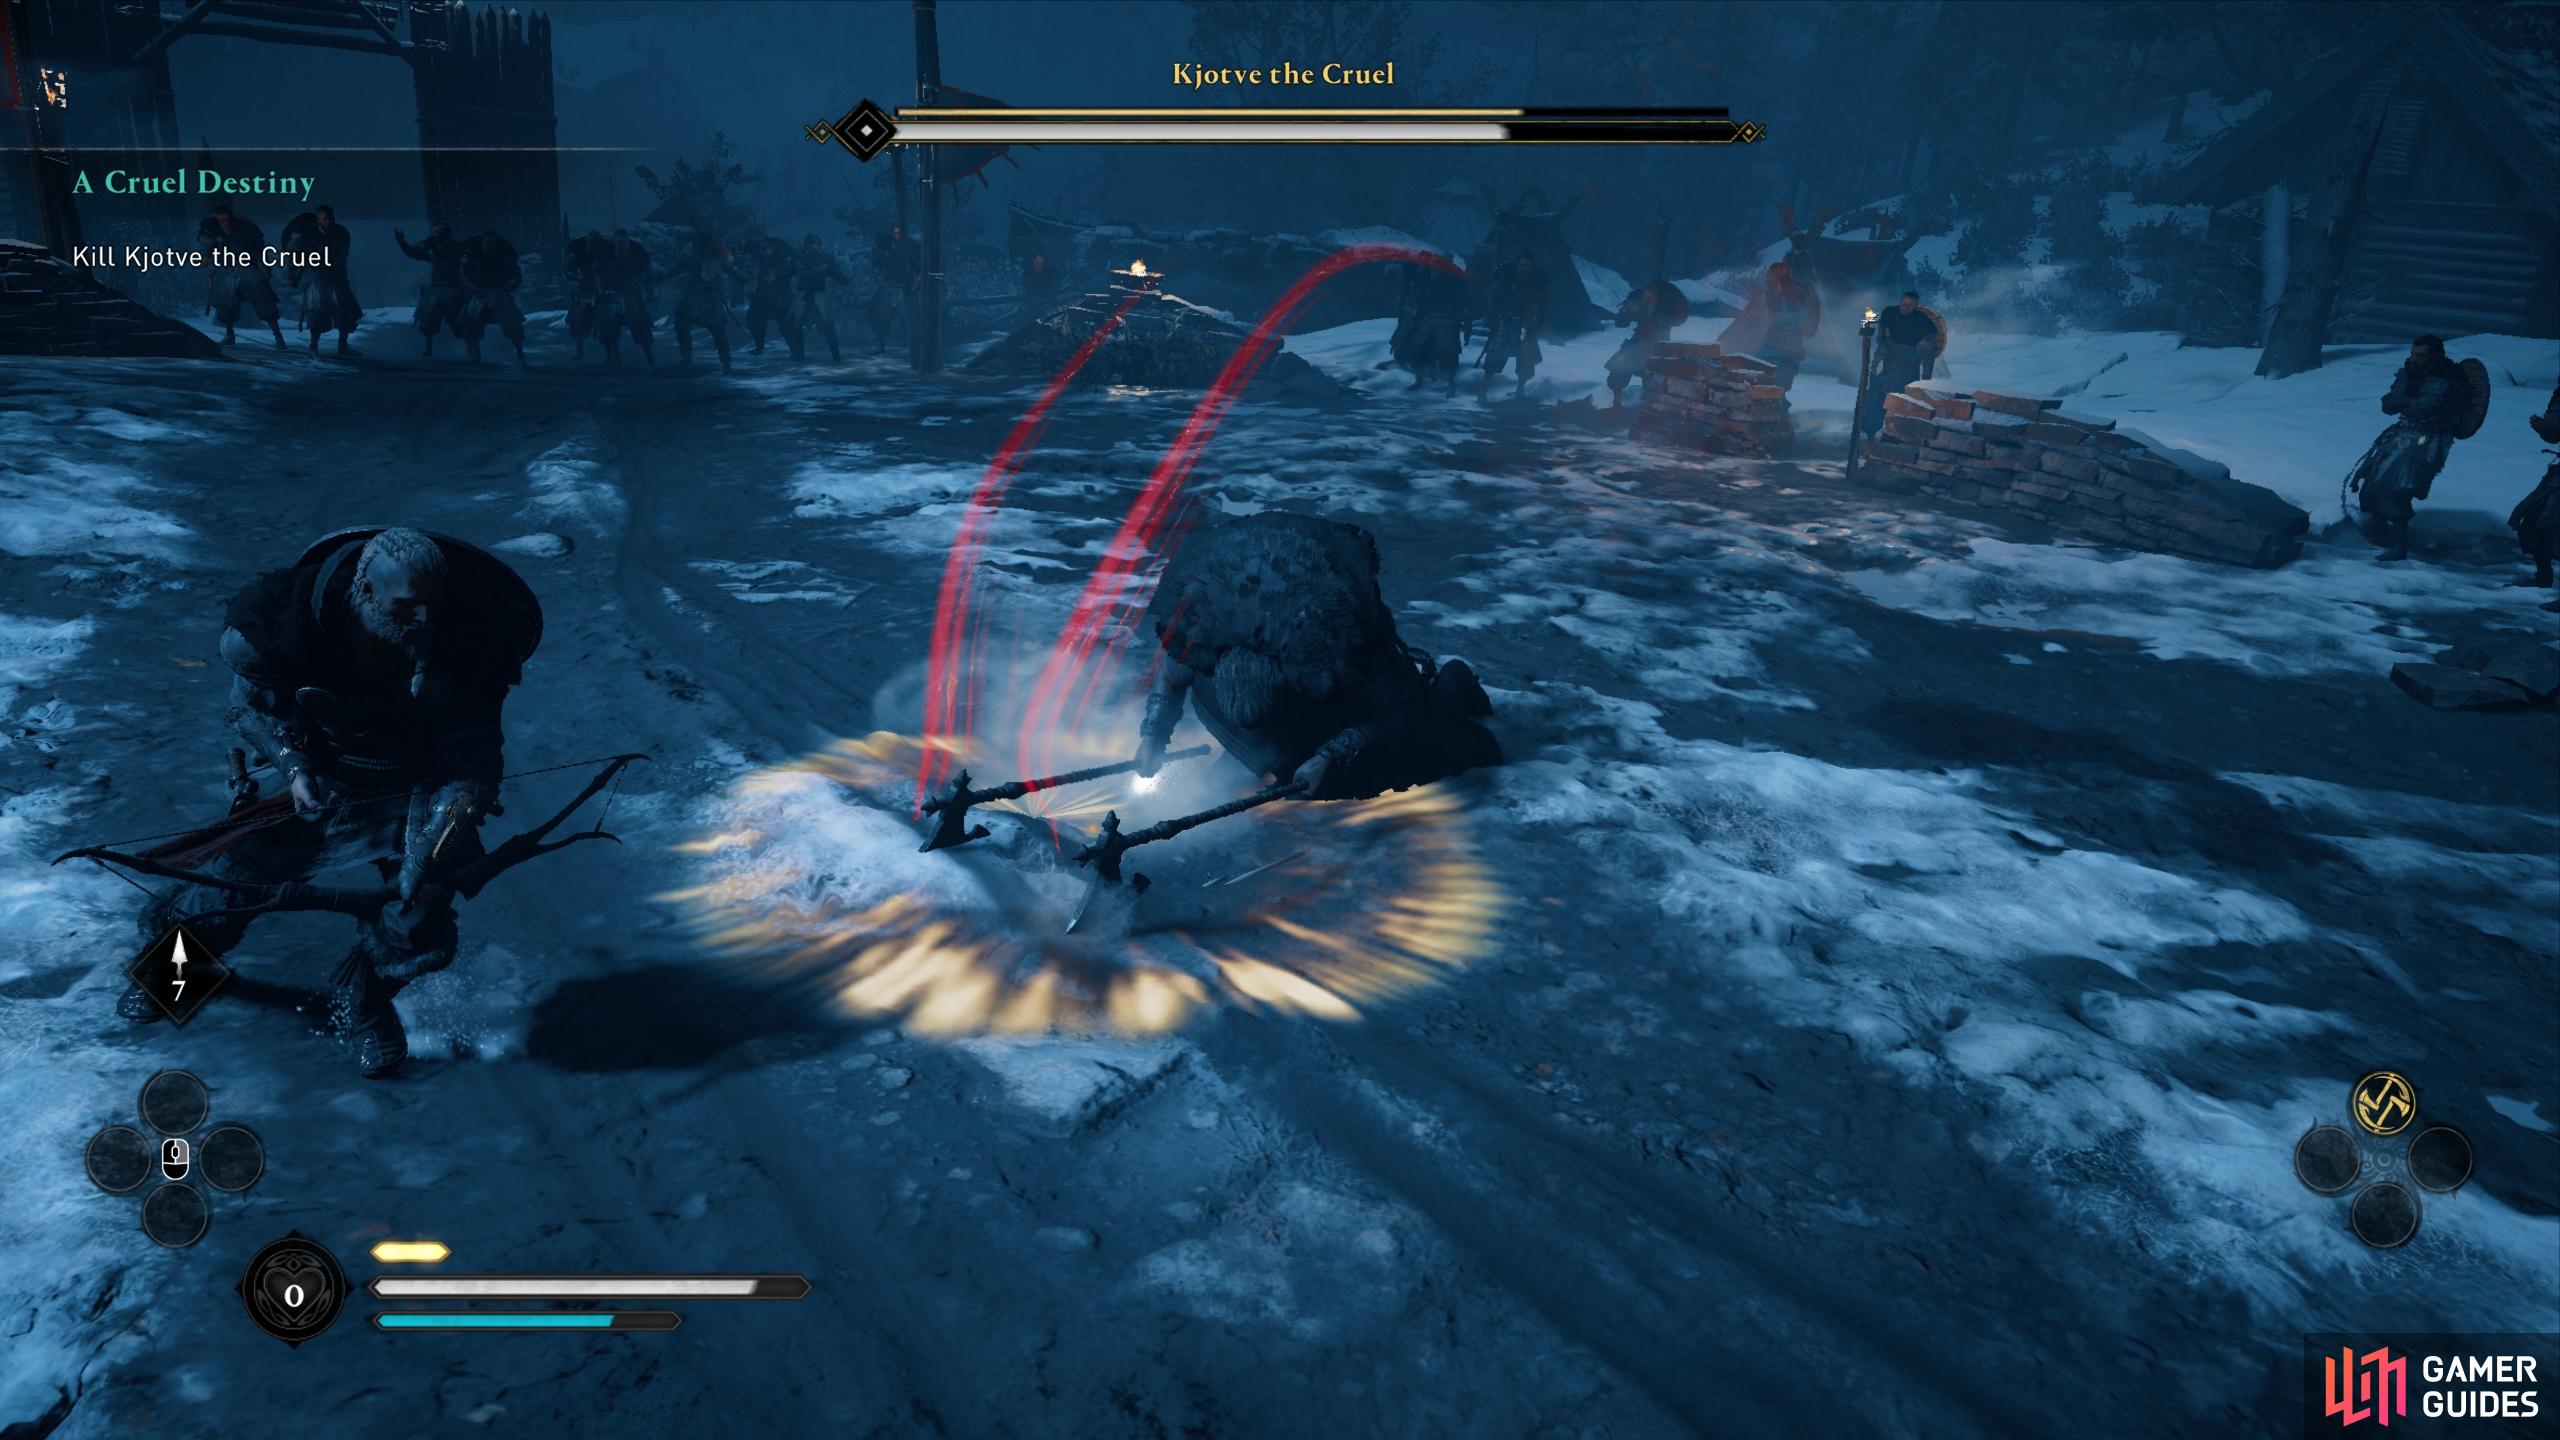
Kjotve will occasionally smash the ground, causing you to fall to the floor for a brief moment. Avoid this at all costs.
The main attacks you’ll have to look out for are his basic swing attack, which begins with one swift strike with one axe, followed by a sweeping attack with both axes at the same time. This occurs within one second, so you’ll need to be ready to evade whenever he’s close. The other is a special attack which consists of him charging directly at you, culminating in him slamming both axes at the ground. This causes you to lose balance, throwing you to the floor and dealing minor damage. You’ll need to perform a full roll to ensure that you avoid it.
Phase 2
When you bring Kjotve down to about half of his health, he’ll charge you and throw you into a nearby pit, where the second phase of the fight will take place. You’ll have access to a few more cloudberry bushes down here so if you’re running low on health, be sure to pick them. Kjotve will continue executing the attacks described above, but down here he’ll also introduce another. This comes in the form of picking up the surrounding corpses, charging directly at you with them, and using them to knock you over or inflict moderate damage. If he gets within melee range this will become essentially impossible to evade.
Thankfully this attack is easily recognized at its inception. It’s difficult to miss Kjotve picking up a corpse and charging at you. When he does, be sure to avoid being trapped in any corners; you’ll need to roll out of his way to ensure that you’re not hit with the corpse. If you are hit with it, he’ll often follow this attack with a combination of heavy or light strikes which can inflict a great deal of damage, so it’s important to get out of the way as soon as possible.
Kjotve is rather fond of spamming this new attack, but he’ll sometimes mix it up by simply throwing a corpse at you from afar. You won’t have time to take advantage of this once dodged, but as with the others, as soon as he’s done he’ll become vulnerable for a couple of seconds. Use this opportunity to strike him a few times with light attacks. Attempting a heavy attack is viable if you get the timing right, but getting it wrong will result in you being locked in an attack animation, exposing you to Kjotve’s high damage attacks.
Toward the end of the fight Kjotve will begin to tire, opening him up to being stunned. A combination of light attacks will stun him fairly easily when he’s within the last quarter of his health, so be ready to take advantage of this by performing a finishing move while he’s stunned. Just one of these at this stage should finish him off for good. When he’s dead, a cutscene will follow.
Storm and Loot Kjotve’s Fortress
With Kjotve the Cruel dead Eivor’s honor restored, it’s time to storm the fortress. You won’t be able to enter through the main gate until you unlock it from within. To do this, find the ladder immediately to your right and help the other warriors lift it. As soon as you’re able, ascend the ladder to the battlements before it’s pushed down by Kjotve’s warriors.
Once you’re in the settlement you have two choices; kill as many of Kjotve’s warriors as you can on your own, or head immediately to the main gate and unlock it from within. If you’re not too confident with your battle skills just yet, the latter is recommended. You will need to do this eventually anyway to progress the quest. To unlock the gate, destroy the metal links holding the wood in place with a basic attack or by shooting them with arrows. You can then open the gate as normal and allow your fellow warriors to flood through.
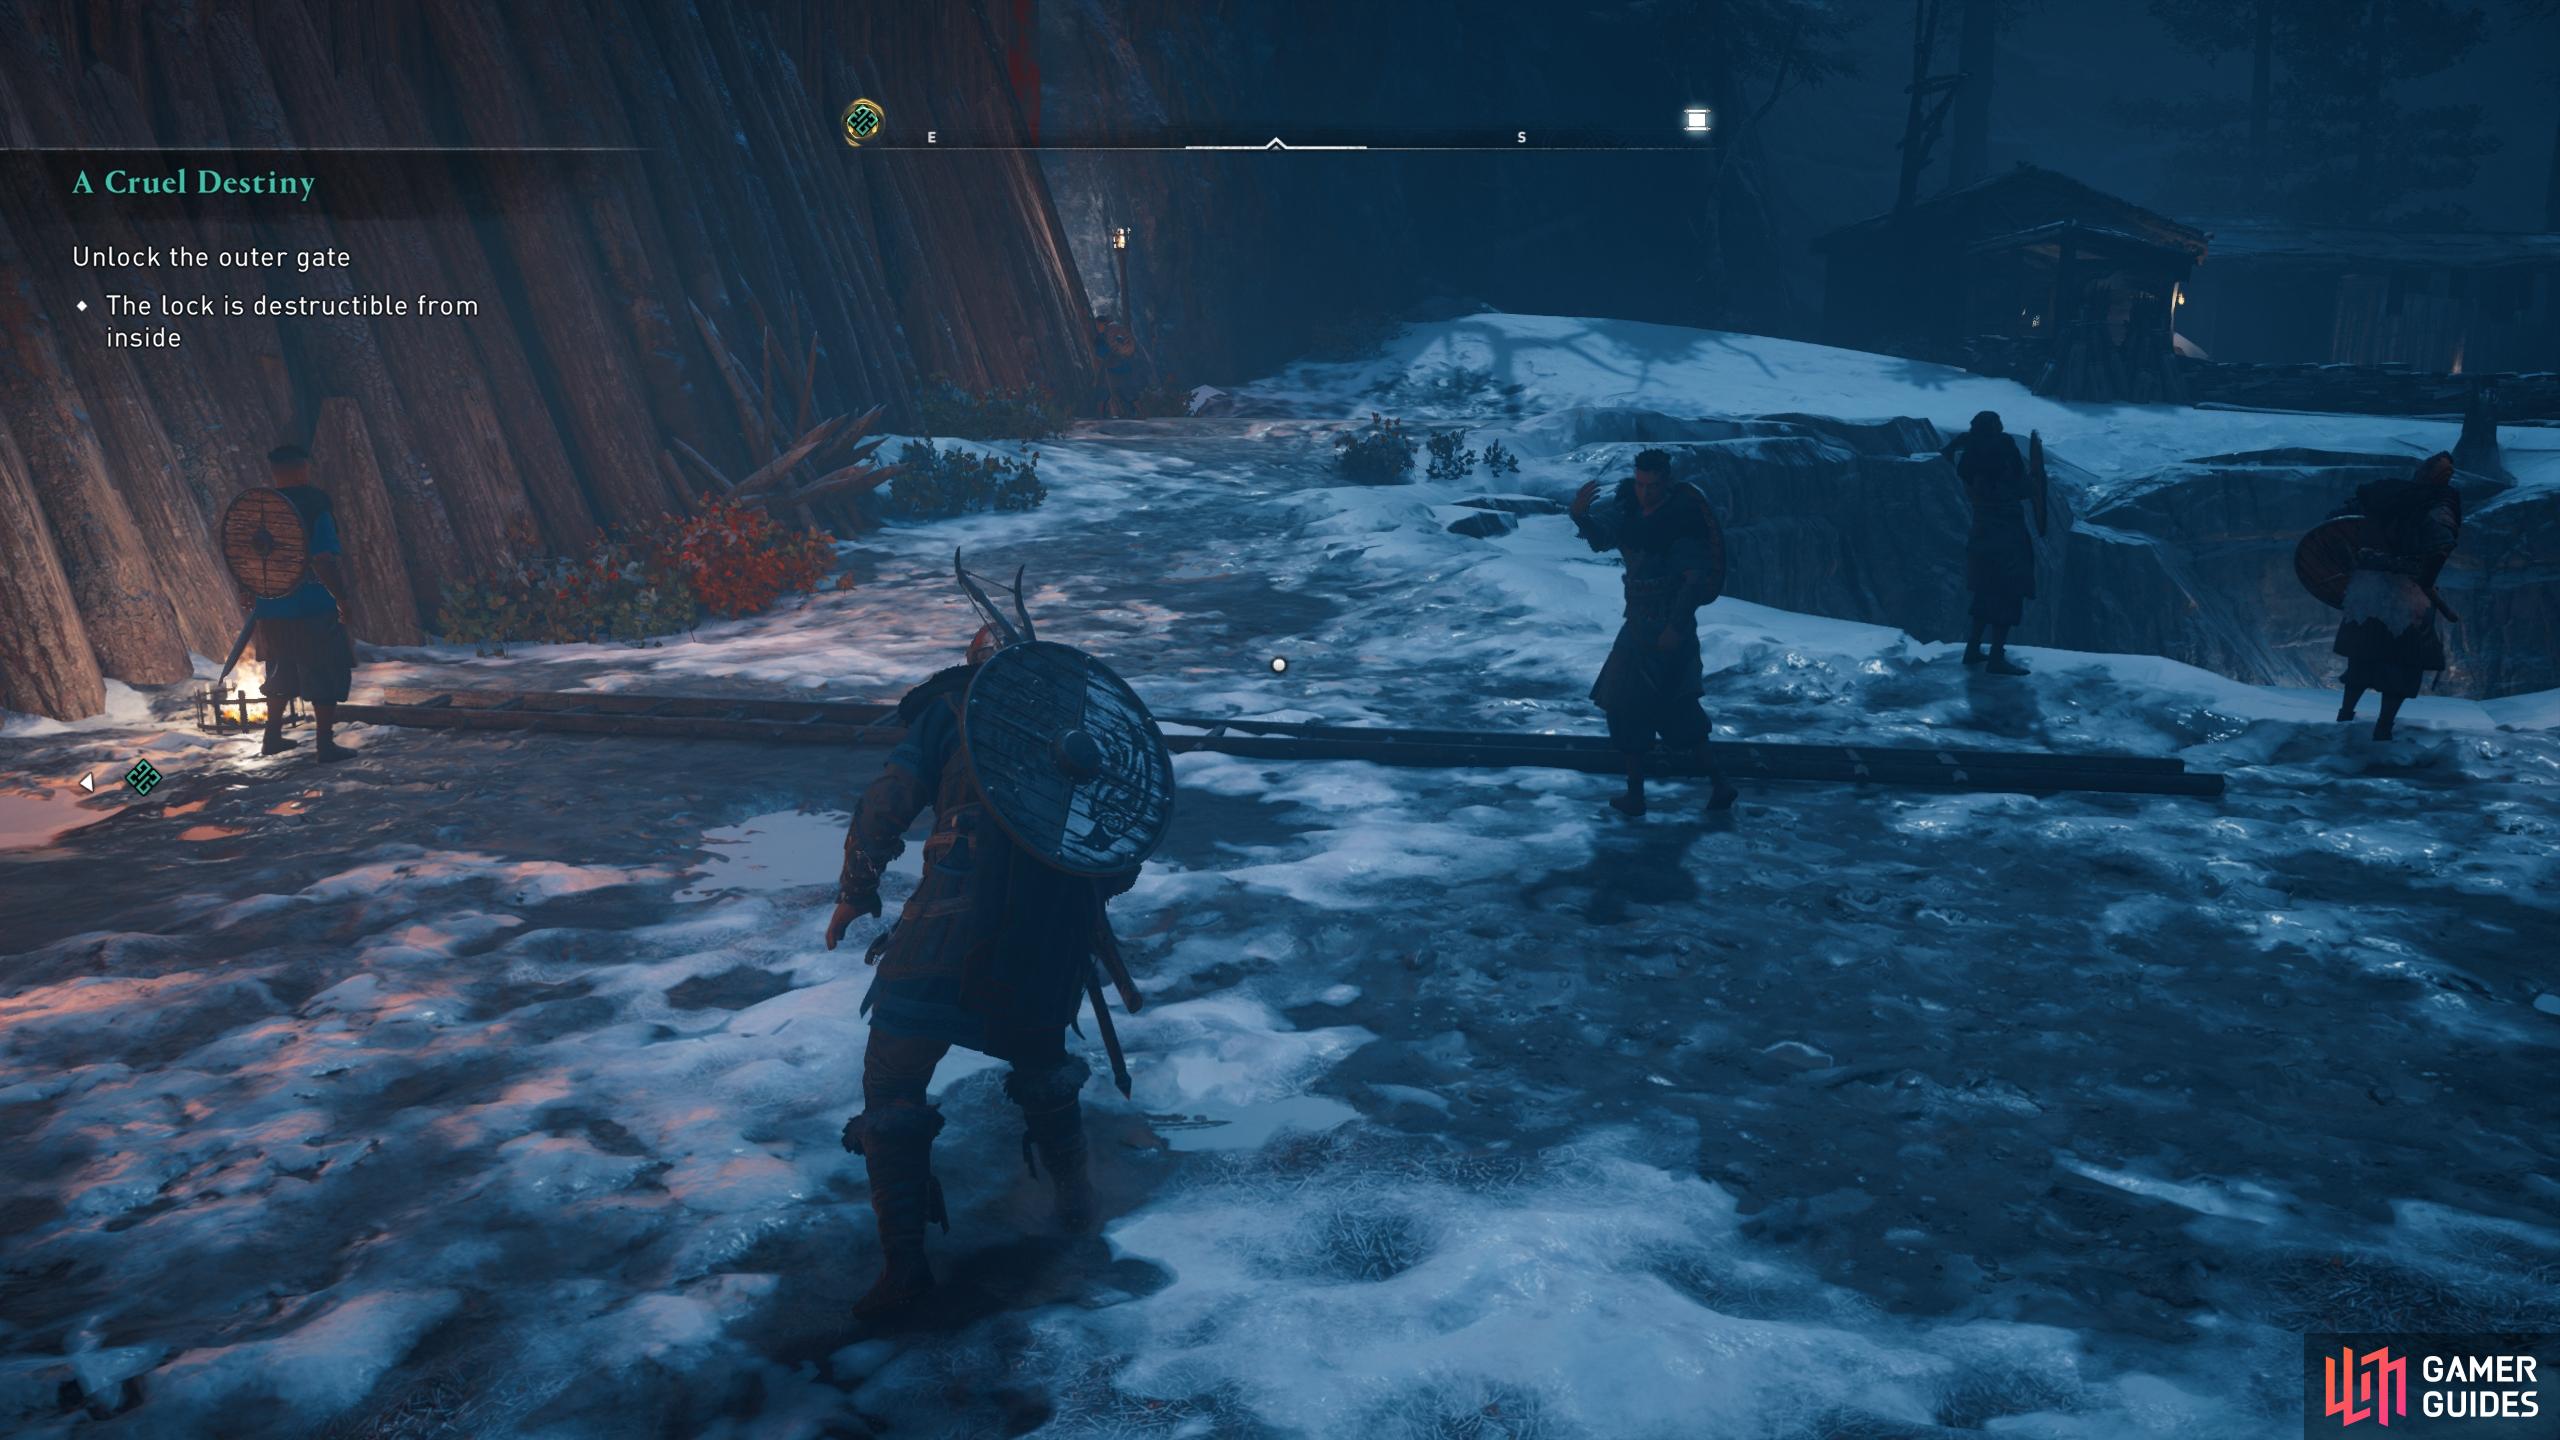
Use the ladder to ascend the walls and provide access for some of your warriors.
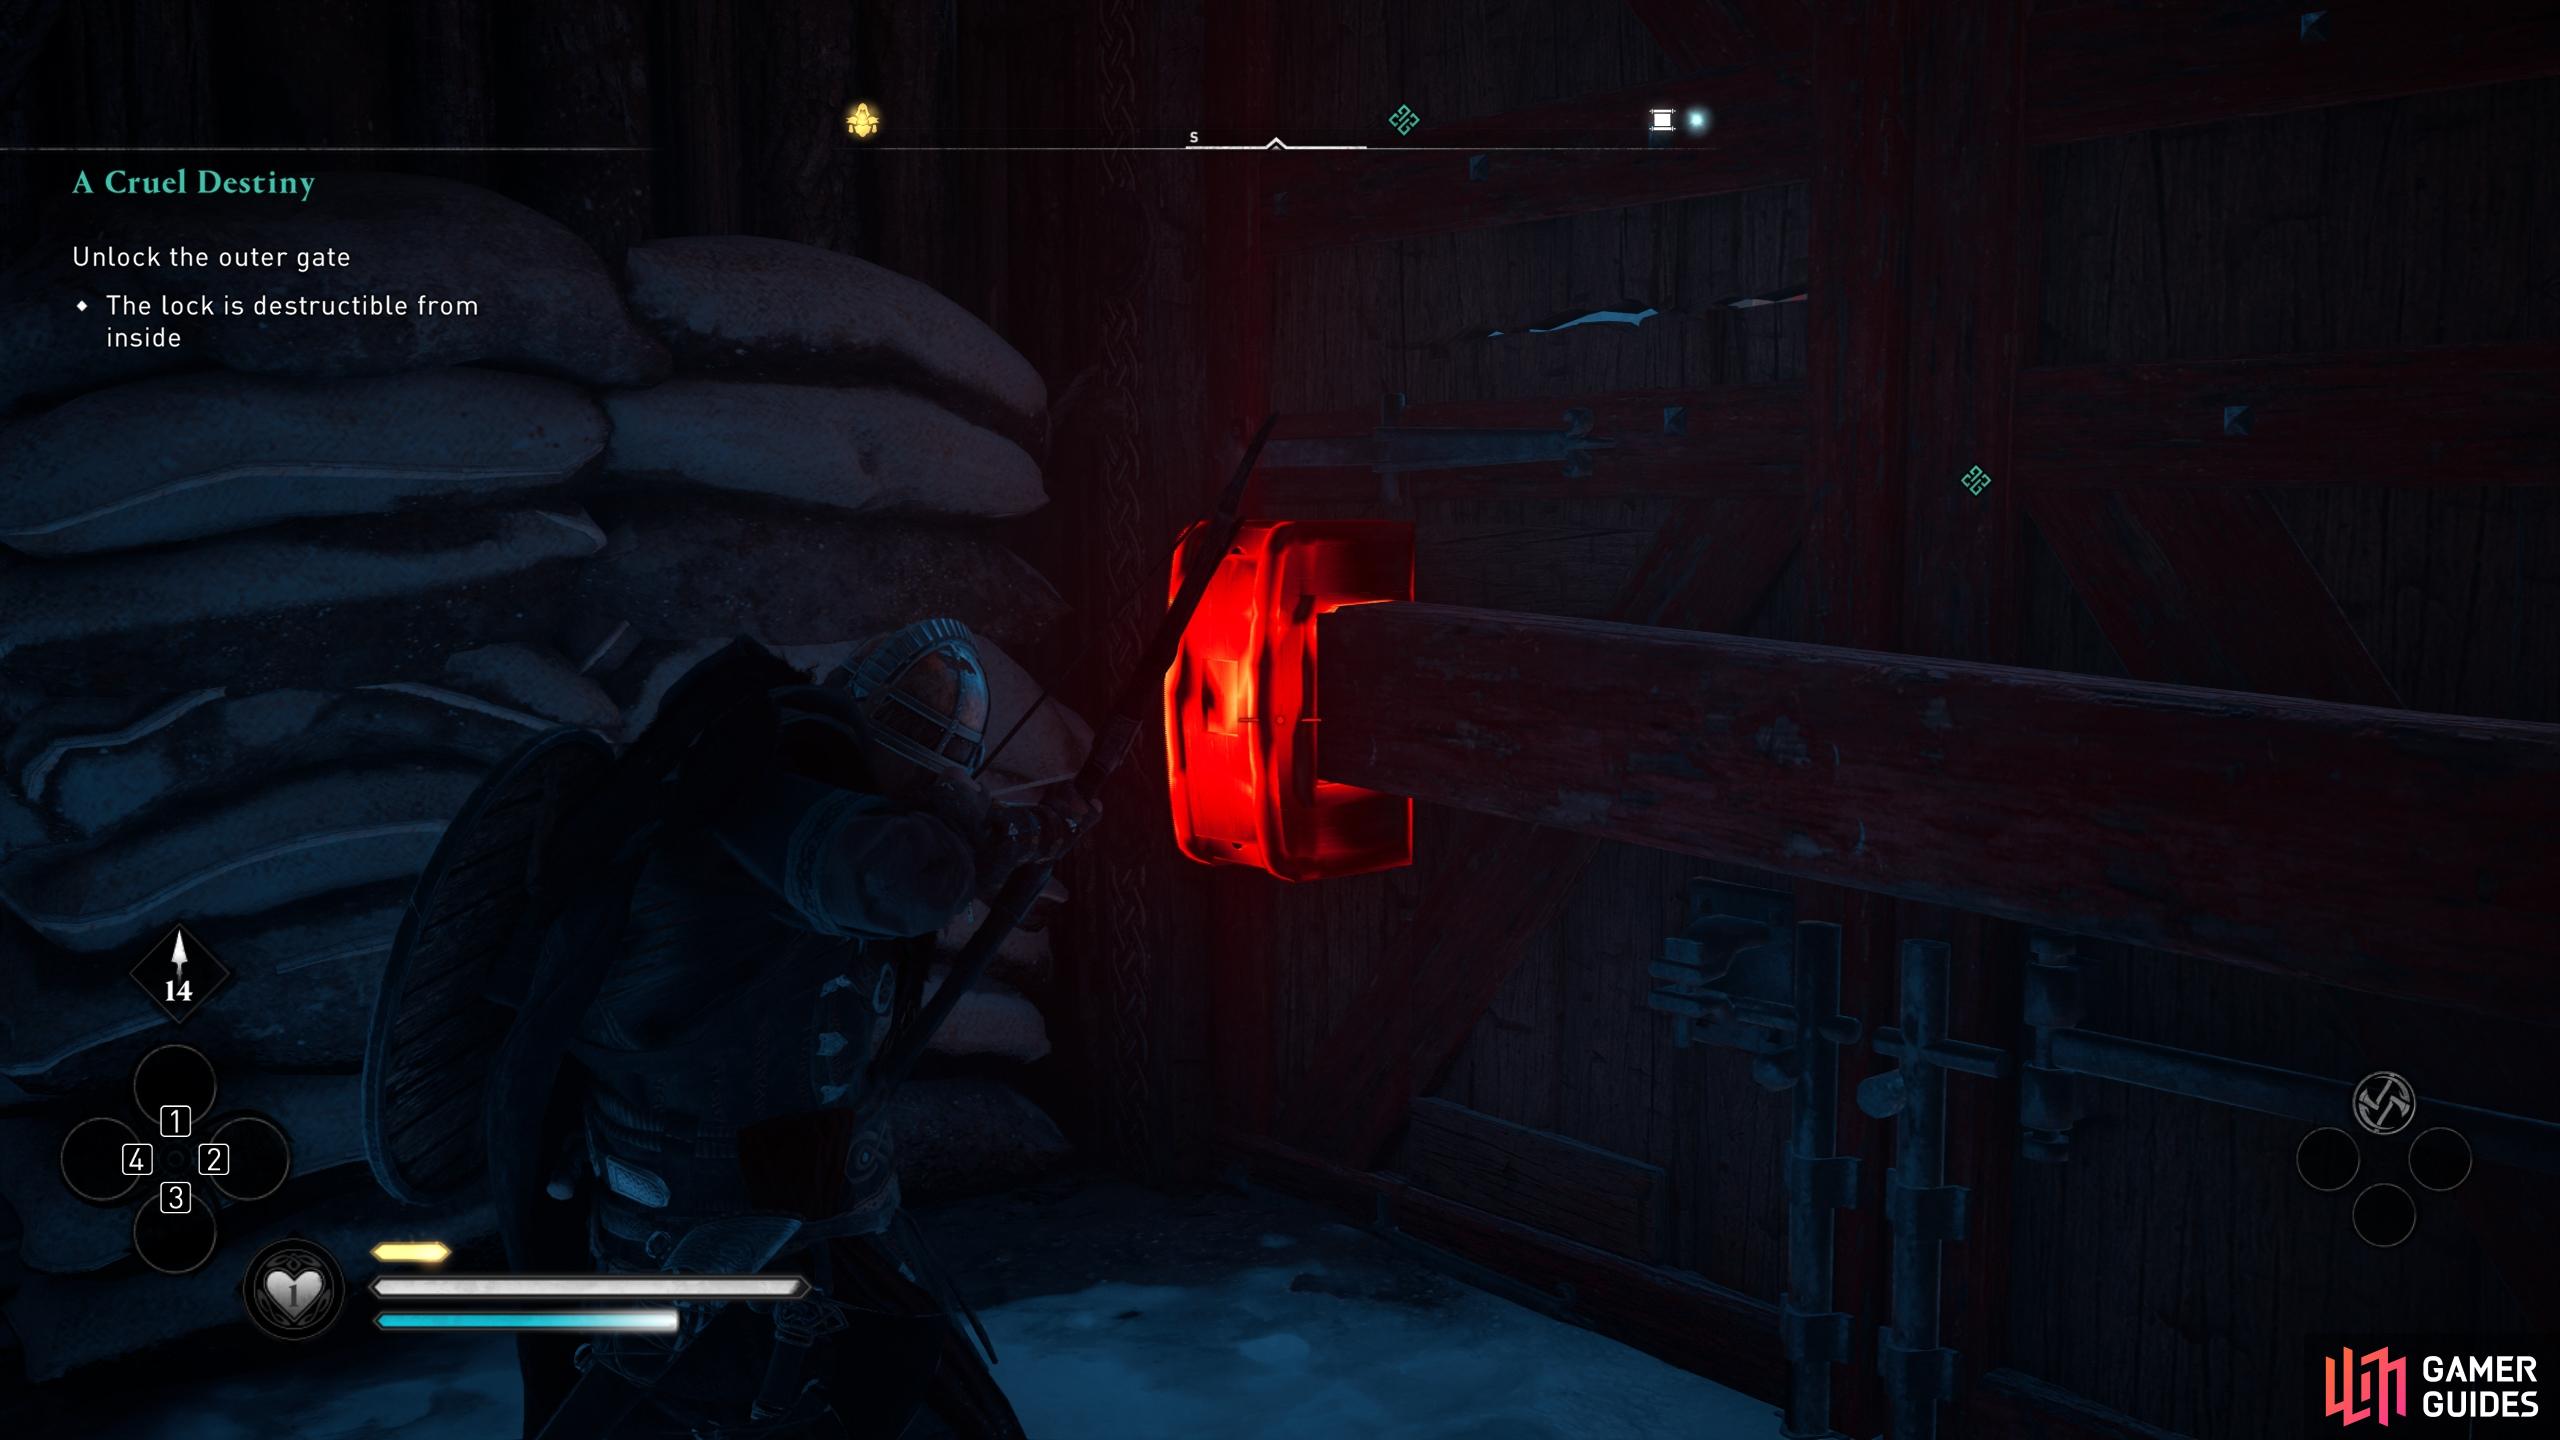
Shoot the links to break the barricade and open the gates from within to your warriors.
With the main gates opened, you can kill as many of Kjotve’s warriors as you want at this stage, but when you’re ready, head northeast to the inner walls. Here you’ll be faced by an elite warrior called Woe-Bringer. This mob has the ability to throw ranged weapons at you with very little warning. At the same time, you’ll be fired at from the walls above by regular archers. As a result, you’ll want to get this fight done with as soon as possible.
Aside from the ranged attacks, the Woe-Bringer has a number of special unblockable attacks, similar to Kjotve. However, since the Woe-Bringer is wielding a two-handed axe, he’s much slower than Kjotve. This can be capitalized on whenever the Woe-Bringer is done with one of the special attacks, leaving you plenty of time to take opportunity of this vulnerable stage with a series of light and heavy attacks.
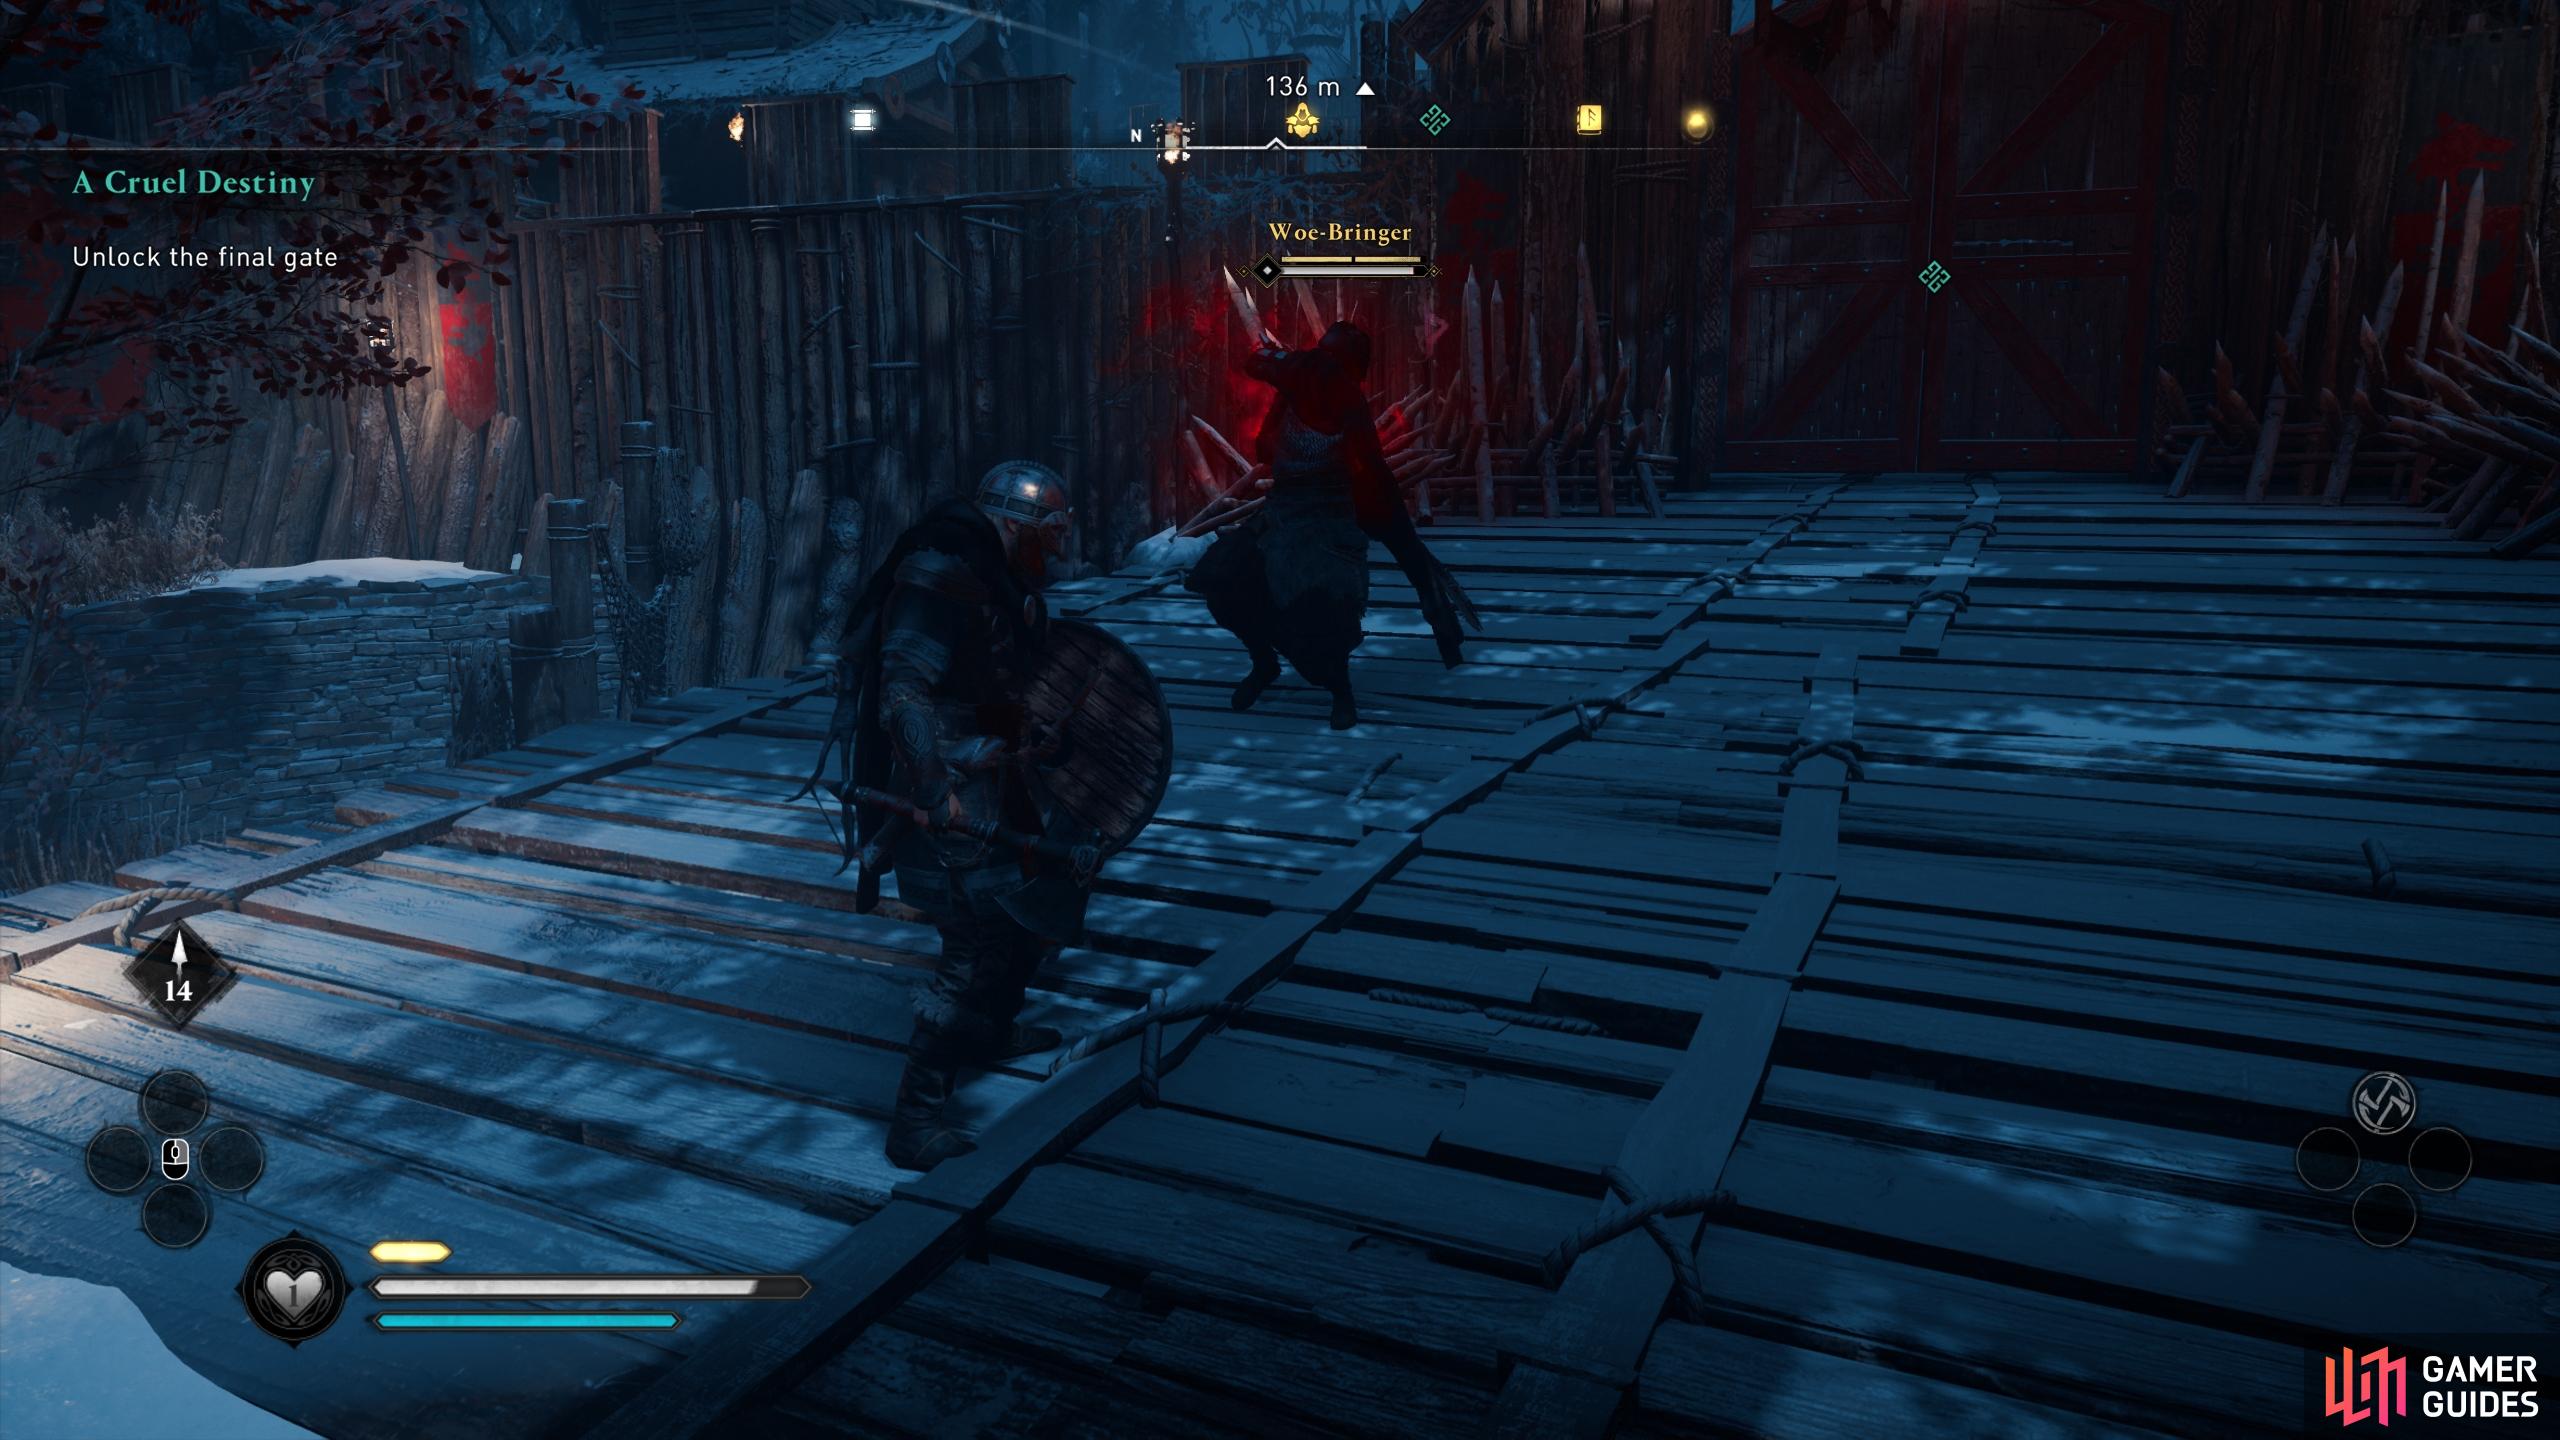
Look out for the red aurora, indicating an incoming special attack.
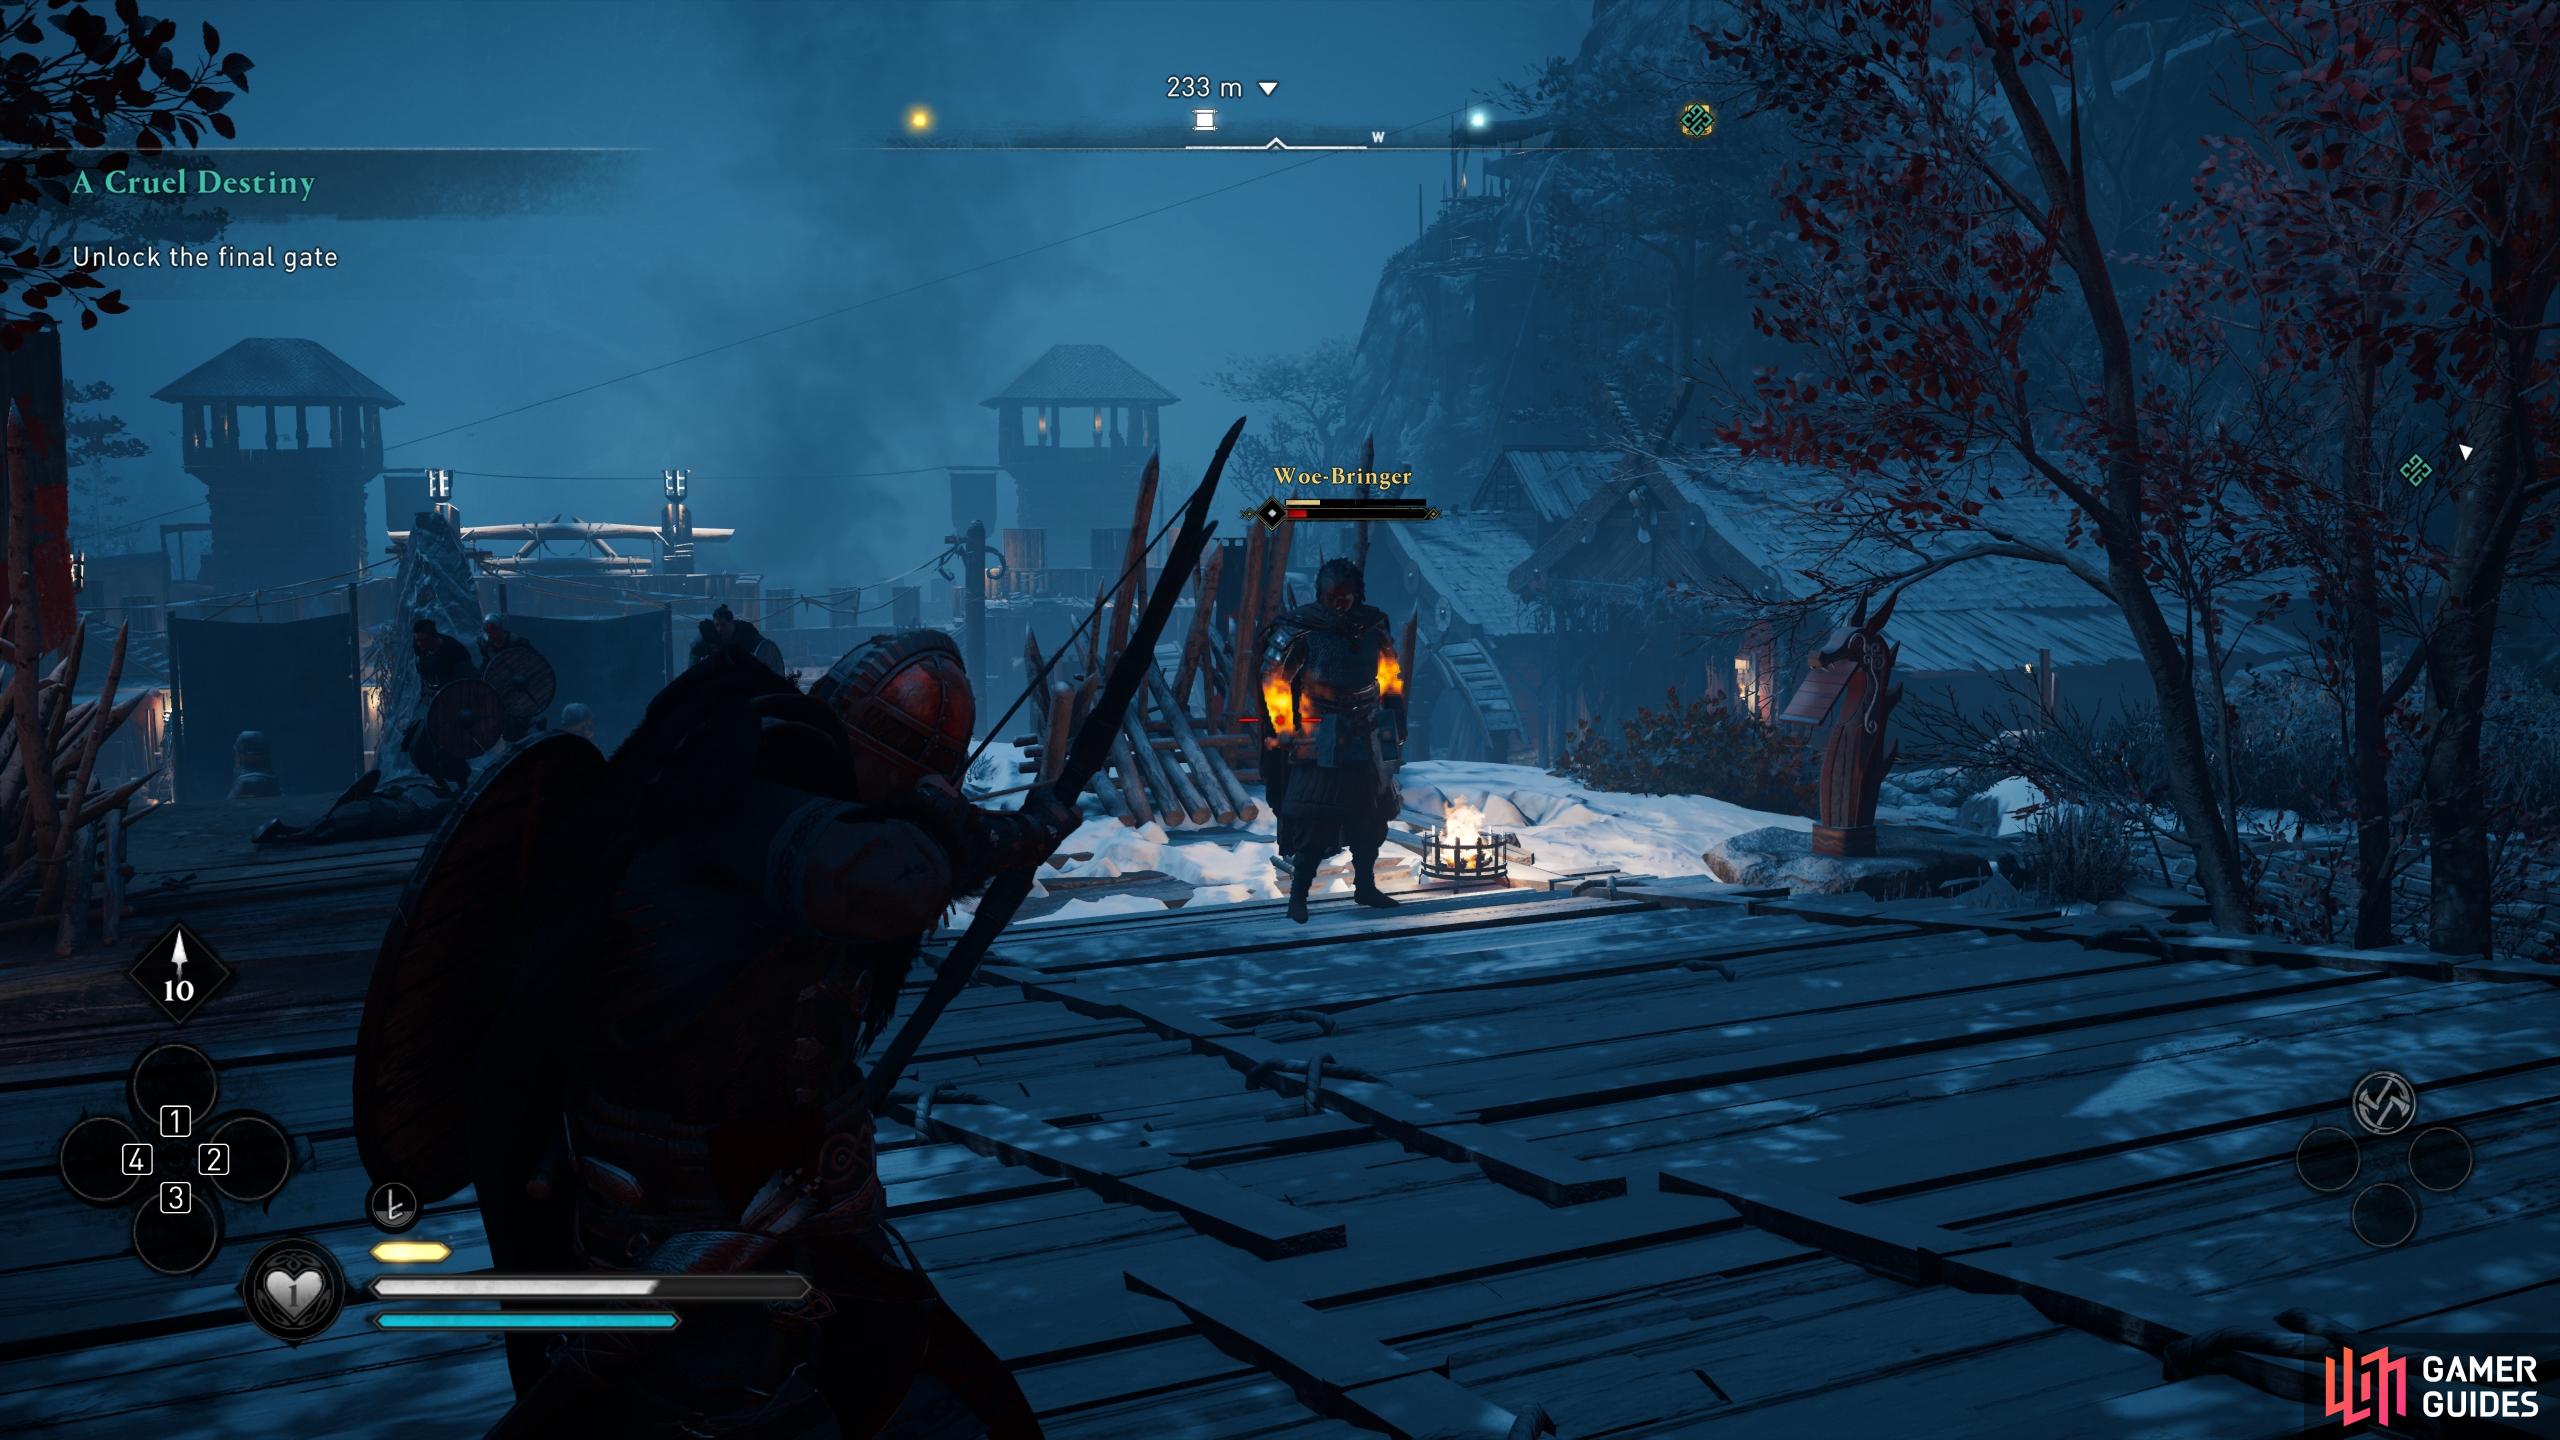
When the Woe-Bringer is weak, strike the weak points to finish him off.
When the Woe-Bringer is brought down to about a quarter of his health, he’ll throw his two-handed axe directly at you. This has the potential to inflict devastating damage, so you’ll need to be prepared to evade it. Without his two-handed axe, the Woe-Bringer isn’t much of a threat. Aim for his arms, which are now vulnerable, for an instant kill. As soon as he’s down you can climb over the walls and open the inner gate. All you need do now is head northeast to the temple entrance.
At the temple you’ll find Gorm, Kjotve’s son, who will flee from the upper levels. Climb up to chase him, but don’t worry if you’re slow. A brief cutscene will follow as soon as you’re outside, ending with Gorm fleeing the battle. You can now speak with Sigurd to end the quest.
No Comments