
Boss Fight: Find and Defeat Bishop Gozlin
If you’d rather face Bishop Gozlin directly in a boss fight, all you need to do is kill the Standard Bearers in the vicinity. This will prompt the captain of the guard to exit the nearby chapel on the southern side of the church. The captain holds the key to the church, so once you’ve defeat him (he’s an elite Gedriht unit) you can loot the key and enter the church to trigger a brief cutscene, before the boss fight with Gozlin begins.
Gozlin has a similar combat style to his brother Ebels, in that he wields a two-handed sword which has a long reach during special attacks. The difference here is that Gozlin often chains his attacks more frequently and with greater speed than his brother Ebels. You’ll therefore need to dodge multiple times or roll further away if you fail a parry or a block of his regular attacks, as you could be hit two or four times within quick succession, which is a death sentence with the damage dealt on the hardest difficulty.
You’ll find weak points on Gozlin’s left leg and right arm. Try to hit these early on so that you can execute a stun attack, which will inflict massive damage. Beyond this, you’ll need to be on the move constantly to avoid Gozlin’s chain attacks, unless you’re confident with parrying and blocking them. You won’t be able to block his special red rune aura attack, during which he leaps forward after a brief charging period. He can hone in on your position incredibly quickly by using this skill, so get ready to dodge or roll as soon as you see the red rune aura above his head.
So long as you can avoid the chain attacks and the special red rune aura attacks, the key to defeating Gozlin is hitting him with short bursts of heavy and light attacks, before moving out of the way or parrying/blocking his chain attacks before they overwhelm you. You’ll need to regain stamina before another burst attack by running around the room if you haven’t been able to parry or block his attacks, so keep this in mind. If you’re caught off guard without any stamina, it will only take a few hits for Gozlin to take you out, so try not to be too greedy by attempting to hit Gozlin too many times in a row, leaving you with no stamina.
Aside from the burst attacks, you should make use of your special abilities whenever you have the chance, which will inflict high damage in a short amount of time. You can also spam arrows at Gozlin’s head, which is an easy way to bring a good chunk of his health down once you’ve hit his weak points. The key here is to not stay within a close proximity to Gozlin for too long, as this will give him an opportunity to spam his high damage sweeping attacks with the two-handed sword.
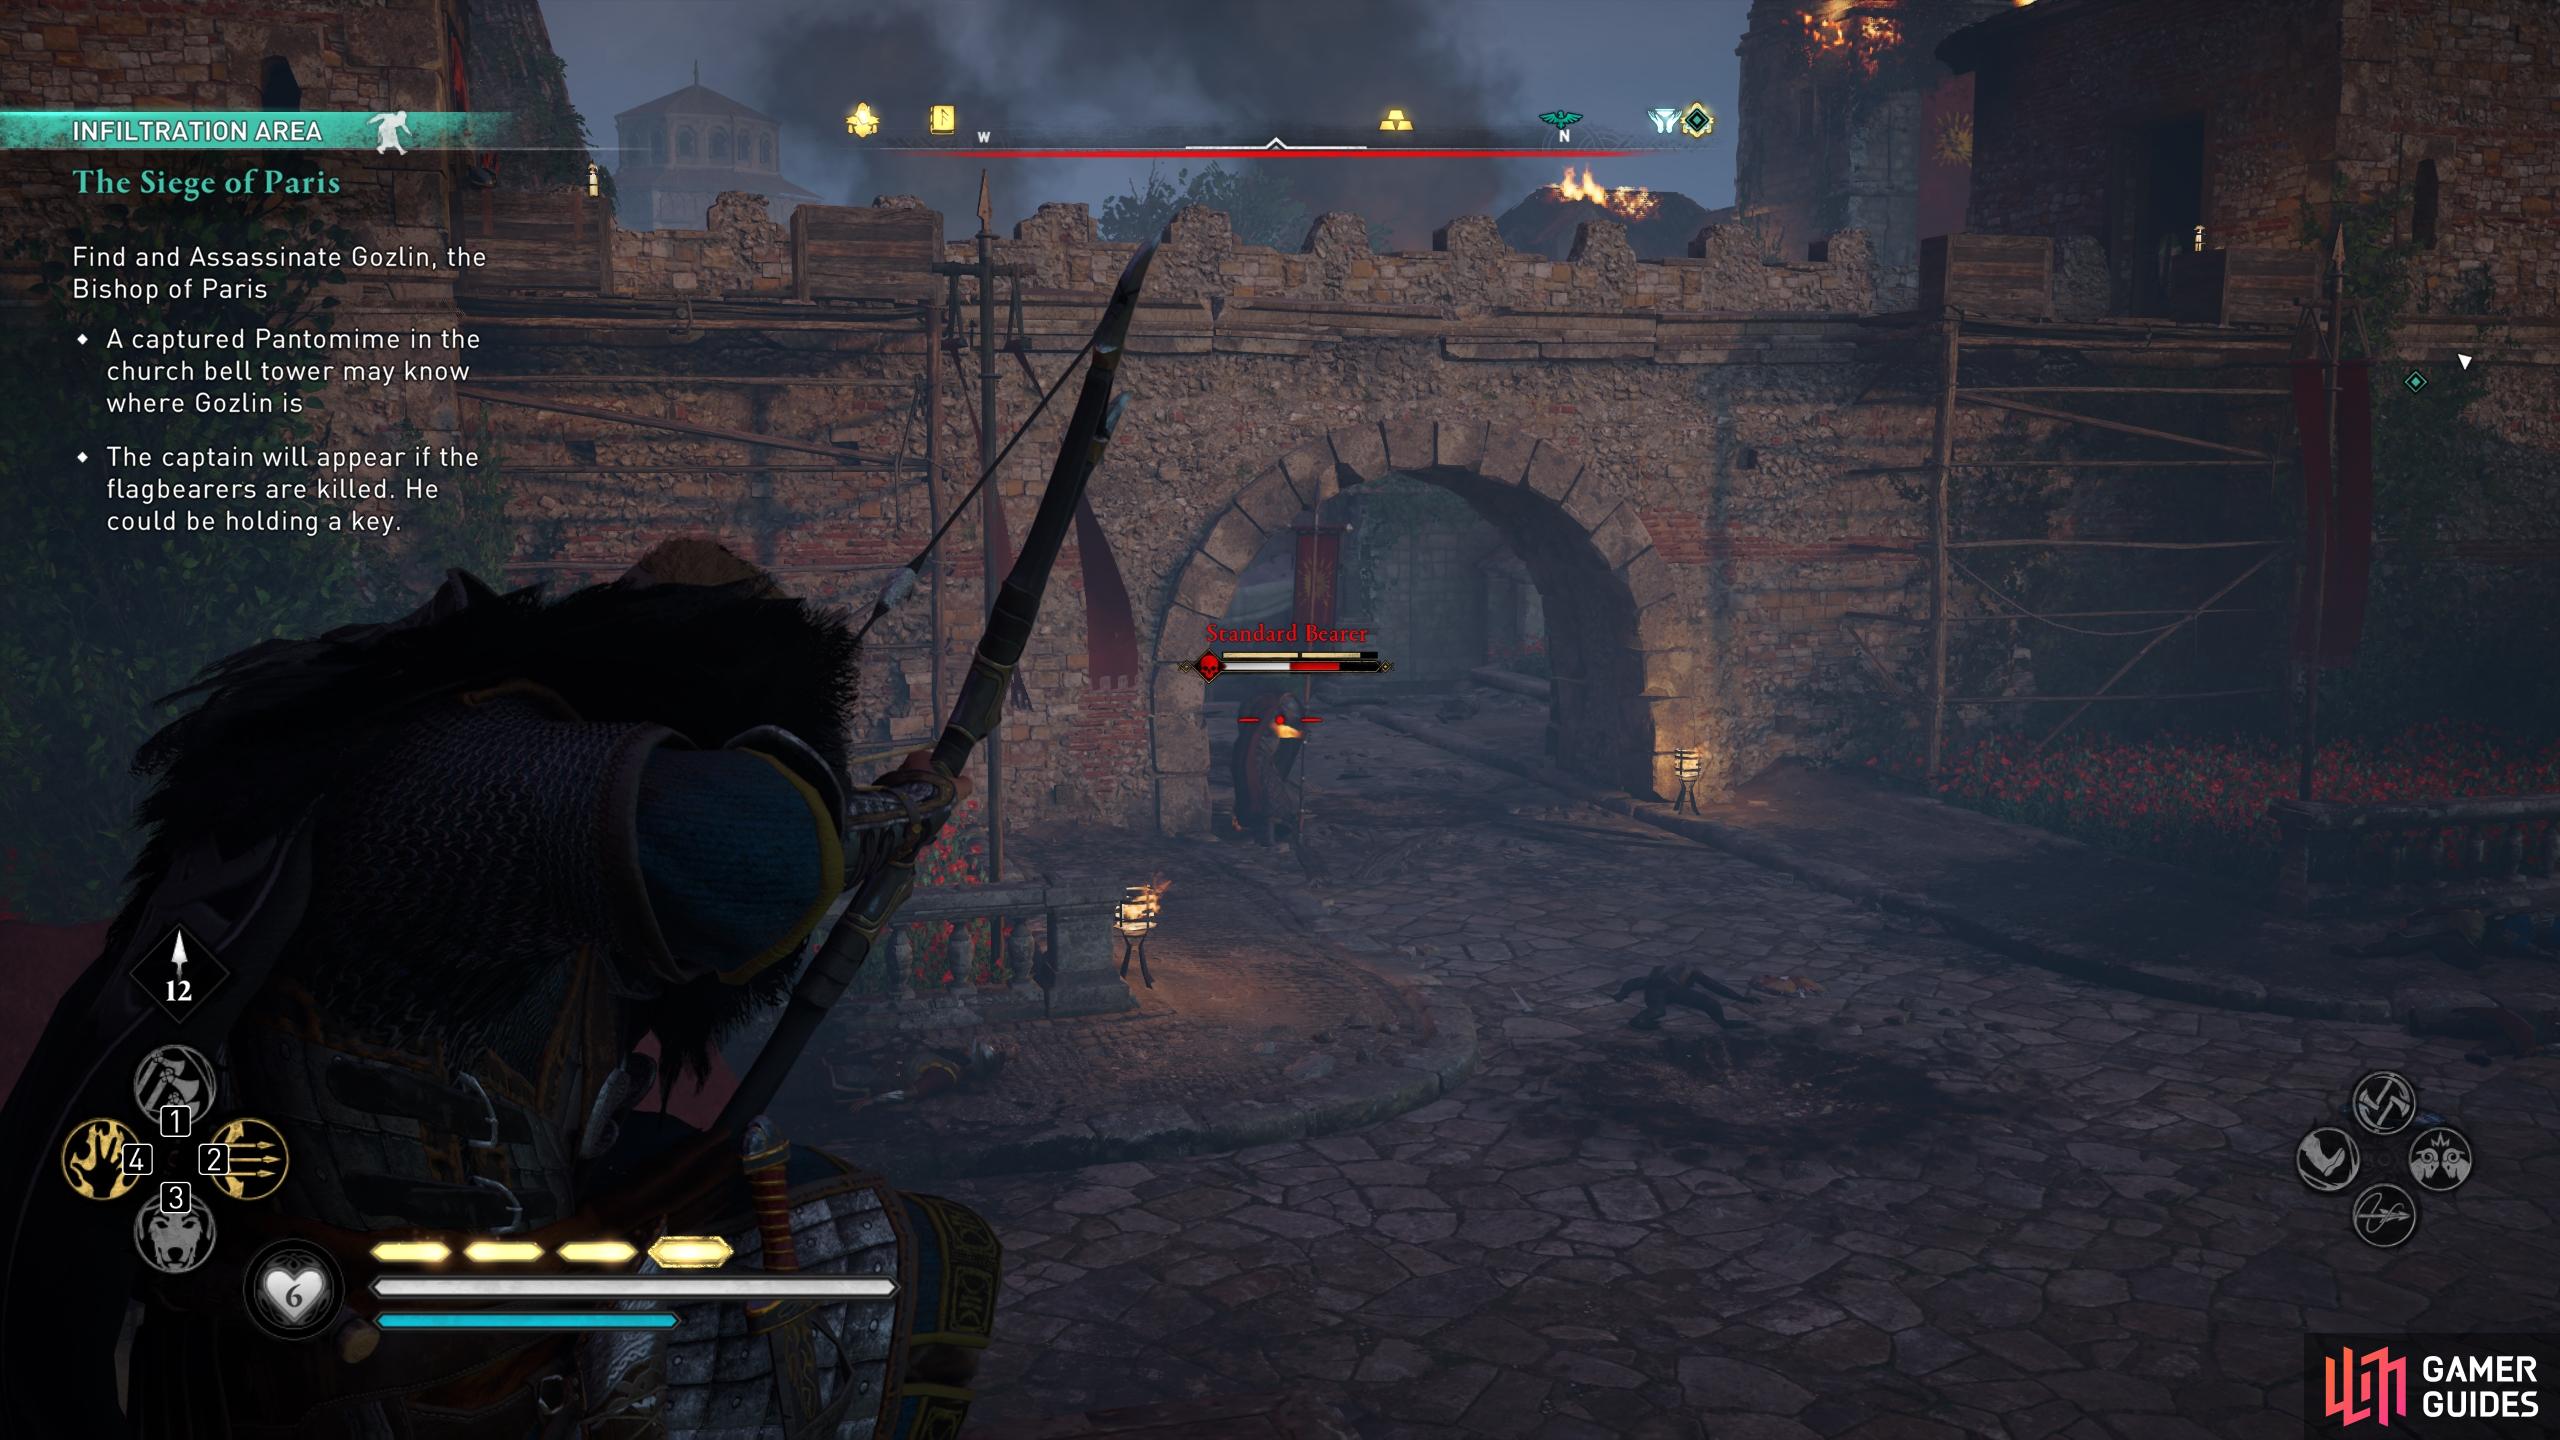
(1 of 8) Kill the standard bearers to force the captain to emerge from the nearby chapel.
However you decide to kill Gozlin, once he’s dead a cutscene will follow and the quest will end.
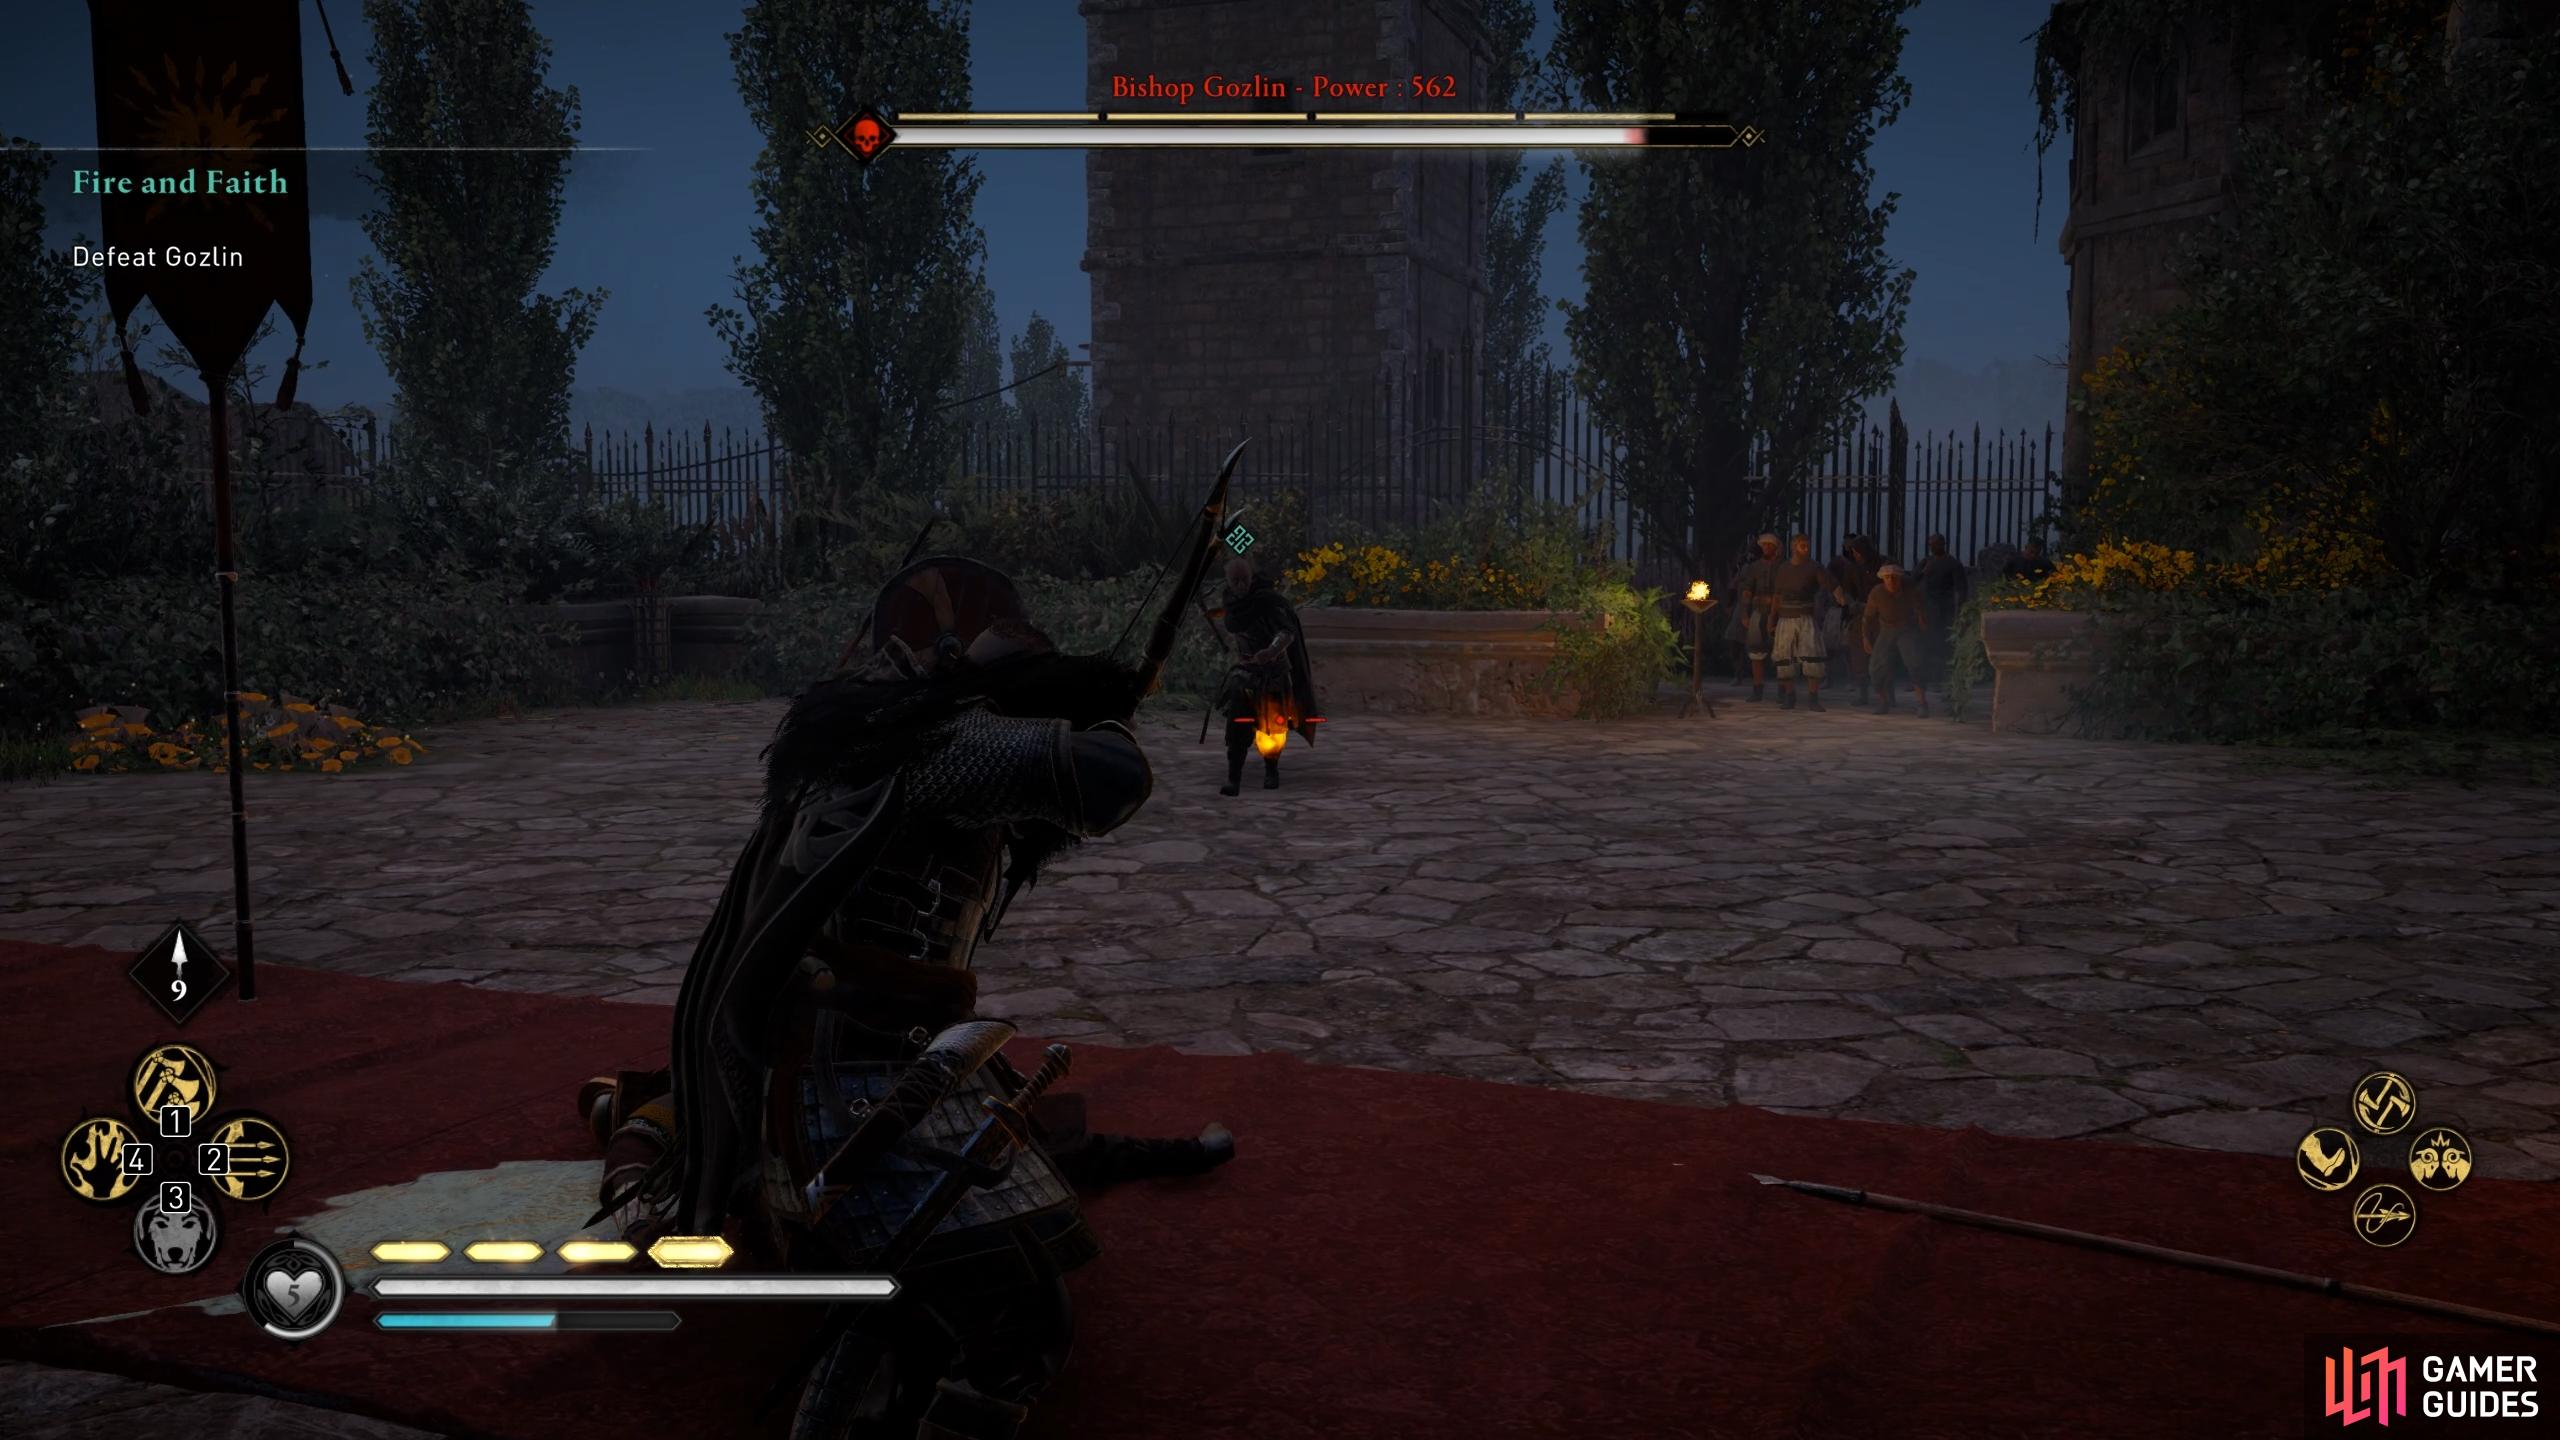
Second Fight With Gozlin: Fire and Faith
The fight with Gozlin is fairly simple, and will only prove challenging if you’re playing on the highest difficulty settings. This is because you’ll have to contend with waves of elite soldiers who will fight alongside Gozlin throughout the fight. You’ll need to keep moving to avoid being caught in a corner by a number of elite soldiers, who can bring your health down quickly if you’re not careful. As ever, dodge and roll are your best friends for quickly escaping a sticky situation.
You’ll find weak points on Gozlin’s left leg and right arm. Try to hit these early on to weaken his defences and make him vulnerable to a stun attack. If you’re playing on higher difficulty settings, you’ll need to hit him with some special abilities to further weaken his defences, or wait until his health is sufficiently depleted with regular attacks.
Gozlin has two main red rune aura special abilities which he uses frequently. The first is a leap attack which allows him to reach Eivor quickly in one swift jump, at the end of which he’ll inflict impact damage which will knock Eivor back and take a large amount of health. You’ll need to dodge or roll away from this whenever you see the red rune aura appear. The second occurs when Gozlin is in melee range with Eivor, and he will often use it if you try to chain too many attacks at once. Essentially, it’s a swift spin with his blade which will again knock Eivor back, but it can be easily avoided if you move as soon as you see the red rune aura appear.
The other special attack which Gozilin will use is a chain attack, precipitated by an orange aura rather than a red one. This attack can be parried or blocked if you time it correctly, which will in turn stun Gozlin and replenish Eivor’s stamina. However, if you’re not confident with timing parries or blocks, you can easily avoid the attacks and break the chain by dodging or rolling away as normal. An alternative method of stopping Gozlin during a special attack is using one of your own special abilities. A fully upgraded Vikingr Salute is particularly useful here, since it will not only interrupt Gozlin, but also stun him for a few seconds afterwards, giving you time to spam some heavy or light attacks.
So long as you’re aware of the basic mechanics that Gozlin has in his skill arsenal, you should be able to avoid being hit most of the time. This may prove more difficult with the additional elite soldiers in the fight, but you can deal with these swiftly if you target their own weak points. Just draw your bow to highlight them, shoot the weak point and then finish them off with a stun attack. You’ll have more difficulty hitting the weak points of a Standard Bearer due to their large shields, but if you leave one of these alive, they won’t be much of a problem since they’re pretty slow in combat. However, you should still look out for their spear throws.
Spare Charles, or Charles Must Die?
Once Gozlin is dead, a cutscene will begin during which Richardis is seen to emerge from the fire unscathed, to the amazement of everyone present aside from Charles, who seems supremely annoyed. During the scene Richardis will beg that you spare Charles, and you’ll have to decide between the following options:
“I will spare Charles.”
“Charles must die.”
As with the choice presented to you by Count Odo, it doesn’t matter what you choose here at this point, outside of your own roleplaying preferences. However, Richardis will be grateful if you state that you’ll spare Charles. Once you’ve made your choice, the quest will end.
No Comments