
This page details how to complete the Cassivellaunus Tomb of the Fallen, including how to activate the spherical pressure plates on the eastern and western sides of the main chamber, how to activate the stone pillar pressure plates, how to access the Fallen Hero Breastplate, and where to find the Cassivellaunus Tomb artifact.
Cassivellaunus Tomb, Tombs of the Fallen.
Where to Find the Cassivellaunus Tomb
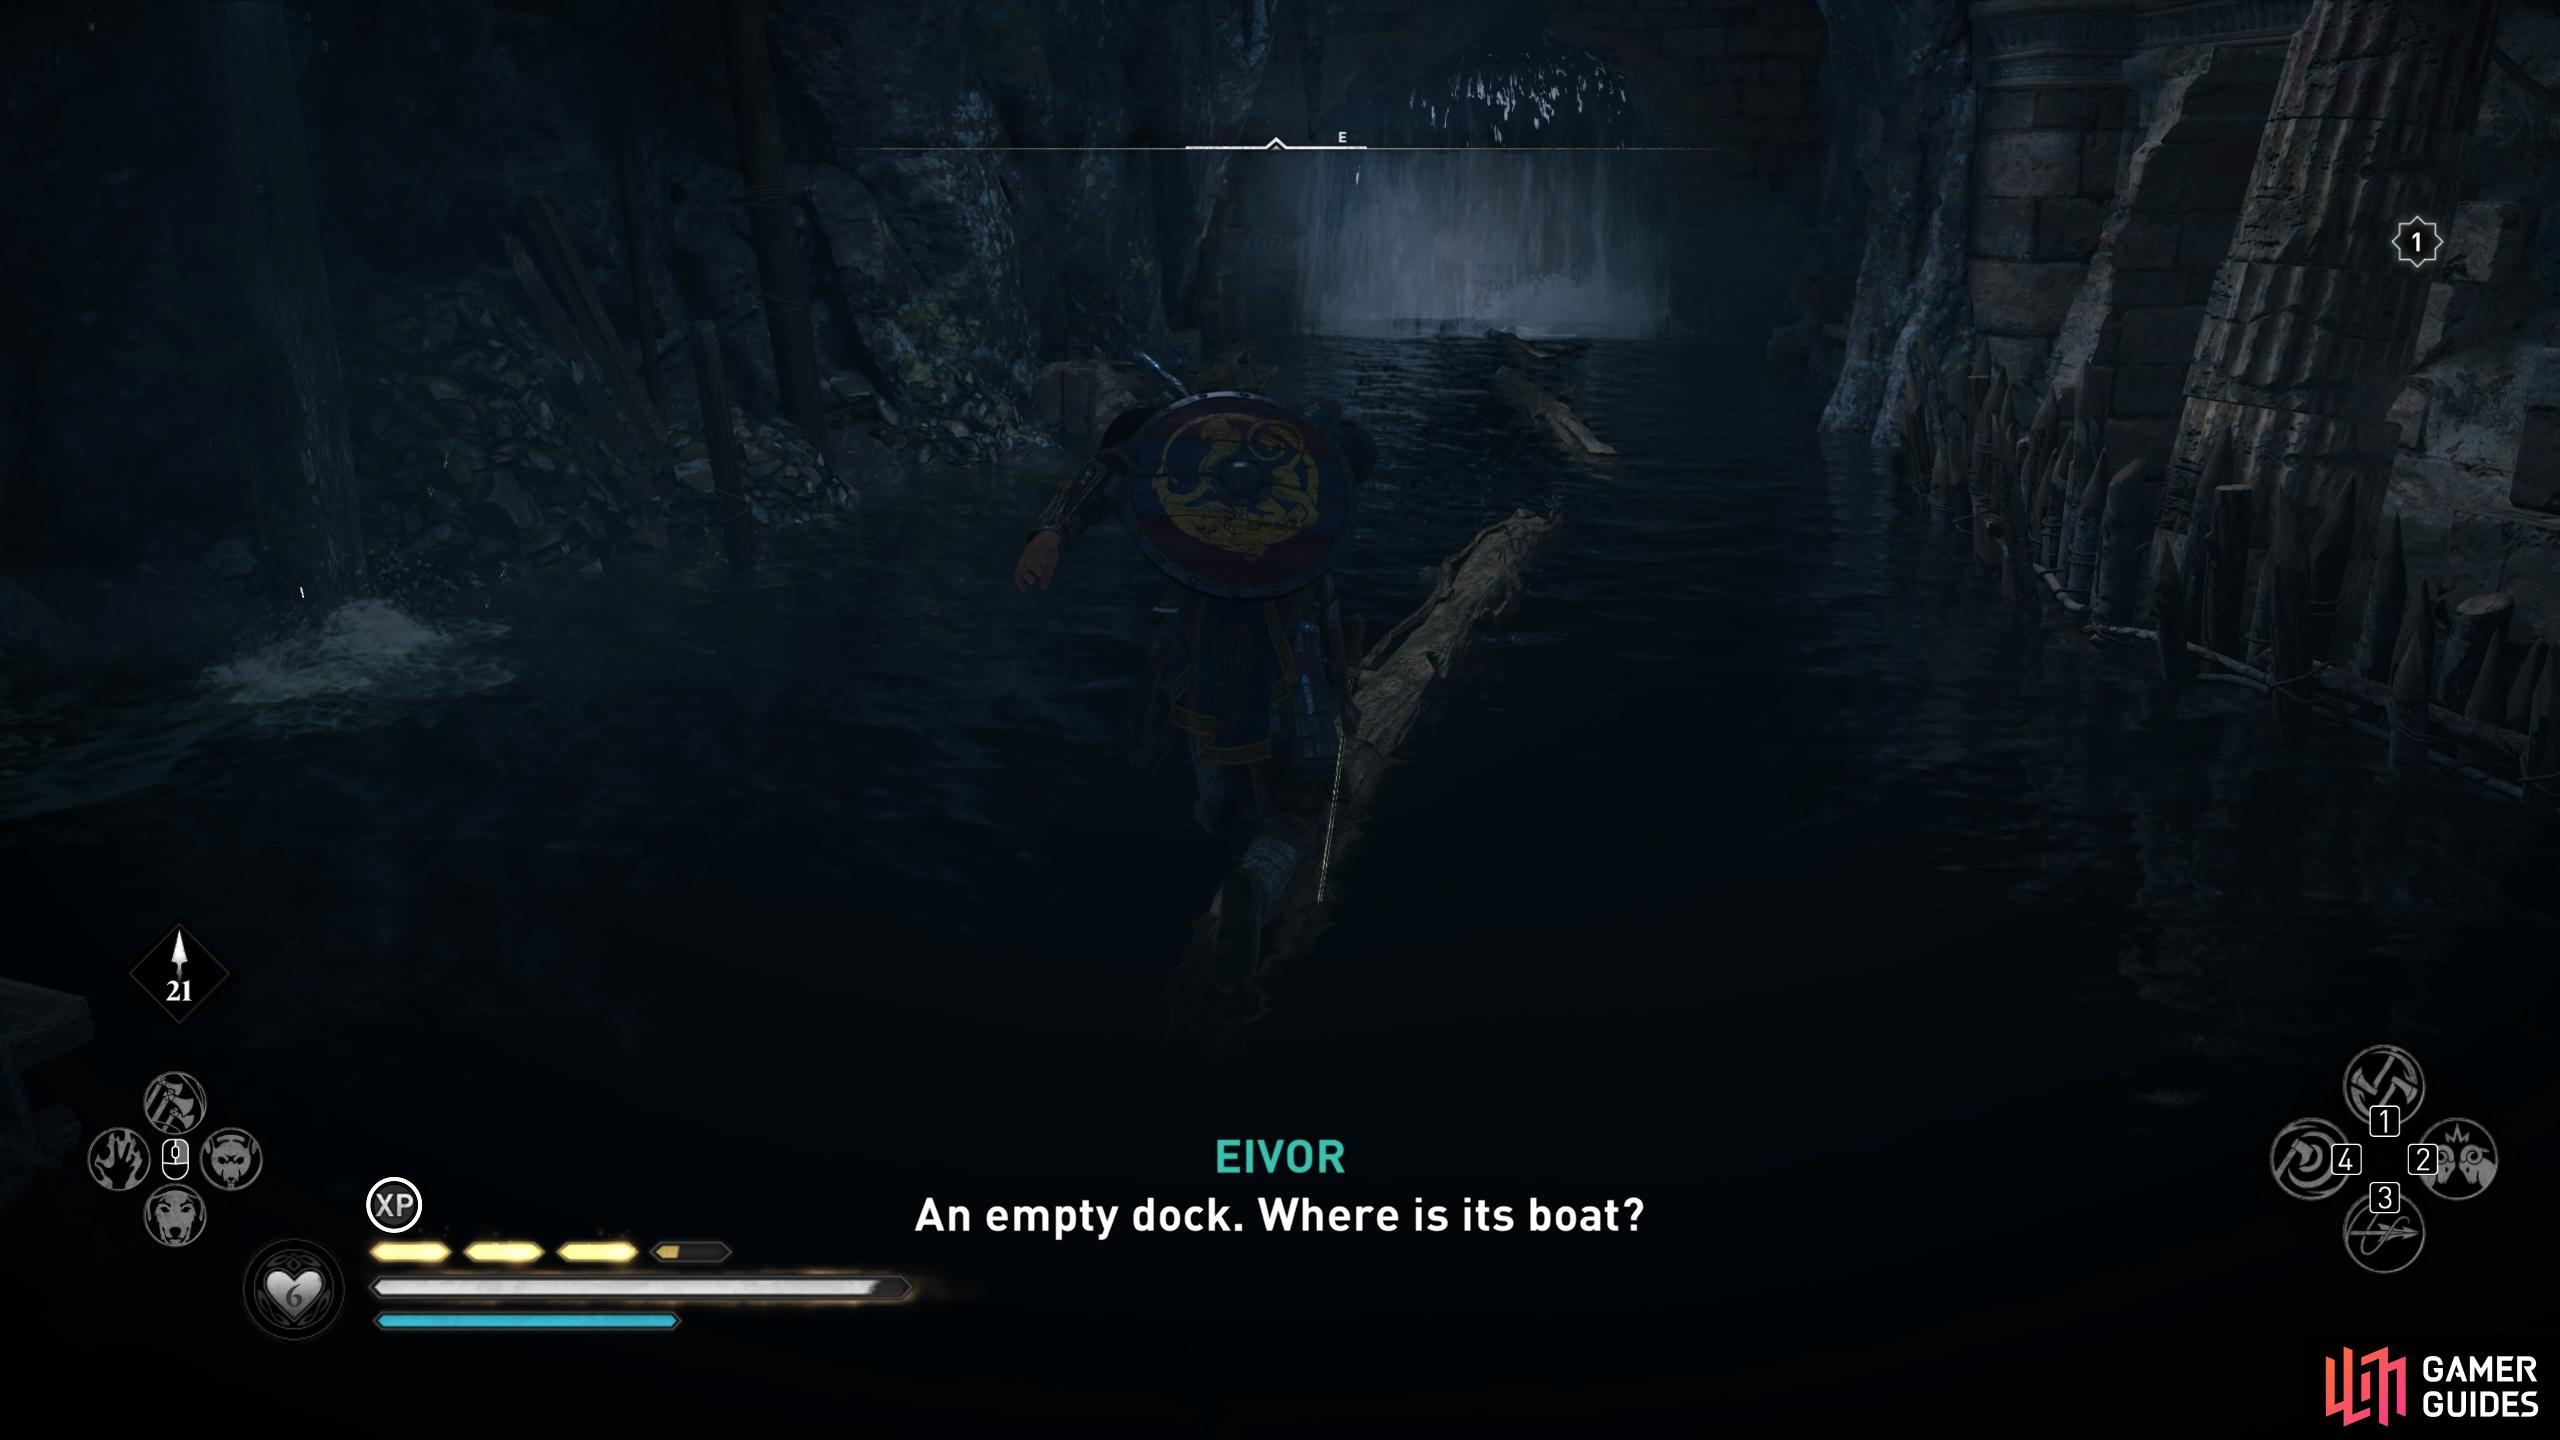
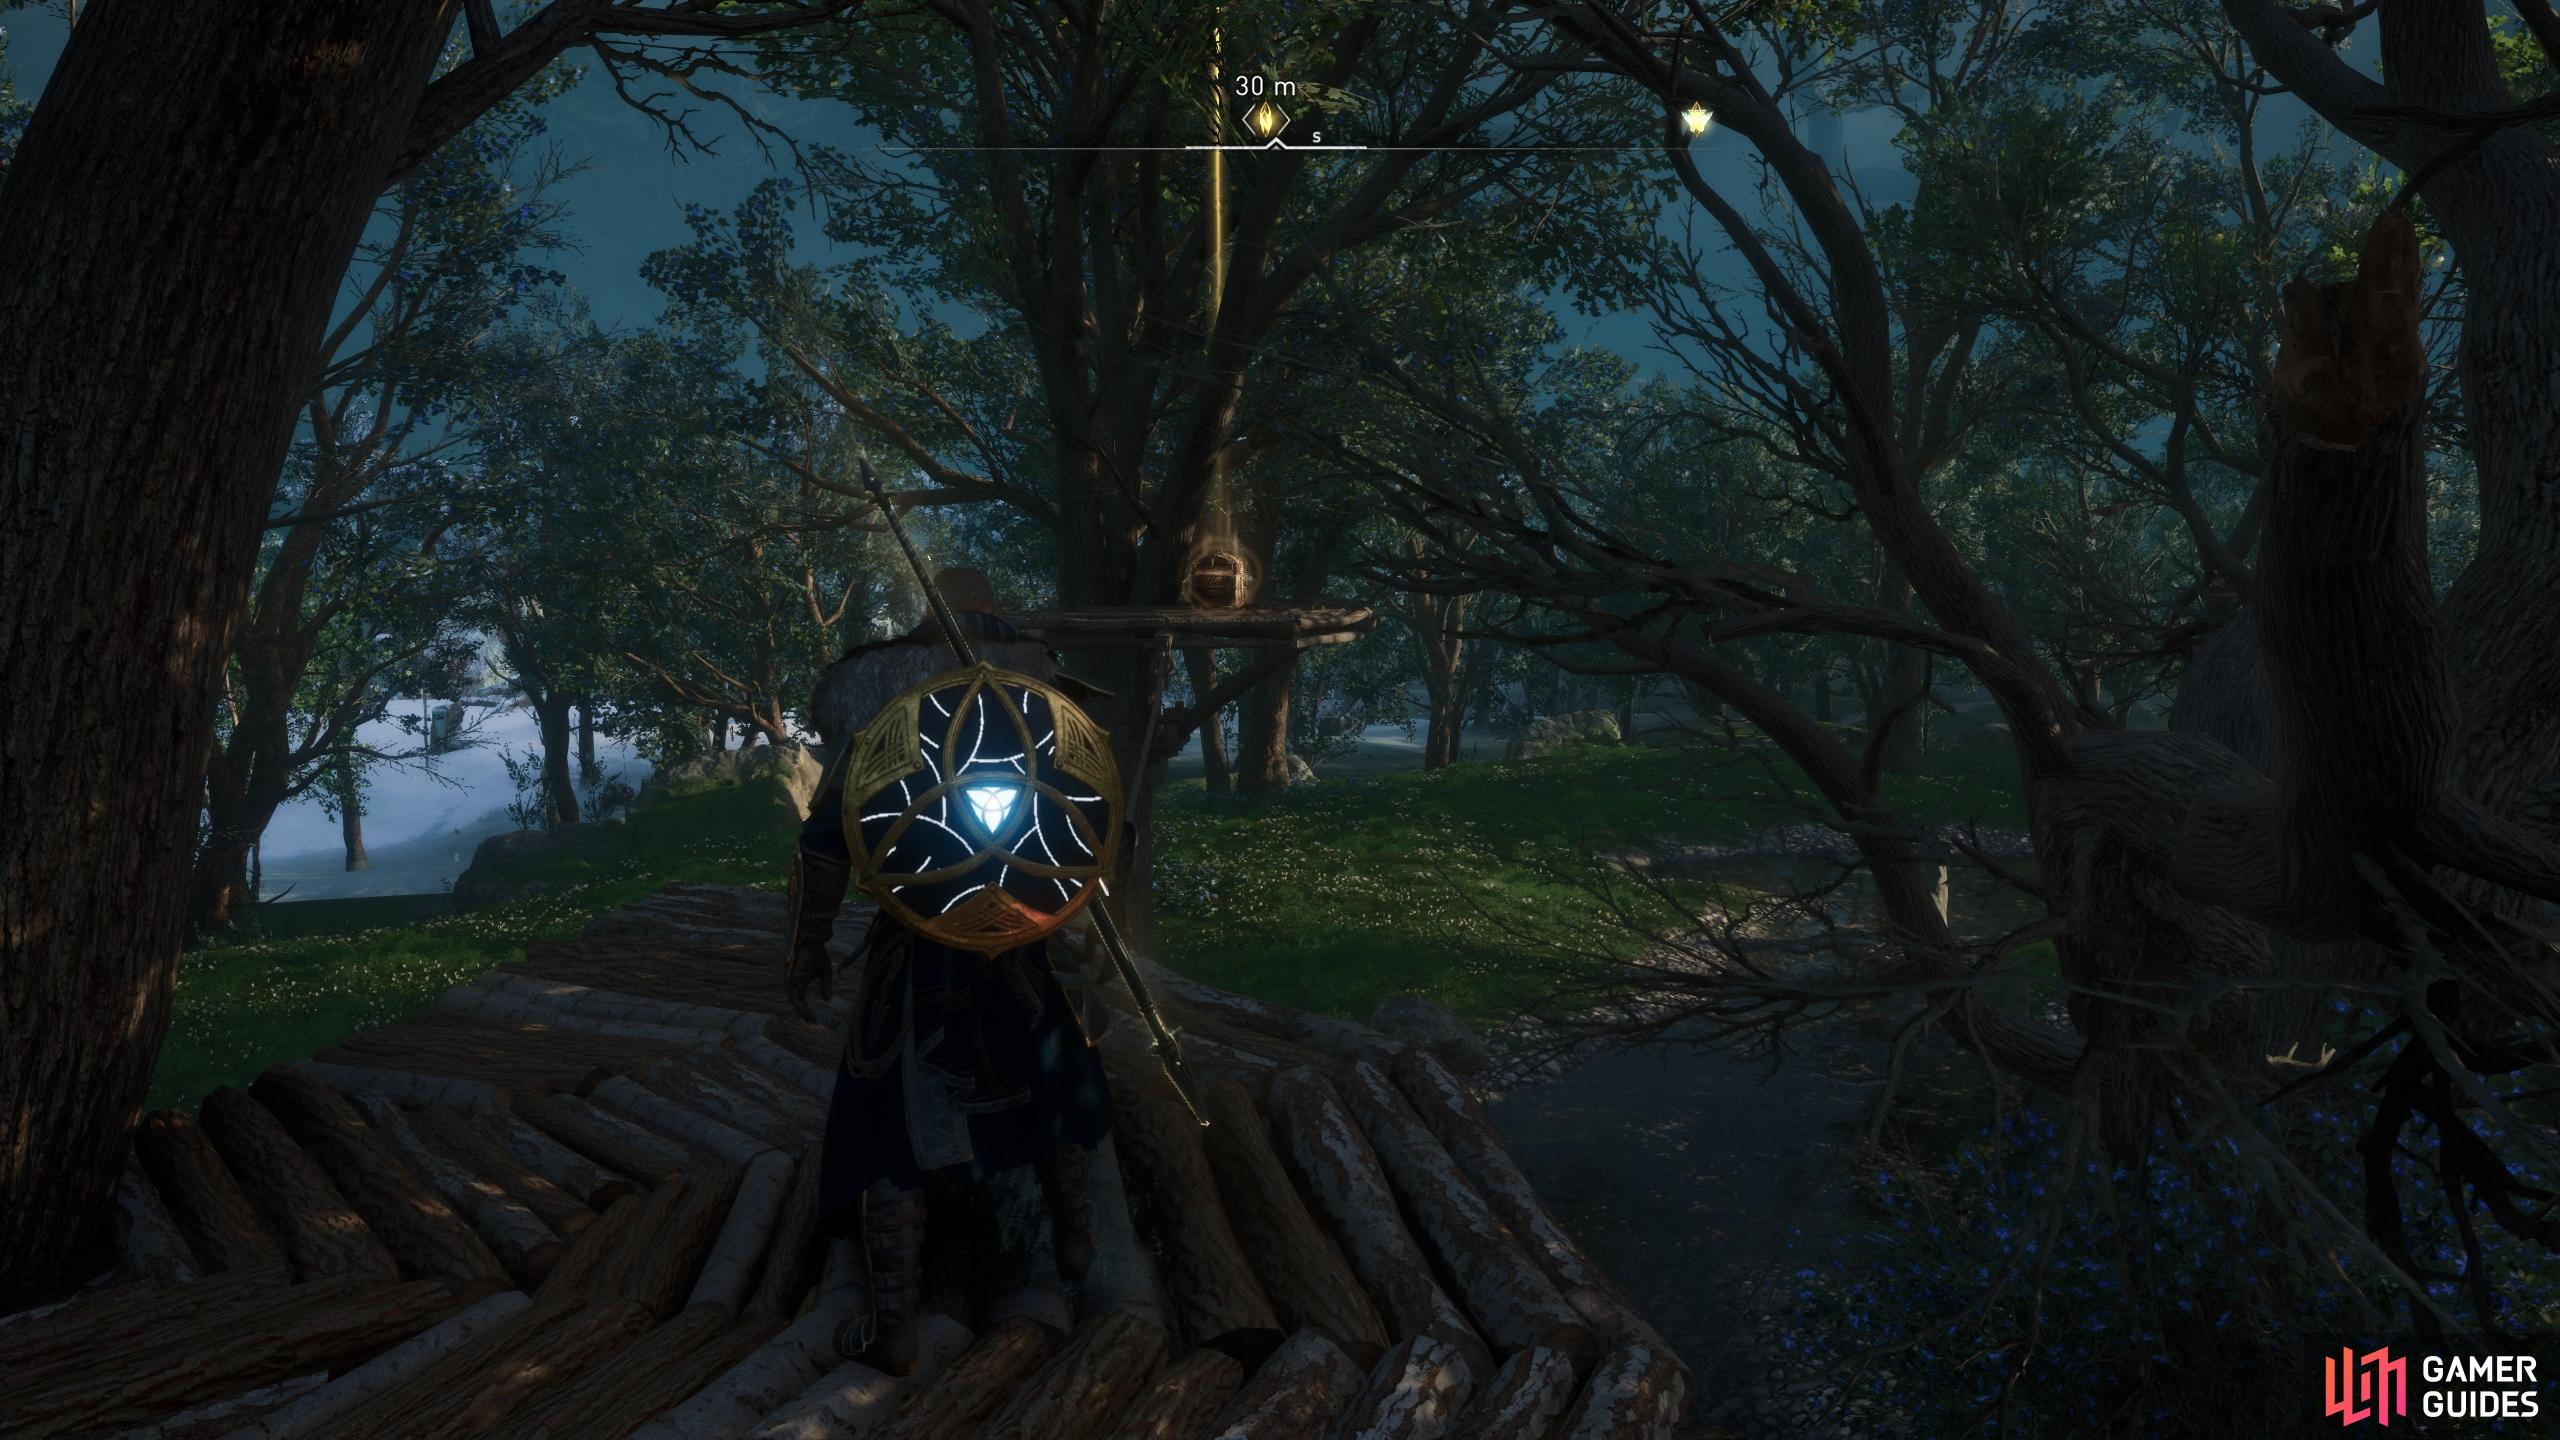
The main chamber of this tomb is located deep within the cave system, so you’ll need to move through the system until you reach a waterfall. Here you can dive into the water and then use the nearby boat to row into the main chamber. You’ll find a minor treasure chest in the water just beneath the boat, so be sure to loot that before you move on. As with the other tombs, when you enter the main chamber a brief cutscene will play, hinting at what you need to do in order to open the gate to Cassivellaunus Tomb. As before, you’ll need to activate four pressure plates.
How to Activate the Eastern Spherical Pressure Plate
We’ll start by activating the eastern pressure plate. To begin, hop along the floating tree trunks in the water, as Eivor comments on the empty dock. To find the boat, you’ll need to go beyond the waterfall where the tree trunks are leading. You’ll soon reach a chamber with two pathways to your left and right. You’ll need to go left here, as you’ll be coming back through the one on the right on your way out. The chamber on the left seems like a dead end, but you just need to dive down into the water and swim between the spikes to the other side.
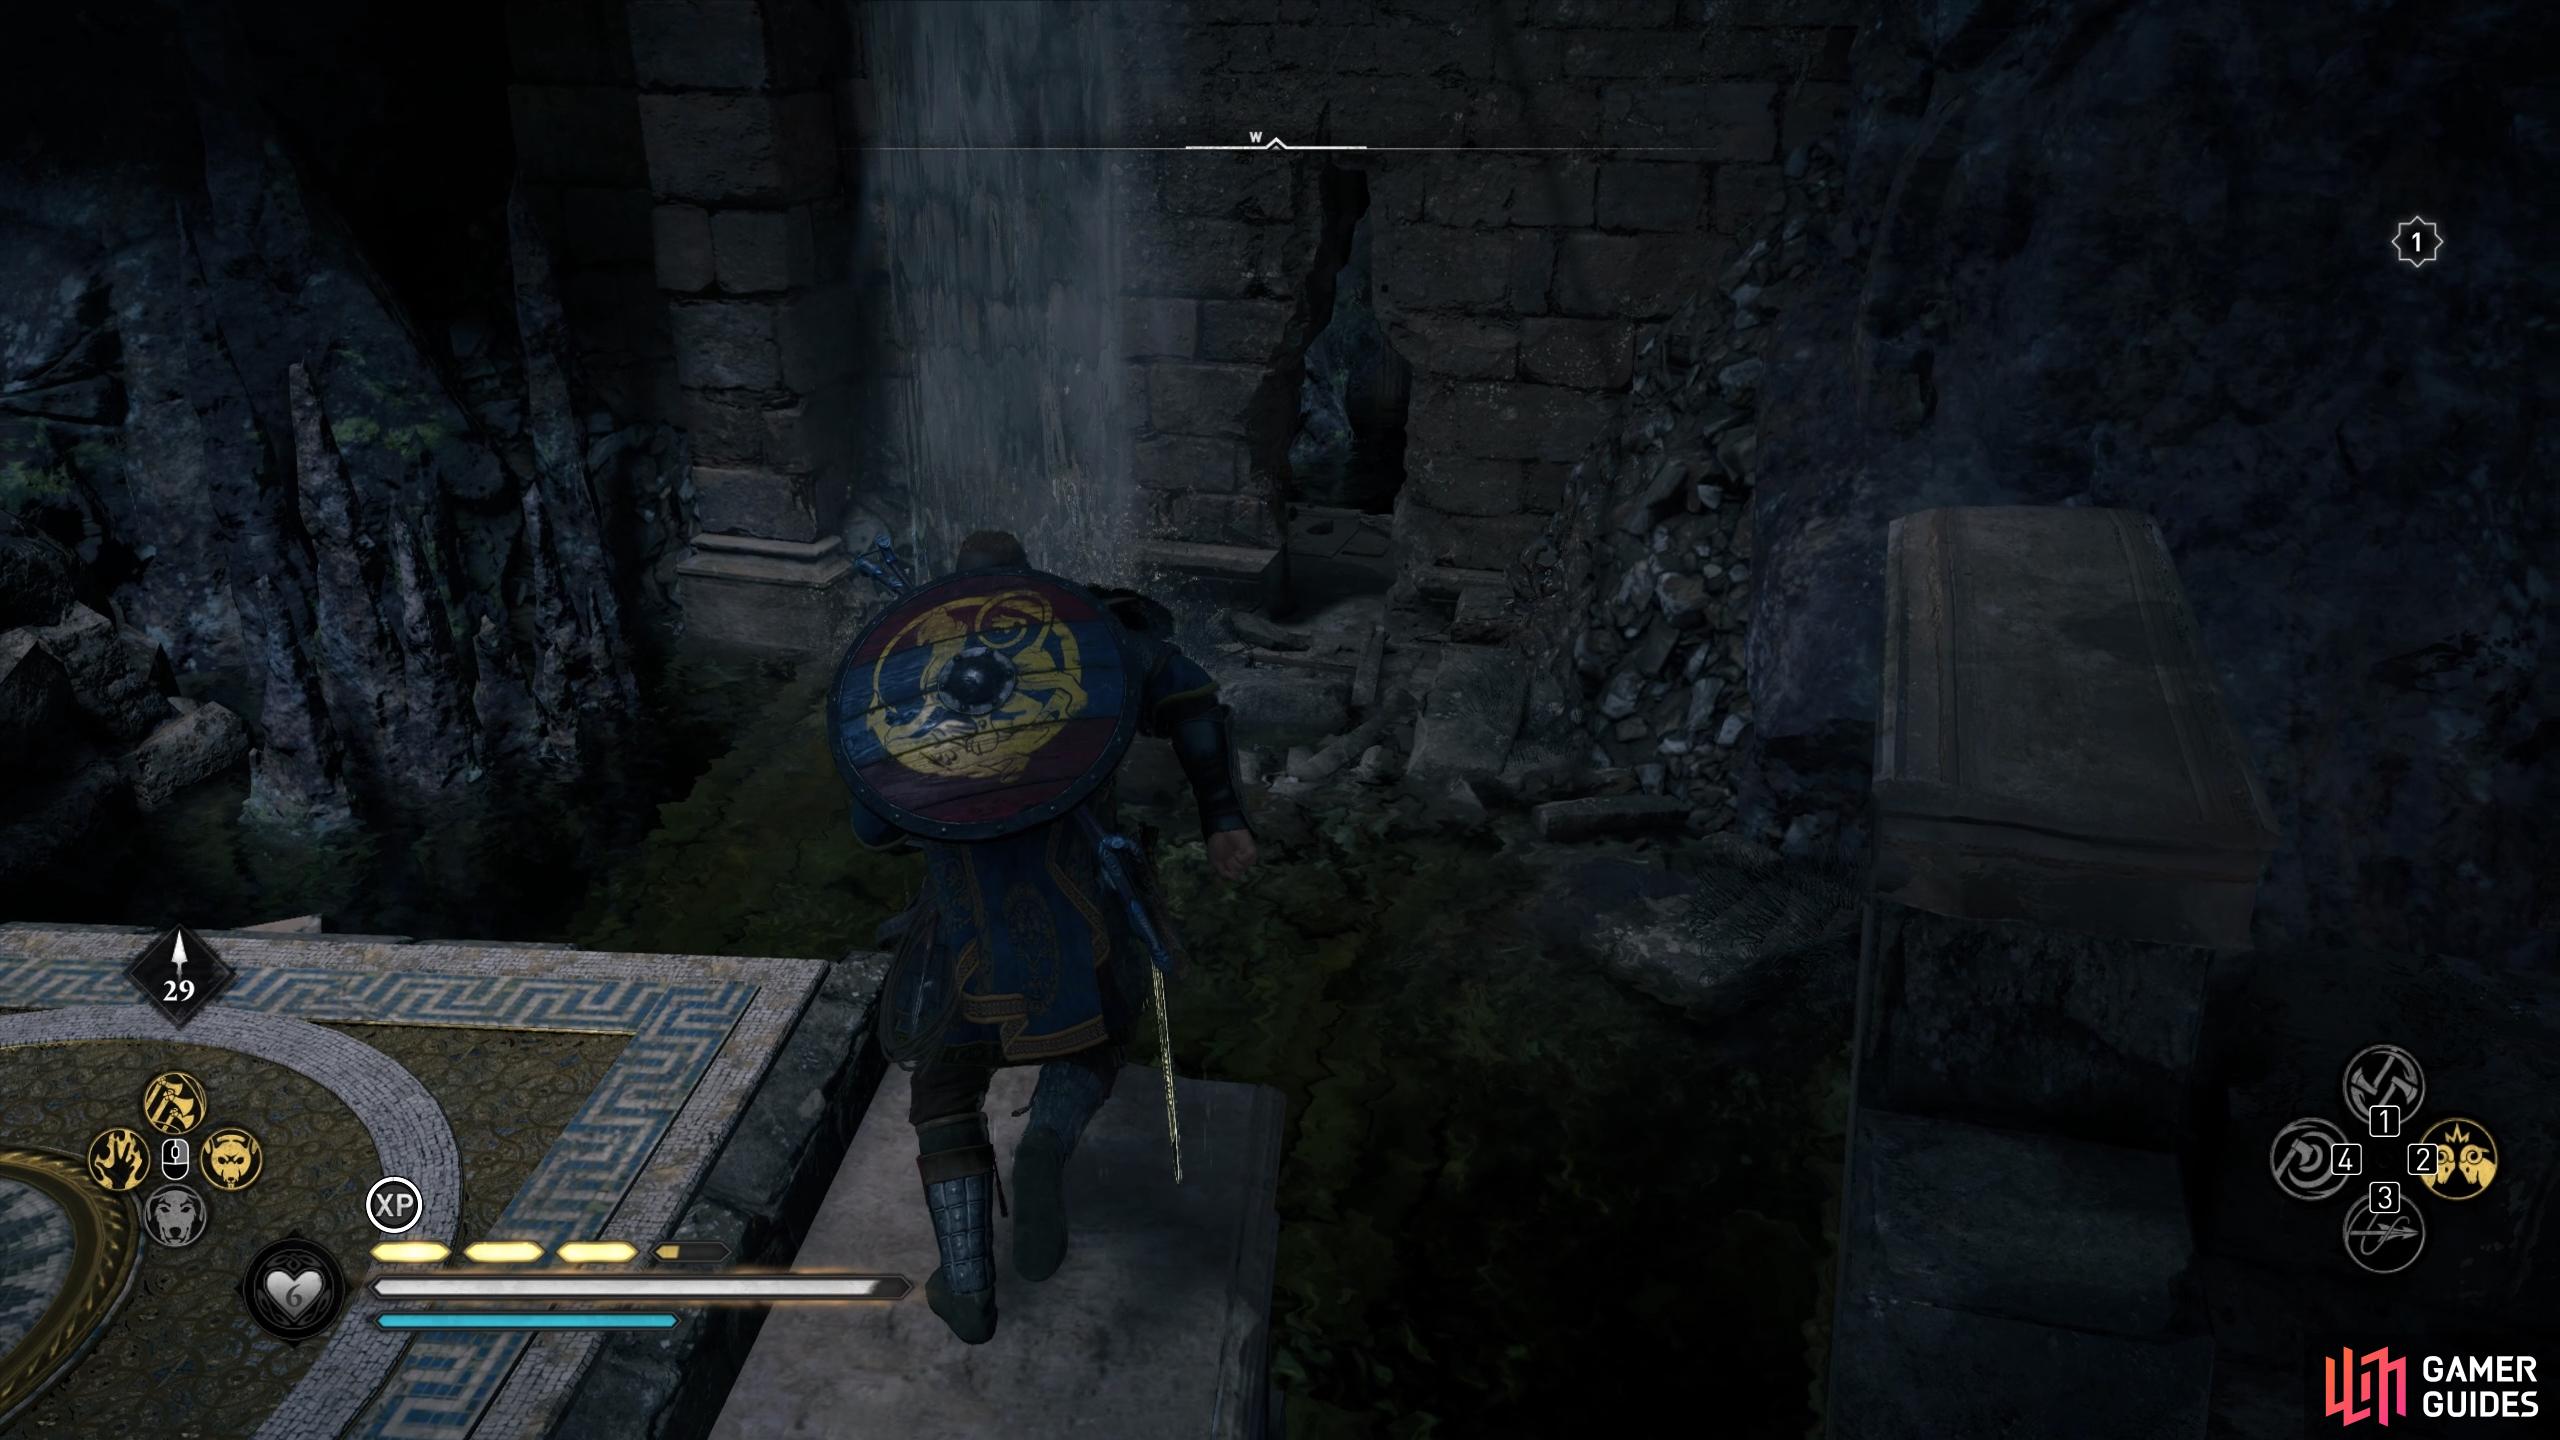
Once you’re on the other side of the spikes underwater, you can turn right (south) and slide under the hole in the cave wall. Now climb up the scaffolding and follow the linear path along the cave wall, marked by white chalk. This leads to the ruins of a Roman structure, where you can loot some silver and Opals. Be sure to use the lift up to the Roman statue, where you’ll find an Opal at the base of the statue. After looting the area, head north along the floating tree trunks until you reach the missing boat. Before you can use the boat, you’ll need to raise the gate next to it.
To raise the gate, climb the scaffolding until you reach the suspended wooden platform with a rock on it. Carry this rock and place it on the suspended wooden platform beneath you, which is more elaborately constructed. You’ll find more rocks in the area which you’ll need to place on this platform to create enough weight to raise the gate. It should only take two rocks for the platform to begin to lower. Be sure to loot the nearby treasure chest behind the breakable wooden barrier before you go back down.
Now that you’ve raised the gate, you can use the nearby lever to reveal the spherical object. Pick this up and carry it to the boat, then place it down and row the boat through the gate. You’ll need to row the boat through the passage on the left. The one to your right is a dead end.
Turning left leads you back into the main chamber, where you can guide the boat to the dock, take the spherical object, and place it on the pressure plate directly in front of you. This completes the eastern spherical pressure plate puzzle.
How to Activate the Western Spherical Pressure Plate
This one is more simple than the eastern spherical pressure plate. When you pass through the crack in the cave wall on the eastern side of the chamber, you’ll find the lever to your right. Use it to reveal the spherical object, then pick it up and carry it along the right side of the cave wall, over the white chalk and floating pots / wooden platforms. When you reach the wooden platform, put the object down and shoot the nearby net, causing it to fall. You can use Odin’s Sight to highlight the red link in the net. Once the net has fallen, you can hop onto the floating tree trunk and through the crack to the next area.
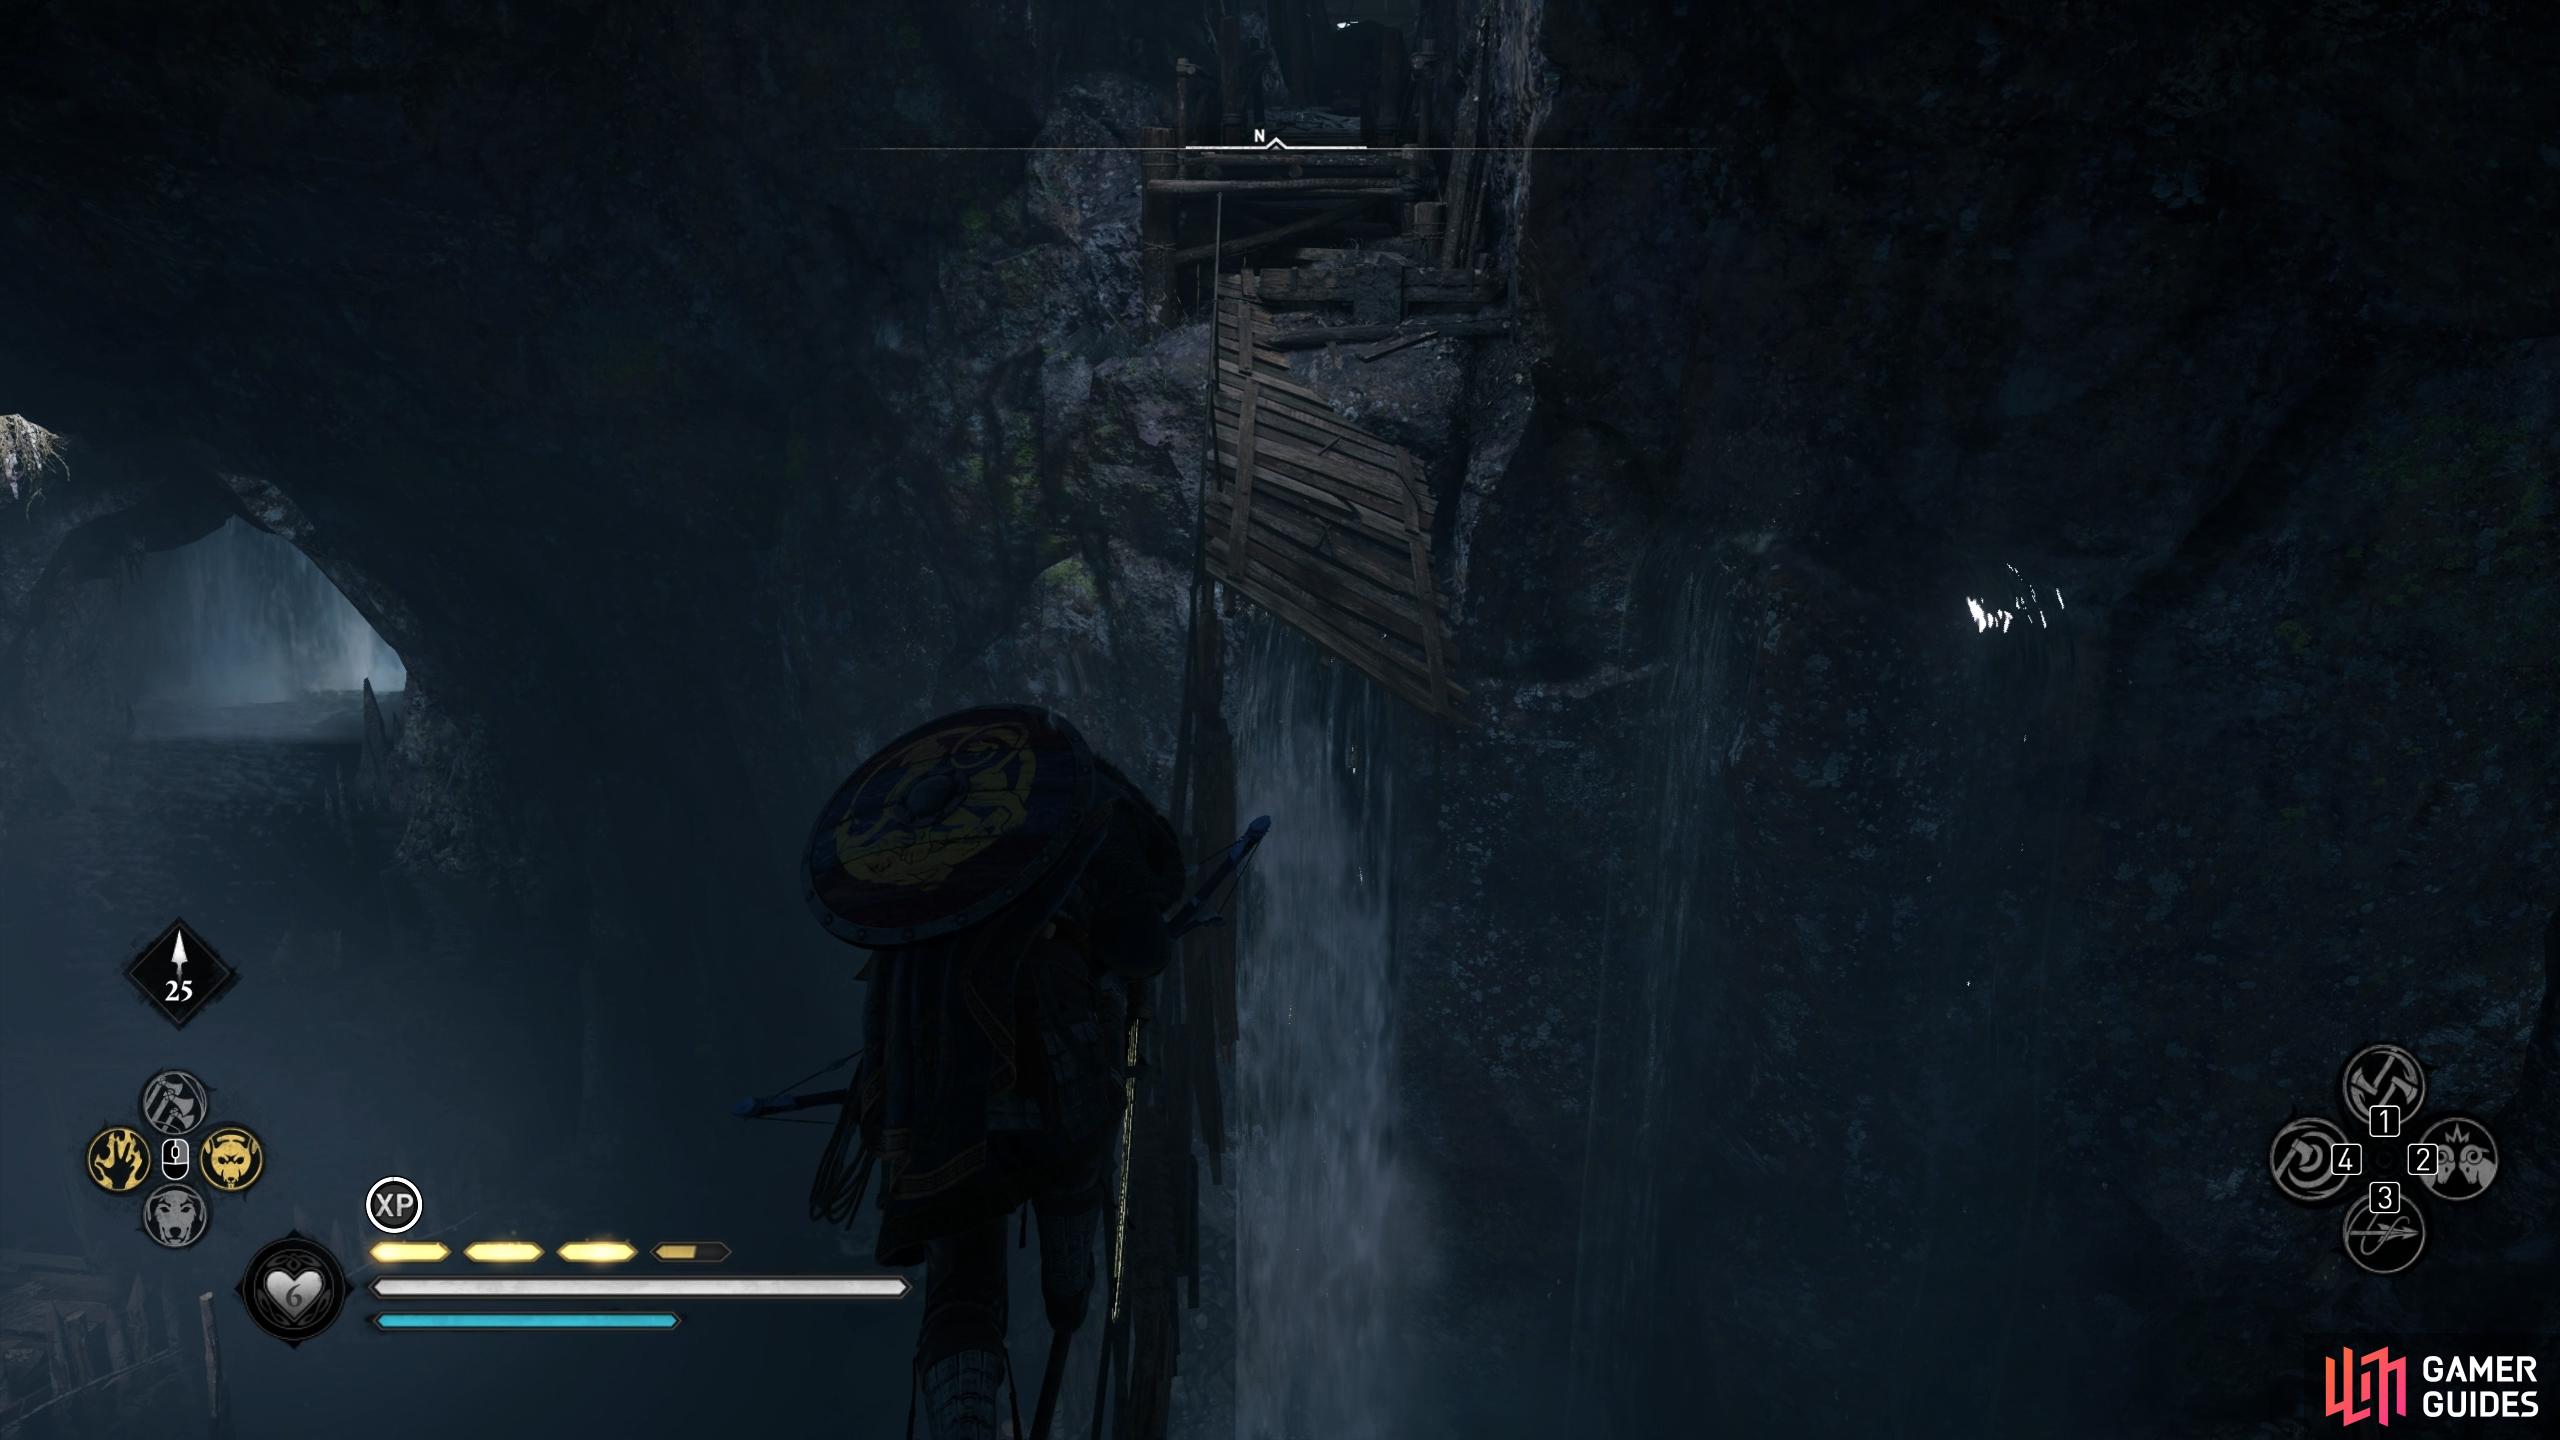
Here you’ll need to follow the linear path until you reach another wooden platform with a waterfall to its right. From here, place the object down on the platform and use Odin’s Sight to highlight a red link in the structure of the platform in front of you. If it doesn’t appear, you can refer to the screenshot below to find the right spot. When you shoot this the platform will come crashing down, providing a way for you to move forward with the object. The jump here may look a bit too far for Eivor to be able to make it, but so long as you’re holding the parkour button down, you’ll make it.
Once you’ve made the jump, you can then follow the path southeast until you reach a path with spikes on either side of the walls. In front you’ll notice some hanging cargo, which you’ll need to shoot down before you can proceed. Again, you can use Odin’s Sight to highlight the link or just refer to our image below for the right spot. Finally, hop down onto the wooden platform once you’ve hit the link, then place the object down while you destroy the wooden boxes and pots in front of you. You’ll need to move the cargo out of the way before you can reach the pressure plate on the other side.
How to Place the Stone Pillars on the Pressure Plates
These two are significantly shorter and easier to complete compared with the spherical objects. We’ll start with the eastern stone pillar, which is locked behind the door next to the pressure plate. To get behind the door, you’ll need to jump through the gap behind the water wheel, just to the right of the floating tree trunks which you went over to reach the first spherical object. Follow the Roman pillars and the rope to the path marked by white chalk along the cave wall. You’ll soon reach a room where you’ll find the stone pillar on top of a breakable wooden platform. Shoot the platform to break it, causing the pillar to fall.
You’ll find an Opal in the room below, then all you need to do is move the barricades away from the door, stand on one to take the key above you, and use the key to open the door. You can then push the pillar through onto the pressure plate outside.
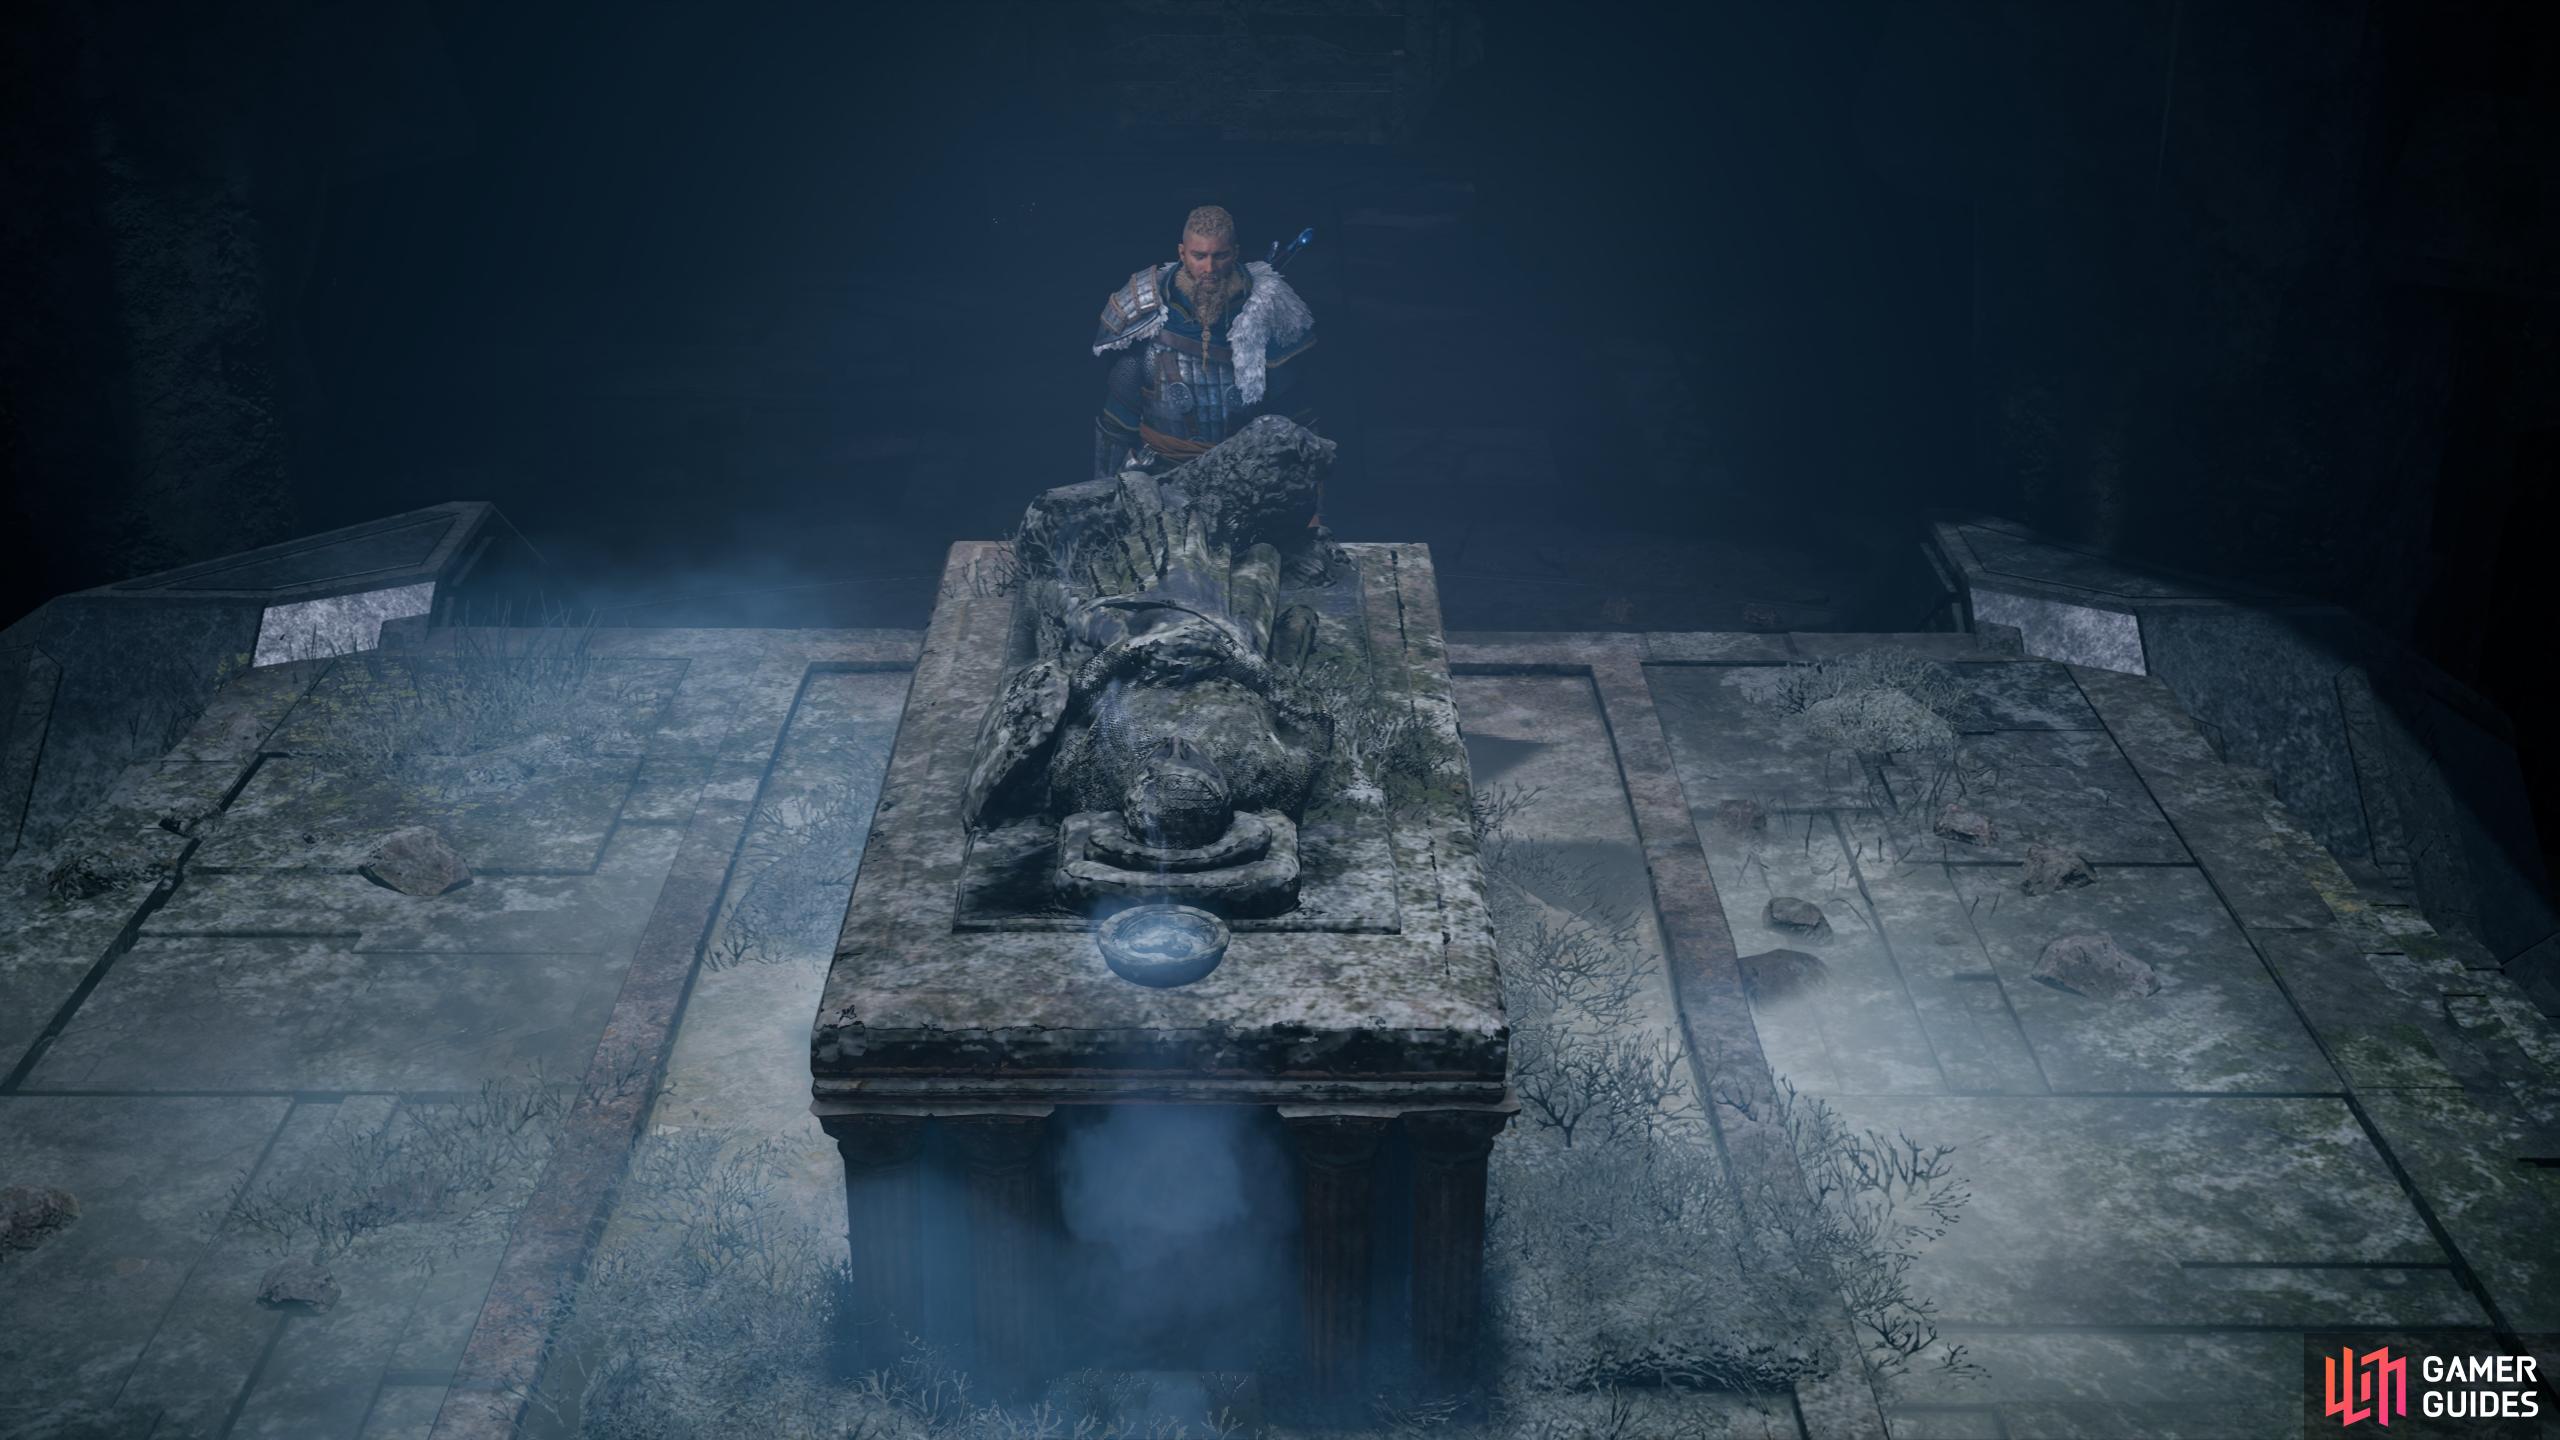
The pressure plate for the stone pillar on the western side of the chamber is incredibly easy to activate. All you need to do is shoot the wooden barricade to reveal the stone pillar behind, then drag it over to the pressure plate. After activating this final pressure plate, you can enter Cassivellaunus Tomb, where a cutscene will play. After the scene you can loot the chest for the Fallen Hero Breastplate, thereby completing the tomb. However, you still need to find the artifact, so read on.
Where to Find the Cassivellaunus Tomb Artifact
Although this isn’t required to officially complete the tomb, the artifacts will be used to open a chamber in Manius’s Sanctum at a later date. To find the artifact, follow the path east beyond the armor chest, taking the lift up to a locked door. Break the lock on the door and then follow the rope wire over the dock in the main chamber. This leads to a rope wire which you can use, but you’ll need to jump off halfway through, dropping into the waters below. Beneath the waterfall on the southern side you’ll find the Cassivellaunus Tomb Artifact.
(1 of 3) Once you’ve looted the chest for the breastplate, follow the rope line out of the cave.
No Comments