
This page details everything you need to know about how to complete all of the puzzles beneath Manius’ Sanctum, known as the Eden Ring Station. There are four main puzzles rooms in total, and we’ll cover each in a step by step process below.
How to Unlock the Eden Ring Station
Note that you won’t be able to access the depths of this tomb until you’ve completed all of the other tombs in the Tombs of the Fallen DLC, including:
You’ll need to obtain all of the tomb artifacts from each of the above tombs before you can open the Eden Ring Station.
How to Complete the First Puzzle
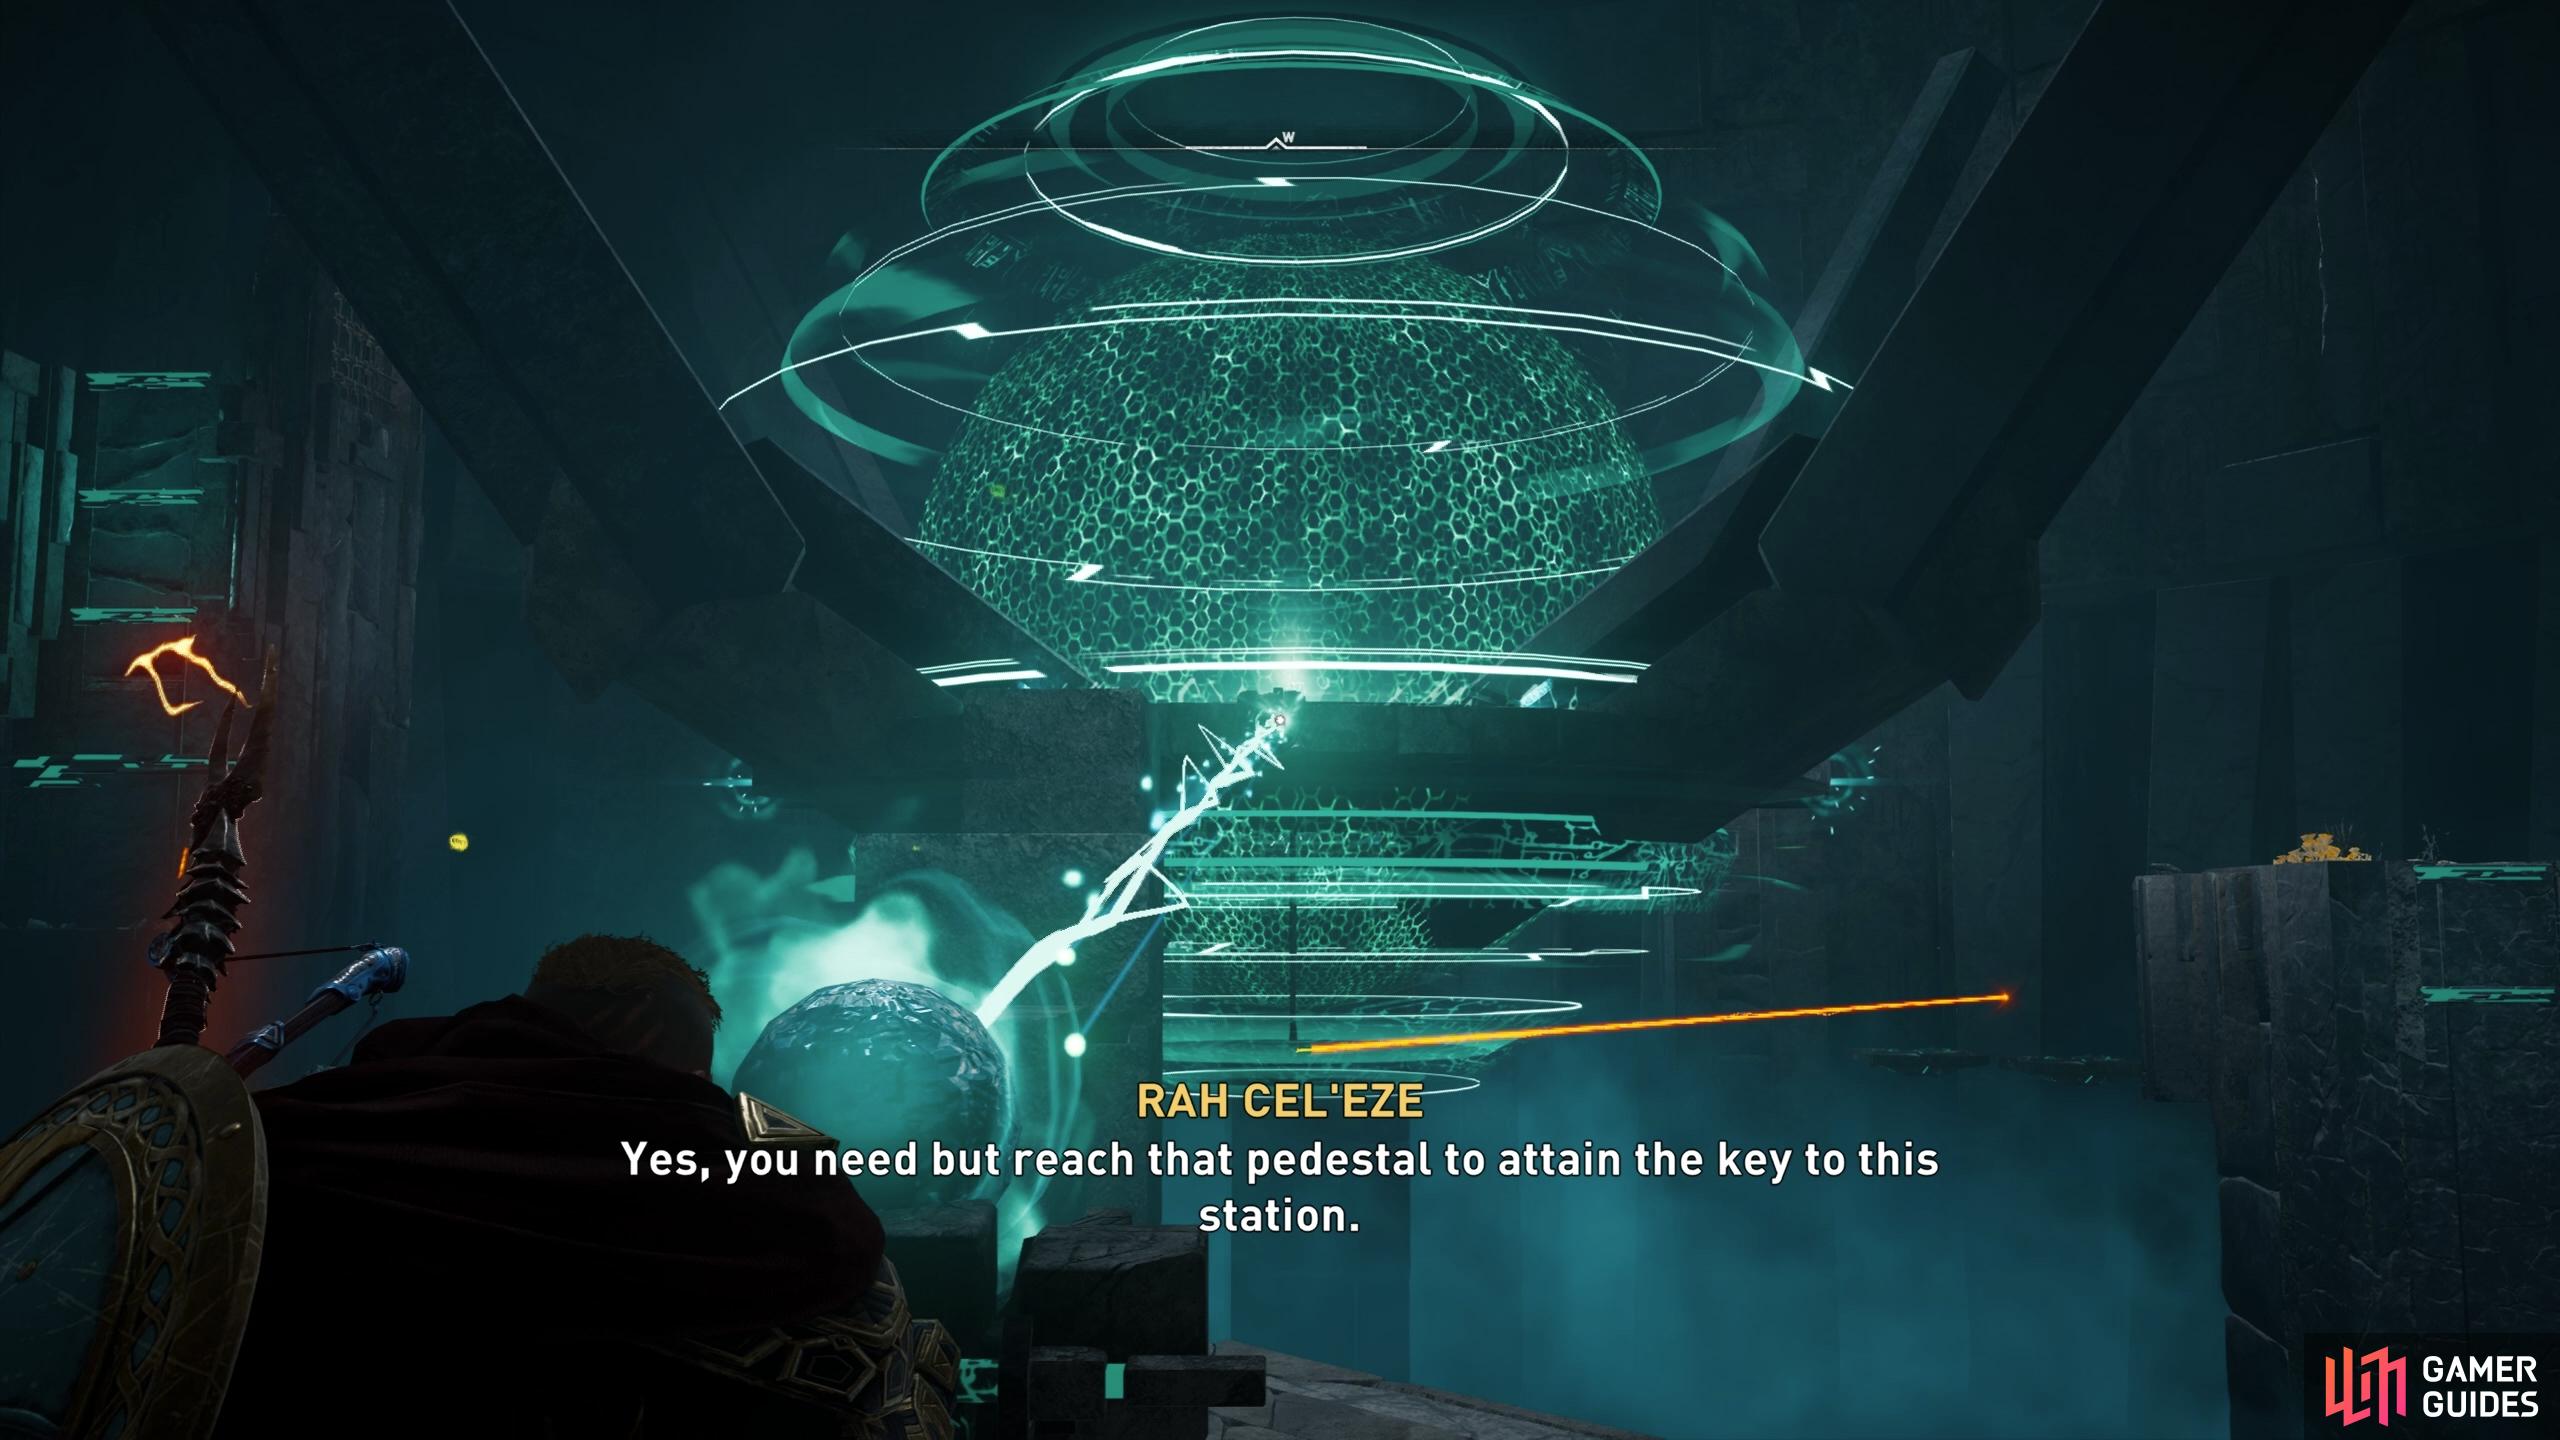
As you drop down into the depths of Manius’ Sanctum, you’ll find yourself in a large chamber with four different doorways. Each of these leads to a puzzle room, but you’ll need to interact with an obelisk, pictured below, to activate the facility first.
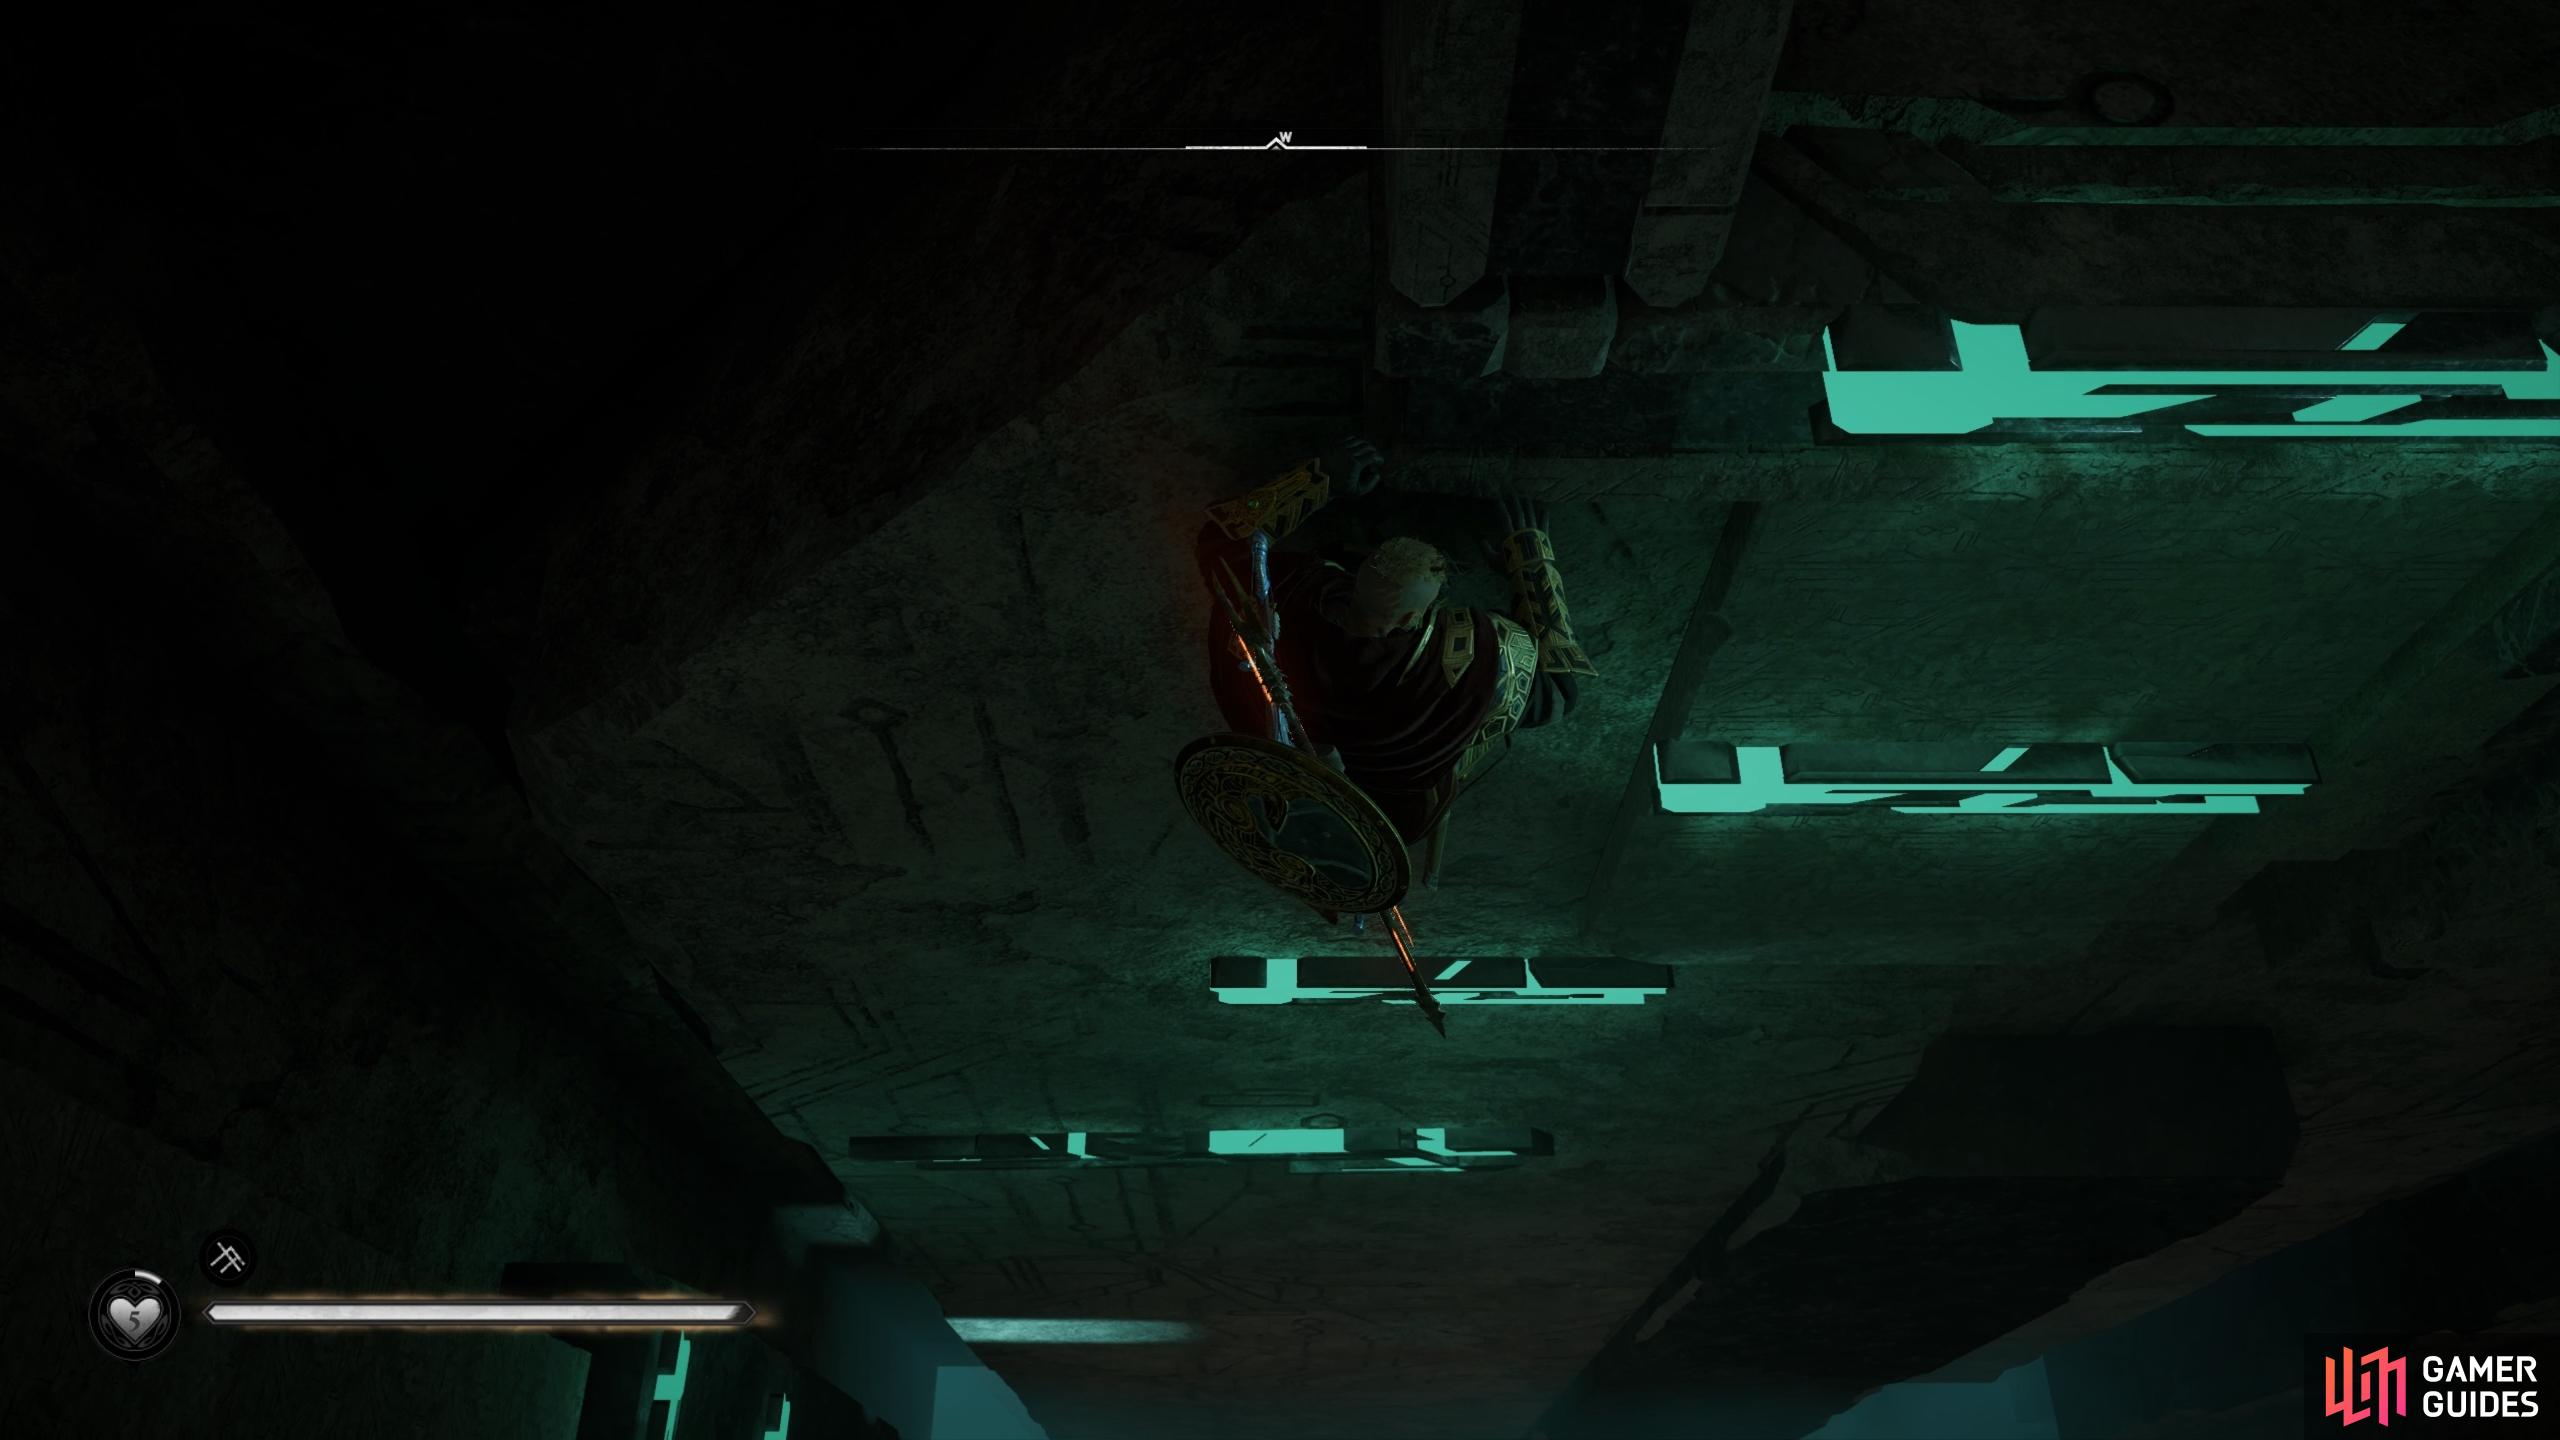
Use the wall grips and platforms to reach the bottom without taking any damage.
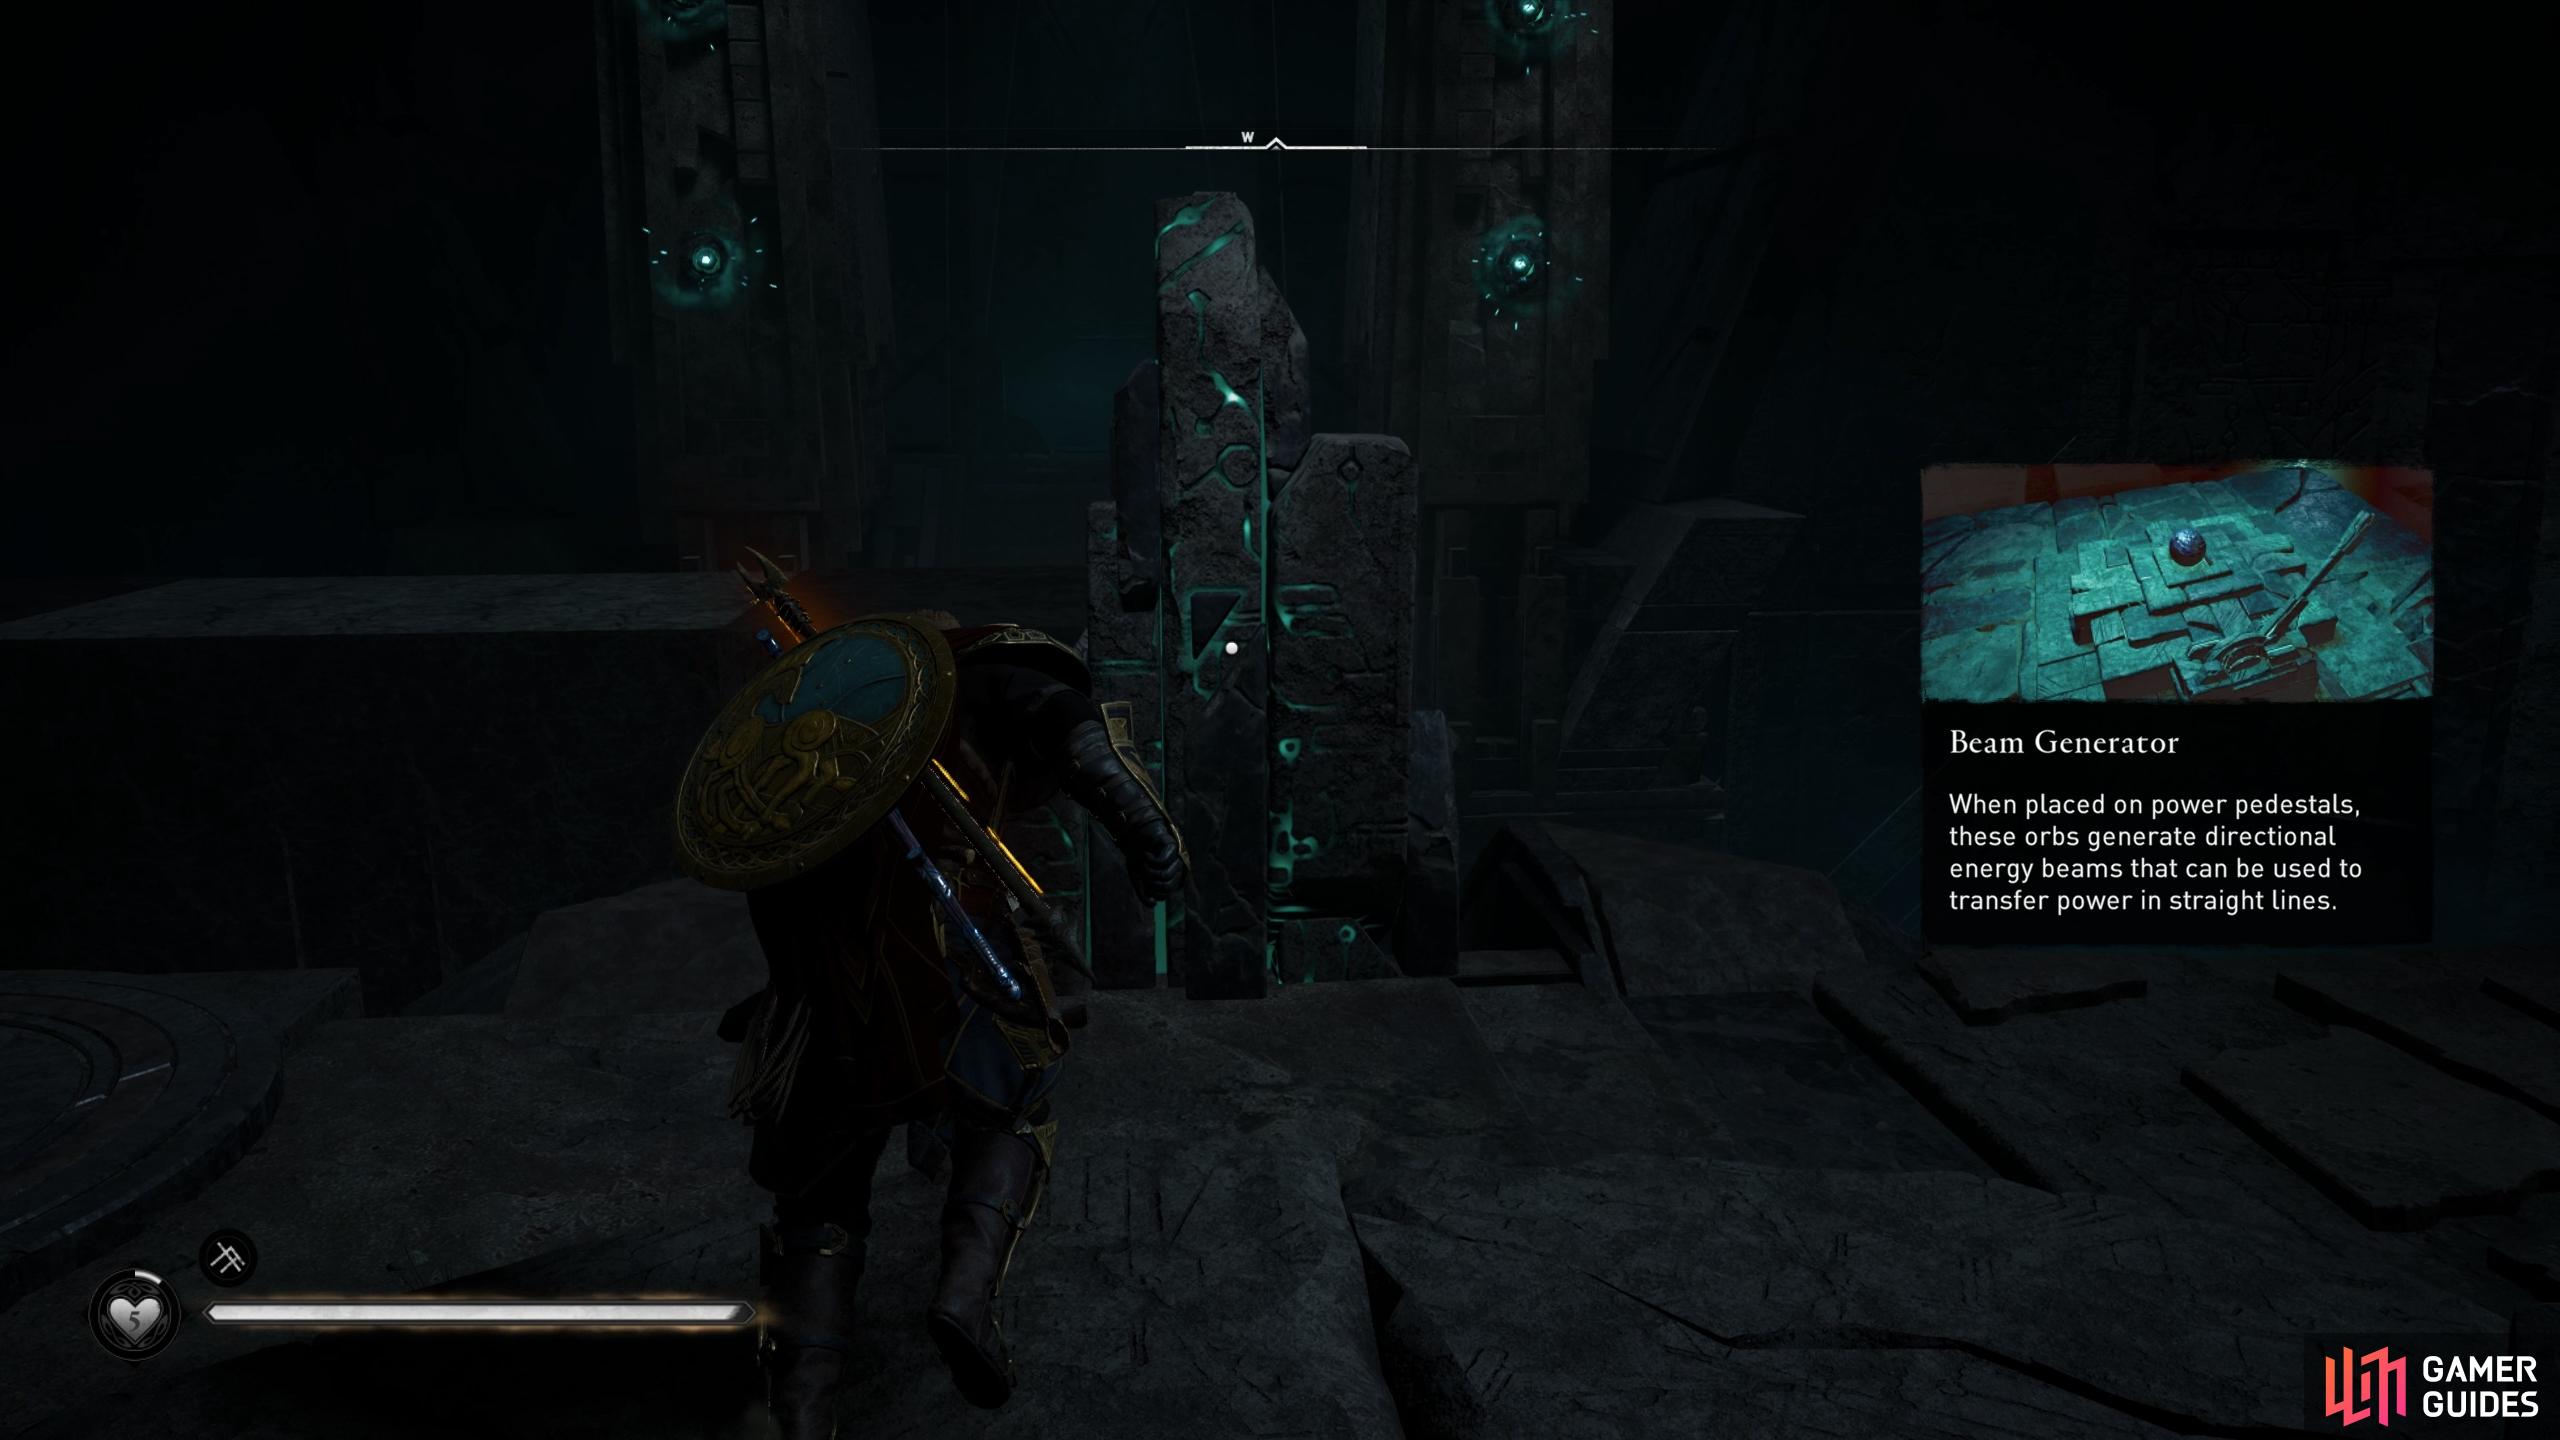
Interact with this obelisk to activate the facility.
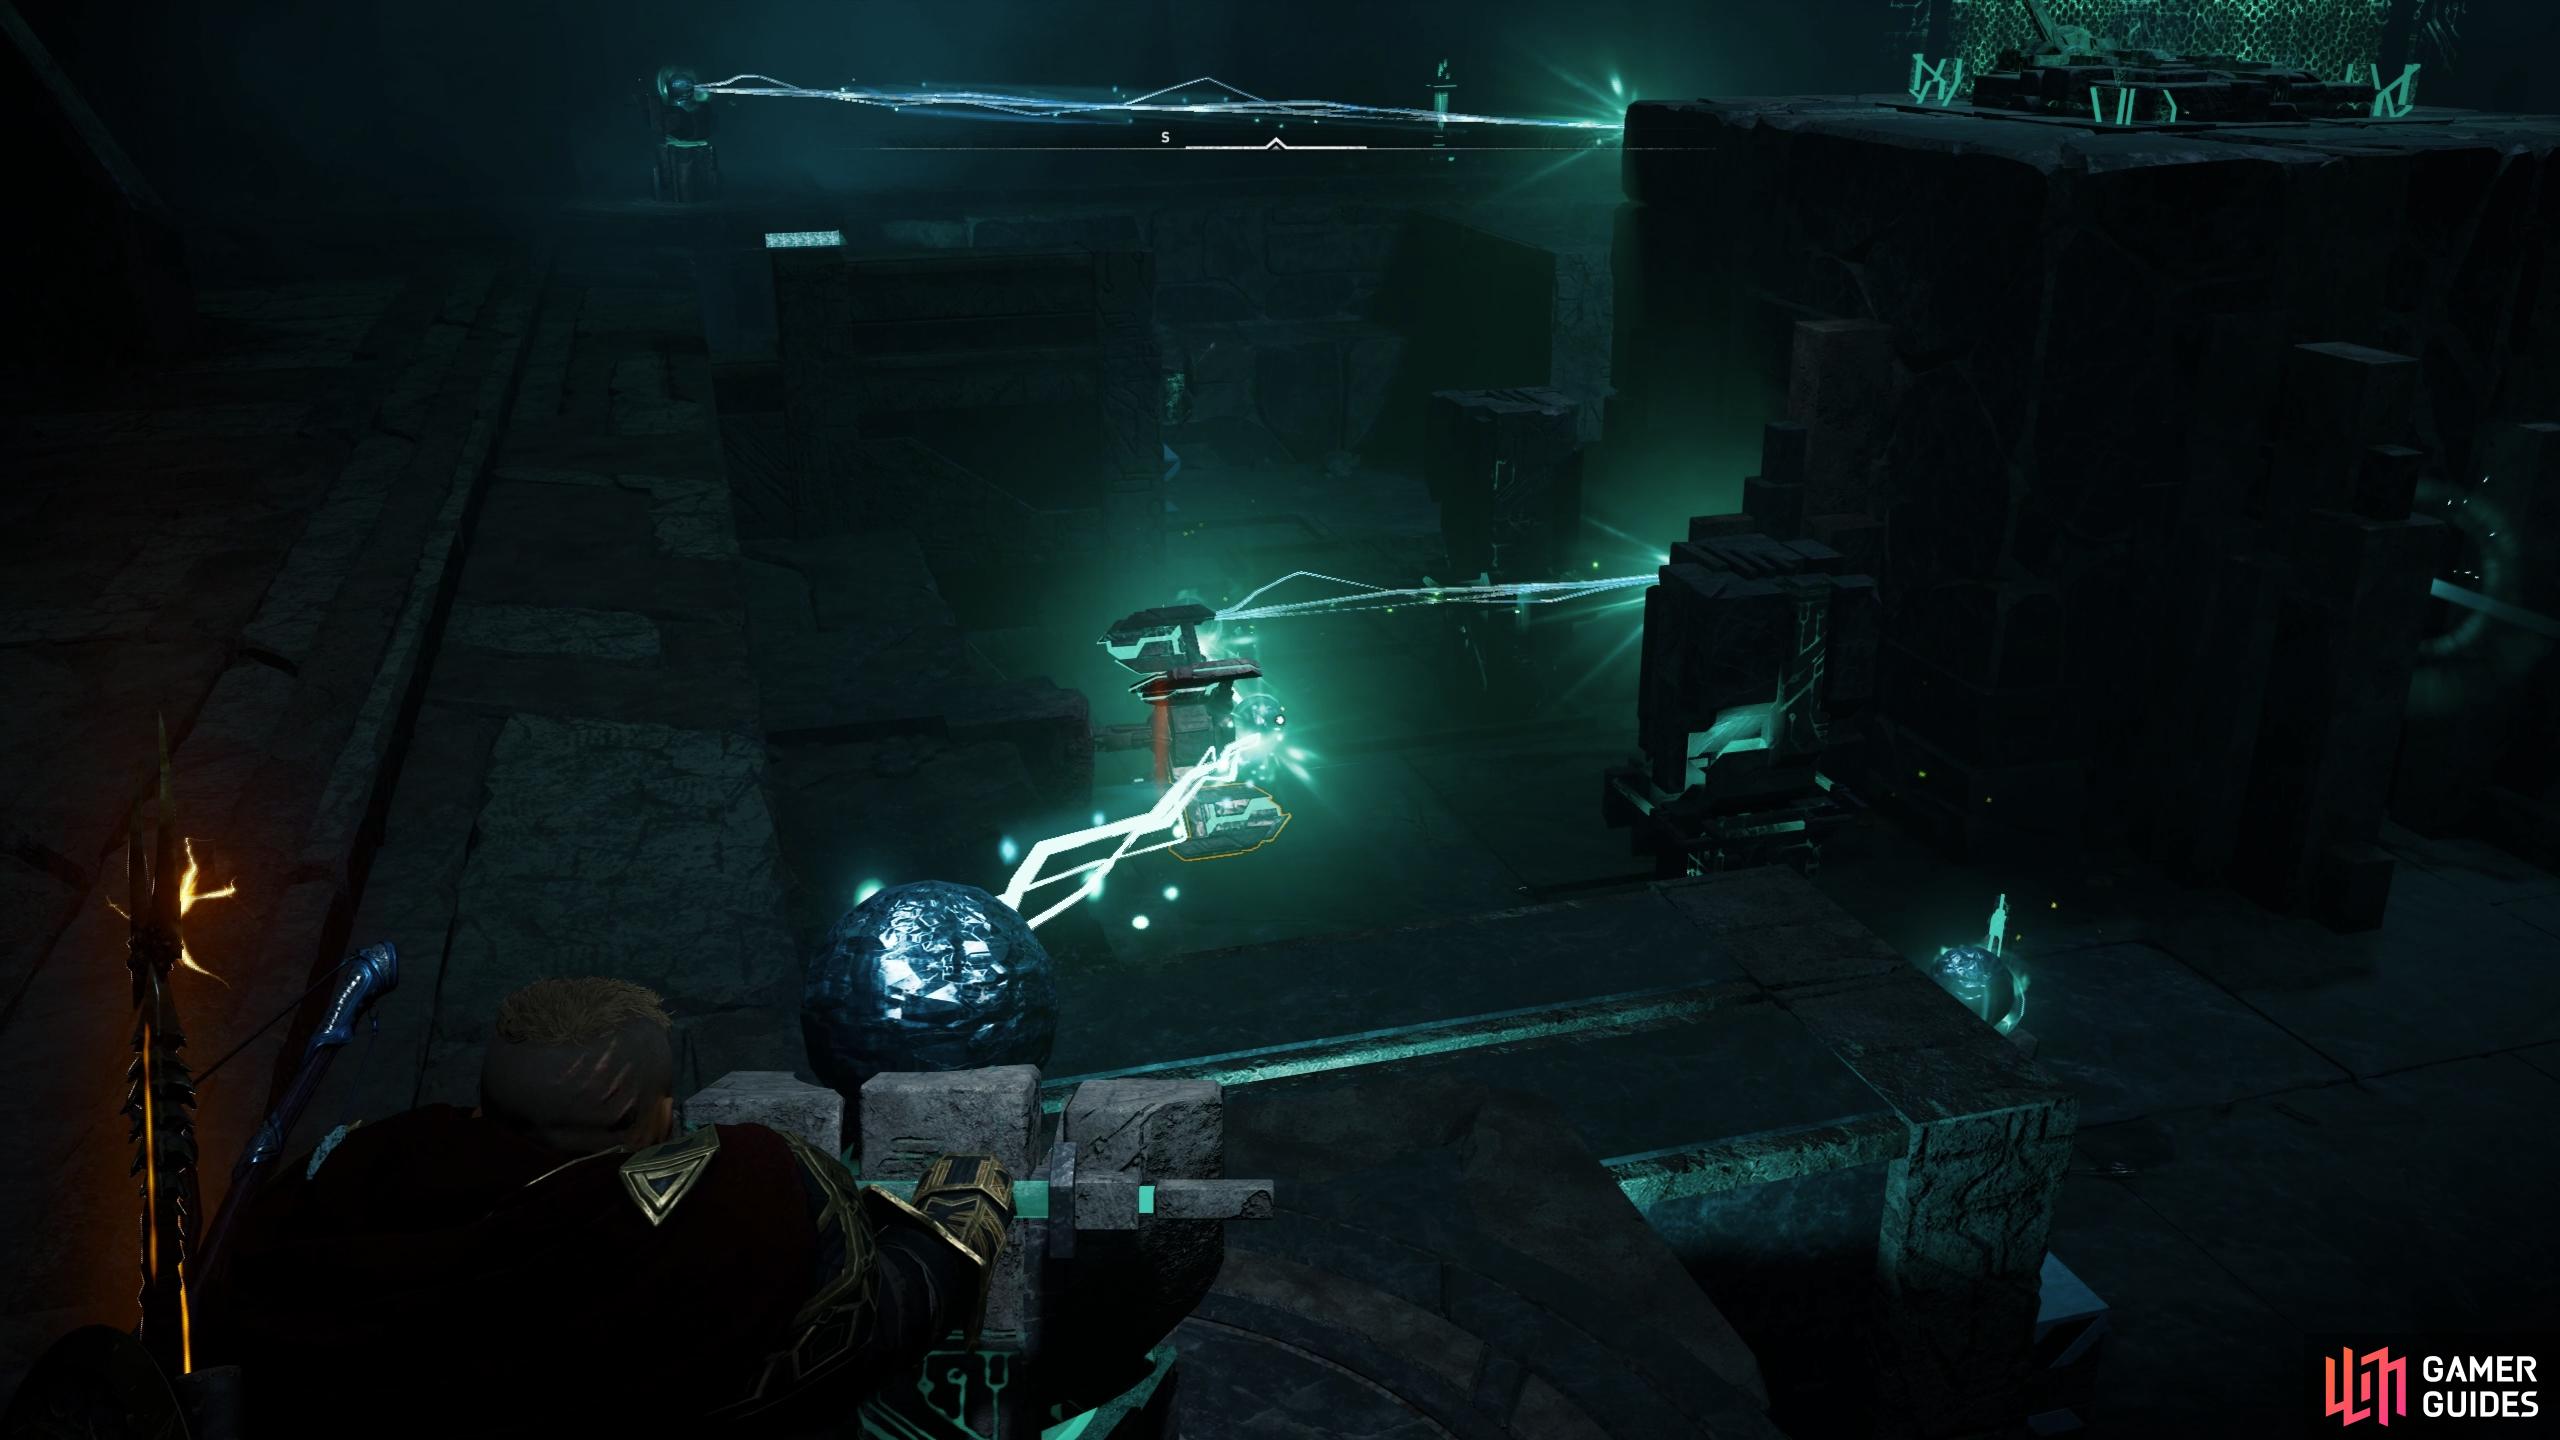
To open the door to the first puzzle room, you’ll need to first use the nearby lever to reveal a spherical object, then pick it up and place it on the pedestal opposite to the southwest. A light will then emit from it which you can shine at the point above you, as shown in the gif below.
You can now run through the open door and avoid the energy beams as you make your way into the puzzle room. This is a linear path so you shouldn’t get lost, and once you’re in the room you’ll see two spherical objects on pedestals in front of you. This marks the start of the first puzzle room.
The first thing you’ll need to do is head up the stairs to the west and pull out the movable pedestal. Next, move the pedestal to the north as far as it will go, then turn south and shine the light here at the first pedestal that you moved. Now go around the corner and shine the next light through the hole below it, facing east, then go down the stairs again and shine this light towards the point to the south. All of this is shown in the gif below.
You will need to do something similar for the puzzle up the stairs on the east side of this room. Head up the stairs and shoot the rotating light sphere three times down, until it’s facing west. Now look to your left and hit this one once to the right, so that it’s facing south. Next, head to the back of the room and shine the light here at the rotating pedestal to the north. You can now hit this one twice to the left until it connects with the other lights, then go back to the first light and shine it down at the pedestal in the main part of the room. You can now shine the connecting light towards the point to the south to open the door below. Again, all of this is shown in the gif below if you’re struggling.
Now moving on to the next part of the puzzle, go through the door at the bottom of the stairs to enter a new room. Head down into the pit to your right and shoot the rotator three times at the top towards the east, thereby directing the light beam to the west. Next, move the barricade to the right, then take the pedestal behind it out and move it to the other side so that it connects with the light beam from the rotator. You can now move the barricade to the left again, then go up to the light beam to the northwest and shine it down into the sphere to your left to connect the beams, as shown in the gif below.
For the next part of the puzzle, head towards the pit to the south and jump down. Push the pedestal slightly to the right and then as far south as it will go, as shown in the gif below. You can then direct the light beam above you to it, connecting it with others nearby.
Move towards the eastern side of the room and aim at the rotator beneath you facing north. Shoot this once to direct the light northward, then move to the rotator to your right and shoot this once to direct the light northward. Now jump into the pit and push the barricade slightly east, before moving another barricade to the north so that you can push the pedestal to this side. You need to bring it as far north as it will go so that it connects with the sphere directly opposite.
With the above done, look above you to the northeast, where you’ll see a shining beam of light on a pedestal. Direct this at the rotator beneath you to the left, ensuring that it’s in the correct position to connect the beams and shine the light at the central platform.
Shine the beam above at the rotator below, connecting it to the central platform.
If the lever on the central platform isn’t unlocked at this point, you may need to shoot the rotators a few more times to connect all the beams, as shown in the gif below. Everything else should be in its place so long as you followed the above steps.
This completes the first puzzle. Now all you need to do is interact with the lever on the central platform to reveal a spherical object. Pick this up and take it with you through the door to the north. Go up the stairs and jump up the platforms ahead turning west (left) and then right (north) to enter the central chamber again. Here you can place the spherical object on a pedestal to your right, thereby activating it as a light beam. All of this is shown in the gif below if you find yourself lost.
How to Complete the Second Puzzle
To reach the rooms where the second set of puzzles are located, you’ll need to shine the light from the pedestal you just activated at a point on the eastern wall, and then another from another nearby beam on the same wall, as shown in the gif below.
You can now run through the door on the eastern side of the chamber to reach the second set of puzzles. Keep going through the linear path until you reach another sphere with a light beam emitting from it. The first thing you need to do here is shine the light at the point through the hole facing east, then jump onto the moving platforms to the north. Here you’ll find a pillar that you can move as far west as it will go, then move the pedestal with the light beam on it to the northern side, before moving the pillar where the pedestal used to be on the southern side. You will now need to move the pedestal slightly southeast again to ensure that it lines up with the hole in the wall in that direction.
From here, look southeast and shoot the rotator on its left side once, connecting the light beam from it to the one on the pedestal that you just moved. Now look west and shoot the rotator here once to the right, so that the light beam faces down. You can now jump onto the moving platforms to the west and go up onto the stationary platform above you, as shown in the gif below.
Now that you’re on top of the platform, look below and shoot the rotator twice to the right to direct the light beam upwards. Now jump over onto the platform to the west, looking to your right through the bars. Shoot this rotator twice to the right so that the beam is directed south, and then jump back to the stationary platform you were just on. You can now shoot the rotator through the other set of bars until it aligns with the beam you just directed south. Finally, shoot the rotators to your south to align the beam with the point to the east, thereby activating the moving platforms in front of you. All of this is shown in the gif below if you’re struggling.
You can now jump onto the moving platforms in front of you as they take you up to the southern part of the room. Once there, shoot the rotator above you once to the left, then the one through the bars to your right once at the bottom. Now turn east and push the pillar as far as it will go, before looking down to shoot the rotator here three times at the bottom to send the light beam upwards. This will activate the lift that you’re currently on with the pillar, as shown in the gif below. You can then push the pillar further east and then north once you’re at the top.
With the pillar pushed as far north as it will go, jump on top of it and then onto the platform above. From here, look down to the southwest and shoot the rotator twice to the left to connect the light with another rotator. Now shoot this rotator once at the bottom to send the light beam upwards to another rotator. Shoot this one three times at the top to direct the light upwards, thereby activating the platform you’re currently on. This will take you upwards so that you can jump to a point with two more rotators next to you, as shown in the gif below.
At this point you will need to shoot the rotator to the northwest once at the bottom, directing the light upwards. You can then shoot the northeast rotator three times at the bottom so that the light is directed towards the northwest rotator. Now jump back on the moving platform and look to the south. You’ll need to shoot the rotator ahead once to at the bottom to direct the light beam north, connecting it with the two rotators that you just turned. Now jump onto the moving platform to the west and allow it to take you towards the lever to the south.
At this point you’re nearly done with the second puzzle. Standing by the lever, look north and shoot the rotator ahead once at the bottom. This will direct the light beam to another rotator to your right, which you can shoot once at the top to direct the light southwest.
Now that you’ve unlocked the lever which reveals the spherical object, use this and place the object on the platform to your north. Now use the lever next to the platform to lower it, and step onto the platform quickly to pick up the spherical object. Wait as the platform takes you all the way to the bottom, then get off and run to the west, following the path until you reach the main chamber again. Here you’ll find another pedestal to your right as you enter, onto which you can place the spherical object to activate the beam of light.
How to Complete the Third Puzzle
To enter the rooms with the third set of puzzles you’ll need to direct the light from the pedestal that you just placed the spherical object onto a point above you to the northwest. Now direct the other light beams in the main chamber onto the points to the left of the first, as shown in the gif below.
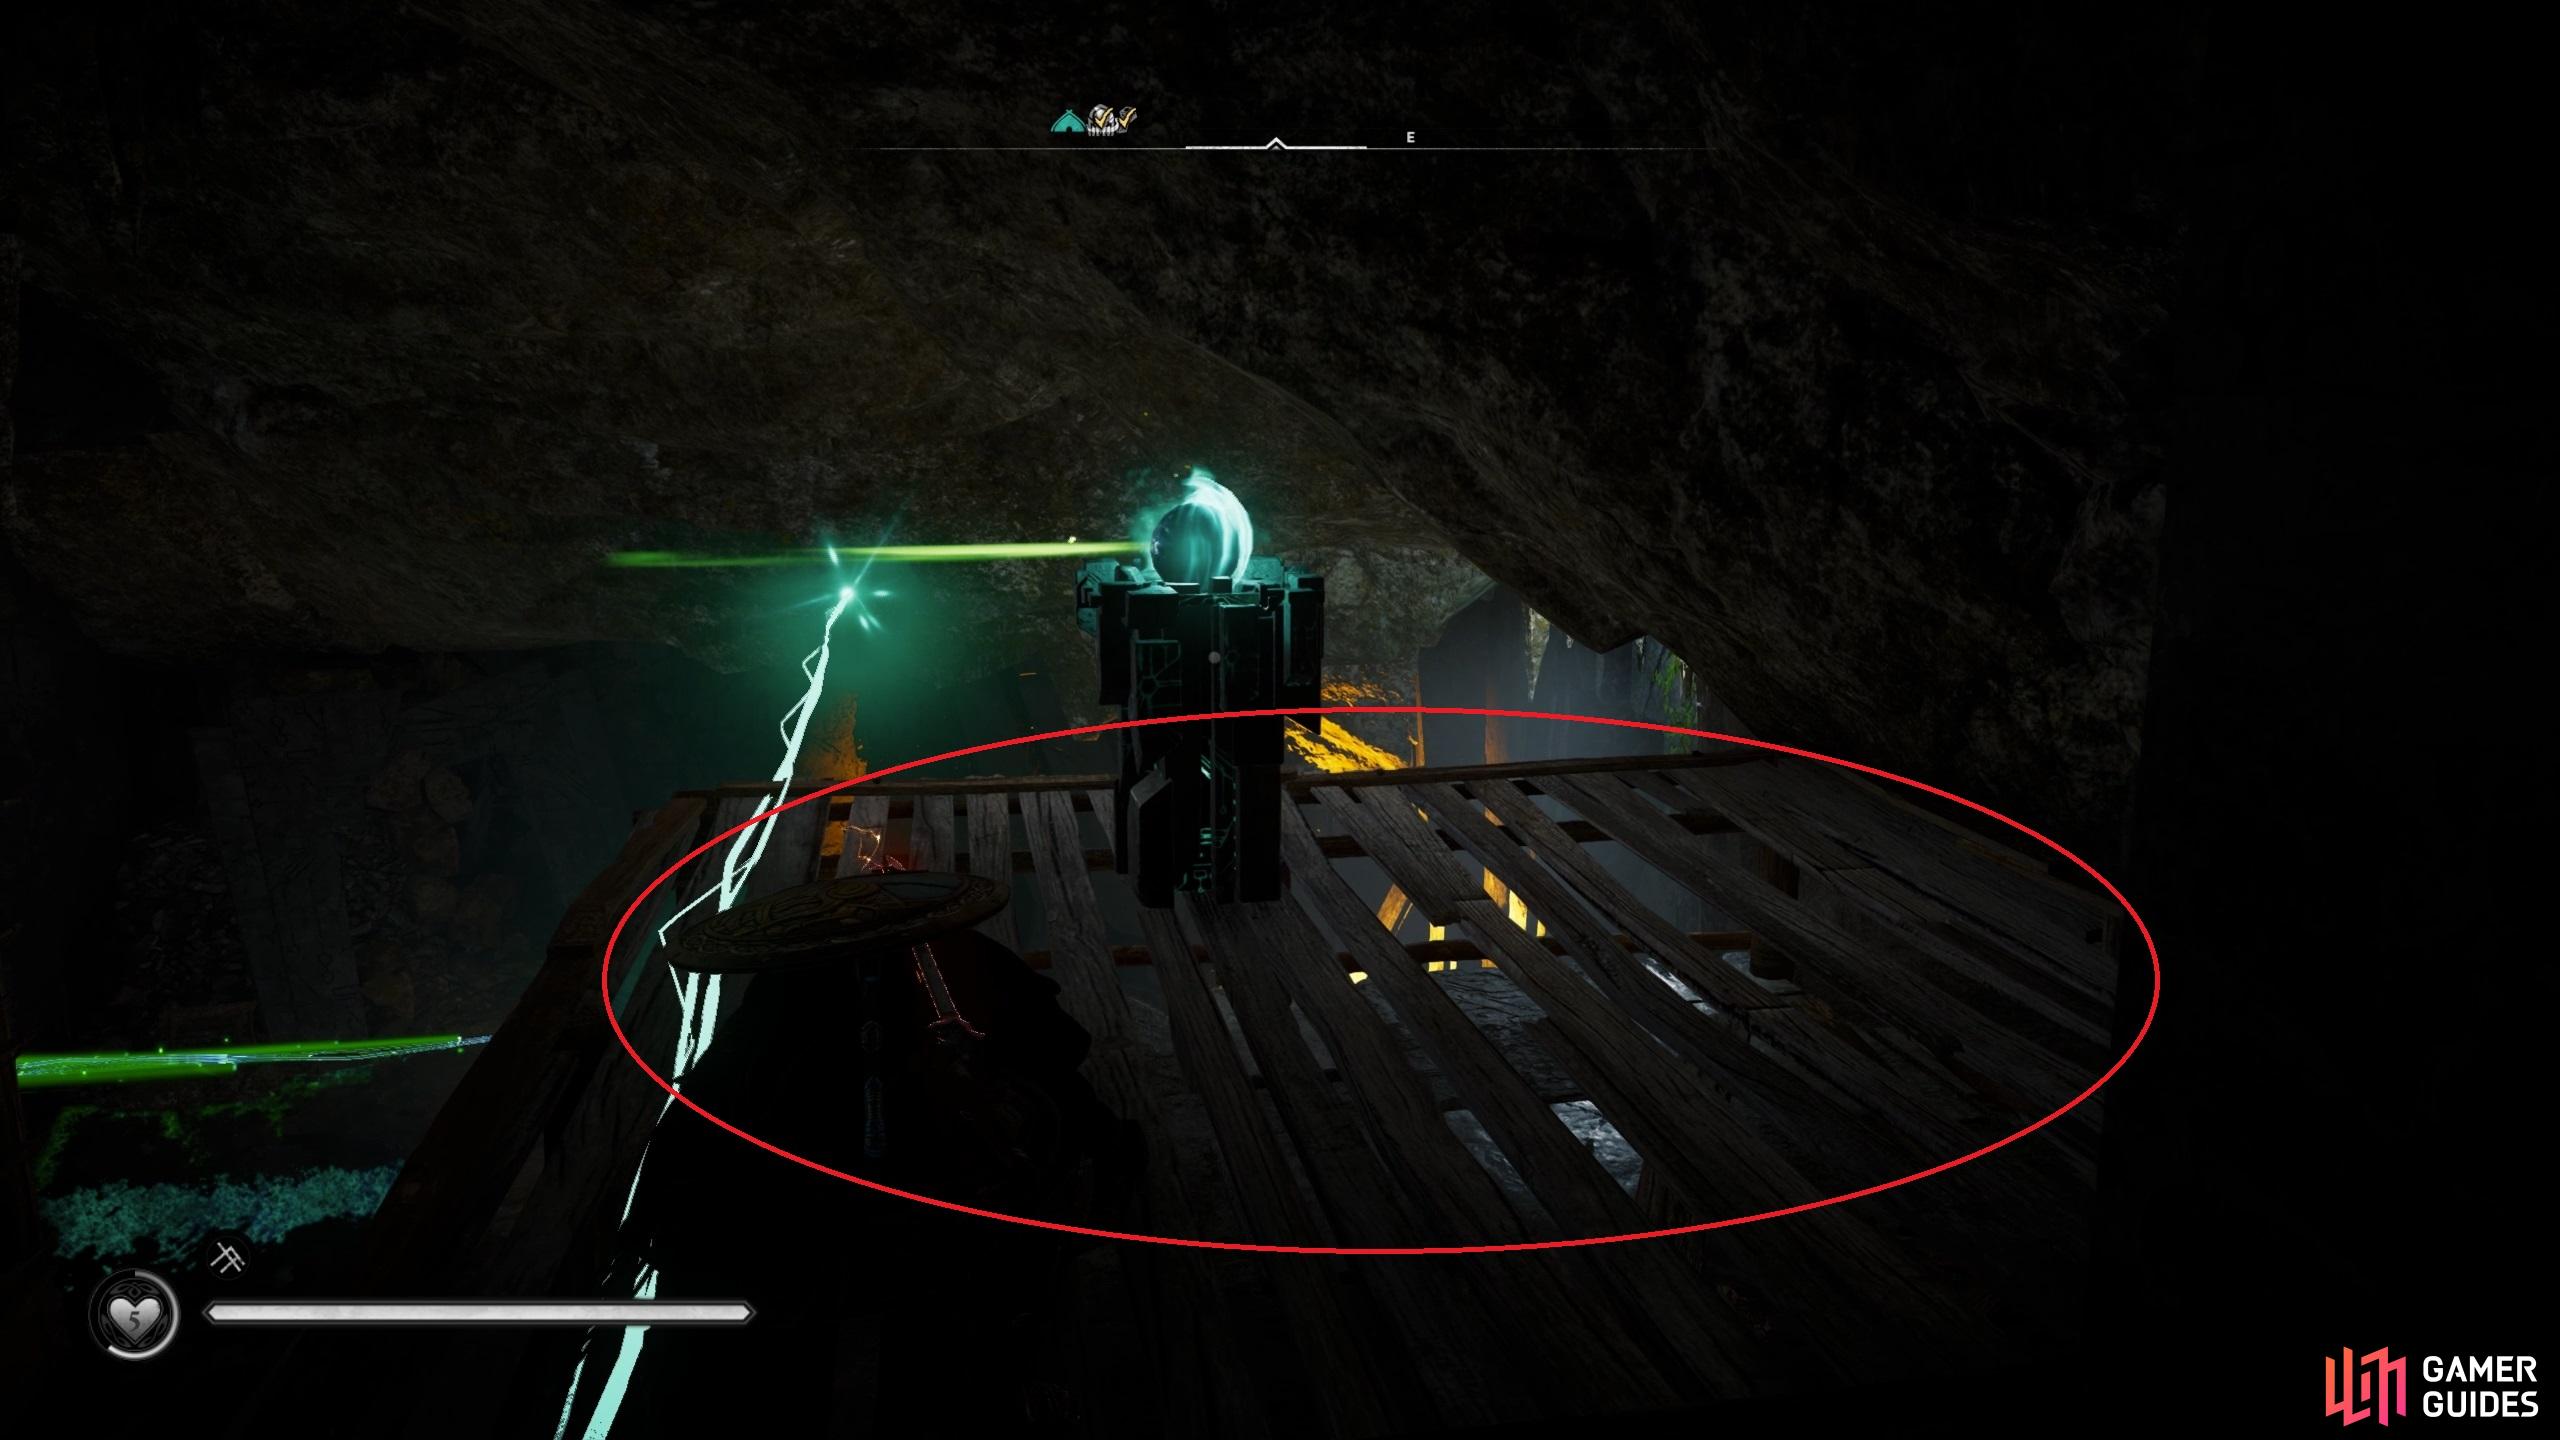
You can now make your way north into the third set of puzzle rooms. Just follow the linear path as it turns west through a gap in the wall. You’ll soon come across another set of light puzzles. The first thing you need to do here is shoot the destructible wooden wall above you to the northwest, revealing the rotator behind it. Shoot this twice at the bottom to direct the beam north, then jump over the ledge and look at the bars beneath you. There’s a destructible wooden platform beneath these bars which you’ll need to shoot to reveal another rotator. Hit this so that the light directs north, then shoot the wooden board blocking the light from this directing east. Finally, head towards the movable pedestal to the north and pull this out until the floor collapses beneath you, but be prepared to avoid the energy beams as you slide down to the bottom.
Once you’re at the bottom you’ll notice a stone blockade. You can shoot some fire pots behind this to destroy it, then follow the light beam south and shoot the rotator three times to the left, directing the light beam to the northeast. Now shoot the next rotator twice to the left to direct the light beam through a slit in the wall.
For the next part of the puzzle you’ll need to look to the northwest and pull back a movable barricade here, then jump over it. On the other side you’ll need to push a pedestal as far to the west as it will go, then look above you to shoot a destructible wooden wall. Climb up the scaffold and move the pillar to the southeast to your left, allowing the light through the slit in the wall to shine through.
At this point you’ll need to look behind you and direct the light beam from the rotator to the southwest, then pull the pillar back towards the northwest so that you can jump on top of it and reach the pedestal above. Direct the light beam from this through the hole directly ahead to the southwest.
Before you move on, jump back down and push the movable pillar back to the southeast part of the room, making sure that the light beam can still shine through the slit in the wall. Now jump back up the scaffold to the southwest and through the hole in the wall beneath you. On the other side you’ll see a rotator directly above you. Shoot this twice to the left so that the light beam is directed southeast, then go to the other side and shoot the wooden board which is blocking the light from coming through, as shown in the gif below. At this point you’ll need to look up again, shoot the rotator here three times at the bottom to direct the light beam east, then follow it and jump up onto the platform in front of you.
You’ll now find yourself standing on a destructible wooden platform, and it’s important that you shoot this before you try to move the pedestal on top of it. You won’t be able to move the pedestal otherwise.
You’ll need to shoot the wooden platform to free the pedestal so that you can move it.
Once you’ve broken the wooden platform, all that remains is for you to push the pedestal southwest, allowing the light beam to align with the point towards the northwest.
The puzzle should be complete at this point, but if you find that nothing happens you may have missed some rotators, so be sure to check those. There’s also a possibility that you didn’t move one of the movable pillars or barricades far enough so that the light beams can be directed to where they need to be. This happened to us, as shown in the gif below.
Now that you’ve unlocked the lever which reveals the spherical object, you can grab this and head through the door to the southeast. Follow the linear path to a platform which you can activate by pulling the lever next to it, but make sure that the spherical object is on the platform with you before it begins moving up. At the top you can carry the spherical object into the main chamber, where you can place it on a pedestal to your right.
How to Complete the Fourth Puzzle
To enter the final puzzle room, you need to direct four beams of light to points on the western wall, as shown in the gif below.
You can now head through the door on the western wall and follow the linear path until you reach the final puzzle room. This one has a lot more energy beams being fired around, but this part is actually easier than you might think. You’ll need to start by directing the first light beam at a point on the central platform, as shown in the screenshot below.
Direct the first light beam at this point on the central platform.
Directing this first light beam will raise some platforms in front of you, which you can now use along with some moving platforms to reach the northern side of the room. Once there, jump up to the northwestern pedestal and direct the light beam to the one below it, facing east. Now jump onto the wall directly south, and jump down to push the pillar here as far east as it will go. You can now jump onto the pillar and use it to reach the platform above you, then back down to the pedestal to the north. Direct the light beam from this pedestal to another facing southwest, as shown in the gif below.
At this point you can jump back onto the platform to the south, then down to the pedestal where you just directed the light beam. Direct the light from this pedestal at the rotator above you to the south, then climb up onto the platform that it’s attached to. From up here, shoot the rotator once to the right to direct the light beam towards the central pedestal. This will raise more platforms for you to jump to.
You can now jump onto the moving platform beneath you to the west, climb up to the stationary platform and then jump onto the moving platform to the south. From here, climb onto the stationary platform in front of you and then onto the ledge to your left, where you’ll find another rotator. Shoot this at the top once to direct the light beam towards the central platform, then climb to the top of the pillar to reach the next puzzle. The climb at this point can be tricky, so be sure to check the gif below if you’re struggling.
From the top of the pillar, jump down to the puzzle facing west. Here you’ll need to avoid the energy beams as you pull the pedestal out, taking it to the opposite side of the platform as shown in the gif below. You can then jump down to the south and direct the light beam here up through the gap in the wall and onto the pedestal that you just moved.
Next, jump back up to the top of the pillar to the east, and look down to the northwest. You’ll see a gap in the wall that you can shoot through, which you’ll need to do three times to the right of the rotator as you direct the beam from it downwards. This will raise more platforms to the south, which will take you to the final part of the puzzle.
To reach the final puzzle here, jump down onto the moving platform and then onto the stationary one. Jump off this onto the moving platform heading east, then climb around the pillar here as shown in the gif below.
Once you’re on top of the pillar, jump down to the south and then onto the wall grips in front of you, bringing you to the top of another pillar where a pedestal is located. You may get caught in some energy beams here, but they won’t kill you. Direct the light beam from the pedestal to a rotator facing west, then jump down to the north before turning west to find a pillar. Pull this out as far as you can.
Finally, jump back over to the east and then look down to the southwest. You’ll see a rotator here that you’ll need to hit twice on the right side, directing the light beam down towards a pillar. Jump down to this pillar and push it westwards until the light beam shines through. You can now direct the light from the pedestal to the east towards the final point on the central platform.
How to Get the Blazing Sword
That’s it! You’re done with this puzzle… all that remains is for you to reach the central platform and interact with the sword. This will become the Blazing Sword, a powerful one-handed weapon which allows you to discharge energy blasts with light attacks.
No Comments