

This quest begins immediately after Brewing Rebellion. You’ll need to meet Sigurd and Basim at Linforda, southeast of Thaerelea Ruins. Once you reach Linforda, you’ll find Sigurd and Basim waiting by the docks to the south.
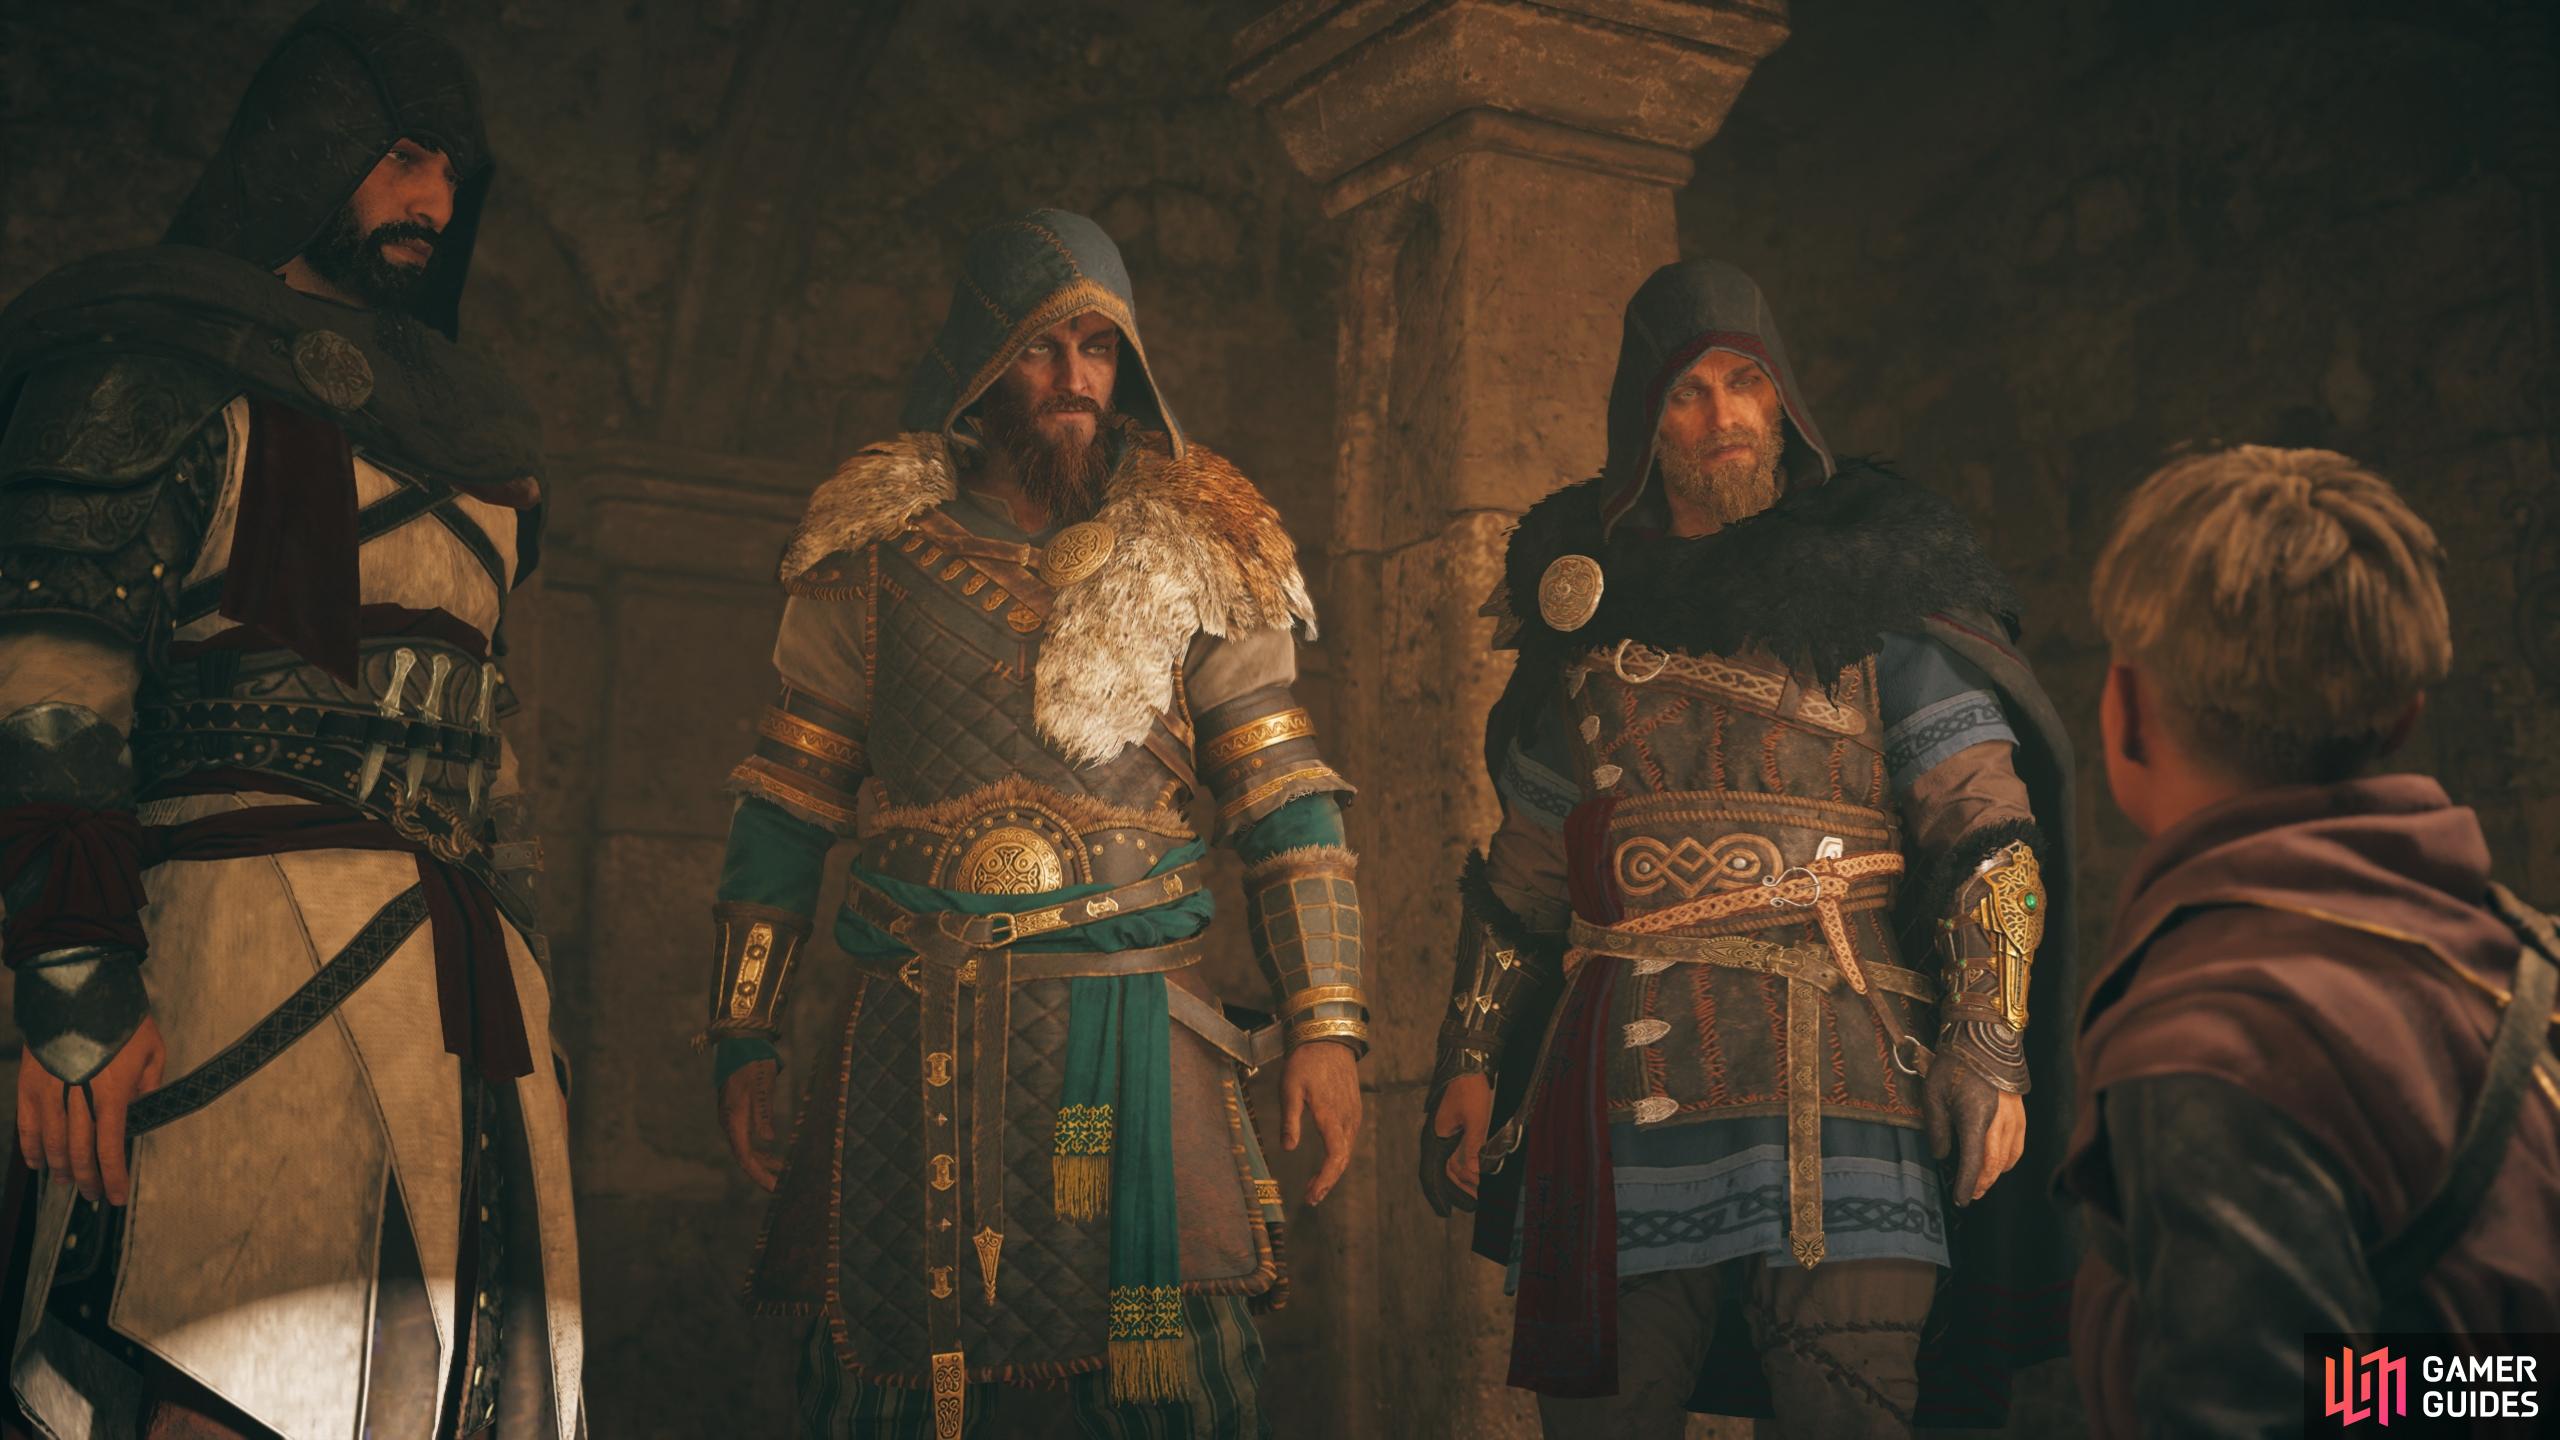
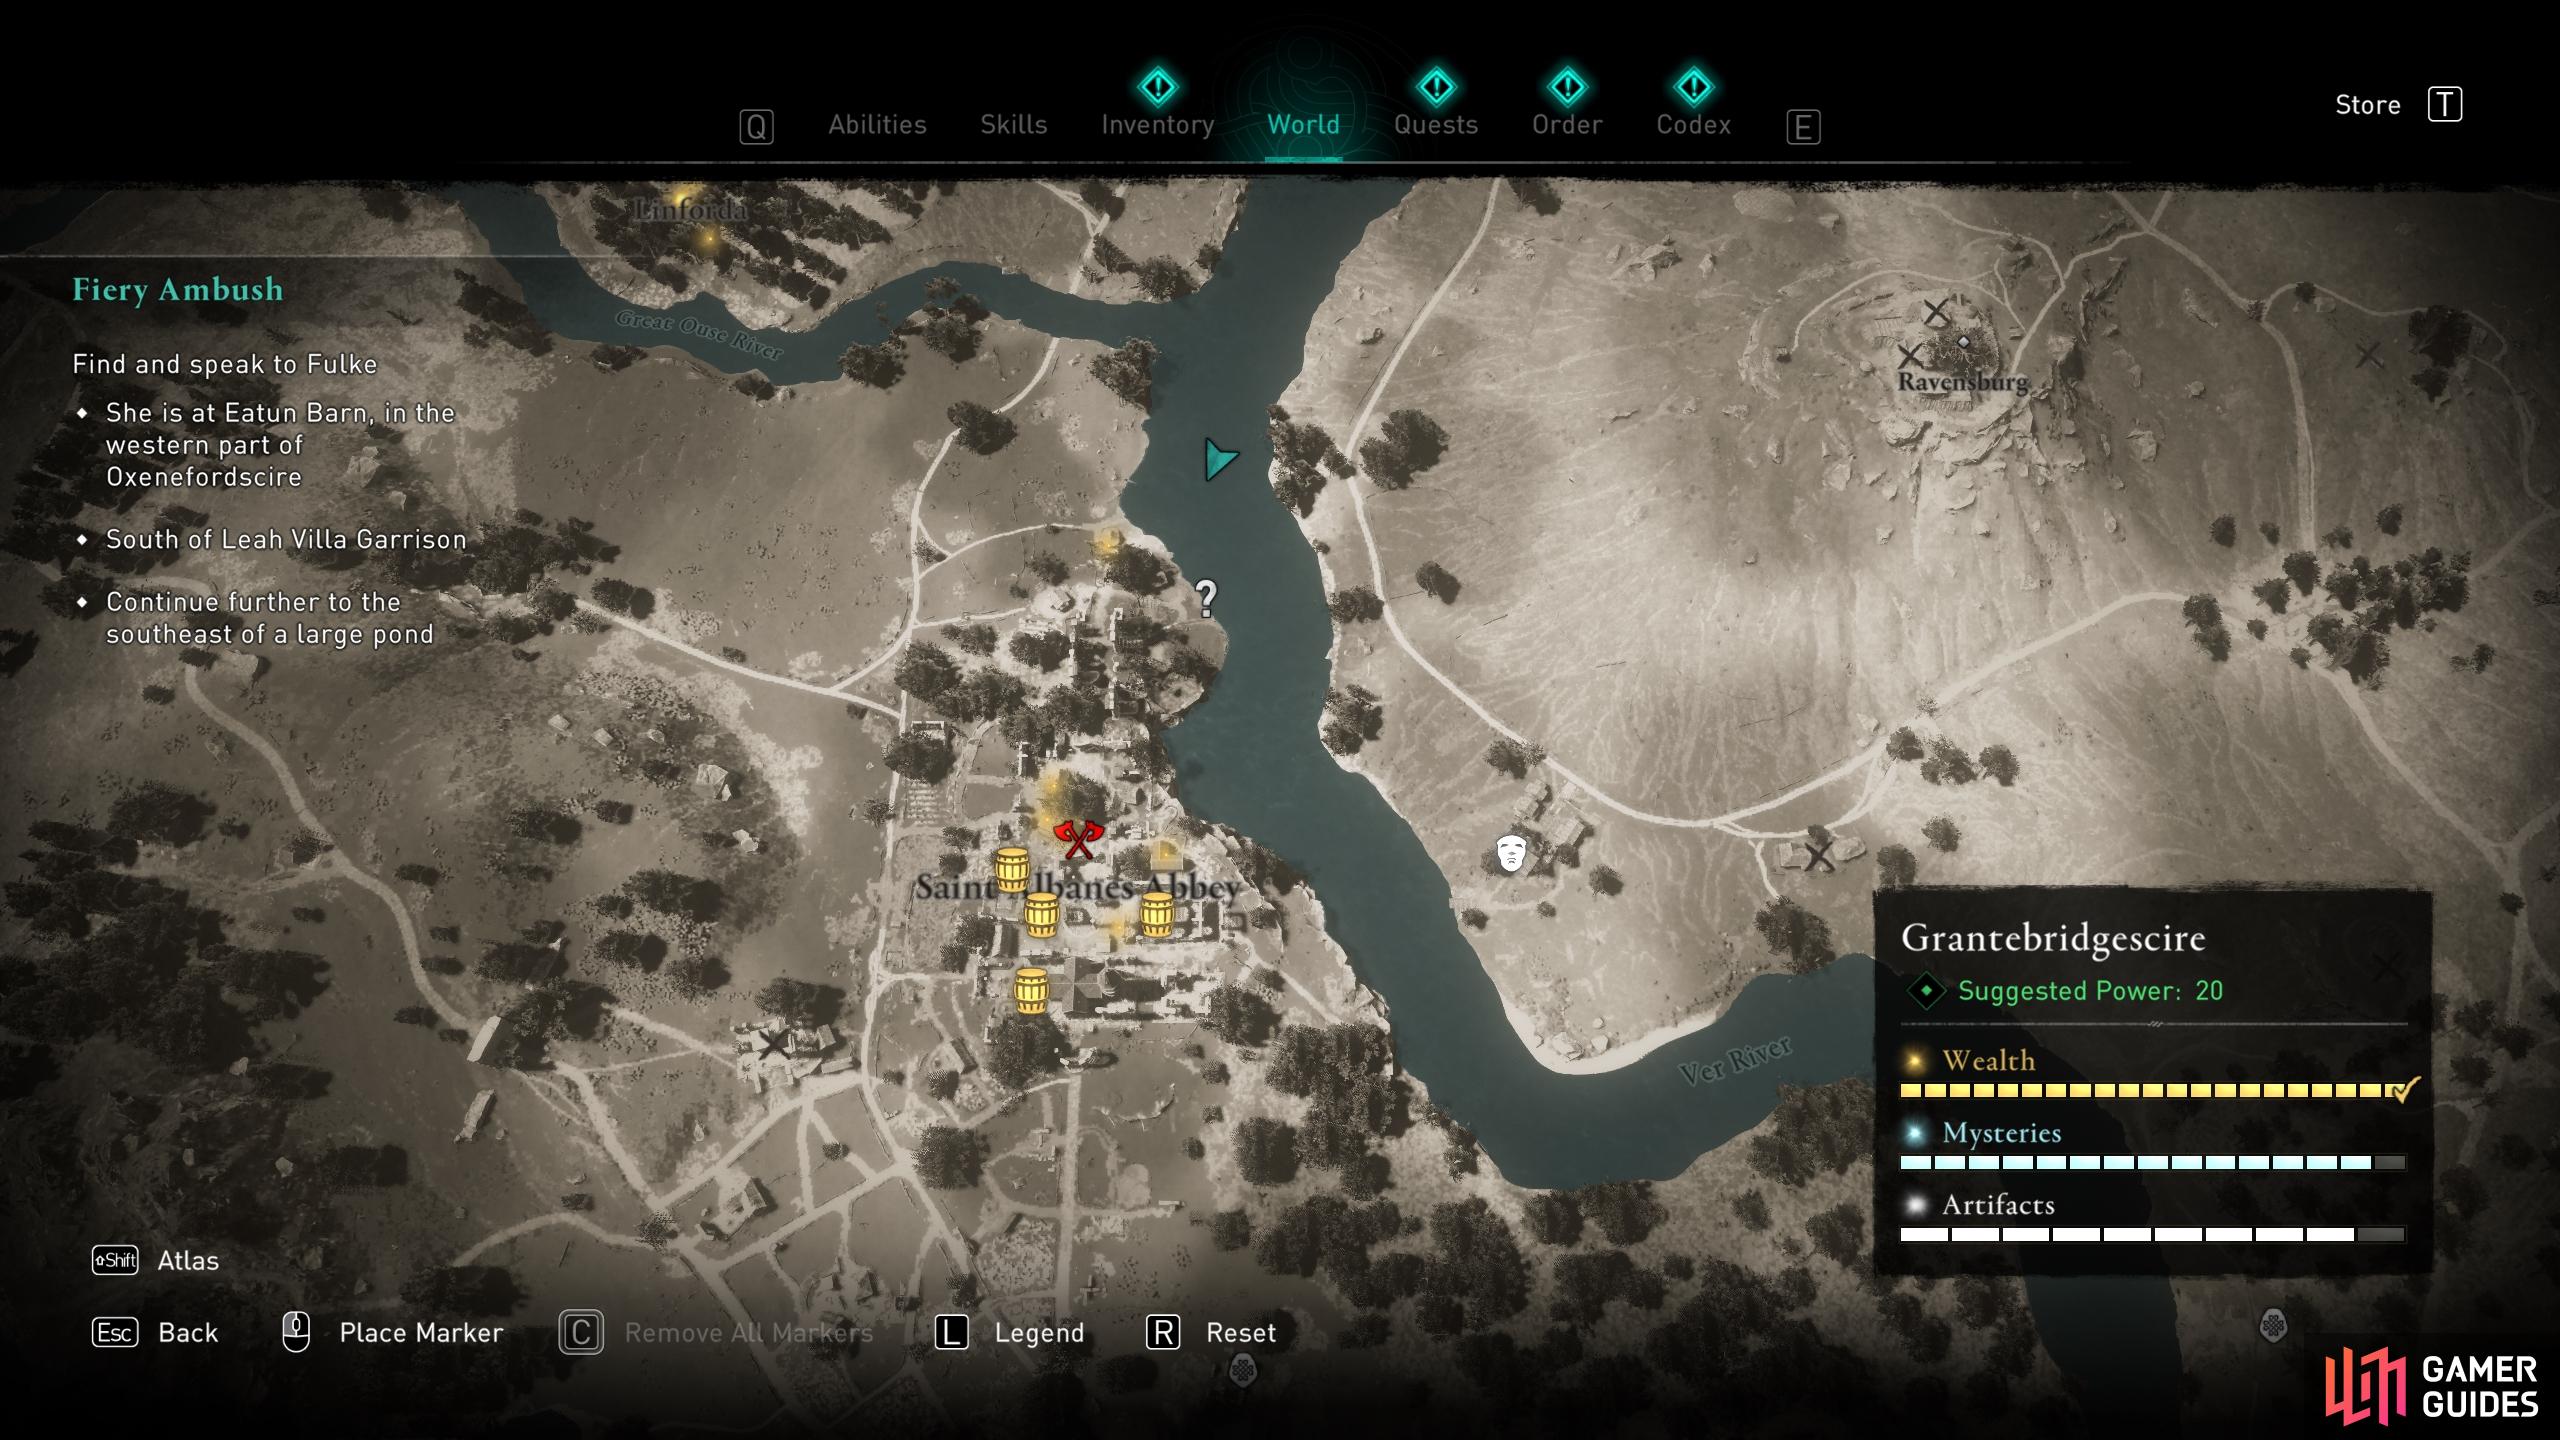
When you greet Sigurd he will be eager to press on, but Eivor will express discontent at the way Sigurd has been so secretive about Fulke. After a a brief dispute, the cutscene will end and you’ll be able to travel south to Saint Albanes Abbey. The aim here is relatively simple: infiltrate the monastery and rescue Fulke. You don’t need to raid the monastery as part of the quest, but if you really want to you can summon your longship crew for aid. We recommend leaving the raid until you’ve finished this quest and Blood from a Stone. The location of treasure within the monastery will be shown below.
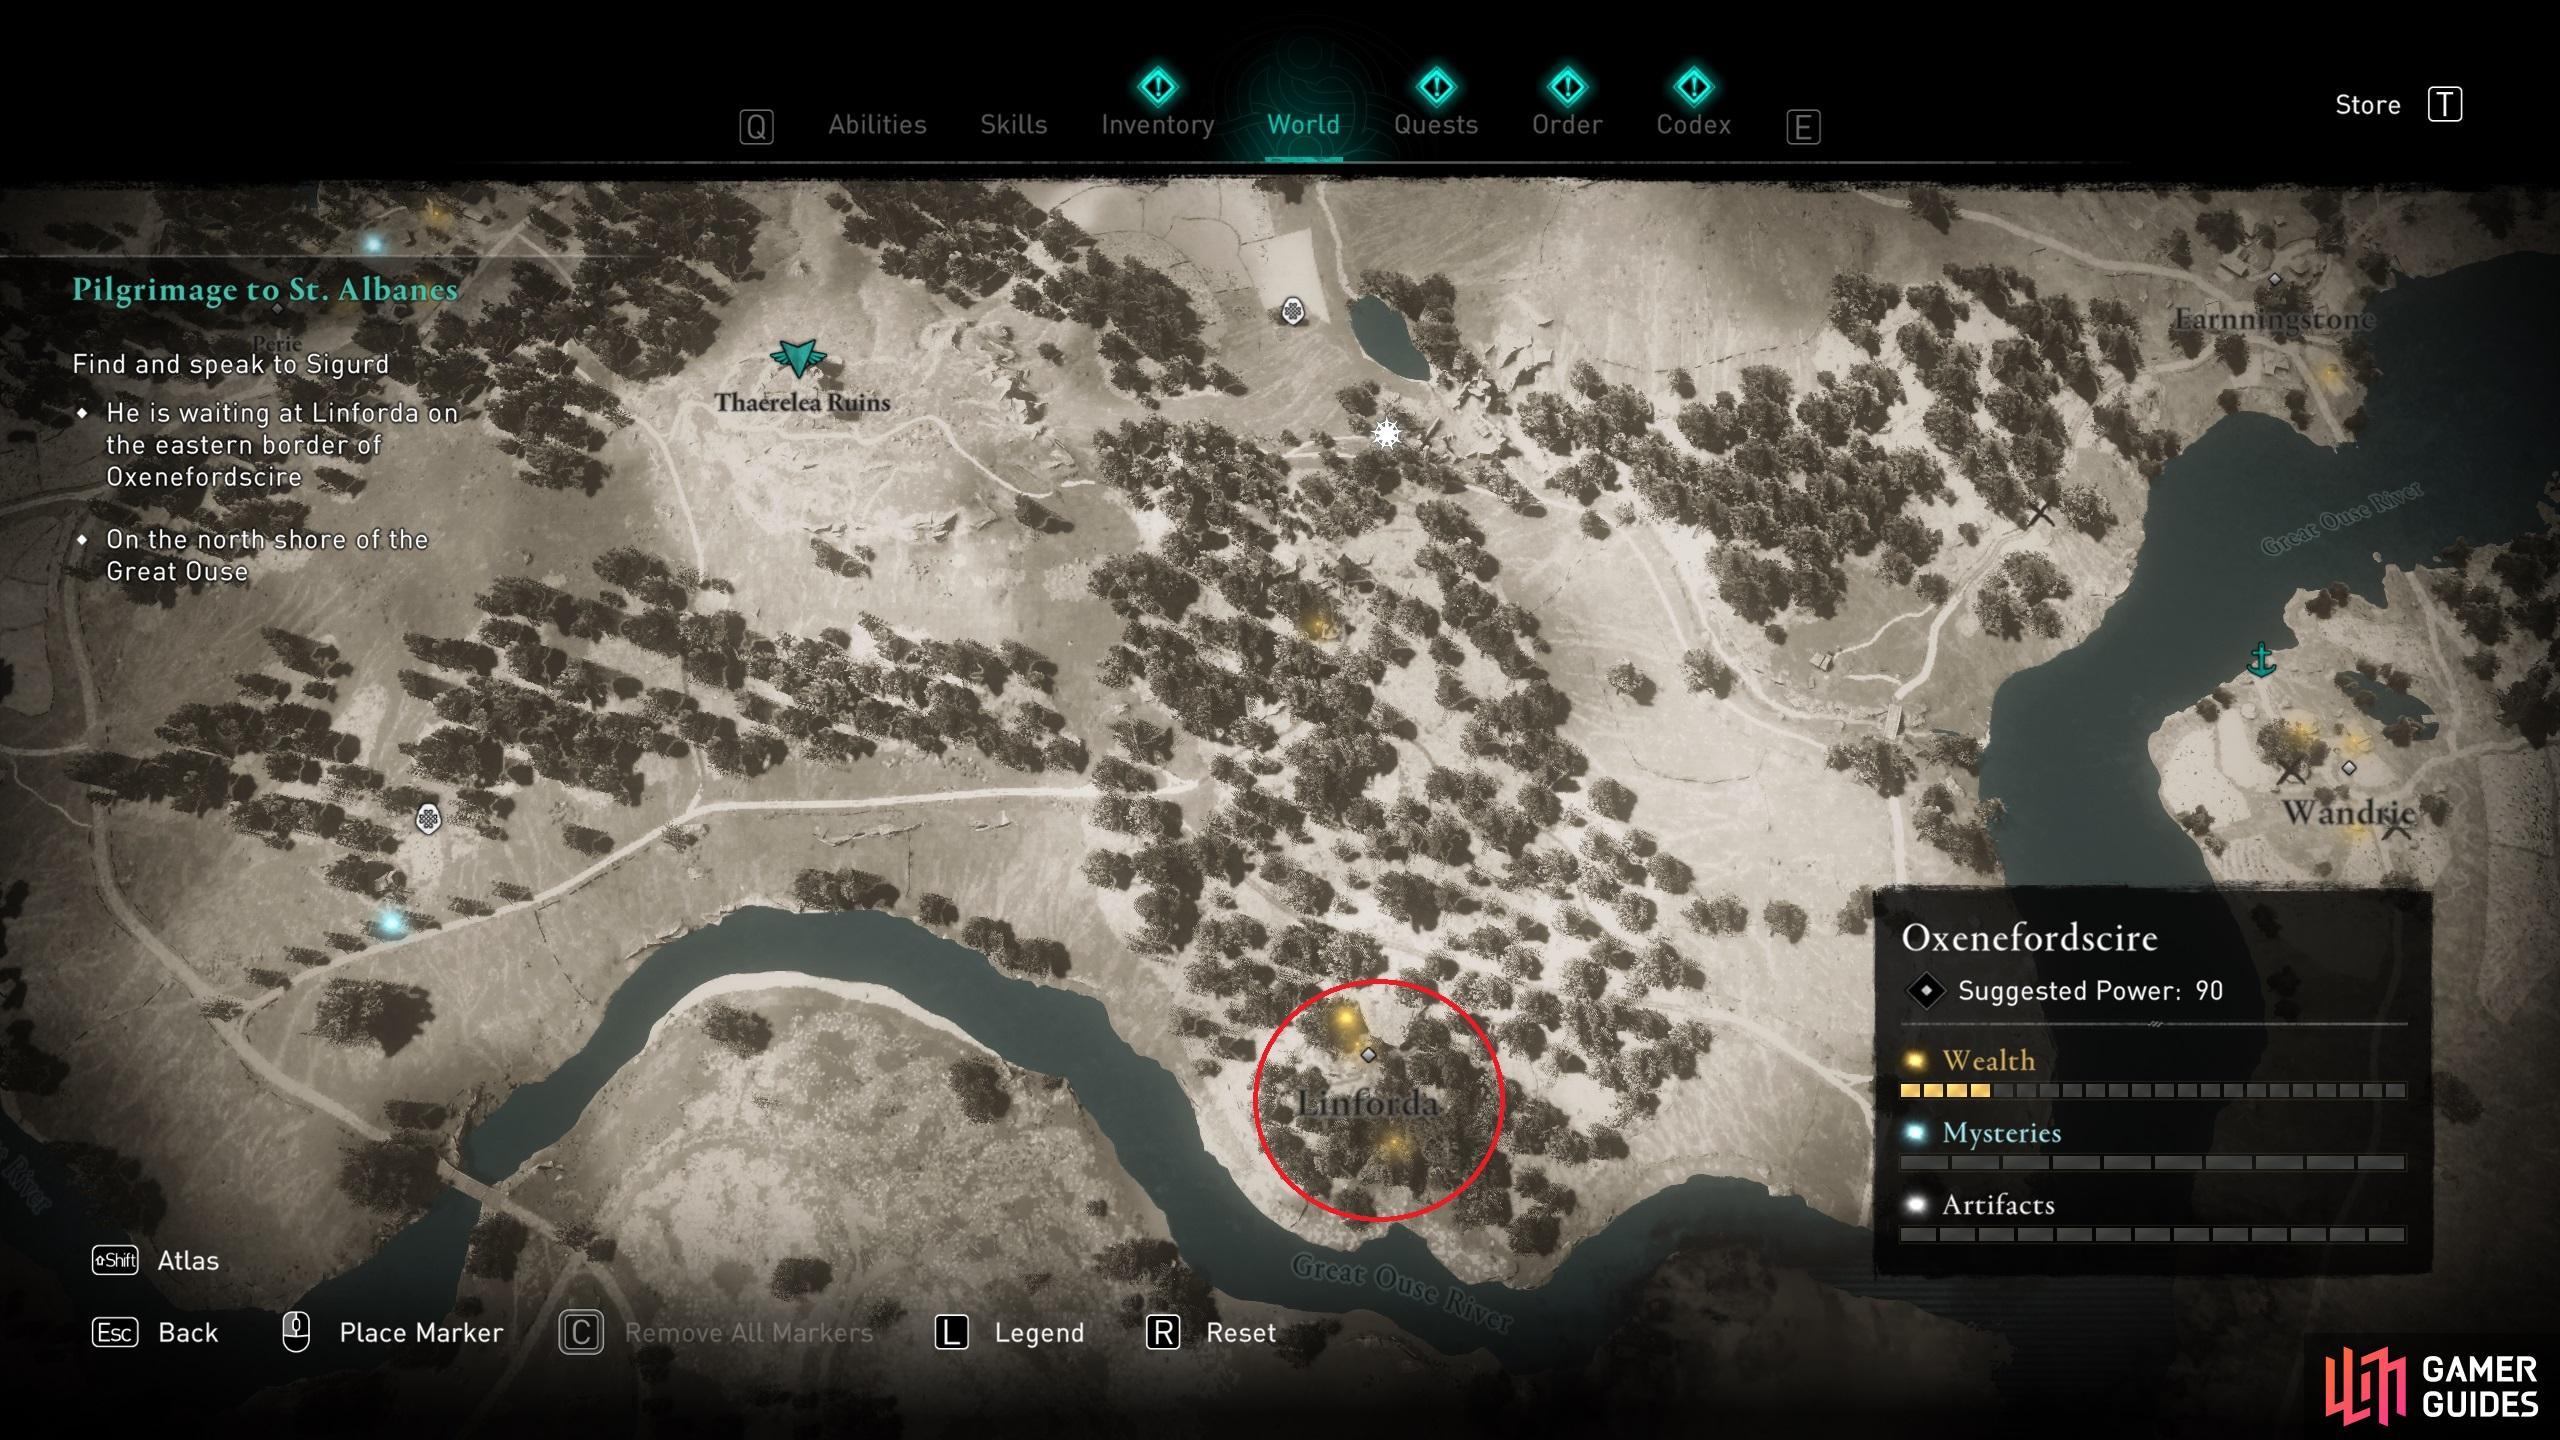
The location of Sigurd and Basim, by the docks at Linforda.
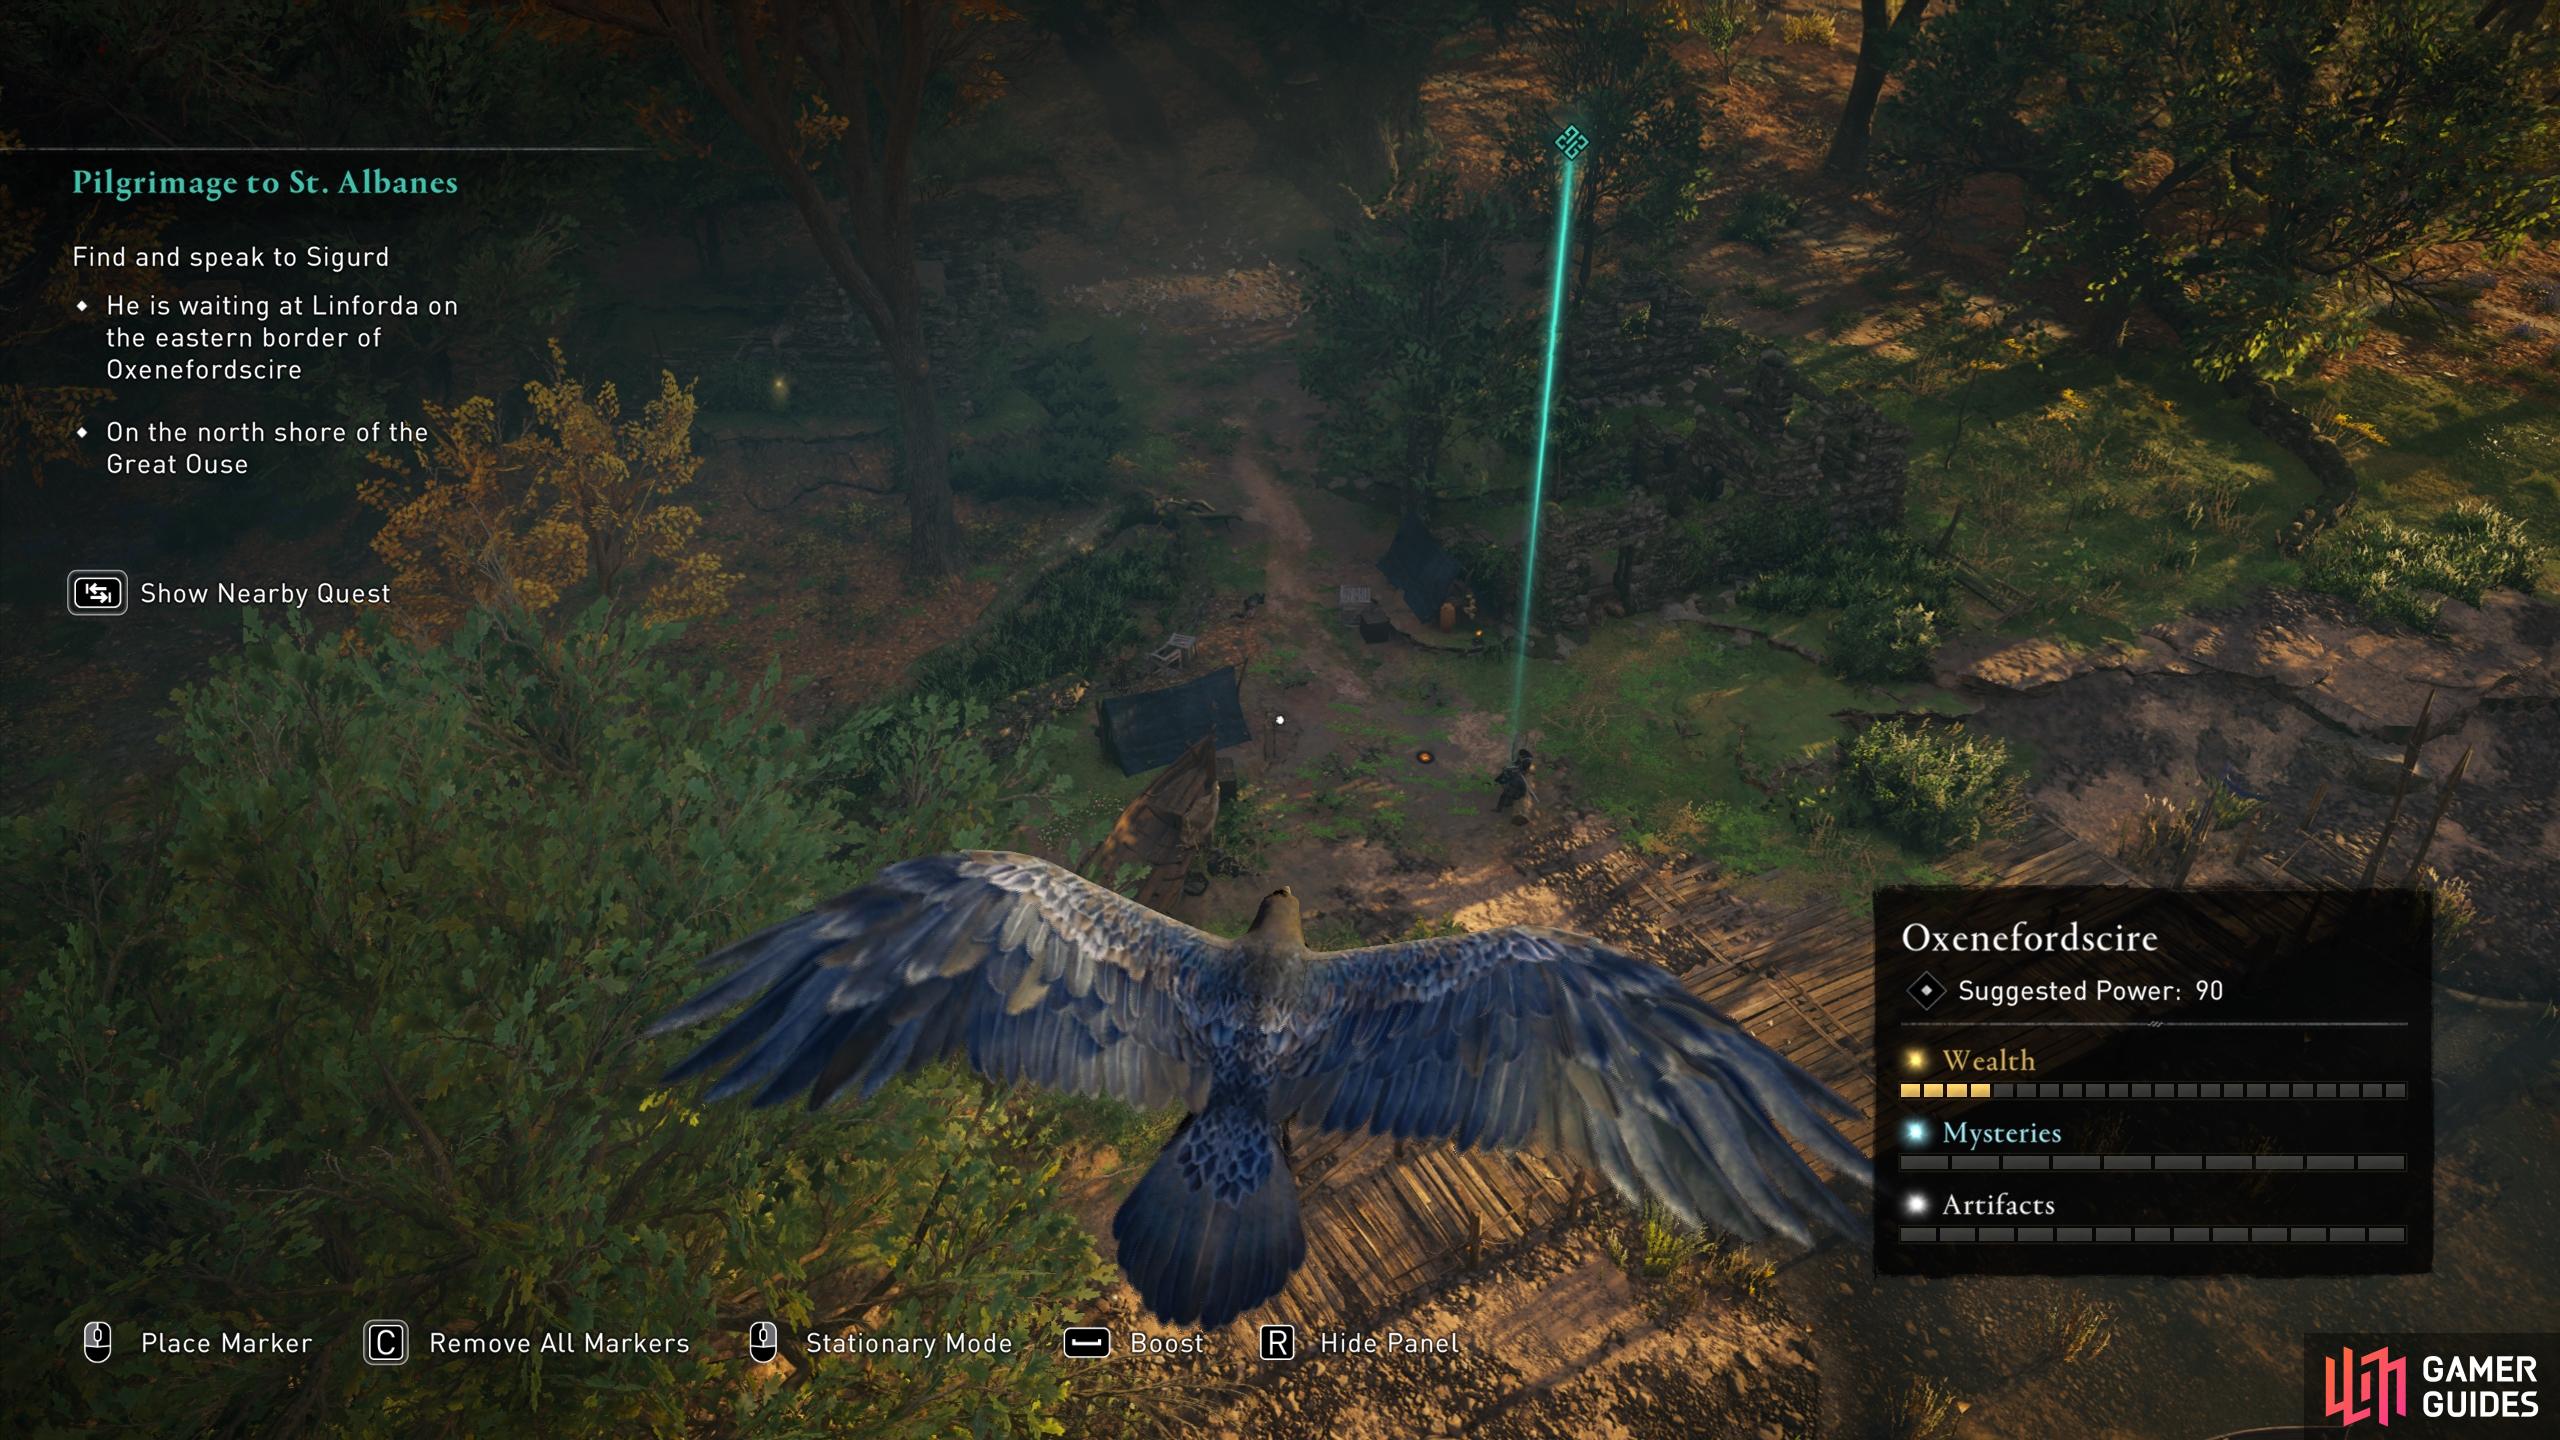
Use your raven to find Sigurd and Basim at the docks if necessary.
Free Fulke
You’ll find walking through the monastery rather easy with your cloak on. So long as you don’t get too close to the guards, you can stroll through undetected. The easiest way into the monastery is by climbing the roman ruins at the centre of the grounds, then follow the rope line directly into the monastery through a window. You’ll need to kill a few archers atop the ruins to remain undetected, and you’ll also encounter a ballista up here, which you can sabotage to ensure it’s not used against you later, or if you want to raid the monastery now, use it to kill as many Saxon soldiers as possible in the vicinity.
When you’re ready, enter the monastery by crashing through the window above the main door, as you approach from the north. Once inside you can kill the guards below and then open the door for Sigurd and Basim to enter. You’ll need to defeat a Yeoman and a Standard Bearer here (the latter will count toward weakening Eadwyn’s forces for Chipping Away). When you kill the Yeoman, be sure to loot the body for the Saint Albanes Crypt Key. If you experience any difficulty alone, just destroy the link and open the door first to allow Sigurd and Basim to help.
When all the guards are dead, all that remains is for you to free Fulke. As you may have guessed from the key, you’ll find her in the crypt. This can be found through the door to the east of the room where you killed the Standard Bearer. Open the door with the key and head down the stairs. When you reach the bottom of the stairs, speak with the monk in the corner. He won’t be compliant when asked to open the door, so you’ll need to either intimidate him, pay him 130 silver, or use your charisma to convince him (requires at least Charisma level 2).

(1 of 6) Climb the ruins to use the rope leading to an entry to the monastery through a window.
Whatever you decide, when the monk gives you the key and you open the door, a cutscene will play, during which you’re introduced to Fulke. Follow her outside after the scene, then go through some dialogue options. It doesn’t matter what you choose here, the outcome will be the same. Tell Fulke that you’re ready to see the stone to proceed to the next quest immediately, or tell her you’re not ready yet if you have things to do first. Either way, the current quest will complete when the conversation ends.
Raid Saint Albanes Abbey
Whether you decide to come back to Saint Albanes Abbey immediately after completing this quest, or after completing Blood from a Stone first, you’ll have four treasure chests of Raw Materials to loot. You can take these in any order you want, but for the purposes of this guide we’ll begin by entering the Abbey from the northeast. This way you can immediately start the raid with your longship crew from the Ver River.
(1 of 7) The location of the point from which you should initiate the raid, northeast of the Abbey.
Once you begin the raid you’ll have a few regular soldiers to contend with on the shore. You’ll find some minor treasure in the hut to the west here. Continue south up the hill until you reach a courtyard with a Roman statue in the centre. If you haven’t defeated them already, you will likely encounter Cudberct here, a level 160 zealot. He wields a longspear and is extremely quick on his feet, so you’ll need to be careful here. His special attacks include poison bombs and spear throw. He will also poison you with each successful hit, due to his spear tip being coated in it. Cudberct will also heal himself occasionally, indicated by a white aura, so you’ll want to interrupt this as soon as you see it.
Alongside Cudberct you’ll find this area densely populated by guards, and more will move in as the fighting goes on. To make matters potentially worse, you’ll find a ballista on a tower east of the Roman statue. Take this out before you do anything else, then focus on dealing with Cudberct and allow your other crew members to keep the regular soldiers occupied. The fight with Cudberct can be particularly difficult without Dag, especially due to the fact that each hit you sustain will apply poison damage over time. Pay close attention to Cudberct’s movements, avoid the poison bombs, interrupt his heals, try to avoid being hit at all costs, allow Dag to tank him, and you should be fine. When he finally falls, you’ll need to confirm the kill before it counts by interacting with the body.
It will take a while to deal with all the defence here, and you will likely need to revive some of your crew as you move through the area. When all the enemies in the area are dead, you can focus on looting the treasure chests for the Raw Materials. As a point of reference, we’ll begin the looting from just outside the main entrance to the Abbey, in the south of the grounds. From here, turn your attention west to a small building. You’ll need the help of one of your crew members to gain access, or if you burn the building you’ll find a hole in the wall on its western side. Be sure to use Odin’s Sight to highlight the treasure within if you’re not sure which building it is. Once inside you’ll find the first lot of materials in a large treasure chest.

(1 of 6) You’ll find the first lot of Raw Materials in a small house southwest of the Abbey entrance.
Next, turn your attention east of the entrance to the Abbey, just to the left of the steps leading to the main door. Here you’ll find some fire pots. Take one, enter the Abbey and turn west toward the room blocked by a bouldered barricade. Throw the fire pot at the barricade to destroy it, providing access to the second chest of materials. For the next chest, leave the Abbey and turn east, just beyond the area where you found the fire pots. Here you’ll find a small chapel containing a third chest of materials, which can be opened like any other with a crew member. For the fourth and final chest, head northwest from the chapel to the other side of the ruins, where you’ll find another small chapel containing the last chest of materials. After looting these, the raid will be complete.
No Comments