
This page details everything you need to know about how to complete the Nidheim run in Niflheim, part of the Forgotten Saga DLC. We’ll cover where to find the Shifting Loyalties quest, how to find the Hidden Merchant in Nidheim, and how to defeat the dragon boss Nidhogg.
How to Complete the Nidheim Niflheim Run
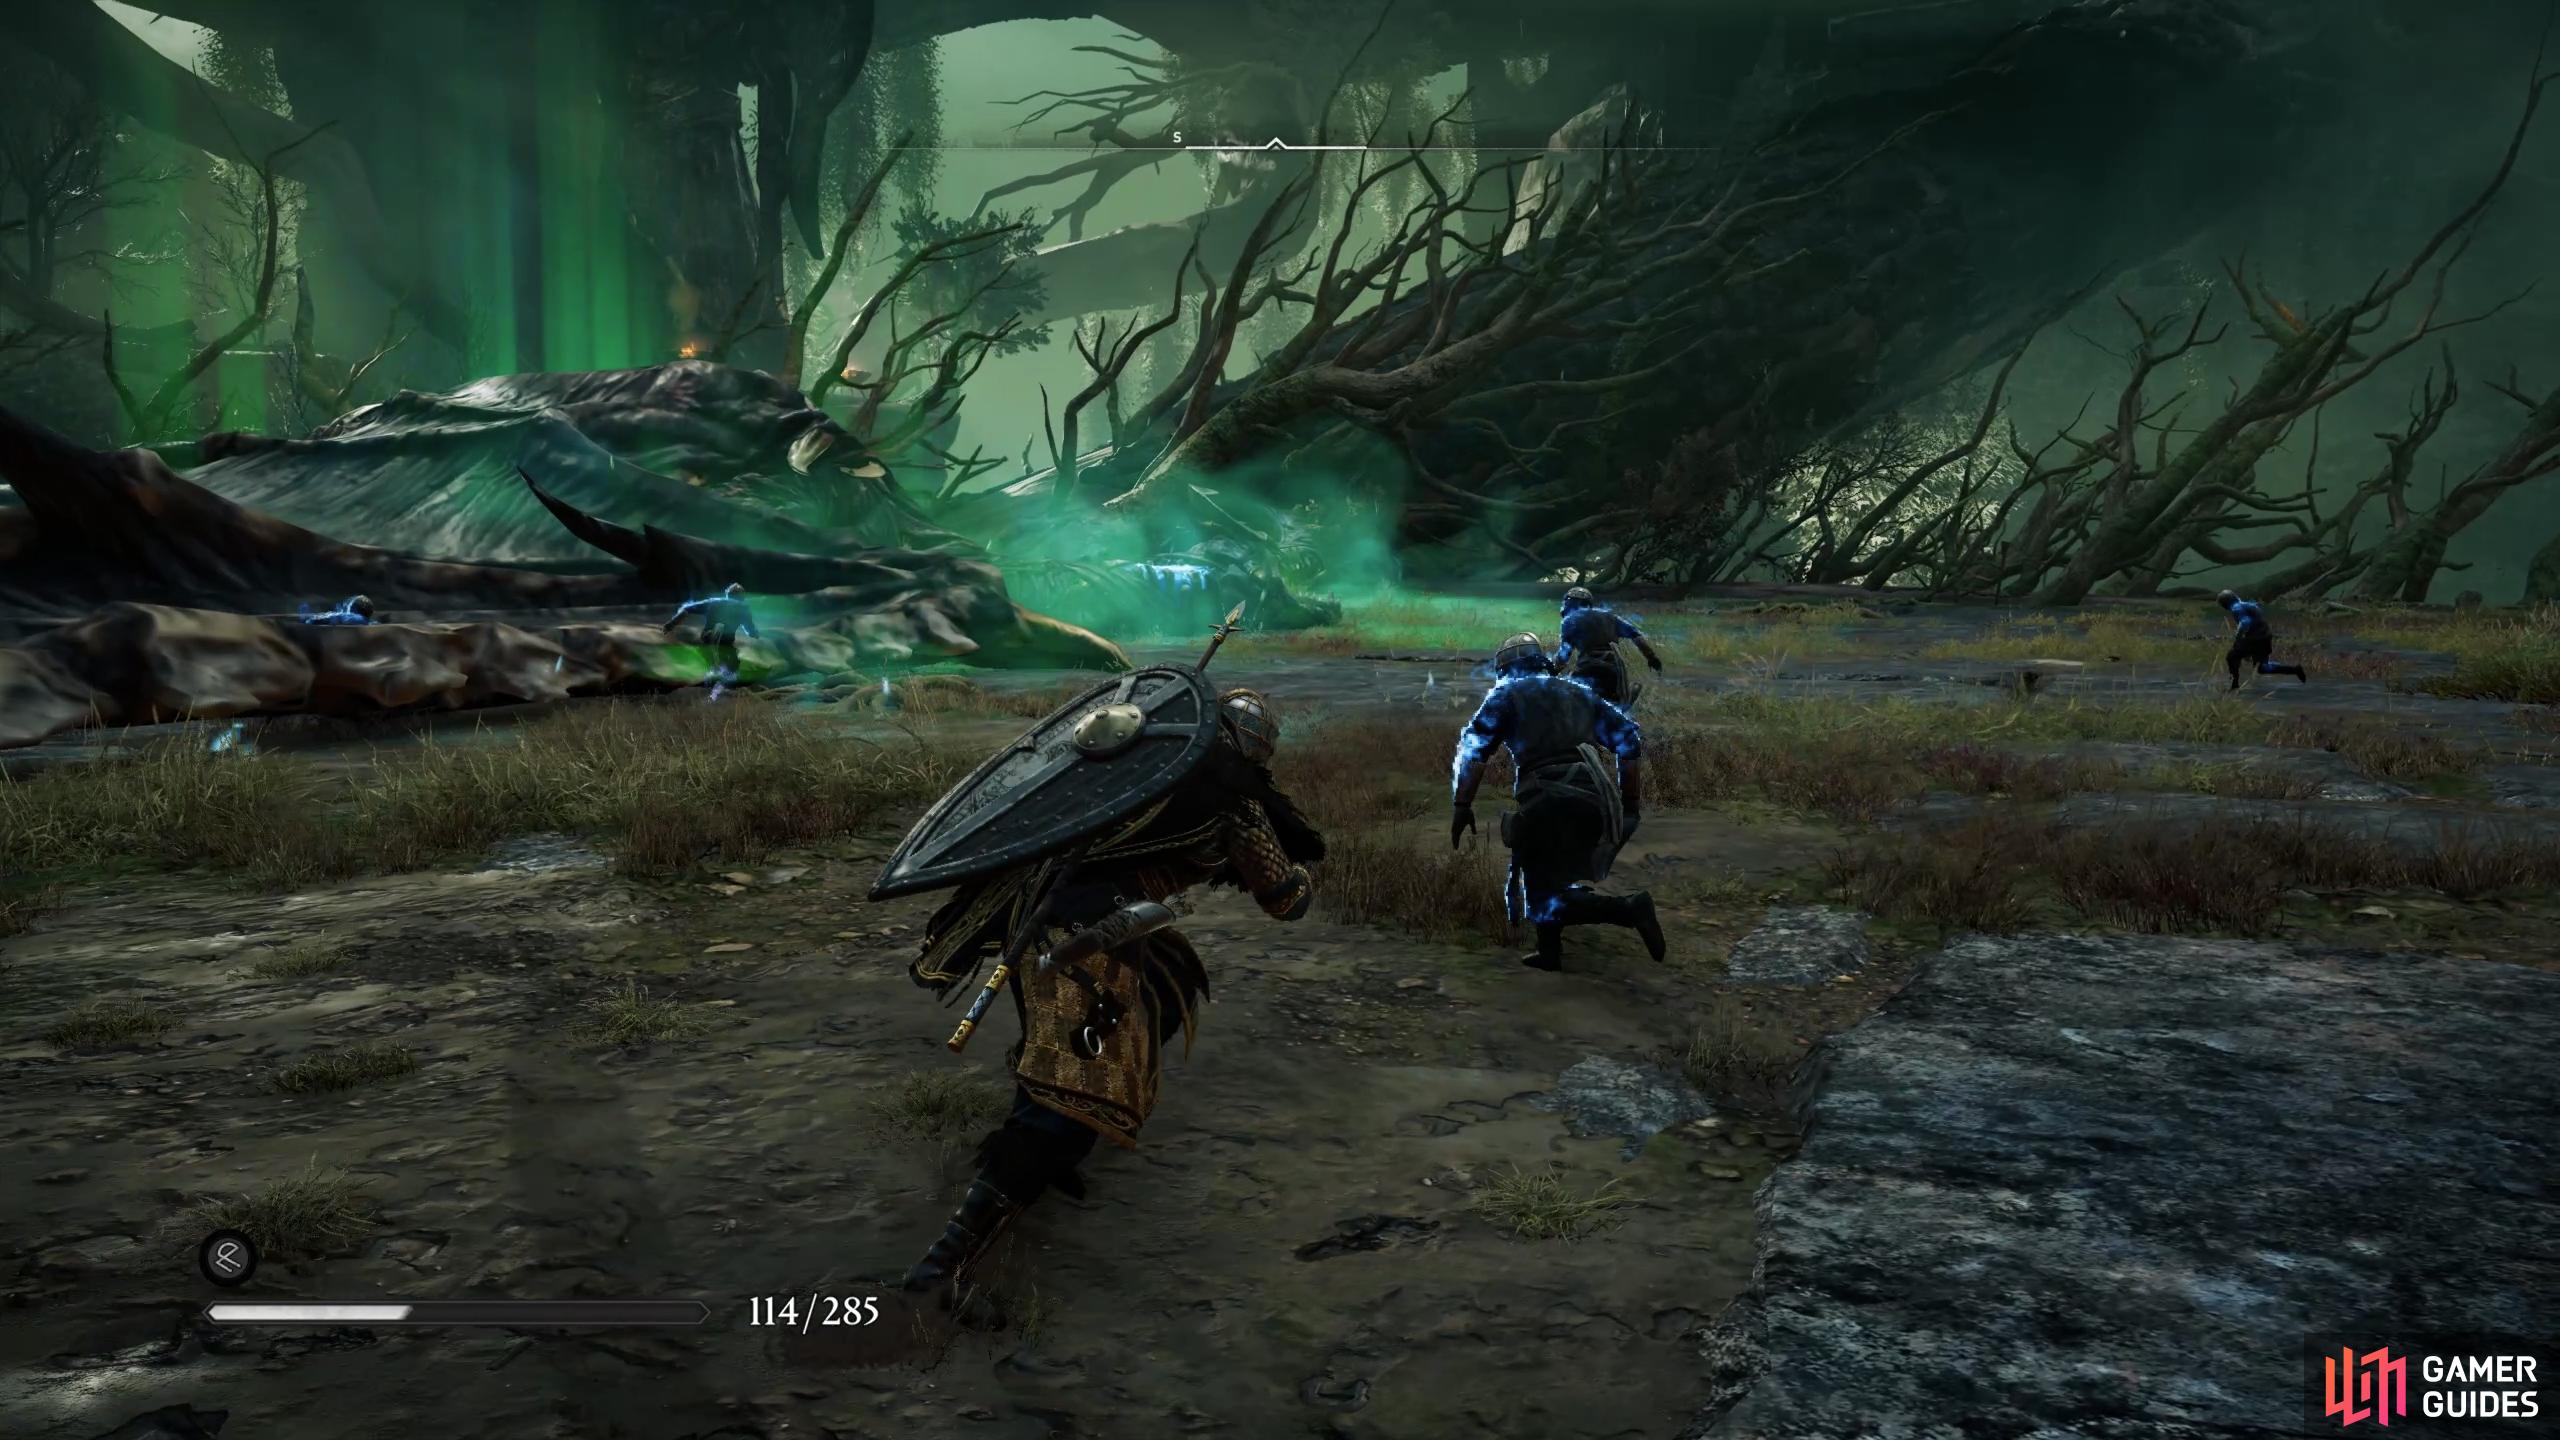
The region of Nidheim is different from Kaldstat and Dokkerland in that you won’t be facing many supernatural enemies such as Jotnar or Muspels here. Instead, you’re facing Druidic enemies much like those from the Wrath of the Druids DLC. Most of these are agile opponents who wield daggers, sickles, or shortswords, and they often have poison-based attacks which can inflict damage over time if you’re caught by them. The poison attacks will generally be inflicted by melee wounds, but the enemies will sometimes cast a poison cloud in an area around them, so you’ll need to look out for these and avoid them where possible.
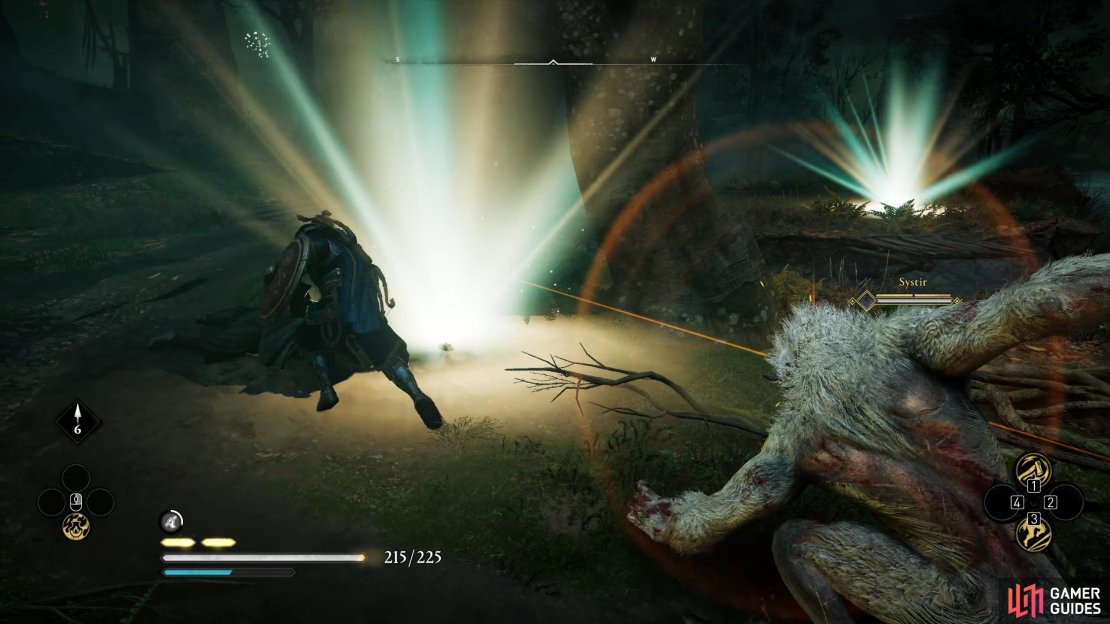
The other main enemy that you’ll encounter in Nidheim are Werewolves. These are few and far between, but there is always one that will be triggered at a certain point on the map, at the southeastern side when you interact with a chest with one of the large swords sticking out of it. As soon as you interact with it, a Werewolf will leap at you and attack, so you’ll need to be ready to use a dodge or roll to escape the initial pounce attack. Aside from this Werewolf, most of the enemies in Nidheim should be familiar if you’ve played the Wrath of the Druids DLC, but it may take a few encounters to get used to them otherwise.
Shifting Loyalties Quest: First Run
It will take at least three runs of Nidheim for you to complete all of the objectives involved in the Shifting Loyalties quest. We’ll cover the first set of objectives below, then mark the next set with a new header.
Where to Find Brodir
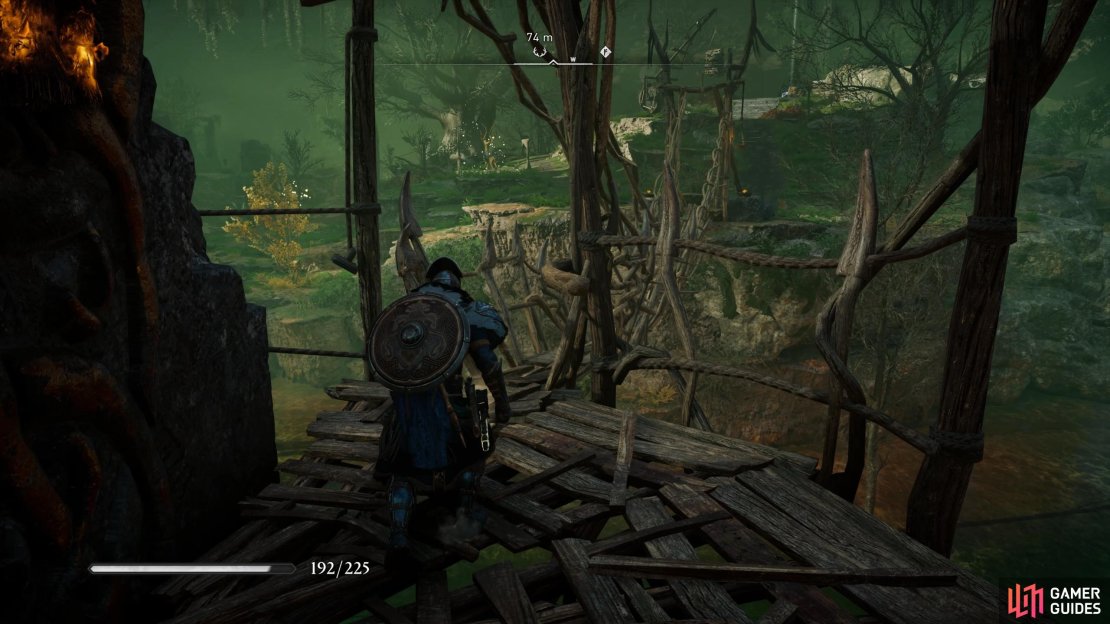
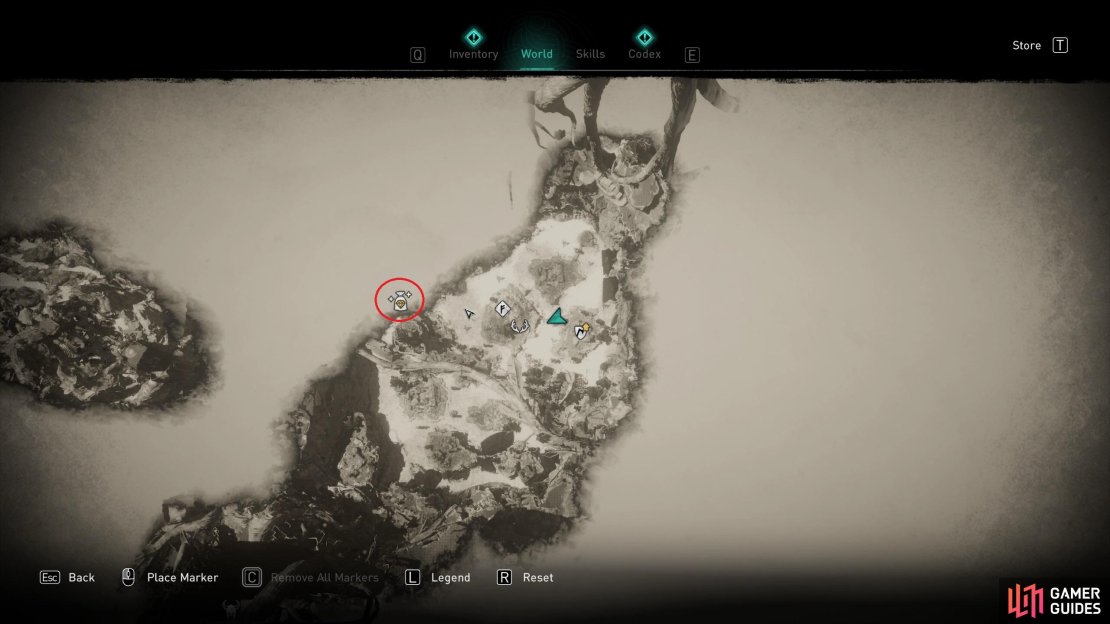
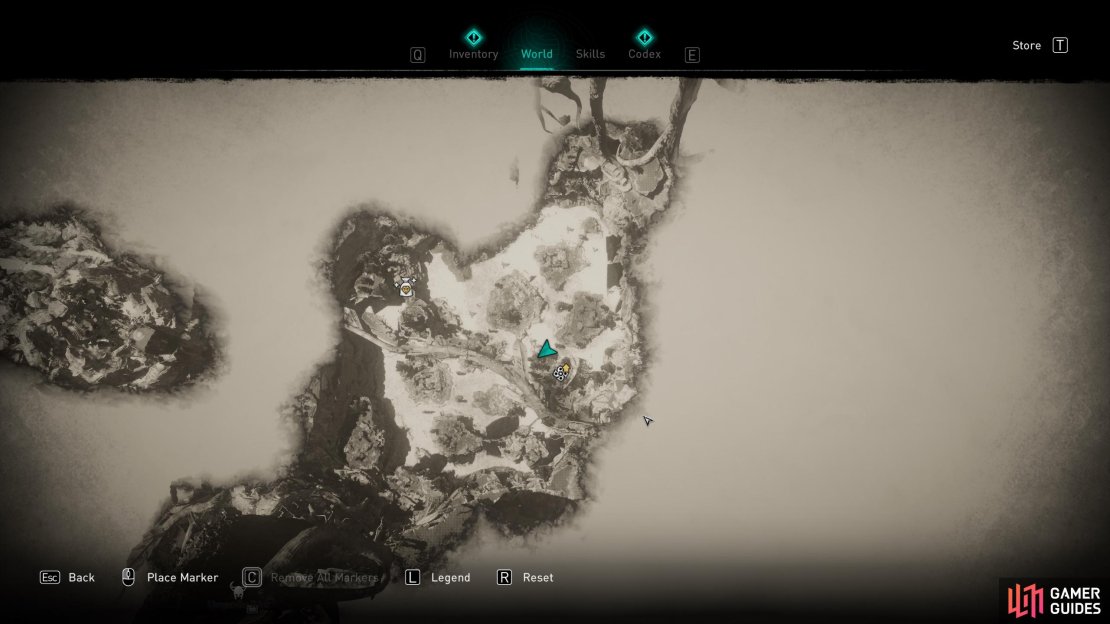
To begin the Shifting Loyalties quest, you’ll first need to find Brodir. In simple terms, you’ll find Brodir if you keep turning right (towards the western side of the map) as you cross each destructible bridge. So, after defeating the initial enemies at the first encounter, cross the bridge ahead (towards the south) and turn right (west). You can then keep turning right and heading west until you reach the area where the Hidden Merchant icon is located, as shown on the map below.
You will eventually come to another bridge facing southwards, with one connecting bridge heading east and one west. Take the western bridge and defeat the encounters on this side, then keep heading west-northwest until you find another bridge, at the end of which you’ll find Brodir. You can’t really go wrong if you keep heading west towards the Hidden Merchant icon, so use this as your guiding compass.
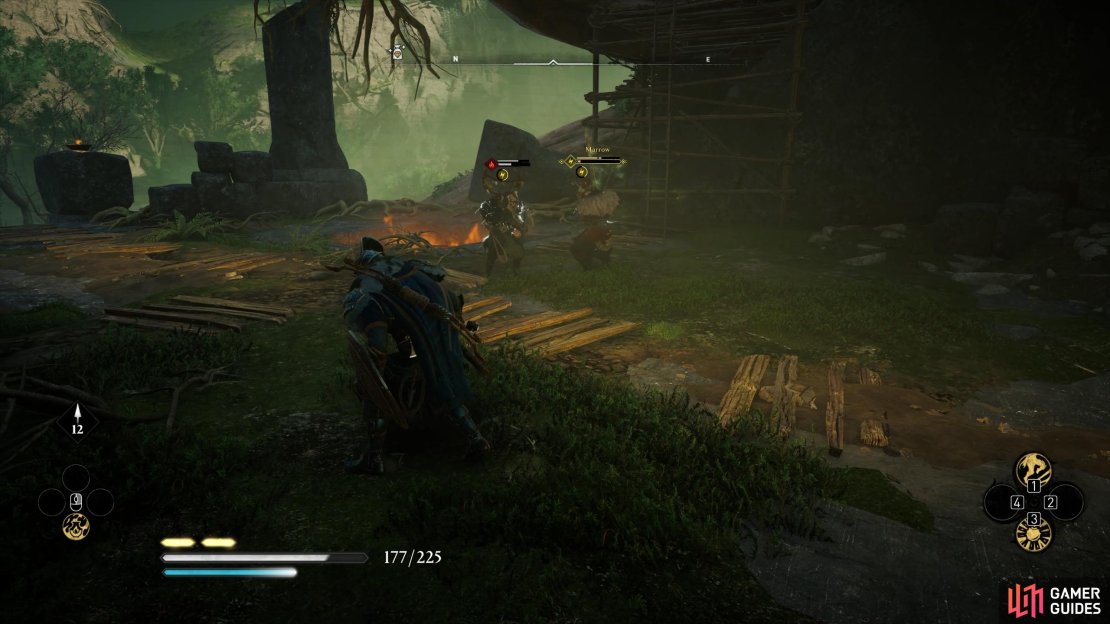
Where to Find and Defeat Marrow
After speaking with Brodir he’ll ask you to kill his slave master, who can be found in a nearby tower directly west of where Brodir sits down on the log. You’ll find that Marrow is surrounded by numerous Druidic allies, so you’ll need to be careful as you approach the area. Marrow isn’t a particularly tough opponent, no more difficult than a regular elite Druid. After killing him you’ll need to confirm the kill and then return to Brodir’s location. You’ll find a note of thanks in his small camp, but Brodir will be gone. You won’t be able to speak with him again until you come back to Nidheim during another run, and he won’t be in the same place so be sure to check the details of his new location below.

(1 of 6) Keep turning right and heading west to reach the area where Brodir is located.
How to Open the Jotnar Treasure Chest
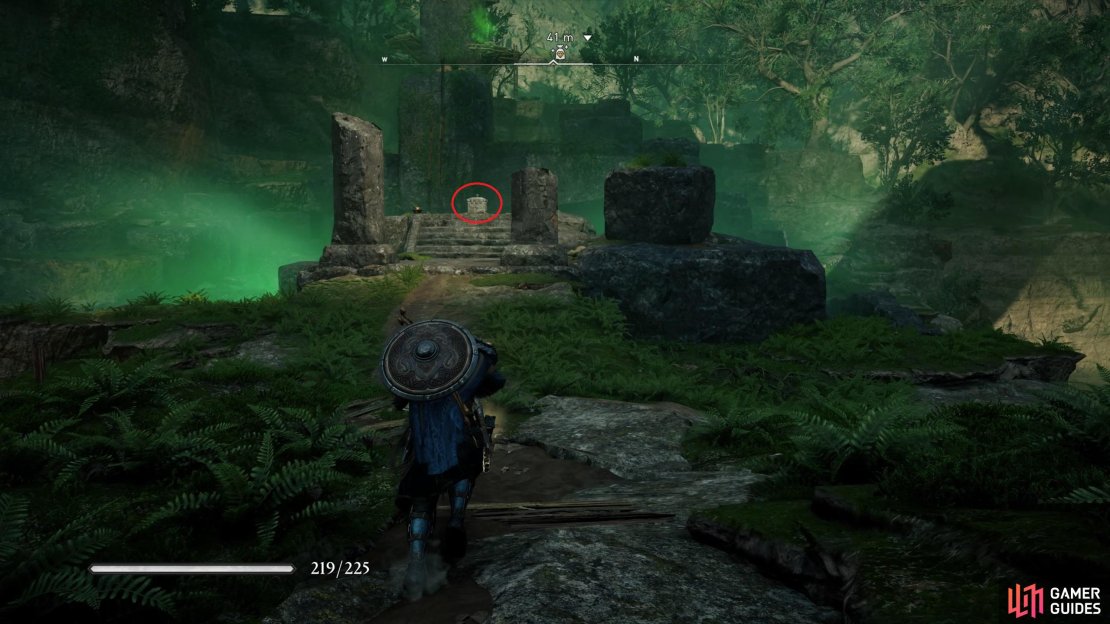
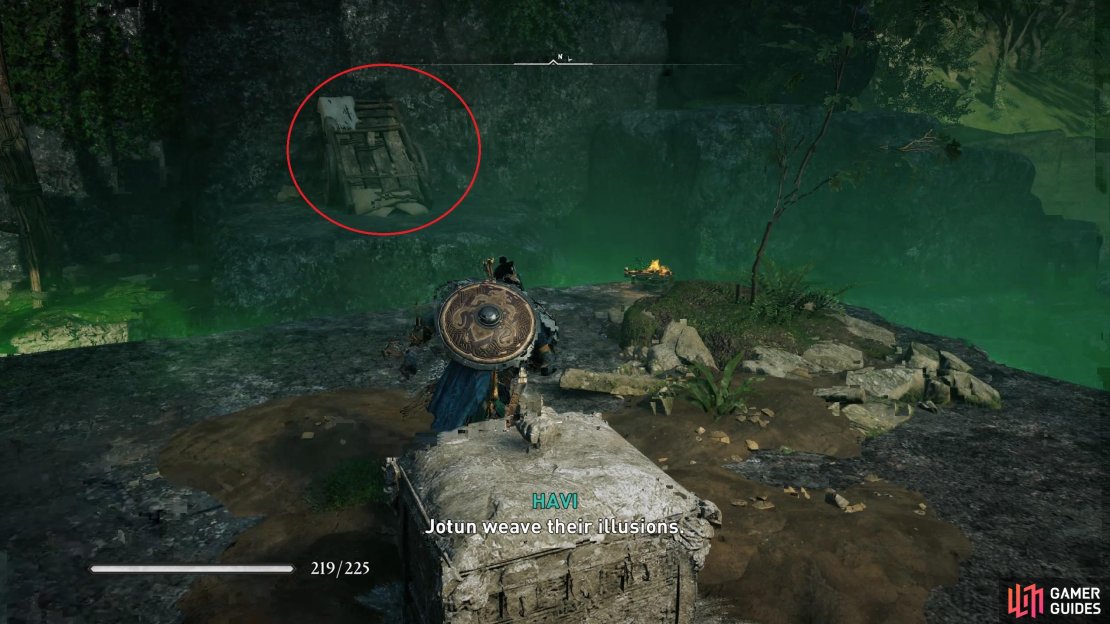
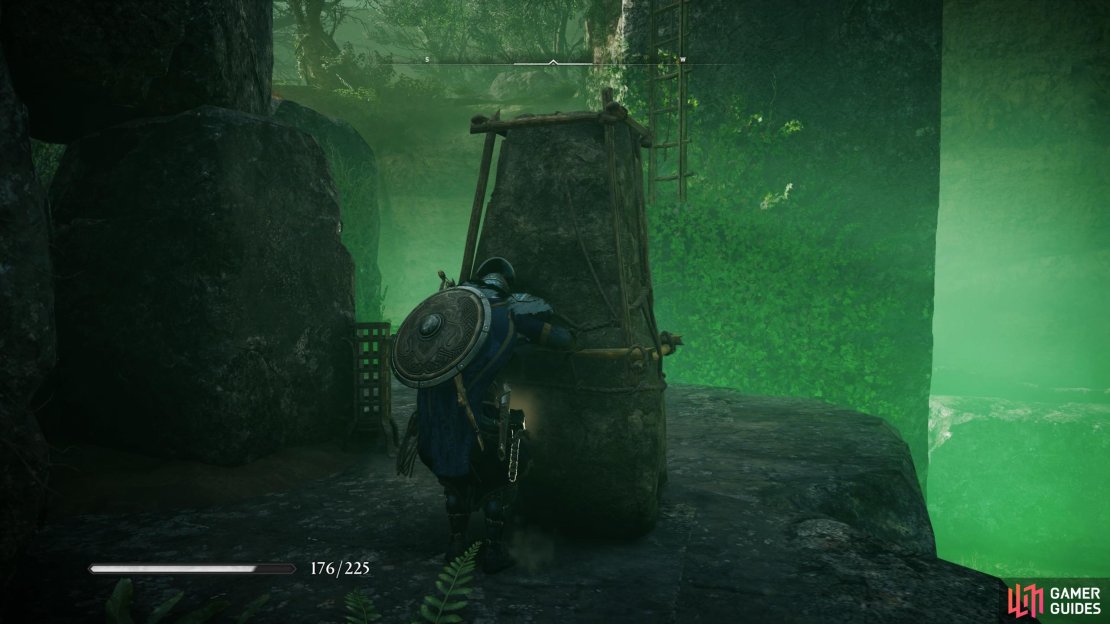
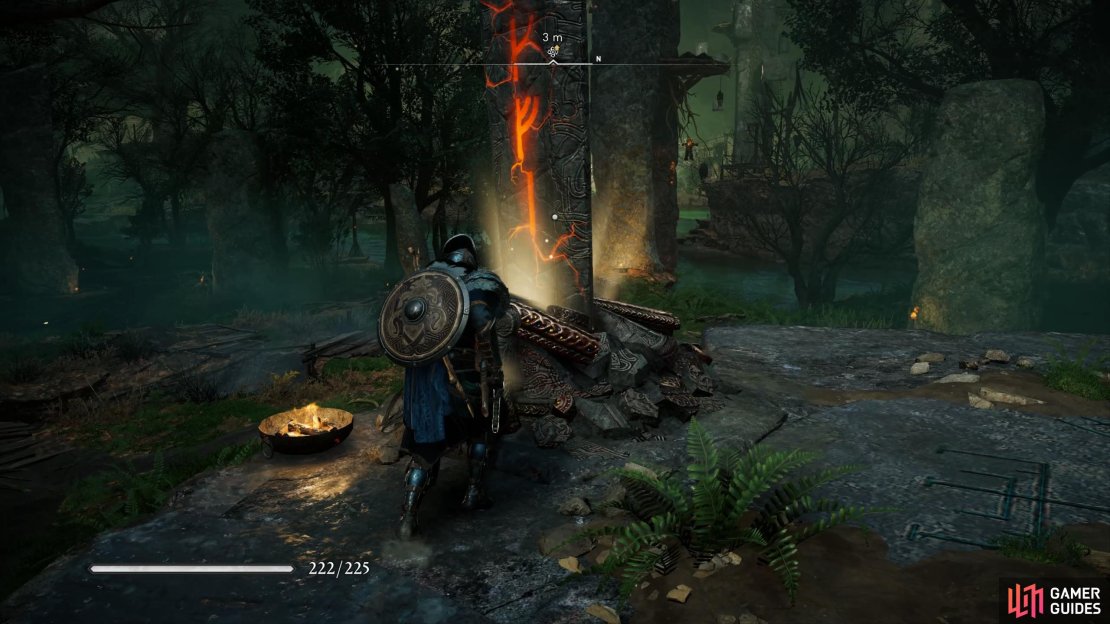
Before you continue on through Nidheim, there is one more thing you can do in the area around where you first met Brodir. From his camp, head directly northwest towards the lift, and take this upwards. Follow the path northwest and you’ll find a treasure chest surrounded by poison clouds. The chest can’t be opened from here, and Odin will note that the air appears to shimmer in the same way that it does where the Jotnar weave their illusions. This is your first clue with regard to how to open the chest.
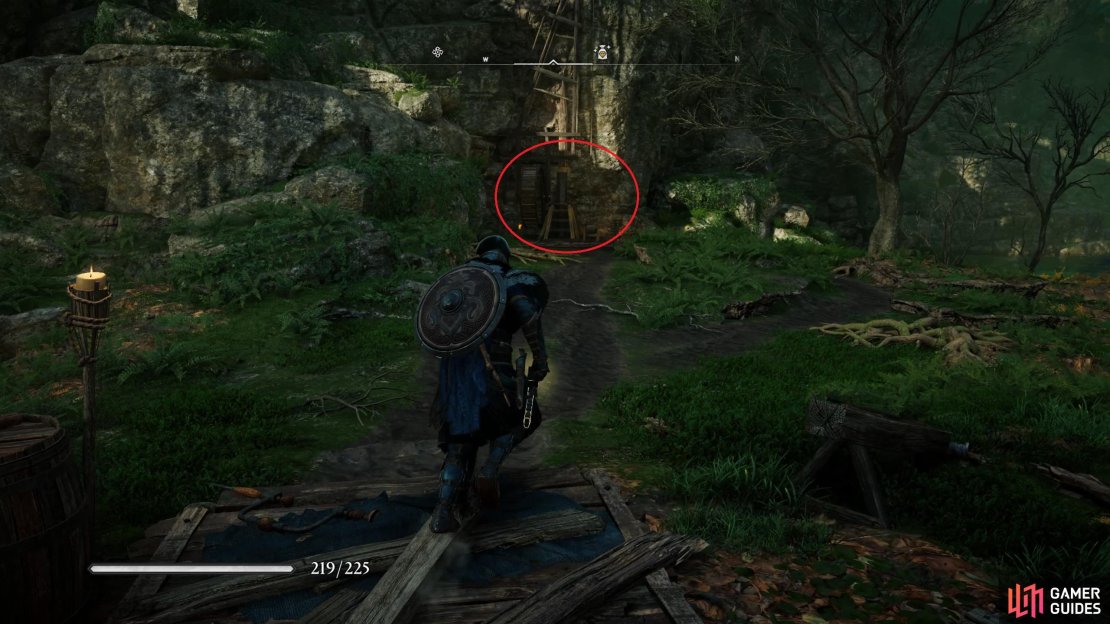
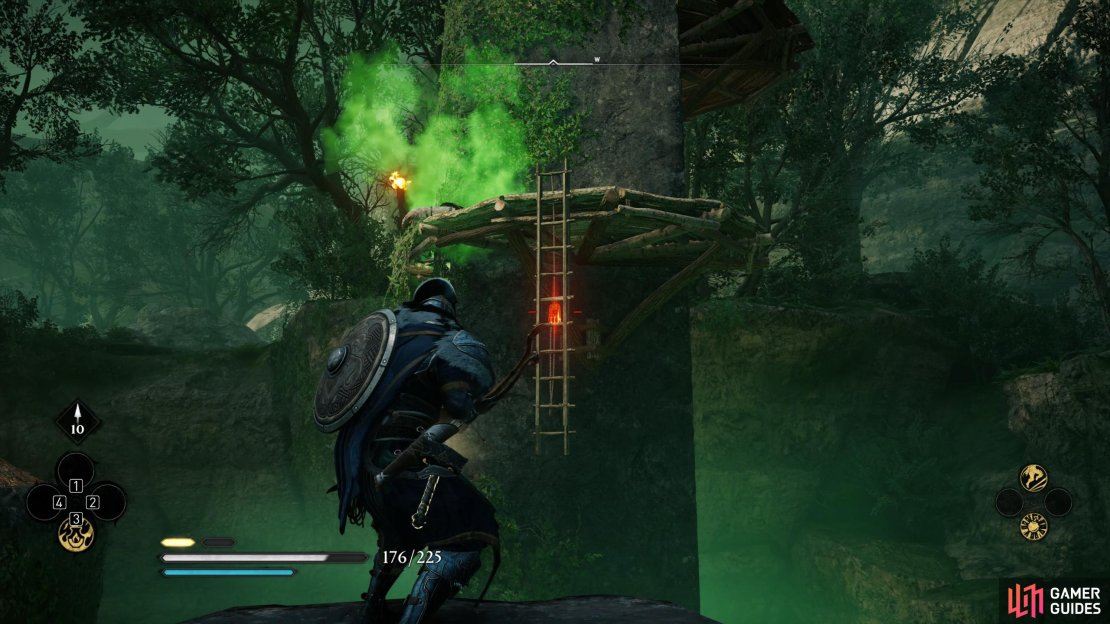
You won’t be able to dispel the poison clouds around the chest with fire or anything else, so don’t bother trying. Instead, climb up the broken cart which is leaning against the wall behind the chest, and follow the path upwards to the top of the tower. The route is fairly simple but at one point you’ll need to shoot a ladder down by breaking the link at its centre, as shown in the screenshot below. You’ll then find a movable stone pillar behind a wooden plank nearby, which you can push towards the ladder and use it to jump onto it.
(1 of 4) You won’t be able to access the chest by approaching it from the southeast.
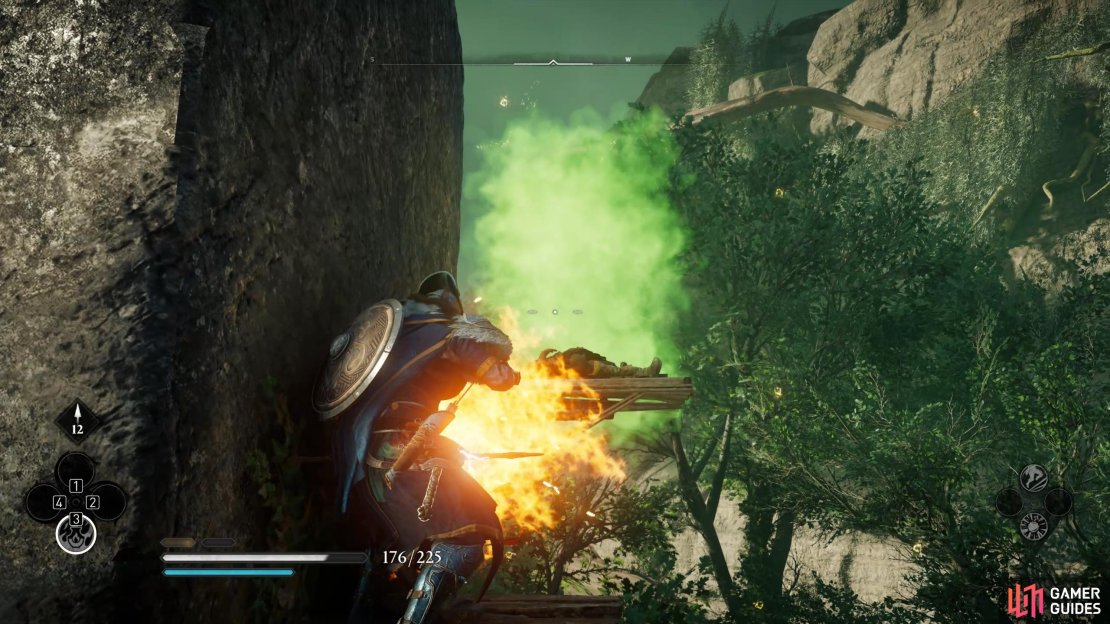
The next wooden plank you’ll need to break is covering a grip in the wall of the tower, which will allow you to climb further up. You can then take a lift to the next level where you’ll find a poison cloud covering some corpses on a destructible wooden platform. Use fire arrows to dispel the poison cloud, setting the corpses and wooden platform on fire. The platform will soon crumble, leaving a single wooden plank that you can use to continue up to the top of the tower when the fire has gone out.
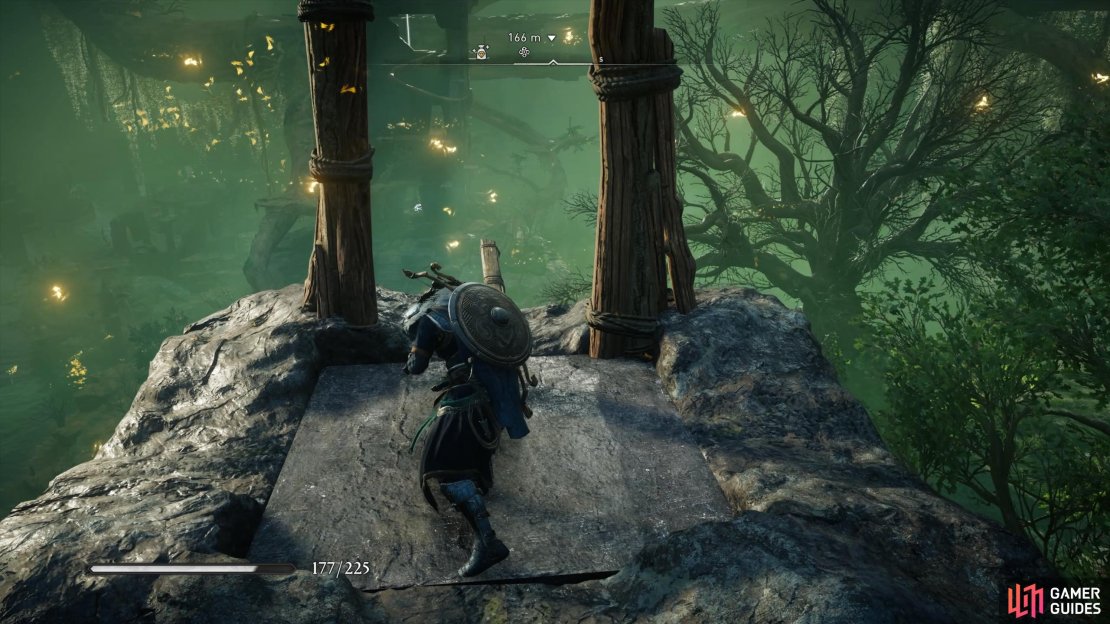
Once you’re at the top of the tower, all you need to do is jump down through the wooden arch and into the haystack below. You can then continue down the stone platforms to the chest, which you should now be able to open.

(1 of 3) Break the wooden planks to reveal the grip in the wall that you can use to climb the tower.
Nidheim Hidden Merchant Location
You can choose to leave the area now if you wish, but since the Hidden Merchant can be found nearby you might as well pay them a visit. Starting back at Brodir’s small camp, head northwest but rather than take the lift up, go to the right of it and follow the path around instead. You’ll soon see a small cave entrance in the distance, where the Hidden Merchant, Wolfsbane, is located. If you’re having trouble locating the cave, see the gif below.
Shifting Loyalties Quest: Second Run
On the second run of Nidheim after encountering Brodir for the first time, you’ll meet him again at the beginning of the run. As soon as you dive into the haystack below, he’ll greet you and ask you to perform one more task for him. This time he wants you to acquire 3 special Moonstones from the Hidden Merchant, Wolfsbane. This is the same merchant that you found in the small cave during your first run, so you should be able to find them easily by taking every path right, towards the west, until you reach the area where you first met Brodir. You can then go from Brodir’s camp to the cave where Wolfsbane has set up shop, as shown in the gif above.
When you speak with Wolfsbane you will automatically acquire the 3 Moonstones, since Brodir already gave you the gems to purchase them. Upon leaving the cave Brodir will thank you and bid farewell, but this isn’t the last you’ll see of him. You’ll need to wait for your third run through Nidheim to continue this quest.
Shifting Loyalties Quest: Third Run
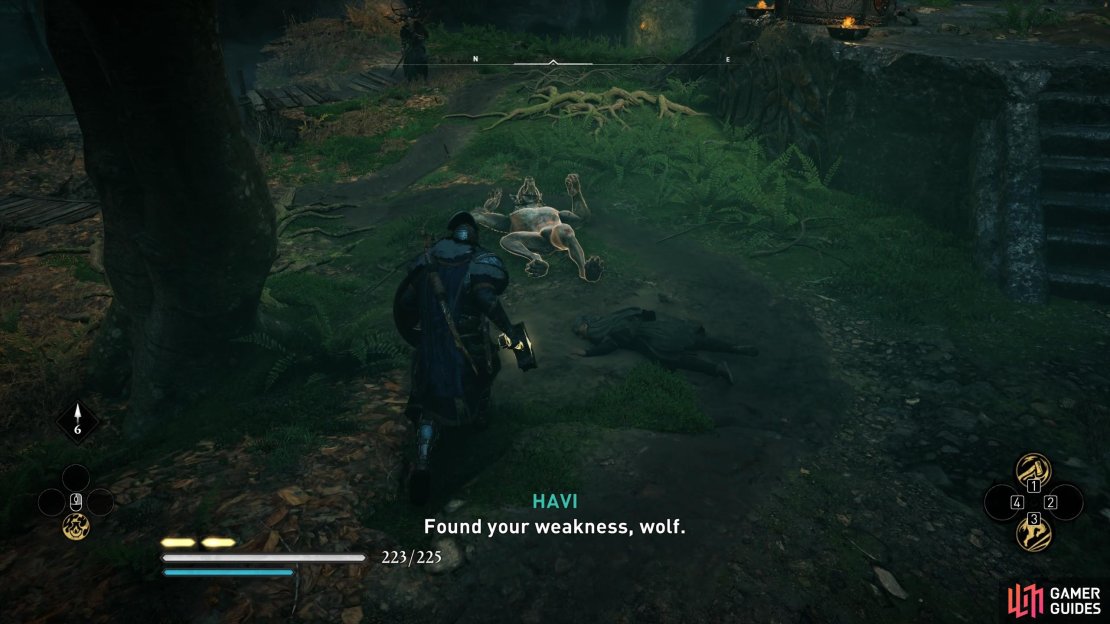
The third and final run required to complete the Shifting Loyalties quest will see you taking the left path (eastward) on the bridges. This will lead you to a sword invoker encounter where you’ll find Brodir lying on the ground, with the Moonstones placed nearby. You’ll need to begin the encounter by interacting with the sword, and then immediately use a dodge or roll to avoid an incoming attack from a werewolf. This werewolf is protected by a kind of magic which negates all of your damage from any source, so the only way that you can defeat it is by standing next to the lit Moonstones and waiting for the werewolf to approach. When the werewolf is hit by the light from the Moonstone, it will take damage and be knocked down. Do this with each of the three Moonstones to defeat it.
Upon defeating the werewolf you’ll see that it transforms into a person named Systir. Brodir will transform into a wolf at this point and help you defeat the remaining Druids. You can then speak with him to complete the quest and receive the A Wolf’s Pledge permanent favor, which allows Brodir to come to your aid in battle when your health gets low.
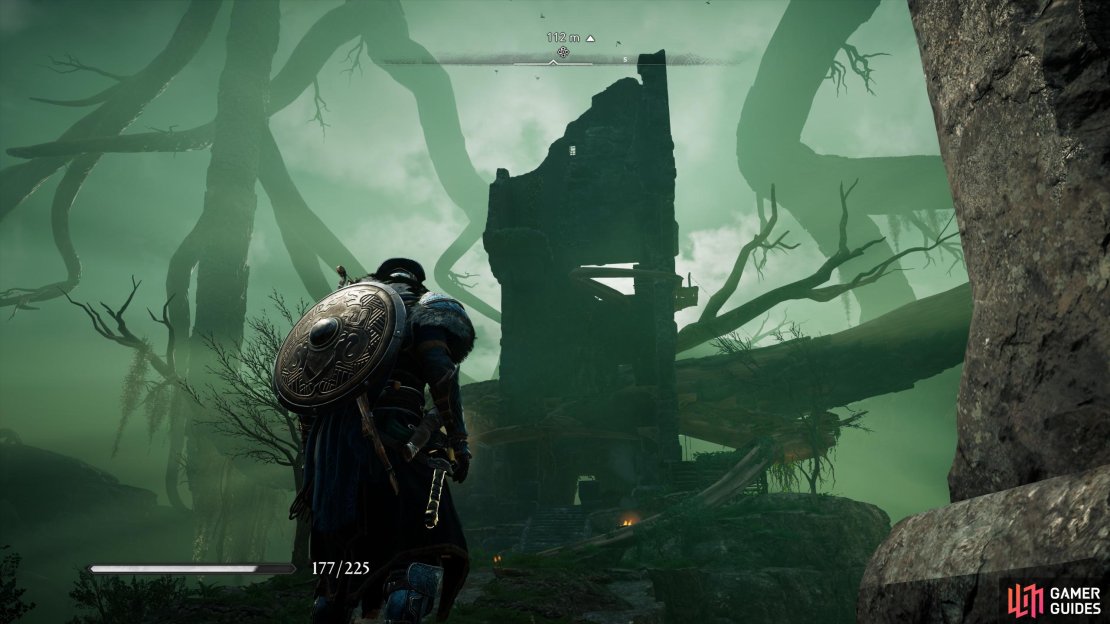
(1 of 4) The location of the invoker encounter where Brodir is waiting.
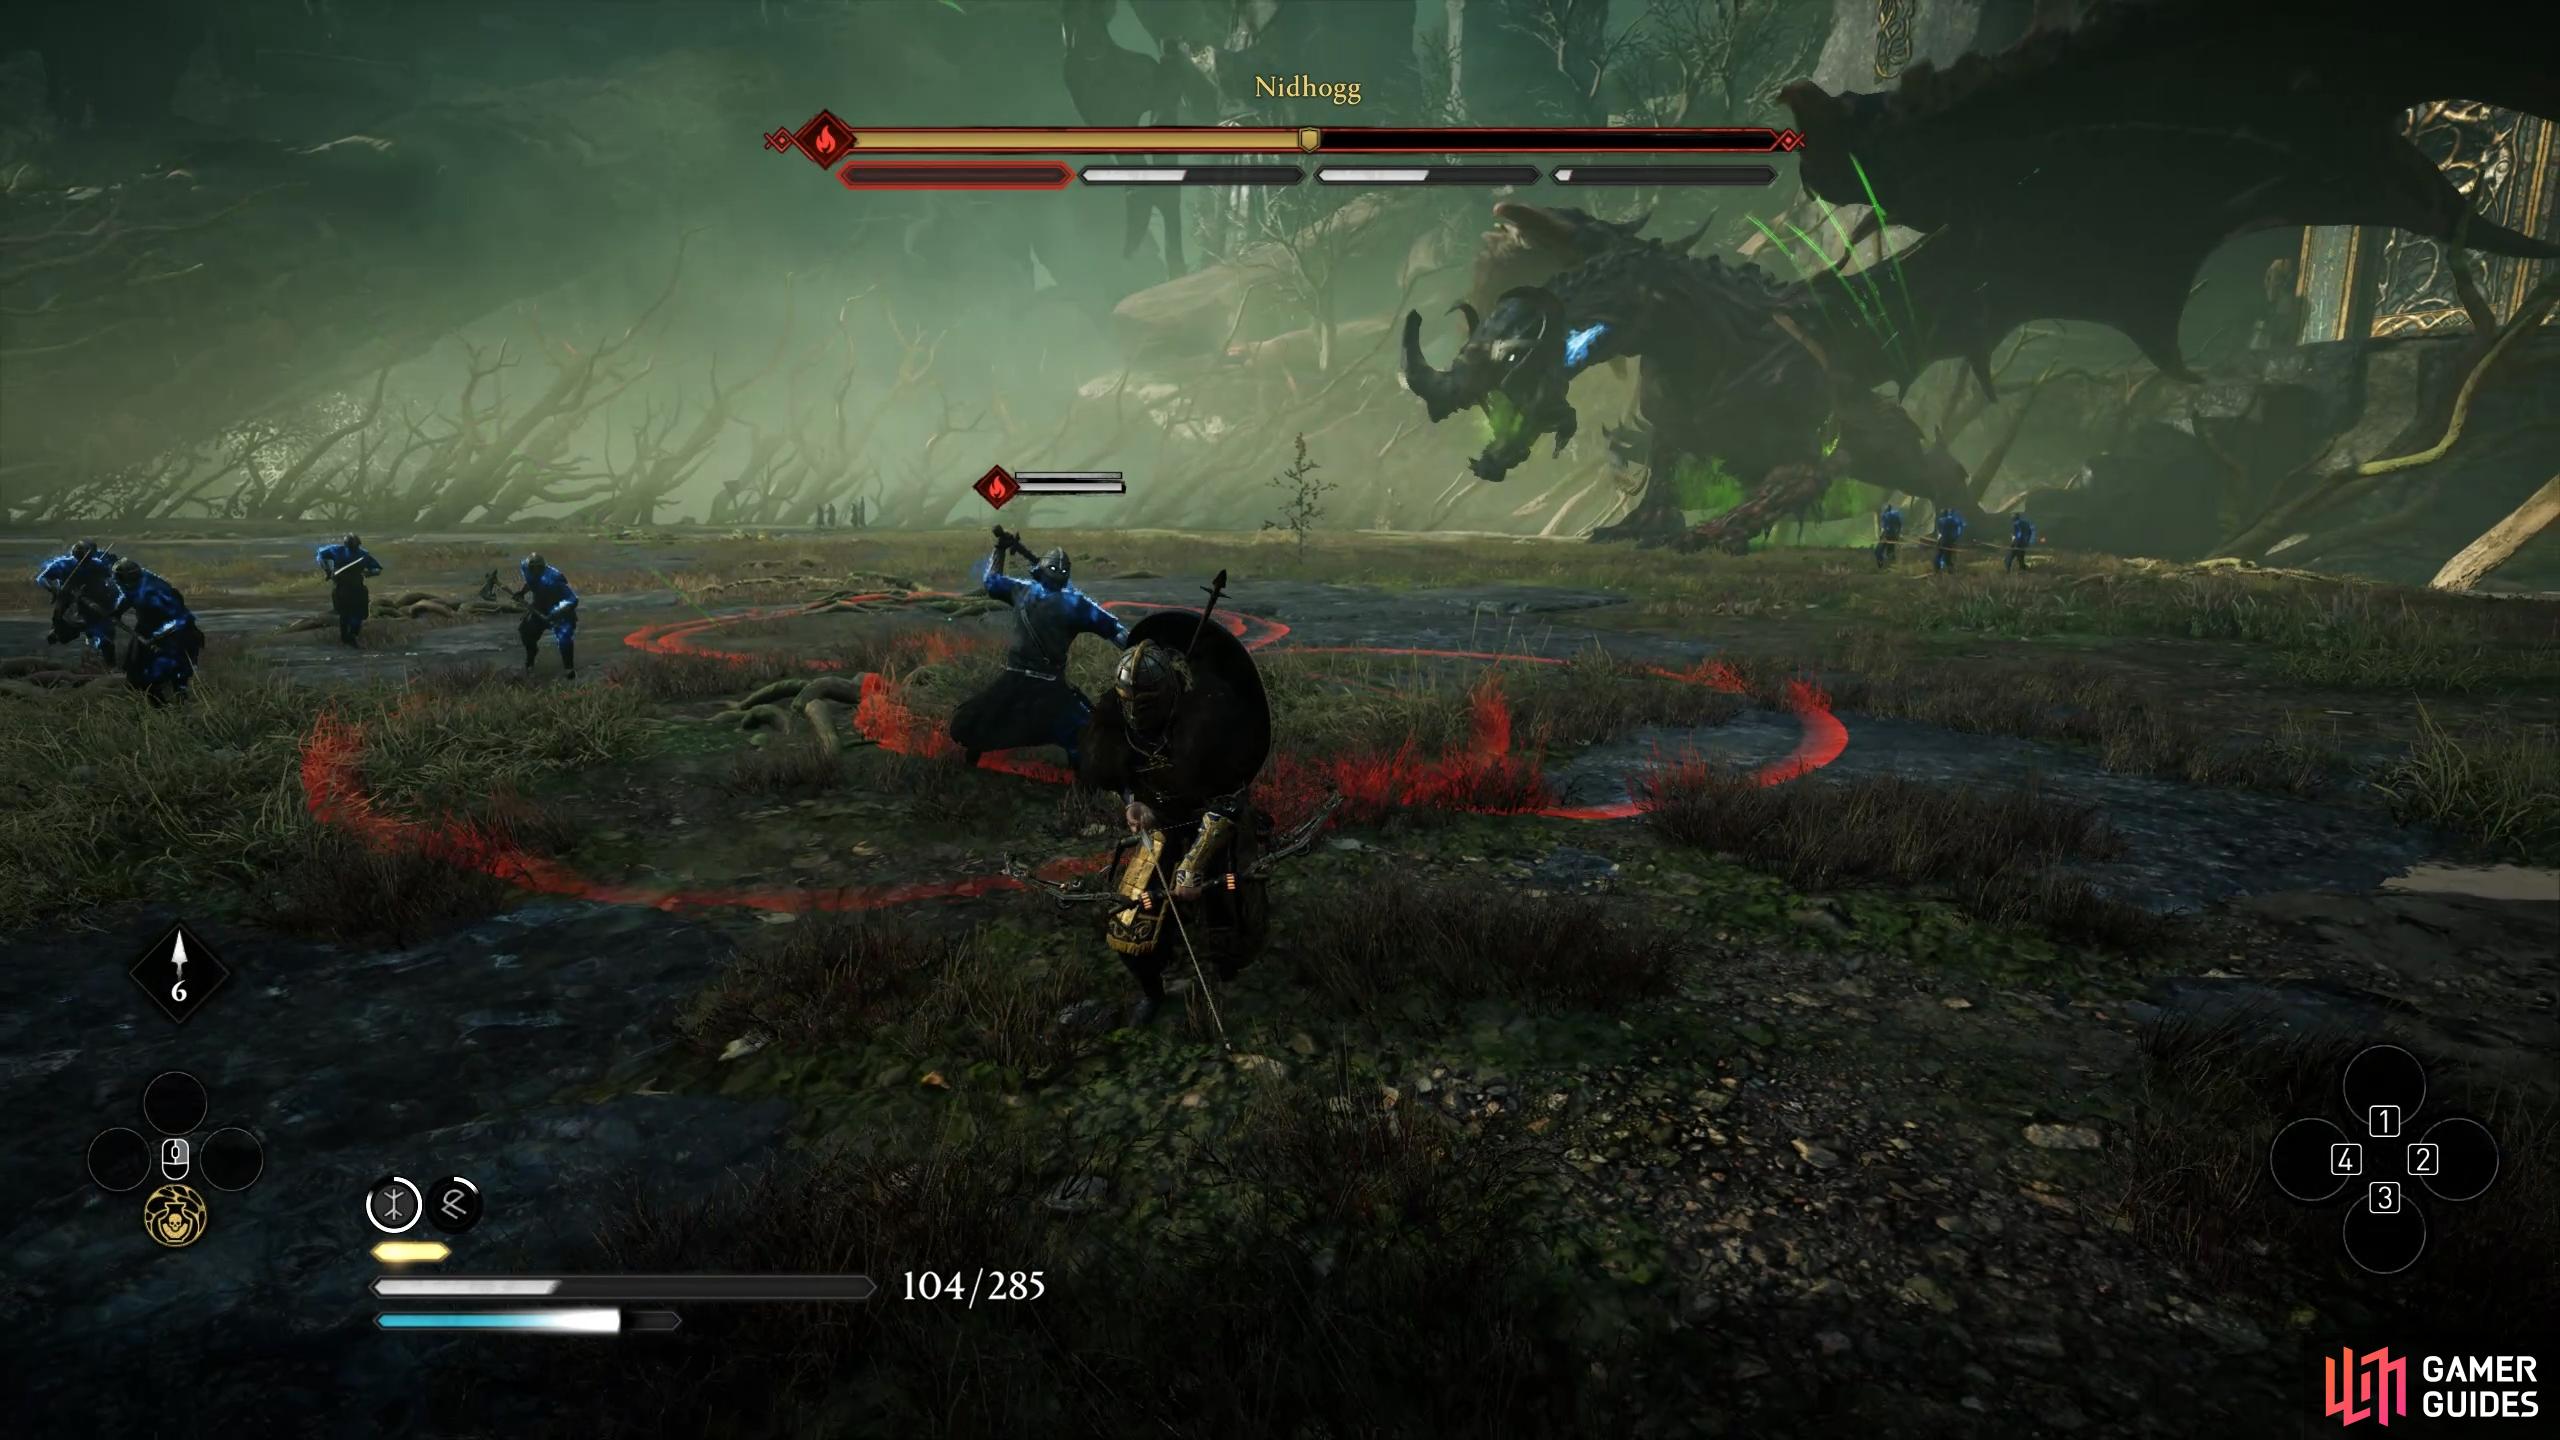
Nidheim Boss Fight: Nidhogg
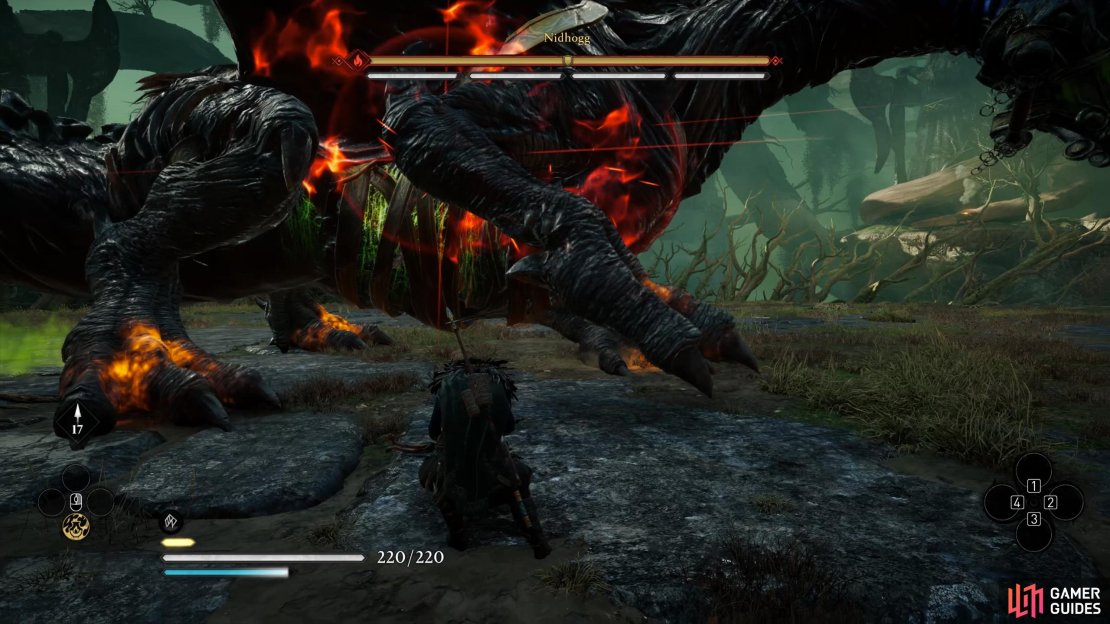
The fight with the dragon Nidhogg is a bit more complicated than the previous fights you’ve experienced in Kaldstat and Dokkerland. There are three main phases to the fight, but each require essentially the same tactics to bring Nidhogg down. The first phase begins as the battle does: with Nidhogg prowling around the boss arena. He seems more threatening than he actually is at this point, since he won’t attack all that frequently. When he does, you’ll see a red mark indicating an incoming attack on the screen. At this point all you have to do is time the dodge or roll correctly to avoid being hit. The attacks that he will use at this stage are almost always a strike with his claw, or firing some poison from his mouth.
First Phase
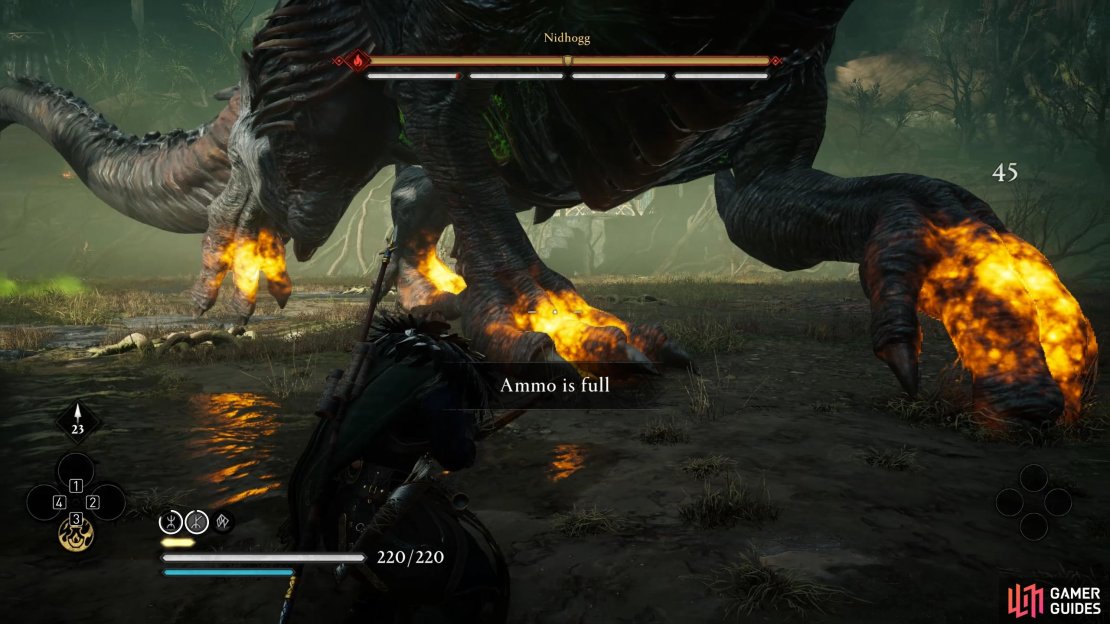
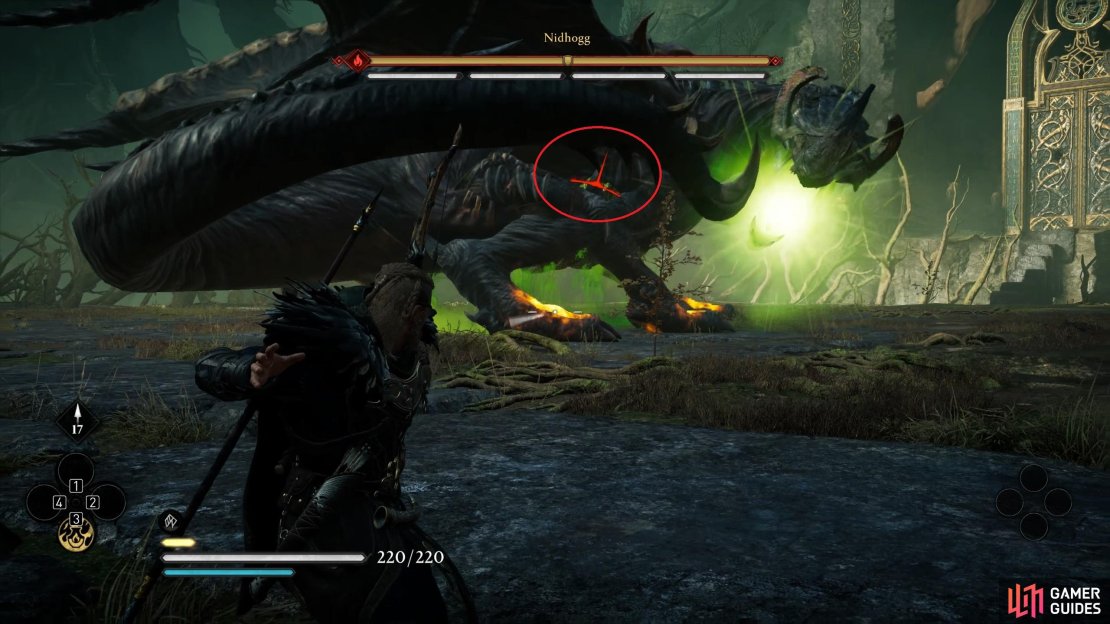
The main thing you need to understand during this phase is that you can only inflict damage to Nidhogg’s feet. You will notice them glow yellow when you use Odin’s Sight or draw your bow, indicating the exact area that you can hit to ensure that Nidhogg takes damage. Each foot has a health bar associated with it, shown in white just beneath his main health bar. You’ll need to hit his feet with melee or ranged attacks while keeping an eye out for any incoming attacks from Nidhogg. You’ll see a red rune aura around Nidhogg’s foot when he’s about to execute a claw attack, so you can dodge away from this to avoid it. A red indicator will be shown from the direction of his head when he’s about to use a poison attack.

(1 of 5) You’ll need to hit the weak points on Nidhogg’s feet to inflict damage to the white bars under his main health bar.
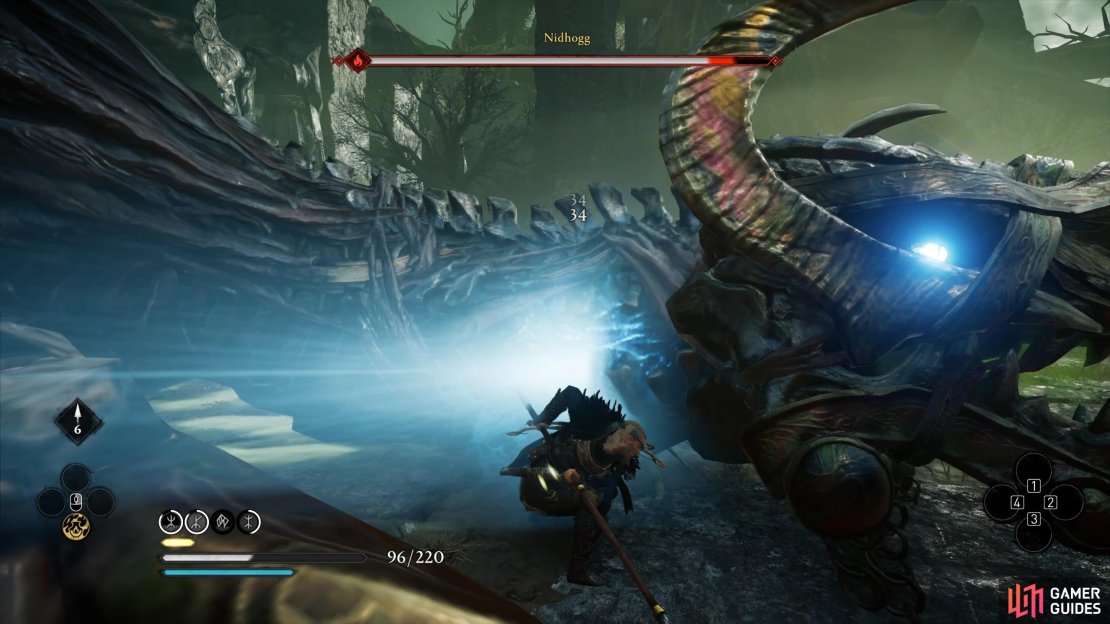
In addition to the two attacks mentioned above, Nidhogg will always release a cloud of poison beneath his body whenever he’s stationary, so you’ll need to stay away from this and keep to the edges of his feet to inflict damage without being poisoned. Once you’ve depleted the health of three of Nidhogg’s feet, he’ll fly into the air and fall to the ground near the centre of the arena. At this point you’ll need to run towards his head and be ready to avoid an incoming poison attack. Once the attack is over, you can strike at Nidhogg’s neck until you deplete half of his main health bar. If you do this quickly enough he won’t have a chance to execute another attack before he enters the next phase of the fight. Be sure to use fire attacks to inflict damage over time if necessary.
Claw Swipe Attack
Poison Breath Attack
Poison Splash Attack
There are two more attacks that Nidhogg may use during this phase, but he will use them less frequently than the claw swipe or poison breath. The first is a poison splash attack. You’ll know when the attack is incoming because a large red circle will appear beneath Nidhogg, and another one that is slightly larger will follow it. The circle will erupt in poison within a few seconds, so you’ll need to get out of the area by rolling away, as shown in the gif below.
Poison Fire Attack
The second less frequent attack that he may use is essentially a poison fire breath attack. This can be tricky to avoid, especially if you’re not used to its speed and directionality. As you can see in the gif below, we failed to avoid it during our first attempt, but if you dodge or roll just before the poison hits you and adjust to the timing, it will soon become much easier to consistently avoid.
Second Phase
The second phase of the fight will play out in almost exactly the same way as the first. The main difference here is that Nidhogg will incorporate new attacks into his rotation. The first is a tail swipe that can knock you down and inflict significant damage, so you’ll need to avoid this with a dodge or roll. You’ll know that it’s incoming when you see a red rune aura around Nidhogg, much like the one which precedes the claw swipe attack, as shown in the gif below.
The second attack that Nidhogg will begin to use during this phase involves him essentially spewing poison bile over a large space in the boss arena. The area where the poison will occur will be marked in red, so you’ll have some time to escape it, but there will only be a relatively small patch of land that isn’t affected by the poison, so be sure to look out for this and run towards it.
Tail Swipe and Poison Bile Attacks
Nidhogg may sometimes use tail swipe twice in a row after a poison bile attack, as shown in the gif below.
So long as you’re aware of these attacks and avoid them, all you need to do is deplete the damage of Nidhogg’s feet again and then strike at his neck until his health is fully depleted. It will seem like Nidhogg is dead at this stage, but there’s one final phase of the fight to go through first.
Third Phase
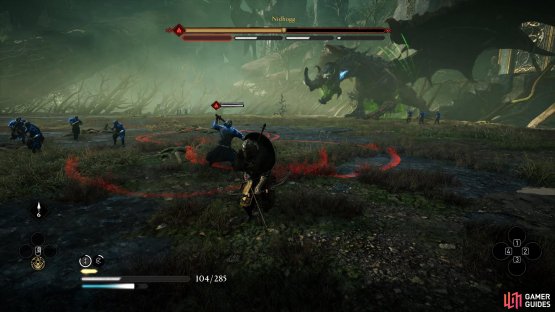
Just as you think you’ve put Nidhogg down, you’ll begin to see him glowing. Soon you’ll see a number of Draugr spawn into the arena, screaming and charging at the body of Nidhogg. You can’t stop this phase of the fight but you can kill as many of these Draugr as possible to make Nidhogg slightly weaker when he rises again. That’s right: he will rise one more time, and you’ll have to do the same thing you did in the previous phases by depleting the health of three feet, then striking at his neck.
At the same time, you’ll have to contend with some groups of Draugr who will be shooting at you from afar, and some chasing you with melee weapons. You’ll see red circles on the ground which indicate incoming arrow damage, so be sure to run out of these when you see them. You can choose to kill these first if you want, but you could just as easily focus on taking Nidhogg down as quickly as possible. If you have Fire Arrow or some other fire-based abilities, it shouldn’t take long.

(1 of 2) The Draugr will enter the fight to raise Nidhogg from the… dead, again.
The Draugr will enter the fight to raise Nidhogg from the… dead, again. (left), You’ll need to avoid Draugr attacks in the last phase of the fight, or kill them to be rid of their annoyances before focusing on Nidhogg again. (right)
Fire Damage Example
You can inflict massive fire damage in a short space of time, giving Nidhogg no time to use most of his special attacks, as shown in the gif below.
No Comments