
This page details how to complete the Venutius Tomb of the Fallen, including where to find the tomb, how to activate the spherical object and stone pillar pressure plates, and where to find the Venutius Tomb artifact.
Venutius Tomb, Tombs of the Fallen.
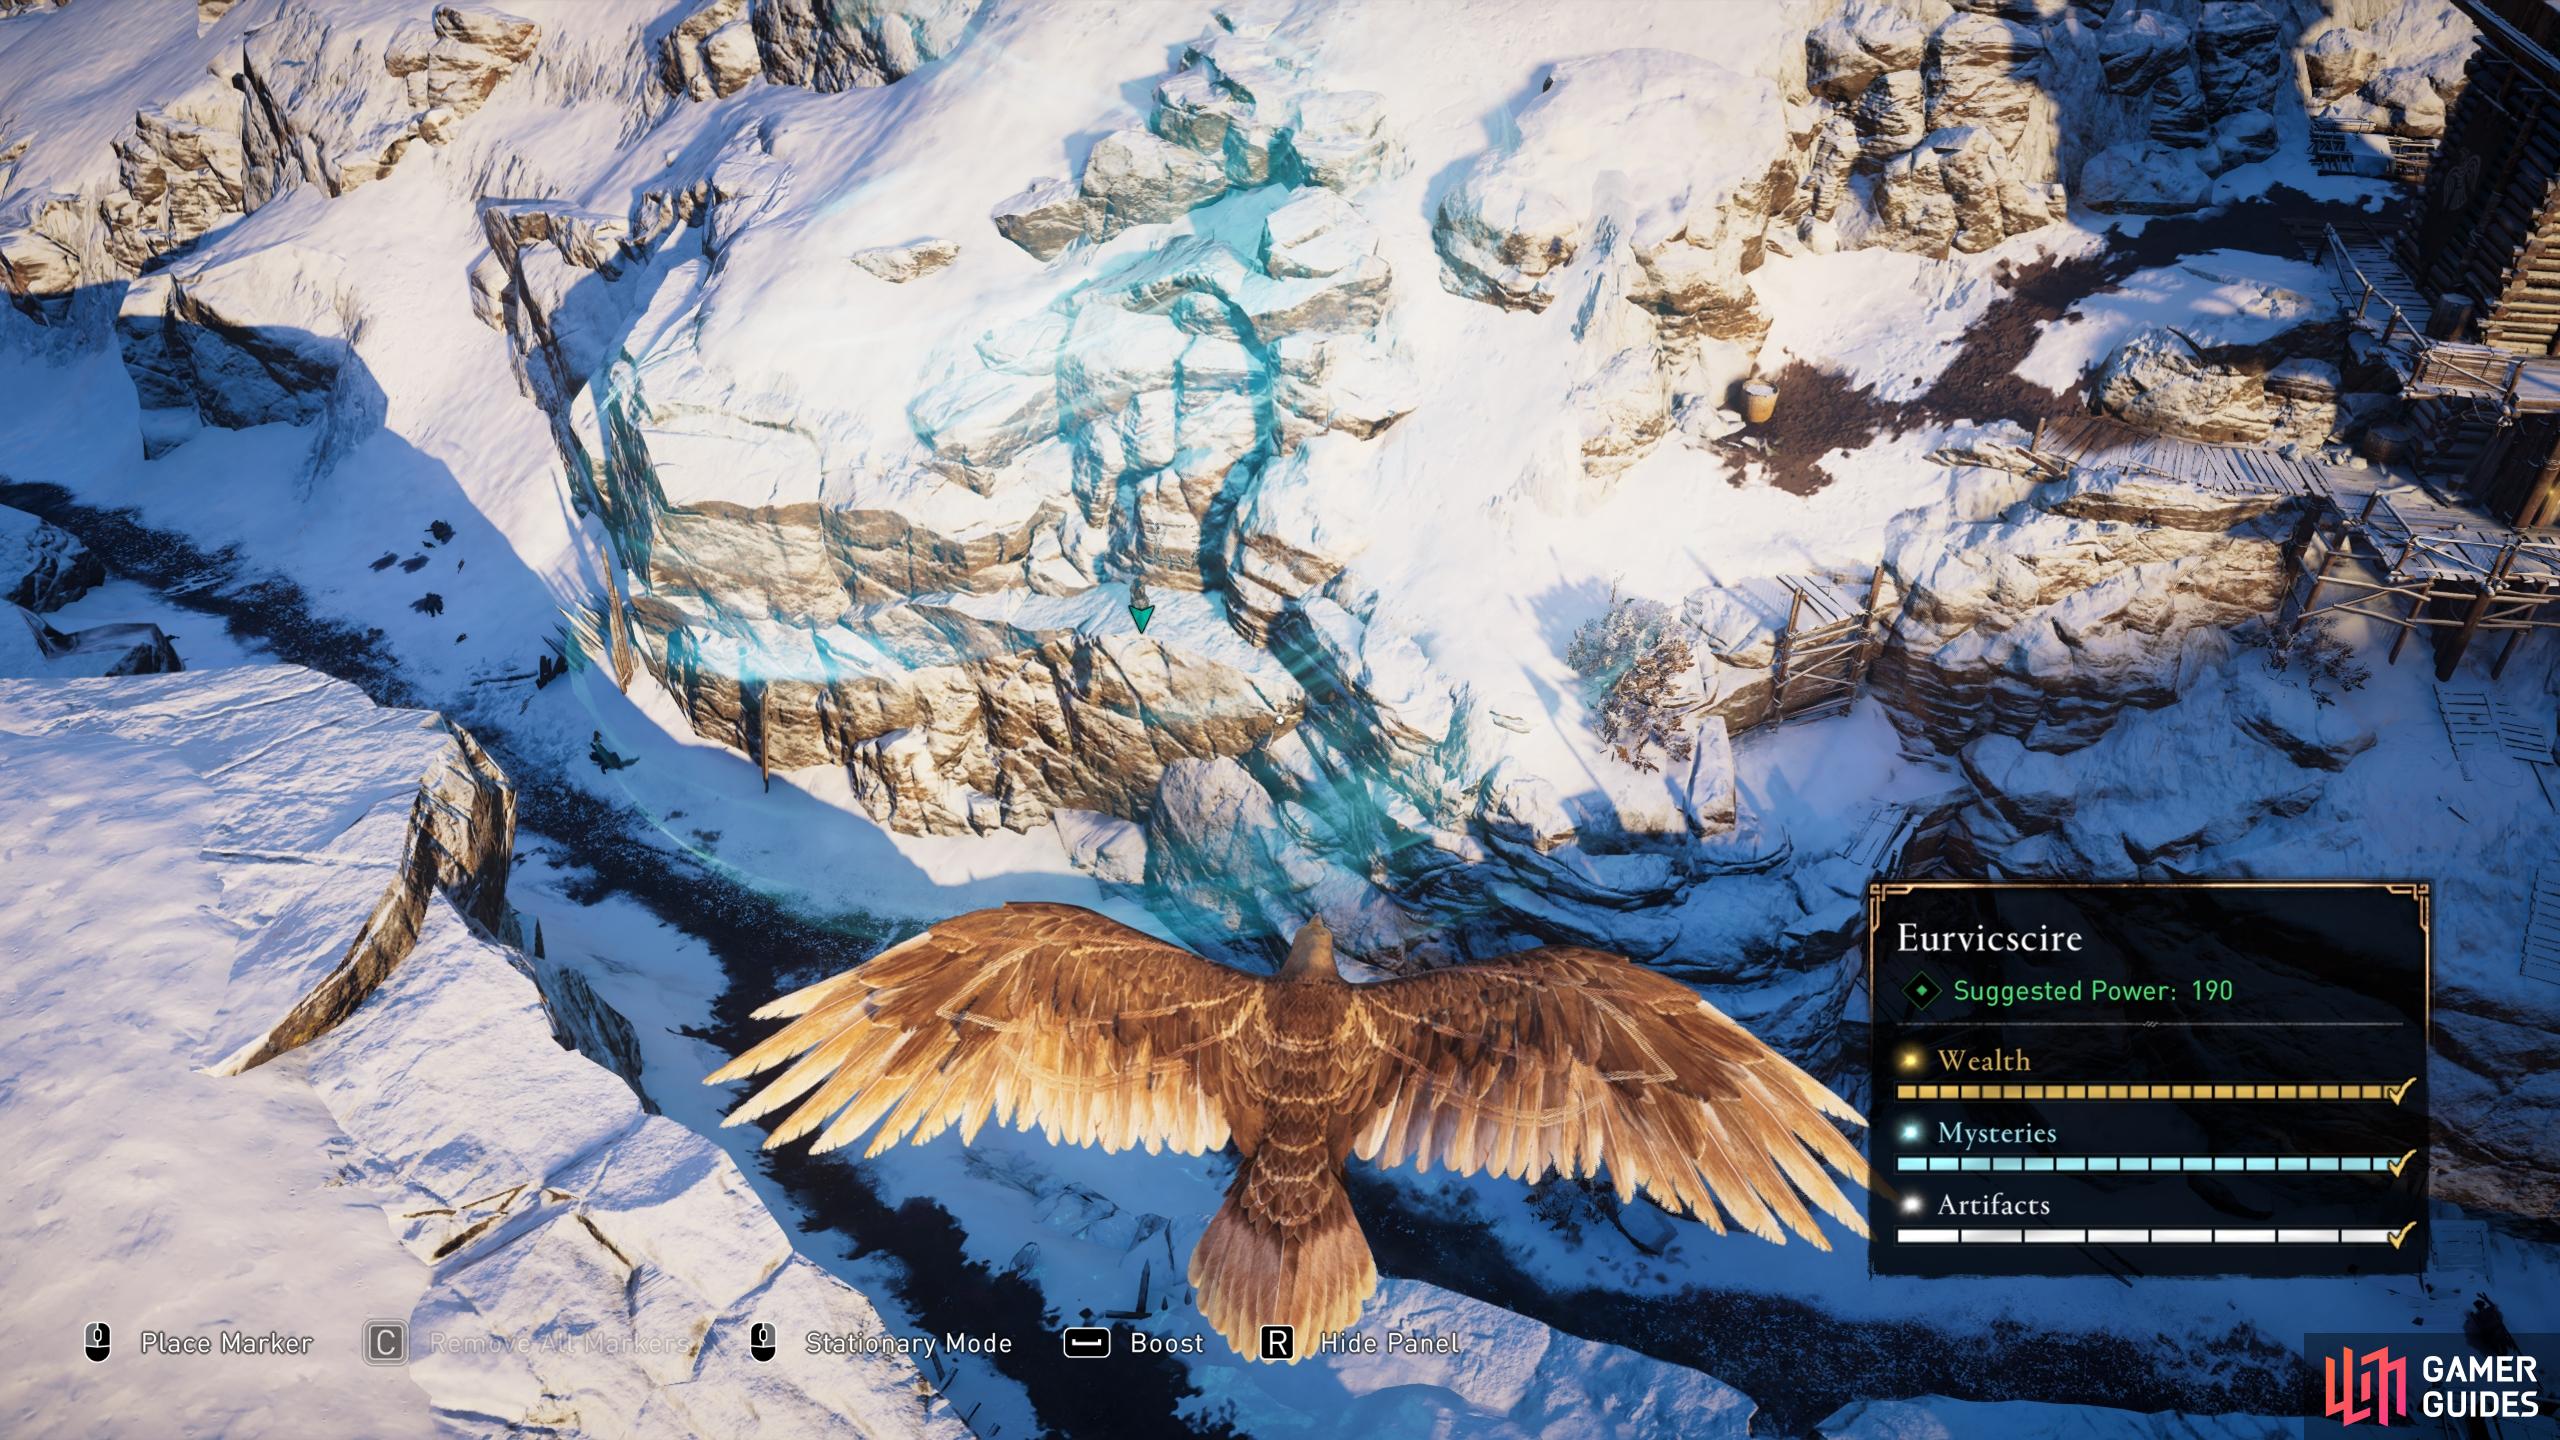
Where to Find the Venutius Tomb
The Venutius Tomb is located in the southern part of Eurvicscire, south of Jorvik and southwest of Donecaestre. Once you’re in the area you can use your raven to scout the entrance, then Odin’s Sight to highlight the runic inscription, which reveals the entrance. The main chamber is deep within the cave system, so you’ll need to walk down some ruined steps until you reach a sharp drop. Here you can slide down the ice and then jump onto the wooden platforms in front of you. It doesn’t matter if you miss the platform, you’ll just take some damage but end up in the same place.
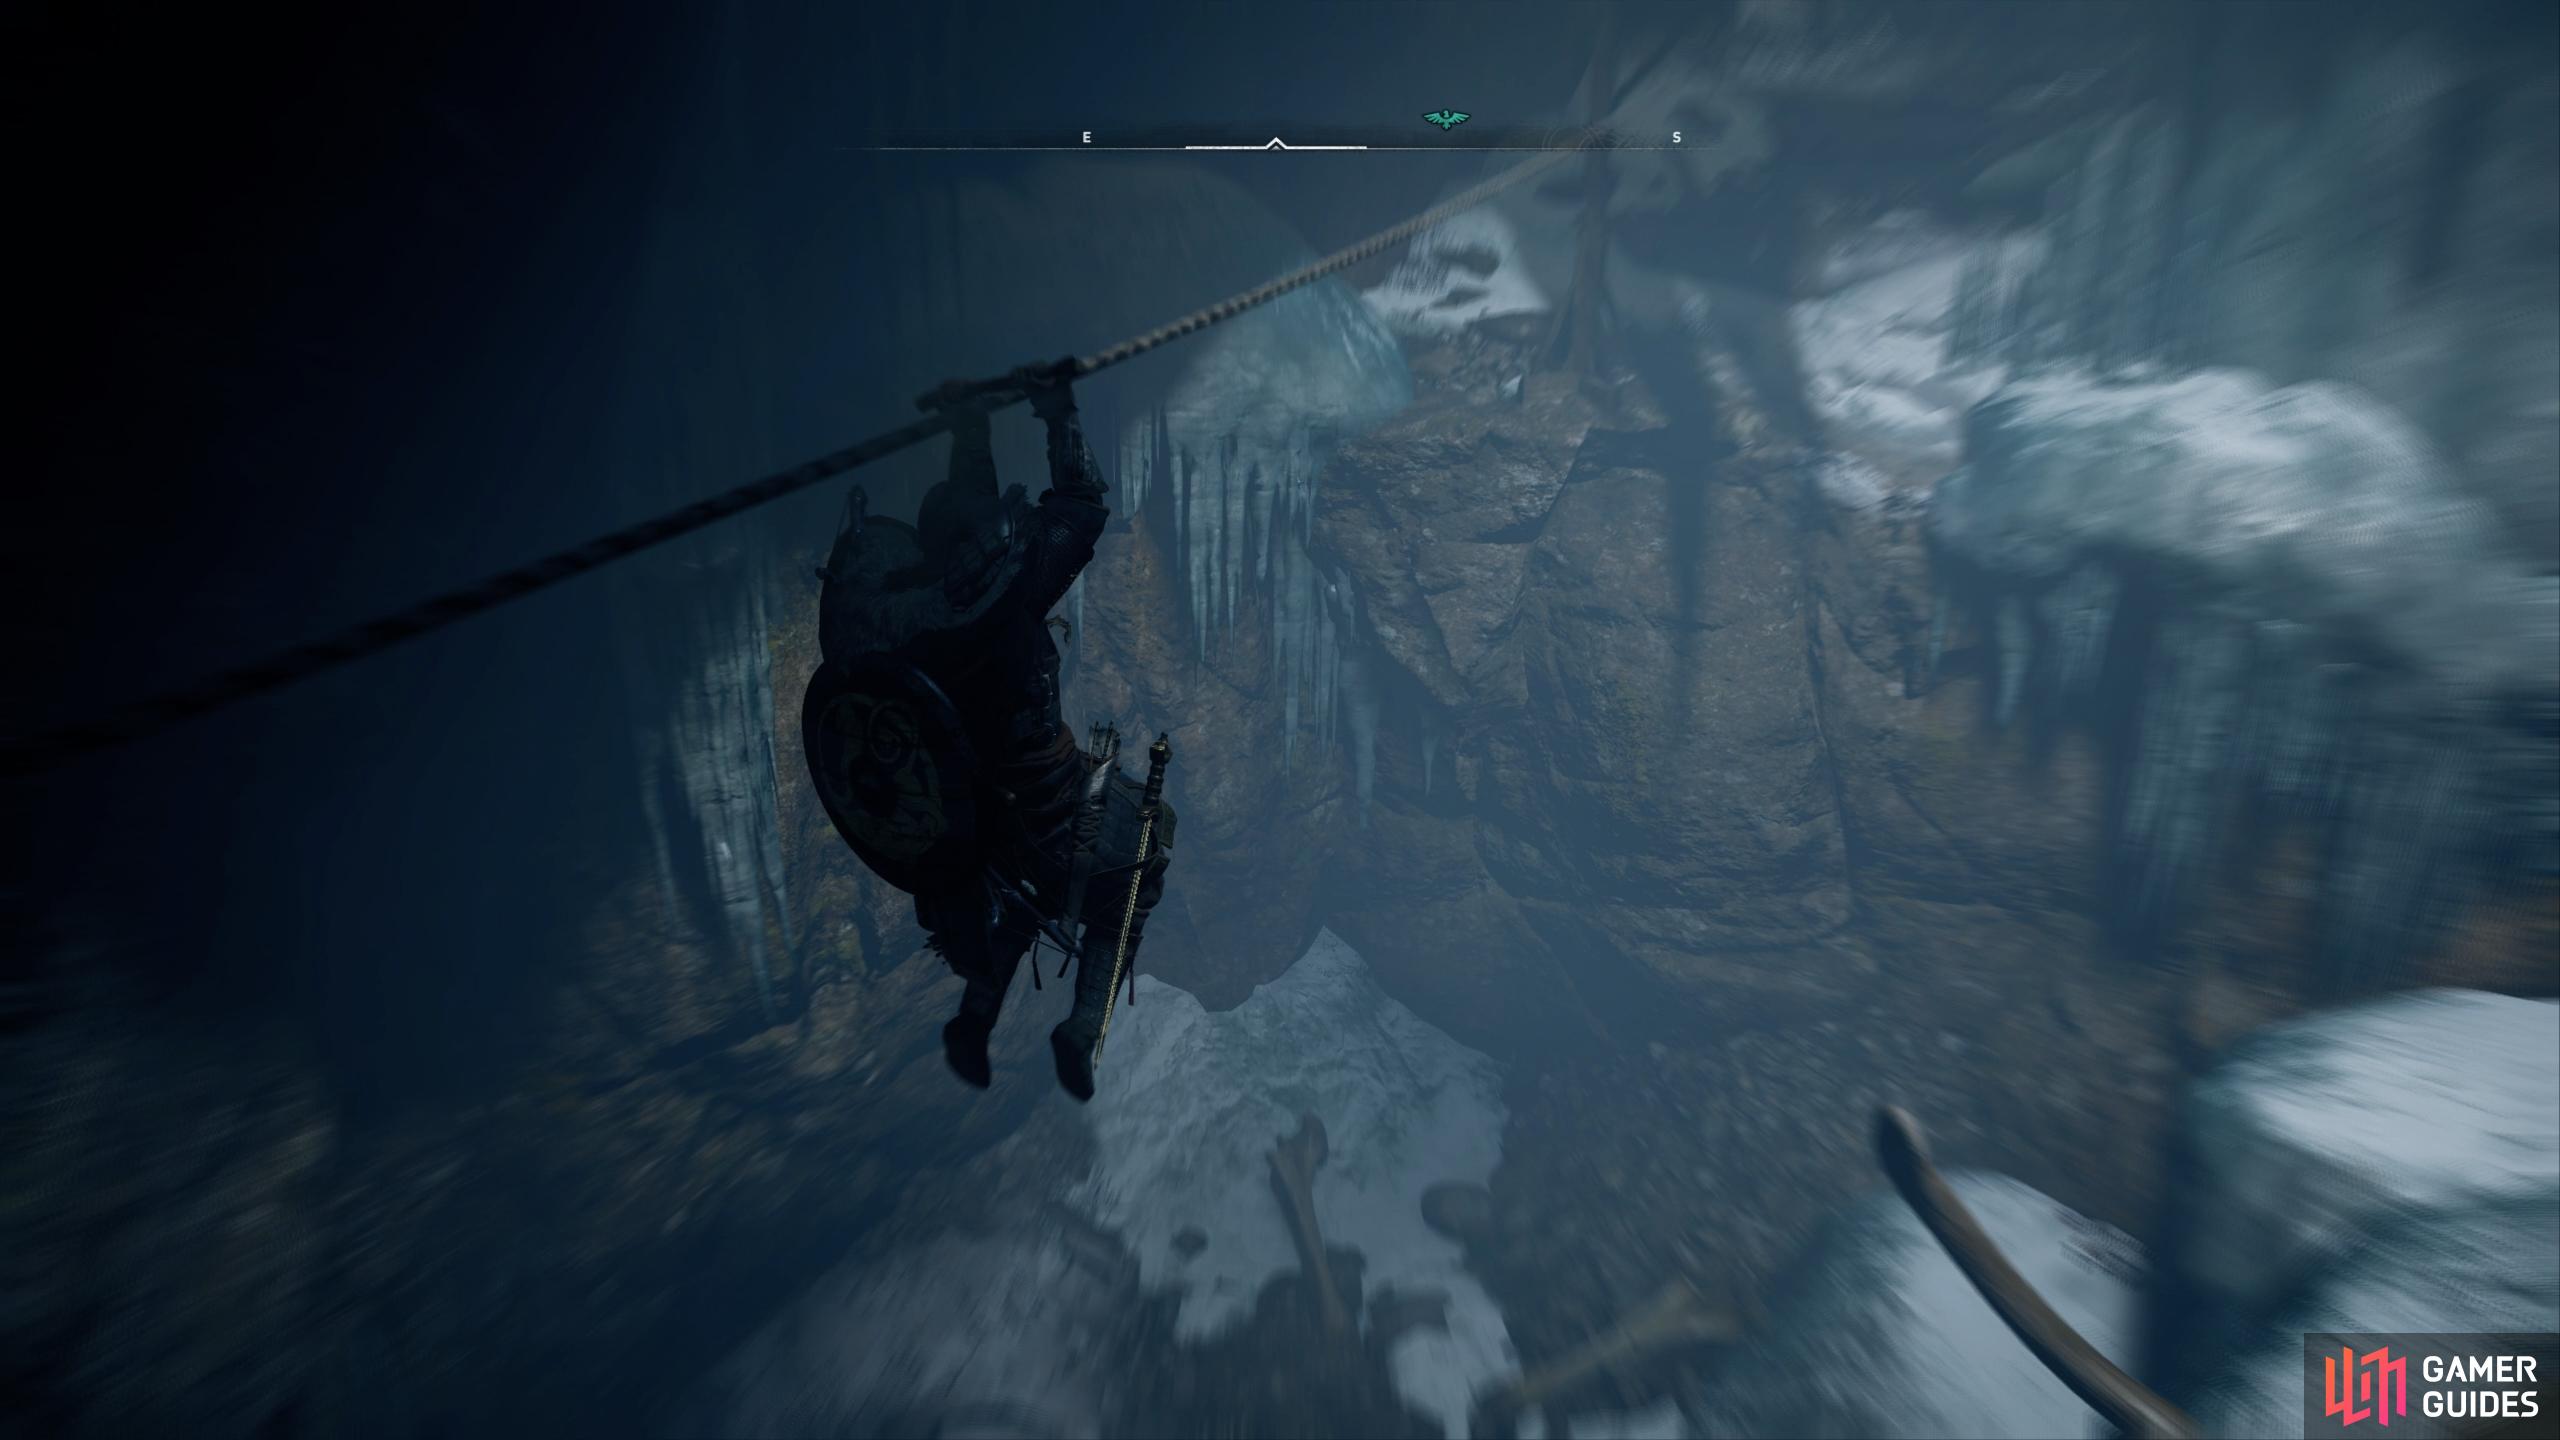
Keep moving through the cave system and use the rope wire down into another chamber. At the end of the rope wire, look to the western wall where you’ll find a breakable ice sheet. You can destroy this to access the treasure chest behind it. From here, keep moving through the system until you reach a wooden barrier. After breaking this you’ll be in the main chamber.
How to Activate the First Spherical Object Pressure Plate
The main chamber of this tomb is perhaps the largest and most complicated of all the tombs so far. It’s easy to feel daunted by this, but if we take one puzzle at a time you’ll be fine. The first thing you should do is jump into the haystack below, then move the large stone block to the south, aligning it with the ramp to the west and the wooden post to the east. Once the block is aligned, jump down into the ice chasm to the north and follow it until you reach a drop. You’ll find the lever down here which you can use to reveal the spherical object. Take this object and go back the way you came, throwing the object onto the platform above, to where you aligned the stone block. Use the ramp to follow the path east to the ruined Roman pillar, then south onto the wooden platform.
From here, follow the platforms north and then west onto the suspended wooden platforms. Turn north again and throw the object to the wooden platform ahead of you to the northeast. You can then pick it up and take it to the pressure plate immediately to your east, at the top of the chamber.
How to Activate the Northern Stone Pillar Pressure Plate
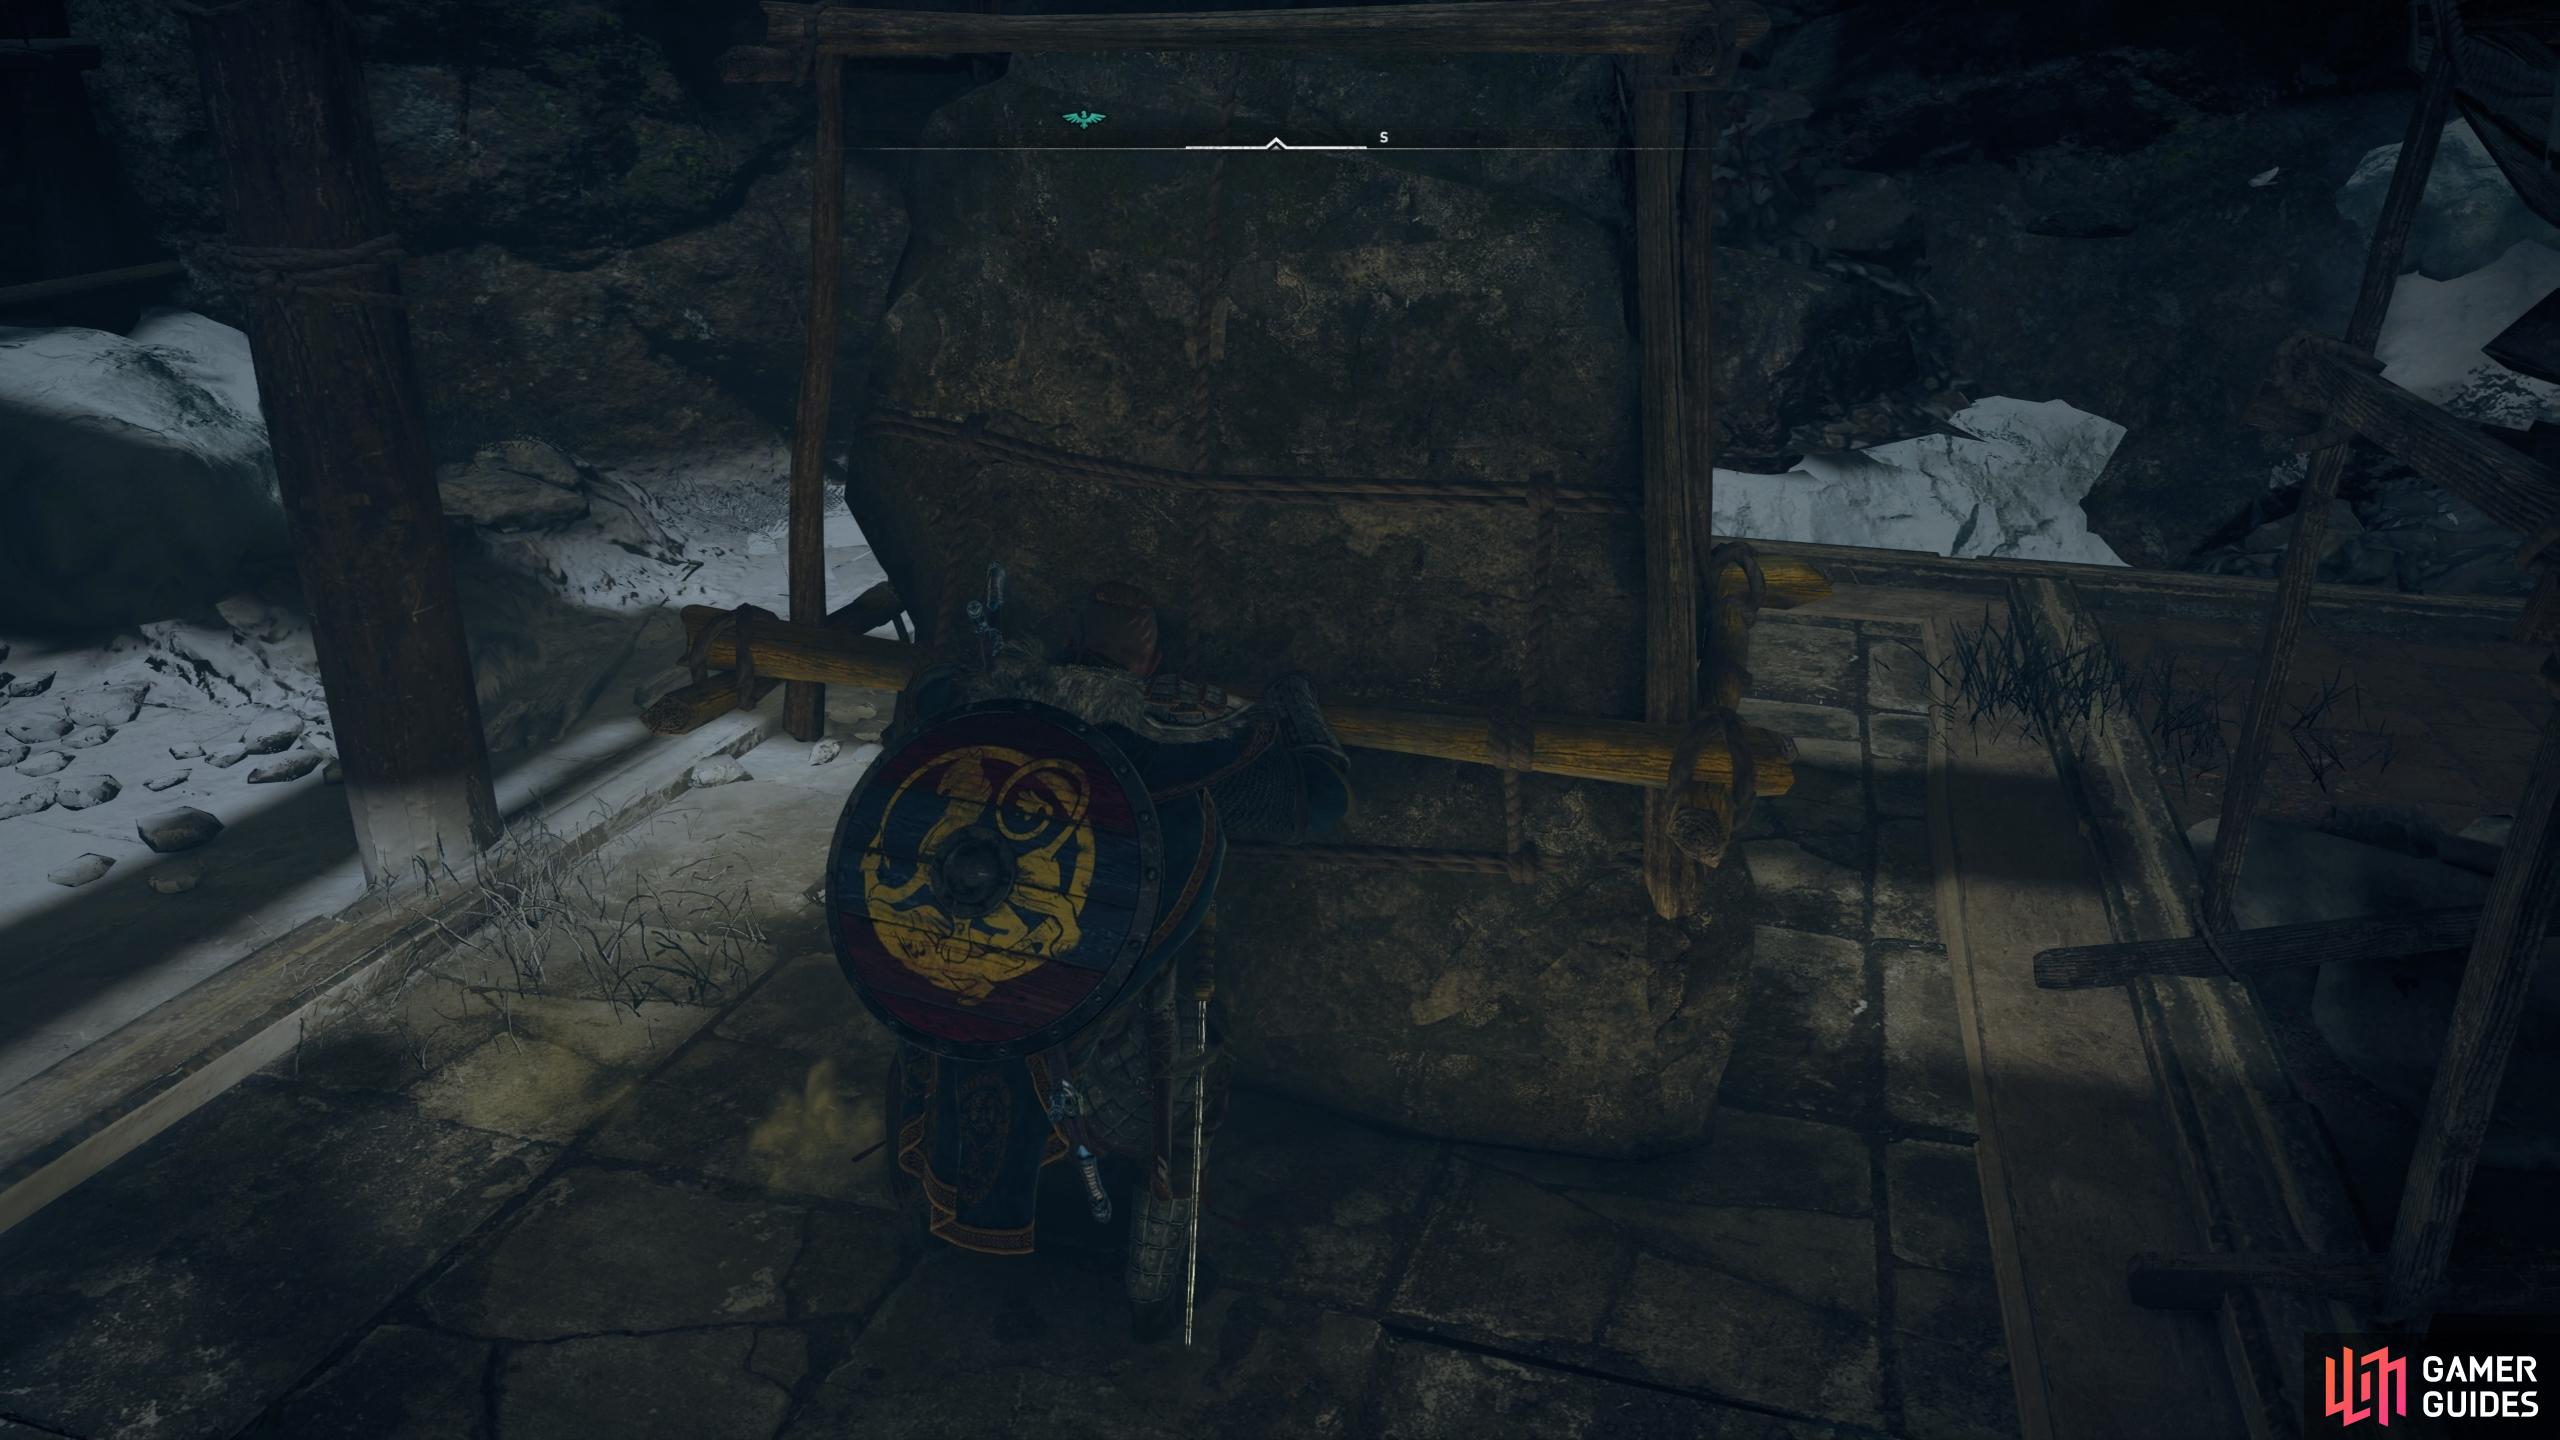
Now that you’ve placed the first spherical object on the pressure plate, you can move on to the stone pillars on the northern and southern sides. To access these you’ll need to shoot the links holding the chains of the bridges up. We’ll start with the northern pressure plate.
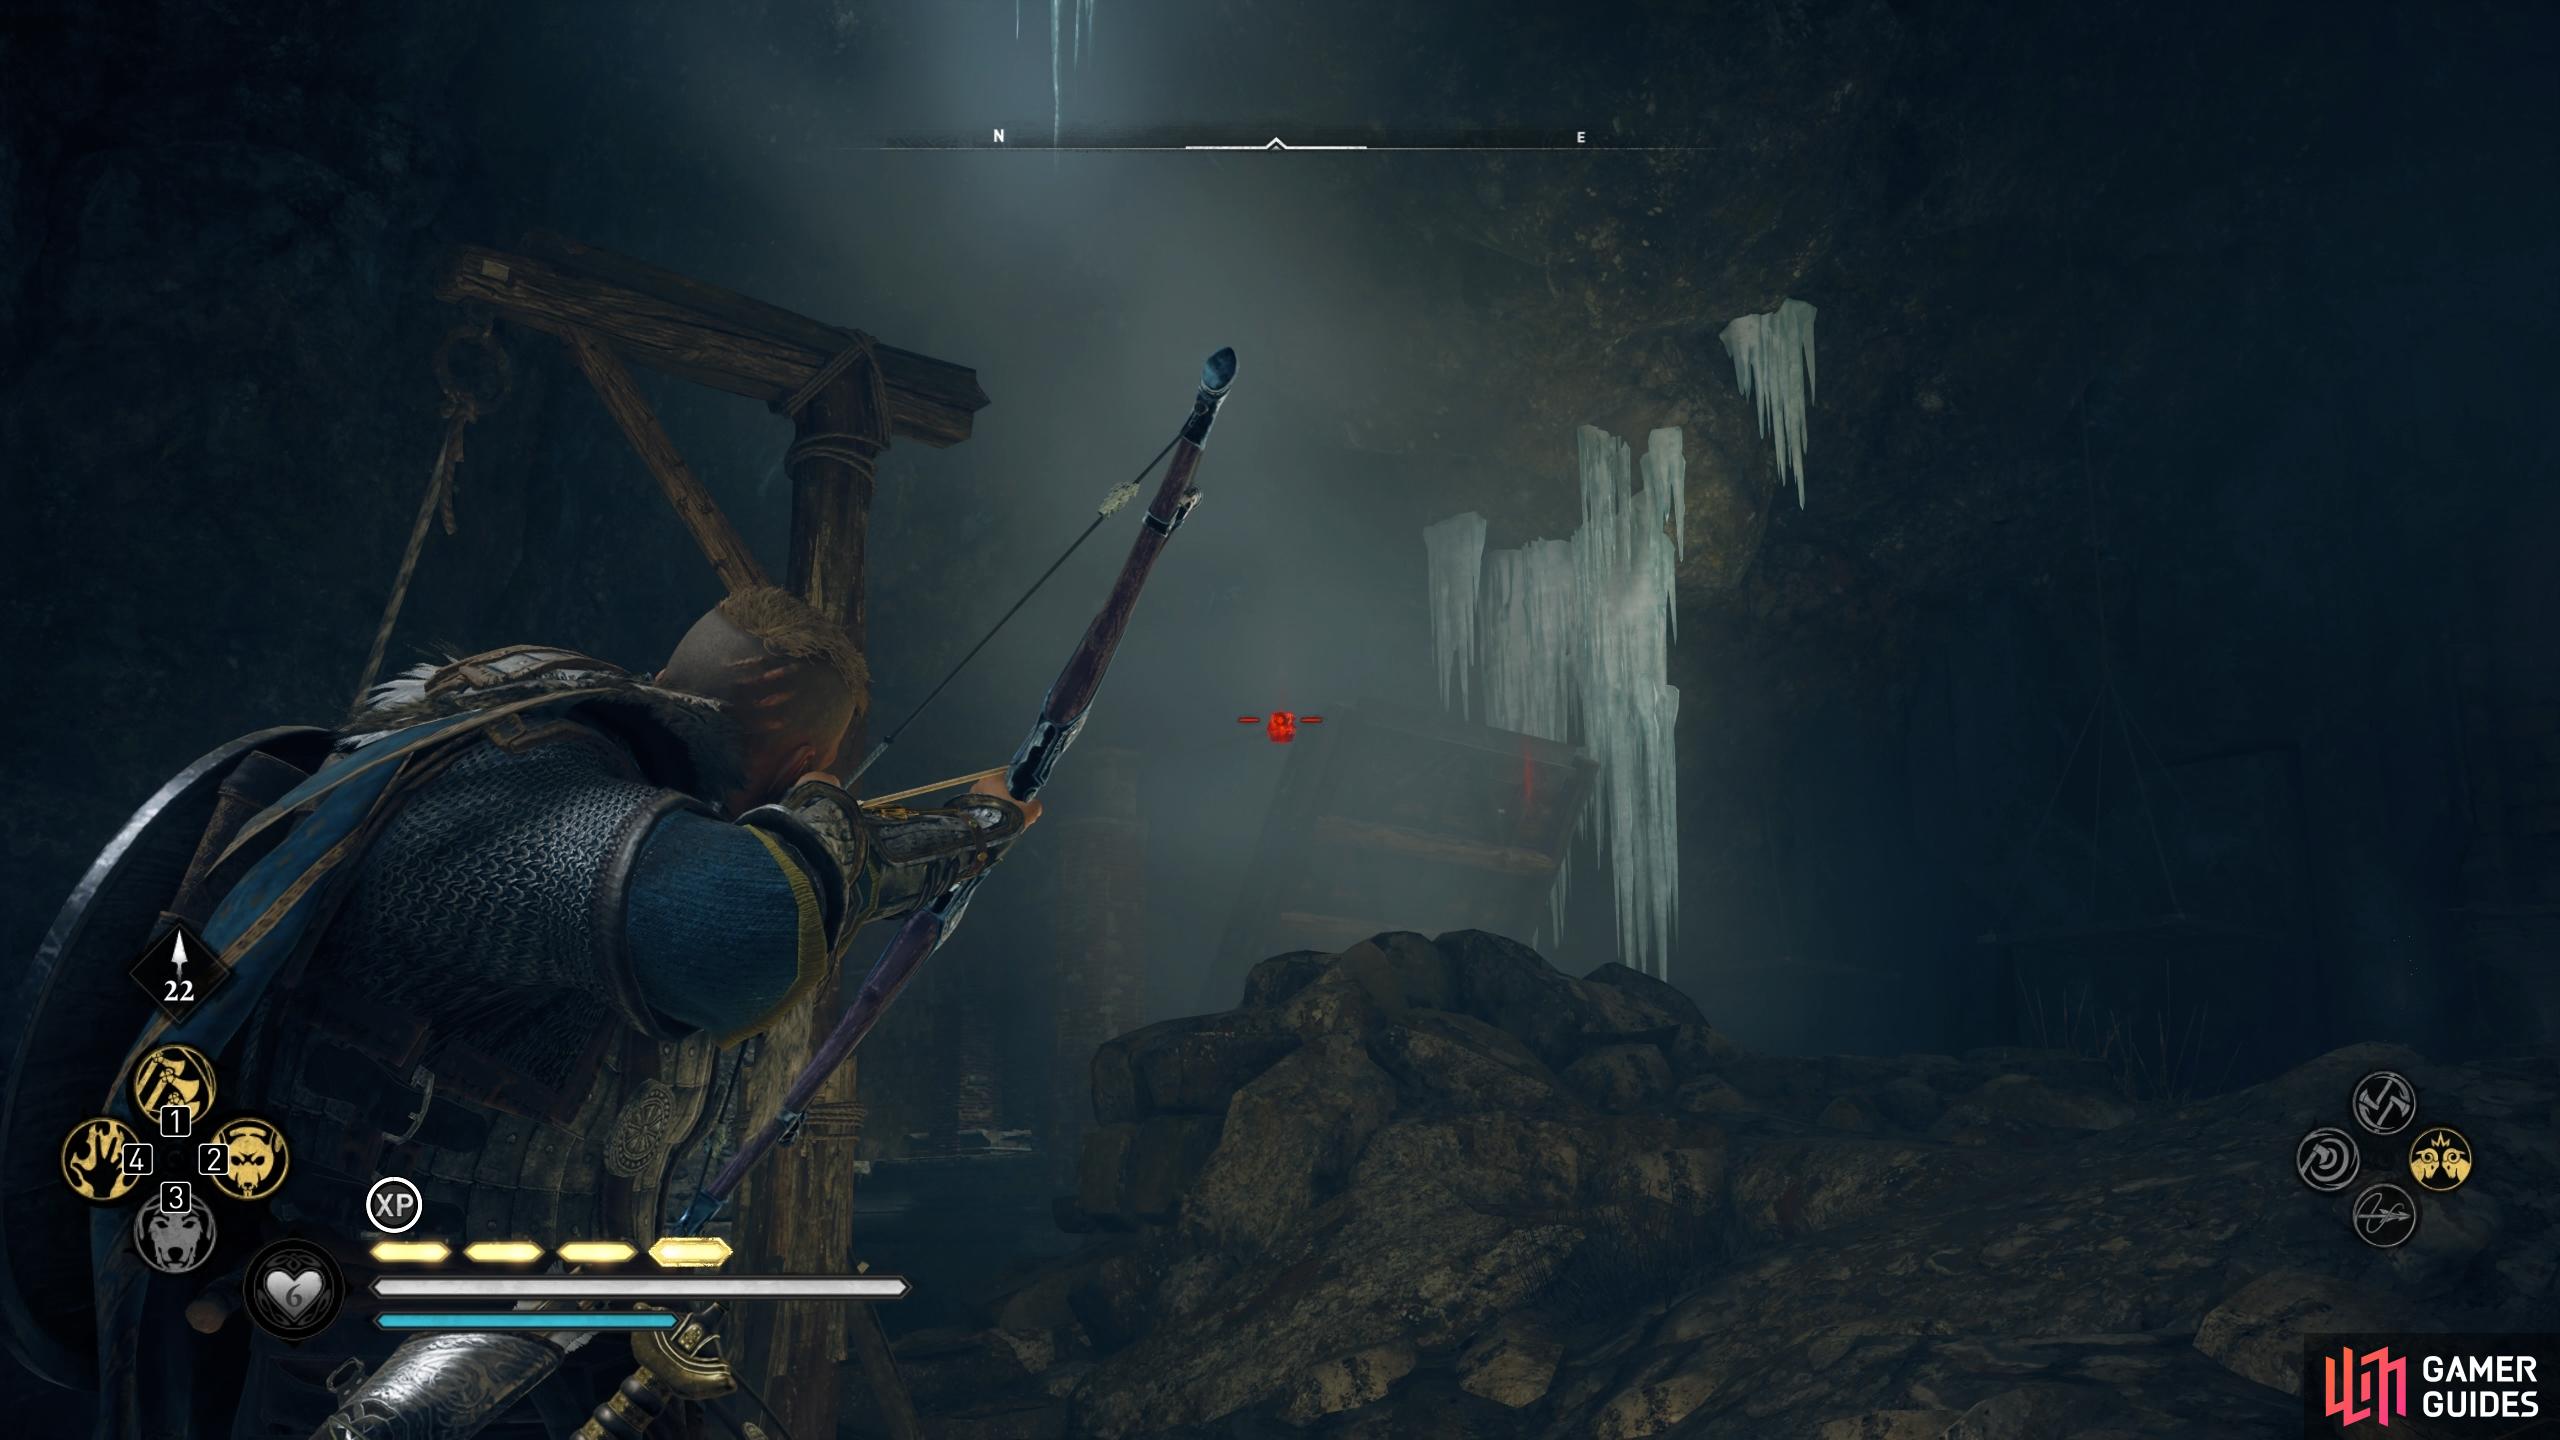
Once you’re over the bridge to the north you’ll find a locked gate along the linear path. From this room, look east to find a ledge. Climb up here and follow the linear path until you reach a locked door. You’ll notice that the lock can be shot, but not from this side. Instead, you’ll need to head east under the hole in the wall and then north up another ledge. Follow the chalked path to your right leading upwards until you reach some suspended wooden platforms. From here you can shoot the lock, then go back the way you came to the door.
Once you’re beyond the locked door, head west up the ramp, then north under the hole in the wooden blockade. You’ll find another ice sheet in here with a treasure chest behind it, so be sure to loot that. After looting the chest you’ll find the stone pillar in this same room, which you can begin pushing westward, then south. Here you’ll encounter a lowered gate which you’ll need to raise. To do so, go through the door to your west and climb up the wooden posts until you reach a stone block. Push this stone block onto the wooden platform to lower it, which will in turn raise the gate. You can now return to the stone pillar and continue pushing it south.
As you push the stone pillar through the path you’ll reach another lowered gate. This time you’ll need to turn east and look up to shoot the link of a ladder, thereby lowering it. You can then stand on the stone pillar to jump to the ladder. At the top you’ll find a mechanism which you can use to raise the gate below, then go back down to push the stone pillar further south. This will lead to the pressure plate where you can finally leave the stone pillar.
How to Activate the Central Stone Pillar Pressure Plate
After the northern pressure plate, this central one is ridiculously easy. All you need to do is destroy the wooden boxes which are placed between the central stone pillar and the central pressure plate, then push the pillar to the plate.
How to Activate the Southern Stone Pillar Pressure Plate
This is the final pressure plate for this tomb, and also probably the most complex. After shooting the links holding the southern bridge up, walk over the bridge to a room filled with breakable ice sheets. You’ll need to destroy most of these, and the pots surrounding them, so you might as well do so with frenzied melee attacks. Be careful though, as some of the pots will cause explosions, so you might want to use arrows for them. Once all the ice sheets are destroyed, you’ll notice a locked door at the southern side of the room. Turn west from here and slide under the hole in the wall.
Once you’re in this next room you’ll see a destructible wall on the southern side. You can destroy this using the Incendiary Powder Trap special ability, or if you don’t have this you can use a fire pot from the room with the ice sheets. Behind this wall you’ll find the stone pillar for the pressure plate, which you can begin pushing north. Next, turn west and destroy the ice sheets in this room. You’ll eventually uncover a hole in the ground, which you’ll need to jump down. You’ll find a note here from Manius, revealing an aspect of his cruel insanity. Turn west from here and run over the spiked floor to find a key on the altar. You can take this back up to the locked door and open it.
Now that you’ve unlocked the door you can push the stone pillar through. You’ll need to keep to the left side of the room at first, as you navigate the stone pillars on the ground. If you’ve already destroyed all the ice sheets and pots, the path should be fairly clear to the exit: from the western side of the room to the centre, then to the eastern side of the room before turning north again. Once you’re out of this room there will be no more obstacles to the pressure plate.
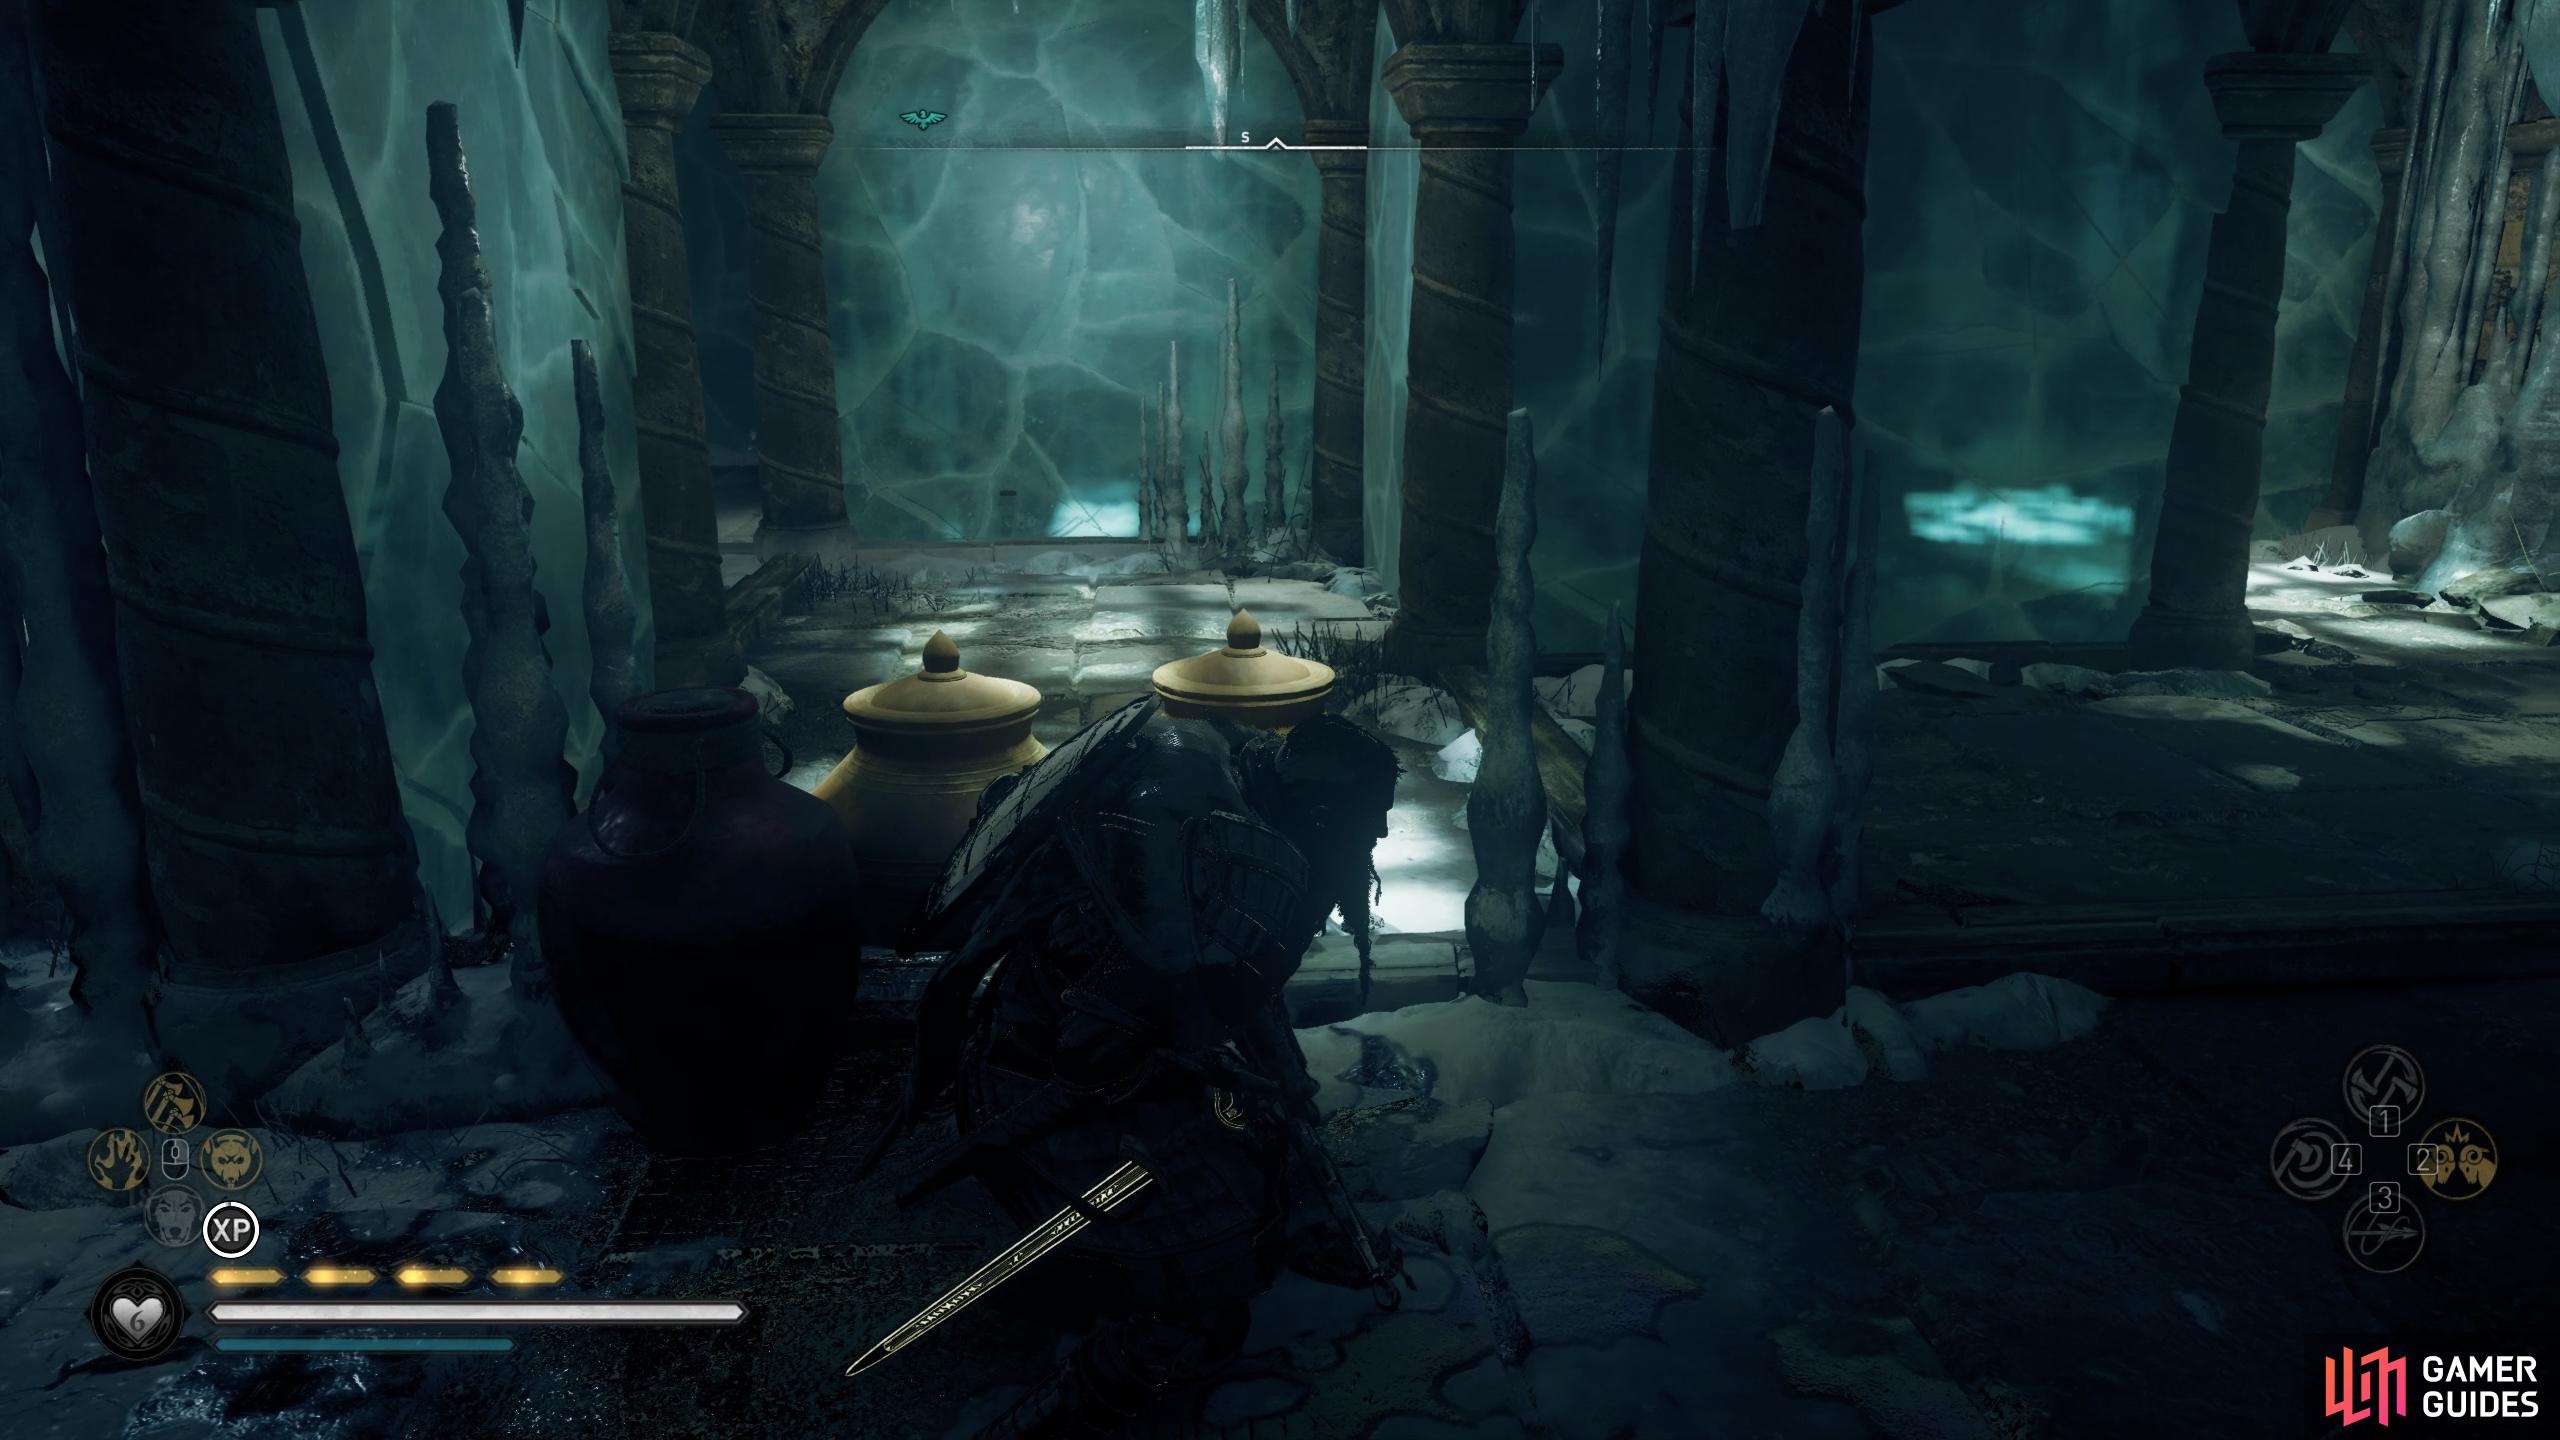
(1 of 8) When you enter the room full of breakable ice and pots, destroy it all in preparation for moving the stone pillar through.
Where to Find the Venutius Tomb Artifact
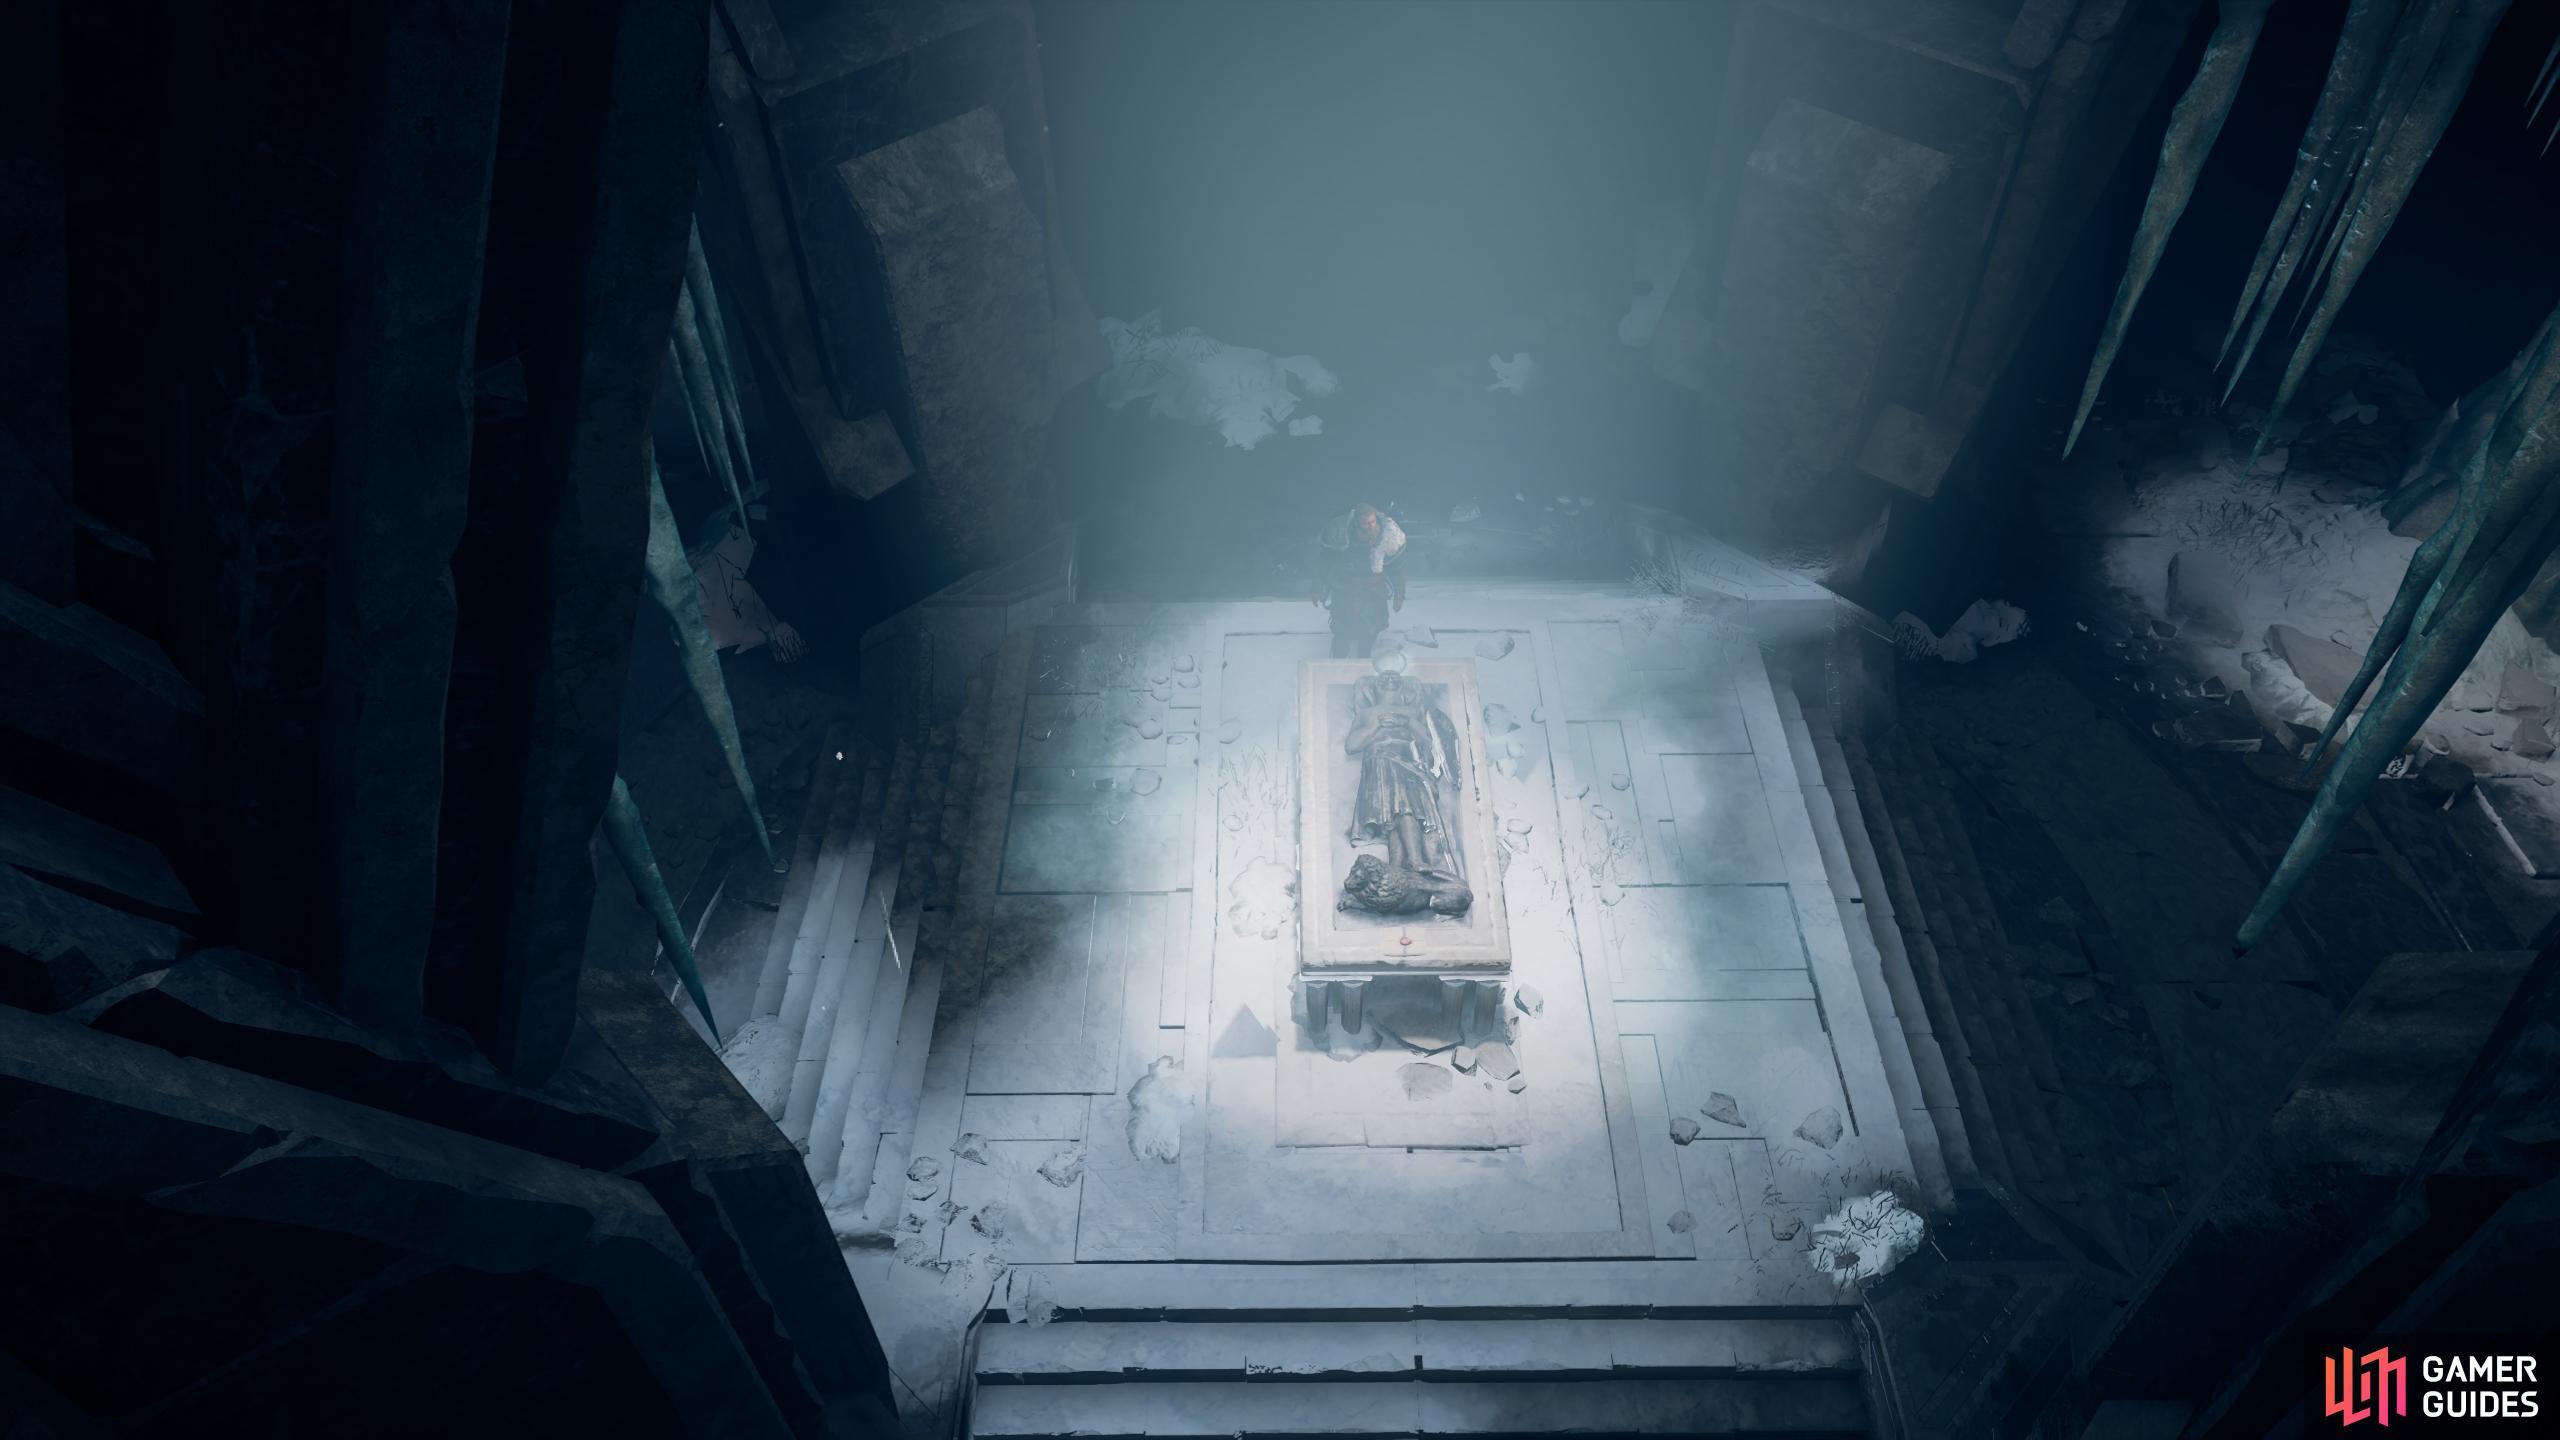
Now that you’ve activated all the pressure plates, you can head into the tomb where you’ll meet a representation of Venutius. After the scene, loot the armor chest for the Fallen Hero Helmet, then head out the tomb to the south when you’re ready. Use the lift mechanism and then the rope wire after it, but jump off the rope half way down and look north to find a breakable ice sheet. You can destroy this and go through the crack in the wall to the hidden chamber, where you’ll find the Venutius Tomb Artifact and a note from Hildiran, seemingly connecting the Tombs of the Fallen to the Mastery Challenges.
No Comments