

Location: Goneril Boss Fight, Spalda Fens.
Description
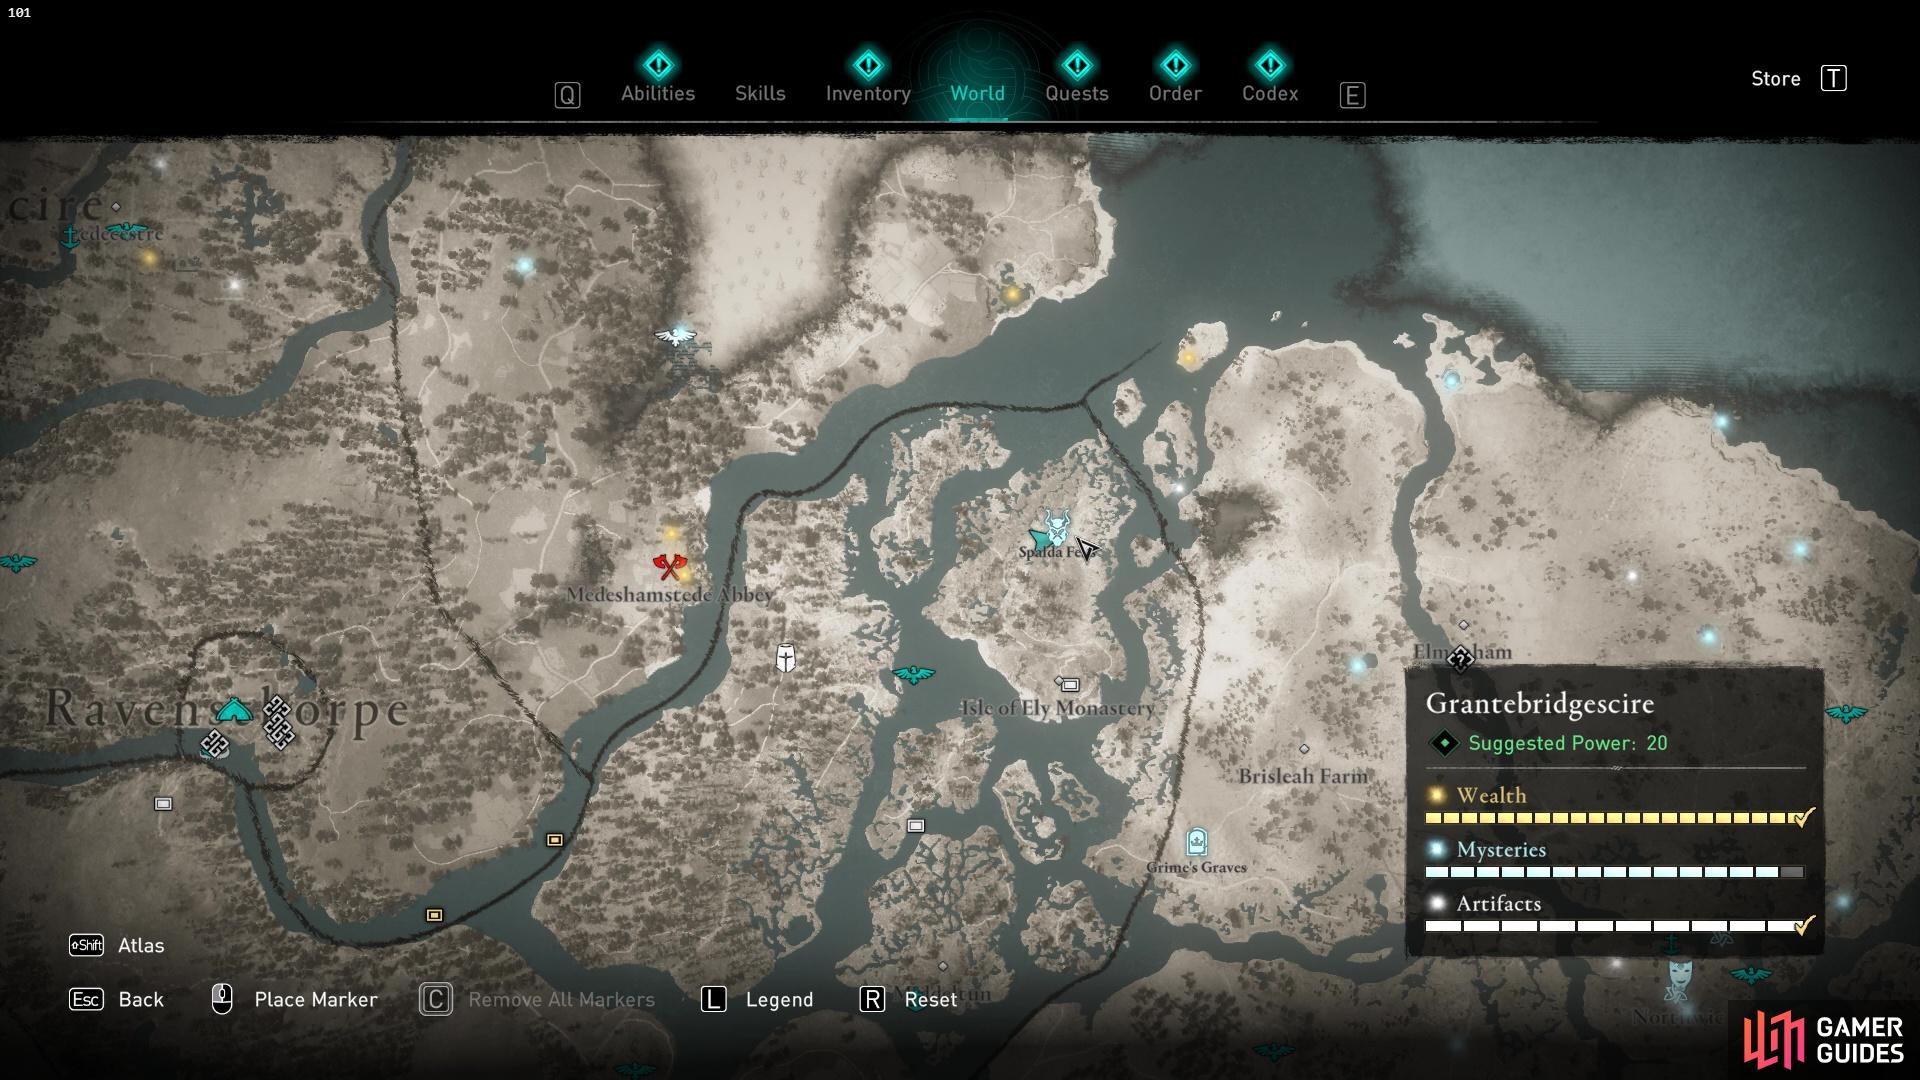
This page is dedicated to the first Daughter of Lerion, Goneril, who can be found in Spalda Fens, north of the Isle of Ely Monastery in Grantebridgescire.
Tips for Fighting Goneril
Goneril is likely the first Daughter of Lerion that you’ll encounter, and there are three of them to defeat.
To begin this fight, you’ll need to head to Spalda Fens and interact with the strange dead body on the altar. When you do so, Goneril will approach from behind you and you’ll shortly begin the fight.
Here are some helpful tips to follow before you start in this fight:
-
Unlock the “Brush with Death” ability in the skill tree - If you take anything from this guide, it should be this. Brush with Death is a game-changing ability that will allow you to slow time every time you successfully dodge an attack. When time is slowed, you’ll be able to attack the opponent for a few seconds uncontested.
-
Don’t try to parry, dodge attacks instead - Most of Goneril’s attacks will be power moves, so you won’t be able to parry them. Instead, you’ll want to focus on dodging attacks, and this works even better if you have Brush with Death. You can parry lighter (orange) attacks, but she mostly performs power attacks (red).
-
Don’t let your stamina bar deplete - When you dodge too many times (or run around) in a short period, you’ll lose stamina quickly and your bar will drain. Once your bar has drained fully, you won’t be able to dodge until your stamina bar has filled again. This is a huge problem in this fight as Goneril is a fast hitter. Be conservative with your stamina, and only dodge when you’re about to be hit!
-
Upgrade your ration supply bag - Goneril has some pretty brutal attacks and if you don’t successfully dodge, you’ll easily take over half of your health from a series of combo attacks triggered by a single successful attack. To upgrade your ration bag, you’ll need mostly iron ores, which can be looted or mined from rocks across the map.
-
Use a long range melee weapon - Using a spear or a two-handed weapon is great if you want to add a bit of space between you and your enemy. It means that your enemy will be slightly further away and less likely to get some blows in.
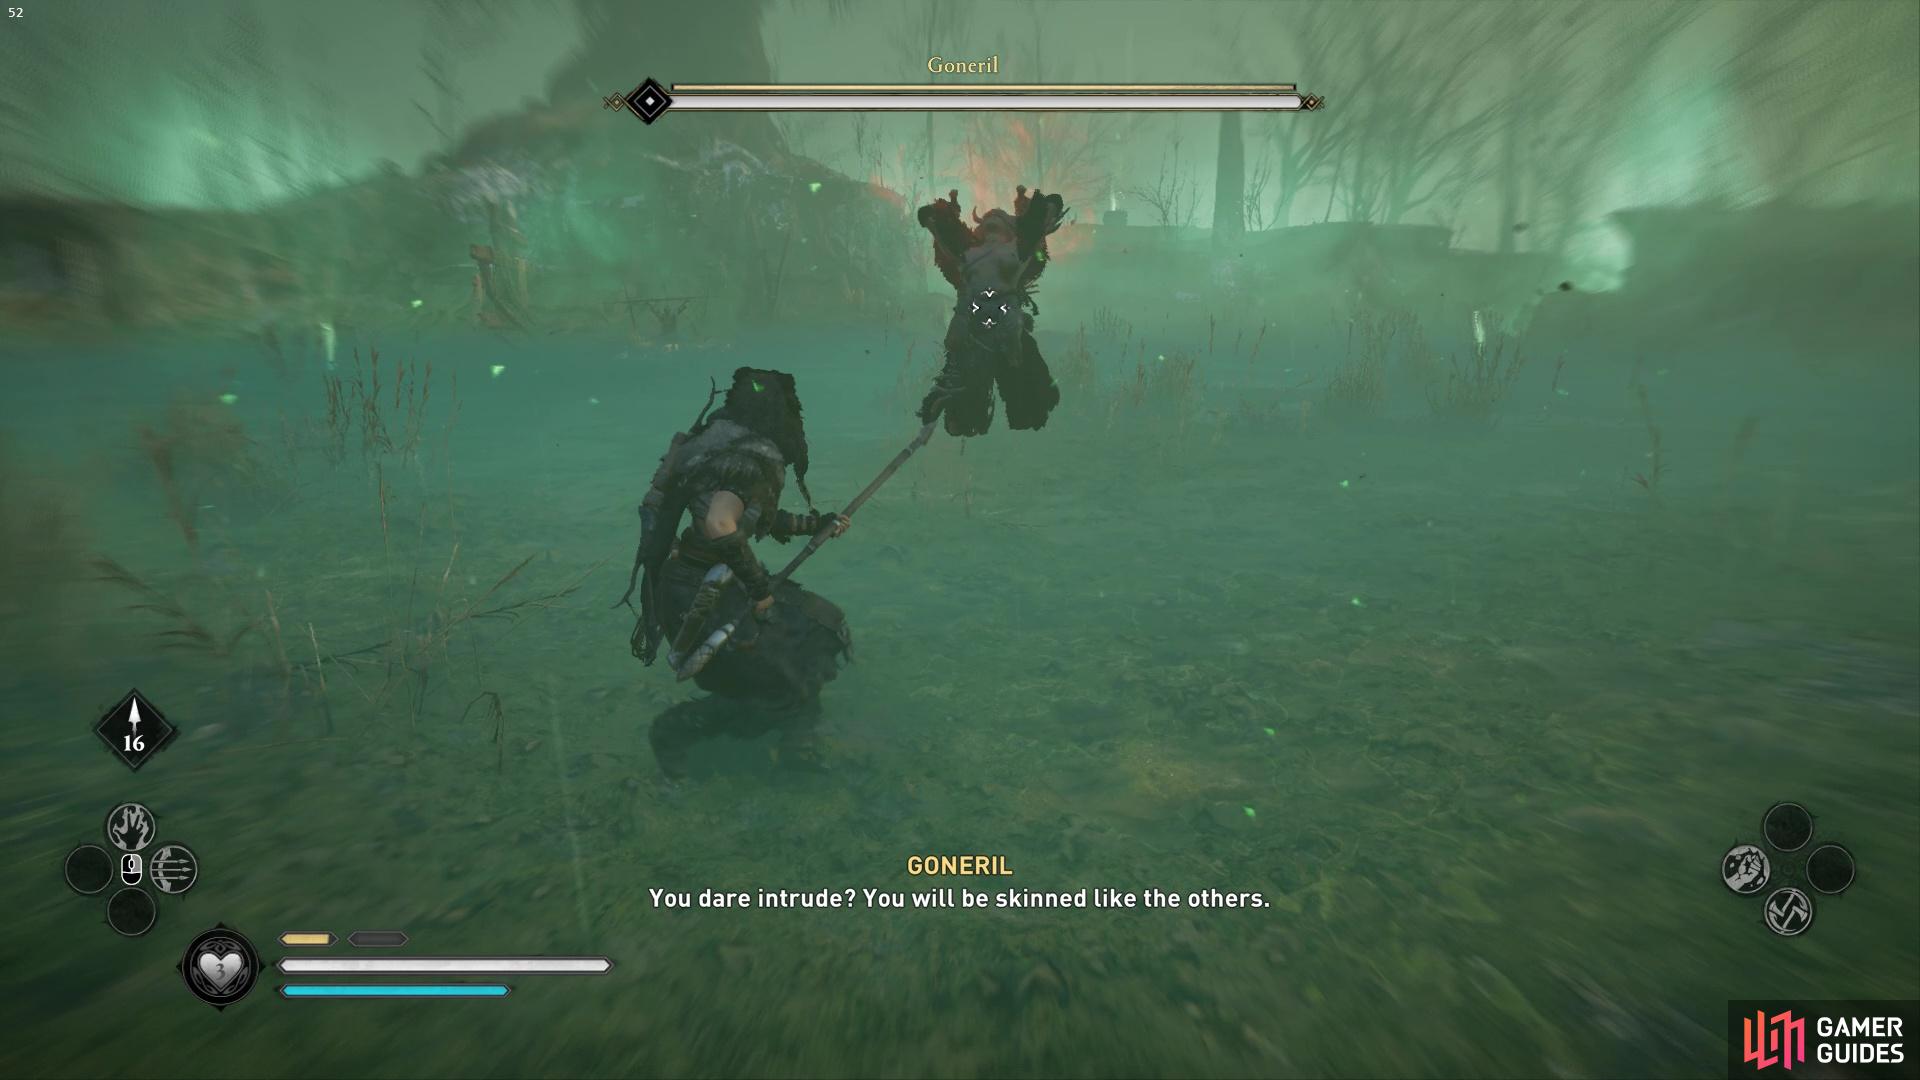
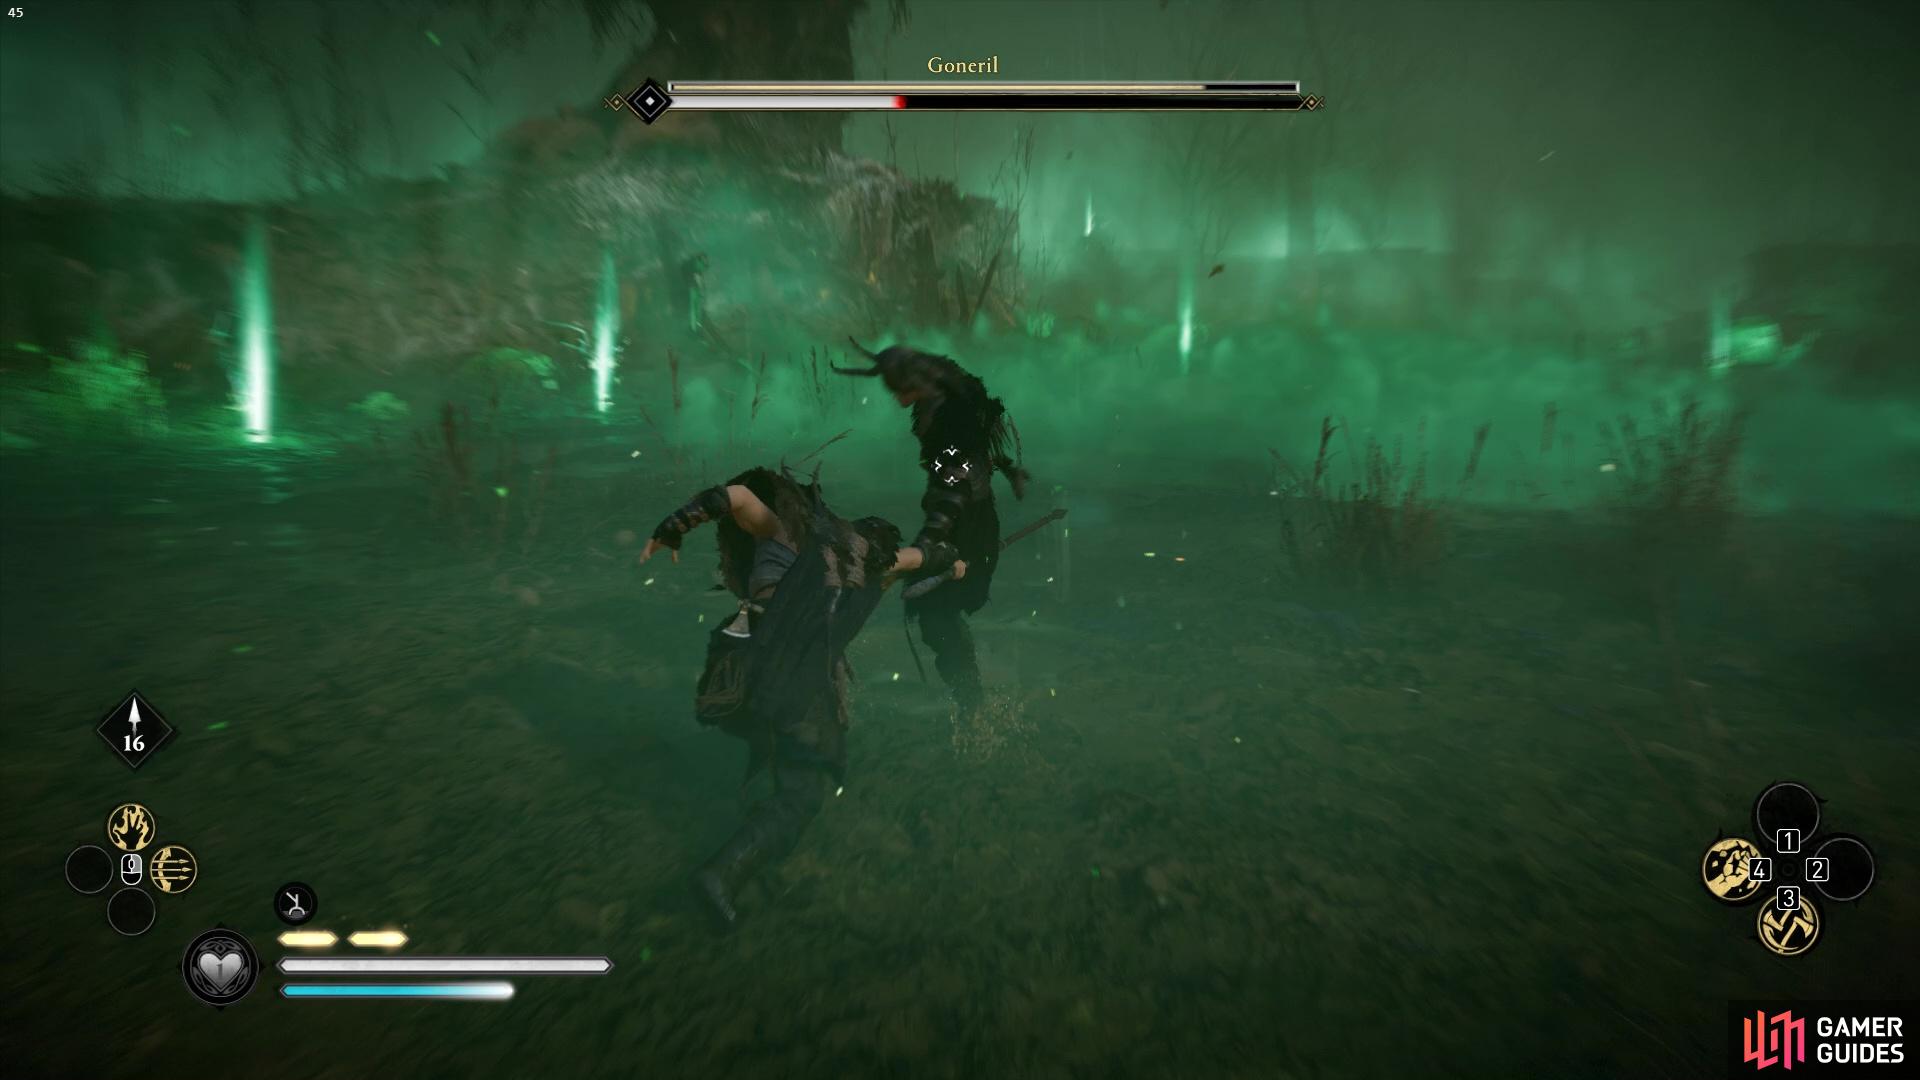
Goneril will mostly perform power attacks, which cannot be blocked or parried
so you’ll want to dodge them to avoid damage!
First Phase
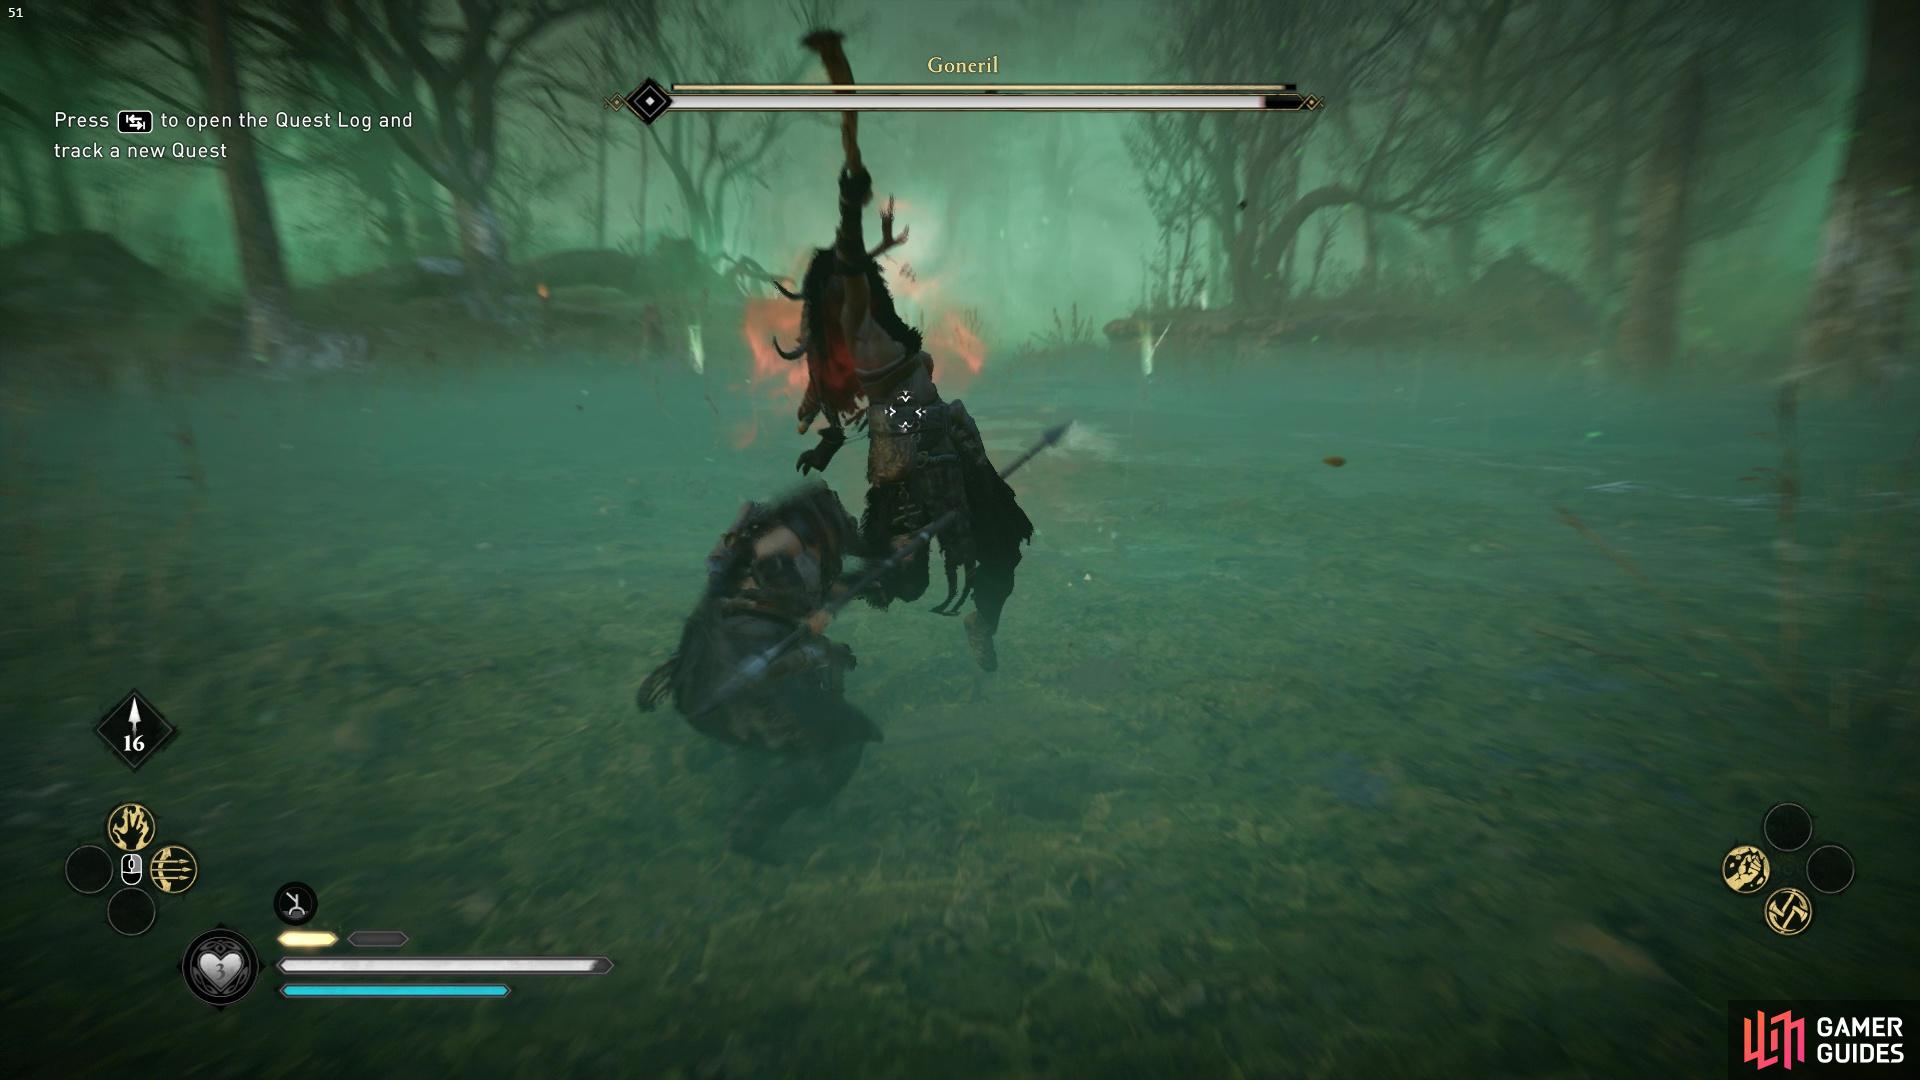
In the first phase, Goneril will be able to teleport around, and she will use this to jump at you and perform power attacks. If you keep relatively close to her, you’ll minimise the chance of her using her teleporting ability and you’ll be able to better predict her attacks and then dodge them to get your own attacks in.
Goneril’s weak point is on her back, but it’s almost impossible to get to it. If you try to run away and around her, she’ll end up just teleporting and attacking you. Usually, hitting weak points is a great way to deplete the enemy’s stamina and get in a big stun attack. However, due to Goneril’s weak point being on her back, it would be advised that you don’t focus all of your efforts on trying to shoot her weak spot. If you manage to trigger a Brush with Death slowing period and she happens to be mid spin then take advantage of this and use your bow. However, your main goal in this fight is to dodge attacks.
In this phase, she will also occasionally send out a phantom version of herself after she’s used her teleporting ability. The phantom version moves quickly out of her teleporting cloud and will attempt to kick you to temporarily stun you, allowing the real Goneril to get some more attacks on you. You want to avoid these attacks as best as possible, and you can do so by trying to keep as close as possible to her and minimising her using her teleporting attacks.
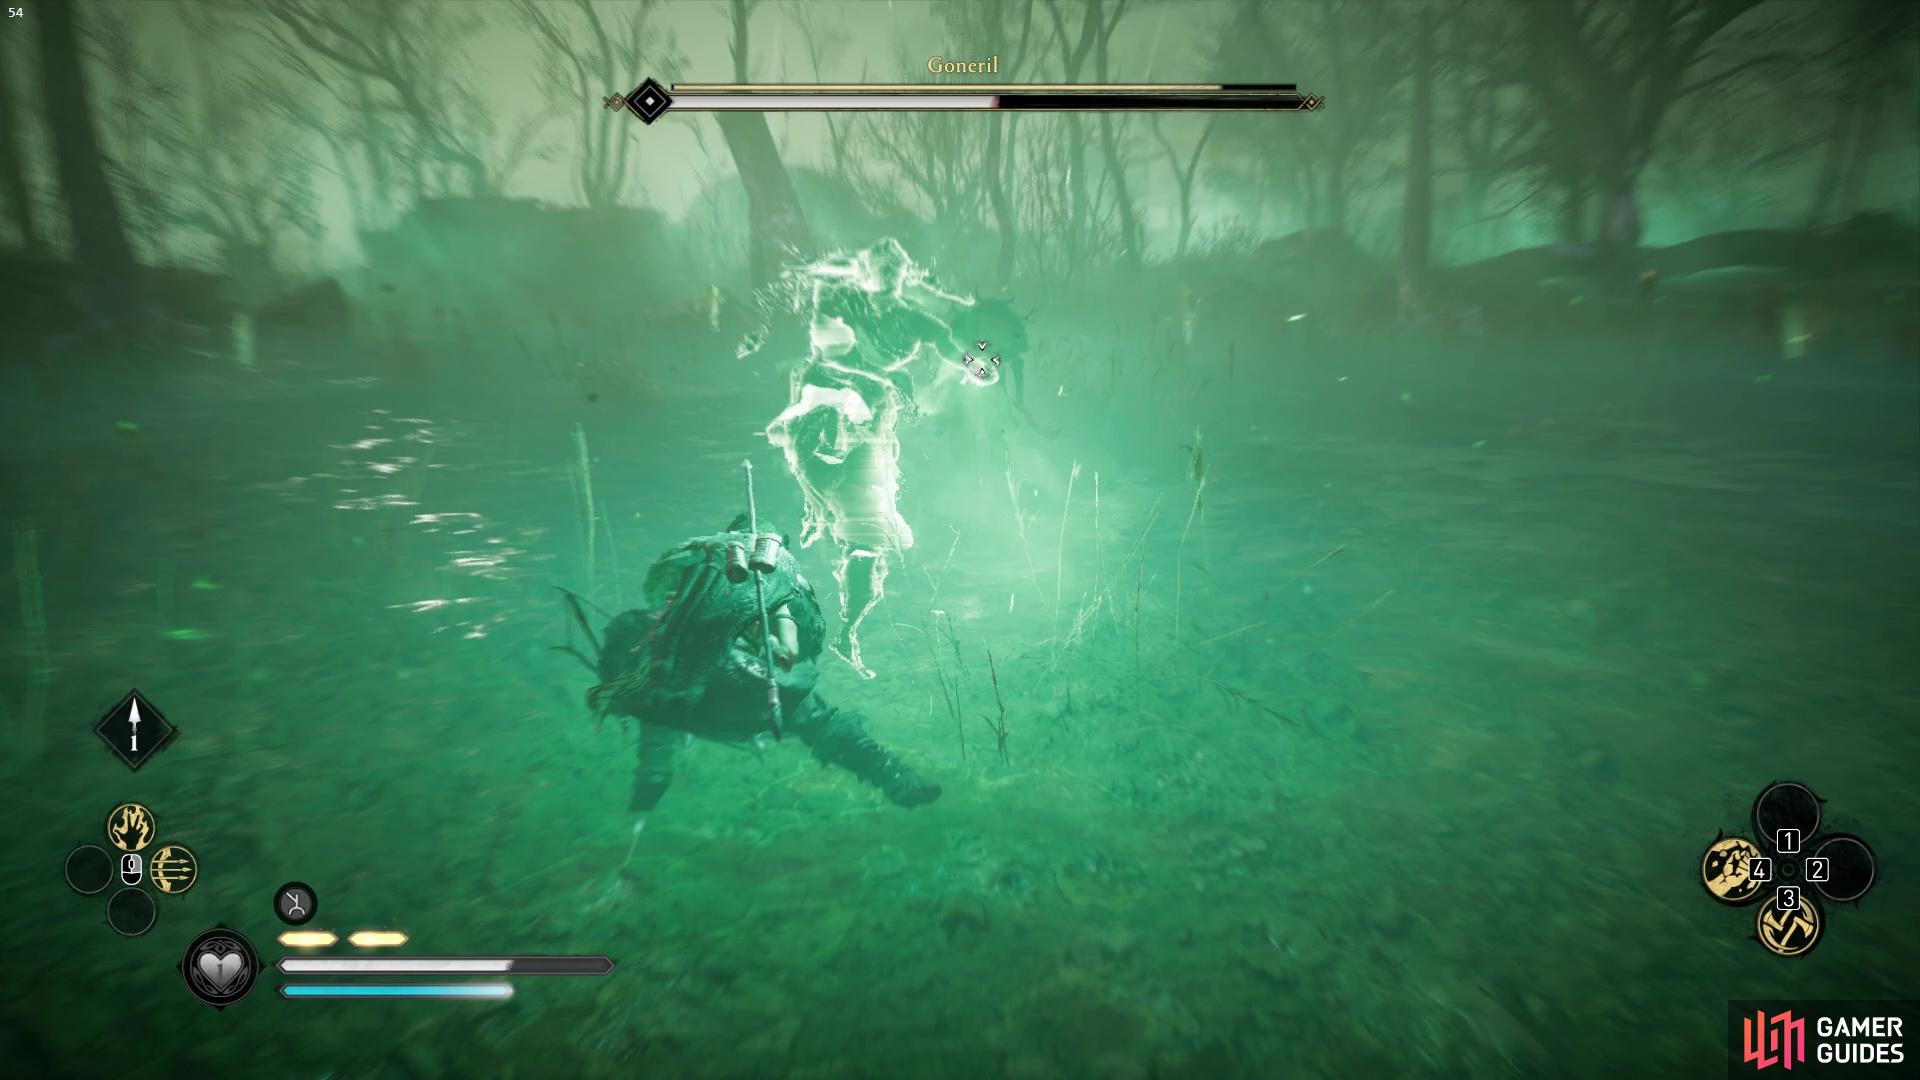
Watch out for Goneril’s phantom as it’ll rush out and try to incapacitate you.
Second Phase
The second phase is triggered when you’ve damaged her to half health. In this phase, Goneril moves a lot quicker and teleports around much more. She will also use her phantom self to try to incapacitate you much more frequently than in the first phase.
During this phase, you’ll also have to masterfully navigate the area to avoid poisonous gas. The gas will cause you to lose health. The good thing is that it is bright green so you can easily spot it and roll out of its way. It does, however, also mean your battleground is limited to the narrow spaces between each of the gas clouds.
Watch out for the poisonous gas in the second phase!
You want to do the same as you did in the first phase, which is, essentially, to dodge her attacks to trigger Brush with Death and then get in your attacks during the slowed period. You will need to be more alert to her phantom self’s attacks as the combo attacks that she triggers will be near fatal. There is one particular attack where the phantom self grabs you from behind and holds you whilst Goneril stabs you repeatedly in the chest, dealing tons of damage.
This method of approaching the fight is quite slow, but it is one of the most effective ways of dealing with a fast and agile boss like Goneril. When you kill her, you’ll be rewarded with Thor’s Breeches, which is a part of Thor’s armor set.
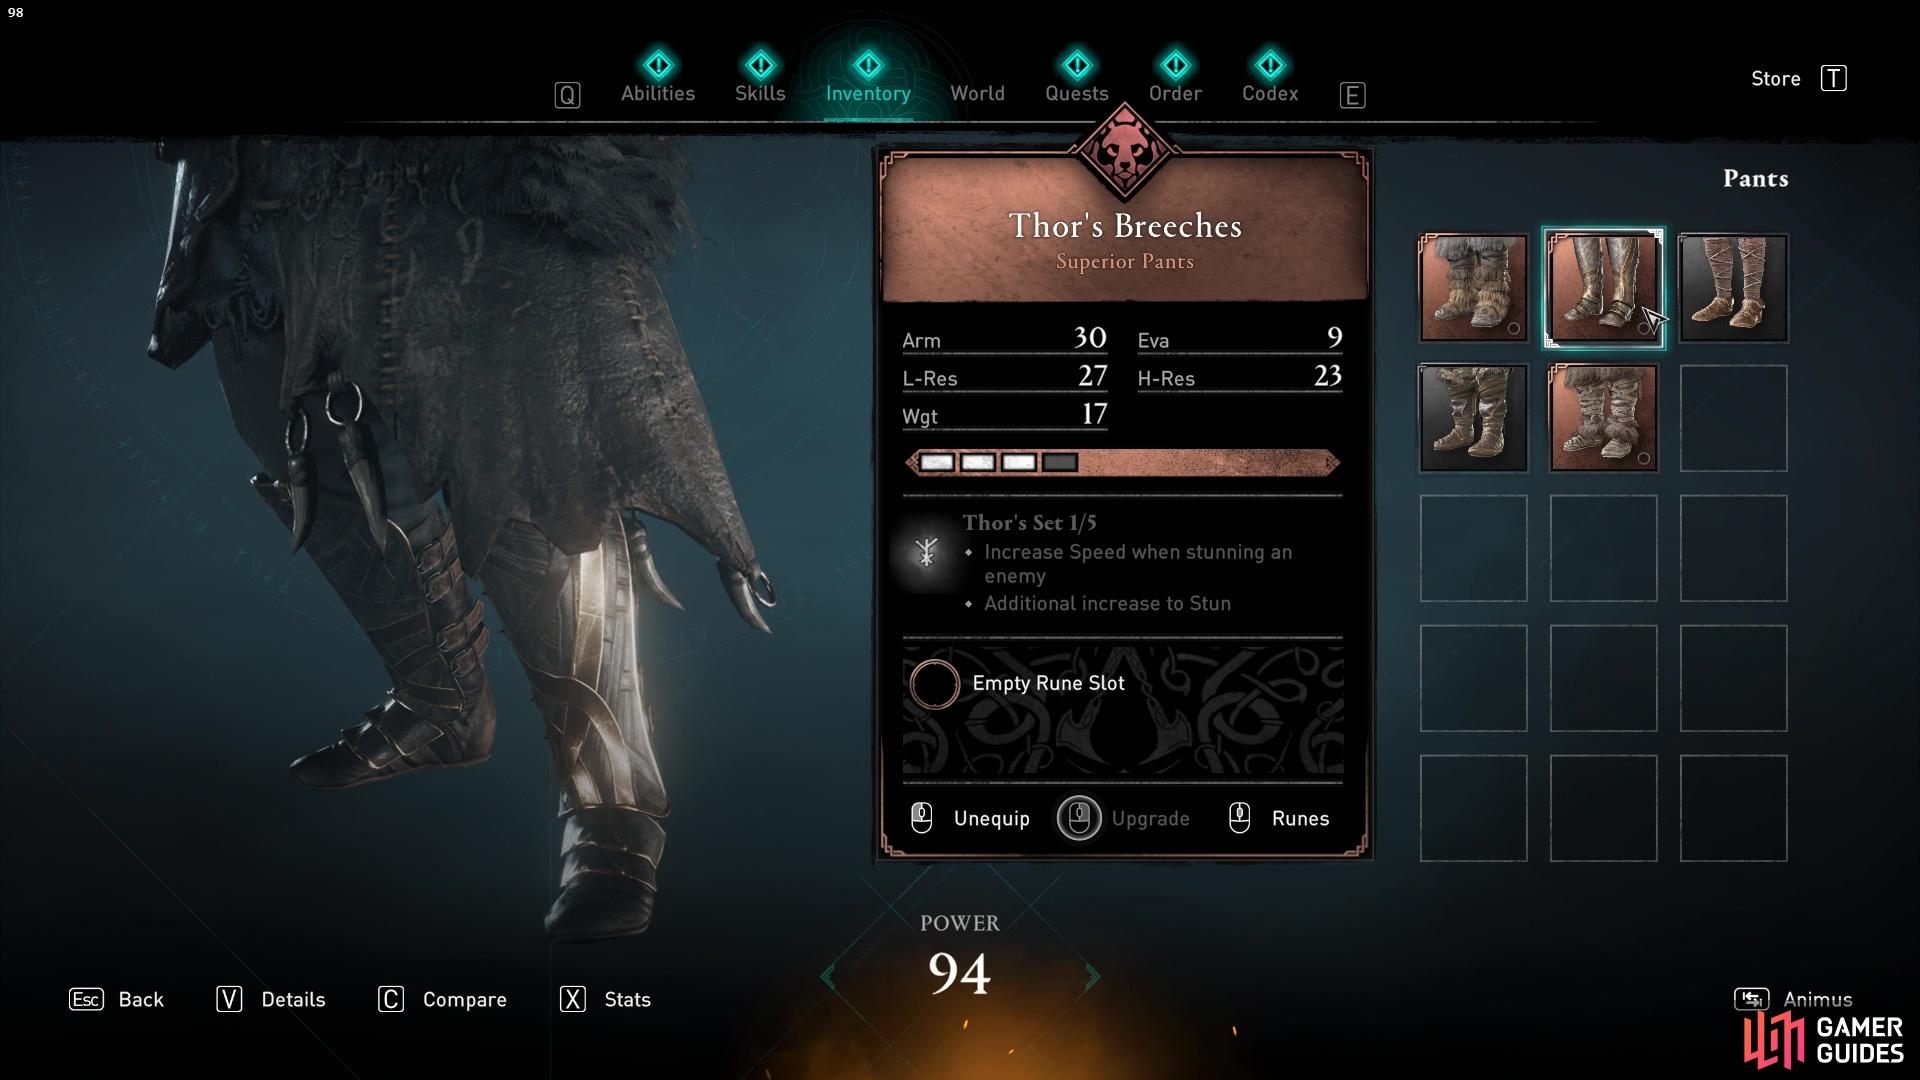
When you defeat Goneril, you’ll be rewarded with Thor’s Breeches.
No Comments