
This page details everything you need to know about how to complete Togodomnus’ Tomb, part of the Tombs of the Fallen Pack 2 update for AC Valhalla, and where to find the Togodomnus’ Tomb artifact.
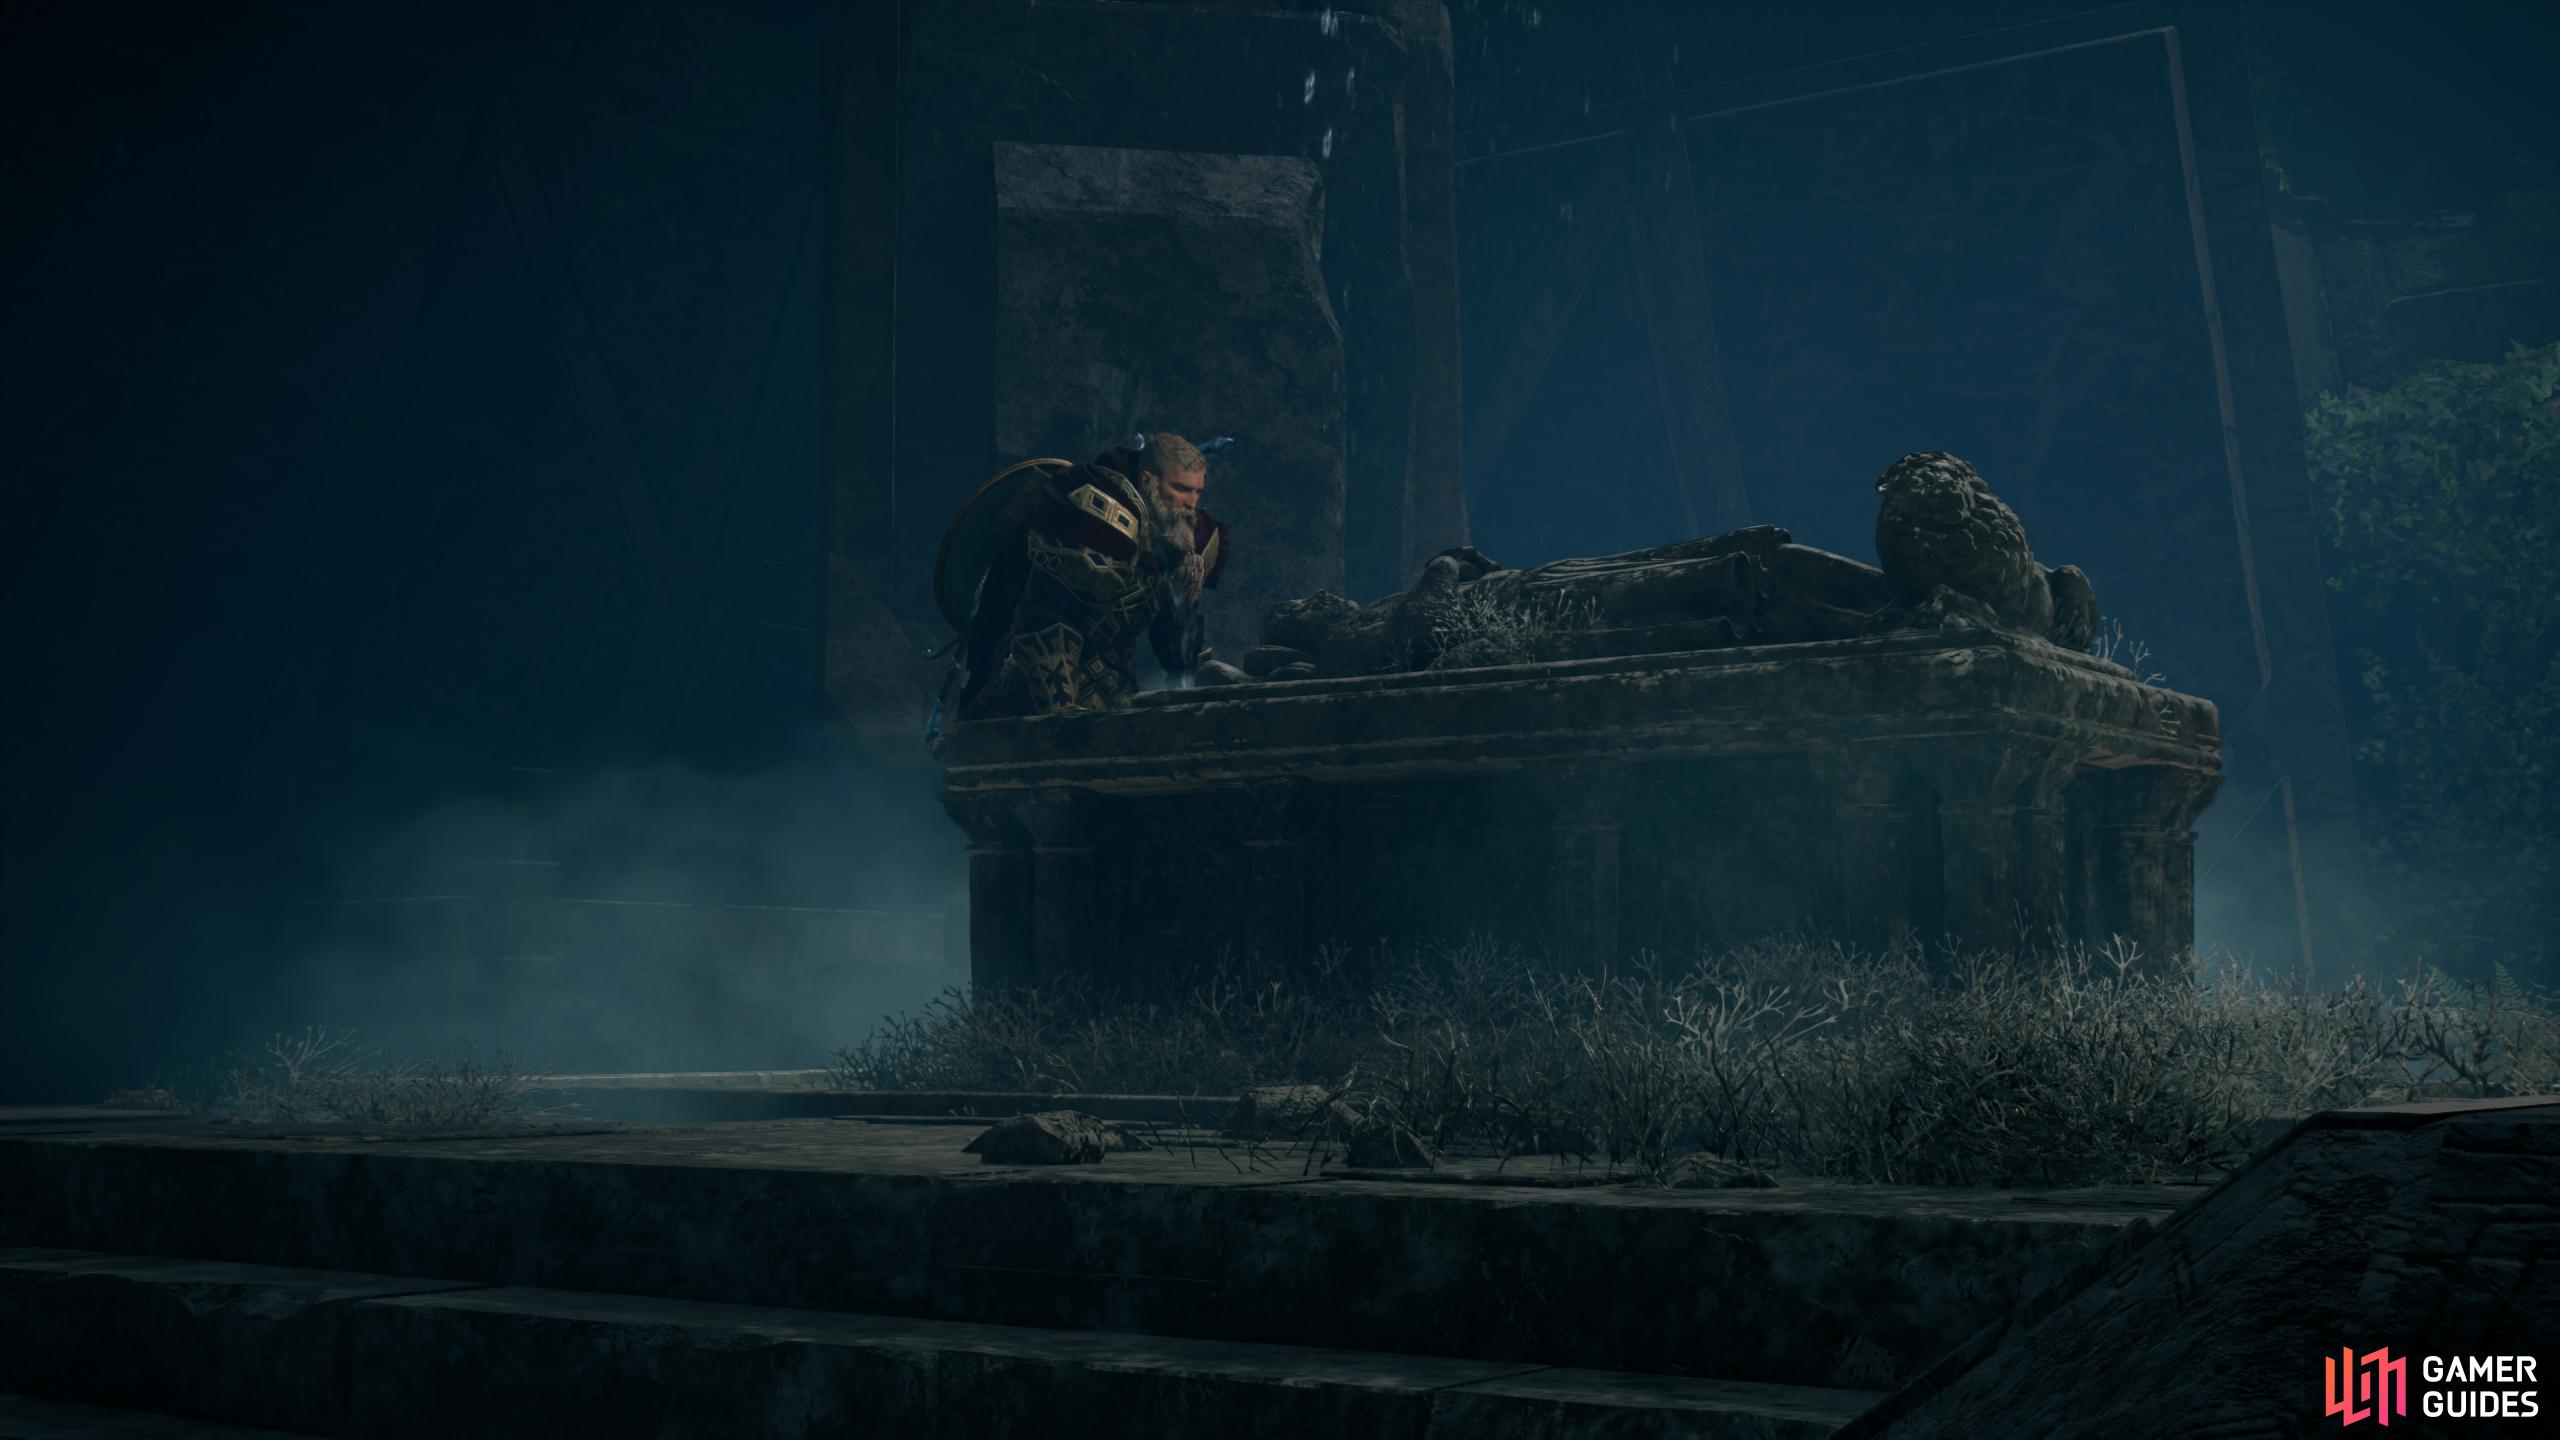
Togodomnus’ Tomb, Tombs of the Fallen.
Where to Find Togodomnus’ Tomb
You’ll find Togodumnus’ Tomb west of Brimclif Monastery in Suthsexe, in the southern part of the map of England. Be sure to use your raven to scout the area when you’re close. The entrance to the tomb will be highlighted, and you can use Odin’s Sight to further highlight the markings on the wall. You’ll need to interact with these to open the tomb, and once you’re inside the location will be marked on you map.
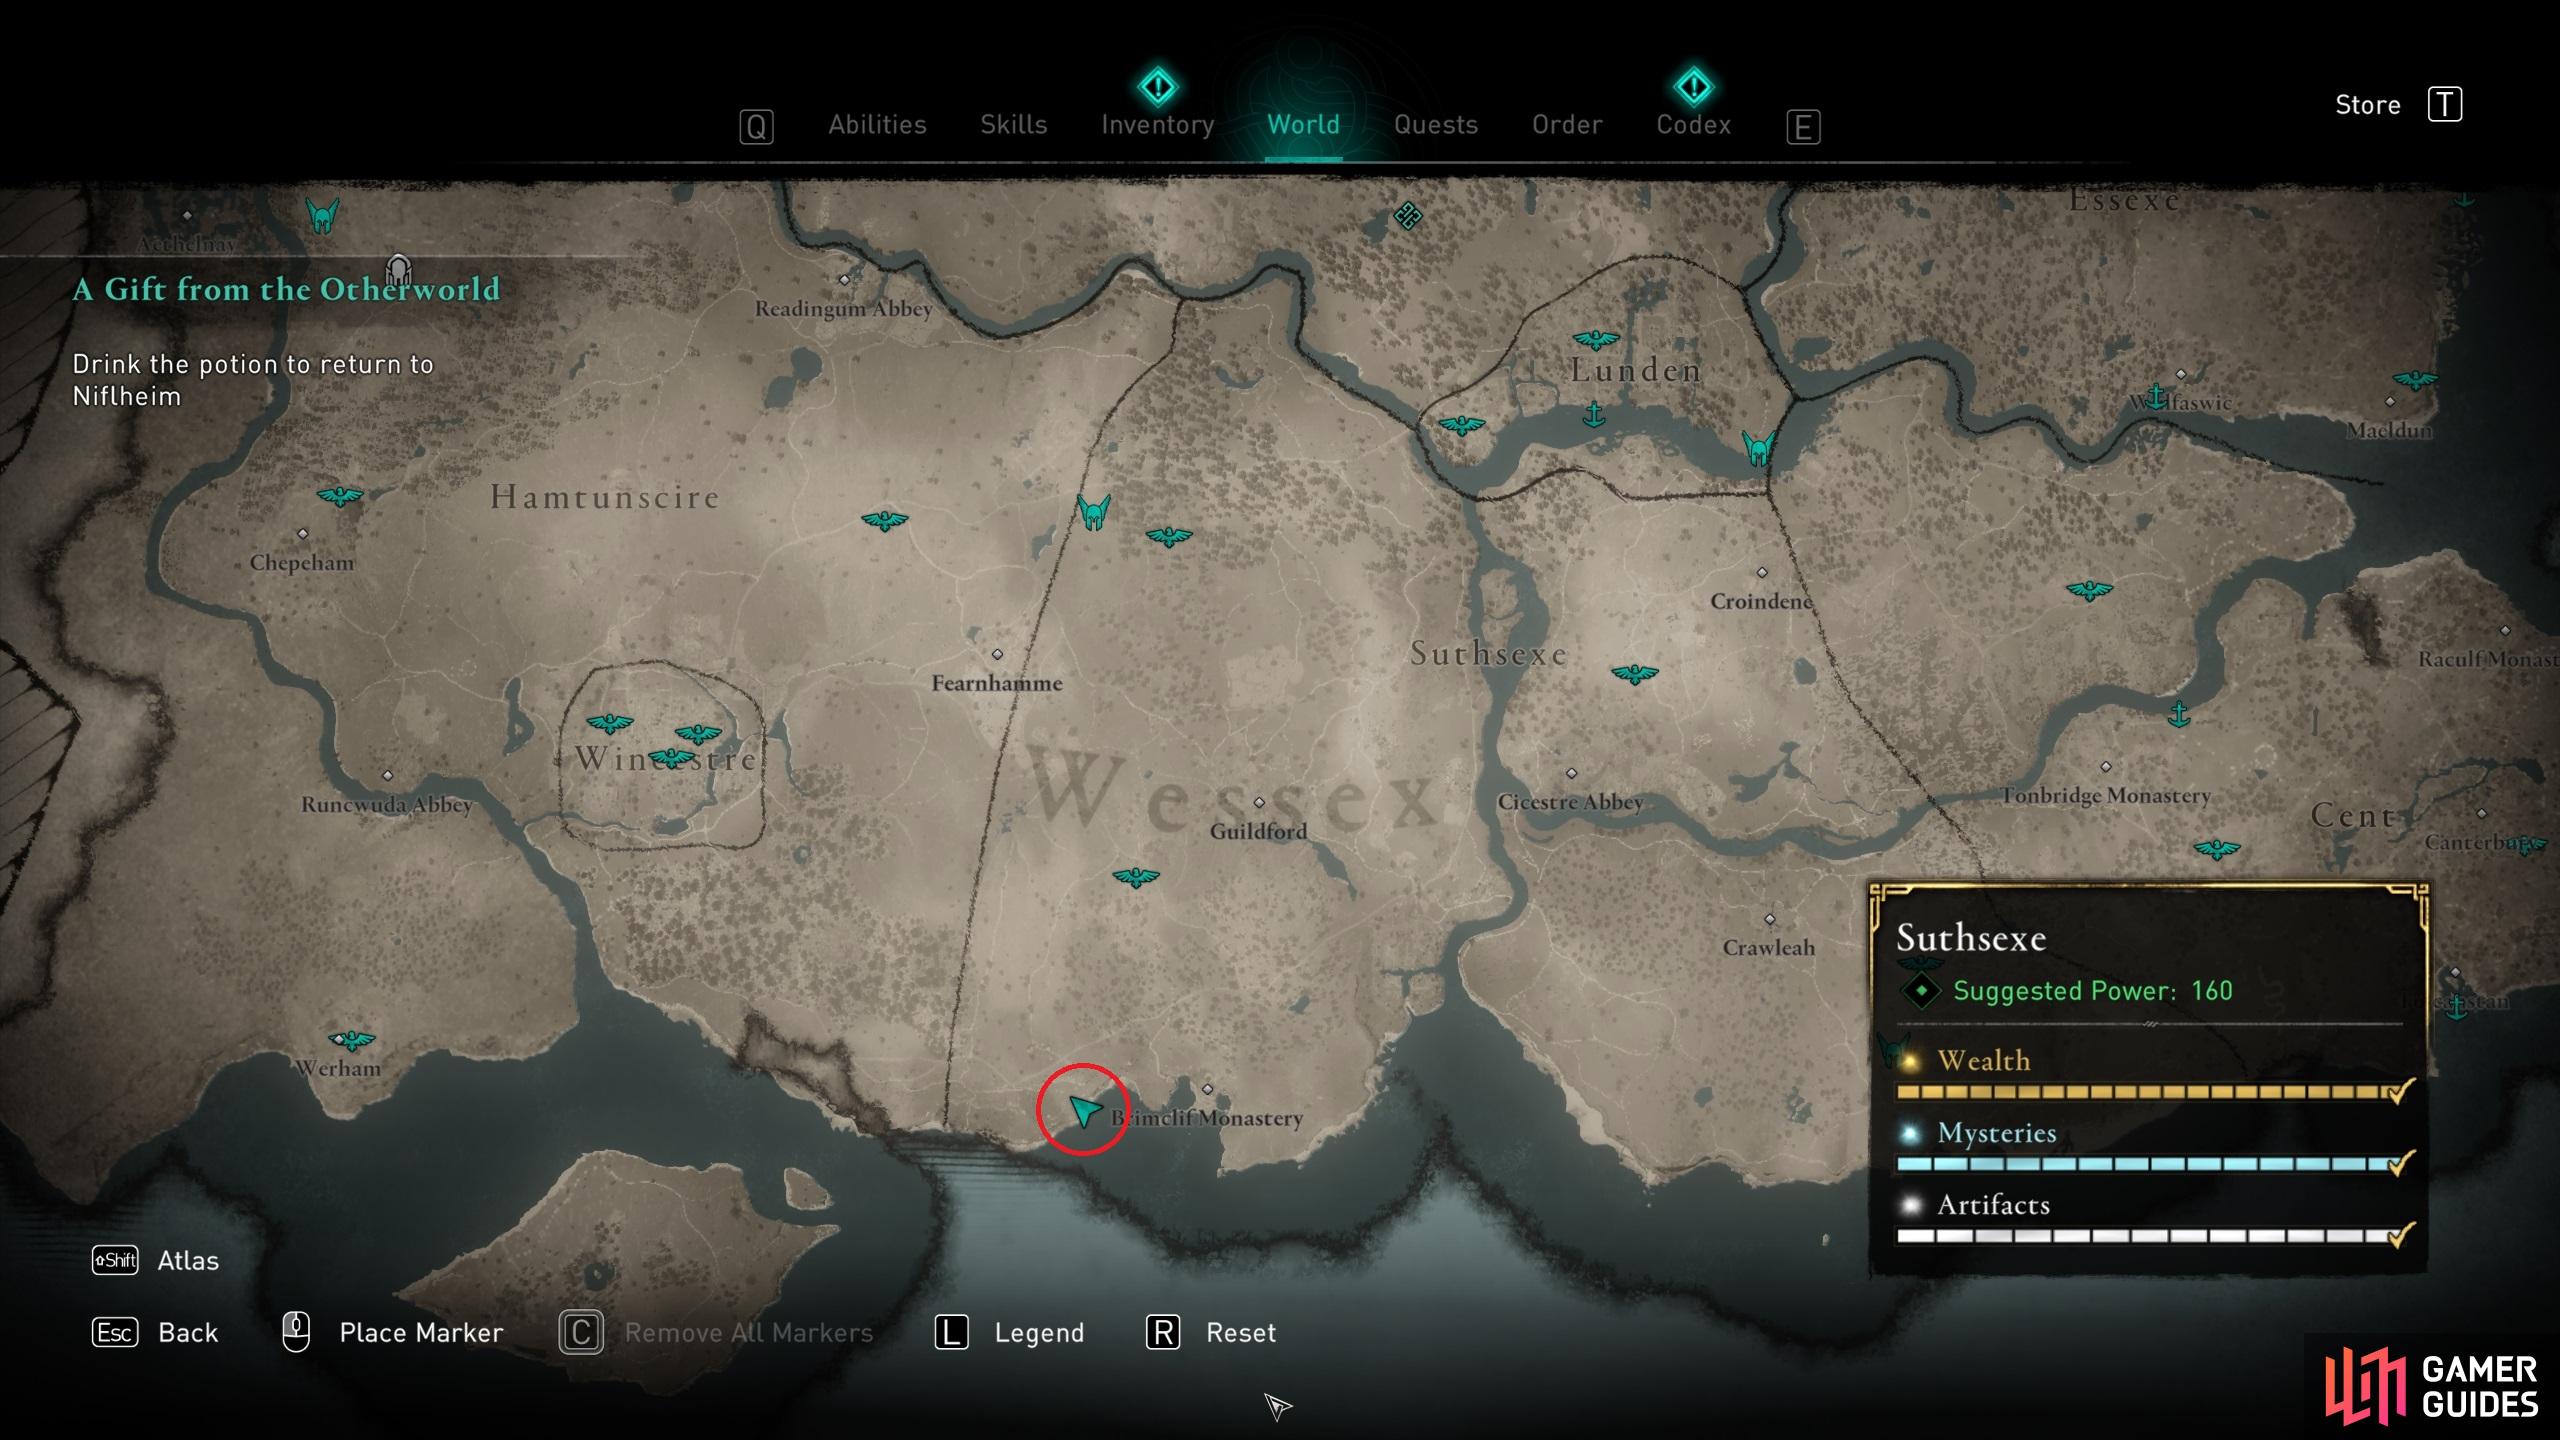
(1 of 4) The location of Togodomnus’ Tomb in southern Suthsexe, on the southern coast of England.
How to Get Beyond the Gate
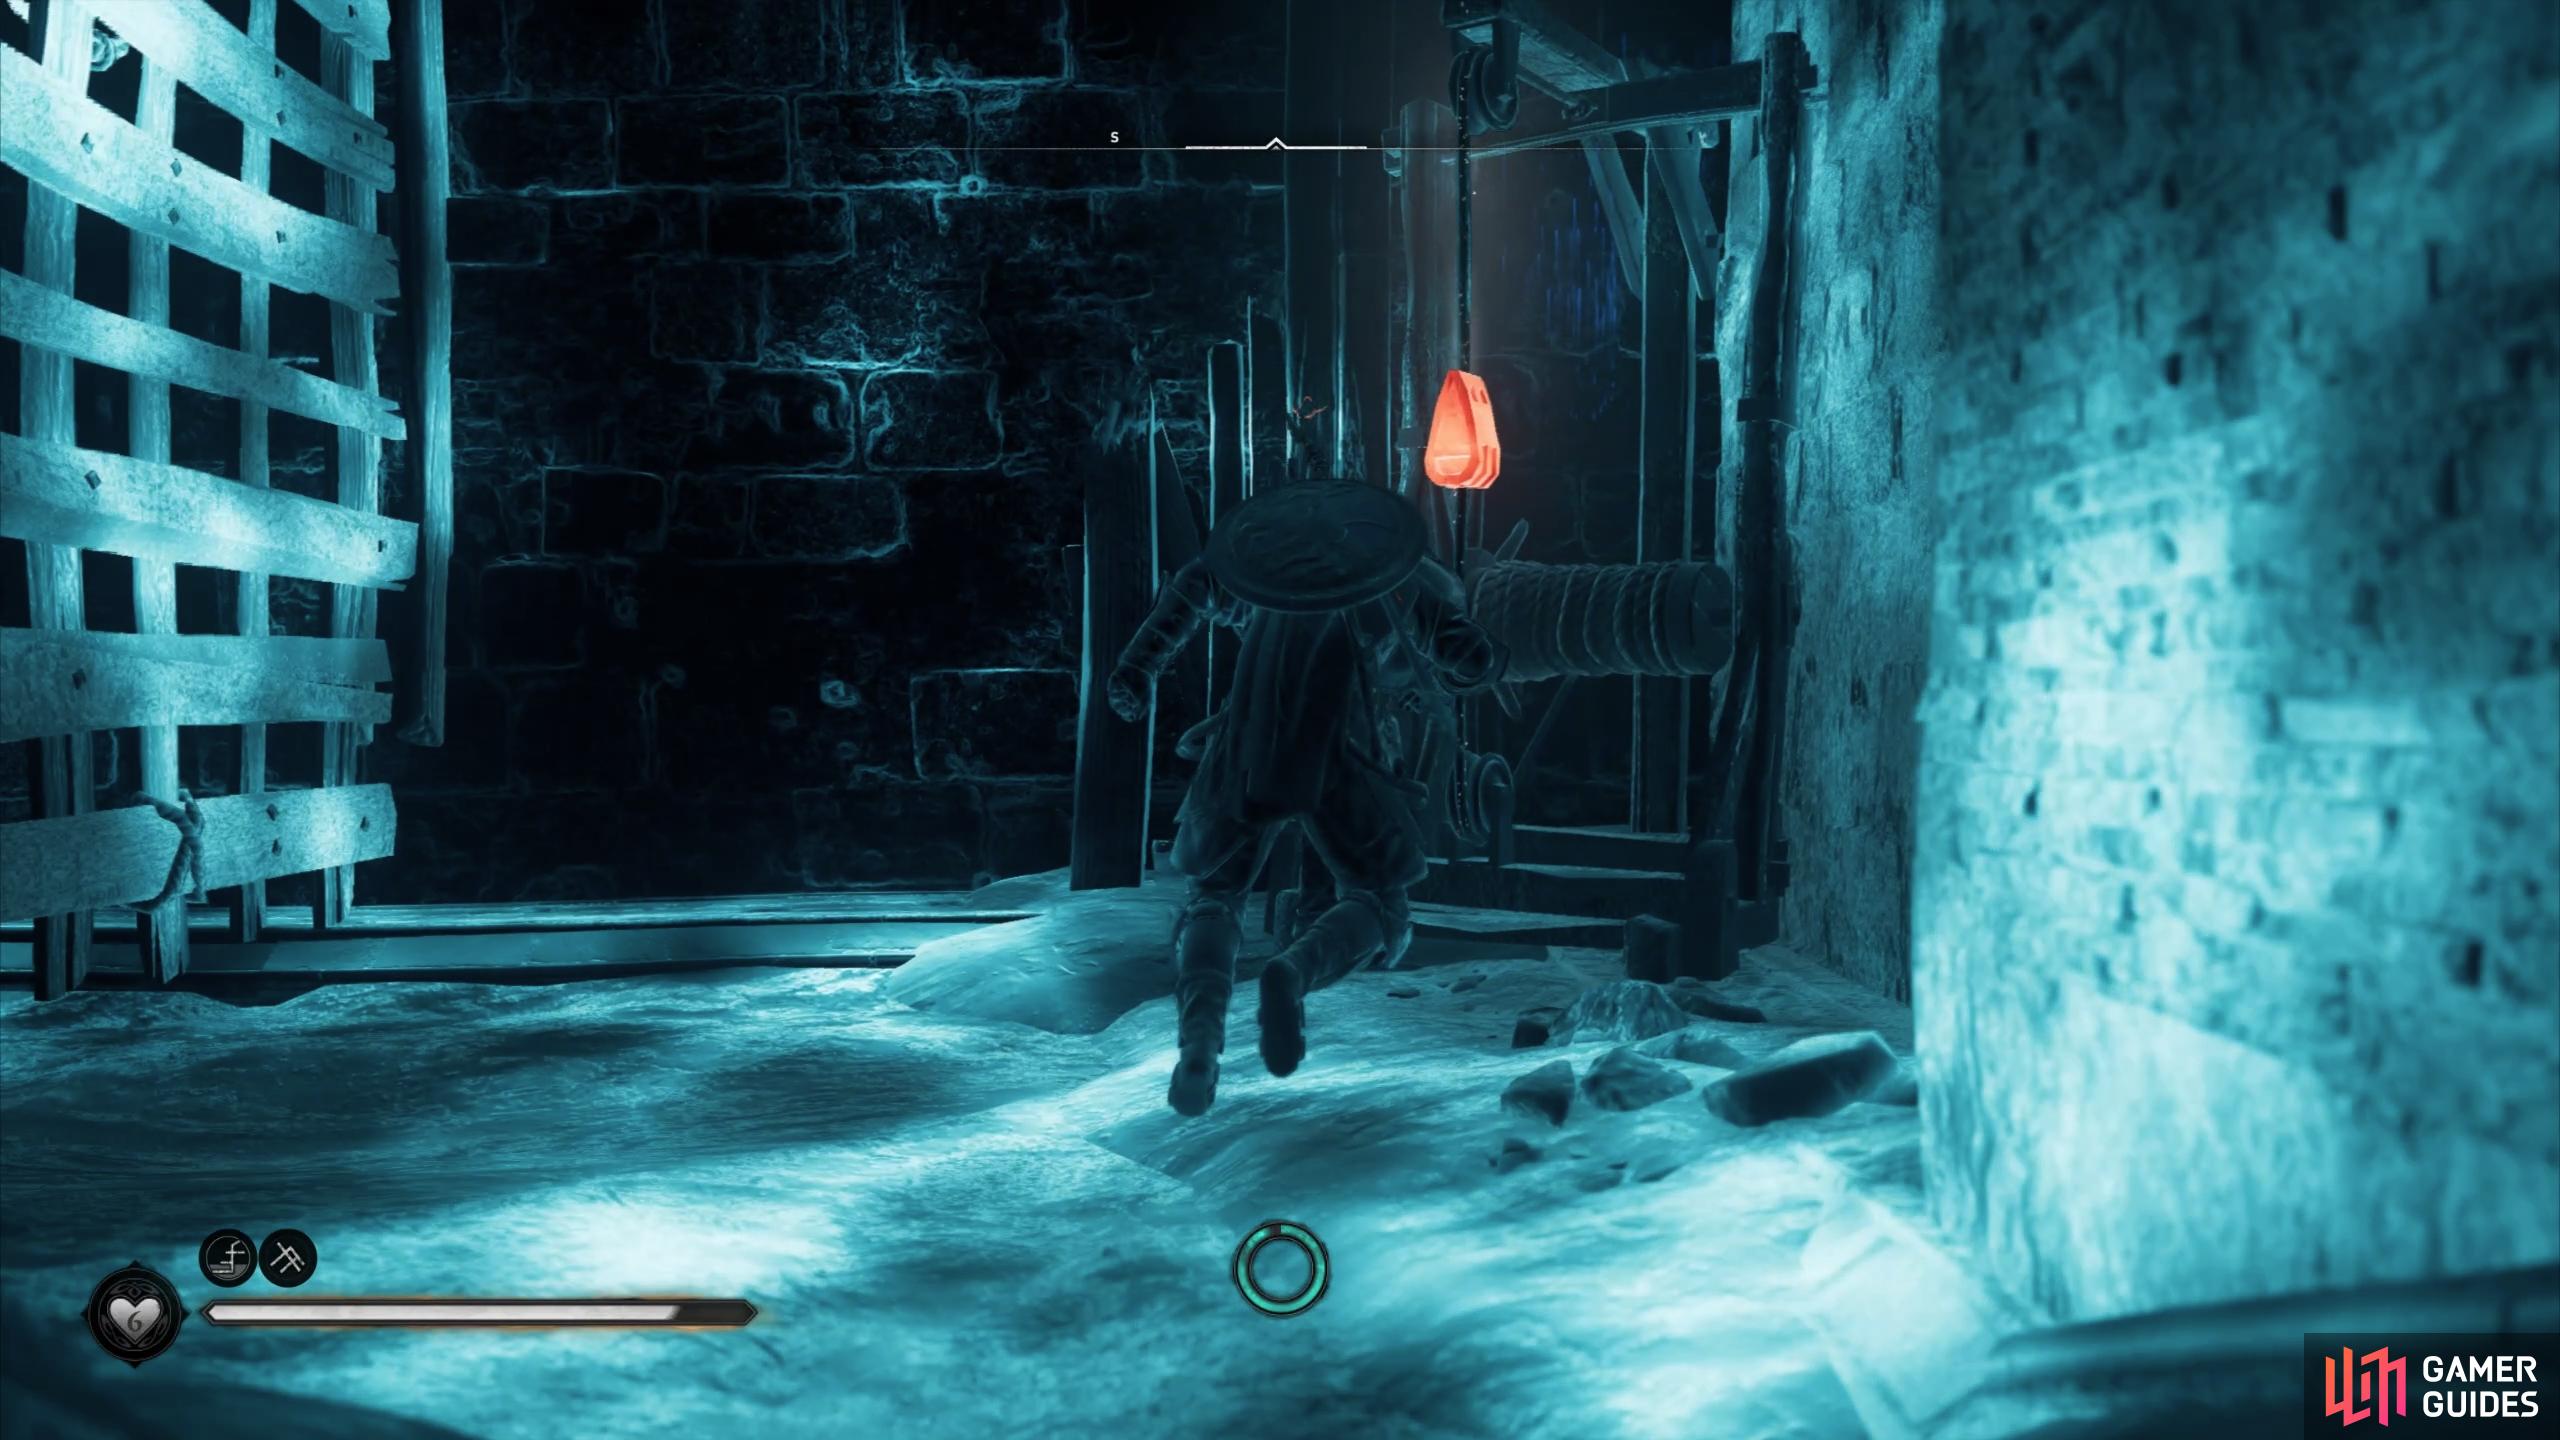
When you enter the tomb you’ll soon find that the way into the main chamber is locked behind a large gate. Head southeast from the gate to find a breakable wooden wall, which you can destroy and then pass through the gap. You’ll need to dive into the water and break the Timeworn Pulley, which you will see as highlighted in red when using Odin’s Sight. This won’t raise the large gate at the surface, but it will move one of the weights just to the right of the pulley, allowing you to pass through. Continue swimming through to the other side until you reach the flooded main chamber.
A cutscene will play at this point which highlights the location of four elaborate platforms. Two of these require pillars to be moved onto them, and the other two require spherical objects like you’ve seen in other tomb puzzles. Once you’ve placed each object on each platform, the main gate into the tomb will open. There are substantial puzzles to solve as you activate each platform, which we’ll cover in detail below.
How to Complete the Northeast Puzzle
We’ll begin with the northeastern puzzle. As you’re standing in the centre of the chamber, look to the northeast to see the platform and the pillar. This is the shortest puzzle to complete here, but it can be tricky if you don’t know what you’re doing.
The first thing you’ll need to do is look to the southeast for a stone ramp that you can climb onto, then onto the wall above it. You’ll need to climb to the top and then edge your way eastward before dropping down near the southeast puzzle. From here you can climb the pillar towards the east and jump to the platform where the mechanism for raising the first gate that you encountered is located. If you’re having trouble getting here, all of this is shown in the gif below.
The next part can be quite tricky if you’re not aware of exactly where you can climb. Head over the rope to the north and jump onto the wall beyond it. You’ll need to climb to the left from here until you’re roughly facing east, then climb up to the top of the broken wall structure. From here you can turn northwest and jump to the top of the other wall, then down into where the northeast pillar and the platform are. Again, all of this is shown in the gif below if you’re struggling.
A brief cutscene will play once you place the pillar on the platform, indicating that part of the gate to the tomb has opened. You’ll need to complete the other puzzles before you can get through.
How to Complete the Southeast Puzzle
Assuming you’re starting from the position of the northeast platform, you should now head south, jump over the spikes and onto the weighted wooden platform which moves down when you stand on it, just above the southeast platform. As this lowers you can dive into the water and swim under to reach the other side. Here you’ll find a fire pot which you can use to destroy the rubble to its east, as shown in the screenshot below.
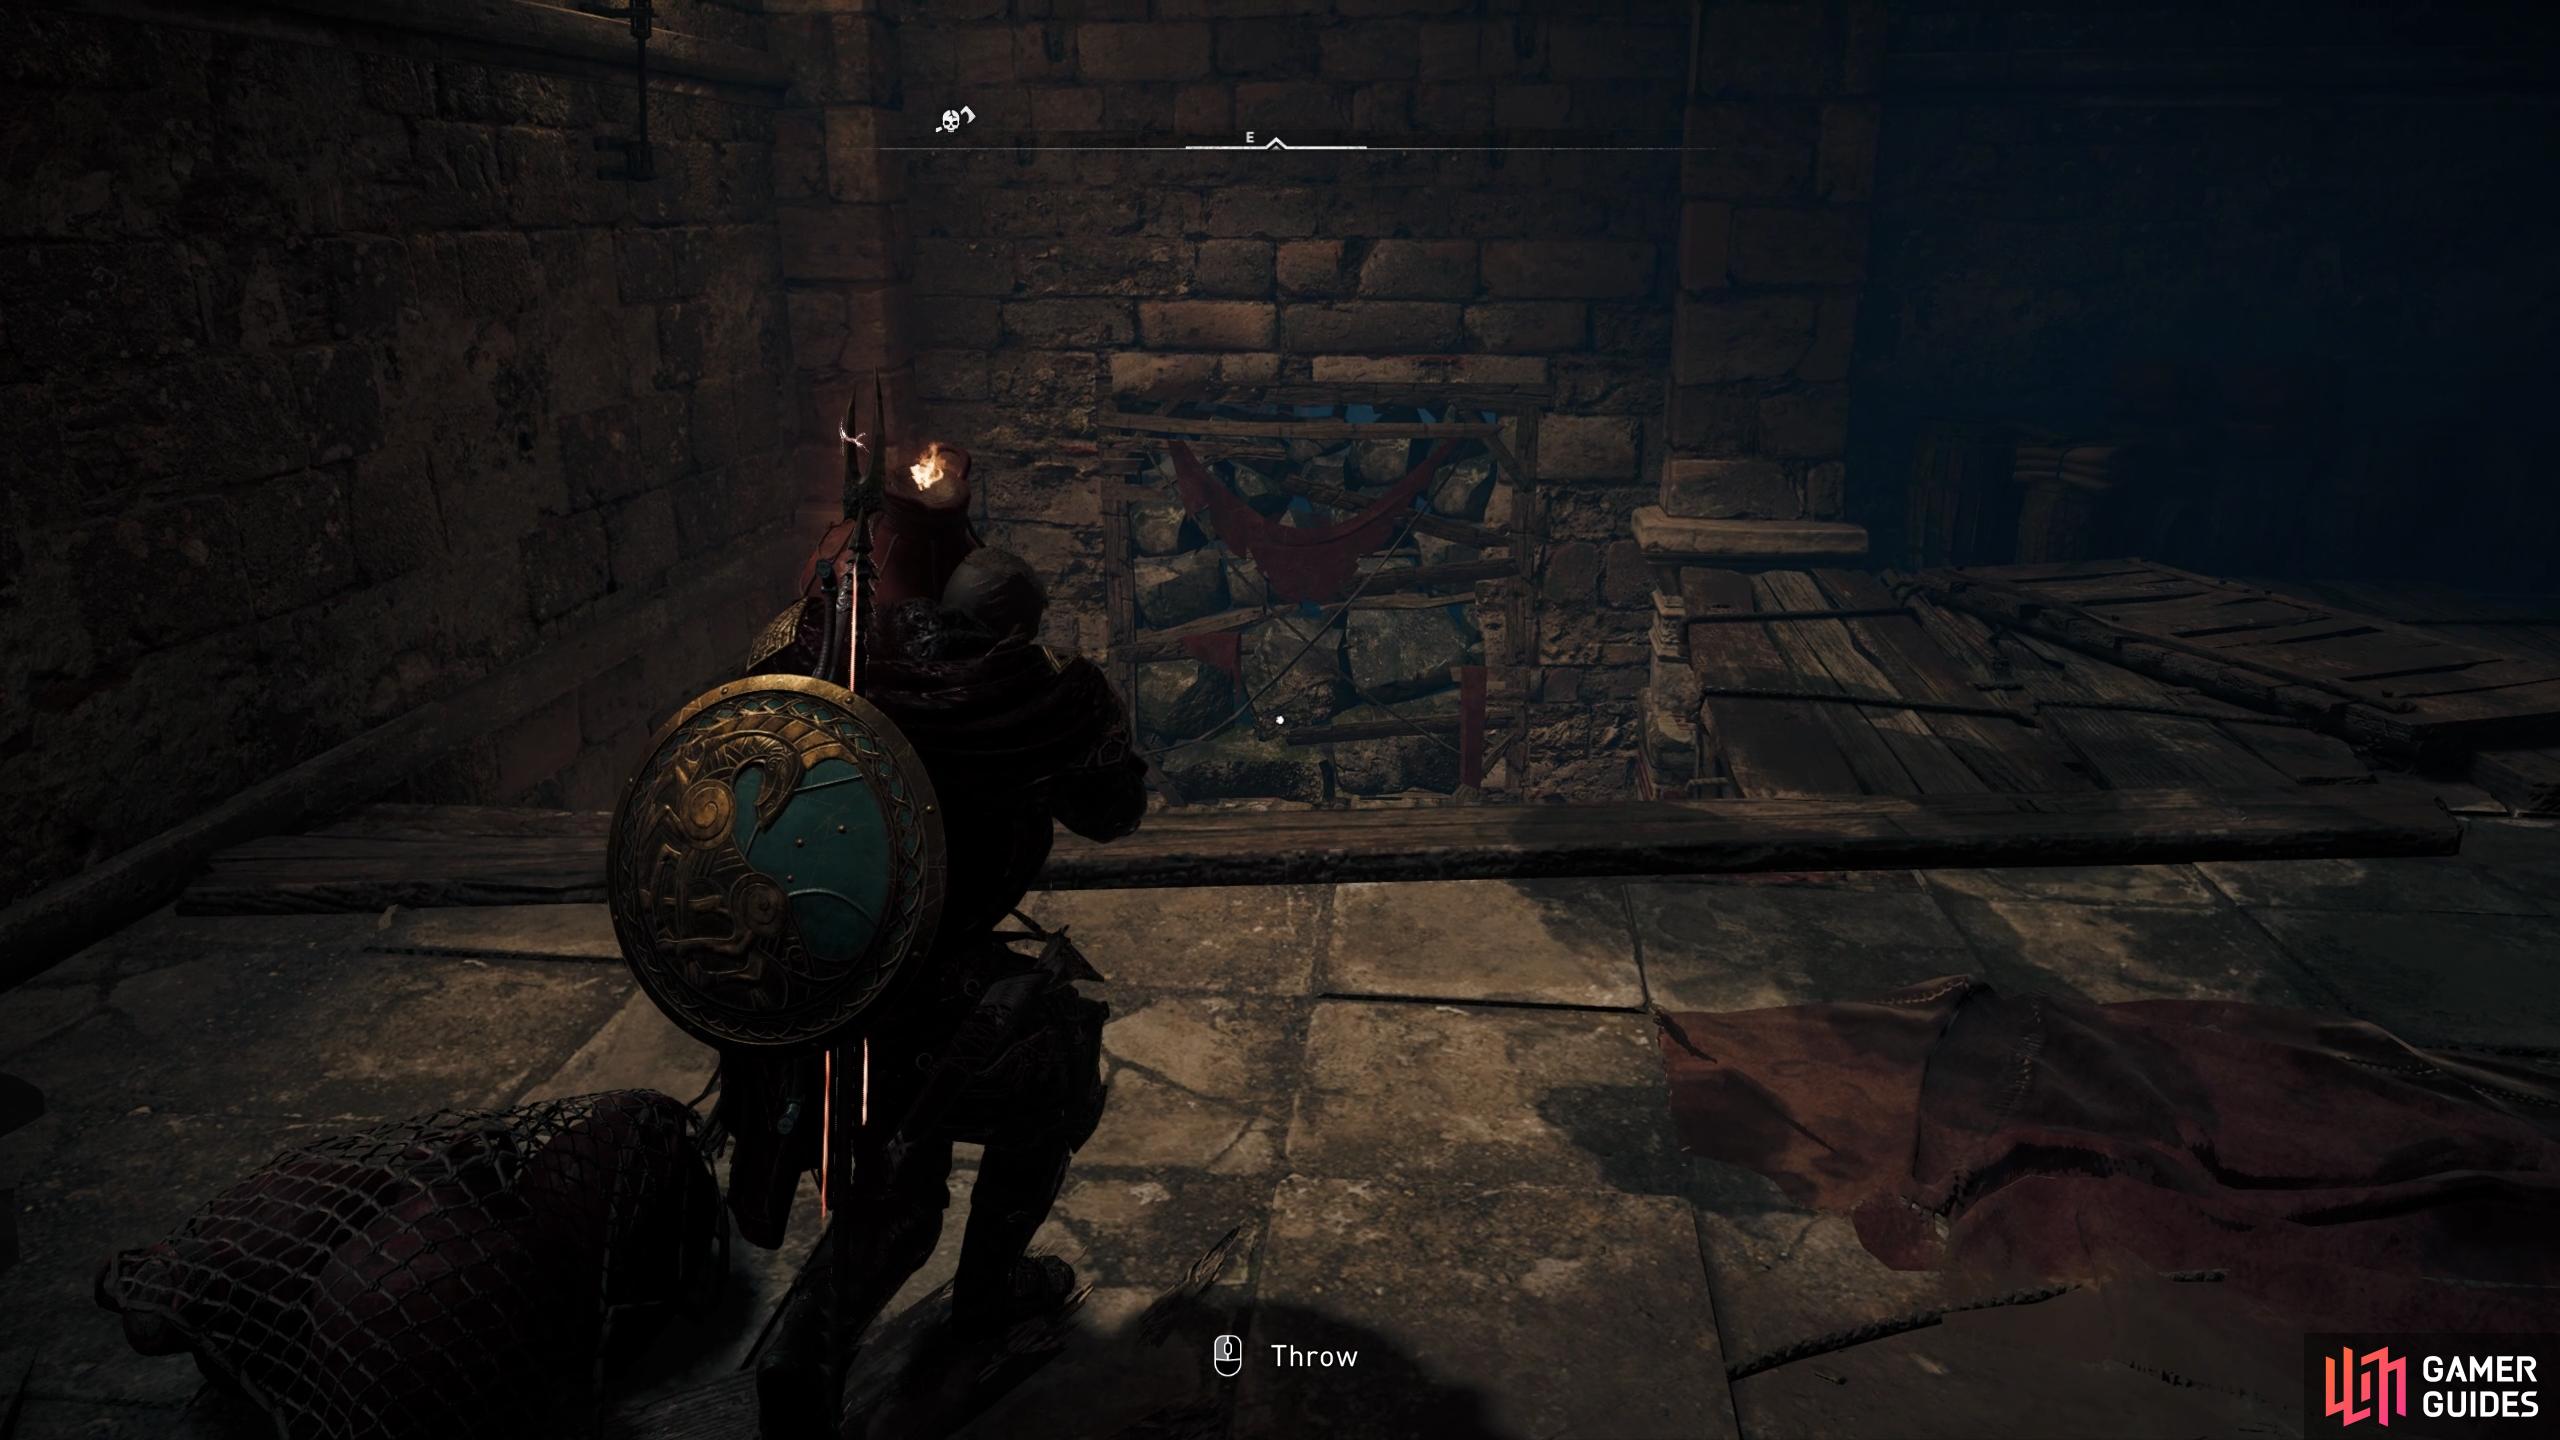
Use the fire pot to destroy the rubble blocking the way forward, or use Incendiary Powder trap ability if you miss.
Once you’re on the other side of the now destroyed barricade, you’ll need to head forwards and then turn right to find another destructible wooden wall. Shoot this to reveal a barricade on the other side and then slide under the hole in the wall behind the hanging cloth. In here you’ll find another fire pot which you can use to destroy the barricade that was behind the wooden wall.
You can now go through the gap in the wall to find another room with a destructible wooden wall. Shoot this and then push the movable barricade at the southern end of the room onto the platform to its east. This will cause the platform to your left to begin rising upwards. You’ll need to jump on this quickly and then jump to the platform to your east, where another fire pot is waiting. You can use this to destroy the barricade where the platform which you lowered with the movable barricade is, as shown in the gif below.
With the barricade destroyed, you can dive into the water and swim through the hole it left behind. You’ll find a key in this body of water which you can take back to the chamber where the locked door with a note next to it is found (opposite the hole in the wall covered by cloth). Use the key to open the door, then step inside to find the pillar you’ll need to place on the platform in the main chamber. Shoot the lock on the door and then open it before pushing the pillar through.

You’ll need to destroy another barricade on the other side of the door, before continuing to push the pillar towards another door next to a ladder. Shoot the lock on this door and then push the pillar through as far as it will go. You’ll then need to climb the ladder and push a stone pillar through the door ahead, turning left, before pushing the pillar onto the weighted wooden platform. This will move it down far enough so that you can now drag the pillar through into the main chamber and place it onto the platform, thereby opening another part of the main gate into the tomb.
How to Complete the Southwest Puzzle
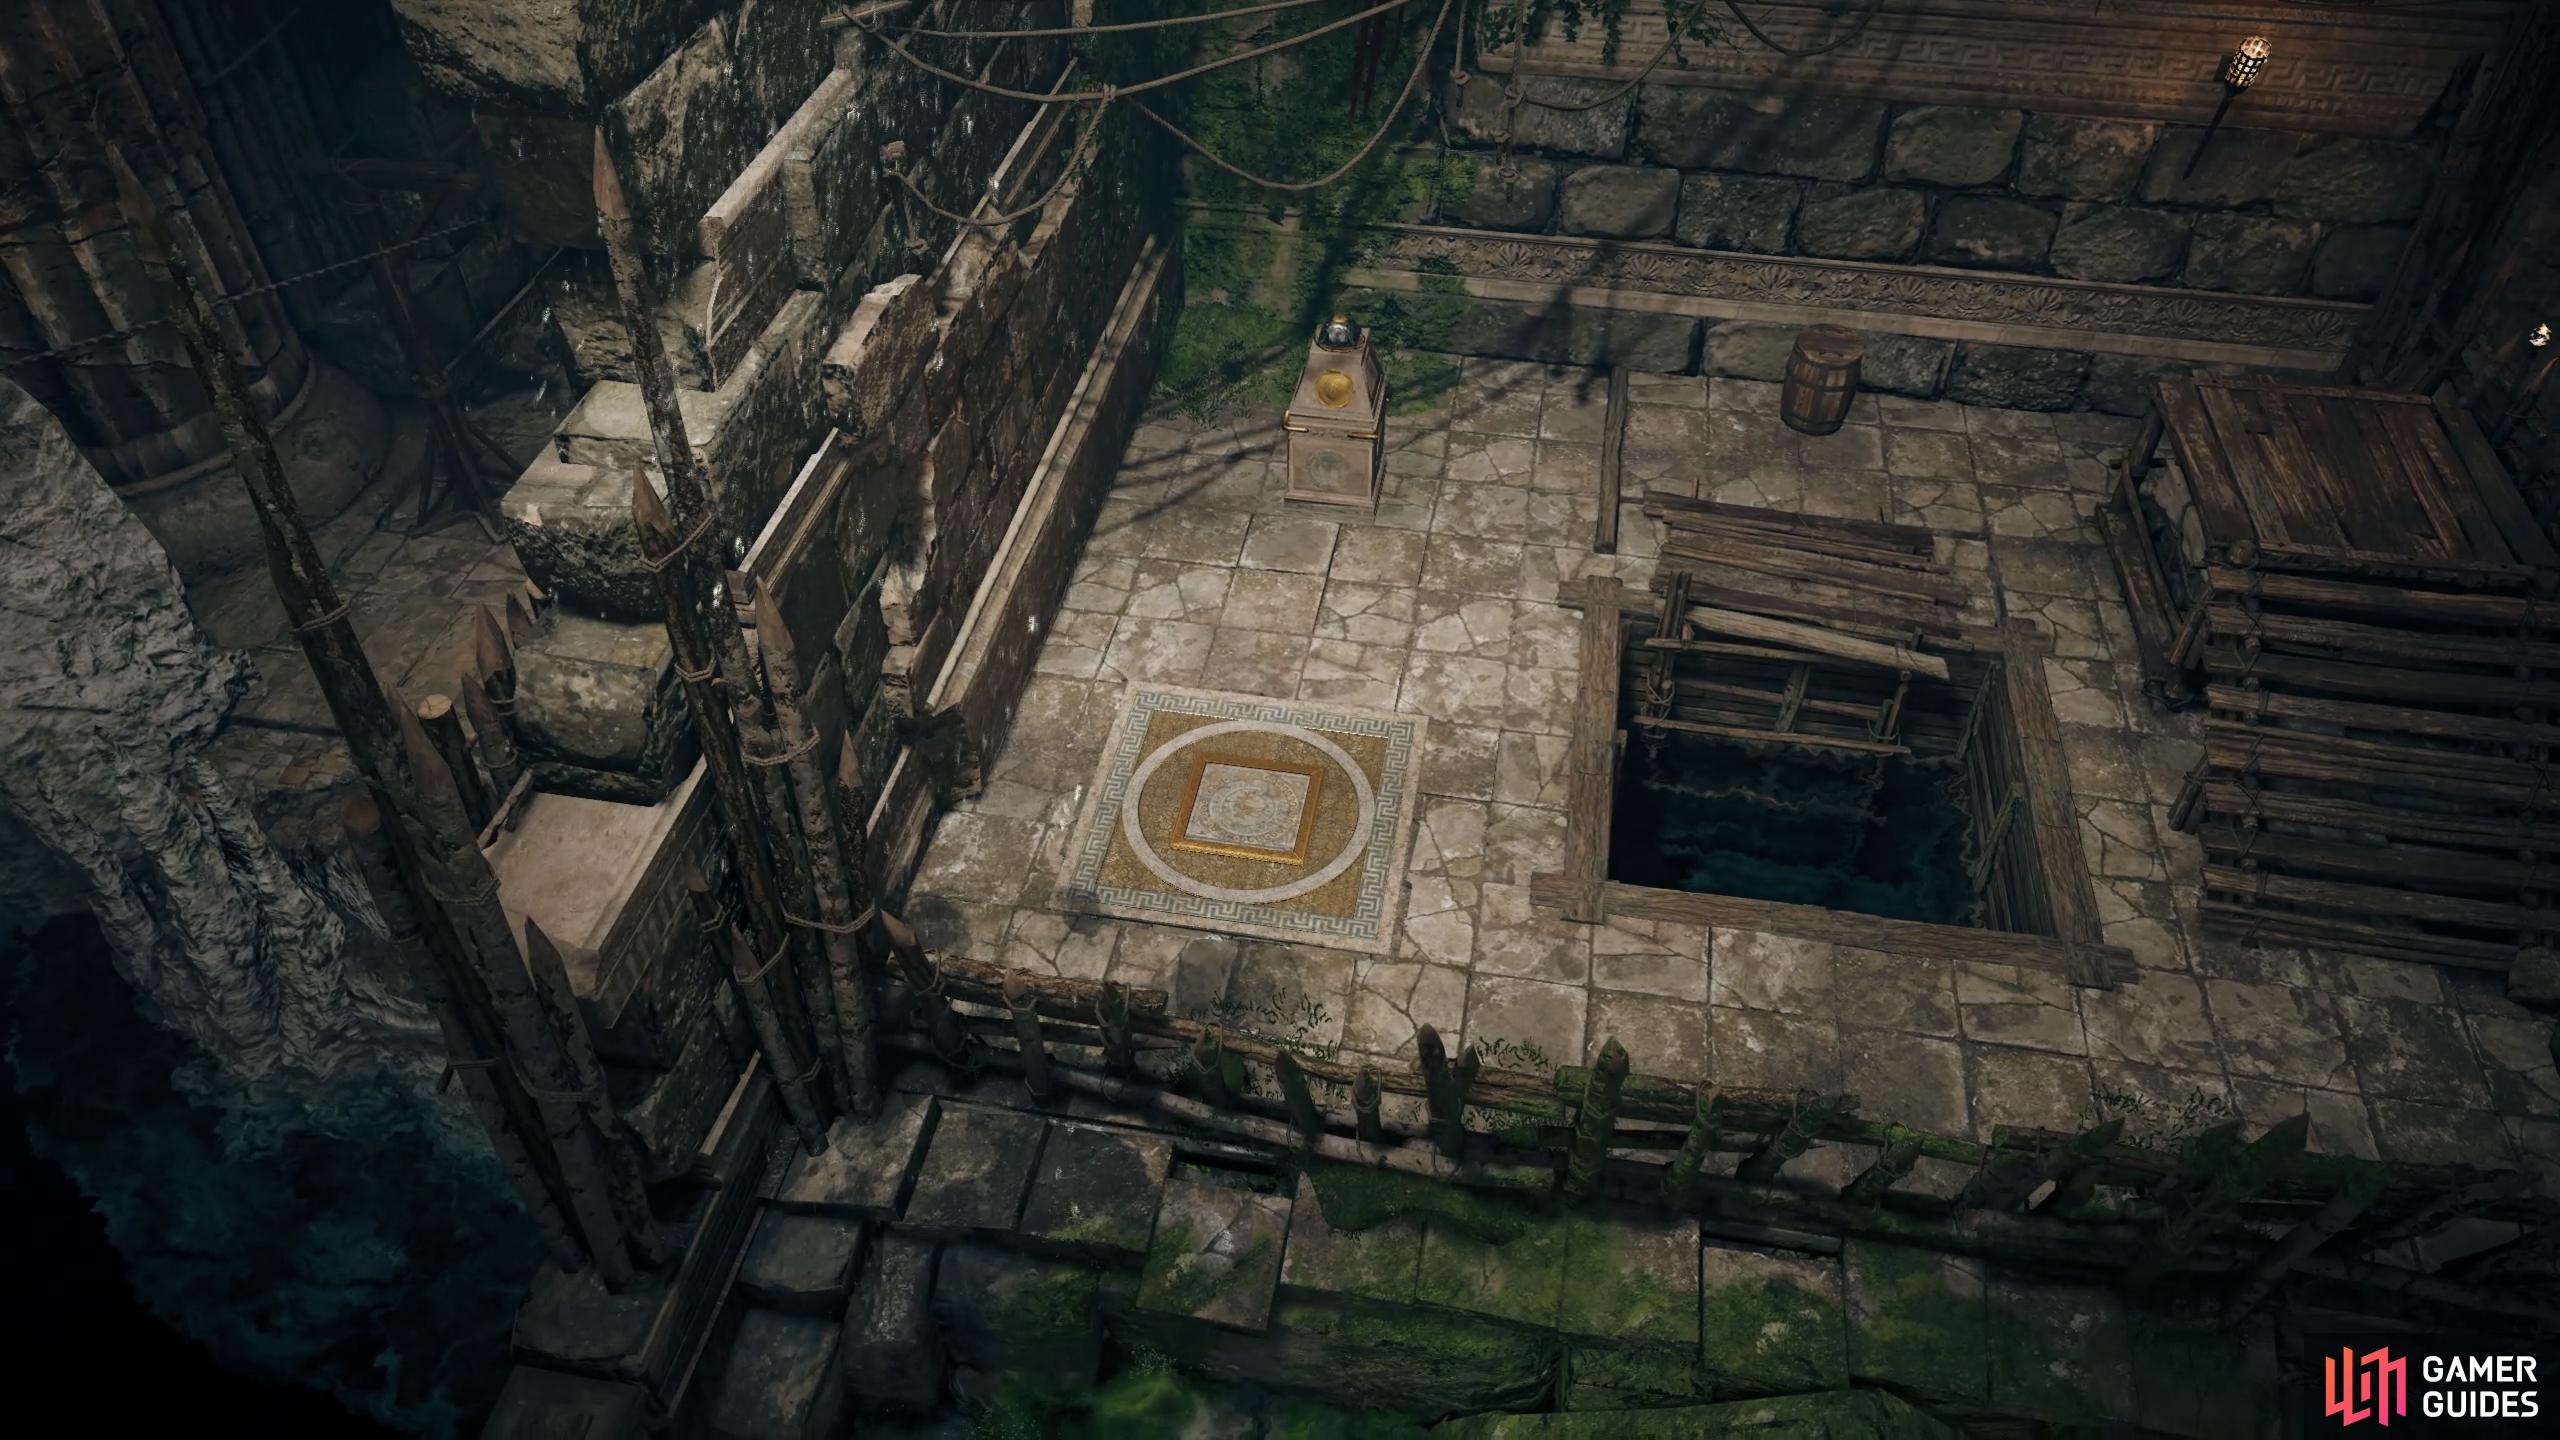
Now that you’re done with the northeast and southeast puzzles, you can dive into the water and head to the southwest puzzle platform. Dive into the water to the south of this and break the first pulley that you come across, raising the gate to your left. You can then swim through while avoiding the rotating spikes until you find another pulley that you can destroy with a melee strike. This will raise another gate behind you, which you can now swim through to reach a sunken platform. You’ll need to swim to the top and shoot yet another pulley from the nearby wooden platform, as shown in the screenshot below. This will allow you to jump over the spikes and into the body of water on the other side, where you can swim to the wooden platforms to the west.
(1 of 3) You’ll need to hit the first pulley with a melee strike to raise the gate to your left.
Once you’ve reached these platforms, jump up them heading westward until you reach the lever on a higher wooden platform, which you can use to release a spherical object. This is the object you need to place on the southwest platform in the main chamber, so it’s important that you don’t lose it. Carry it with you back down and place it on the wooden platform partially covered in moss, as shown in the gif below. You can then turn south to find a pulley in the water below, which you can shoot to raise platforms to your right. Jump onto the rope in front of you and follow the moving platforms westward, until you see a stone pillar to the northeast. Push this forward so that it falls onto the wooden platform below, then drag it onto the platform, causing it to move down.
You can now pick up the spherical object again and jump up on the platform to your left, then onto the wooden plank sticking out of the wall and on top of the stone wall above it. You’ll now need to jump down and place the spherical object on the ground to your right, then push the movable barricade onto the platform northwards, and again westwards, as shown in the gif below. You can then jump on to the barricade to avoid the spikes, turn left onto the wooden plank, and shoot the pulley above you. This will begin to lower another platform to the west, which you can jump onto and destroy the wooden wall to find a key on the corpse behind it.
Now that you have the key you can jump down and open the door to your left. You’ll find another stone pillar here which you can pull outwards and then onto the platform to your right. This will cause it to lower while raising the platform next to it. You will now need to push the movable barricade off this platform, allowing it to rise again, before jumping onto it and over the hanging ropes into the room directly above to the northeast.
In this room you’ll find another locked door, which you can open and then go through to find yourself in the main chamber again, where you can place the spherical object on the southwest platform to unlock another part of the main gate to the tomb.
How to Complete the Northwest Puzzle
The final puzzle at the northwest of the main chamber is fairly short and simple compared with the last two. You’ll need to start by diving into the water and hitting the pulley, which raises the gate in front of you. Next, destroy the wooden barricade to your left to reveal another pulley. Hit that and then turn to the northeast to see another pulley revealed by the rising platform. This last pulley will raise the platform to the northwest, which you can now climb onto and into the next part of the puzzle.
From this platform, shoot the wooden barricade in the distance to the northeast, then jump into the water and swim to the platform where the barricade was. You’ll find a pulley on the other side to your left, which you’ll need to shoot. You can now head back and jump into the main body of water, swimming through the hole beneath to the southeast. Once on the other side you’ll need to shoot two more pulleys and the lock to a door, as shown in the gif below.
From this point you can jump over the platforms to the northwest, use the lever to reveal the spherical object, and take it back over the platforms.
All that remains now is for you to take the spherical object over the wooden platforms that you’ve moved towards the southeast. You’ll soon reach a point where you need to throw the object onto a ledge above you, then climb up to the door. Open the door and pick up the object then take it through to the main chamber where it can be placed on the platform.
Loot Togodomnus’ Bearded Axe
Now that you’ve finally completed all four puzzles in this tomb, you can go through the main gate into Togodomnus’ Tomb. A cutscene will play here, and after it you can loot the chest nearby to the north for Togodomnus’ Bearded Axe. This will complete the tomb, but there’s one more thing that you need to find before you leave: the Togodomnus’ Tomb Artifact.
Where to Find the Togodomnus’ Tomb Artifact
The Togodomnus’ Tomb Artifact can be found by heading north from the chest where you looted the axe, then jumping into the water to find a statue holding the artifact, as shown in the gif below.
You’ve now acquired everything that you can from this tomb, so all that remains is leaving it. You can use your map to teleport away, or you can follow the path to the south to find your way out using the rope wire.
No Comments