
This page offers a guide on where to locate and how to complete Quartzite Ridge Anomaly, which is a Mystery located in Sciropescire, AC Valhalla.
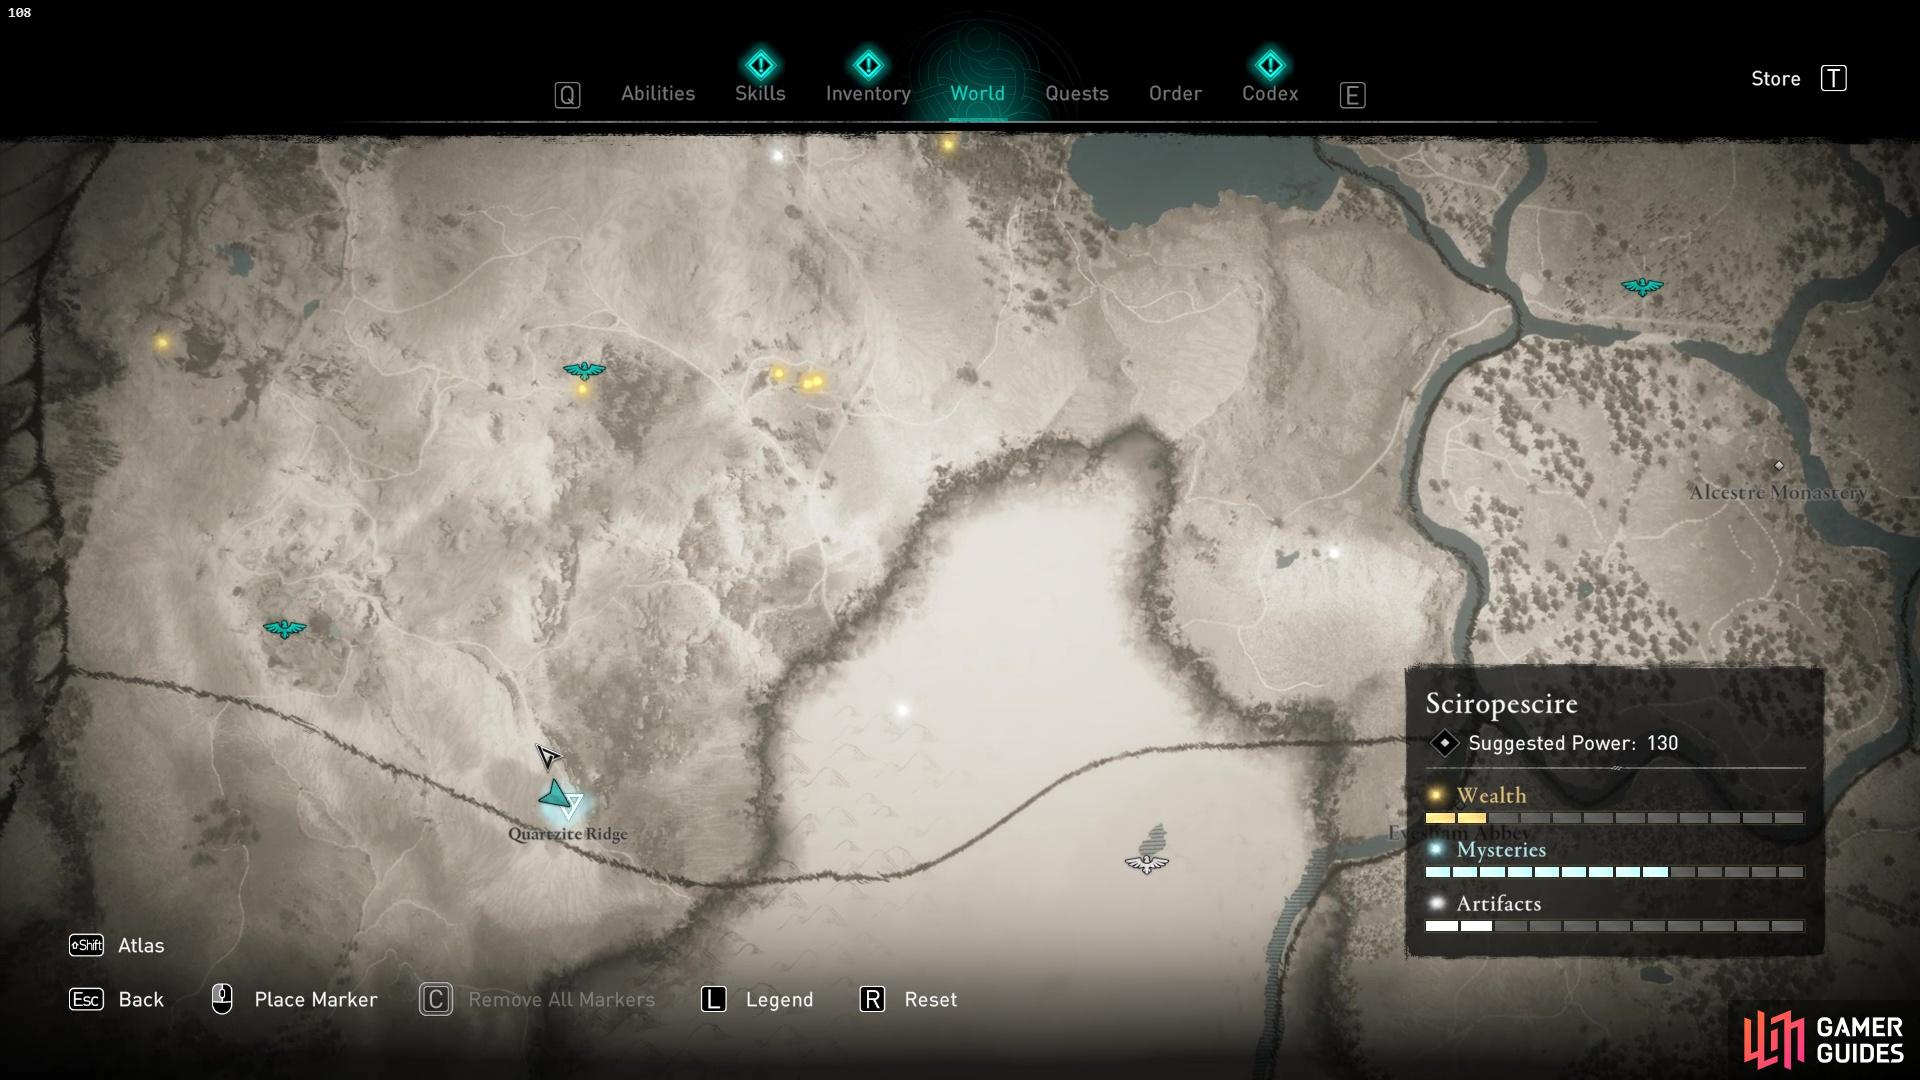
Location: Quartzite Ridge Anomaly mystery.
Repair the Animus Anomaly
This Animus Anomaly mystery can be located southeast of Manstone Rock synchronization point, on the southern border of Sciropescire. When you interact with the anomaly, a glitchy parkour course will reveal itself, and you’ll need to make your way along it to reach the top so you can repair the loose data package that’s creating the anomaly.
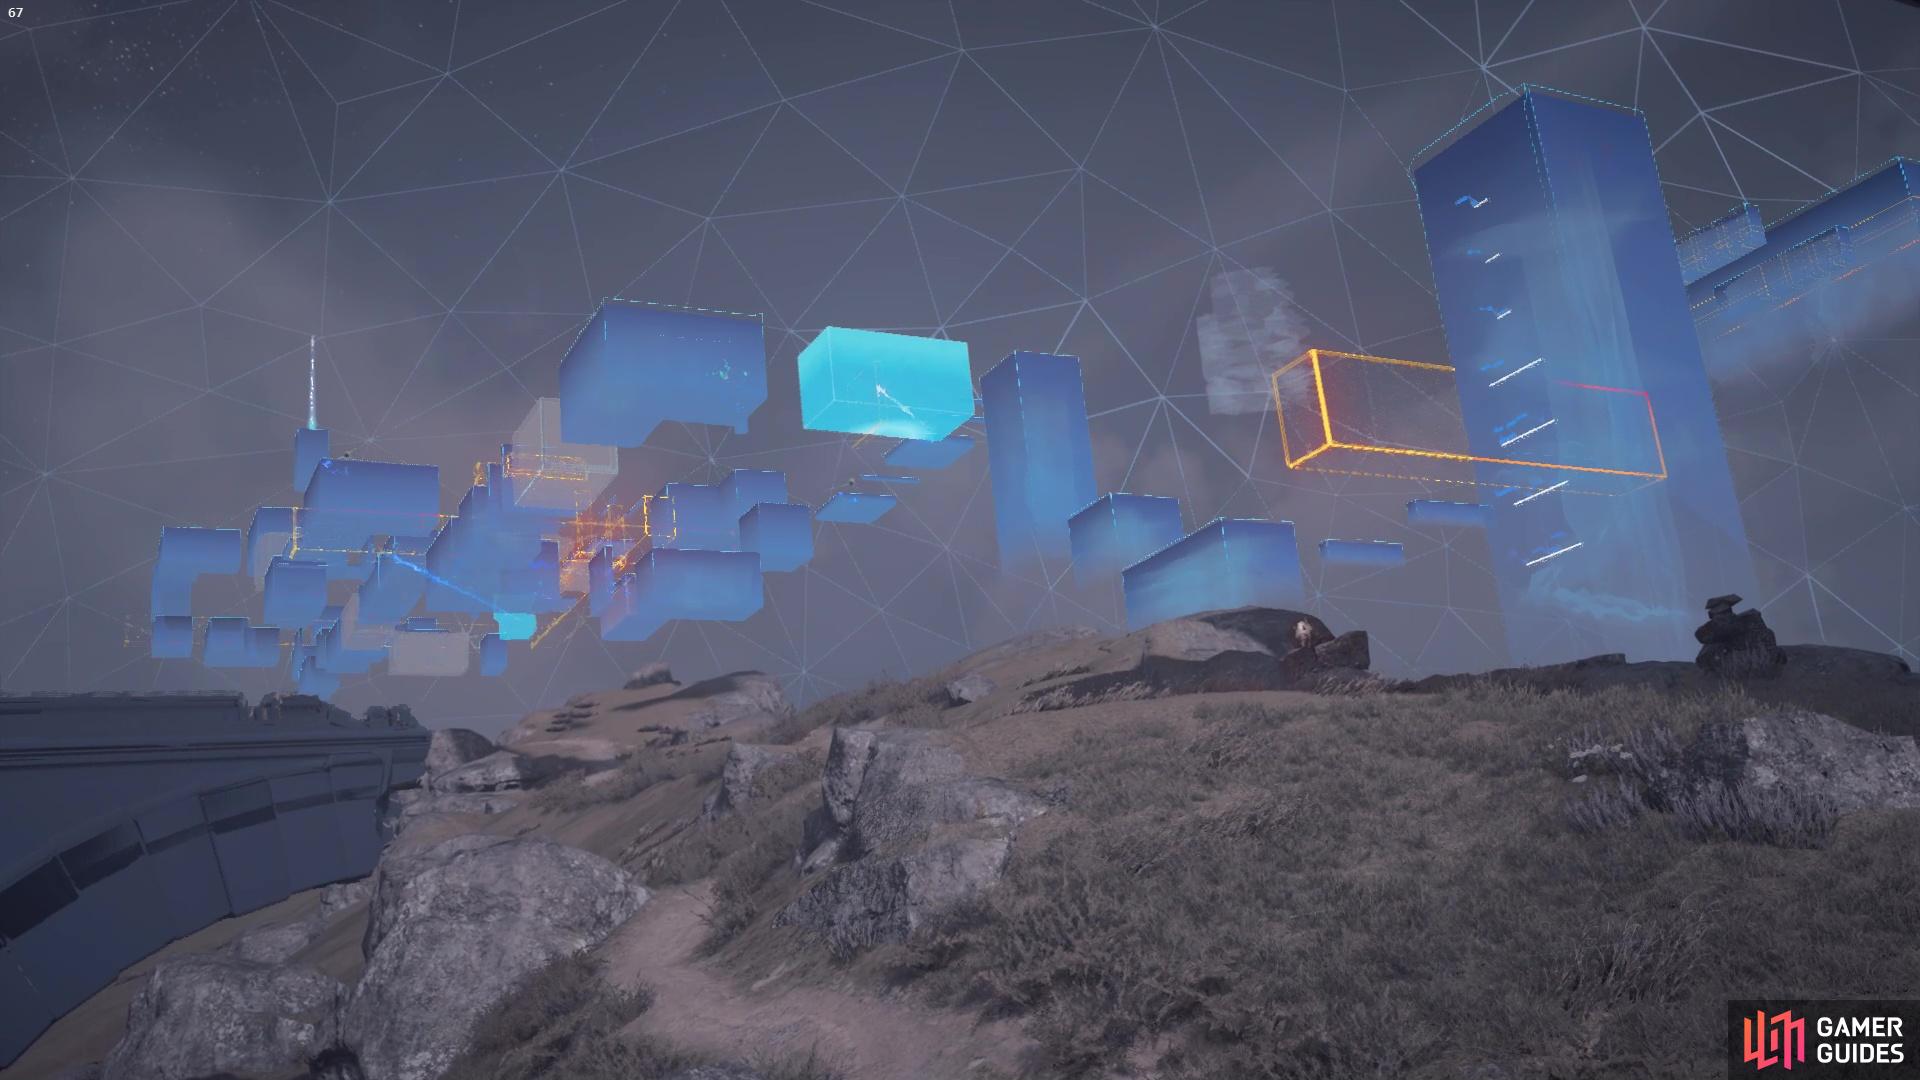
The main aspect of this Animus Anomaly are the hazards!
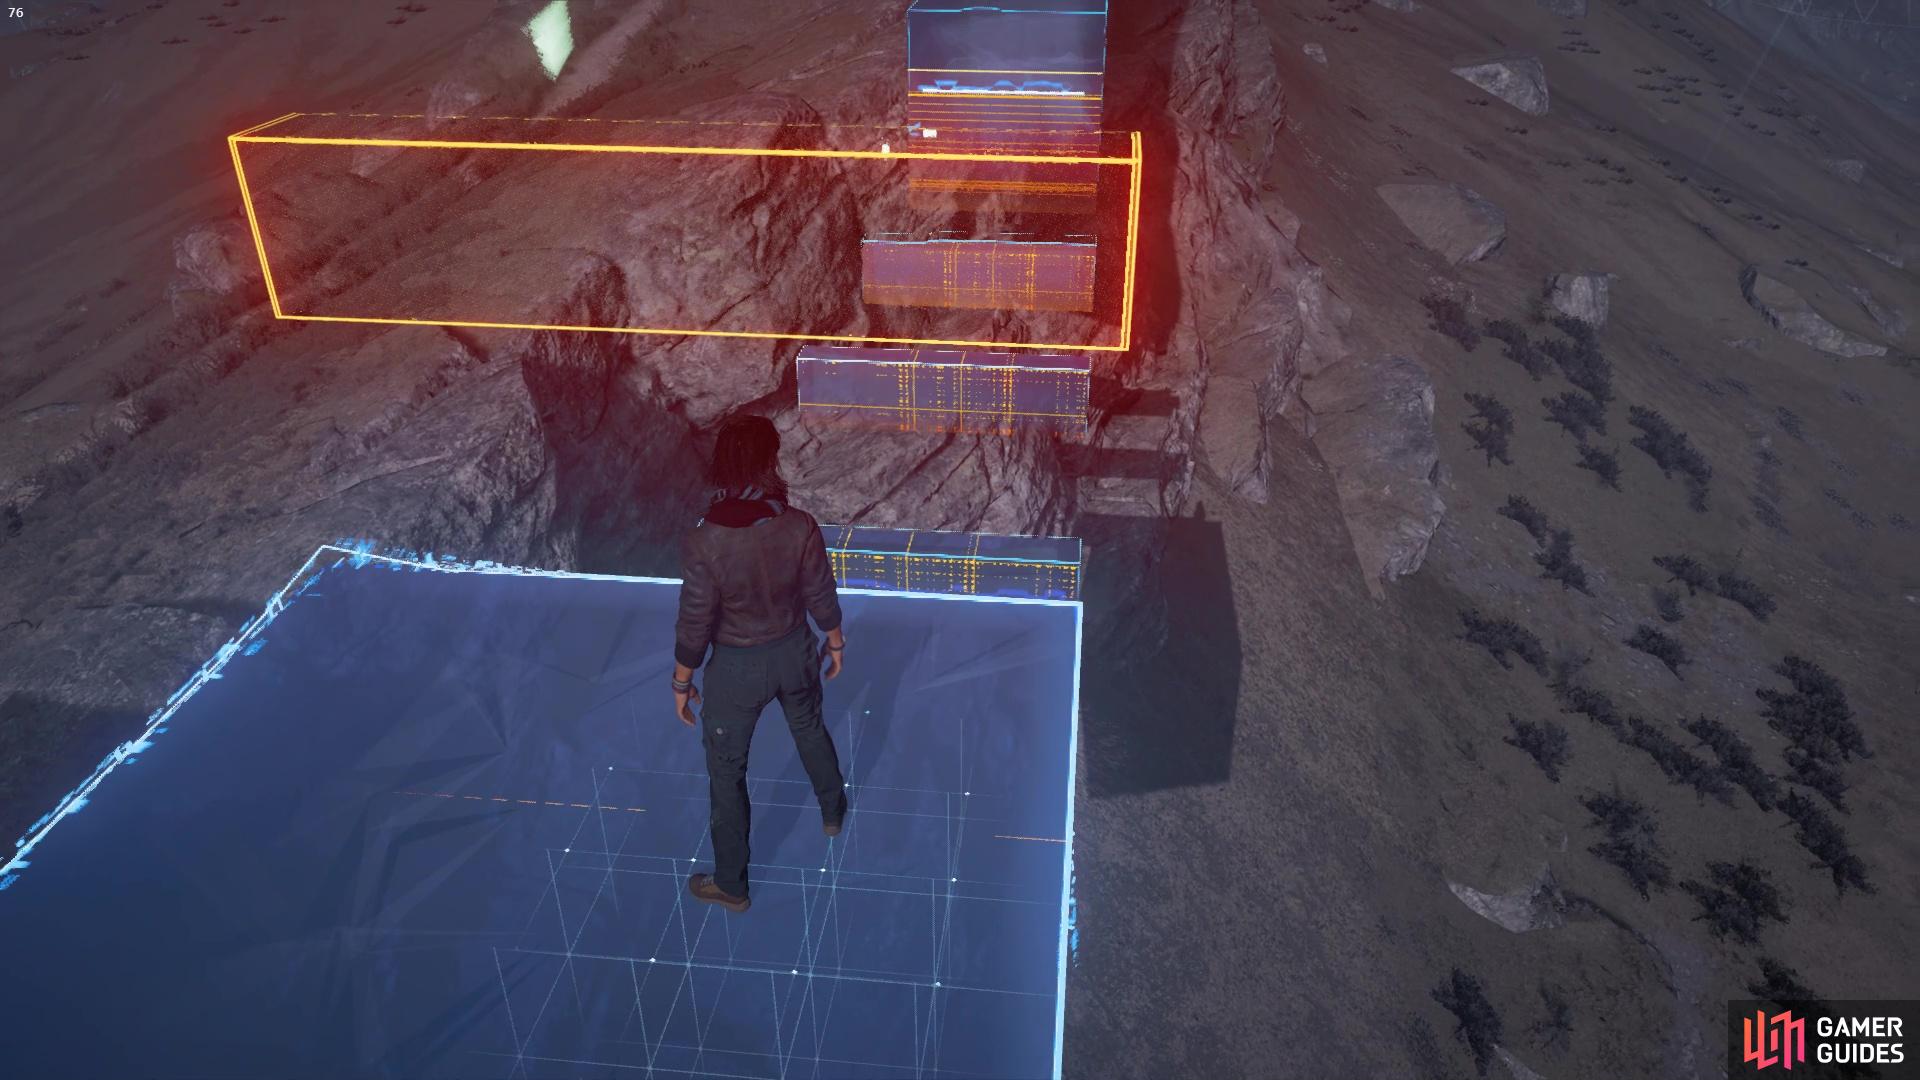
Firstly, you’ll need to head up the hill slightly and make your way over to the wall that you’ll be able to climb up. From the get go, you’ll notice that there are a lot of red hazardous blocks on this course. Touching a hazard block will cause you to desynchronize and respawn at the last checkpoint. The main puzzle of this parkour course is making your way along the path without being caught by the moving hazards.
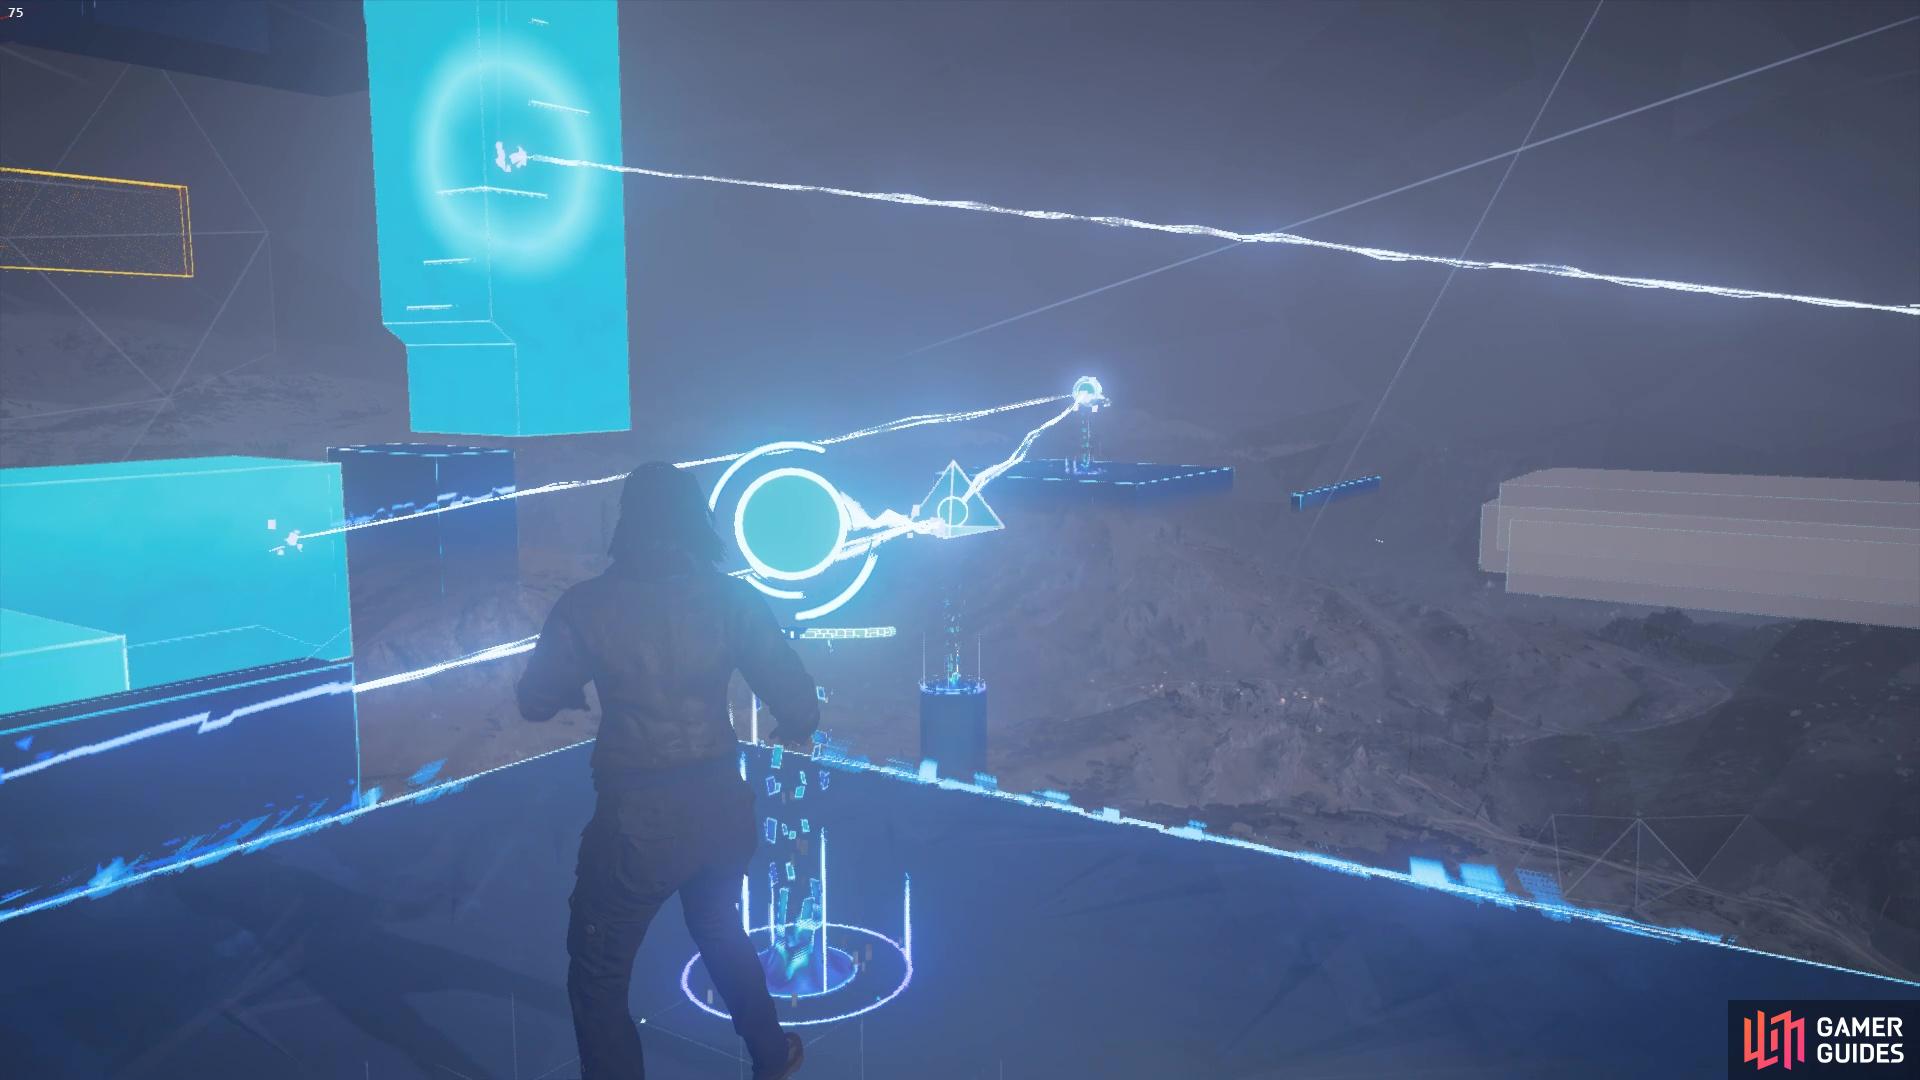
The first section is fairly straightforward, you just need to time your jumps to ensure you don’t get hit by the moving hazards. When you’ve reached the section with the light beams and the unstable structures, you’ll need shine the light beam over at the reflector to the right. Then, hop over to the reflector and shine it onto the splitter. This will cause the light beams to stabilise both unstable structures. Now you’ll be able to continue along the path, just watch out for those hazards!
Watch out for the hazards
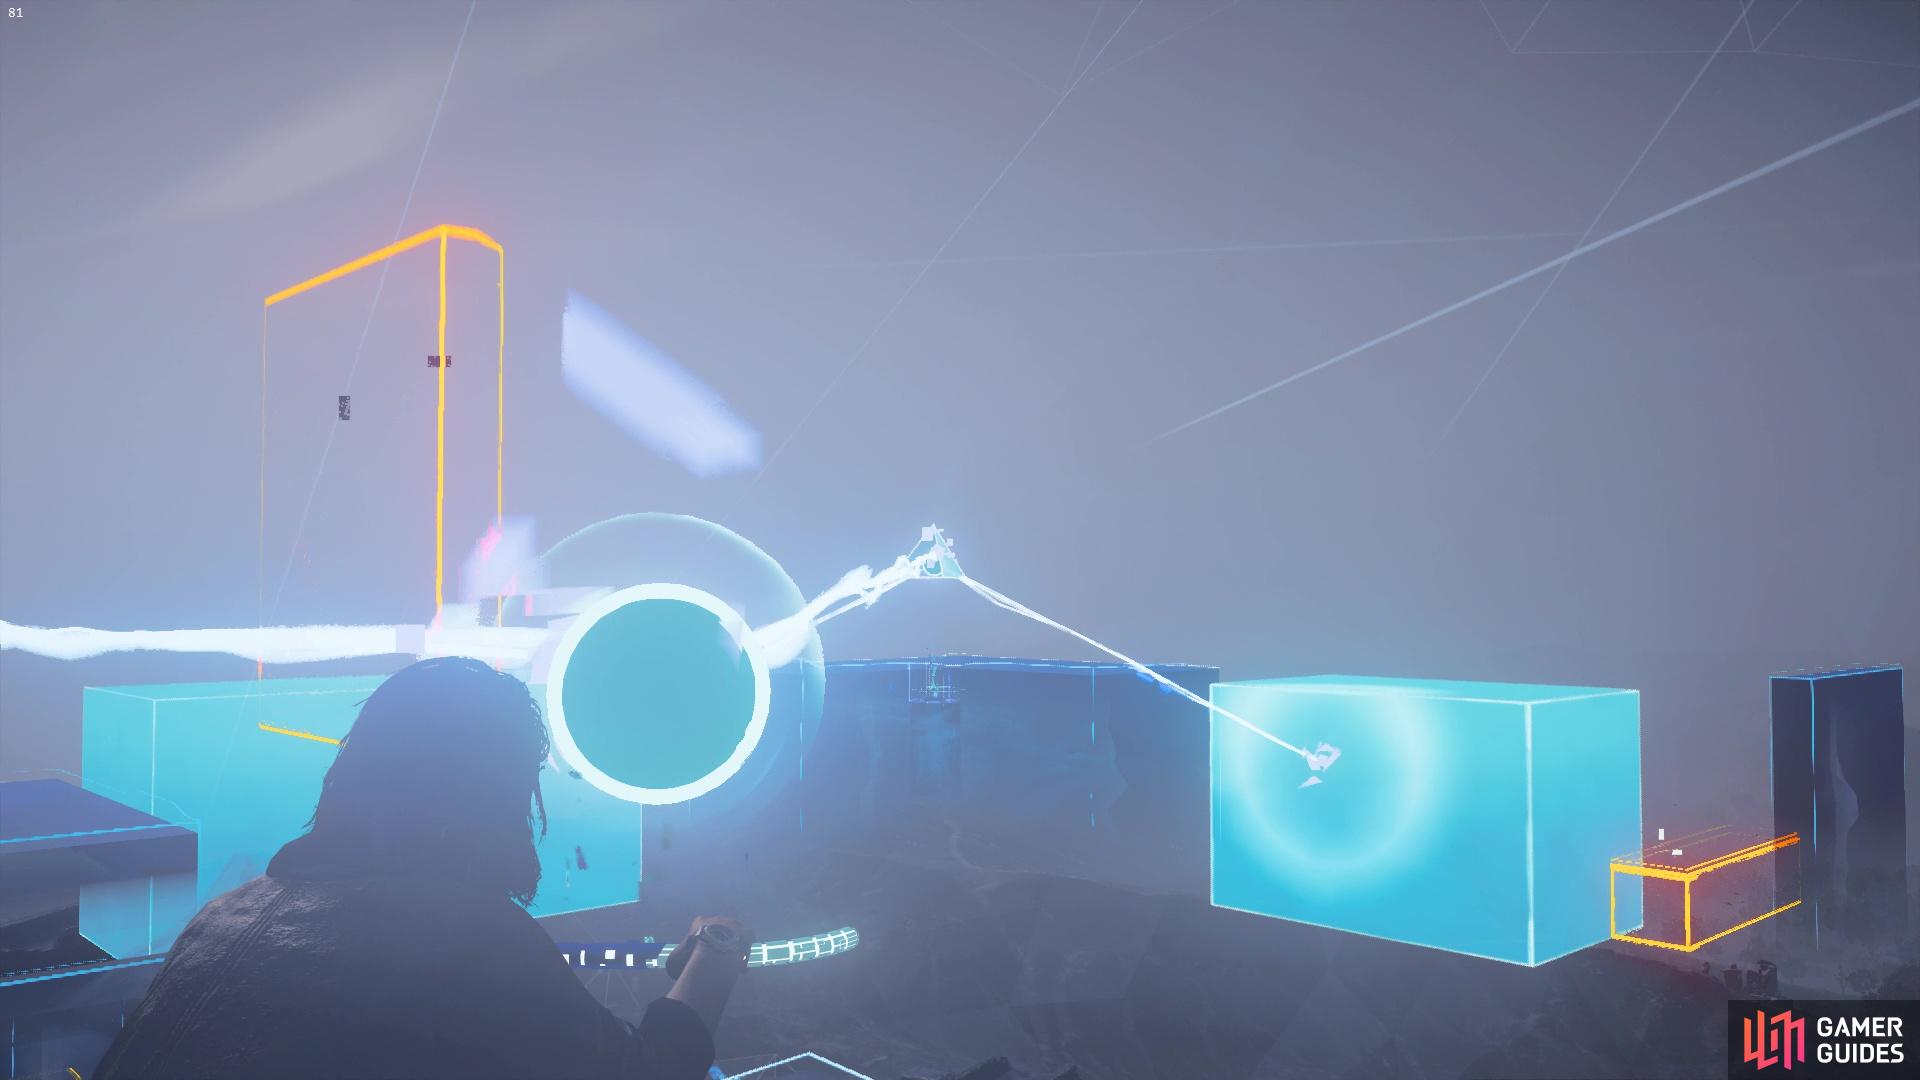
as you make your way over to adjust the beams to stabilise the unstable structures.
After a short while, you’ll come to an area with a lot of hazards. The general rule with these is to wait until they’re behind you to begin jumping but you’ll also want to make sure to keep an eye out for the hazards coming from the side as well. Head along the path towards the light projector, and move the light beam so that it shines on the reflector located at the end of the other path, just opposite. Then, head back and follow the path towards the reflector. Re-adjust the reflector so that it is shining on the unstable structure just ahead.
Make your way up to the next section until you reach another set of light beams and unstable structures. First, shine the light beam up ahead at the unstable structure behind. Then, make your way over to the second light beam projector and shine that at the unstable structure between you and the reflector. Make your way across to then re-adjust the reflector so that when it has a light beam, it’ll shine on the middle unstable structure up ahead. Jump across back to the projector and shine that onto the tall unstable block above the reflector. Then, head back to the first light beam and shine it on the splitter in the middle, you should now have all the structures on the path ahead stabilised.
This is a complicated light beam puzzle since there are so many beams and unstabilized structures involved.
For a while, you’ll need to perform a series of timed runs and jumps to avoid some moving hazards. Again, the general rule of waiting till they are behind you before moving works well to avoid desynchronization. Once, you’ve reached the tall block surrounded by hazards, you’ll need to do the following to avoid being caught by the hazards as you climb up. First, wait for the hazard to have moved down completely and then started moving back up. Follow it upwards for a one jump, then quickly make your way around the wall to the left. Head all the way to the back wall and begin moving all the way up this side. The hazard will be following closely behind you as you climb up but if you’re quick enough you should be able to make it to the top without being caught.
And finally, head across the rungs over to the climb wall and make your way to the top to fix the loose data causing the anomaly and complete the mystery.
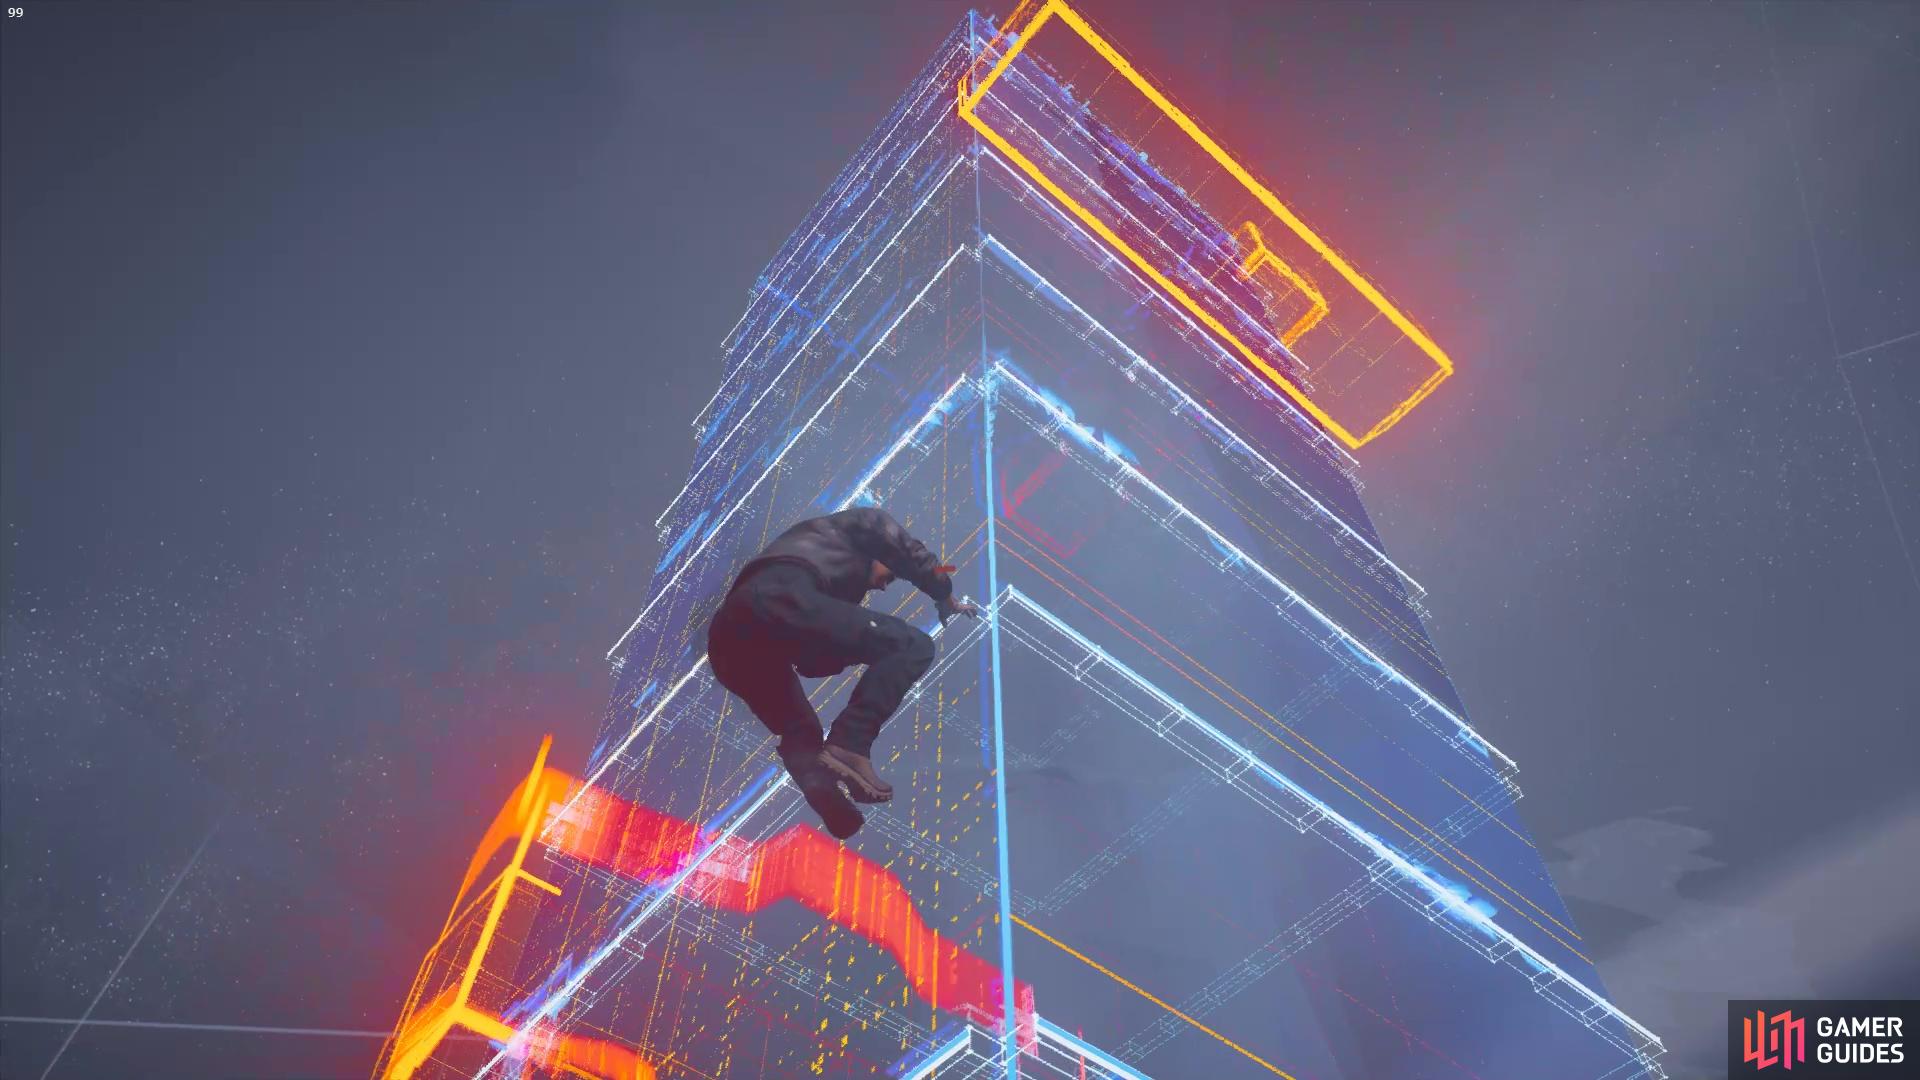
Head up the tower, but make sure you’re not in the way of the hazards or you’ll have to begin again!
No Comments