
This page details how to get the highest mastery points for the gold medal during the Trial of the Bear at the East Anglia - Dunwic Mastery Challenge.
How to Get the Gold Medal
Trial of the Bear Objectives
To earn the gold medal for the Trial of the Bear at Dunwic, you need to earn the following points for each objective, which amount to the perfect score of 1,000 points combined.
| Objective | Mastery Points |
|---|---|
| Melee kills | 440 |
| Parry | 330 |
| Keep Hildiran’s Health below 100% | 170 |
| Defeat Hildiran | 60 |
How to Keep Hildiran’s Health Below 100%
Bring Hilidran to 70% of Her Health
The first part of this trial will be a fight with Hildiran. She wields a shield and an axe and it can be tough to break through her defences, but if you combine heavy attacks with light attacks you should be able to damage her consistently. You can also try dodging one of her incoming attacks and then immediately retaliating with a light attack, but keep in mind that Hildiran likes to chain attacks, so you can expect most of her initial attacks to be followed by one or two more. If you’re struggling to hit with basic attacks, you can always use Dive of the Valkyries to break her defences. You’ll be hitting her enough to regain most Adrenaline Slots that you may use during this encounter.
Prioritize Parrying
This challenge comprises of three main fights with Hildiran, with groups of enemies between each fight arena. If you just want the bronze medal, you can easily go through this trial killing every enemy that you encounter, without worrying about the fact that Hildiran’s health slowly regenerates to 100% whenever she flees, until you reach her again at the next fight arena checkpoint. However, if you want to earn the gold medal you should prioritize parrying to get that objective completed first.
You will only need to parry 10 times to earn that objective, and although you can focus on parrying during the first fight with Hildiran, you’ll probably find it much more difficult than parrying attacks from regular enemies between the fights with Hildiran. The first group of enemies that you encounter use a lot of ranged attacks, so you’ll find it difficult to get opportunities to parry from them. You can safely kill this group to get them out of the way as quickly as possible, then move to your left to find three enemies who focus more on melee attacks.
Example of Parrying
The below gif shows an example of how you can obtain numerous parries from just the three enemies that you encounter after going down the platforms filled with spikes:
The group of three melee opponents should give you plenty of opportunities to parry 10 times, but keep in mind that each time you parry the opponent will sustain some damage, so you should avoid inflicting any damage until you’ve achieved the 10 parries required to complete that objective. You can then run on to the next fight with Hildiran, which will play out in the same way that the first did. You’ll soon reach a platform with a ladder that you won’t be able to reach unless you move a nearby barricade in front of it first, as shown in the gif below:
Bring Hilidran to 30% of Her Health
The second encounter with Hildiran should be just as easy as the first, only this time she wields a hammer alongside the axe instead of a shield. This will make her slightly more aggressive, but more vulnerable to regular attacks. The important thing is that you reach her before her health has regenerated to 100% again. This time you’ll need to bring her health down to around 30% before she runs off again. At this point you’ll probably have a few melee kills remaining before you complete that objective. Try to kill the groups of enemies in your path as quickly as possible by spamming the Dive of the Valkyries skill. You shouldn’t be afraid to use all of your Adrenaline Slots when doing this, since you can easily rebuild it by hitting enemies with regular hits between using the special ability.
As soon as you’ve killed enough enemies with melee kills to complete that objective, you don’t need to worry about killing any others. You can now focus on reaching Hildiran by running beyond any enemies that you encounter. This should be a fairly simple and easy task, but there is one point where you may be caught off guard: when you encounter a movable barricade next to a lift. The movable barricade doesn’t actually need to be used here. Instead, you can just break the wooden container which is blocking the bottom of the lift, then use the lift to reach the platform above. From here it’s only a brief run up some additional platforms before you reach Hildiran again, at which point you can fight her again and this time, finish her off for good. She’ll be wielding two axes here, but her movements are essentially the same. She’ll just have a bit more reach in her strikes.
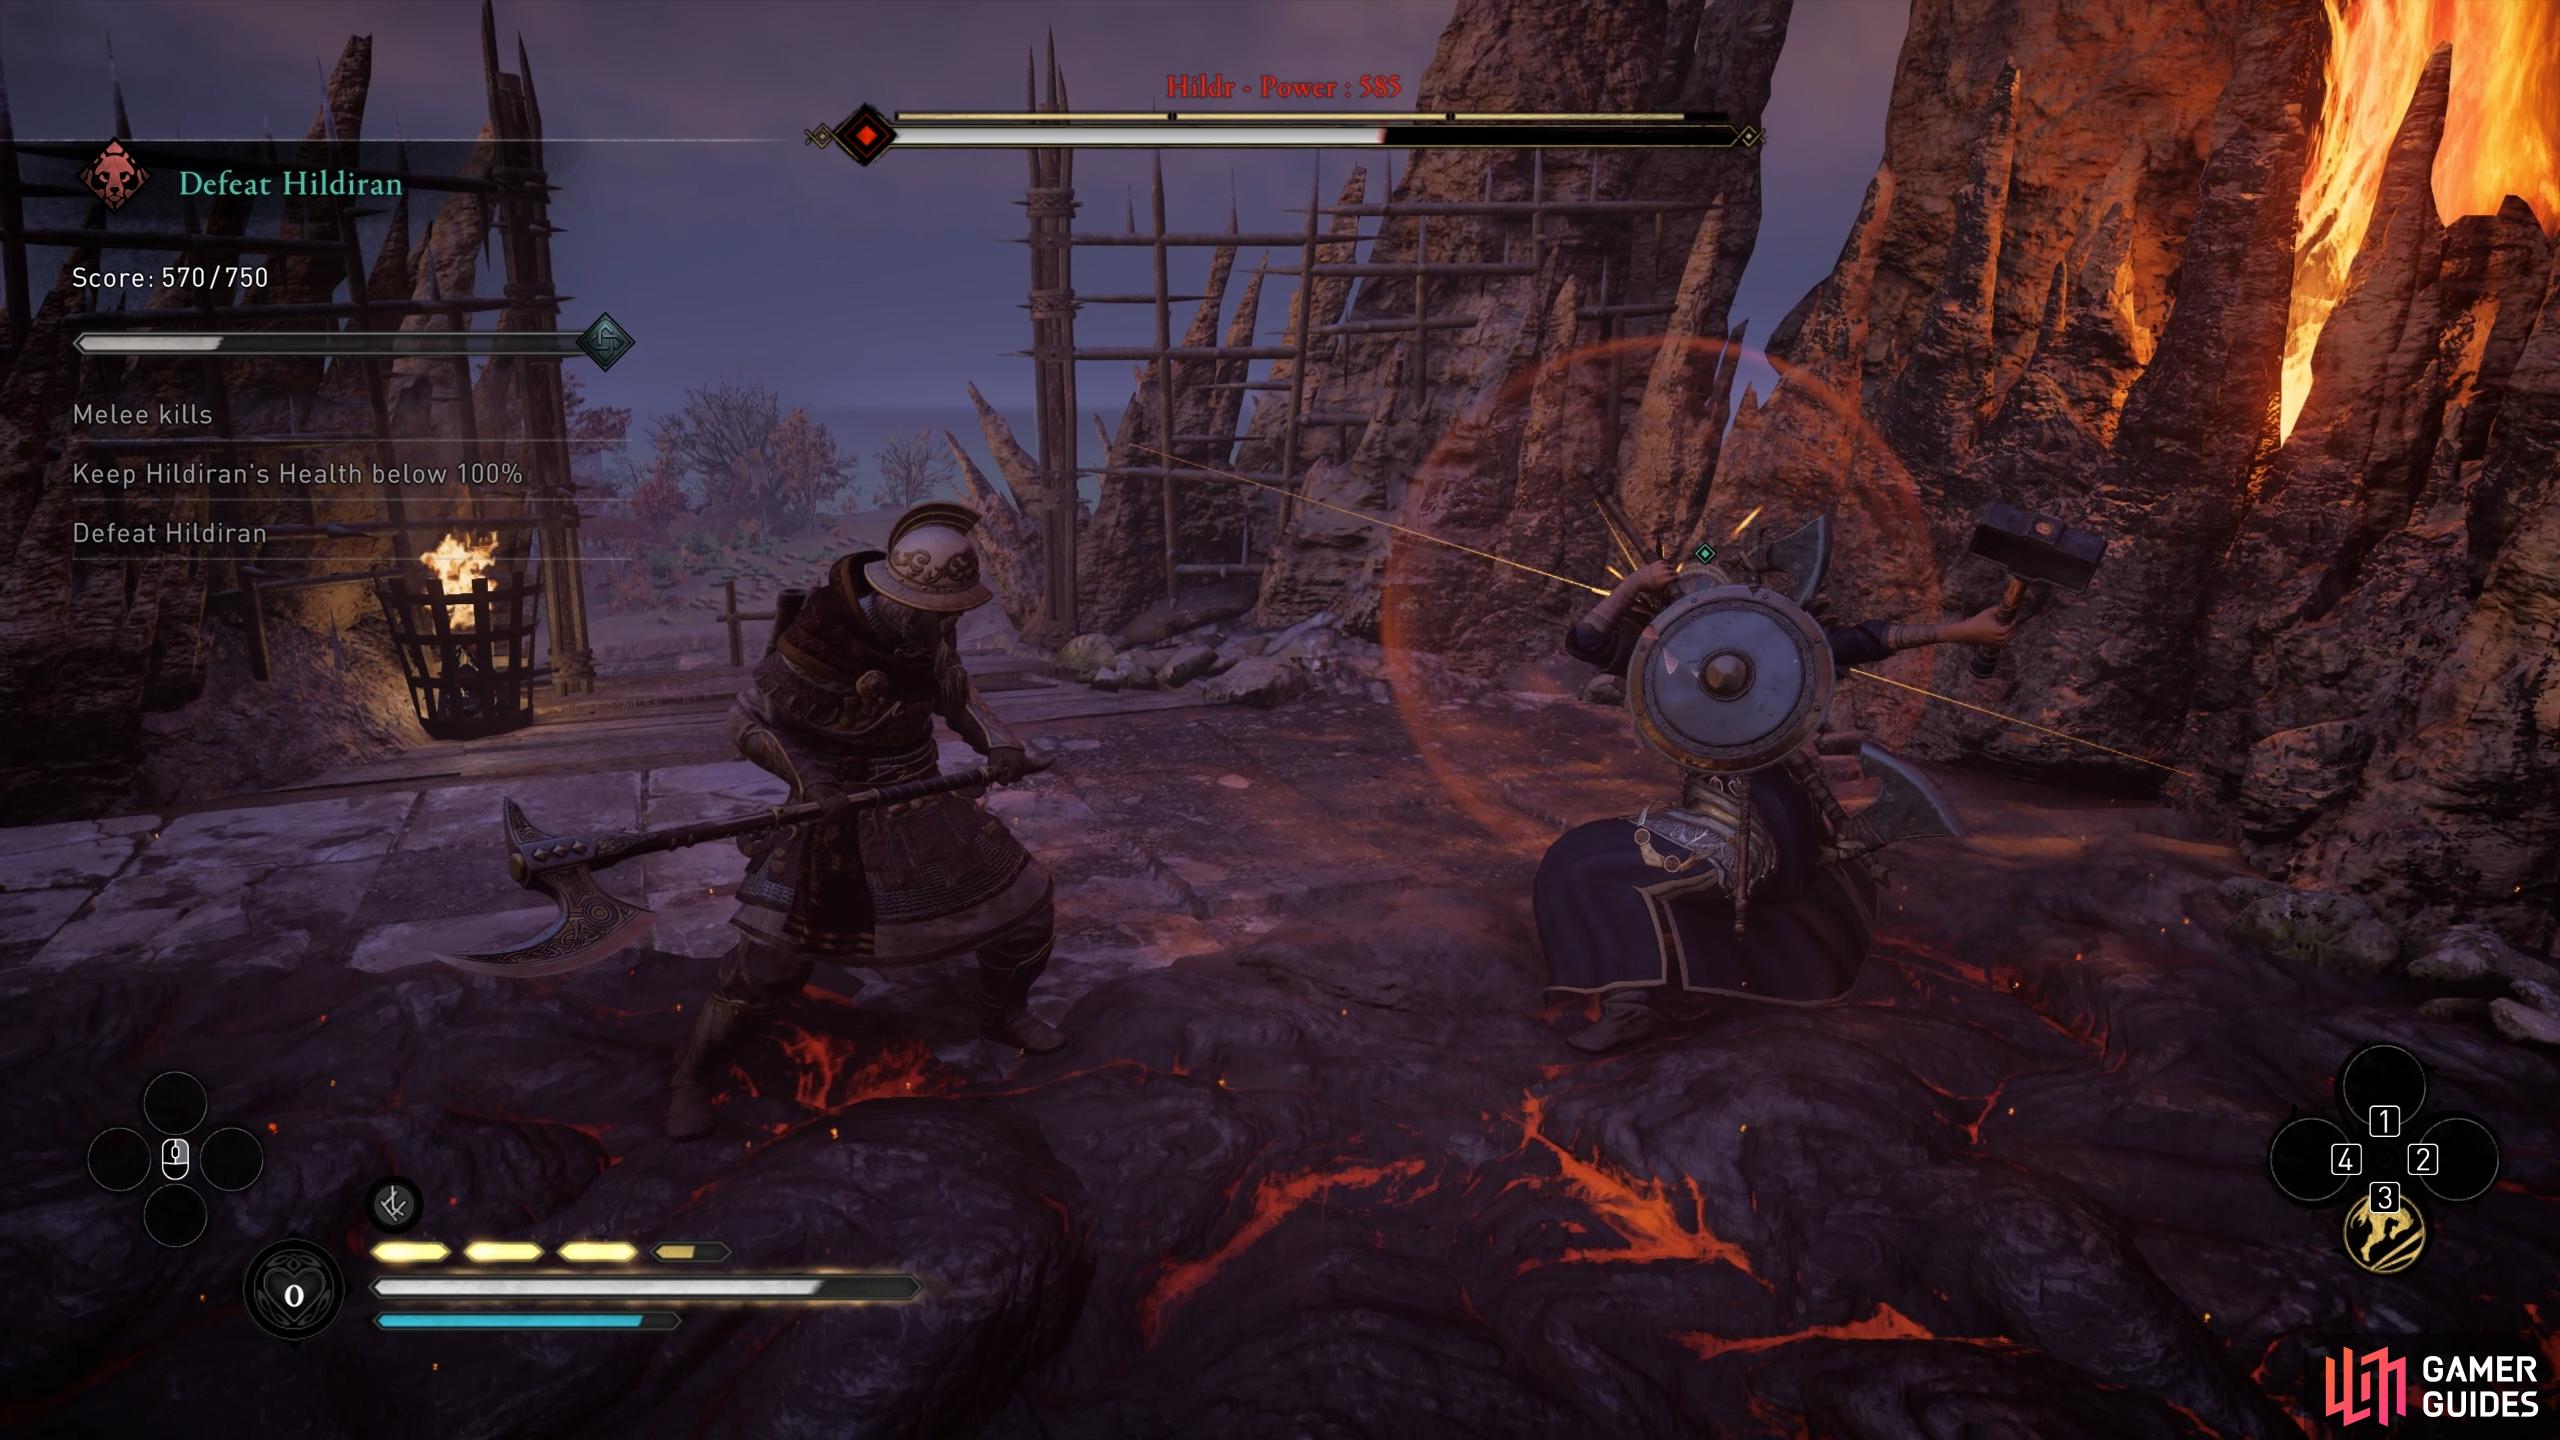
(1 of 4) You can try to parry Hildiran attacks, but you’re better off dodging them to avoid taking damage.
No Comments