
How to Complete the Kaldstat Niflheim Run
The first time you make the jump from Odin’s Camp, you’ll find yourself in Kaldstat. This is the first region of the Niflheim run, and arguably the easiest. You’ll find plenty of Jotnar enemies here, some of which have the ability to teleport or transform into various animals such as bears, wolves, and lynx. The best way to deal with these is by hitting their weak points with your arrows as early as possible. For most Jotnar enemies, this will leave them vulnerable to a stun attack, which you can use to kill them quickly.
The first camp that you encounter in Kaldstat will be filled with regular Jotnar enemies. After this, you’ll need to choose between different paths that you can take through the region. The first choice is whether you go over the western bridge, or the eastern bridge. Once you go over one, both will collapse and there will be no way back unless you restart the run. There’s a quest in a cave accessed from the western bridge, which you’ll need to complete 3 times before you can obtain the Summoned Courage permanent favor. We’ll cover this below.
Kaldstat Quest: Wholesome Warrior
The Wholesome Warrior quest can be found by heading over the southeastern bridge after defeating the first camp in Kaldstat. You’ll find more camps over this bridge, but crucially you’ll also find the entrance to a cave, with ice walls blocking the entrance. You can break the ice walls with your melee or ranged weapon, then proceed within and interact with the sword monument. At this point a headless warrior named Skjaldmaer will appear, and you’ll need to defeat them. They can be quite resistant to regular melee or ranged attacks, but if you hit their weak points and then perform a stun attack, they will die in just a few hits. Alternatively you can rely on one of your special abilities. Either way, nothing will happen at this stage until you’ve defeated her two more times on subsequent runs. Only then will the quest complete, at which point you’ll receive the Summoned Courage permanent favor.
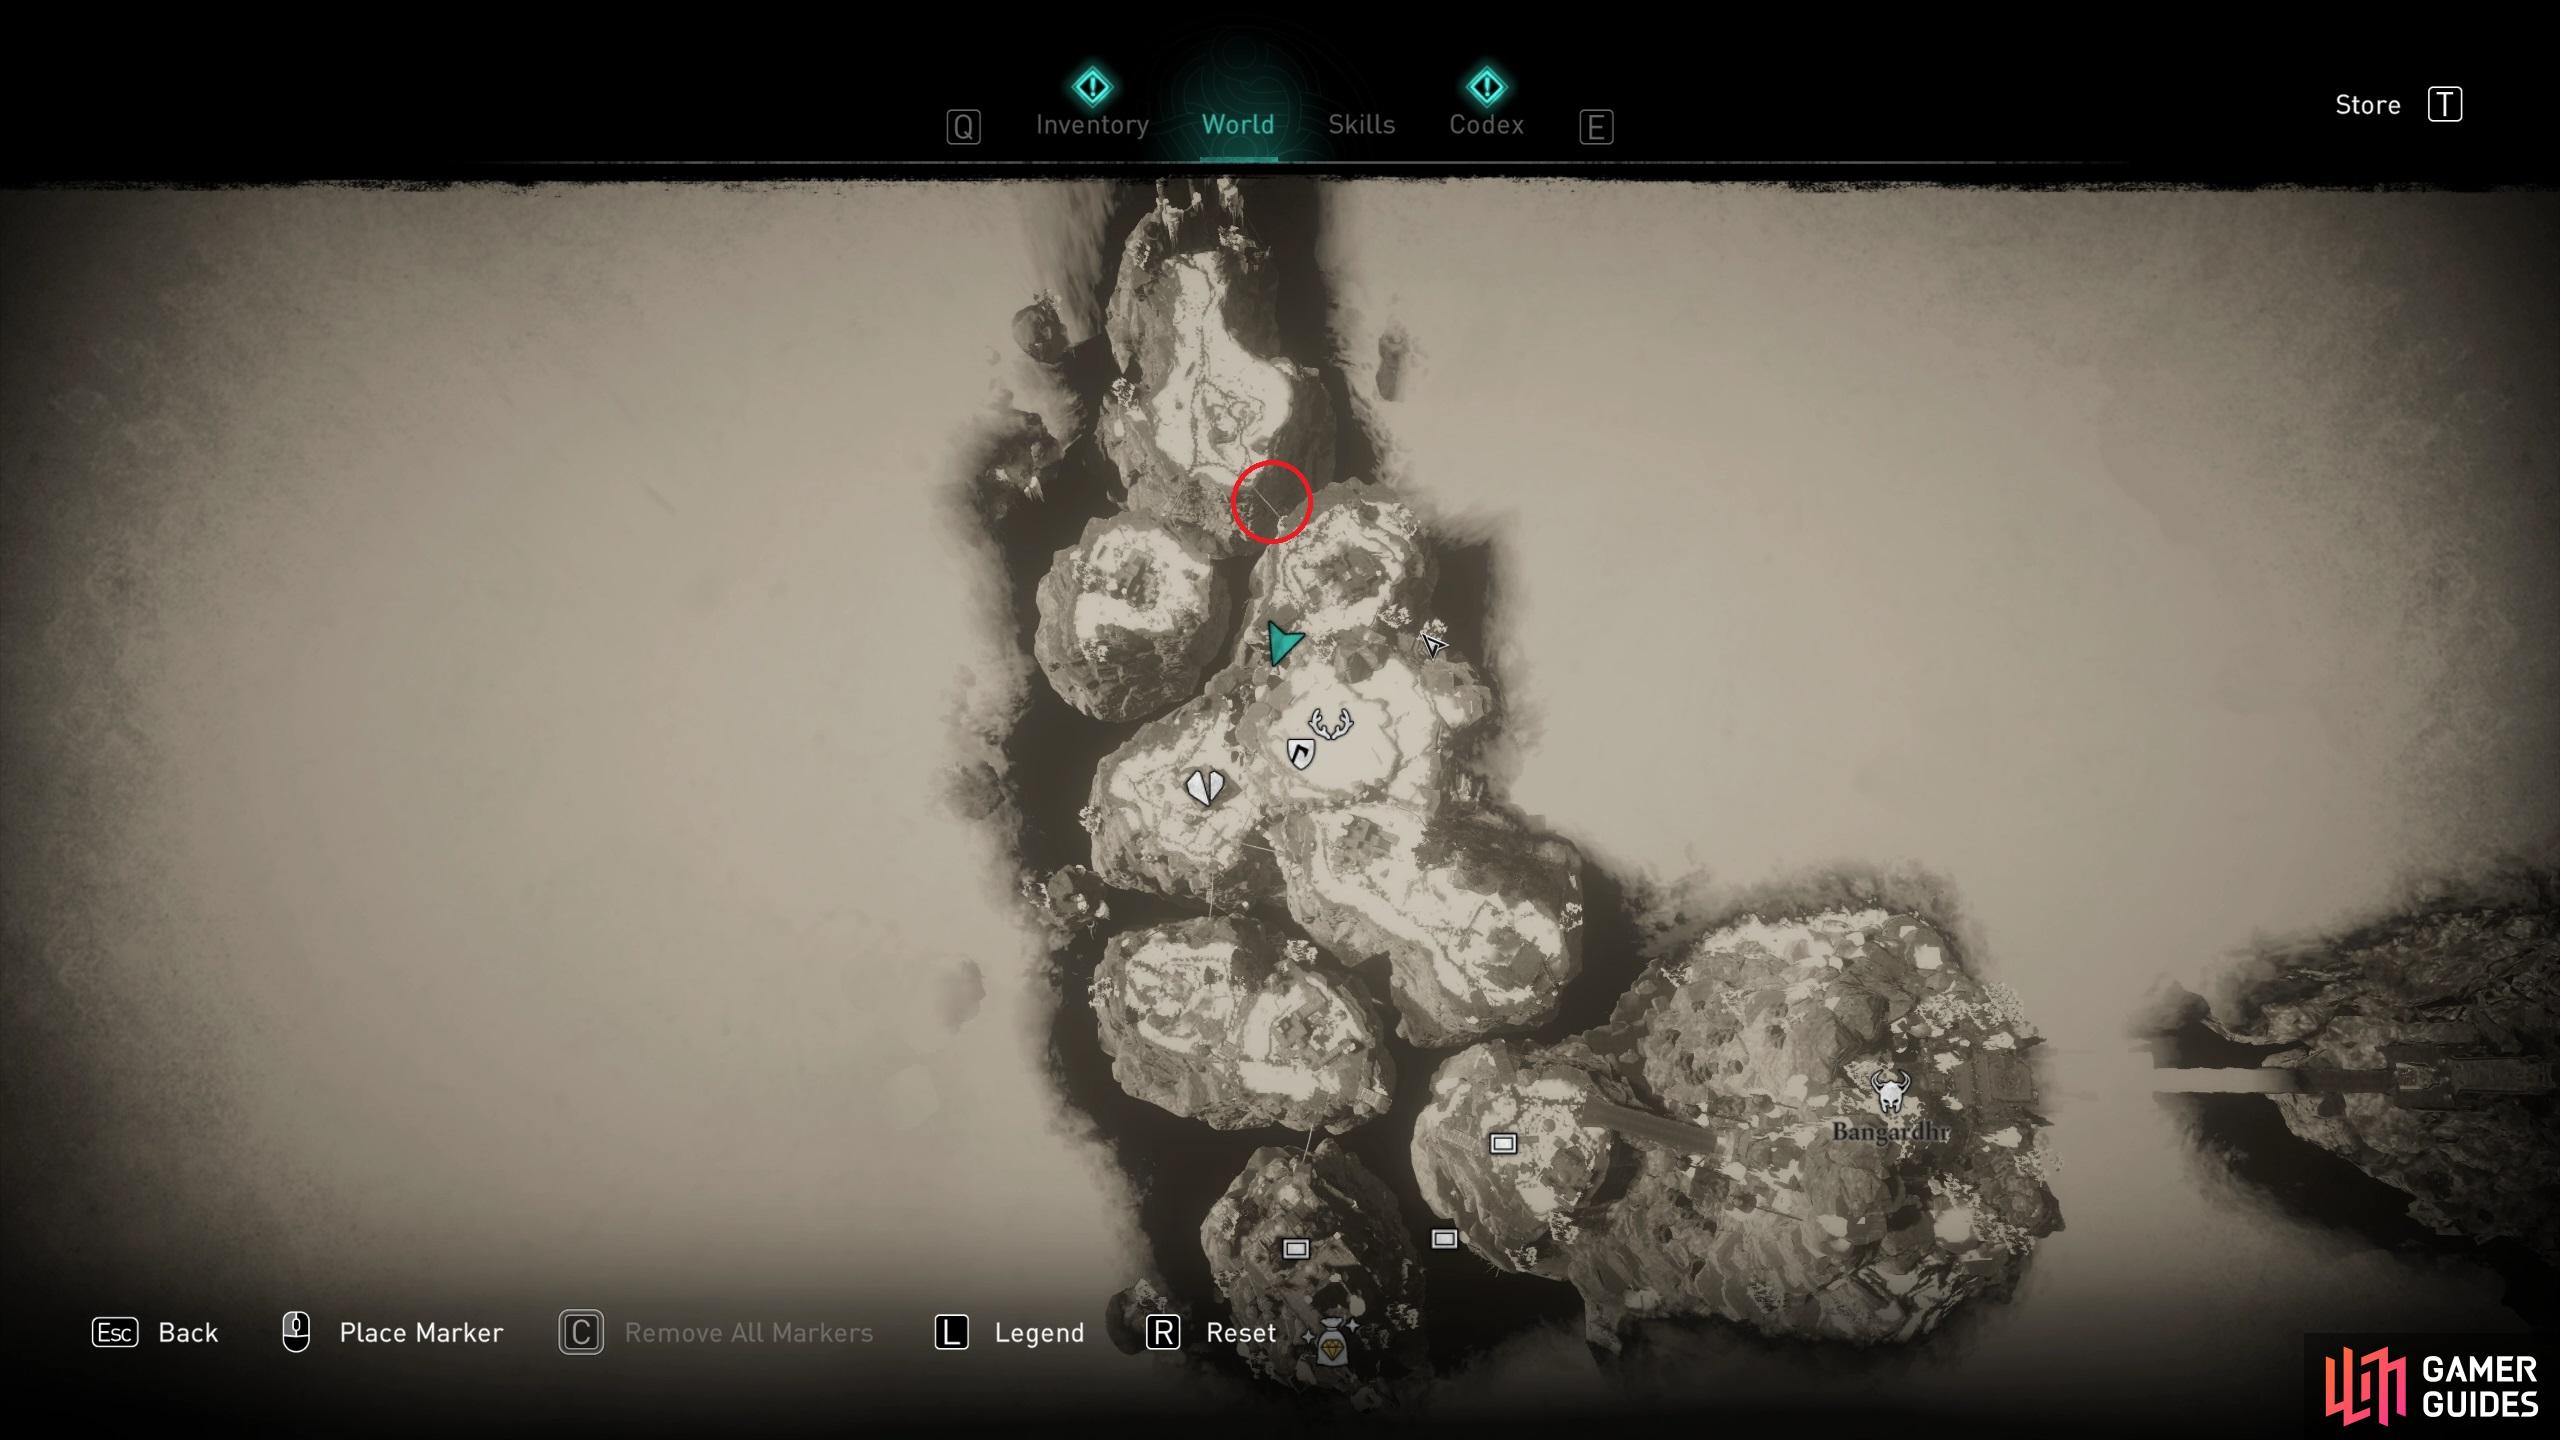
(1 of 3) The bridge you must take to reach the cave where the Wholesome Warrior quest can be found.
Kaldstat Hidden Merchant
As you proceed through Kaldstat you’ll need to defeat various camps of Jotnar enemies to earn Coins, Runes, Weapons, Abilities, Upgrades, and Coins. You’ll also earn the currency of Thoughts, Memories and Dreams as you loot chests. You can do this all the way to the boss room if you wish, but there’s also one other point of interest that you won’t want to miss, especially if you have plenty of Coins. Unlike the other currencies, Coins will expire when your run through Niflheim ends, so you might as well spend them on anything useful that you can get your hands on.
In each region you’ll find a Hidden Merchant, and the merchant in Kaldstat is located in the southwestern part of the region. You should make your way here before you proceed southeast towards the boss room, since you won’t be able to make your way back once you reach it. The hidden merchant here is named the King of Thieves, and he will have plenty of items to offer for sale. In general, you should aim to pick up powerful runes, the effects of which will remain with you for the duration of the run. In addition, weapon upgrades are always a good choice, increasing your overall damage. There’s also the option to purchase upgrades for any abilities that you have, so keep this in mind if you can make good use of these.
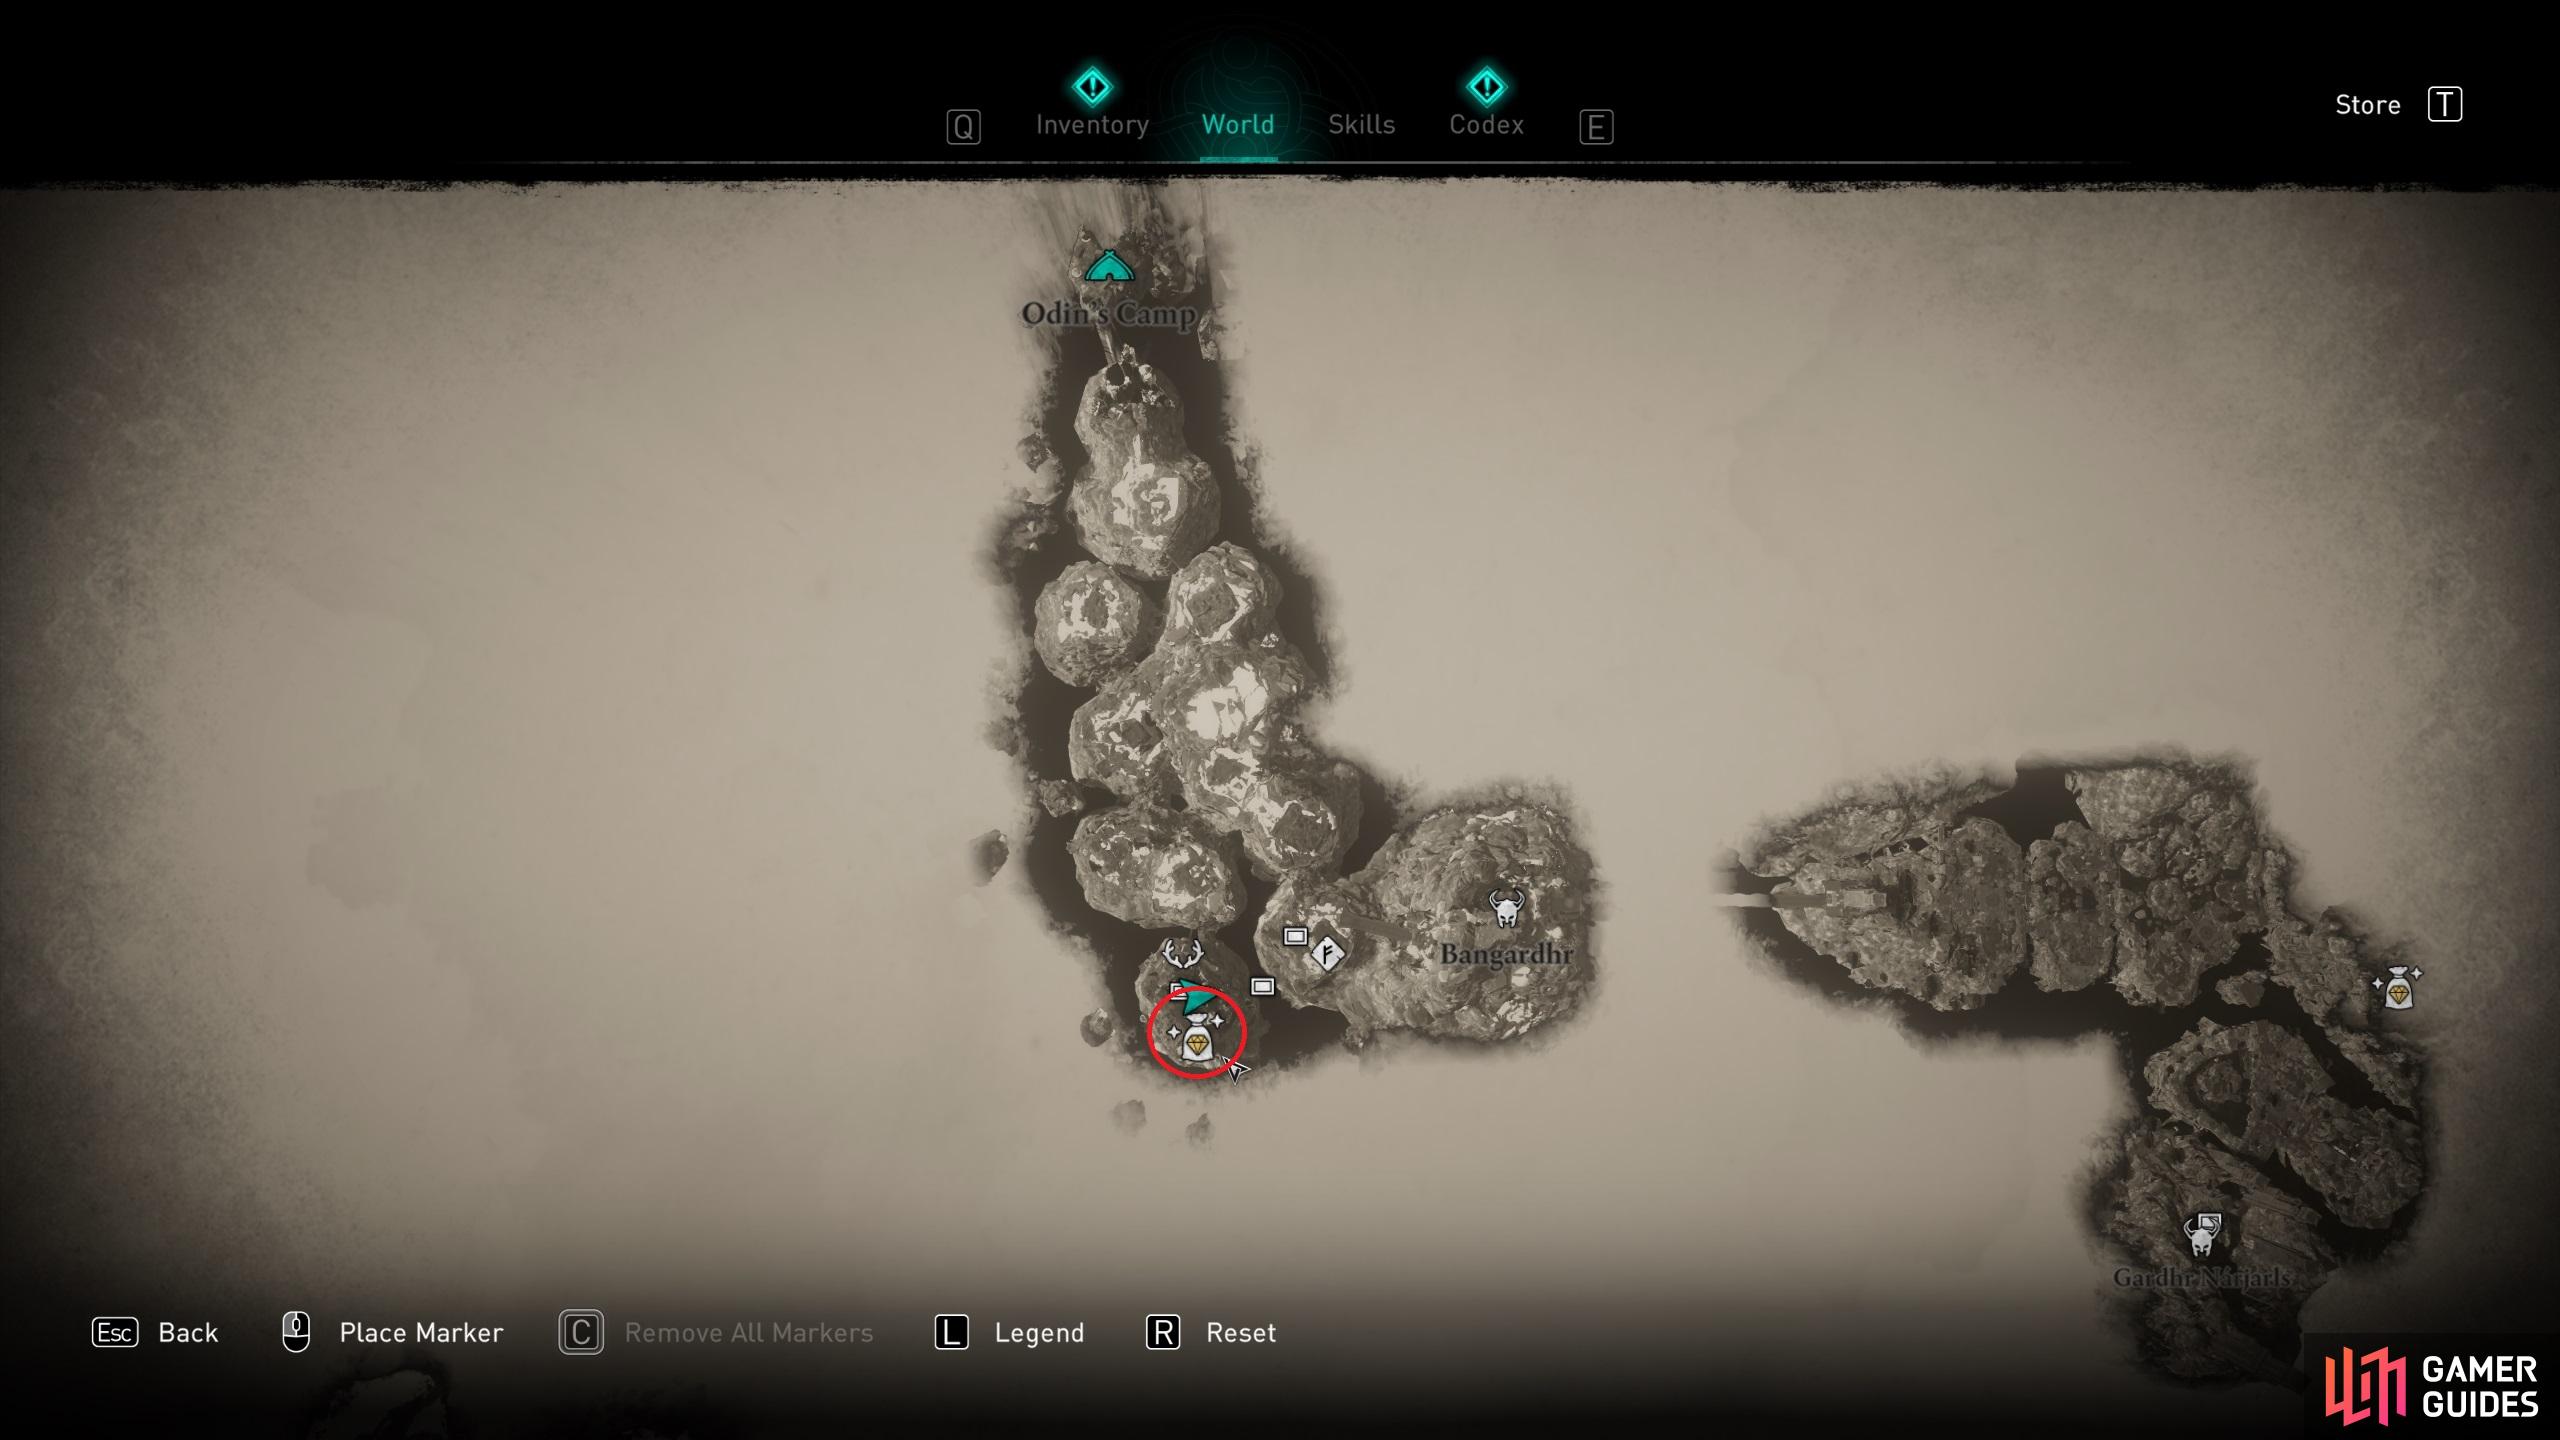
The location of the Hidden Merchant in Kaldstat.

The Hidden Merchant here is named the King of Thieves, and sells various useful upgrades and items.
Kaldstat Boss fights
The Kaldstat region is the only one in Niflheim which has three rotating boss fights. This means that each time you do a Kaldstat run, you’re likely to encounter a different boss at the end. The bosses are Balulfr (a Fire Wolf), Issvin (an Ice Boar), and Issulfr (an Ice Wolf). Each have their own set of skills and abilities, but they’re all around the same difficulty level. We’ll cover the basics of each boss fight below.
Balulfr
Although Balsvin is a Fire Wolf, they will still take significant damage from fire based attacks, so if you have any abilities such as Fire Arrow, you should use these as often as possible to keep damage over time on the boss. In general, the wolf will chain a series of charge attacks, most of which are marked by yellow or red rune auras, so you’ll have some warning just before they occur. The key here is not to dodge or roll out of the way too soon, but rather at the last possible moment before the wolf hits you. If you time it correctly, you should be able to get a few melee attacks in before the wolf runs off or begins a new series of charge attacks.
The wolf has a couple of weak points on the main part of its body. You can try to hit these as soon as possible, thereby triggering a stun attack opportunity, but if you can’t quite hit them don’t worry too much. Once you have the Brush With Death skill from the Skills Totem tree, this will make hitting the weak points much easier as time is slowed whenever you perform a perfect dodge.
In addition to charge attacks, the wolf will sometimes use fire-based special attacks, which often create explosions around the boss. The best way to avoid these is to look out for the circles appearing around the wolf, then dodge and roll away from them in time. Some of the special attacks will also cast fireballs at you, so look out for these and be ready to dodge or roll out of the way.
Other than the above points, you should aim to make the most of the space in the boss room, but try not to stray too far away from the wolf and turn your back. You should always be looking for the indicators which precede a charge attack so that you can avoid it in time. You’ll find plenty of arrows scattered on the ground in the room, so don’t be afraid to run around a bit to pick them up.
Issvin
The fight with Issulfr isn’t too different from that with Balulfr. Issvin will frequently perform similar charge attacks, so you’ll need to be ready for these and roll / dodge out of the way in time. The main differences during this fight will be the special attacks. Issvin has one special attack which creates an ice shockwave all around them, and you’ll be damaged if you attempt to approach the boss at this time. The other attack creates a circle around the boss on the ground, which will quickly send rock and ice spikes up from the ground if you don’t move out of the way in time. Other than these differences, the fights are almost identical in structure.
Issulfr
Issulfr is perhaps the rarest boss that you’ll encounter during a Kaldstat run. Although larger than Balulfr, this wolf has many of the same movements and attacks. The weak points are on the two front legs, and one on the back. If you hit each of these with an arrow you can trigger a stun attack which will inflict massive damage. There isn’t much more to say about the special attacks from this boss if you’ve already faced the other two: it has one attack which sends a shockwave around the boss, damaging you if you enter it. The other is more of an ice explosion which occurs if you remain in the circle beneath the boss. Avoid these two and keep dodging the special attacks, and you should find it just as easy as the other two.
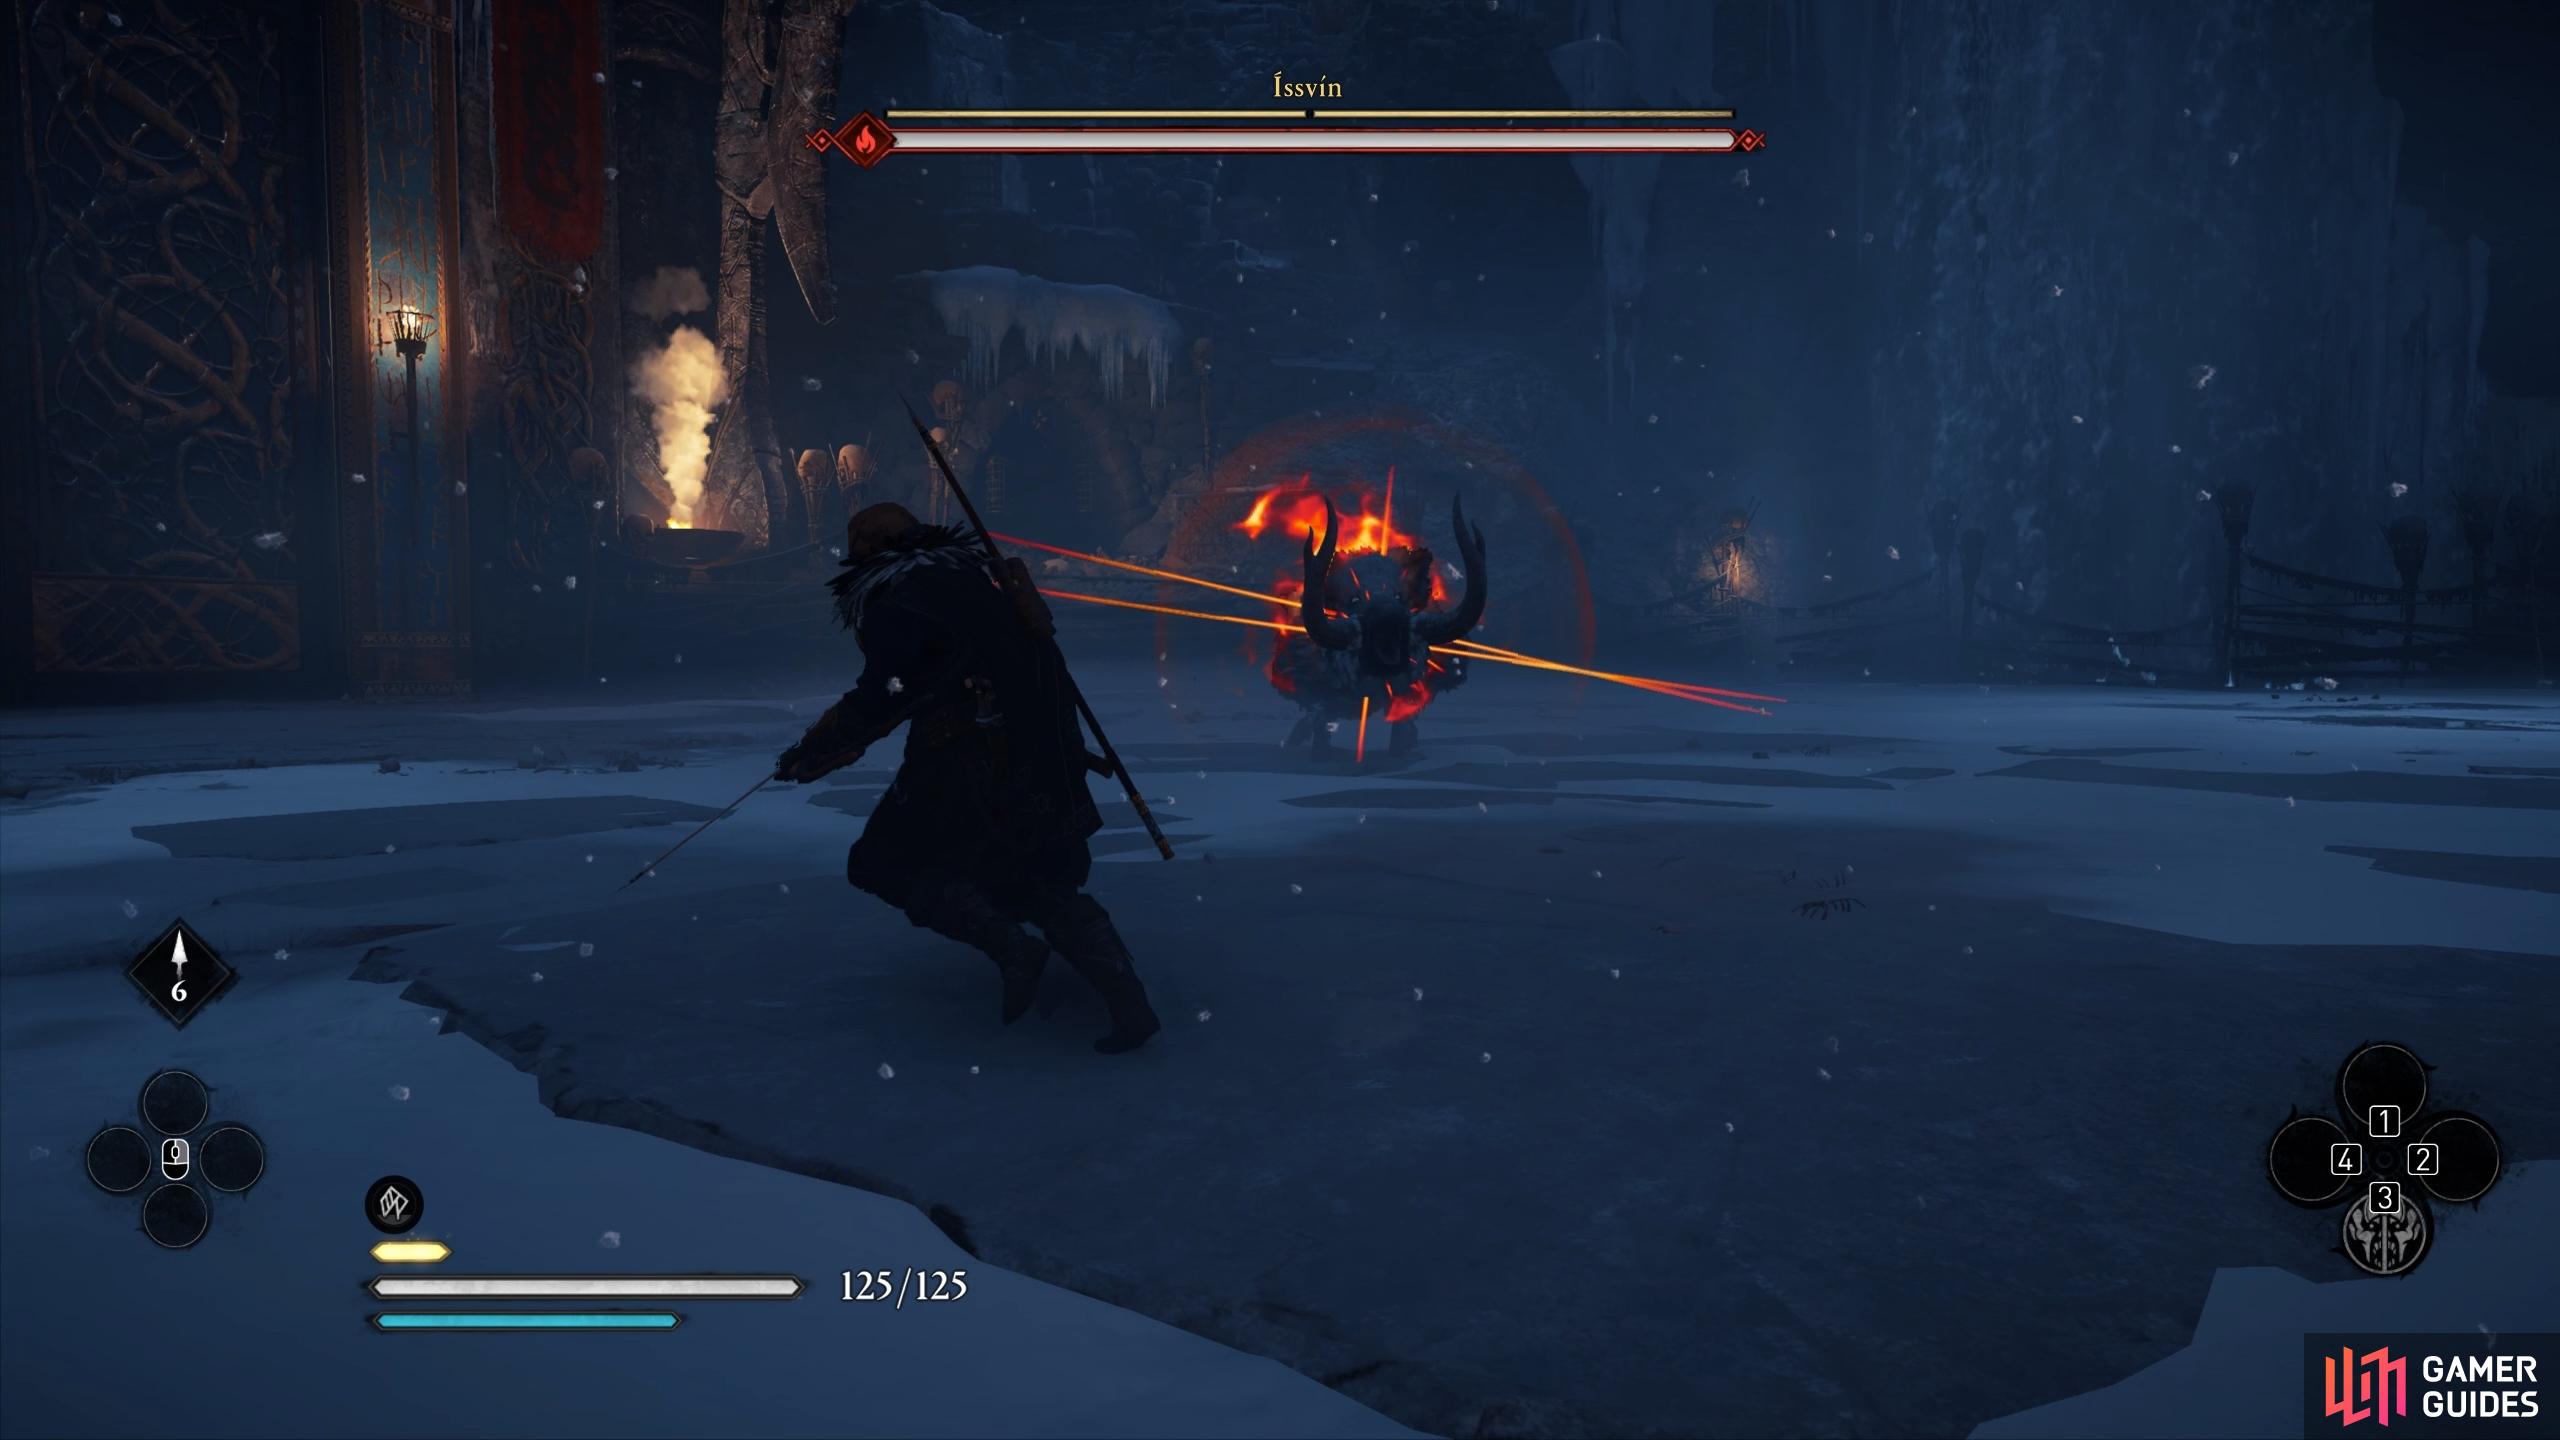
(1 of 5) Look out for the yellow and red rune auras which indicate an incoming charge attack.
No Comments