

This page details a guide for The Walls of Templebrough main quest, part of The Kingmaker’s Saga story arc in Assassin’s Creed Valhalla.
This quest begins immediately after Bartering. It’s recommended that you complete Rumors of Ledecestre before moving on to Templebrough. From Ledecestre, head directly north to Templebrough, either by land or through the river system to the west, which you can access and summon your longship to from the docks of Ledecestre.

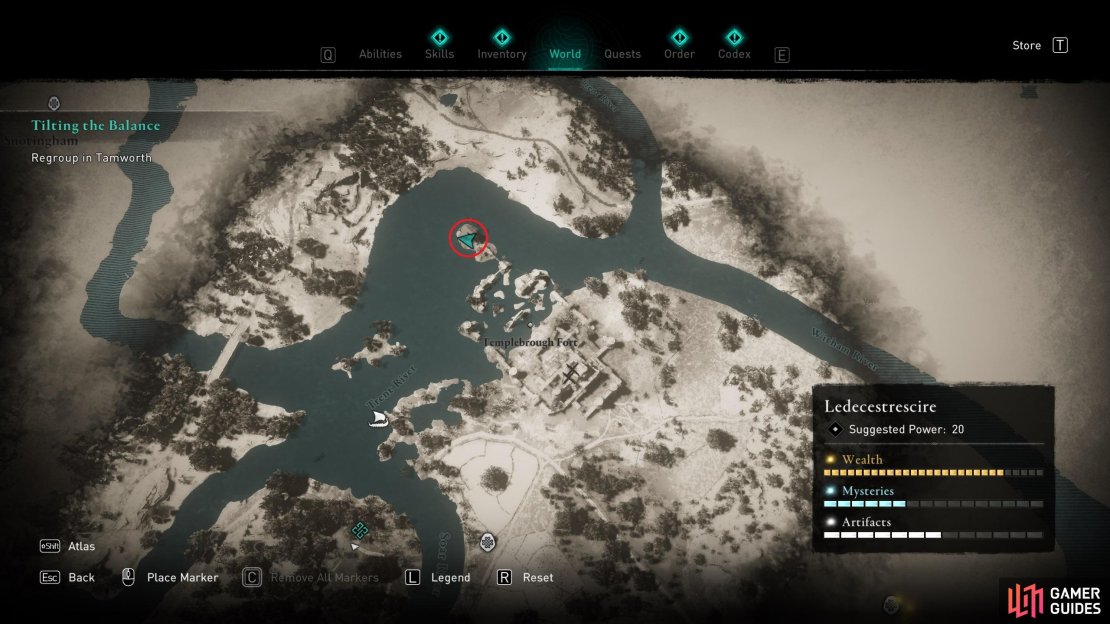
(1 of 3) The route up the river detailing the location of Soar River Camp and Sudwella Monastery.
Optional Raids: Soar River Camp and Sudwella Monastery
If you want to guarantee the acquisition of a significant amount of wealth, we recommended that you travel to Templebrough via the river system. Follow it north and you will come to a small camp at a split in the Soar River, northwest of Ledecestre. Here you’ll find four treasure chests filled with supplies and silver. You’ll also activate a Fast Travel point for this river as you continue north. In addition to the small camp along the Soar River, you’ll also find Sudwella Monastery just south of Templebrough. Since you’re passing by, you might as well make the most of your visit by raiding it for materials.
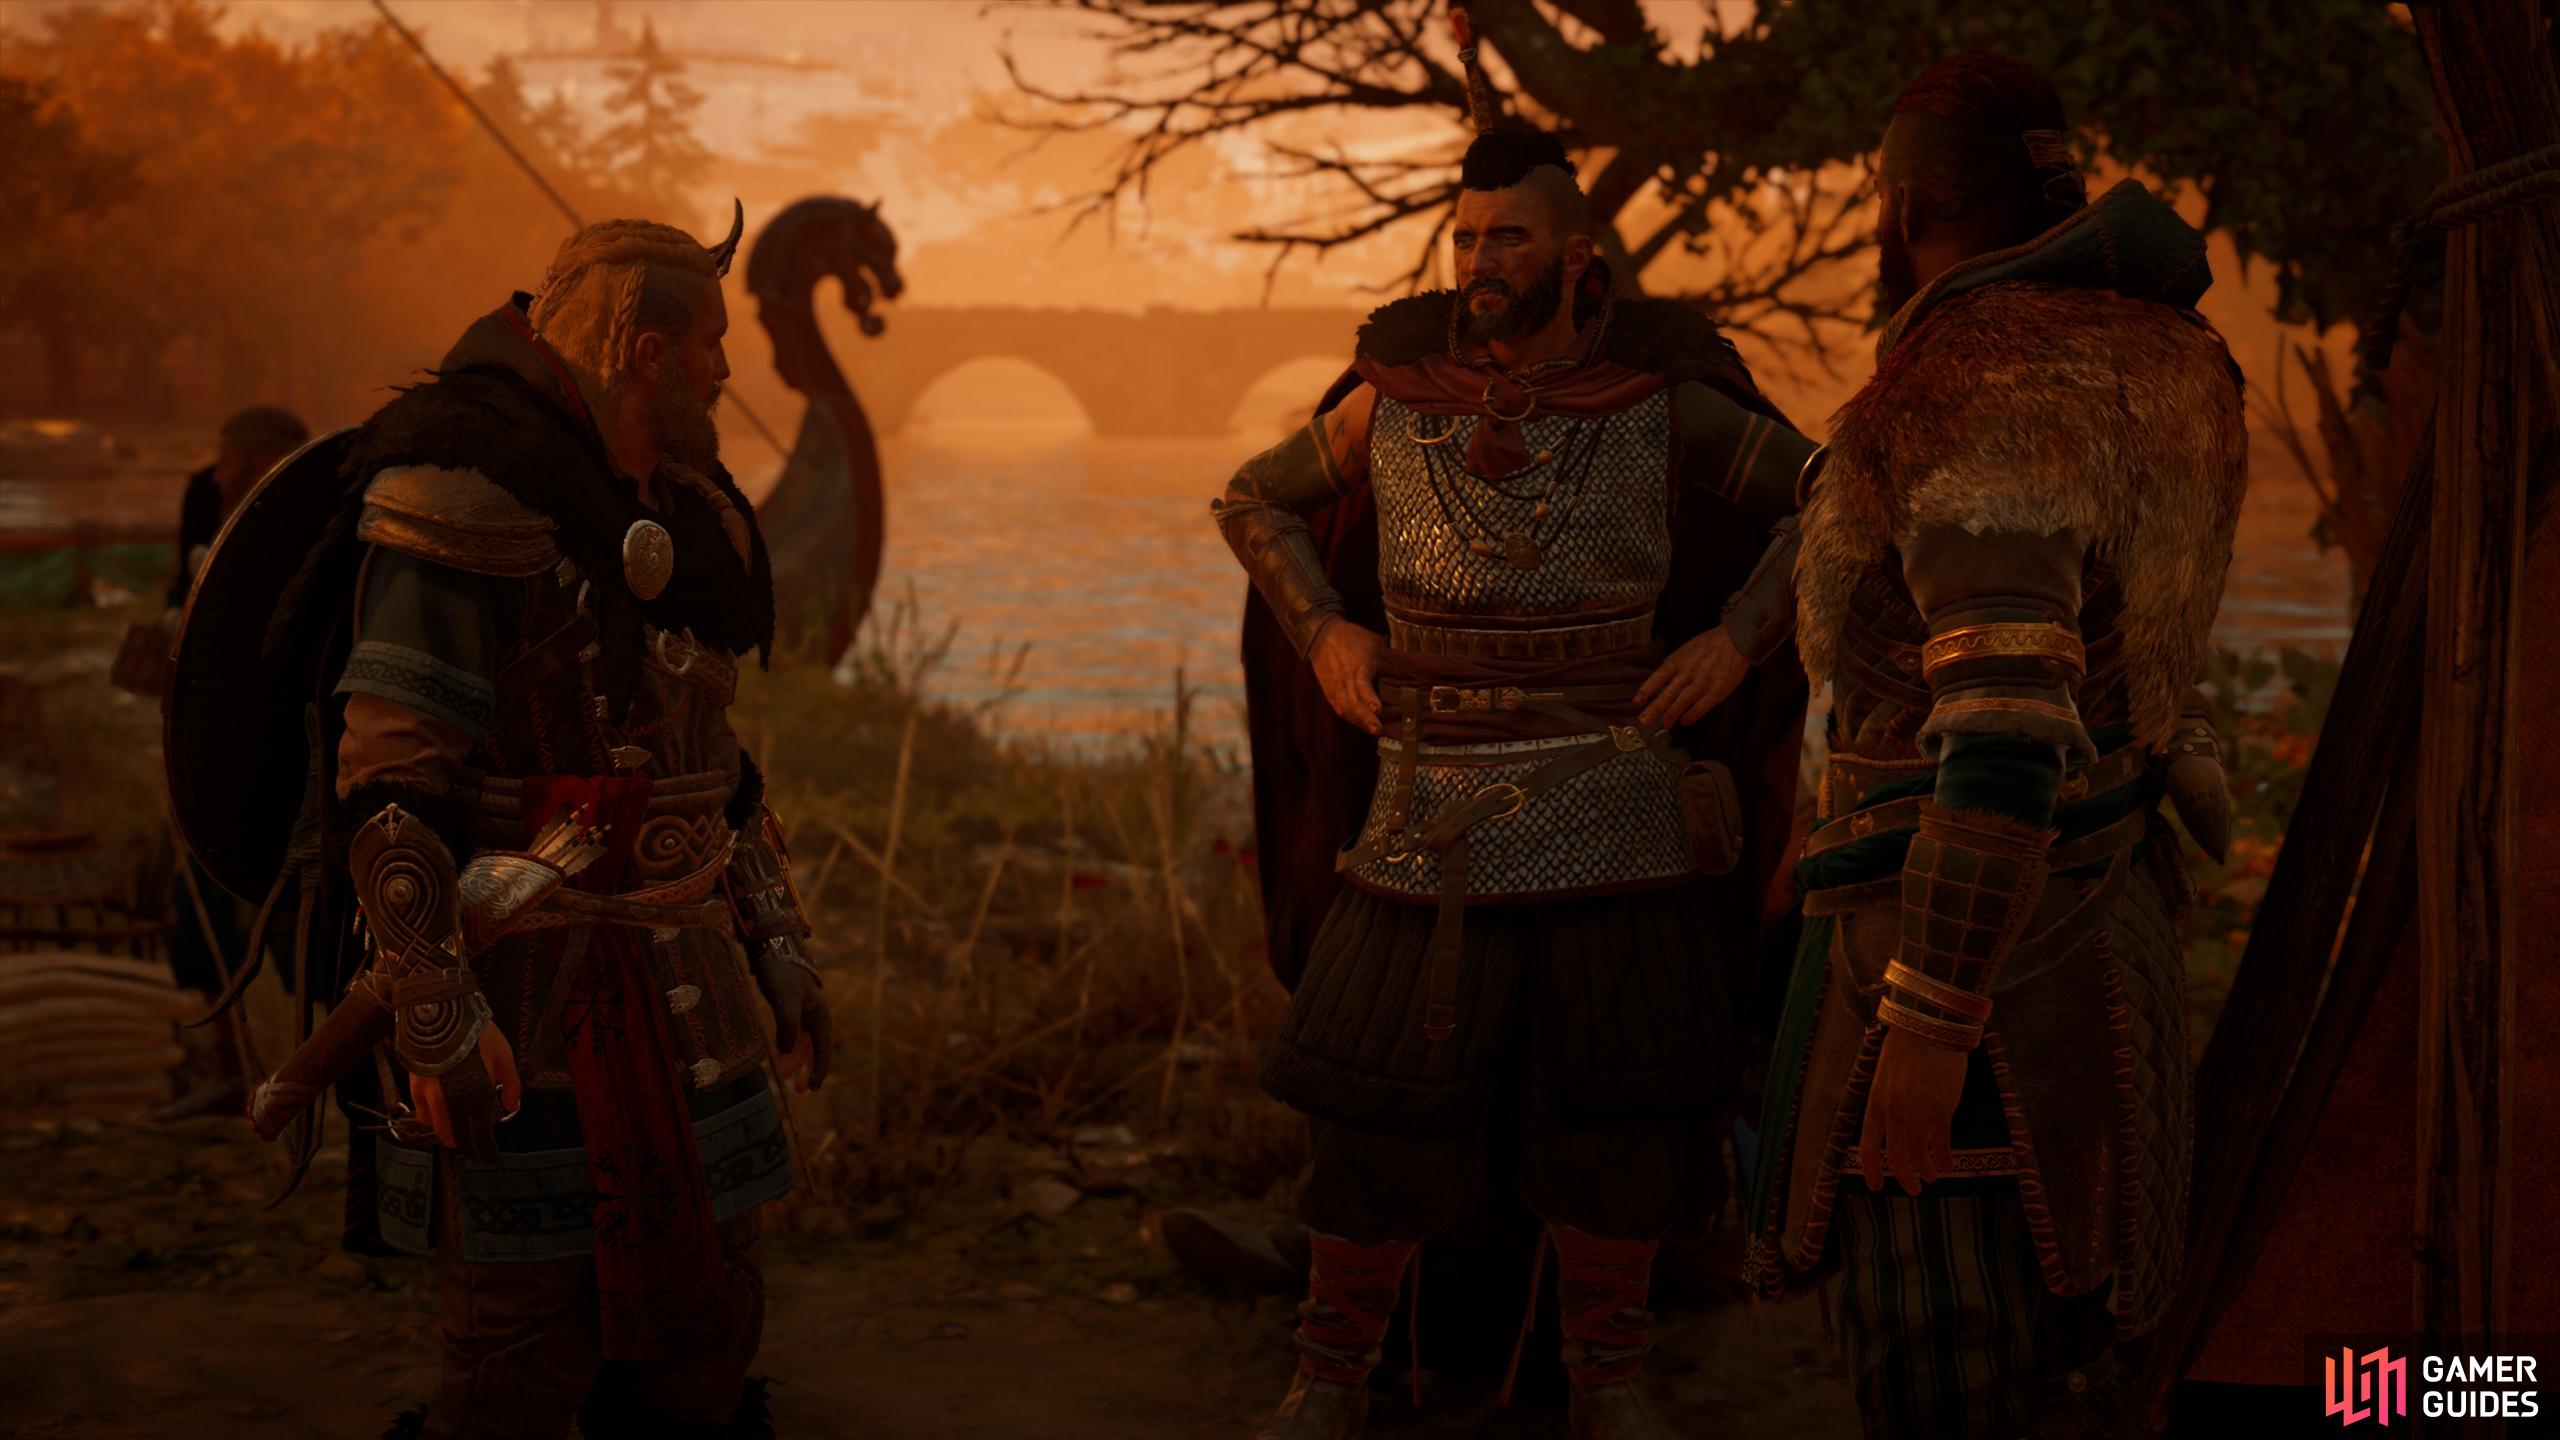
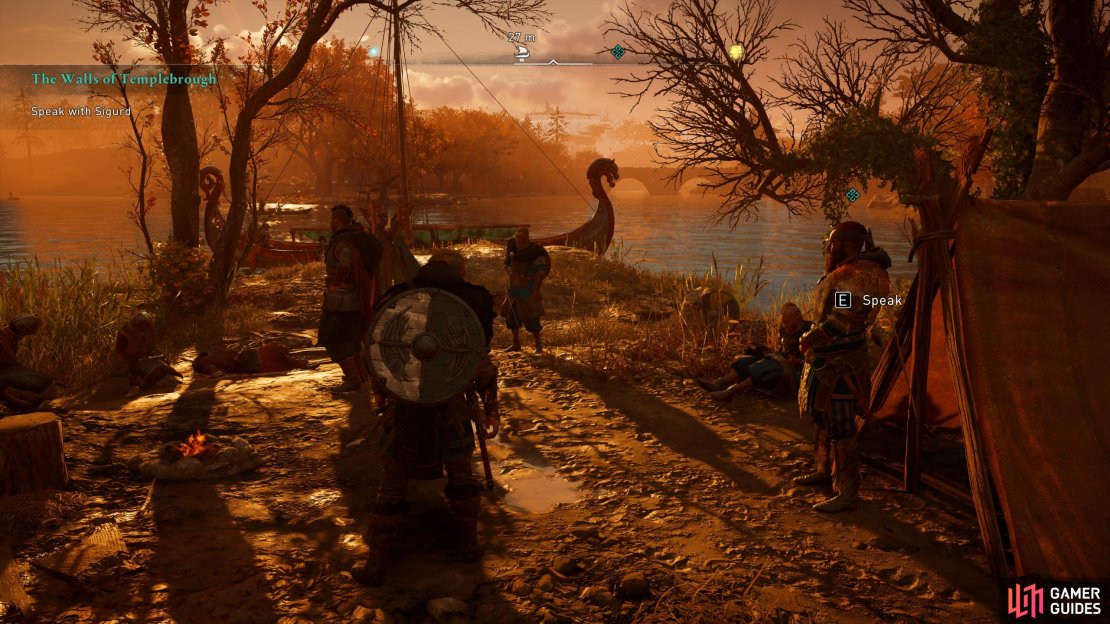
Speak with Sigurd
Once you arrive in the small camp on the river, just northwest of Sudwella Monastery, speak with Sigurd. He will propose that you find Lady Aethelswith, King Burgred’s wife, within Templebrough Fort. Sigurd will accompany you here, and will suggest that you avoid the heavily guarded front gates. Instead, you can enter through the docks area at the westernmost point of the fort. While your main objective is to find Lady Aethelswith, there’s a fair bit of treasure to be found in Templebrough Fort, along with some unique gear and an ability.
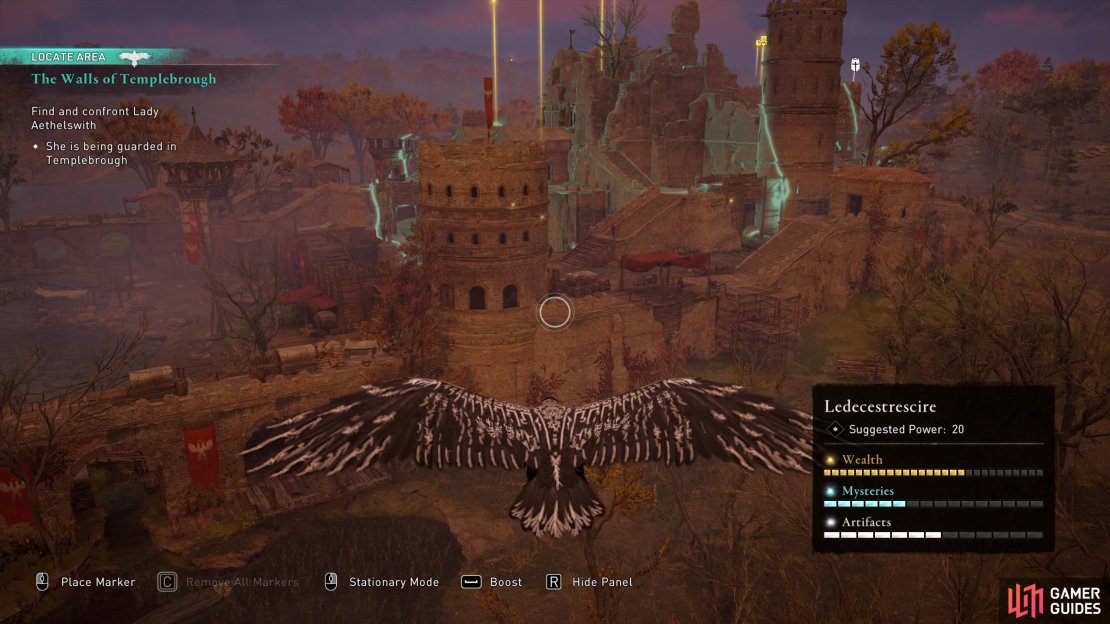
Assault Templebrough Fort - Stealth or Raid?
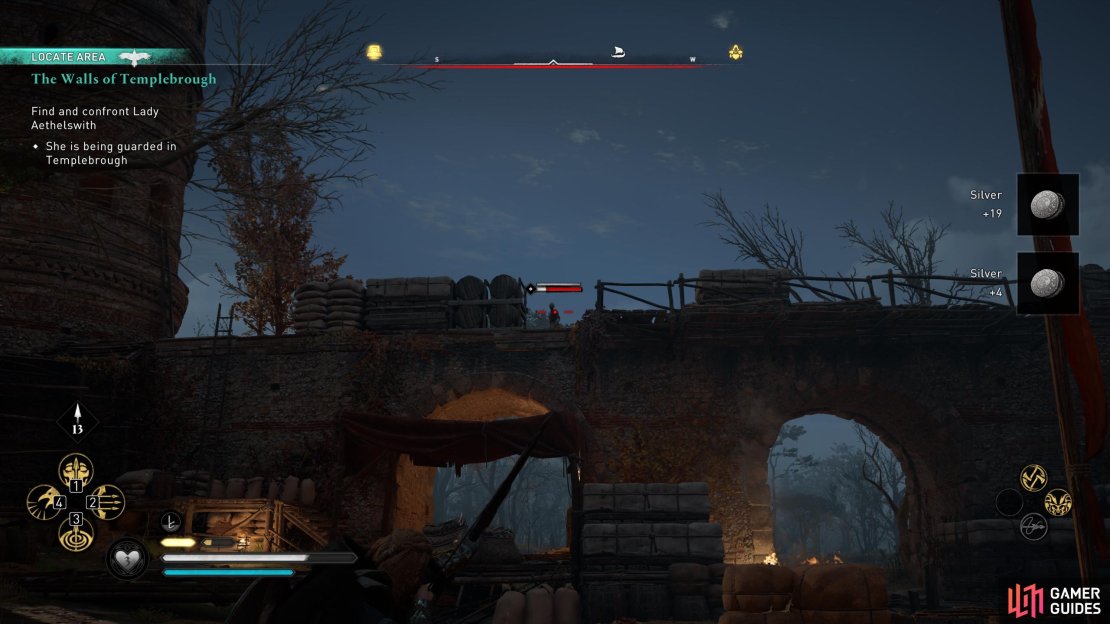
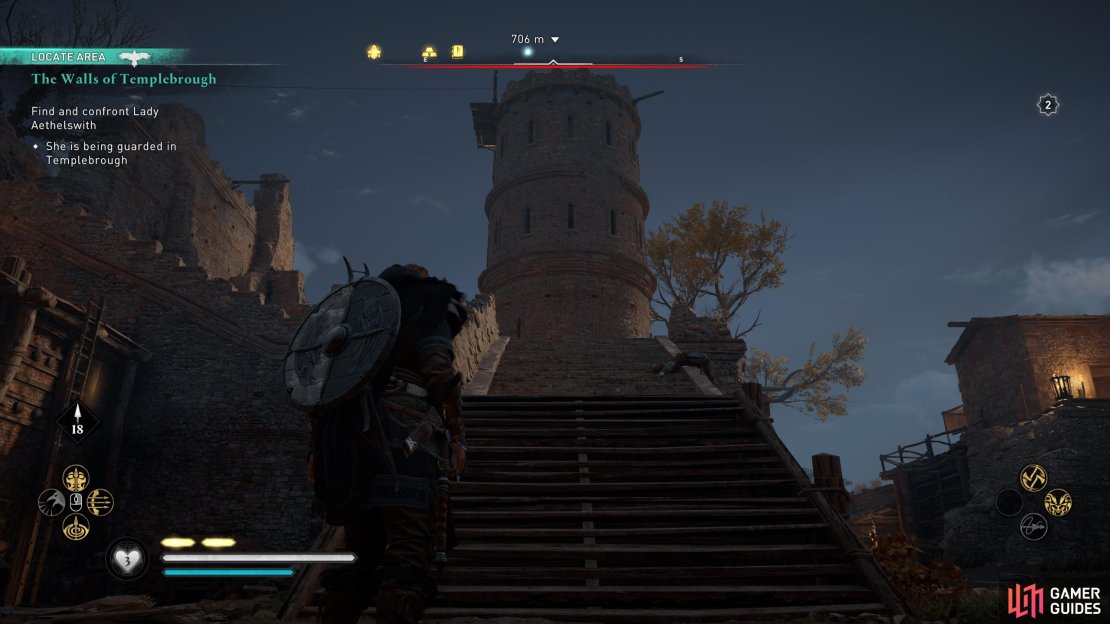
The fort is heavily guarded throughout, making a stealth approach somewhat difficult to pull off. This is further complicated by Sigurd’s tendency to expose himself to the sight of guards, even while you’re hidden from them. In all practicality, you’re most likely going to have to take on the guards of the fortress head-on, alongside Sigurd. As soon as you’re spotted most of the guards in the vicinity will be alerted, unless you kill the guard that spotted you first swiftly. With this in mind, continue northeast toward the docks. As you approach the walls, take out any archers that you have in range with your bow, then continue into the bay.
At the gates of the docks (facing southeast) you will encounter a number of guards and an elite unit, named “Standard Bearer”. This enemy has a large shield and a longspear, making it difficult to attack in close quarters. They will also occasionally throw bombs and can heal their allies, so be sure to interrupt this process when you see them standing still.
To bring the Standard Bearer down quickly, make use of your special abilities. Throwing Axe Fury and Harpoon Impalement are particularly effective, both of which you should have access to at this stage. If for any reason you don’t have enough adrenaline to use your abilities, getting behind the Standard Bearer with a quick dodge will leave them exposed to a few strikes. You’ll also want to take out the archers on the walls to the northwest and southwest with your own arrows.

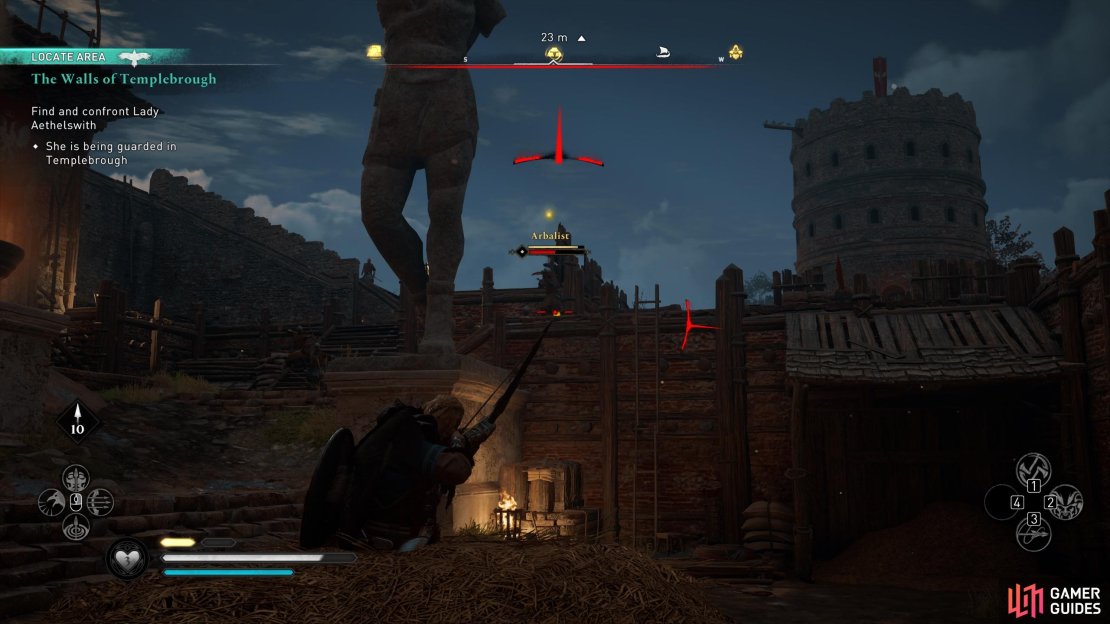
(1 of 4) Take out the archers on the walls as soon as possible.
Once all the enemies outside of the walls here are dead, head southeast into the fort. Immediately to the southwest you’ll see an Arbalist on the battlements. This enemy can deal a lot of damage with each bolt, so be sure to avoid them wherever possible. If you’re surrounded on all sides, use the nearby hay cart to take cover, then shoot out at the Arbalist’s weak points while they’re reloading. Thankfully, the reload time takes quite a while, providing you with a good opportunity to target the weak points. Looting the Arbalist will provide you with a Carbon Ingot. When all the enemies in this are dead, head up the steps to the southeast, toward a tower. Follow them as they lead northeast, to the barracks.
When you reach the barracks, follow the battlements around until you’re facing it from the northeast. Here you’ll see an opening in the wall, and beyond it a net filled with rocks. Shoot the link holding the net in place to trigger the rocks falling on the guards below, saving you some trouble. When you enter, there should be only two guards remaining; easy pickings for Eivor and Sigurd. Jump into the room, kill the guards, and then collect the Book of Knowledge in the southwestern corner, providing you with the Piercing Shot ability.


(1 of 2) Shoot the link through the opening to send rocks crushing down, killing at least four guards.
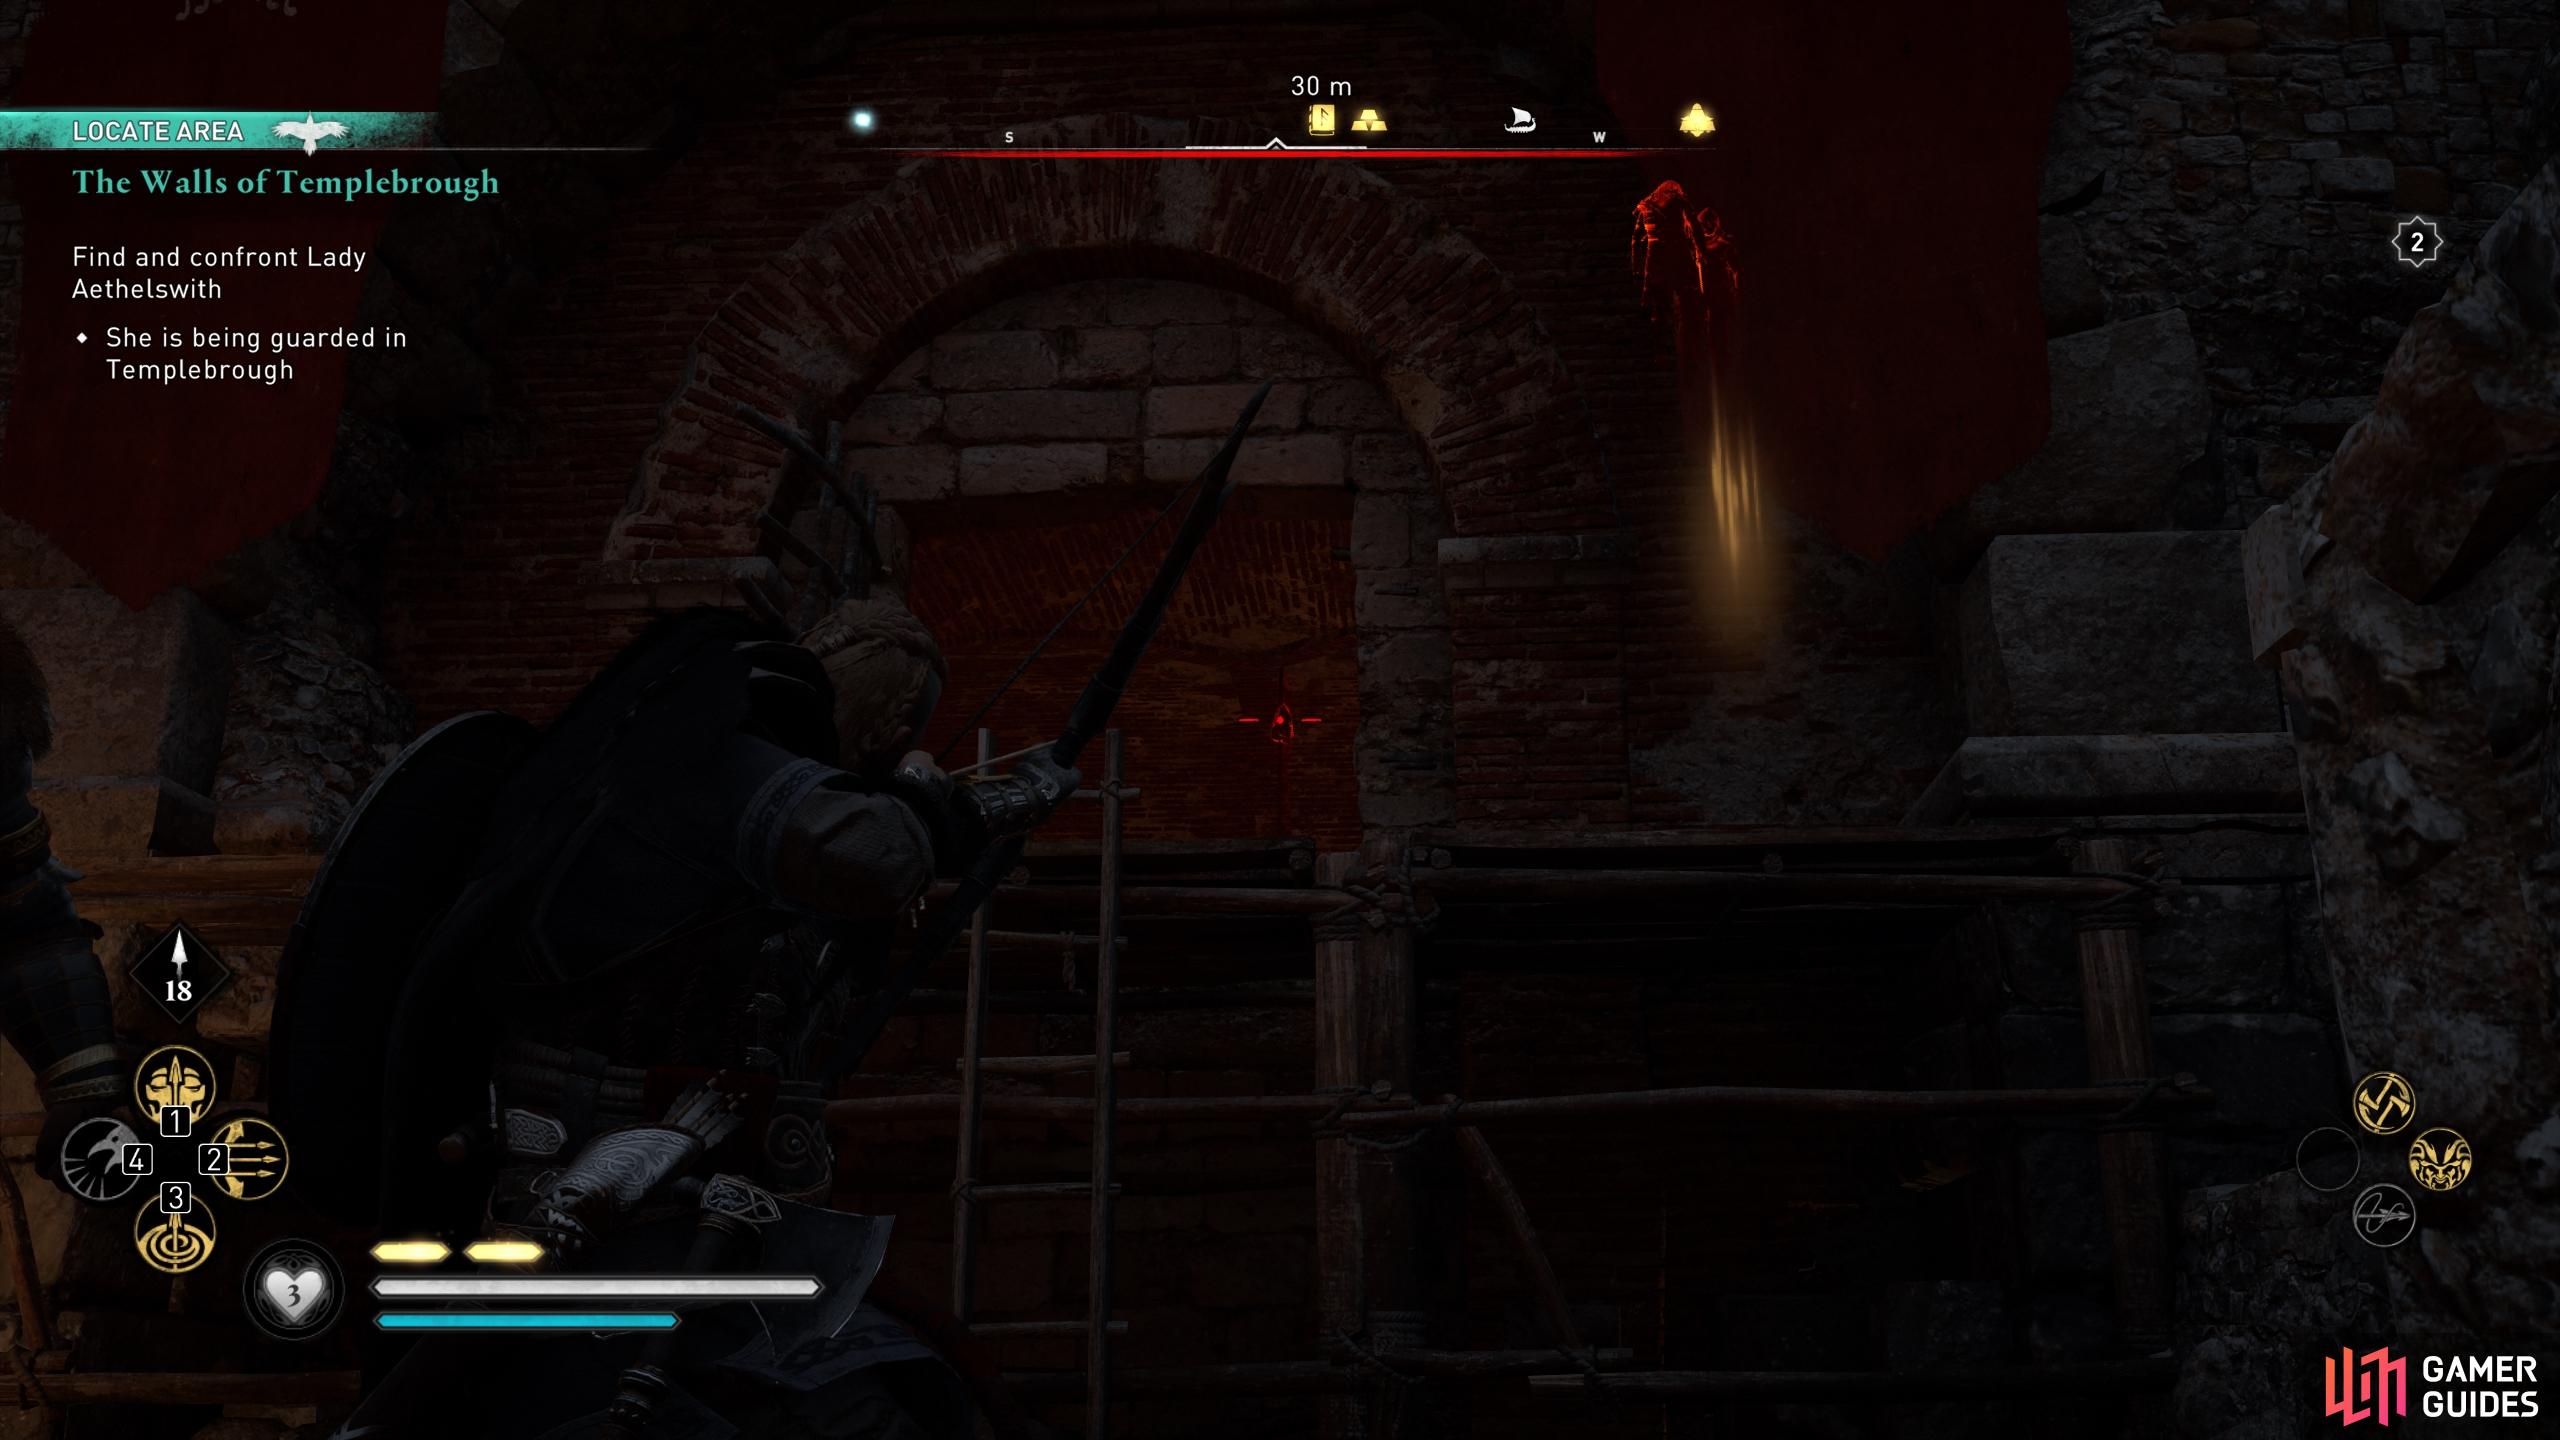
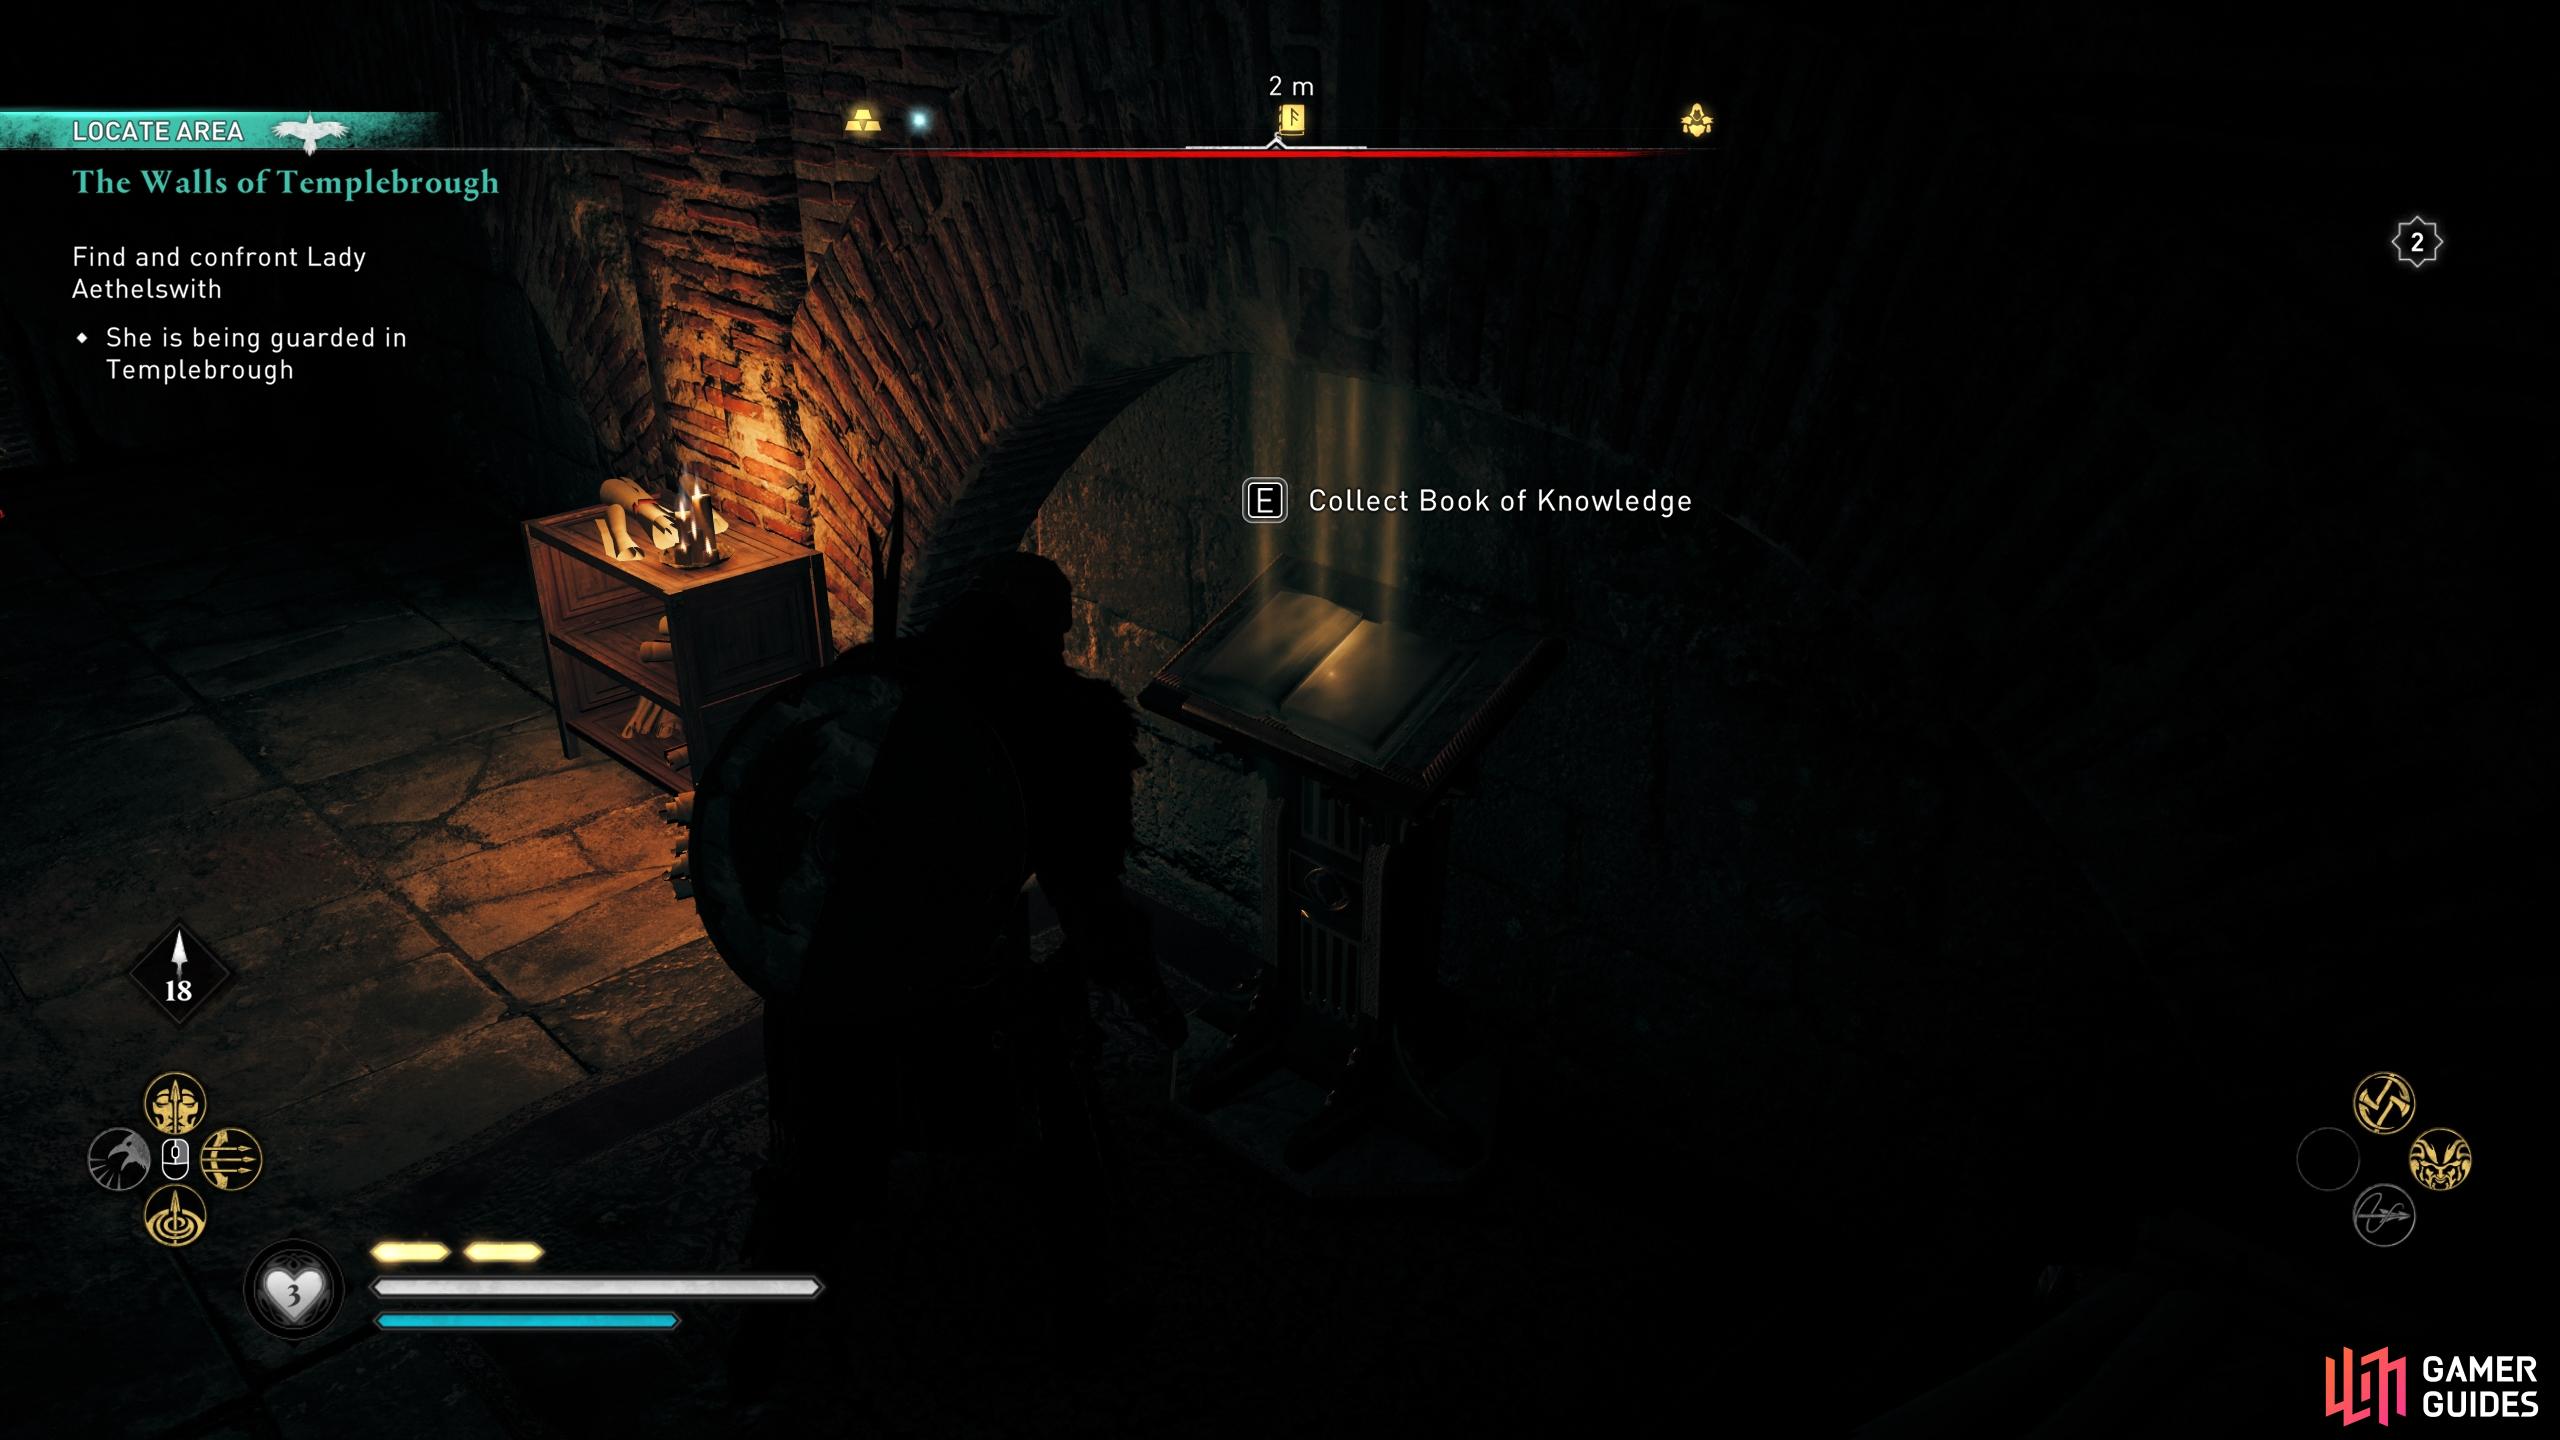
Shoot the link through the opening to send rocks crushing down, killing at least four guards. (left), Be sure to collect the Book of Knowledge to acquire the Piercing Shot ability. (right)
Capture Lady Aethelswith
Once you’ve collected the Book of Knowledge, head southeast down the steps, leading to the depths of the barracks. Here you will encounter Lady Aethelswith, or so it will seem until Eivor perceptively points out that the woman you’re speaking to possesses the worn hands of a servant, indicating that she is a decoy. At this point you’ll need to leave the barracks and get to the docks as soon as possible. Head northwest from the room you find yourself in through the open doors and back to the docks where you fought the Standard Bearer. From here you’ll find numerous small boats in the docks, or one beneath the archway to the southwest. Get in one of them and row your way toward the quest marker.


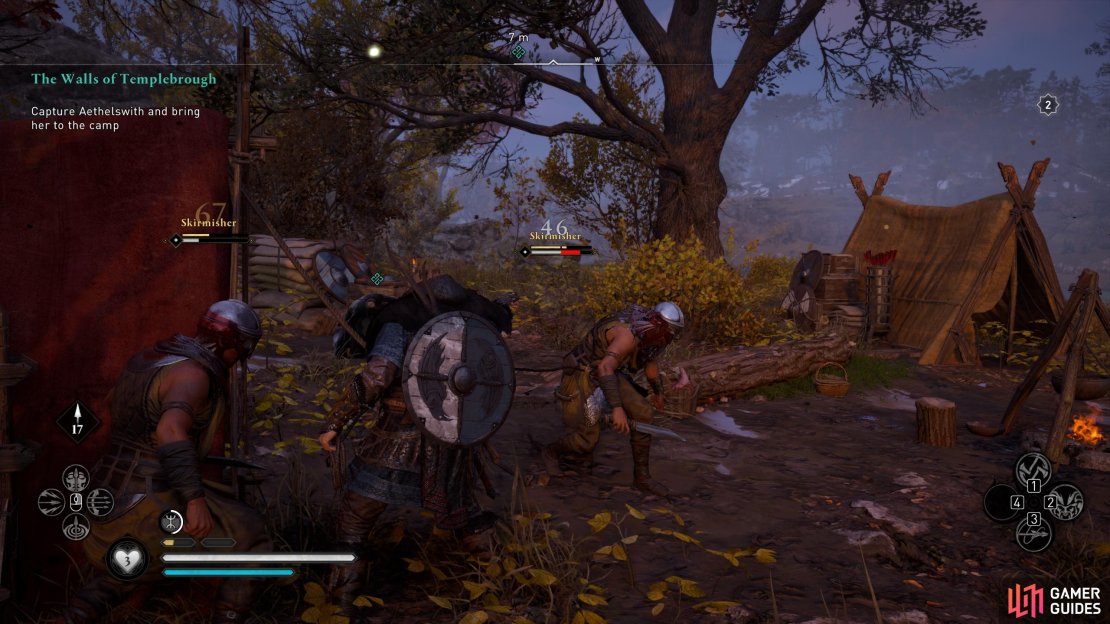
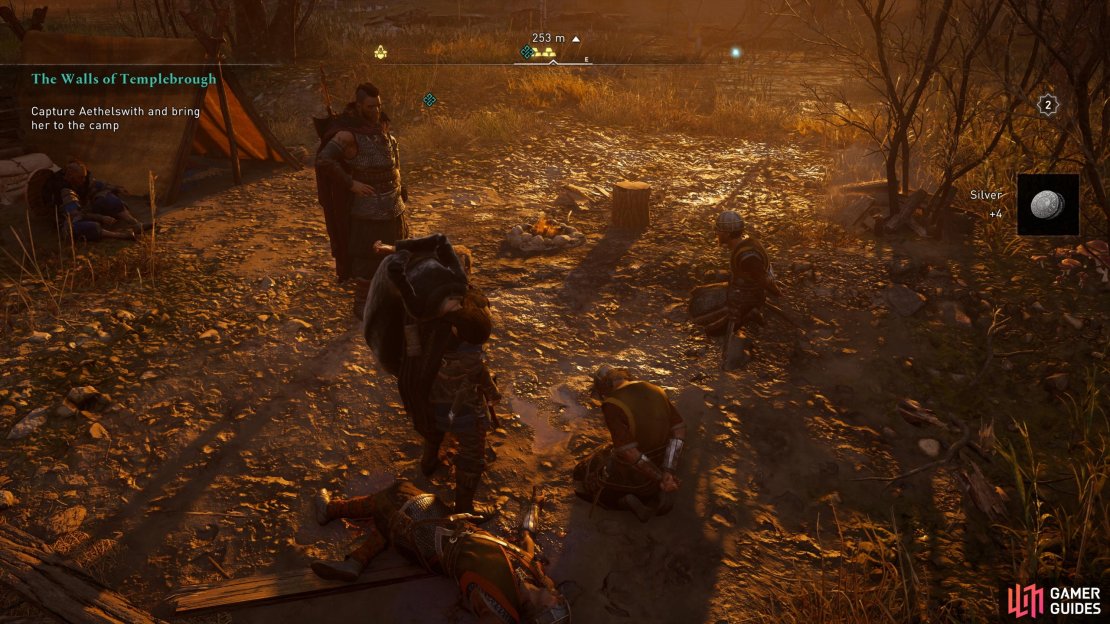
When you reach the shore you’ll have two Skirmishers to deal with, and two lesser guards. Use your abilities to take out the Skirmishers quickly (Harpoon Impalement being a permanent favorite), and then tie up Lady Aethelswith. Once she’s bound, pick her up and place her in the nearby boat. All that remains is to bring her to Sigurd in the camp to the northeast, thereby completing the quest. Before you leave the area, head to the northwesternmost point of Templebrough Fort, as shown in the map above. Here you’ll find a treasure chest containing a unique piece of armor: the Huntsman Cloak.
No Comments