

Find Your Crew
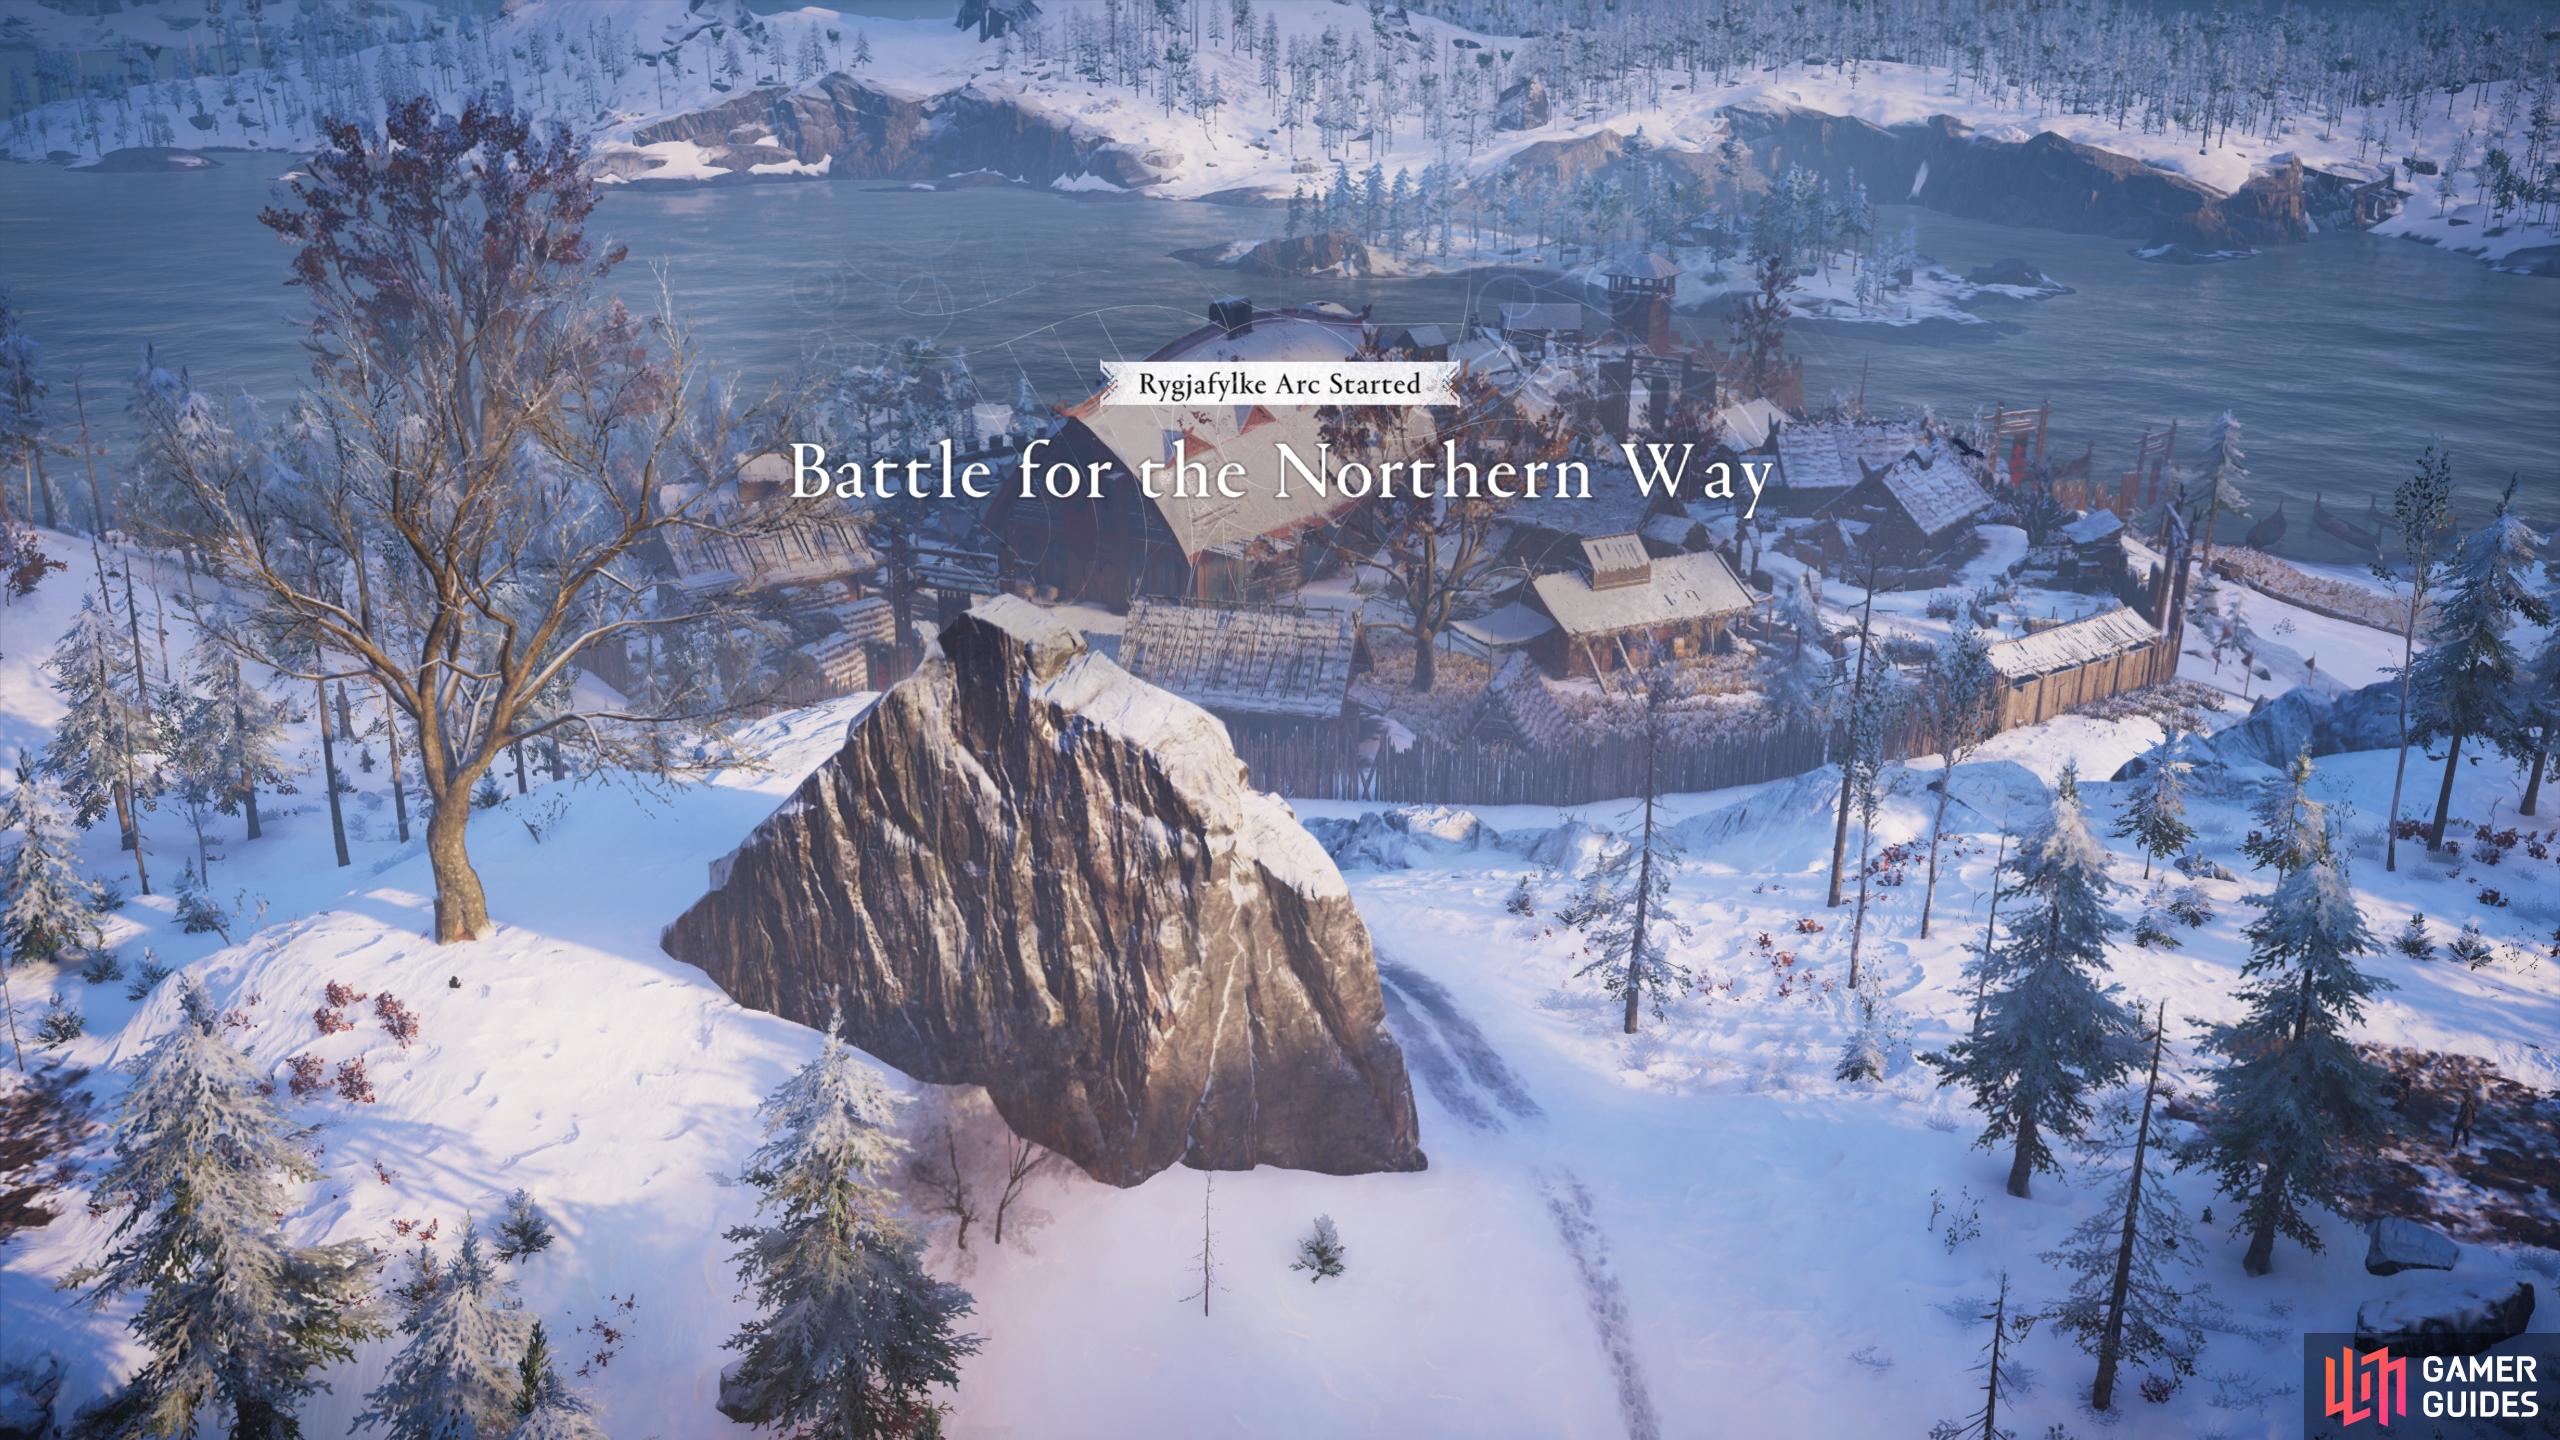
The chapter begins with a cutscene in which Kjotve the Cruel expresses his plans to enslave Eivor and destroy their clan. When Kjotve leaves, Eivor sees a chance to escape the clutches of slavery before it begins, and takes it. Don’t be fooled by the urgency of the cutscene. You’ll have plenty of time to loot items from the surrounding landscape, including within the nearby buildings.
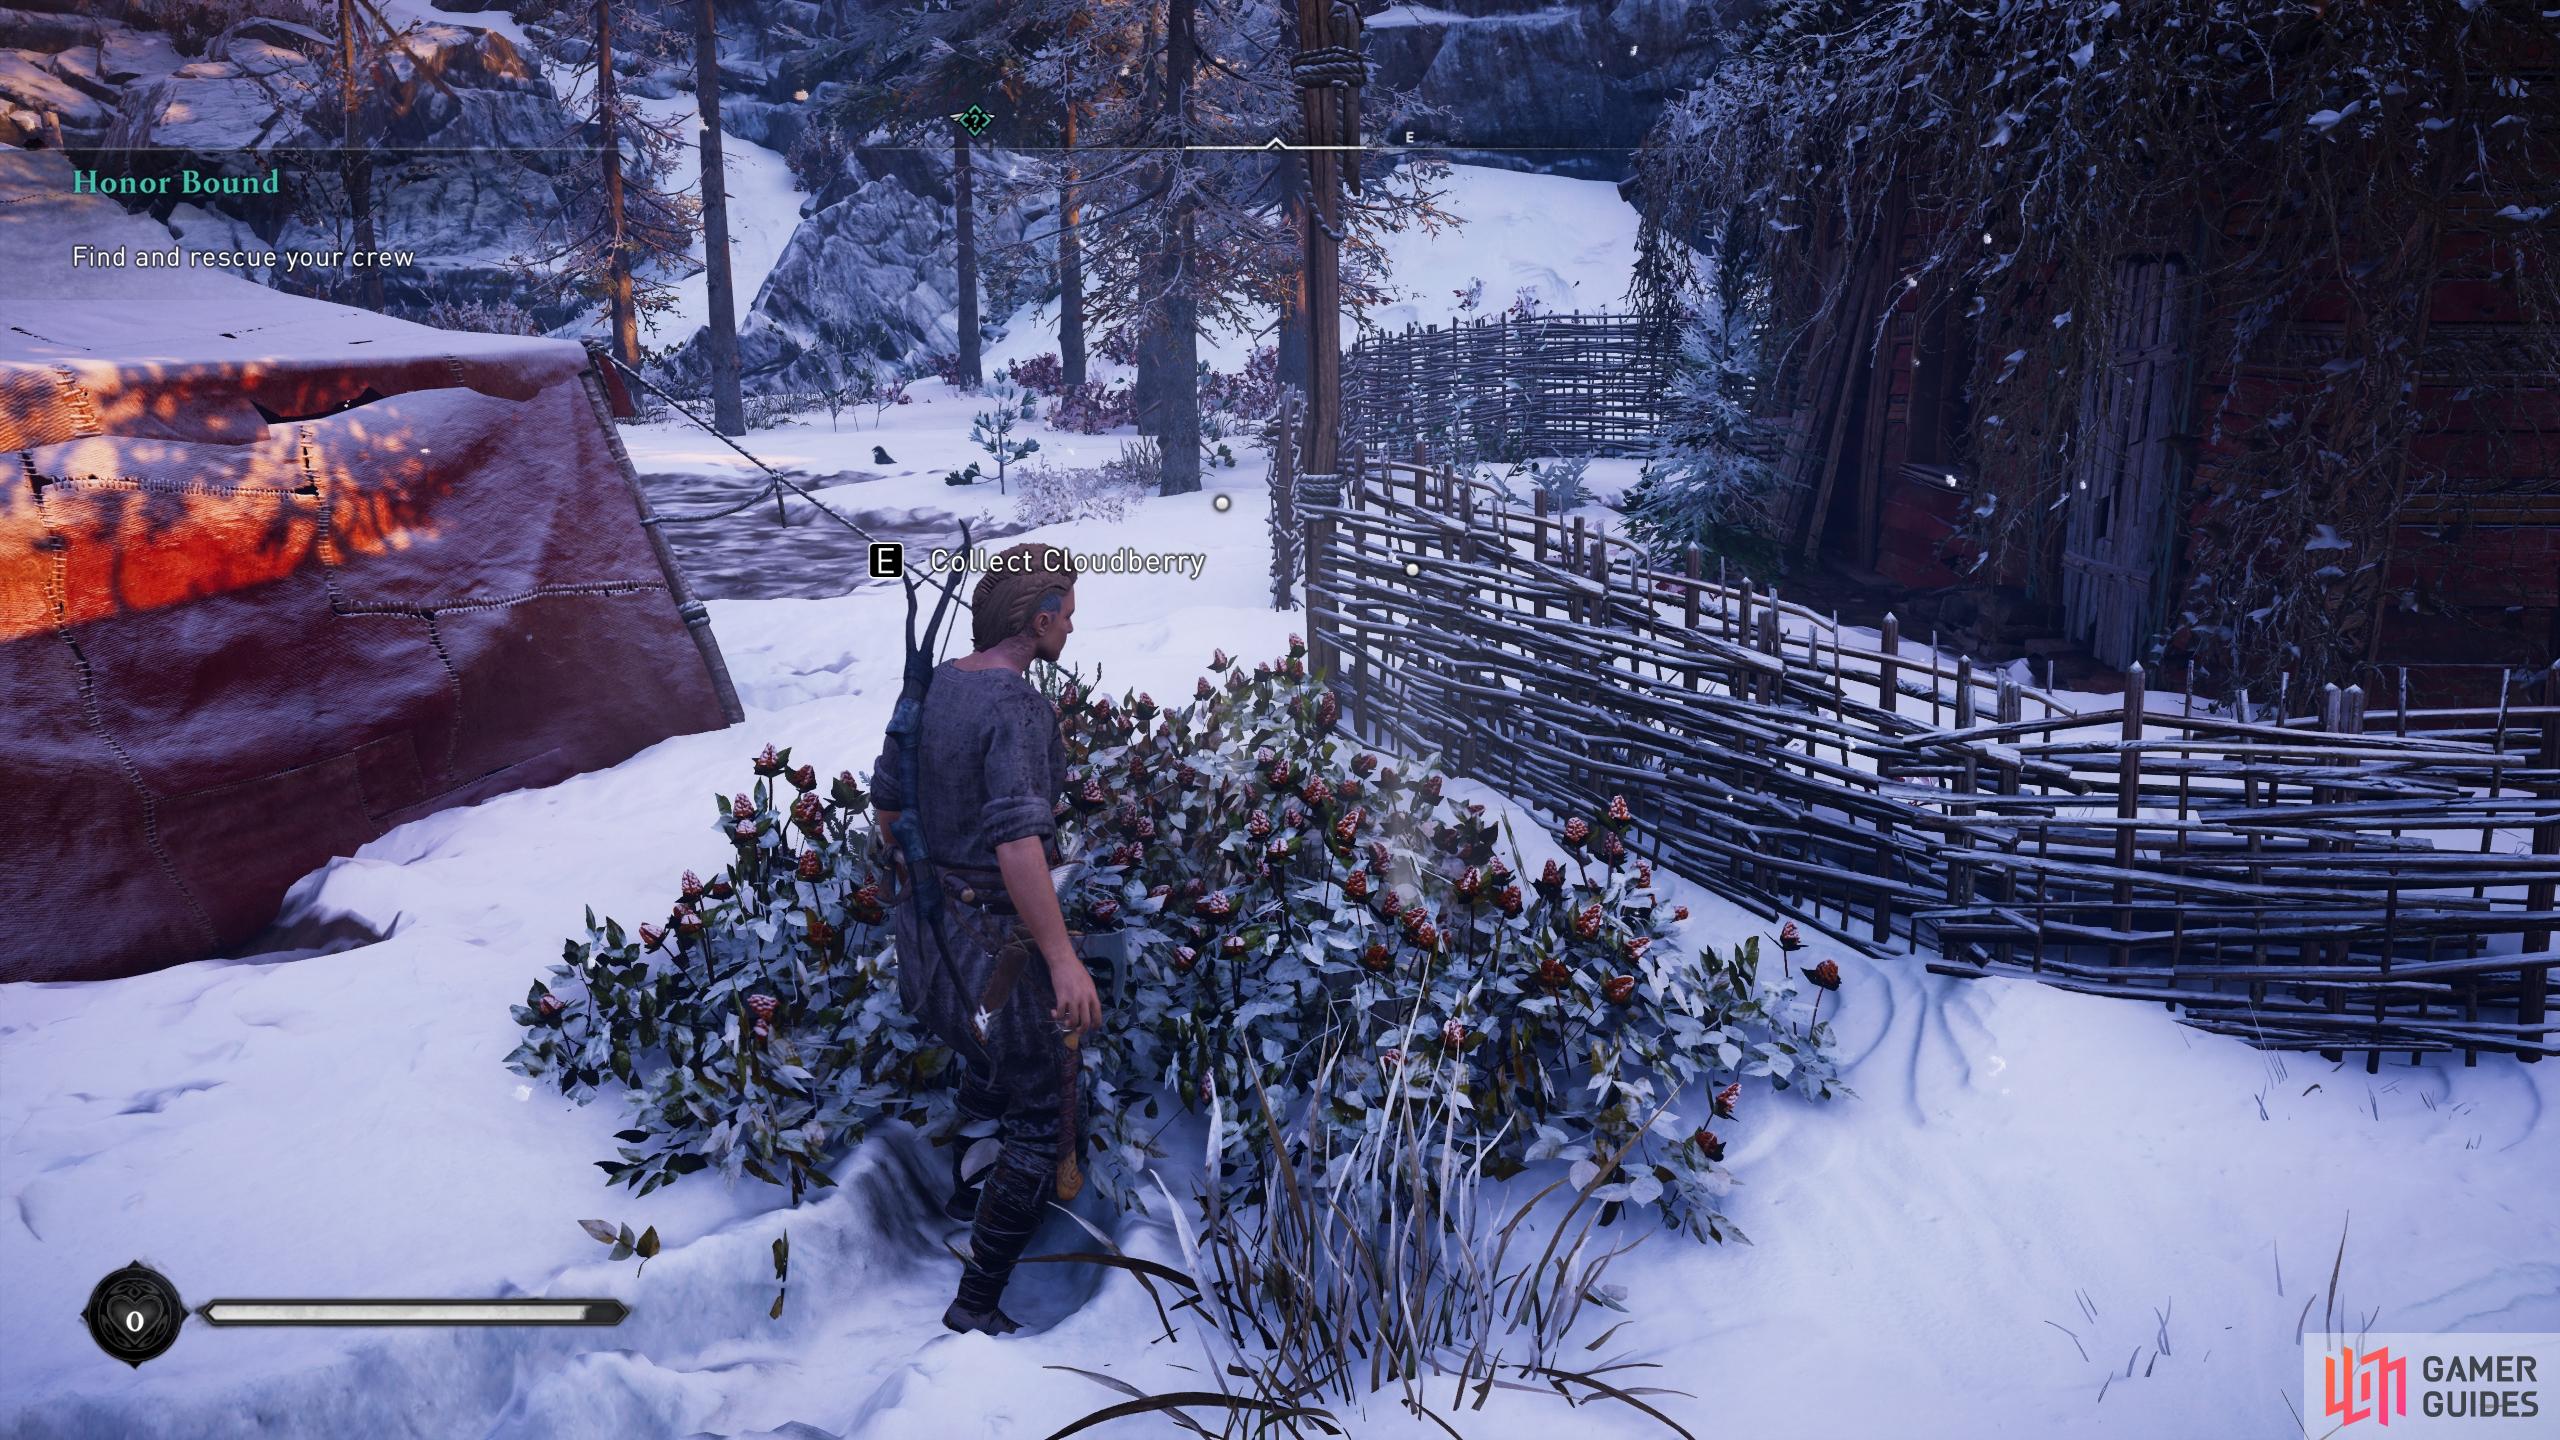
The first thing you’ll want to do before moving from the docks is replenish your health. This can be done by picking cloudberries from the nearby bushes. These can be found throughout the world, allowing you to gather enough to form a ration, which can be used during battle for a quick heal. You’ll start the game being able to carry only one ration, but this can be upgraded up to a maximum of six from your inventory.
In addition to cloudberries (and later other consumables depending on your location), you can also gain health by eating food from cauldrons. You’ll find plenty of these in most settlements, including small military camps in the wilderness. Once you’ve fully replenished your health and gathered a ration for later, take some time to loot the nearby houses and the crates surrounding them. You’ll find a fair bit of silver and other trade goods which can be sold to merchants.
When you’re fully healed and done with looting, open your map and set a custom marker at the synchronization point to the north. You should aim to synchronize with each new point as you encounter them. Not only do they provide spectacular views of the surrounding landscape, they also serve as fast travel points and reveal the location of Wealth, Mysteries, and Artifacts in the region.
Once you’ve used the synchronization point, you’ll notice new points of interest on your map. You can always come back to these later if you prefer, but there’s no reason not to pick them up on your way to Avaldsnes. In general, they’re good sources of XP and they will contribute to your material pool, which can then be used to upgrade armor, making future battles that much easier. You can select up to three Wealth, Mysteries, and Artifacts on your map at any given time, which will then be highlighted on your compass for easy navigation.
Location of the Wealth in Avaldsnes During Honor Bound
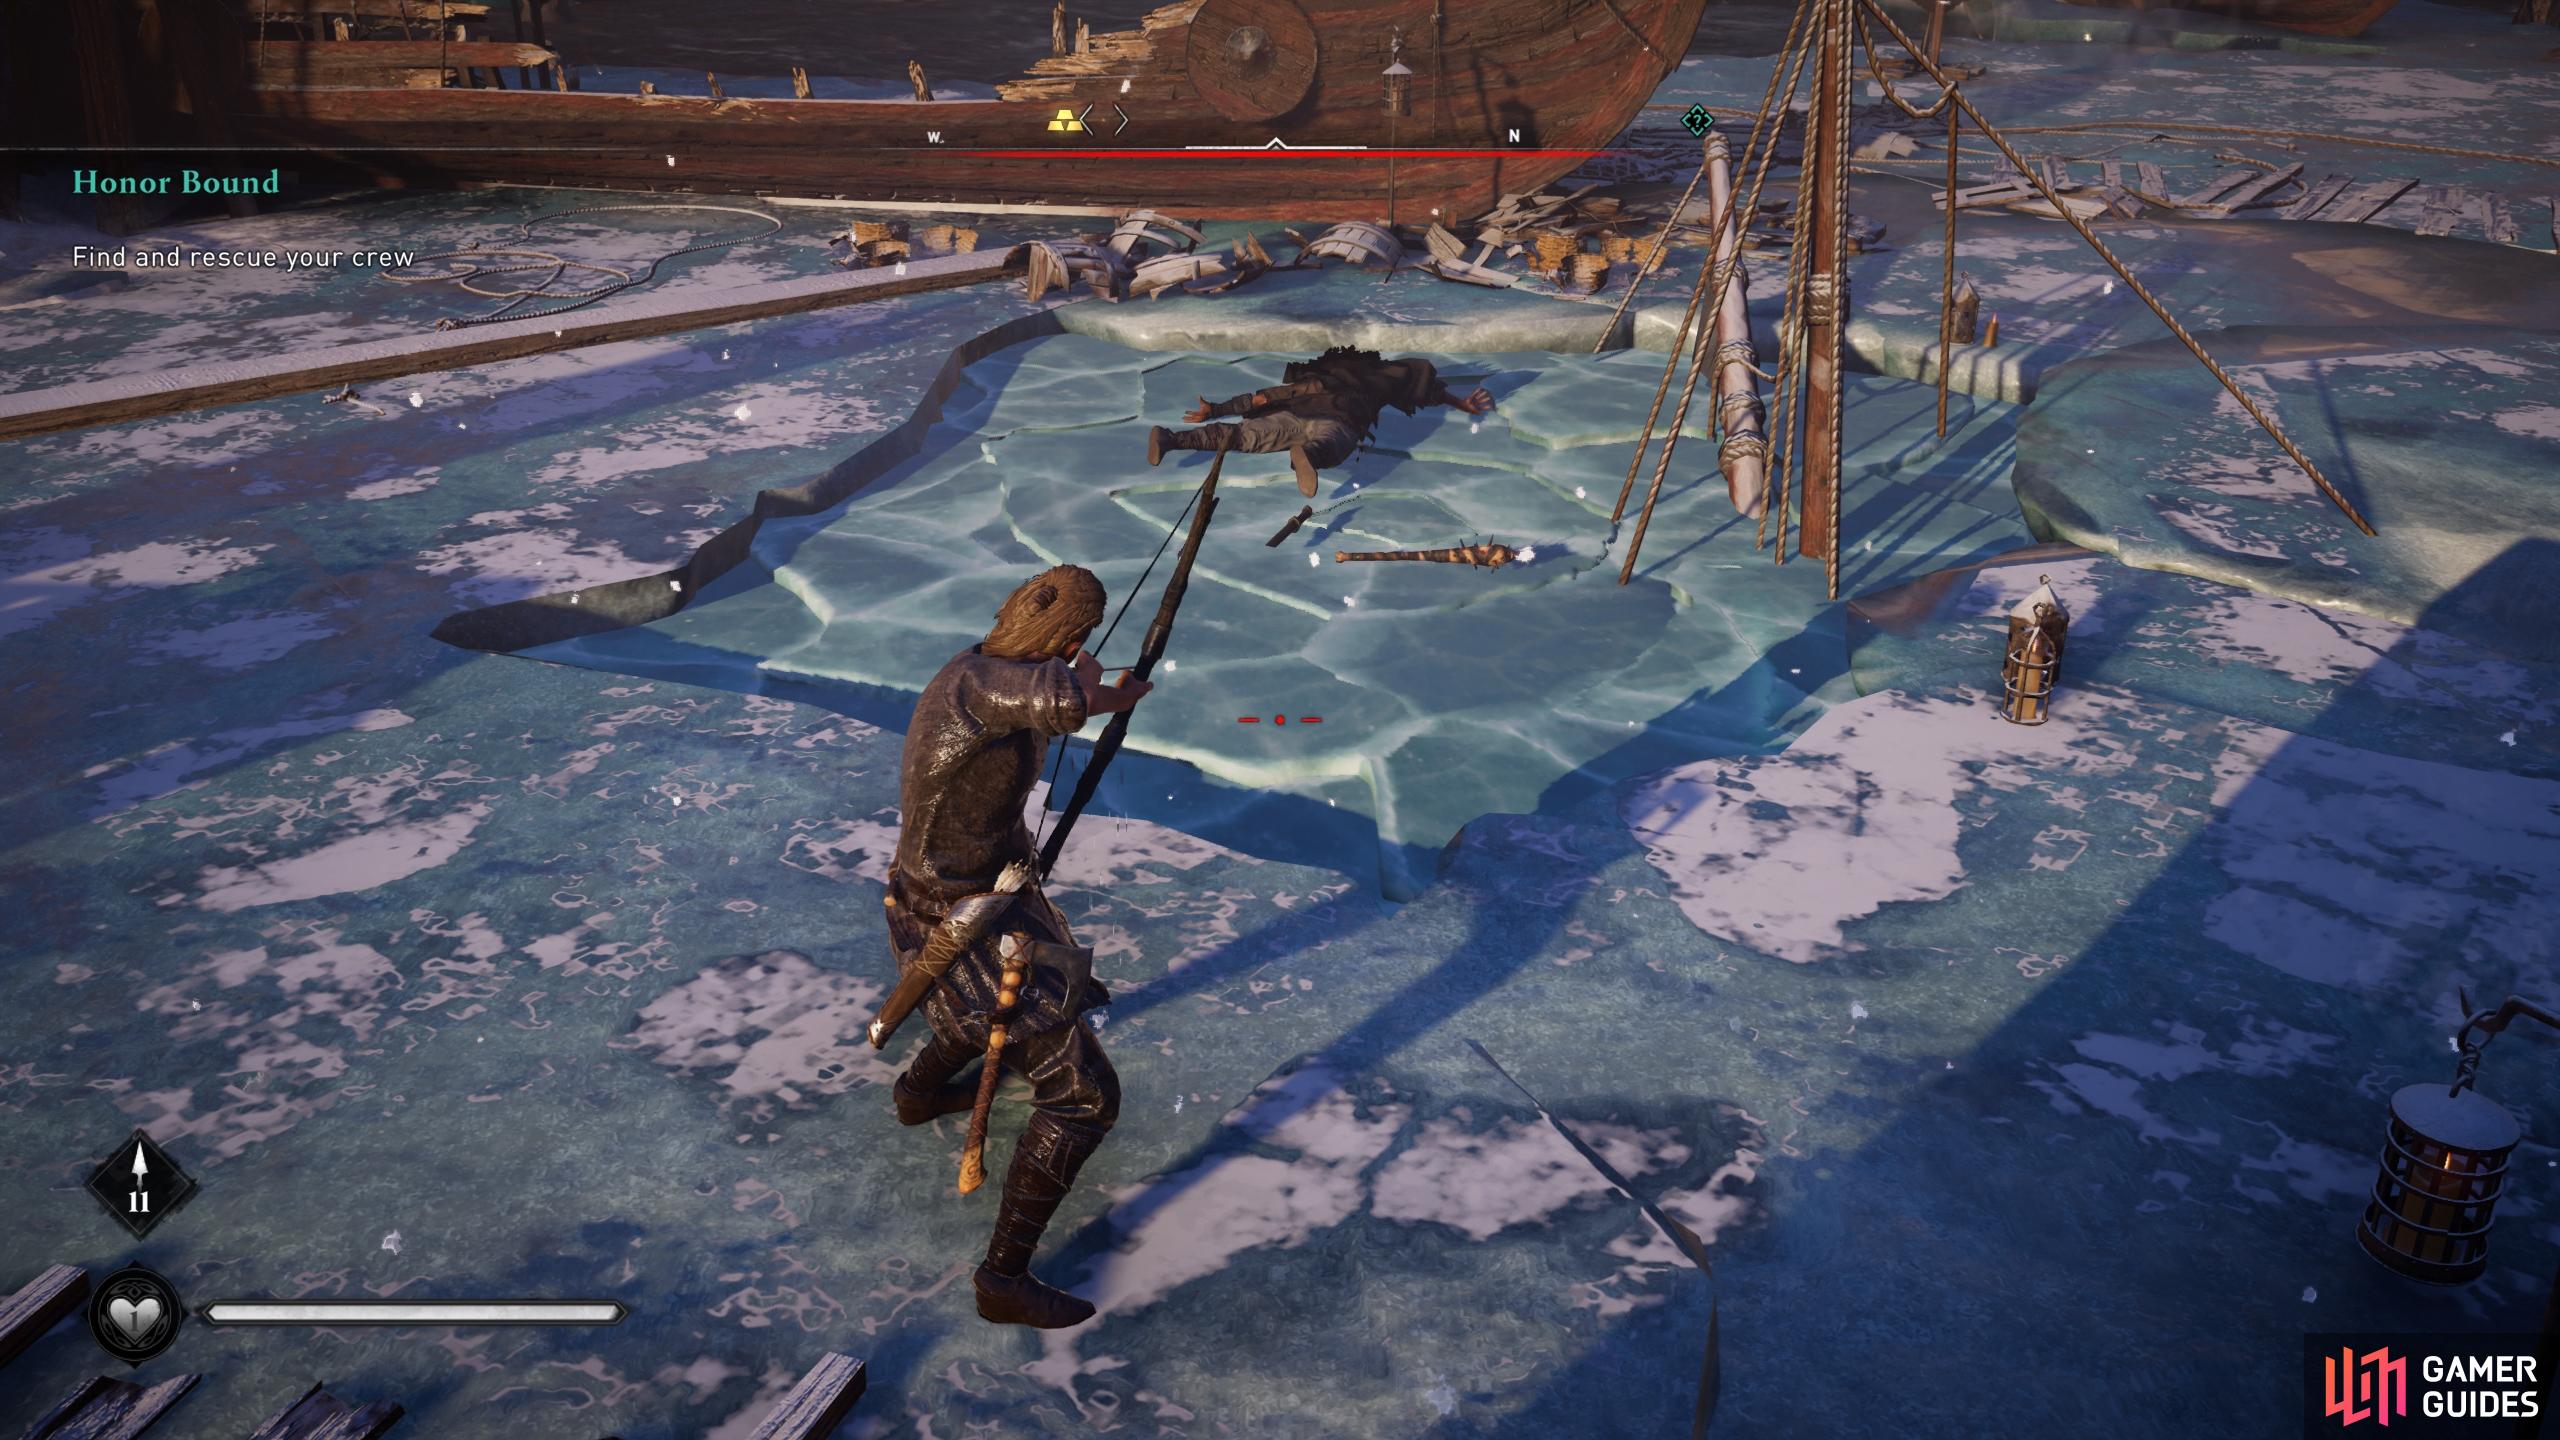
After taking in the view, jump down into the pool. You’ll need to gauge your jump somewhat to ensure you hit the water. Gone are the days when you could jump from any height and be sure to land on a welcoming haystack. Climb out of the pool and head northeast until you approach a small camp guarded by one of Kjotve’s warriors. Take them out with your bow from a distance, or charge directly at them for a melee fight. You don’t yet have the ability to assassinate, so your bow will be the main form of stealth kills for now. With the warrior dead, continue northeast to the Wealth in the center of the map.
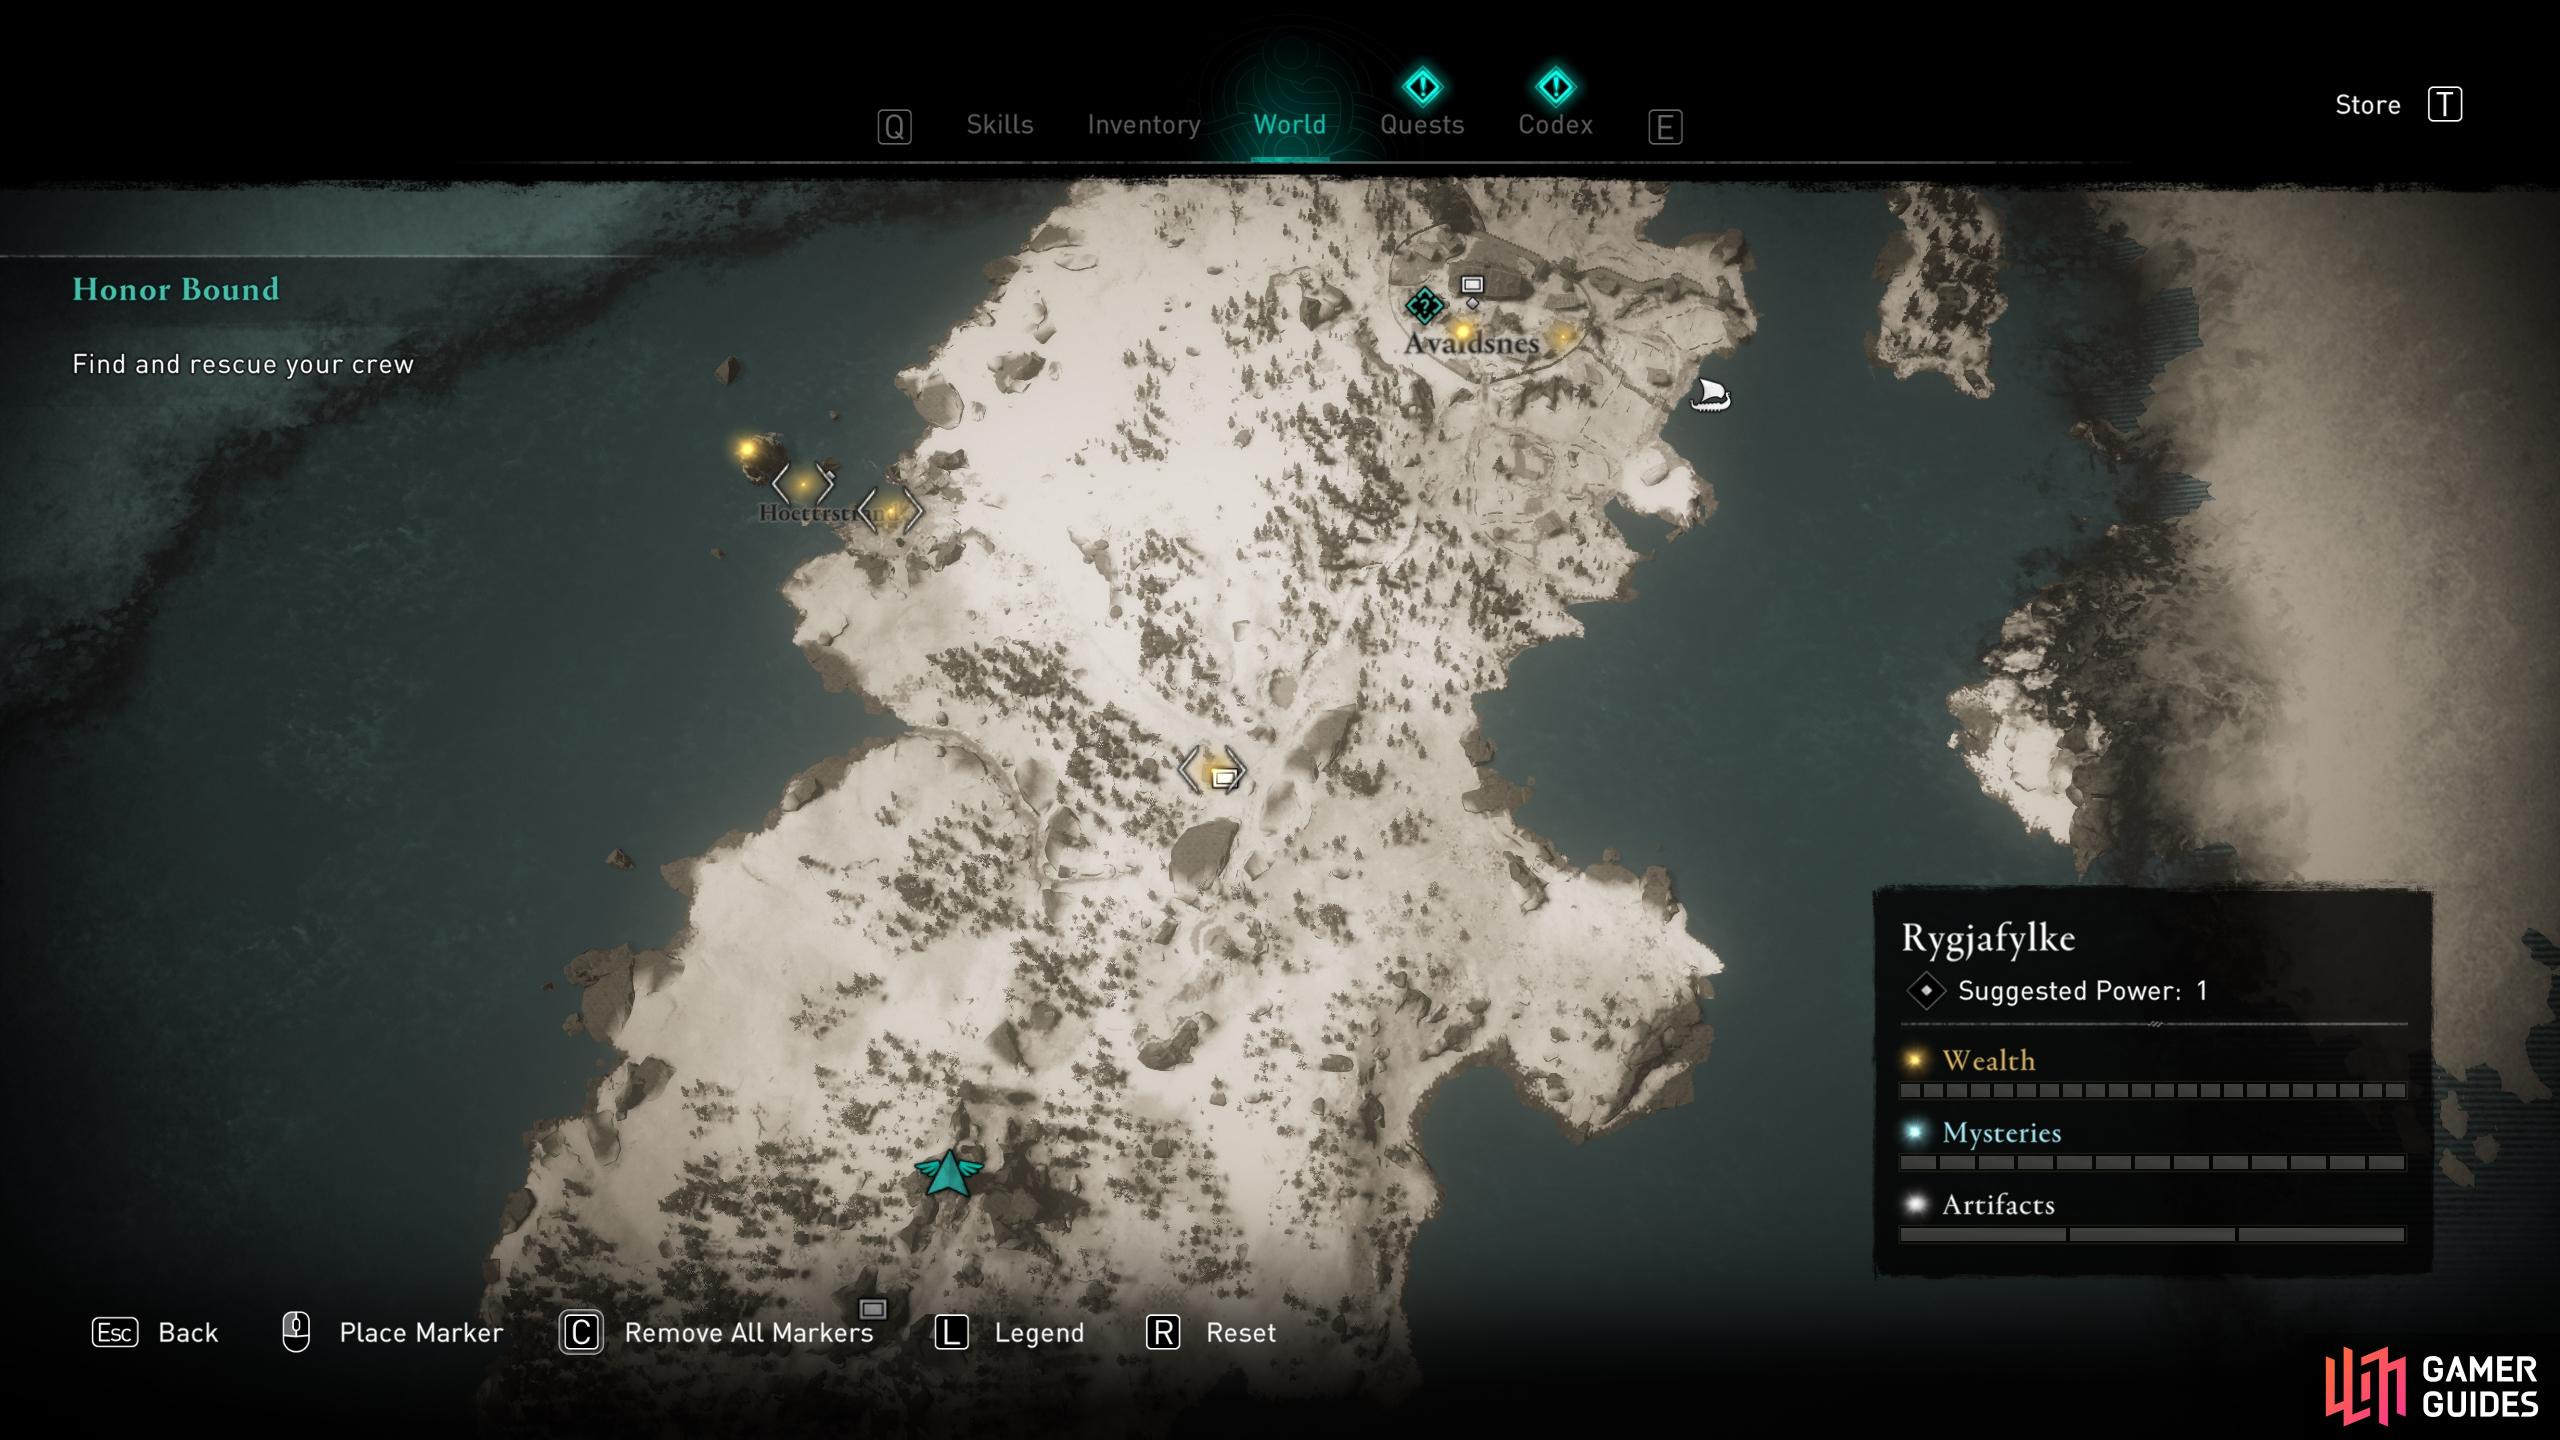
(1 of 4) Points of interest including Wealth, Mysteries and Artifacts will be revealed on the map after synchronization.
Once you reach the wealth point of interest to the northeast, you can use Odin’s Vision to highlight precisely where it is. This one is easily found, but some will be more hidden in places that can be difficult to reach without breaking a few obstacles or climbing to them using your parkour abilities. Loot the chest in this house and don’t forget to break the crates for some minor loot, then turn your attention to Hoettrstrand in the northwest. As you approach the camp use Sýnin to inspect the potential threat, noting multiple warriors standing guard by the ships. You can also use Odin’s Vision to mark any nearby enemies in red, making it easier to plan your attack without being overwhelmed.
You’ll notice when you enter Hoettrstrand that a red line will be present at the bottom of your compass, indicating that this a restricted area. All this means is that you’re not welcome here, and any guards will be hostile. Kill the guards, making use of dodge and roll to avoid their attacks (which can be lethal without armor at this stage) and then take note of the wealth location. This is a good example of wealth which is more difficult to attain - this time being trapped under ice - which requires a bit more thinking to gain access to. Use your bow or axe to break the surface of the ice, then jump into the water and dive to the loot chest.
After looting the wealth beneath the ice, head northwest to find more under water, this time within a ship wreck directly below some floating tree trunks. Take the plunge and enter the shipwreck from the southwest to gain access, then return to the surface and use the tree trunks to reach the rock formation to the north. Follow the wooden platforms until you reach the mast of an abandoned ship. Leap onto the mast until you reach the tip of the highest spar, then jump to the wooden platform to the east. Climb the rock surface to the southwest and follow the path until you see a raised ladder. Use your bow to break the link which is holding up the ladder, then climb it to the wealth above.
(1 of 4) Use your bow to break the surface of the ice, providing access to the water and the wealth beneath it.
Now that everything at Hoettrstrand has been looted, head northeast to the main objective in Avaldsnes. As you approach the settlement you’ll be introduced to Dag, a fellow warrior of the raven clan. He’ll provide you with a Raven Clan Shield, which you should equip as soon as possible to your secondary hand slot in the inventory. This will prove useful in the fighting to come, allowing you to block multiple light attacks in a row during battle. Continue northeast and enter the settlement by climbing through a hole in the fence posts.
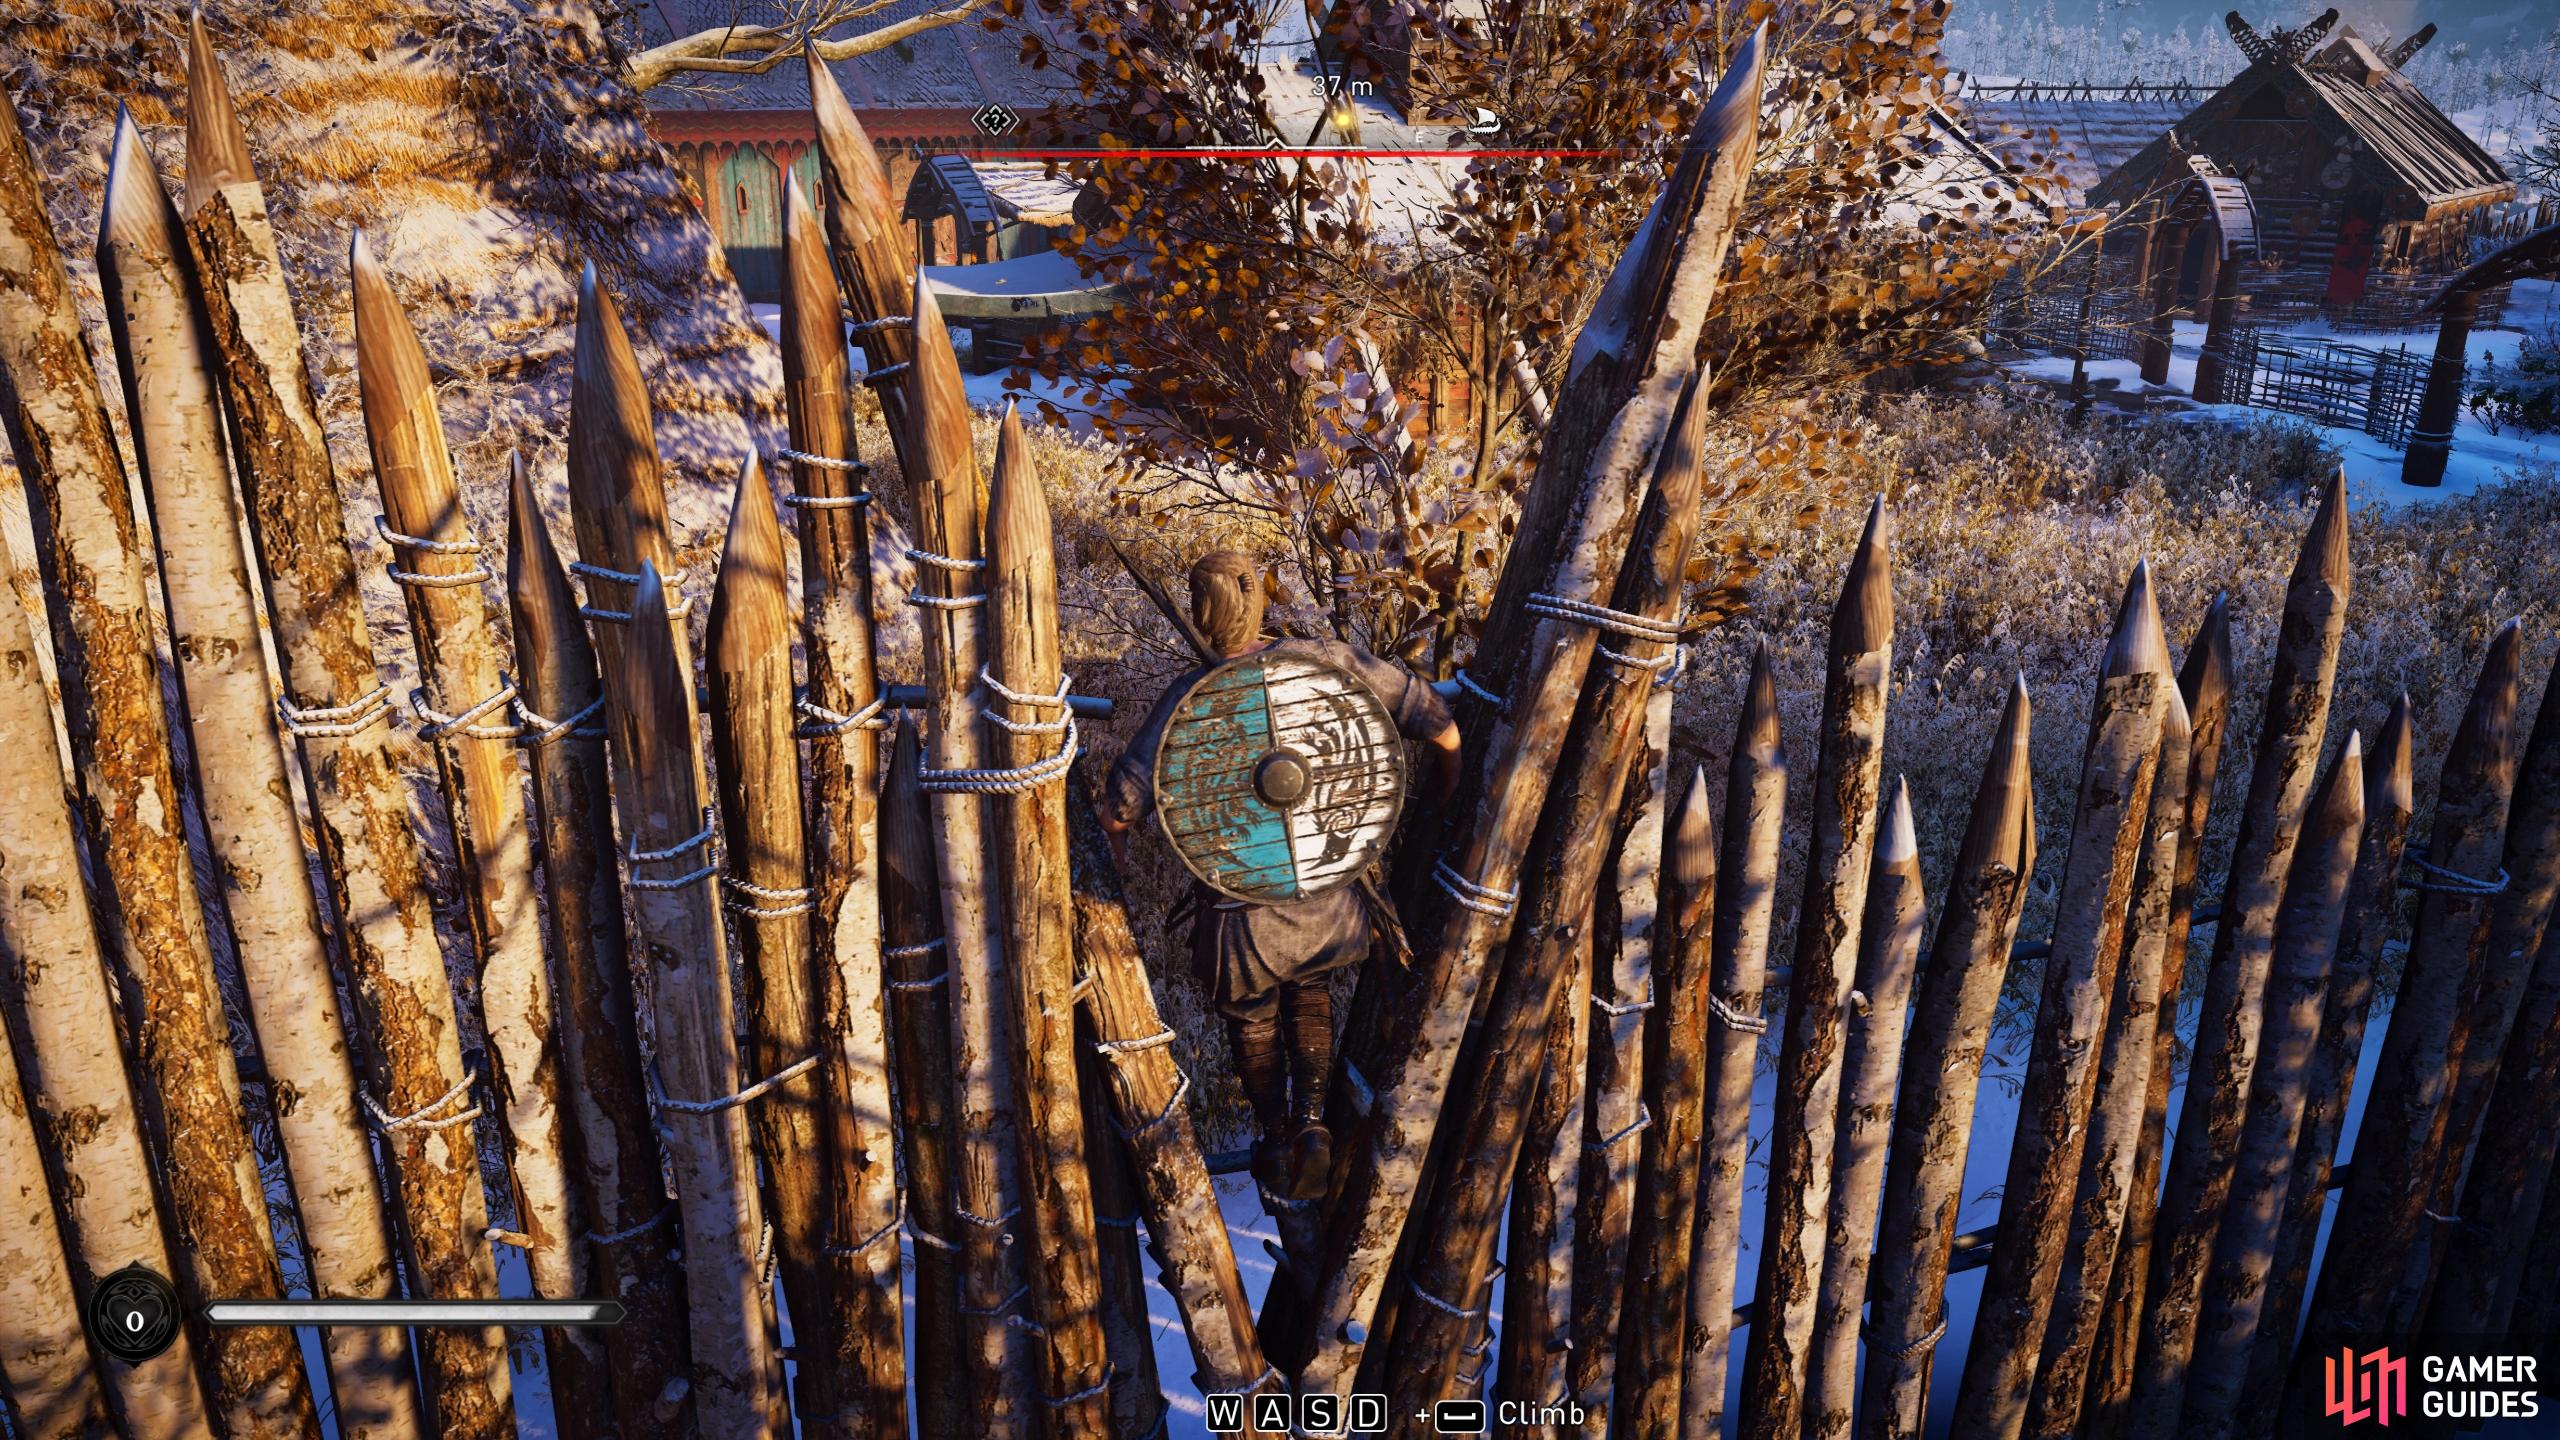
Enter Avaldsnes from one of the breaks in the fence post to avoid alerting the guards.
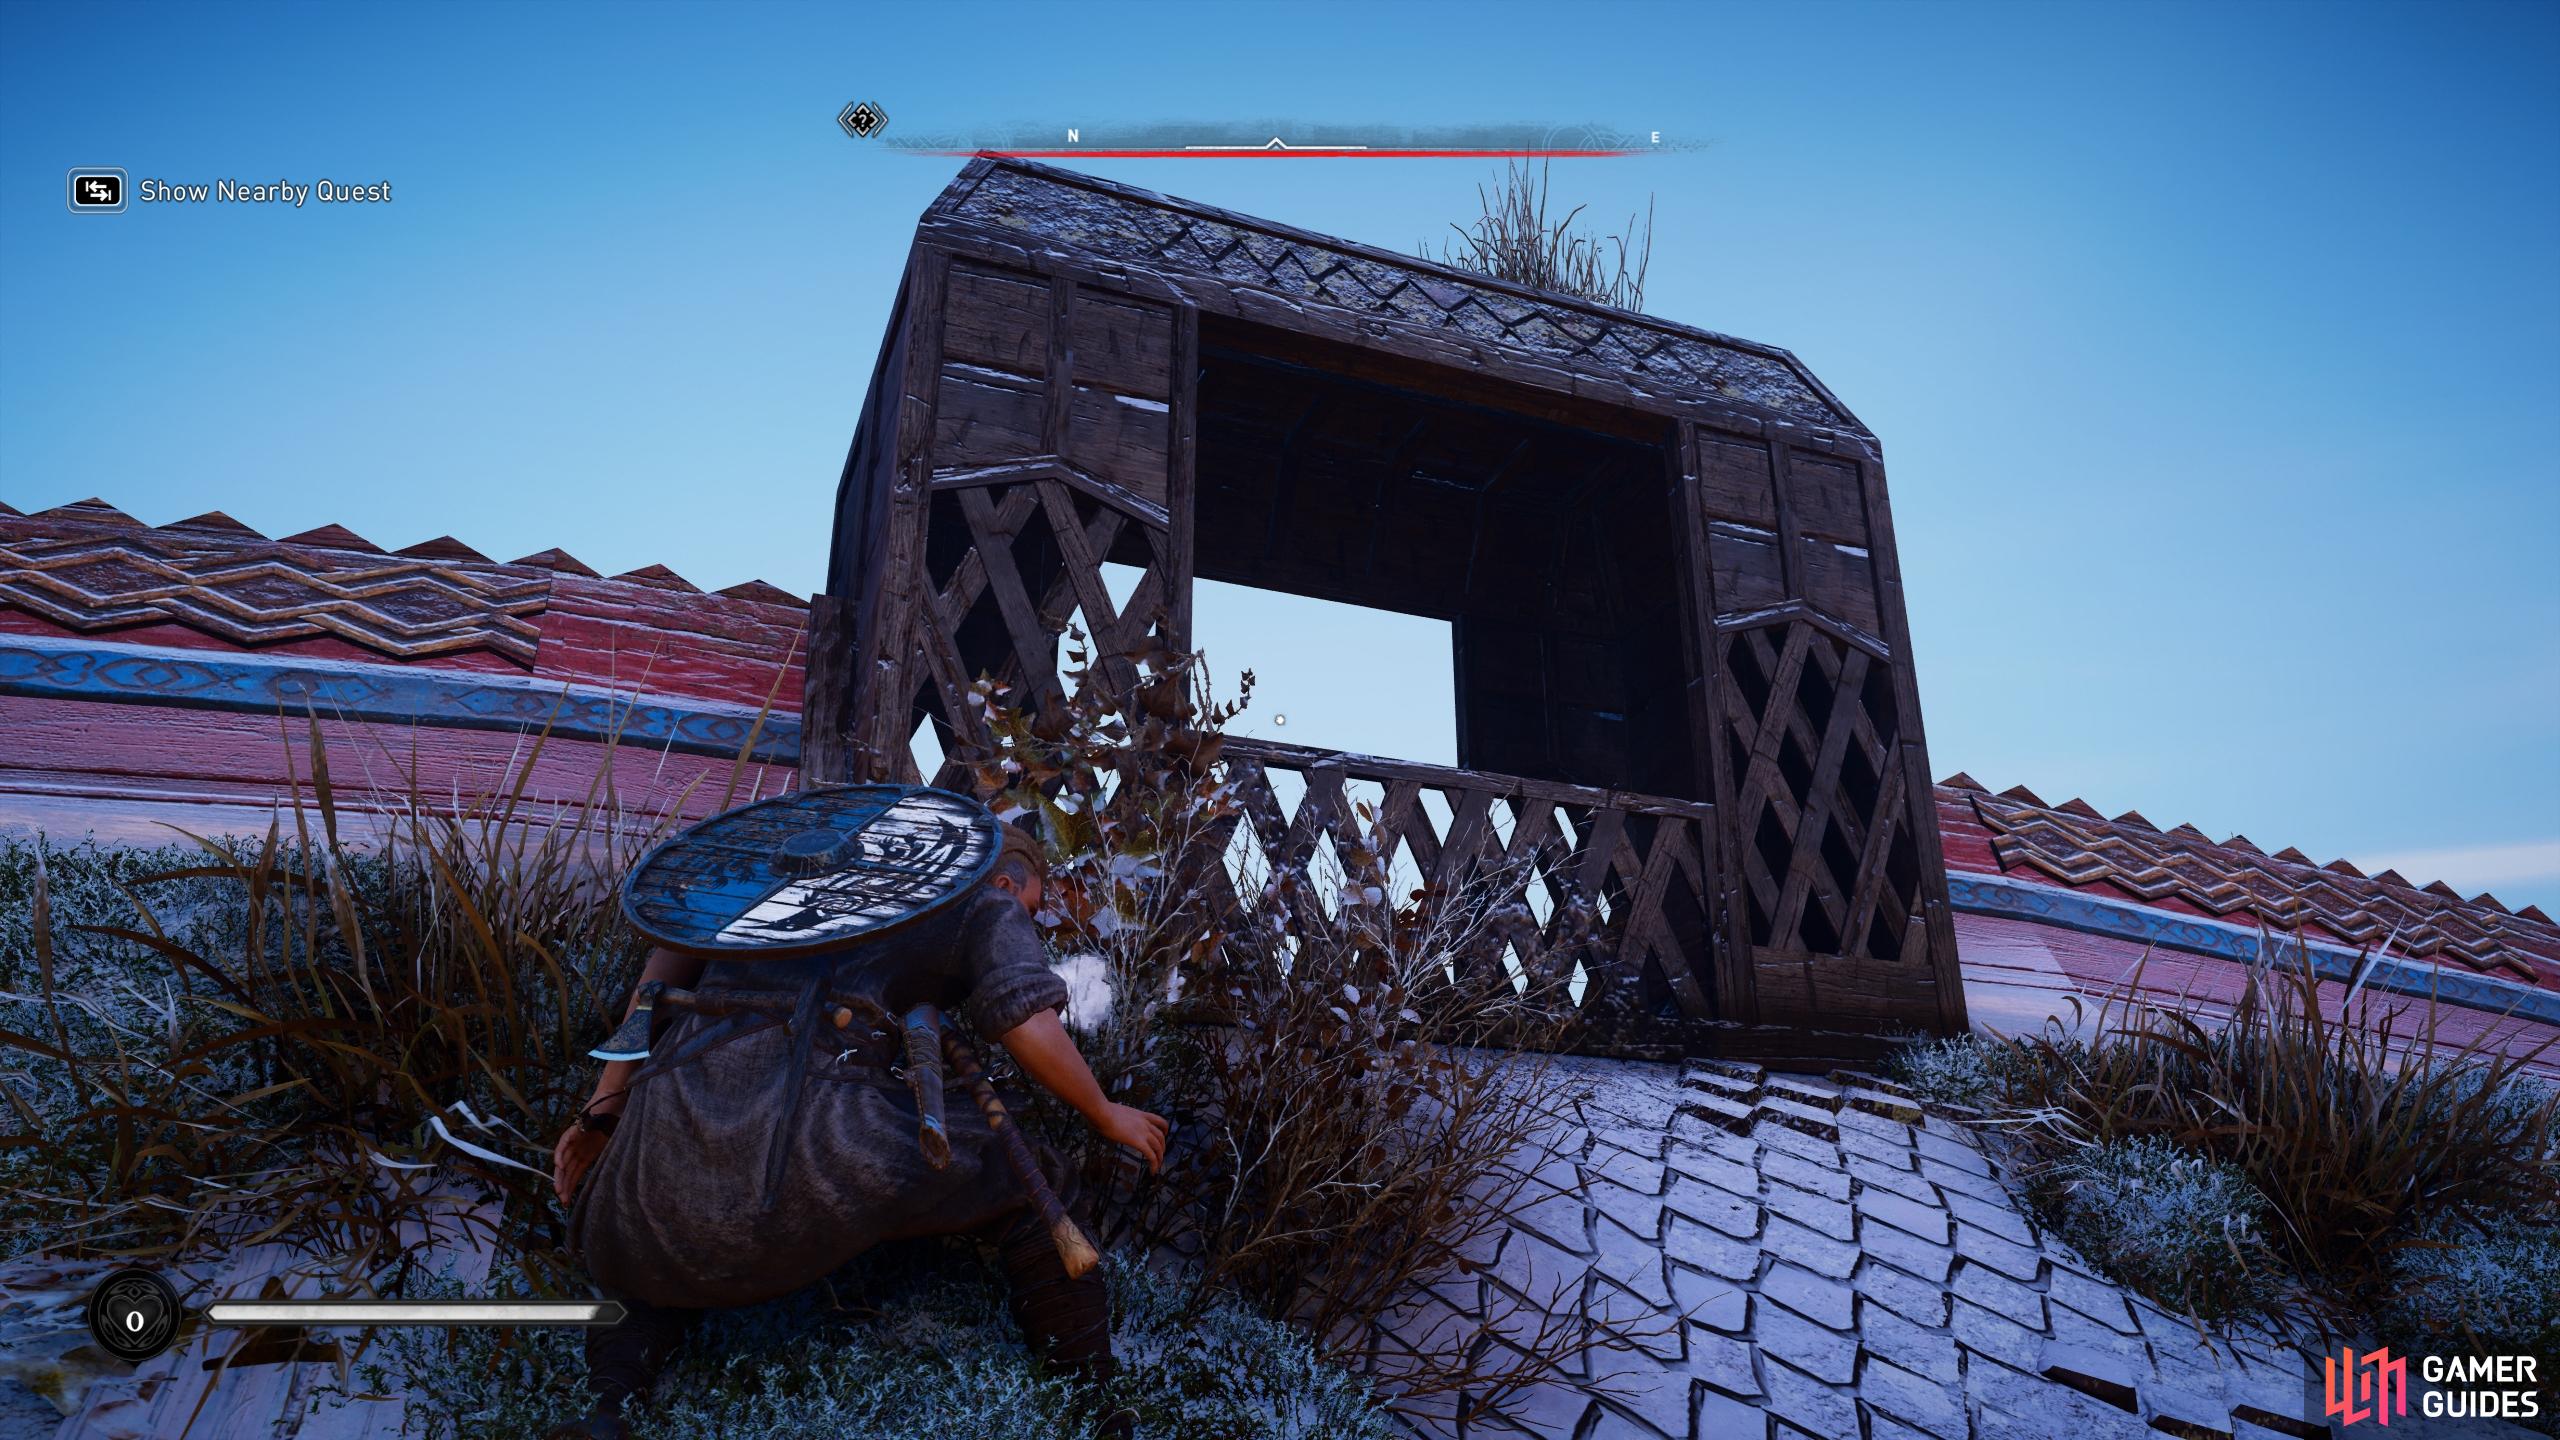
You’ll need to enter the longhouse from the rooftop.
From here you only need to carve a path to the longhouse, so try to avoid guards where possible. Those you do encounter can be taken down quietly with an arrow to the head. If you find yourself being attacked by multiple guards, make good use of your shield to block their light attacks, and then follow up with your own counters. Either way, your main objective here is to reach the roof of the longhouse, so climb it as soon as you get the chance. At the very top of the building you’ll find an opening. Climb down from here to trigger a cutscene, leading to your first boss fight.
Honor Bound Boss Fight - Rikiwulf
As first boss fights go, this can be a tricky one. Rikiwulf’s main weapon is a two-handed axe. The axe has a decent amount of reach, but due to its size is cumbersome to wield. This ia a forgiving element of Rikiwulf’s combat style; for the most part he’s slow and predictable. However, he’s also able to use two one-handed hammers, which he’ll use to inflict strikes at great speed.
The good news is, any incoming attack with the large two-handed axe will be indicated by a red aurora surrounding Rikiwulf. Whenever you see this, be ready to dodge or roll out of the way, but be careful not to do it too soon. If you try to evade a heavy attack from Rikiwulf too soon, he’ll alter his attack path to your new location and the strike will likely hit, causing significant damage with the two-handed axe.
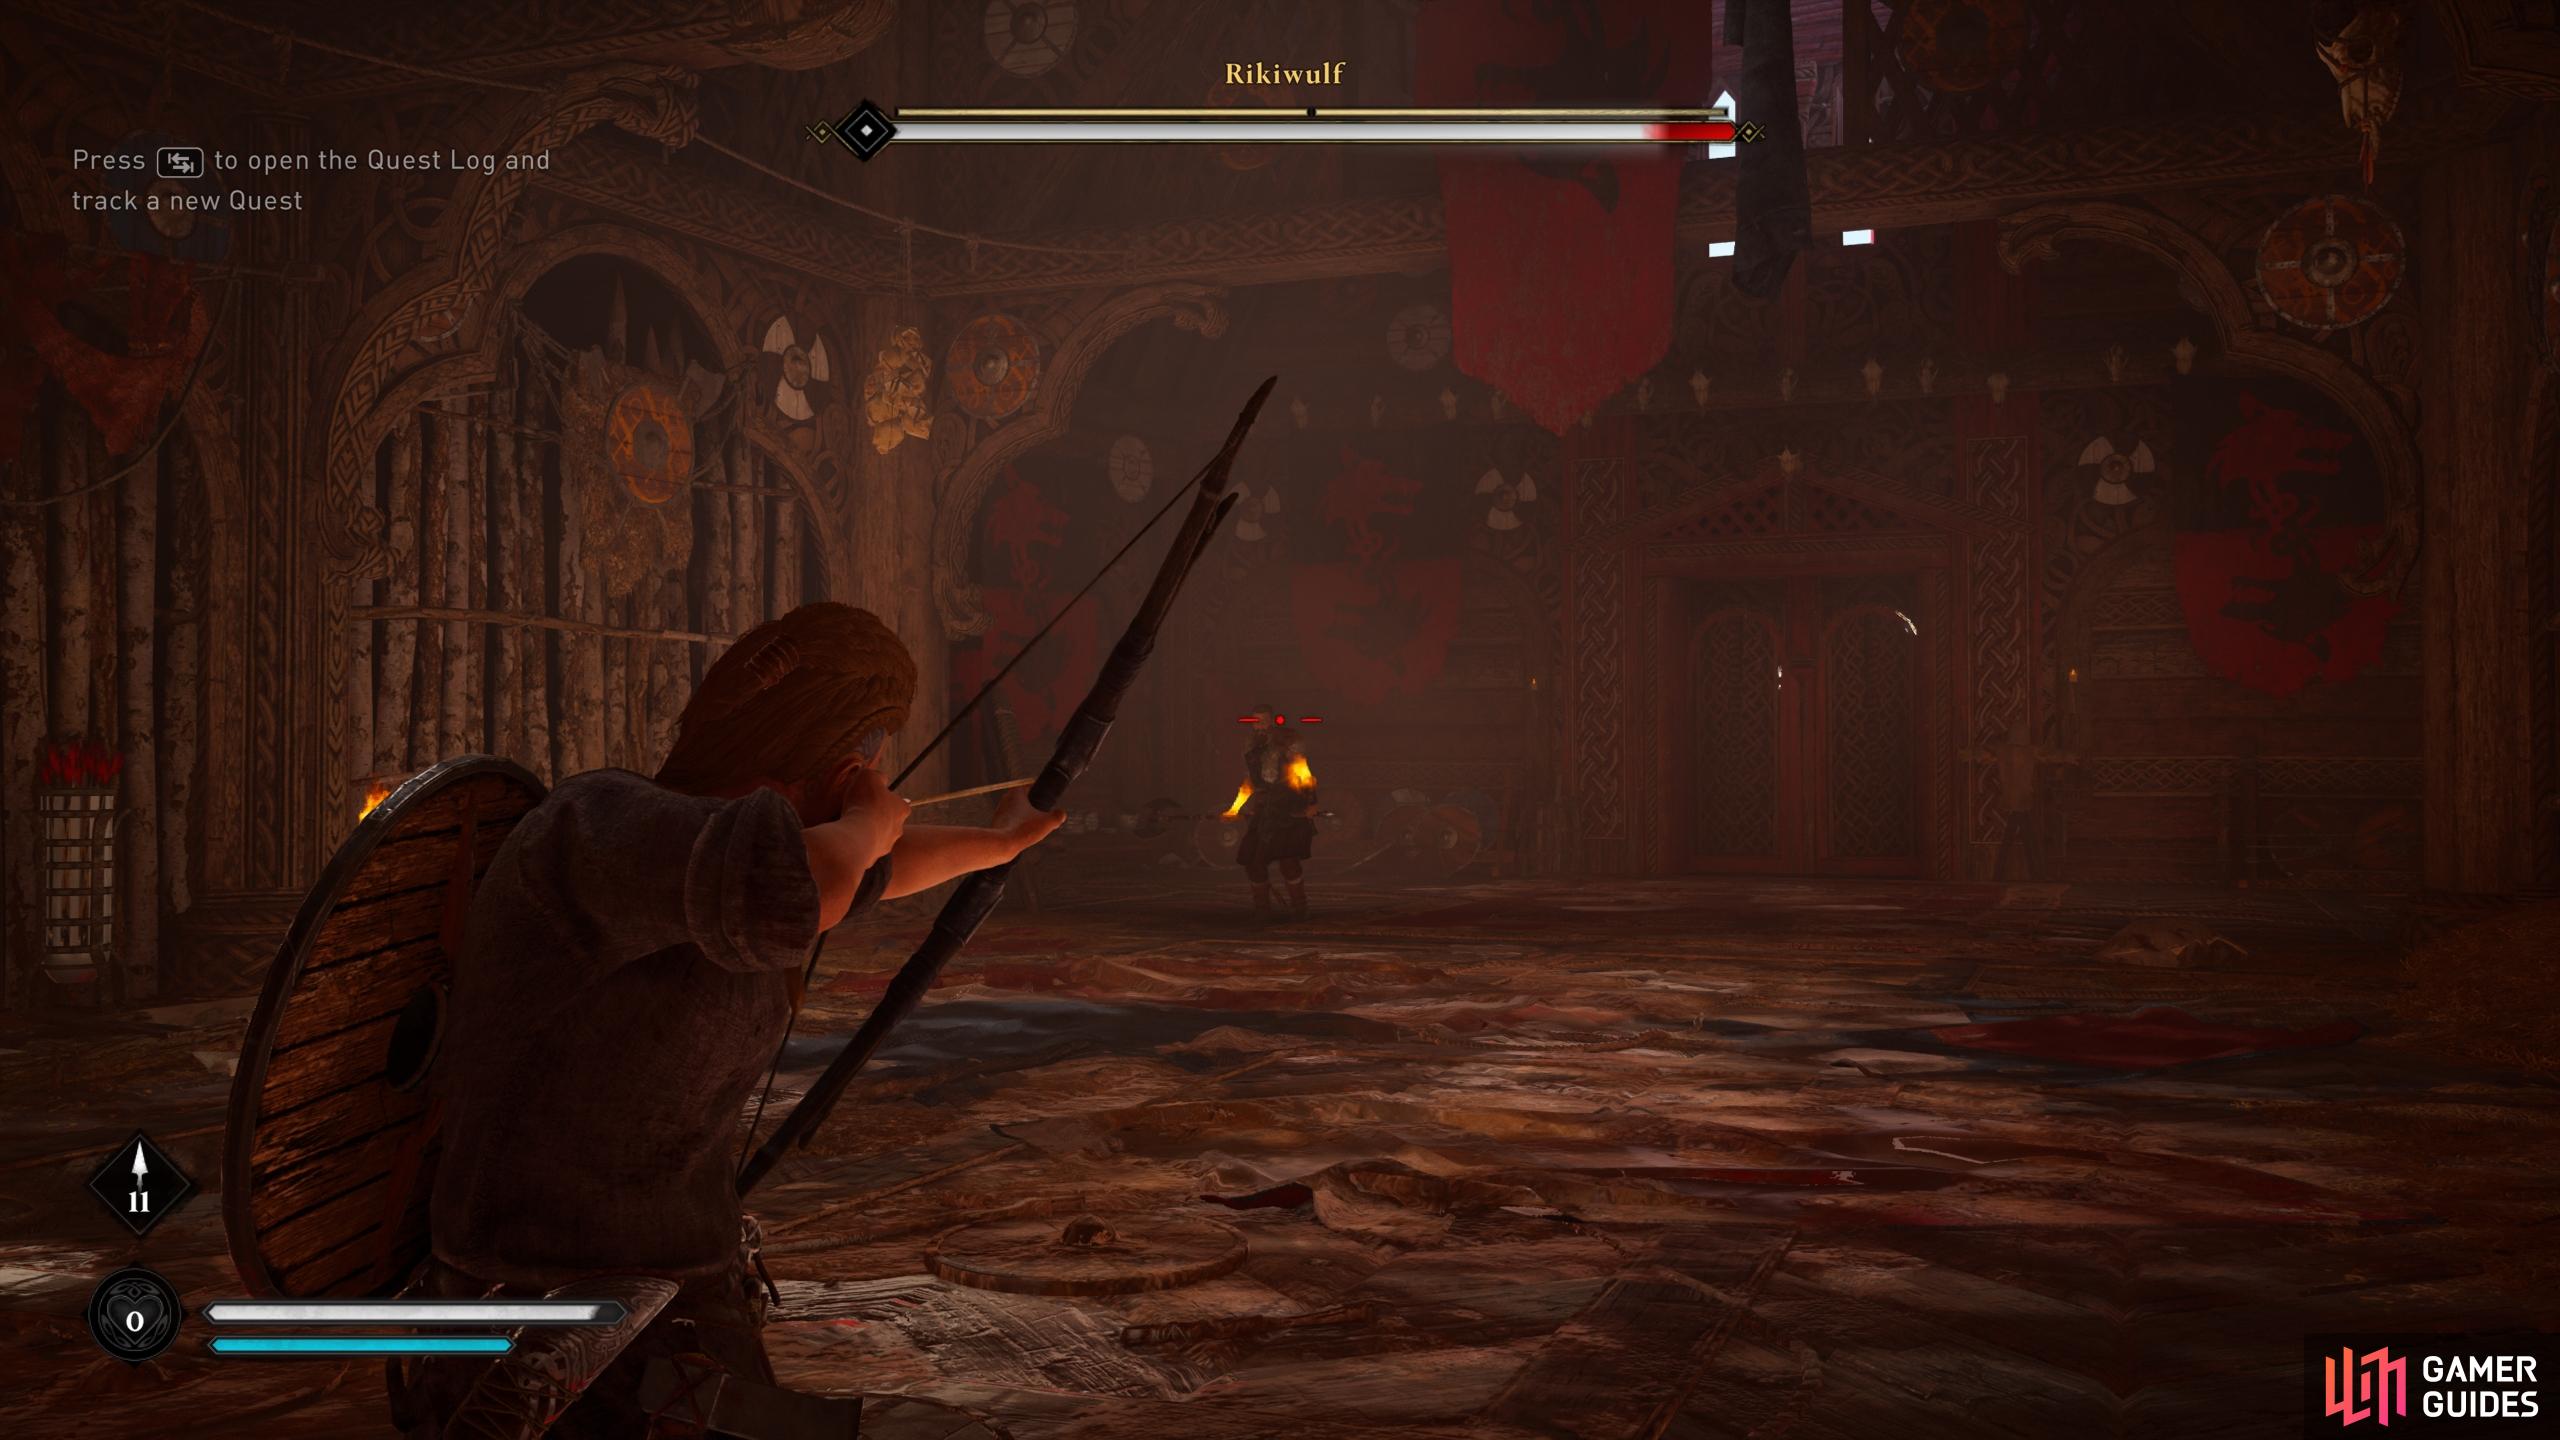
If you do manage to avoid the heavy attack in time, now is the time to immediately counter it with a series of swift light attacks. Rikiwulf will be vulnerable for a brief period after every heavy attack, so you’ll want to get the light attacks in as soon as he misses. After a few strikes have landed, try not to get too greedy and be ready to evade the next attack. You’ll benefit from creating as much space between you and Rikiwulf as possible, giving you plenty of time to respond to an attack and allowing you to shoot him from afar whenever you get the chance.
When you bring Rikiwulf down to half of his health, he’ll switch to the two one-handed hammers, changing his fighting style dramatically. Now you’ll have to contend with much faster charges, though you’ll still get a warning when an attack is incoming in the form of time briefly slowing down. Wait for the combination attack from Rikiwulf to finish, then immediately counter it with a series of heavy and light attacks of your own. Continue this pattern until you entirely deplete Rikiwulf’s health, and you should leave the fight relatively unscathed.
Free Your Crew
When Rikiwulf is defeated a brief vision will ensue, during which you’ll see Odin and one of his wolves. Follow Odin and the wolf through the doorway to end the vision and bring you back to the longhouse. At this point you’ll be given your first armor set - that of the Raven Clan - which you should equip, along with Varin’s Axe, before you do anything else. Now that you’re dressed more appropriately for battle, free your crew by unbinding the bonds from the crew member on the floor, and opening the gate for the rest behind bars. It’s time to get to your ship.
With your crew set free, they will now follow you to battle outside the longhouse. Head through the main door to the east, where you’ll find numerous guards waiting. These consist of a combination of shield-wielders and dual-wielders. Make use of heavy attacks to break through shields, and combine light attacks to swiftly bring down the guards. If you find yourself in a rough spot, allow your crew to do the work while you replenish by eating some nearby cloudberries. When the first group of guards are dead, make your way through the gateway to the east, where a number of archers will be waiting.
It’s a bad idea to charge the archers alone. They will pick you off easily if you don’t maneuver through their arrow fire effectively. Wait for your crew to assemble at the gateway, then charge the archers with them, using your shield to block any incoming arrows as you move forward. If you have any arrows of your own, now would be a good time to use them. Otherwise, you’ll have to decrease the distance between yourself and the archers by charging at them, since they have an annoying tendency to be just out of reach unless you close the gap.
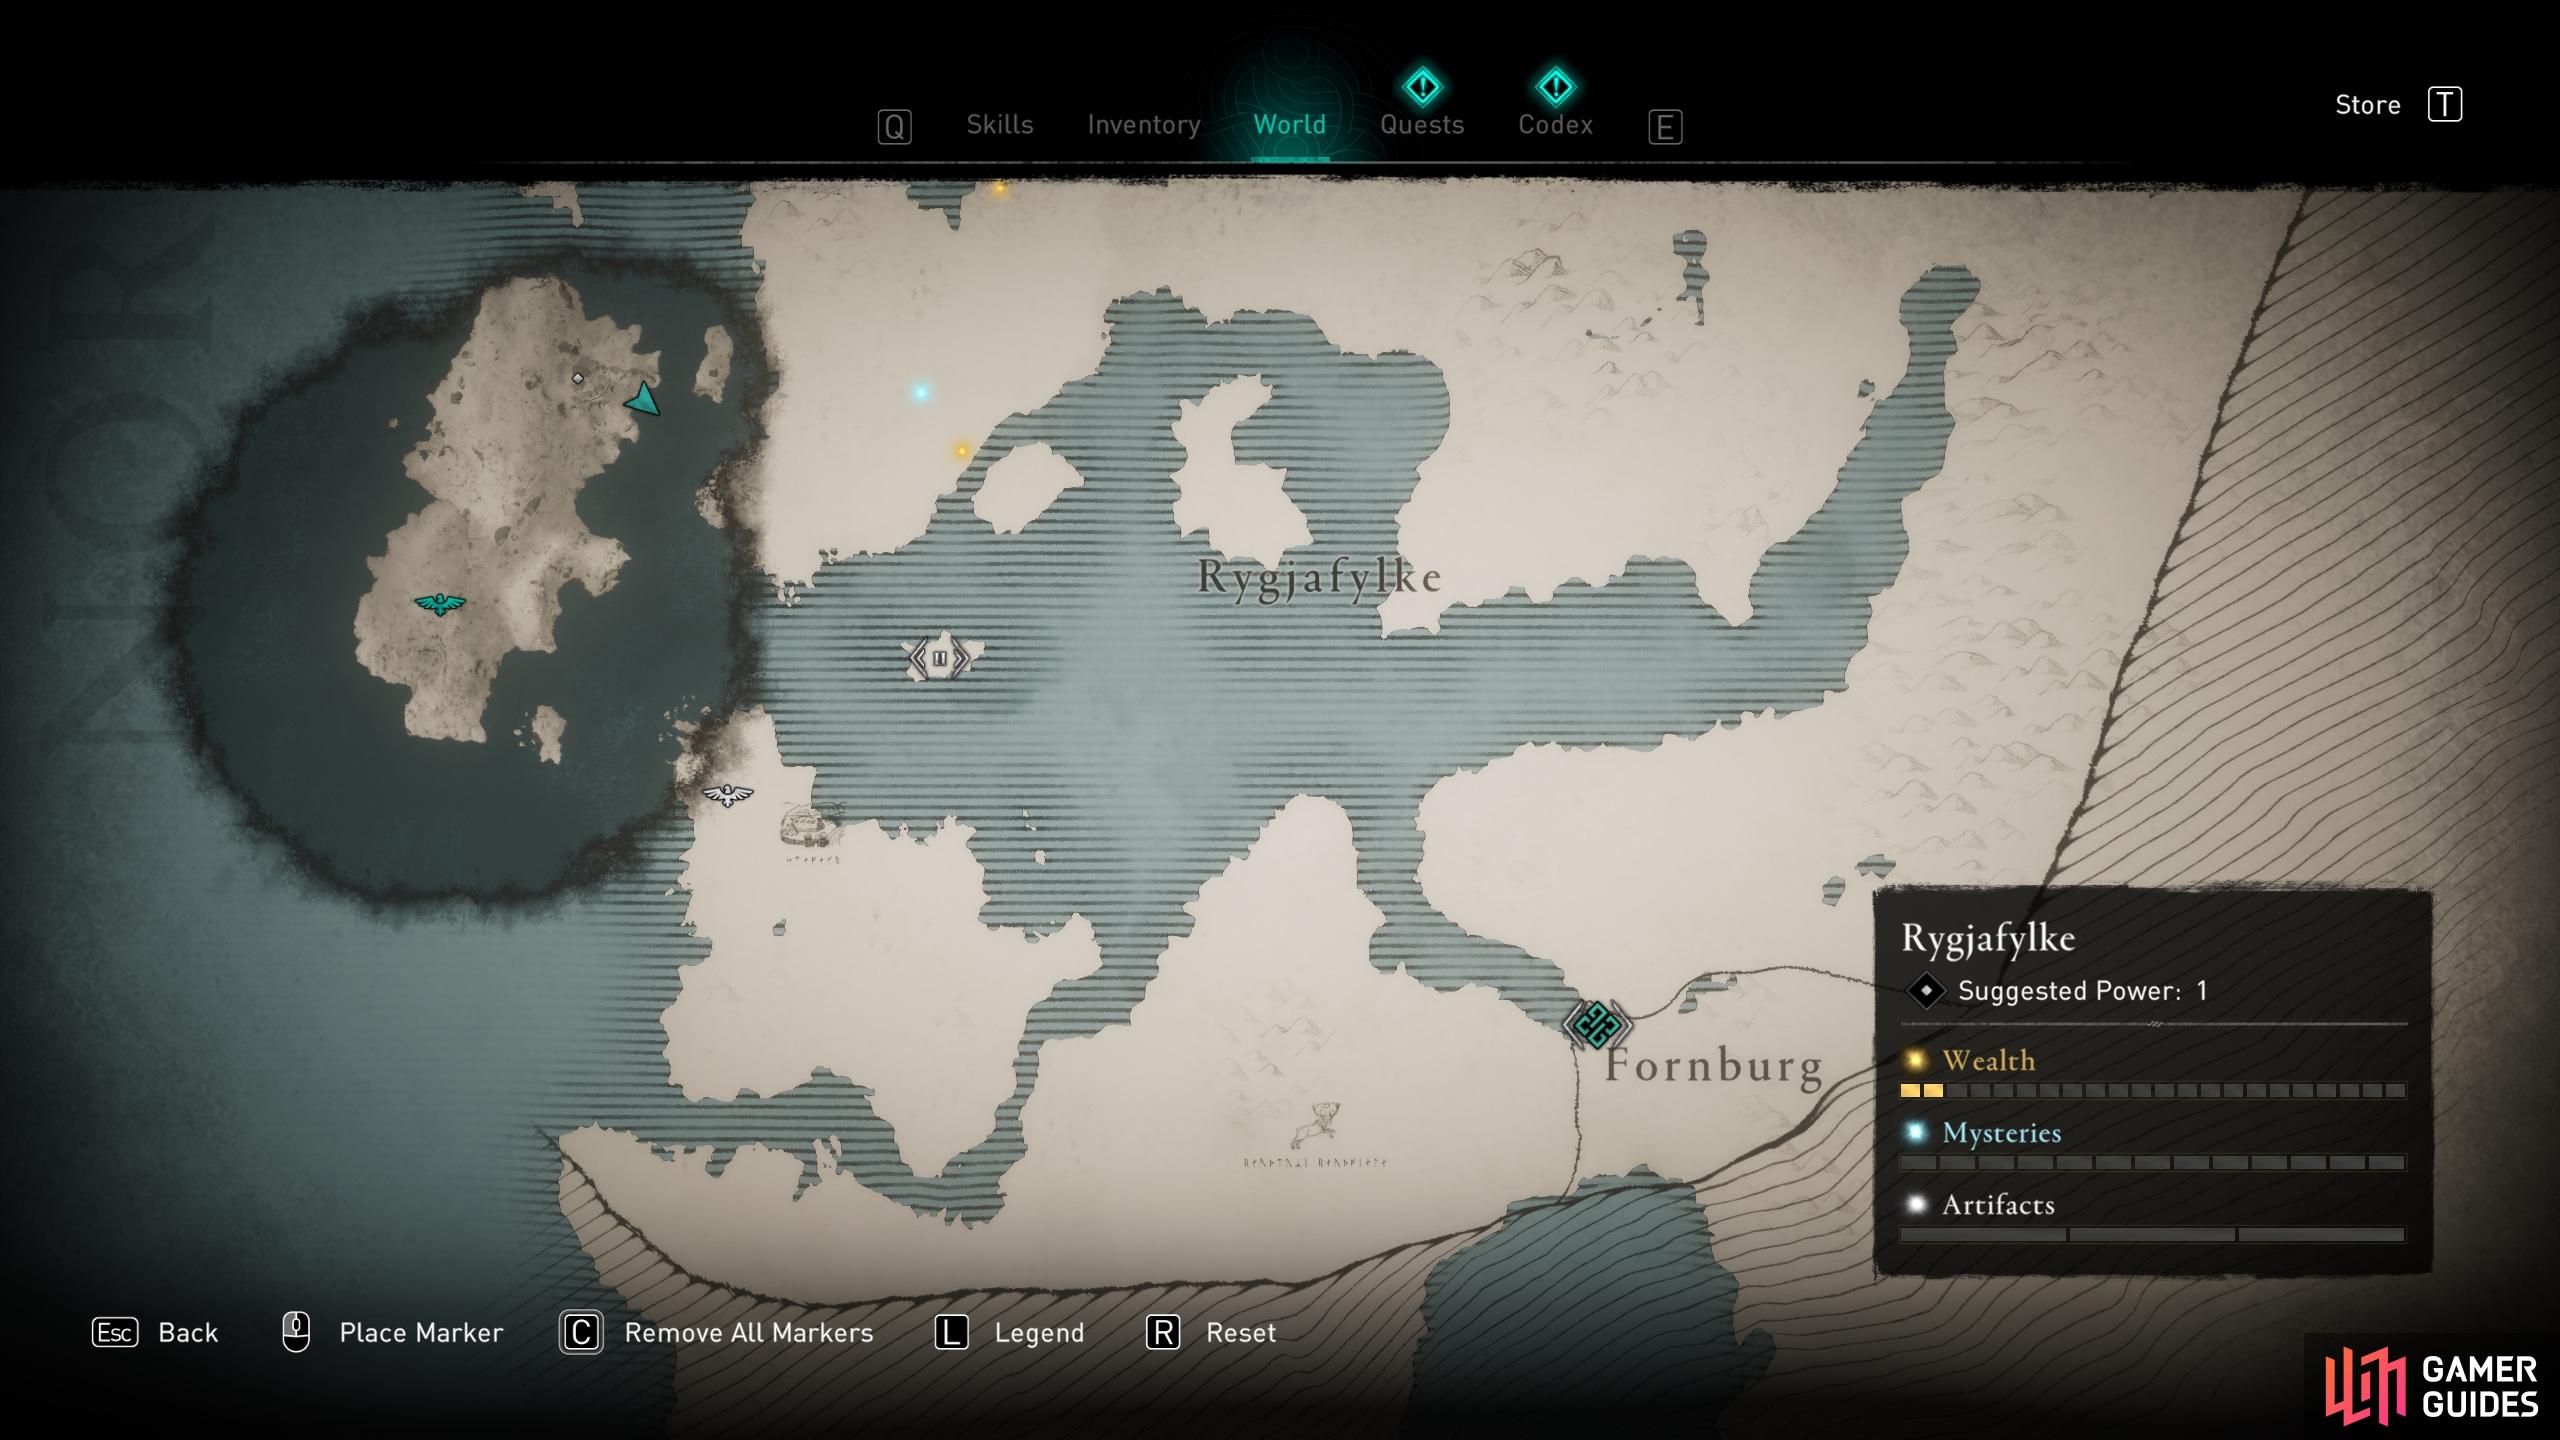
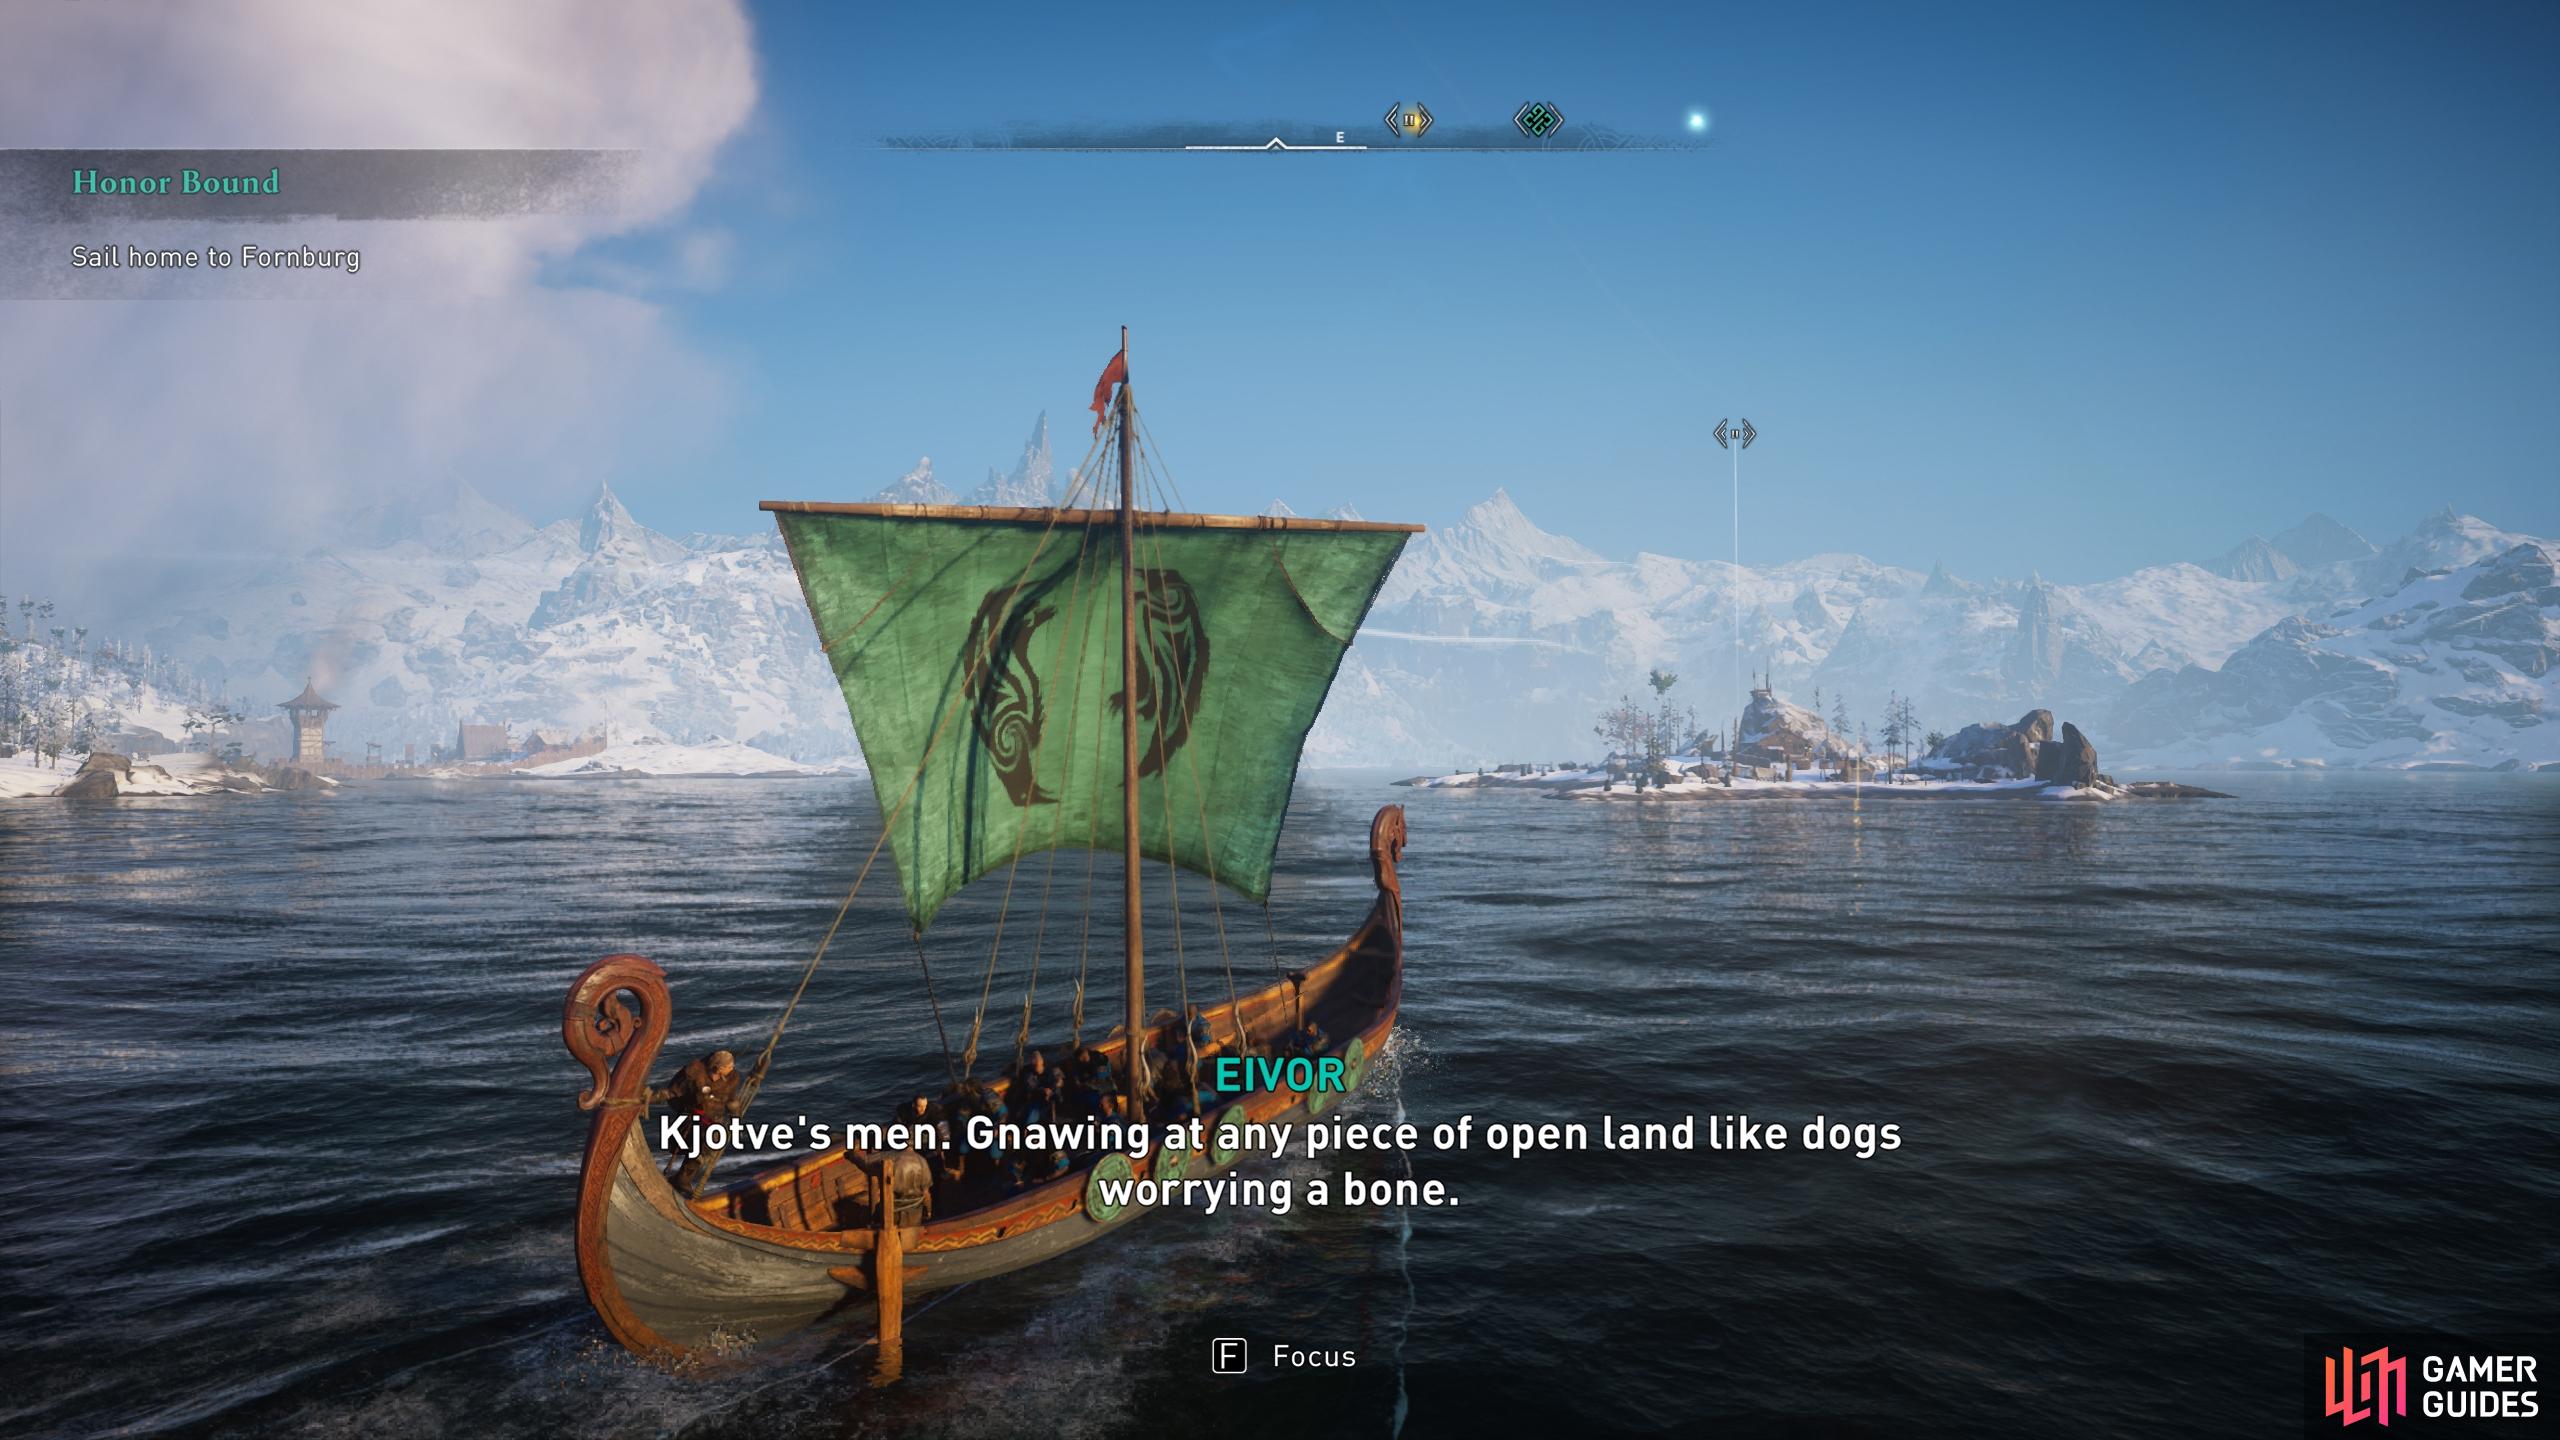
Sail toward Fornburg in the southeast, taking note of the island in the centre of the fjord along the way.
When you see the island of Ikke en Oy, lower the sail and approach it to trigger a raid.
When all the guards are dead, climb in the ship and take command. Check your map to see the destination of Fornburg in the southeast. You’ll also note an island on the way (named Ikke en Oy, which means “not an island” in Norwegian), which you’ll be raiding. Head southeast-east and raise the sail to increase speed. As you near the shore of the island, you’ll be prompted to initiate a raid of the island. This will propel your ship toward the shore, allowing you to exit with your warriors. The experience here will be much like the fight you just had, only this time with more loot. Enter the main house on the island and loot the chest to acquire Bone-Biter, one of many unique weapons you’ll be encountering in your adventures.
Once you’ve looted the house, take from any corpses that you might have missed and then return to the ship. You can now continue southeast to Fornburg. Upon reaching the docks, speak to Randvi, who can be found waiting there. After the conversation, the quest will complete.
No Comments