
This page details everything you need to know about how to complete the Dokkerland run in Niflheim, part of the Forgotten Saga DLC. We’ll cover how to complete the Dark Dealings quest, how to find the Hidden Merchant in Dokkerland, and where to find Hel’s Treasure for the Dwarven Defender set.
How to Complete the Dokkerland Niflheim Run
In contrast to the snow and ice of Kaldstat, the region of Dokkerland is more of a fire realm. As such the main enemies you’ll encounter are Muspels. They will naturally have more resistance to fire damage, but you can still make good use of abilities with fire damage to inflict damage over time. The encounters here will be very similar to those in Kaldstat: you’ll have various groups of enemies that you’ll need to defeat, with specific objectives for each encounter. Sometimes you’ll only need to kill one marked enemy in an encounter to complete it and receive the reward, but other times you’ll need to defeat every enemy.
The main difference about the runs in Dokkerland is that there will be a burning circle at the bottom centre of your screen, which begins at the onset of each new group of encounters. If this bar fills completely with fire, you will receive damage and eventually die if you don’t reach the next area quickly. Keep an eye on this and focus on completing each encounter swiftly to avoid a needless death in this way.
Dokkerland Quest: Dark Dealings
As you make your way to the first encounters in Dokkerland, you’ll find some ruins with a dwarf named Dani inside. This marks the beginning of the Dark Dealings quest. Dani will ask you to rescue some of his workers who have been kidnapped by Muspels, now imprisoned in a forge located in the southeastern part of the map. You’ll need a key from one of the nearby Muspels to free the dwarves, but this is easy to find as the Muspel with the key is marked. You can use Odin’s Sight to highlight the Muspel if you’re having trouble.
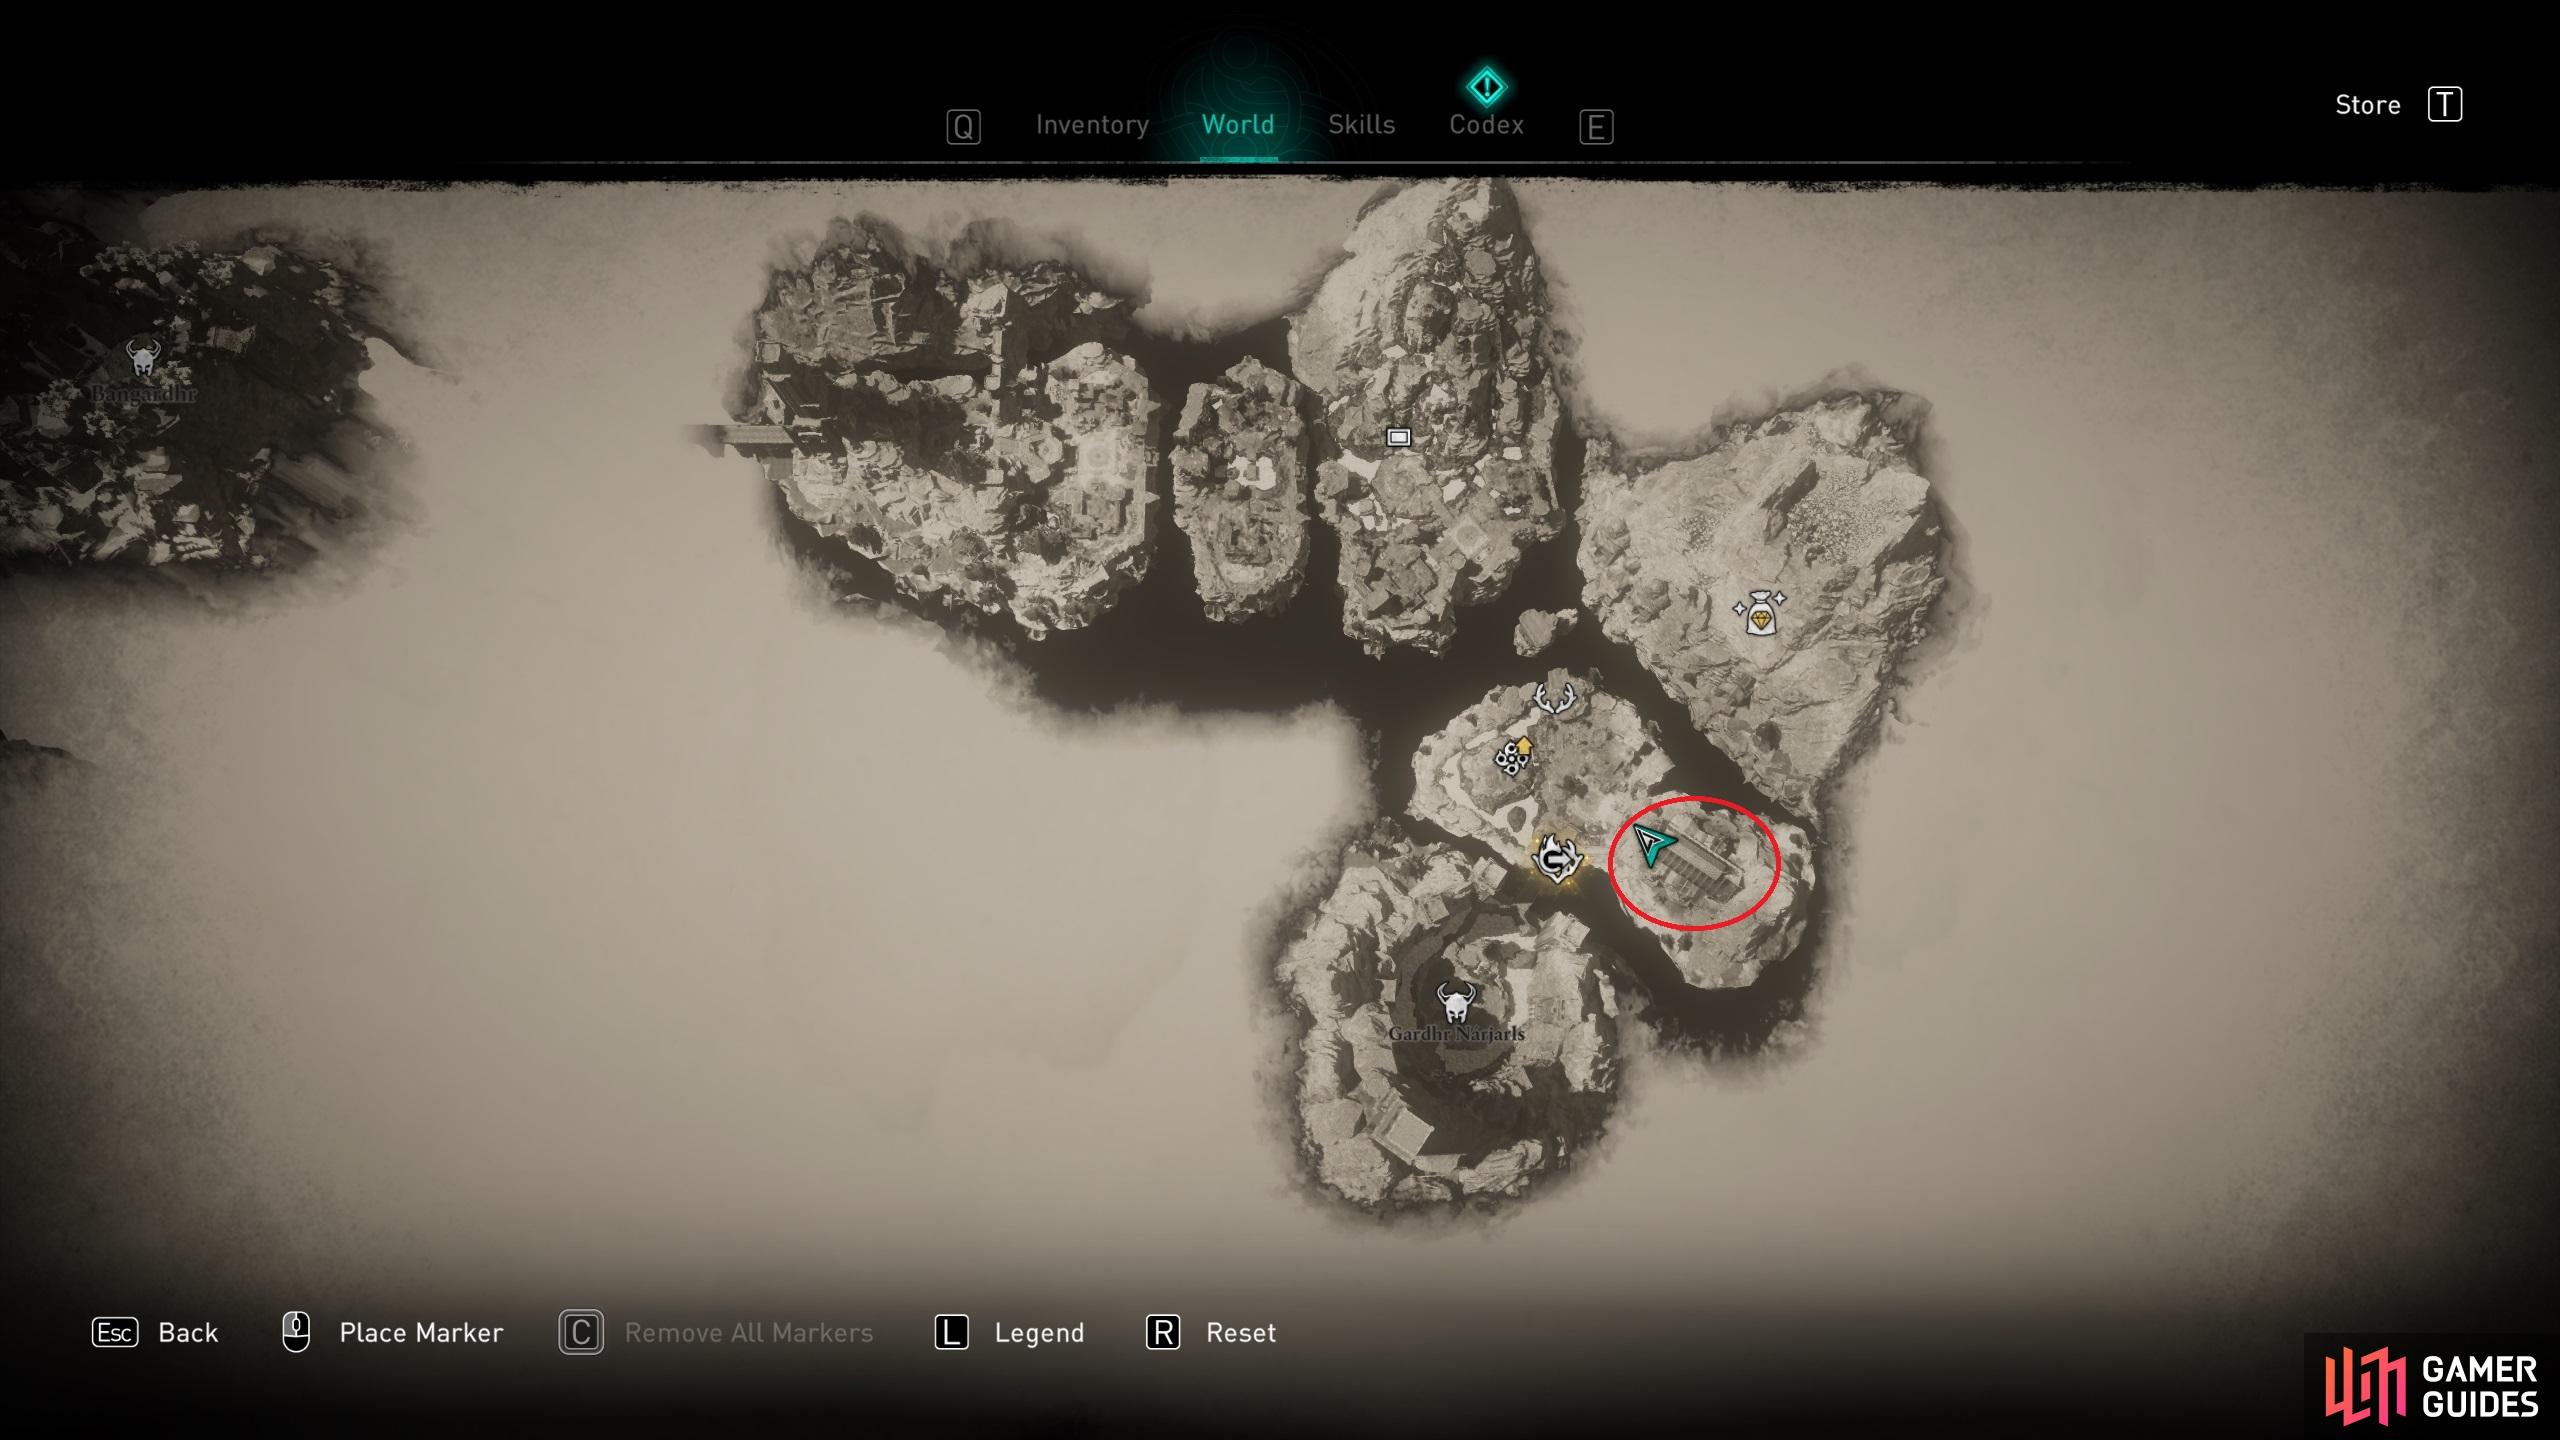
Once you have the key, all you need to do is make your way to the forge (shown on the map below), kill all of the Muspels inside and then free the dwarves. You won’t be able to conclude this part of the quest until you play through your second run of Dokkerland, where you’ll meet Dani in the same ruin. At this stage you’ll be attacked by a few Muspels, seemingly set up by Dani, but after defeating them and speaking with the dwarf again he’ll tell you that it was the only way to make sure that you were really Odin. At this stage the quest will conclude and you’ll gain access to the Open Lines permanent favor, which permanently unlocks additional rope-lines in Dokkerland.
Dokkerland Hidden Merchant Location
One of the additional rope-lines now open to you after completing the Dark Dealings quest will lead you to the Hidden Merchant in Dokkerland. You won’t be able to access this merchant until you’ve completed the quest, so keep that in mind before you go searching. To find the Hidden Merchant, go to the part of the map where you take a rope line down to the forge. You’ll notice here that there’s no a rope line to your left, leading towards the entrance of a mine to the northeast. Take this rope line and make your way into the mine, where you’ll find a few Muspels to kill.
After dealing with the Muspels, look to the northeast of the chamber for a relatively small crack in the wall, as shown in the screenshot below. You’ll need to pass through here to find the merchant named Dar on the other side. Once you’re done purchasing things (or not if there’s nothing useful!), look towards the wall to the southwest, where you’ll find a large stone blocking an exit. Move this backwards to leave the area and take the path to your left to proceed through Dokkerland. You can now access Dar more easily using the crack where the boulder was.
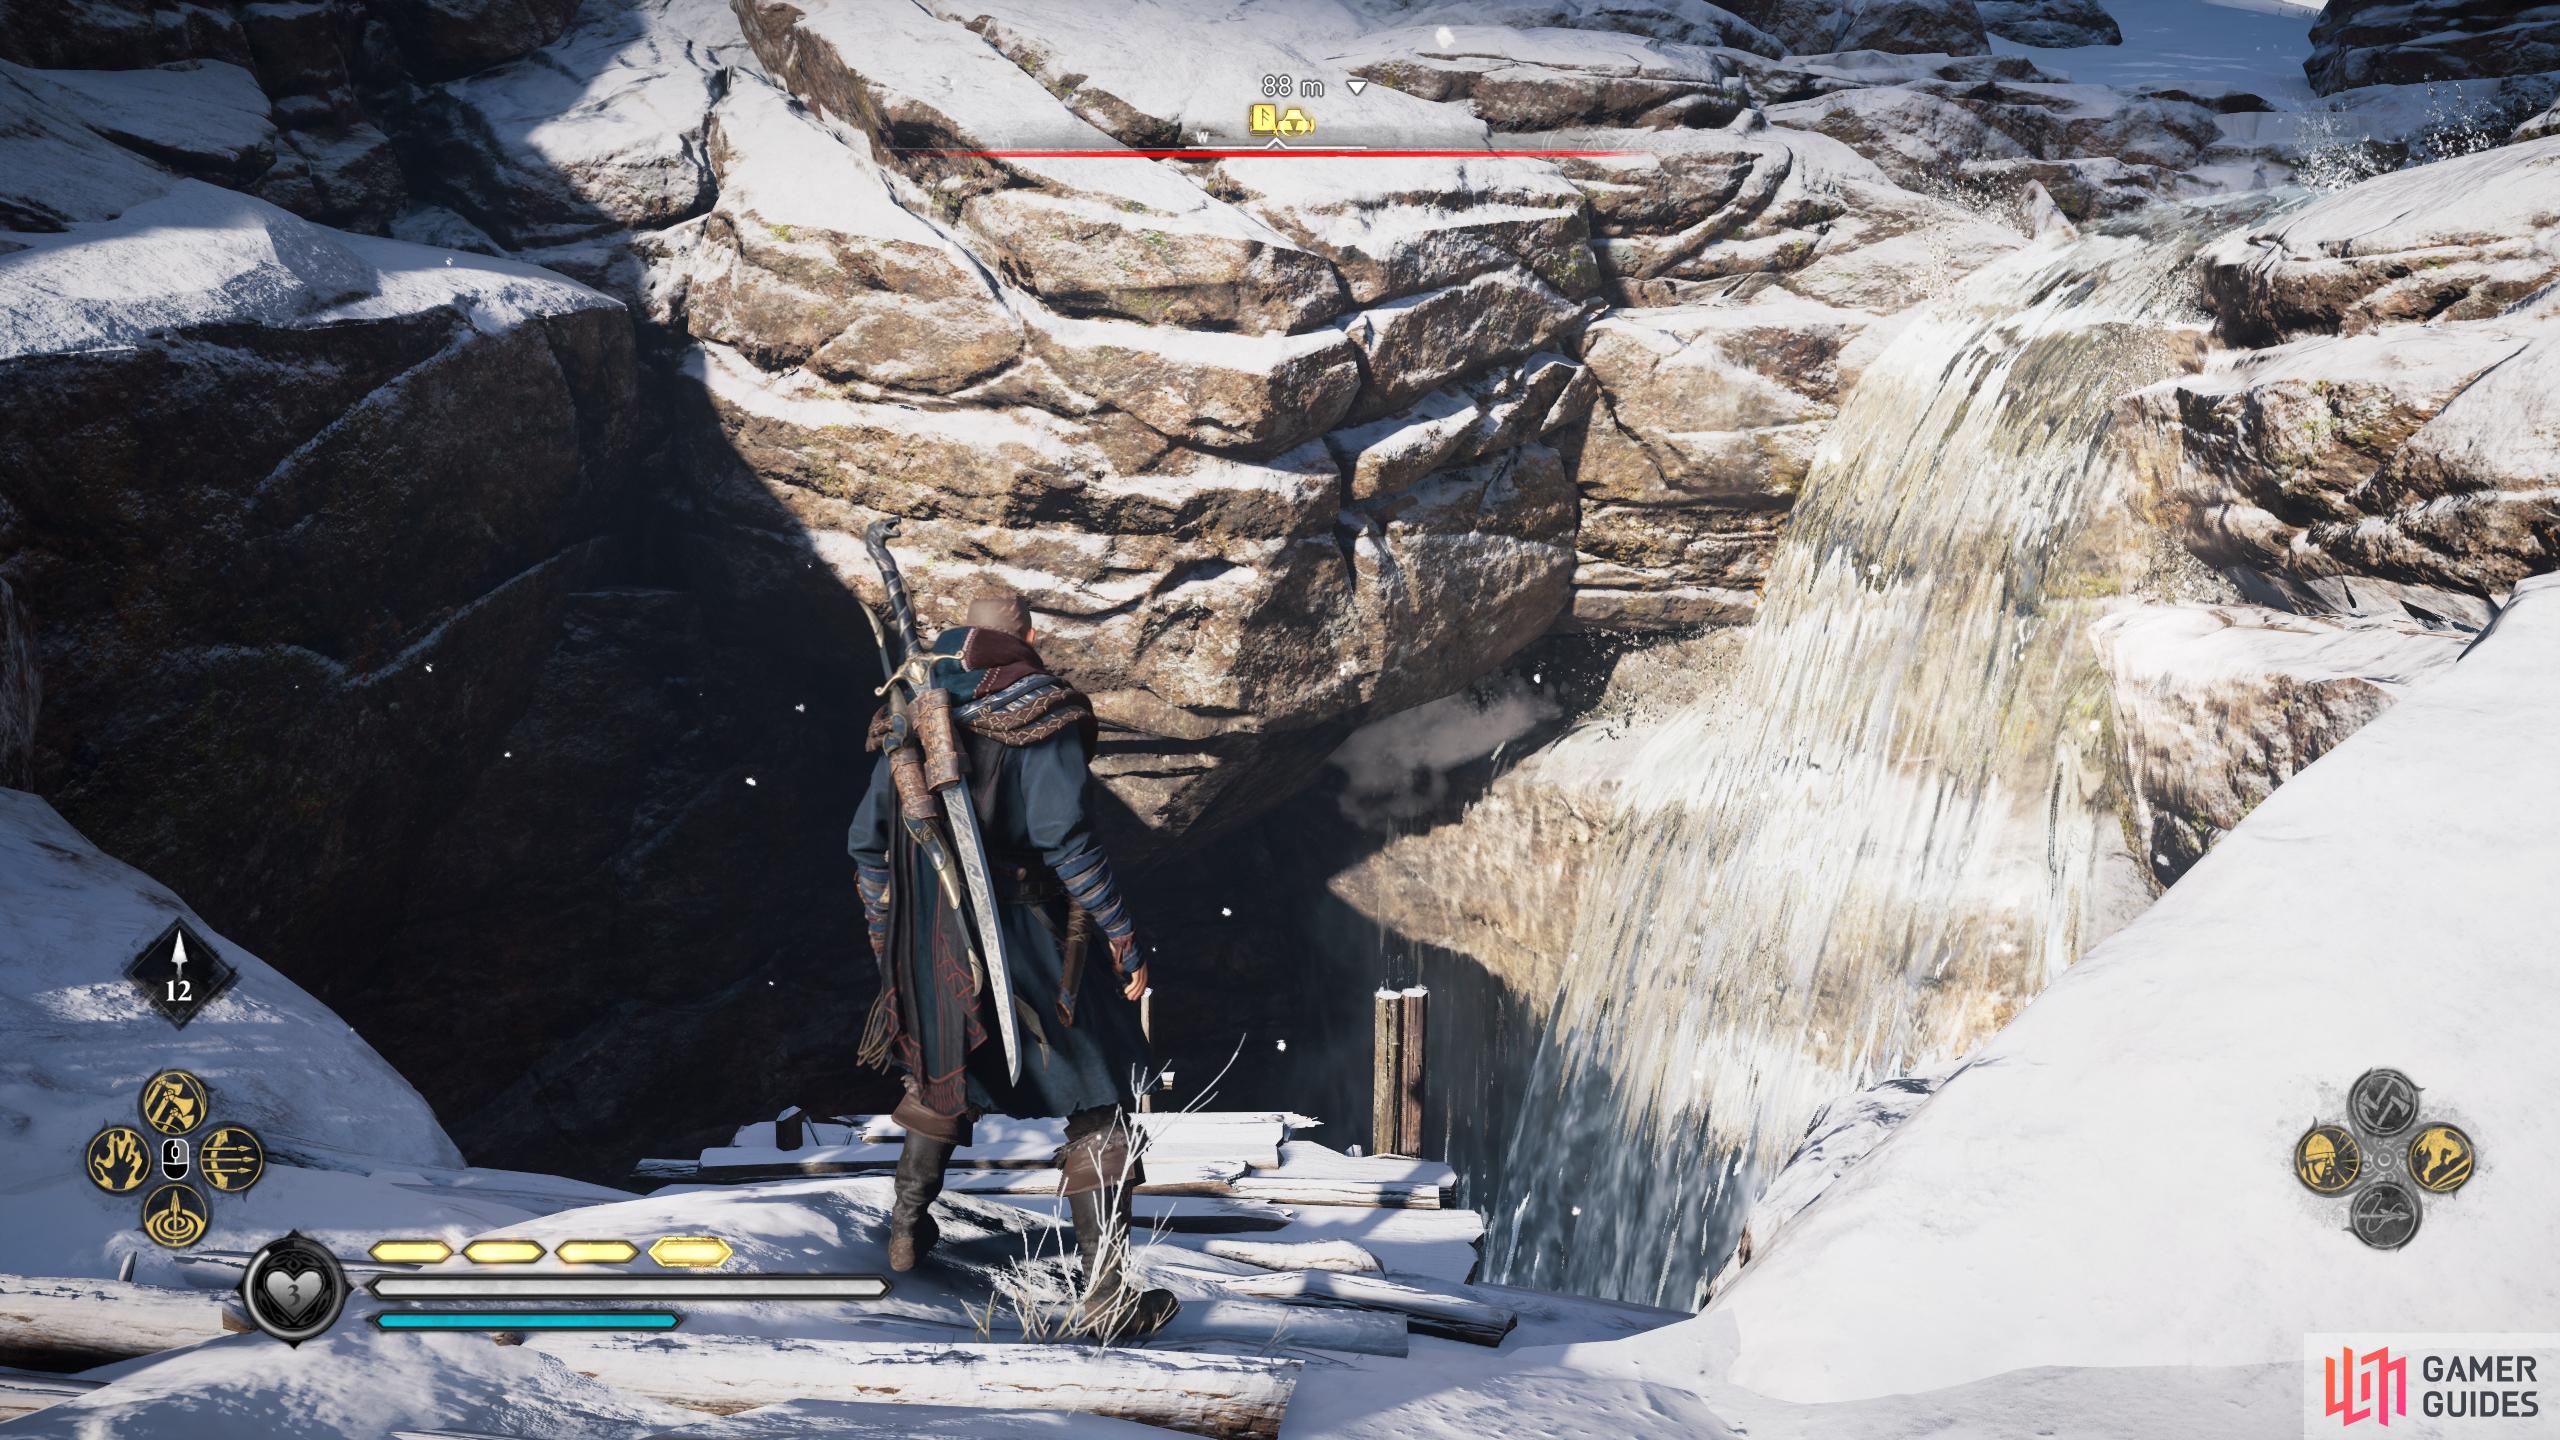
(1 of 3) Take the rope line to the northeast to enter the mine where the merchant can be found.
Where to Find Hel’s Treasure in Dokkerland
In addition to the Hidden Merchant and Dark Dealings quest, there’s another hidden gem to be found in the Dokkerland region: Hel’s Treasure. If you look at the Outfits in Odin’s Camp, you’ll see that to unlock the Dwarven Defender outfit, you need to obtain Hel’s Treasure. Thankfully this is one of the easiest tasks to accomplish, but you’ll need to do it fairly quickly before the burning circle at the bottom centre of the screen expires.
The treasure is located on the largest mountain in the centre of Dokkerland, as shown in the screenshot below. As you climb the mountain you may find the chest which contains the treasure, but you won’t be able to open it until you jump to it through two stone outcrops near the top of the mountain. This method is similar to the illusions often encountered in the Jotunheim DLC, where you need to pass into an area through a specific entrance before you can uncover its hidden treasures or locations.
The main challenge you’ll have as you climb the mountain is avoiding the many pools of lava and other hot surfaces, which will set you on fire if you make contact with them. Keep to the rocks as you climb (and eventually the rope lifts when you reach them), and you should be fine. You’ll also need to make sure that you have plenty of time left based on the progress of the burning circle at the bottom centre of the screen, so be sure to start the journey to the mountain as soon as possible once you reach the central island.
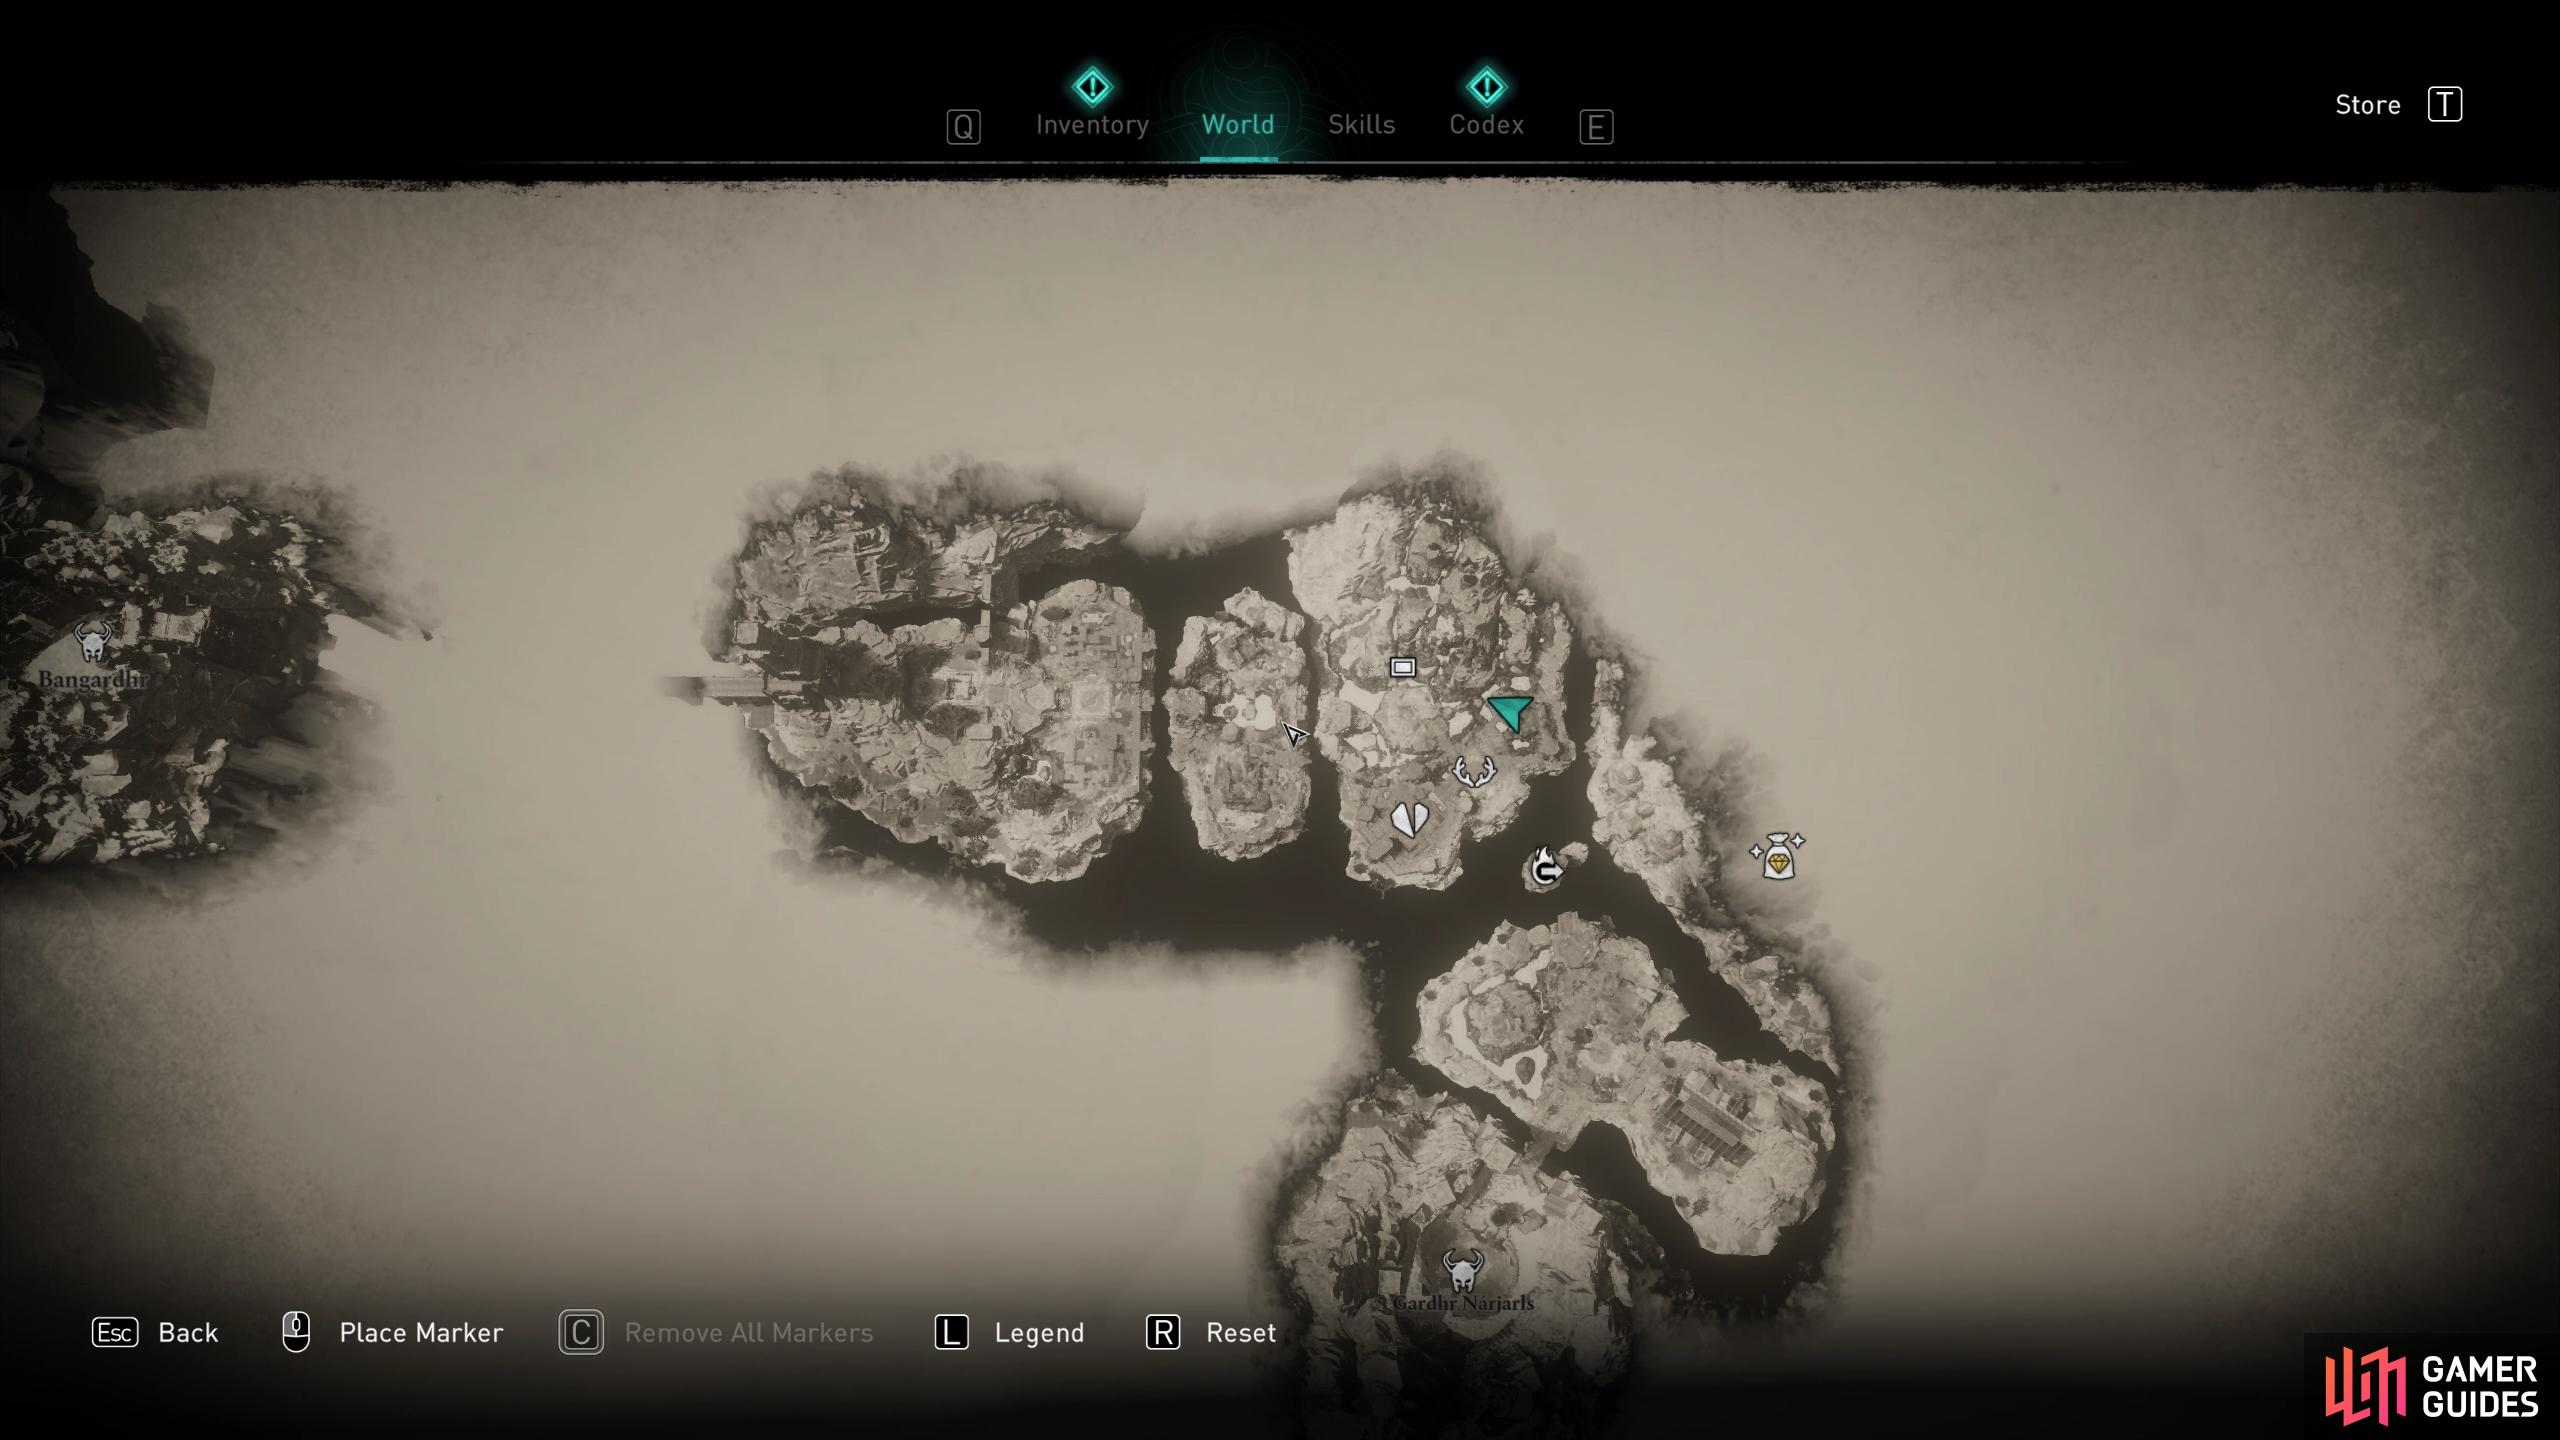
(1 of 4) The location of the central mountain in Dokkerland, where the treasure chest can be found.
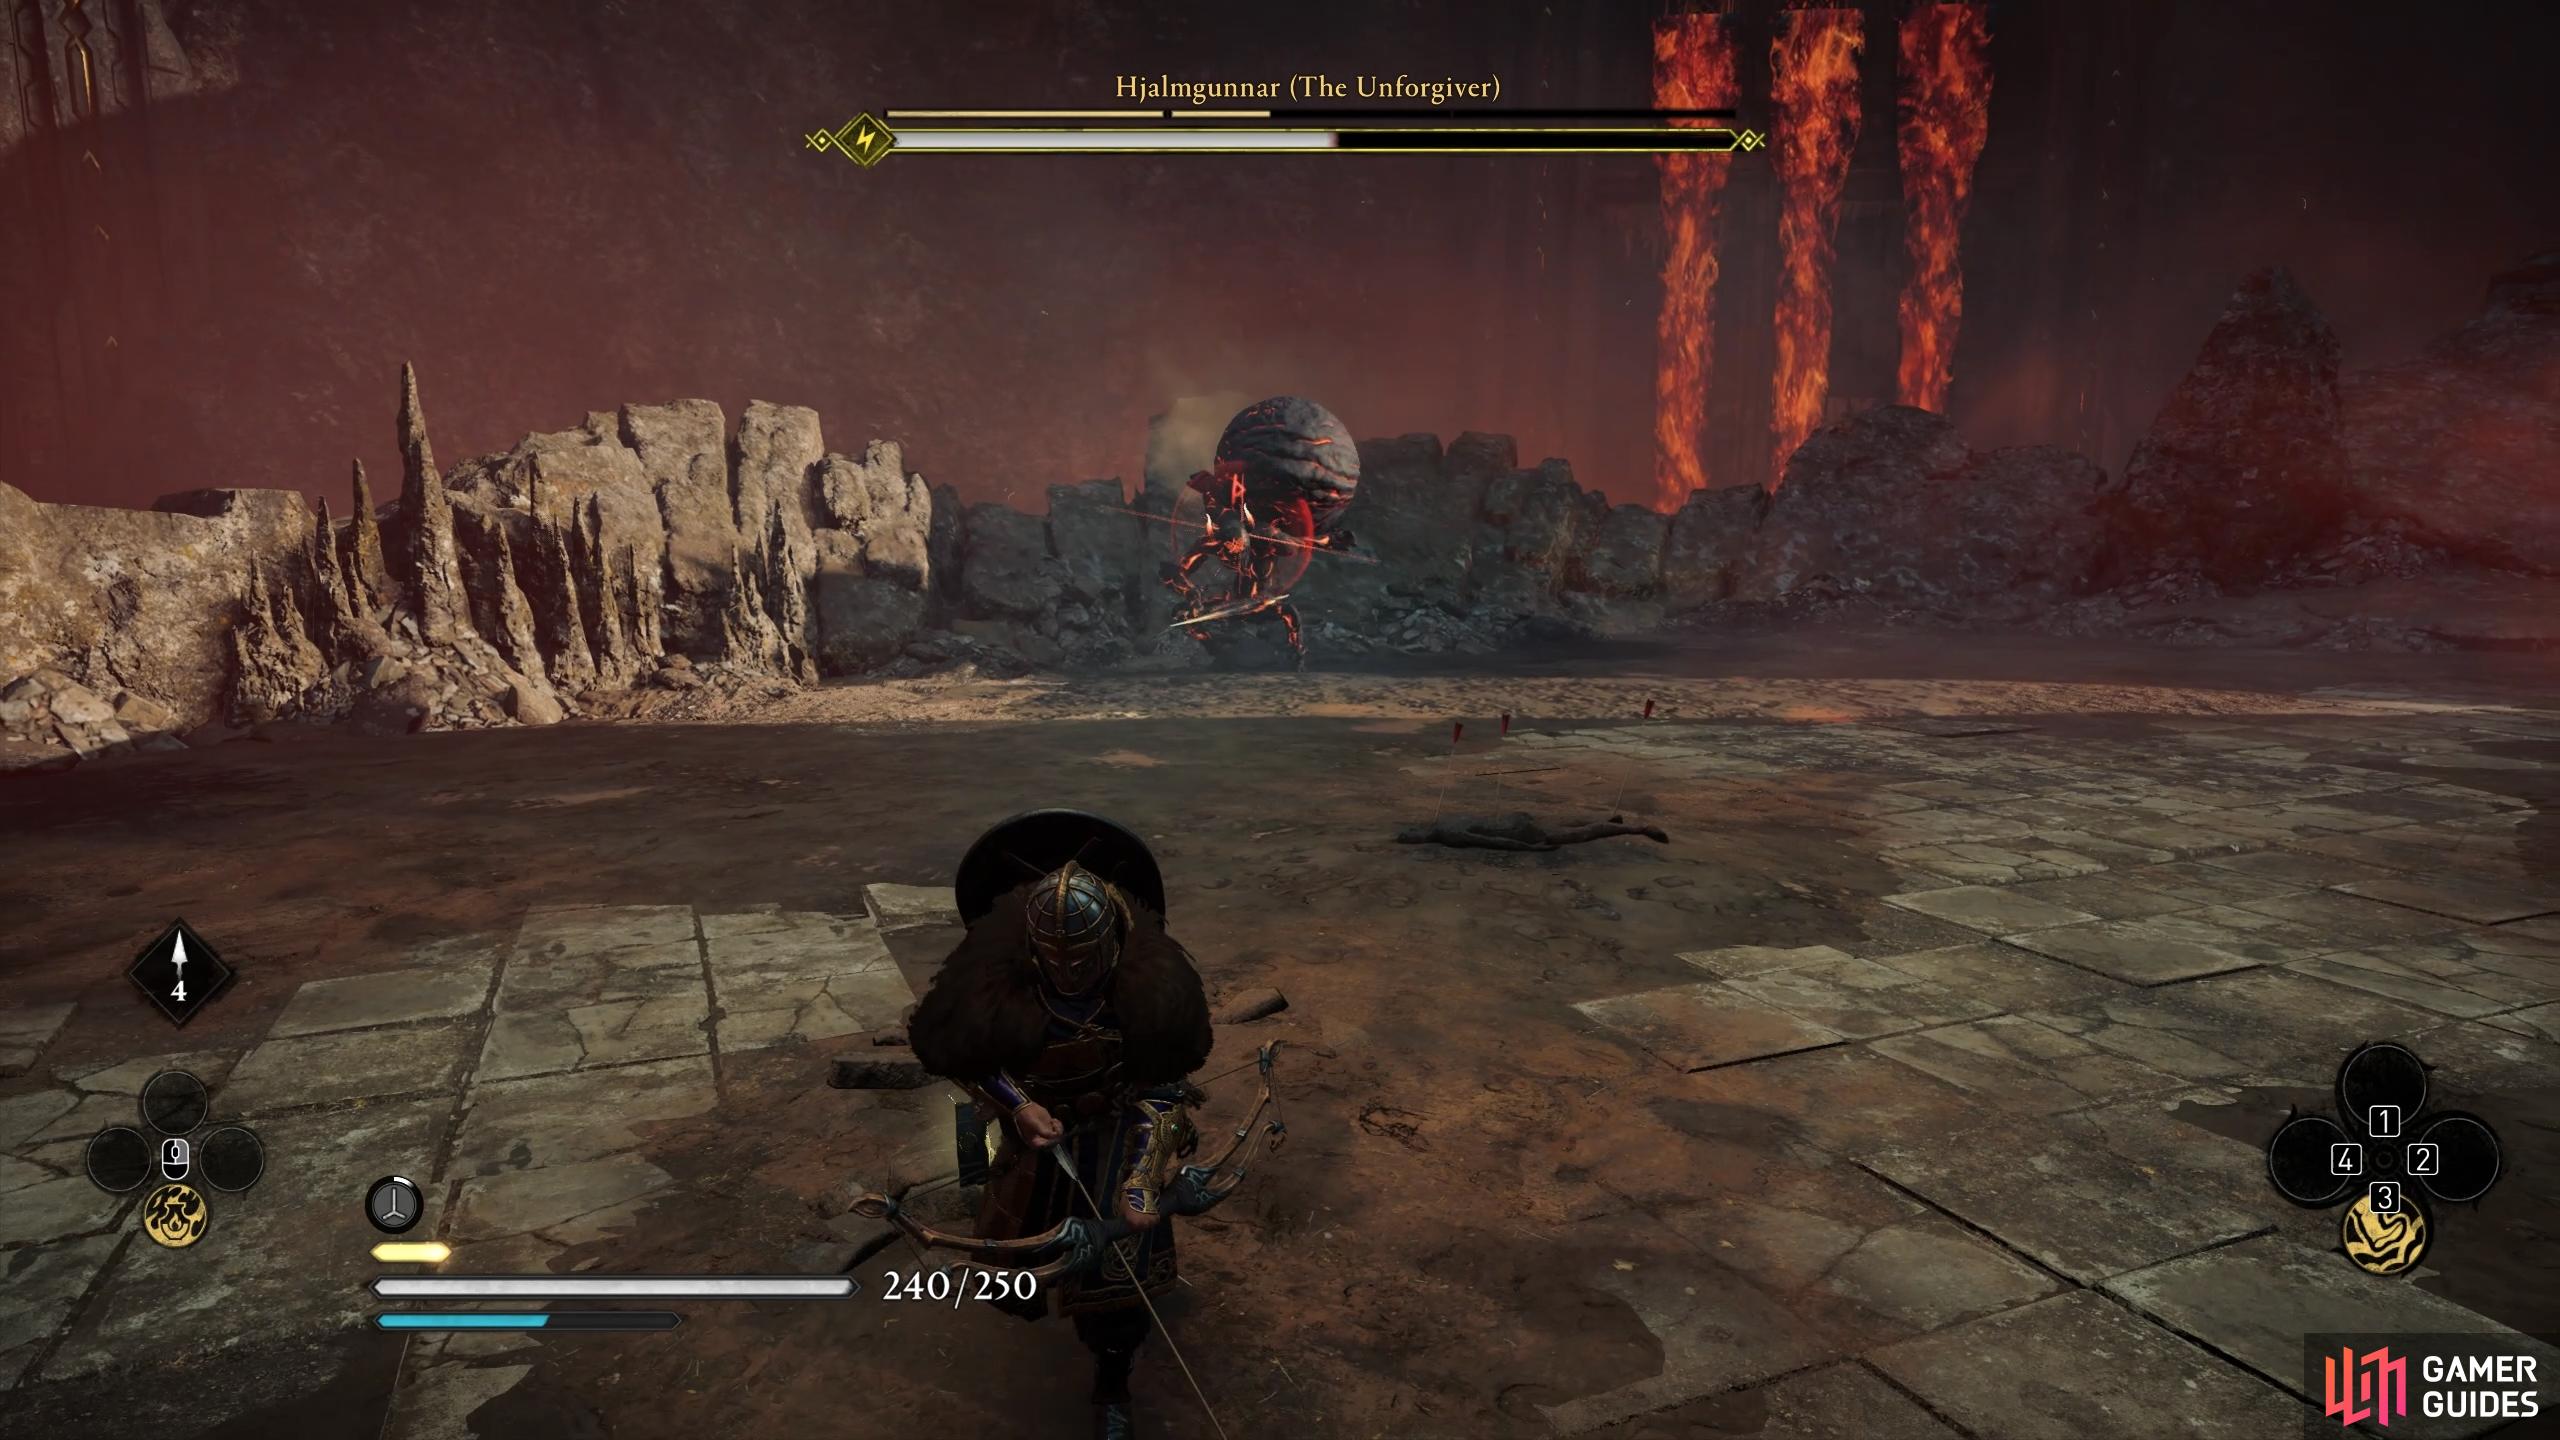
Dokkerland Boss Fight: Hjalmgunnar
There is only one boss encounter in the Dokkerland region, and his name is Hjalmgunnar. This is the same Hjalmgunnar previously known as King of the Goths, now in the form of a mangled fire giant. Hjalmgunnar also has a large eye on his back, which can be detached and will begin shooting bursts of fire towards the end of the fight. The eye also acts as a weak point, but you can only hit this once the eye is open. The other two weak points are located on his arms, one on the right elbow and one on the left hand. Try to hit both of these early on to ensure that you only need one shot to the eye to make Hjalmgunnar vulnerable to a stun attack later.
As you move around the boss arena you’ll want to be looking out for two main melee attacks that can inflict a lot of damage in a short amount of time if you’re not careful. The first is a charge attack which will see Hjalmgunnar hurl his scythe above his head, then move forwards swinging it towards you. This attack has a deceptively long reach, so you should try to dodge or roll only at the last moment to make sure that you’re not caught. You can see this attack demonstrated in the gif below.
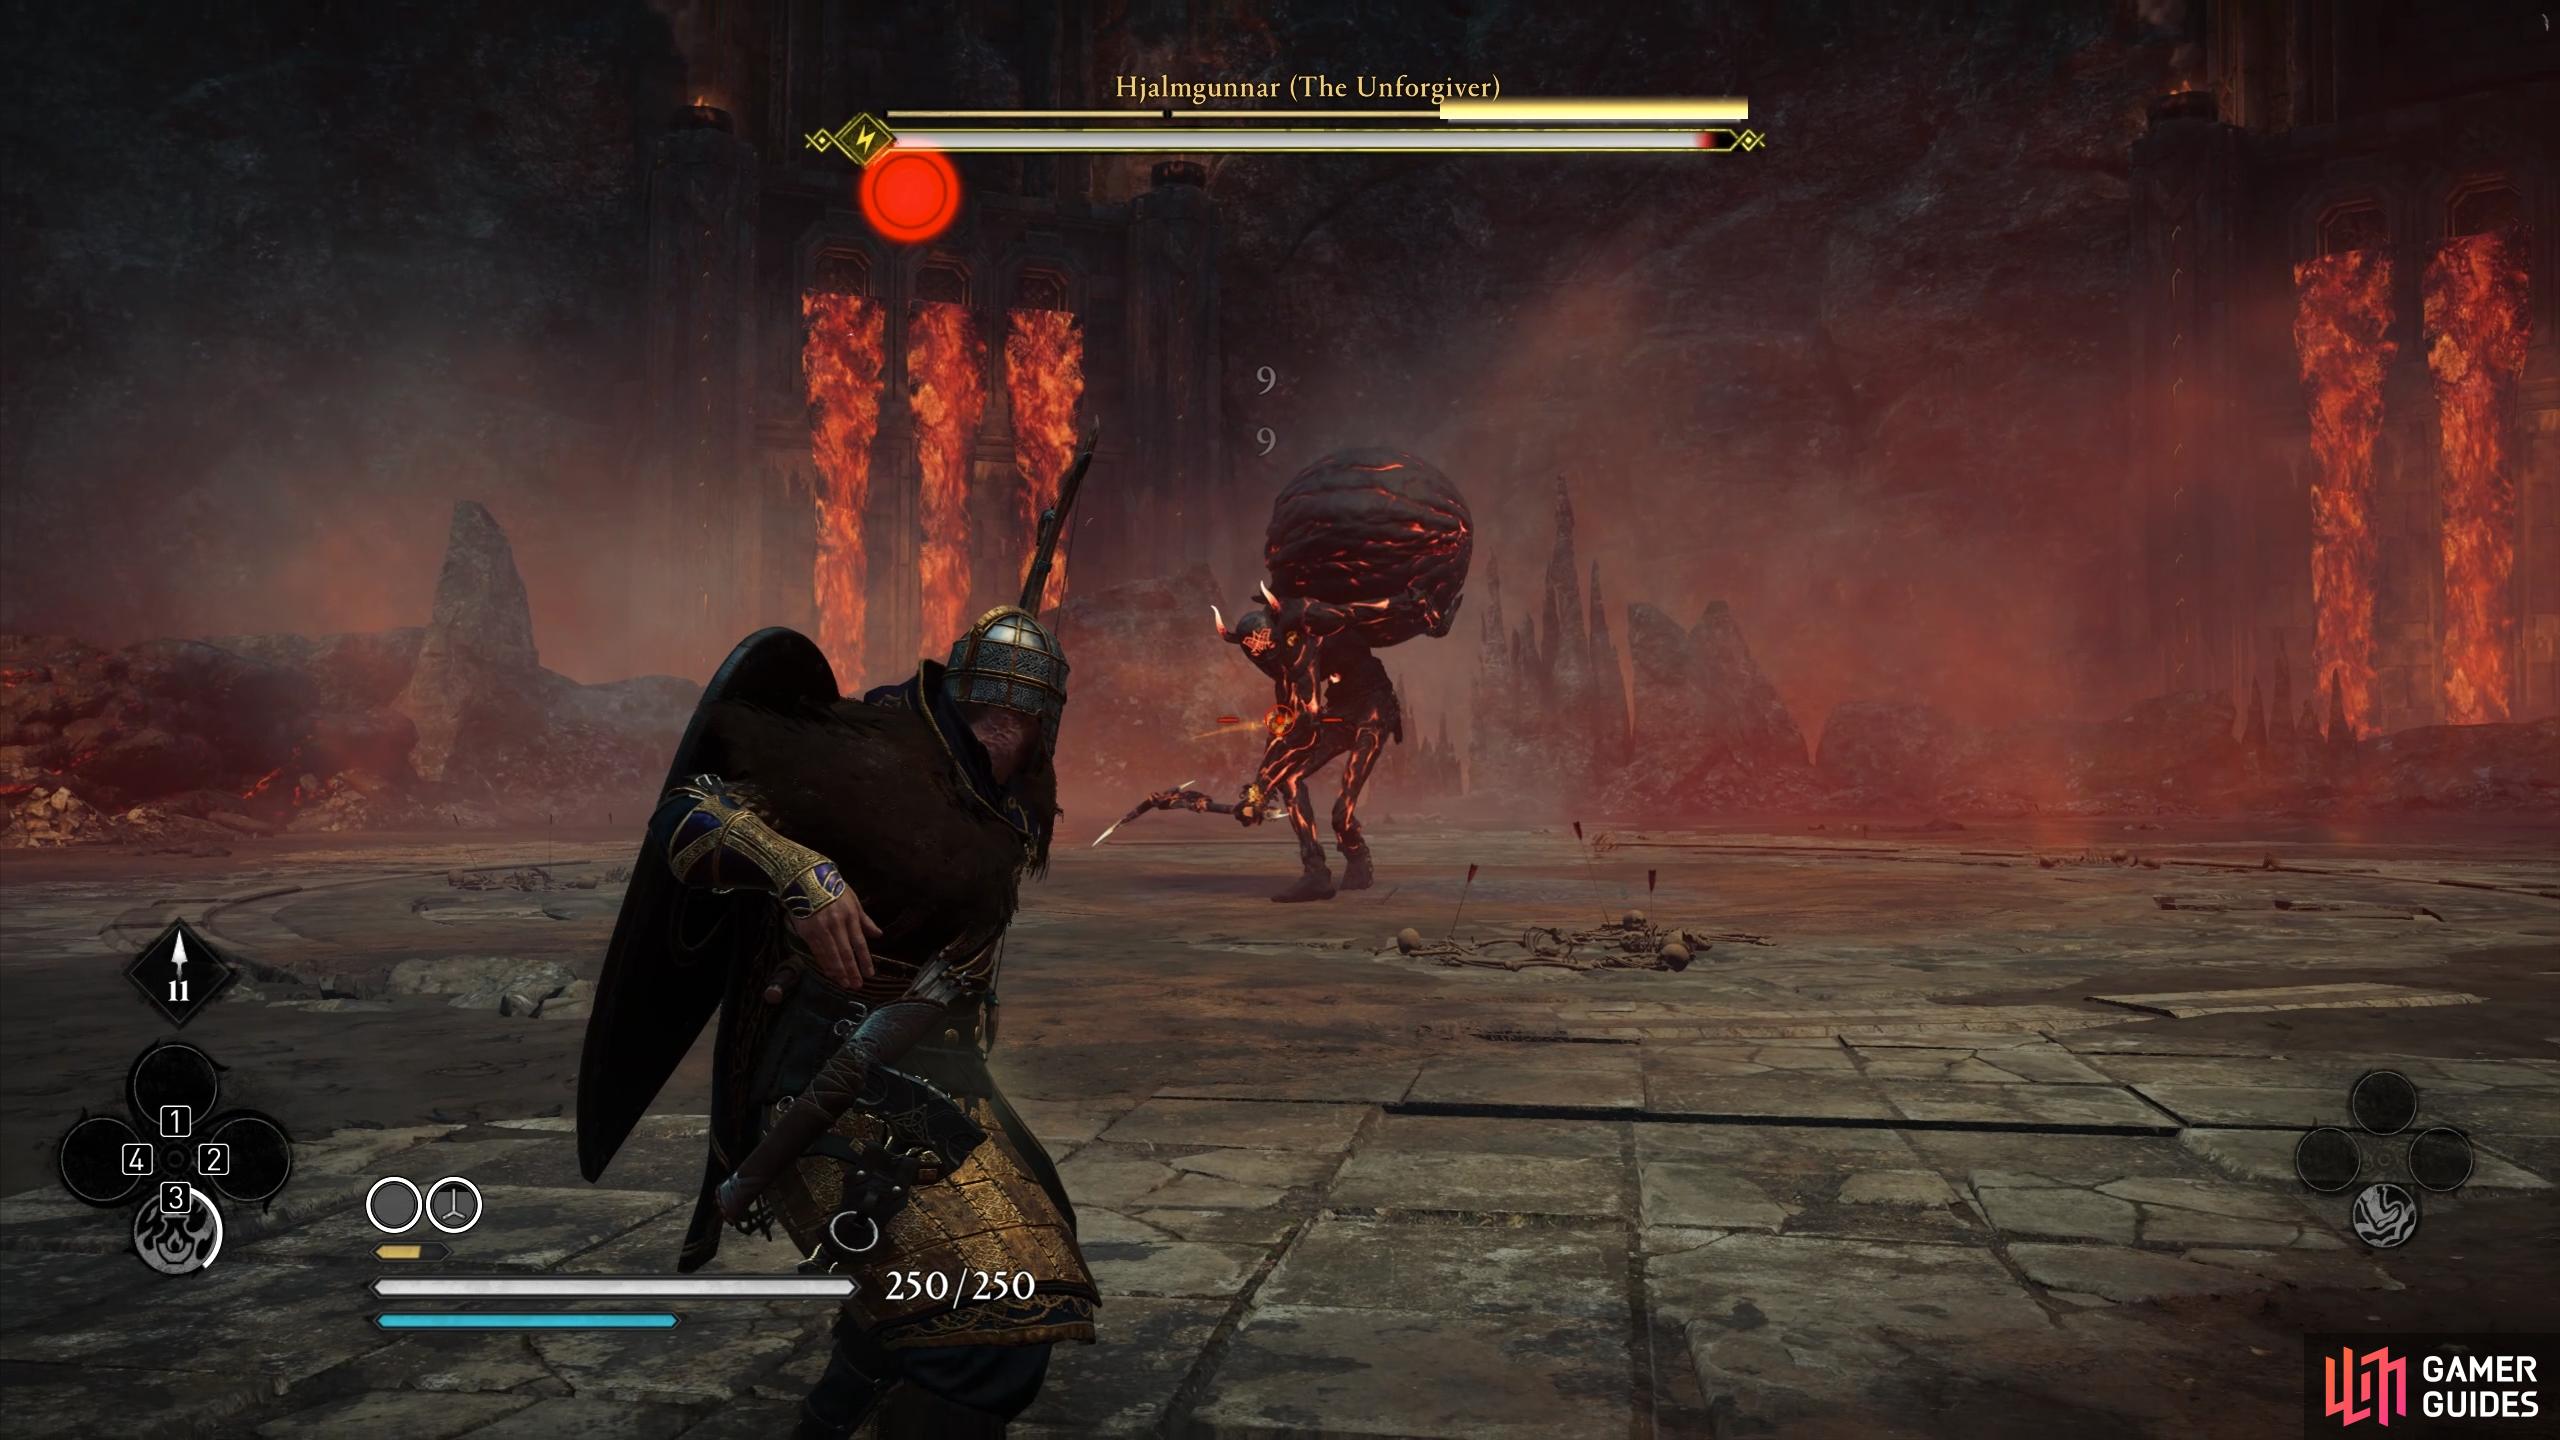
Try to hit Hjalmgunnar’s weak points as soon as possible.
Look out for the red rune auras above Hjalmgunnar’s head, indicating an incoming unblockable attack.
The other attack will see Hjalmgunnar begin to spin his scythe arond his body, without actually touching it. If you’re within melee range when this happens, you’ll need to get out of the way quickly with a roll, dodge, or just by sprinting away. The longer you’re caught in the radius of this attack, the more damage you’ll receive. This attack is also demonstration a gif below.
Charge Attack
Spinning Scythe attack
Other Melee and Eye Attacks
In addition to these two special melee attacks, Hjalmgunnar will also sometimes use other charge attacks which see him leap from one side of the arena towards you, or a simple slash attack if you’re within melee range. These are fairly easy to avoid if you look out for the red rune auras which precede the attacks, then prepare to dodge or roll away in time. If you’ve acquired the Brush With Death skill at this point, this is a perfect opportunity to perform a perfect dodge to slow time, then make the most of the slowed time by inflicting a few heavy attacks in melee, or using a special attack while you have the chance.
Towards the end of the fight, Hjalmgunnar will also begin to throw the eye on his back at you. You can dodge this fairly easily, but the more devastating attack comes from the fire which he can emit from the eye when he picks it back up on his back. The best way to avoid this is to roll through it, but it’s not always easy to time this correctly so don’t worry too much if you mess up the timing. At this stage, the best strategy is to inflict as much damage as possible to end the fight quickly, thereby reducing the instances where the fire can be cast at you from the eye.
Fire Damage Circle Attacks
Finally, there’s one special attack that Hjalmgunnar is capable of using throughout the fight, but the frequency may increase toward the end. He will cast an inescapable damage circle throughout the entire boss arena, in which you’ll be passively damaged by a burning effect as he casts smaller circles that will explode after a second or so. The key here is to keep sprinting while you avoid the smaller circles, since these will inflict much more damage than the passive burn. You won’t be able to escape the passive burning from the larger circle, so it’s just a matter of waiting it out. You can also try charging at the boss and interrupting him with some melee attacks at this point, but you may become vulnerable to the small damage circles if you overcommit.
So long as you’re able to avoid most of these attacks while inflicting your own damage from range or melee, the fight should be fairly easy. The key is to become familiar with the attacks and adjust to the best timing to avoid them with a dodge or roll. Keep in mind that Hjalmgunnar is also vulnerable to lightning and shock attacks, so if you have any which utilize this element, prioritize using these as often as possible. Needless to say, the legendary weapon Mjolnir would be a great fit for this fight if you’re lucky enough to find it. You can also retain this weapon for multiple runs if you find it once, by using the Keepsake favor from Nar at Odin’s Camp.
No Comments