
This quest begins immediately after Forging Bonds. Now that Havi has set in motion the circumstances which will encourage both Ivaldi and Brokkr to work on the Salakar for him, he can focus on sabotaging Sinmara’s war machine.
Warpath, Dawn of Ragnarok.
Speak with Ivaldi and Brokkr and Sabotage Sinmara’s War Effort
The first thing you’ll need to do is return to Ivaldi and Brokkr in the Hodda Shelter and speak with them. A long cutscene will play during which Eysa makes an appearance, informing Havi that her mother, Sinmara, does not want to bother with a trade of Baldr in exchange for the Salakar. Instead, she believes that she will get her hands on it by the force of her growing army. Havi seeks to strip her of this illusion, and states that he will sabotage three sources of Sinmara’s war production in a bid to force her into negotiations.
Afalvat Mylna
Destroy Empty Muspel Bodies
All three of the locations that you need to go to in order to sabotage Sinmara’s war effort are located southeast of the Hodda Shelter, as shown in the screenshot below. The first we’ll cover is Afalvat Mylna, where you’ll need to destroy empty Muspel bodies. These bodies look like statues, and they behave as such when you strike them. They won’t fight back, but there are plenty of real Muspels and Jotnar in the area to cause you some trouble. You can actually start a raid at this location, which will help you to take out the enemies and enter specific parts of the area for extra loot. However, you can also choose to do it all alone if you’d rather just focus on the quest objective.
You can start by assassinating the live enemies if you want to do this alone, or just charge in and begin a killing spree if you’ve started a raid. Either way, you’ll need to destroy all the empty Muspel bodies that you can find in the area. The best way to identify them if you’re not sure what to look for or where to look is by using Odin’s Sight. This will highlight the bodies in teal, the same way that other items of interest or quest objects are.
Towards the end of the area on the southwestern side of Afalvat Mylna you’ll find a large building which has a number of empty Muspel bodies inside. You can open the large door to this building with the help of a raider. If you’d rather do it alone, you’ll find a small window that you can climb through on the southeastern side of the building. After destroying these bodies you should have done enough to complete the objective, but if the bar still isn’t full, be sure to use Odin’s Sight as you patrol the area to look for any bodies that you missed.
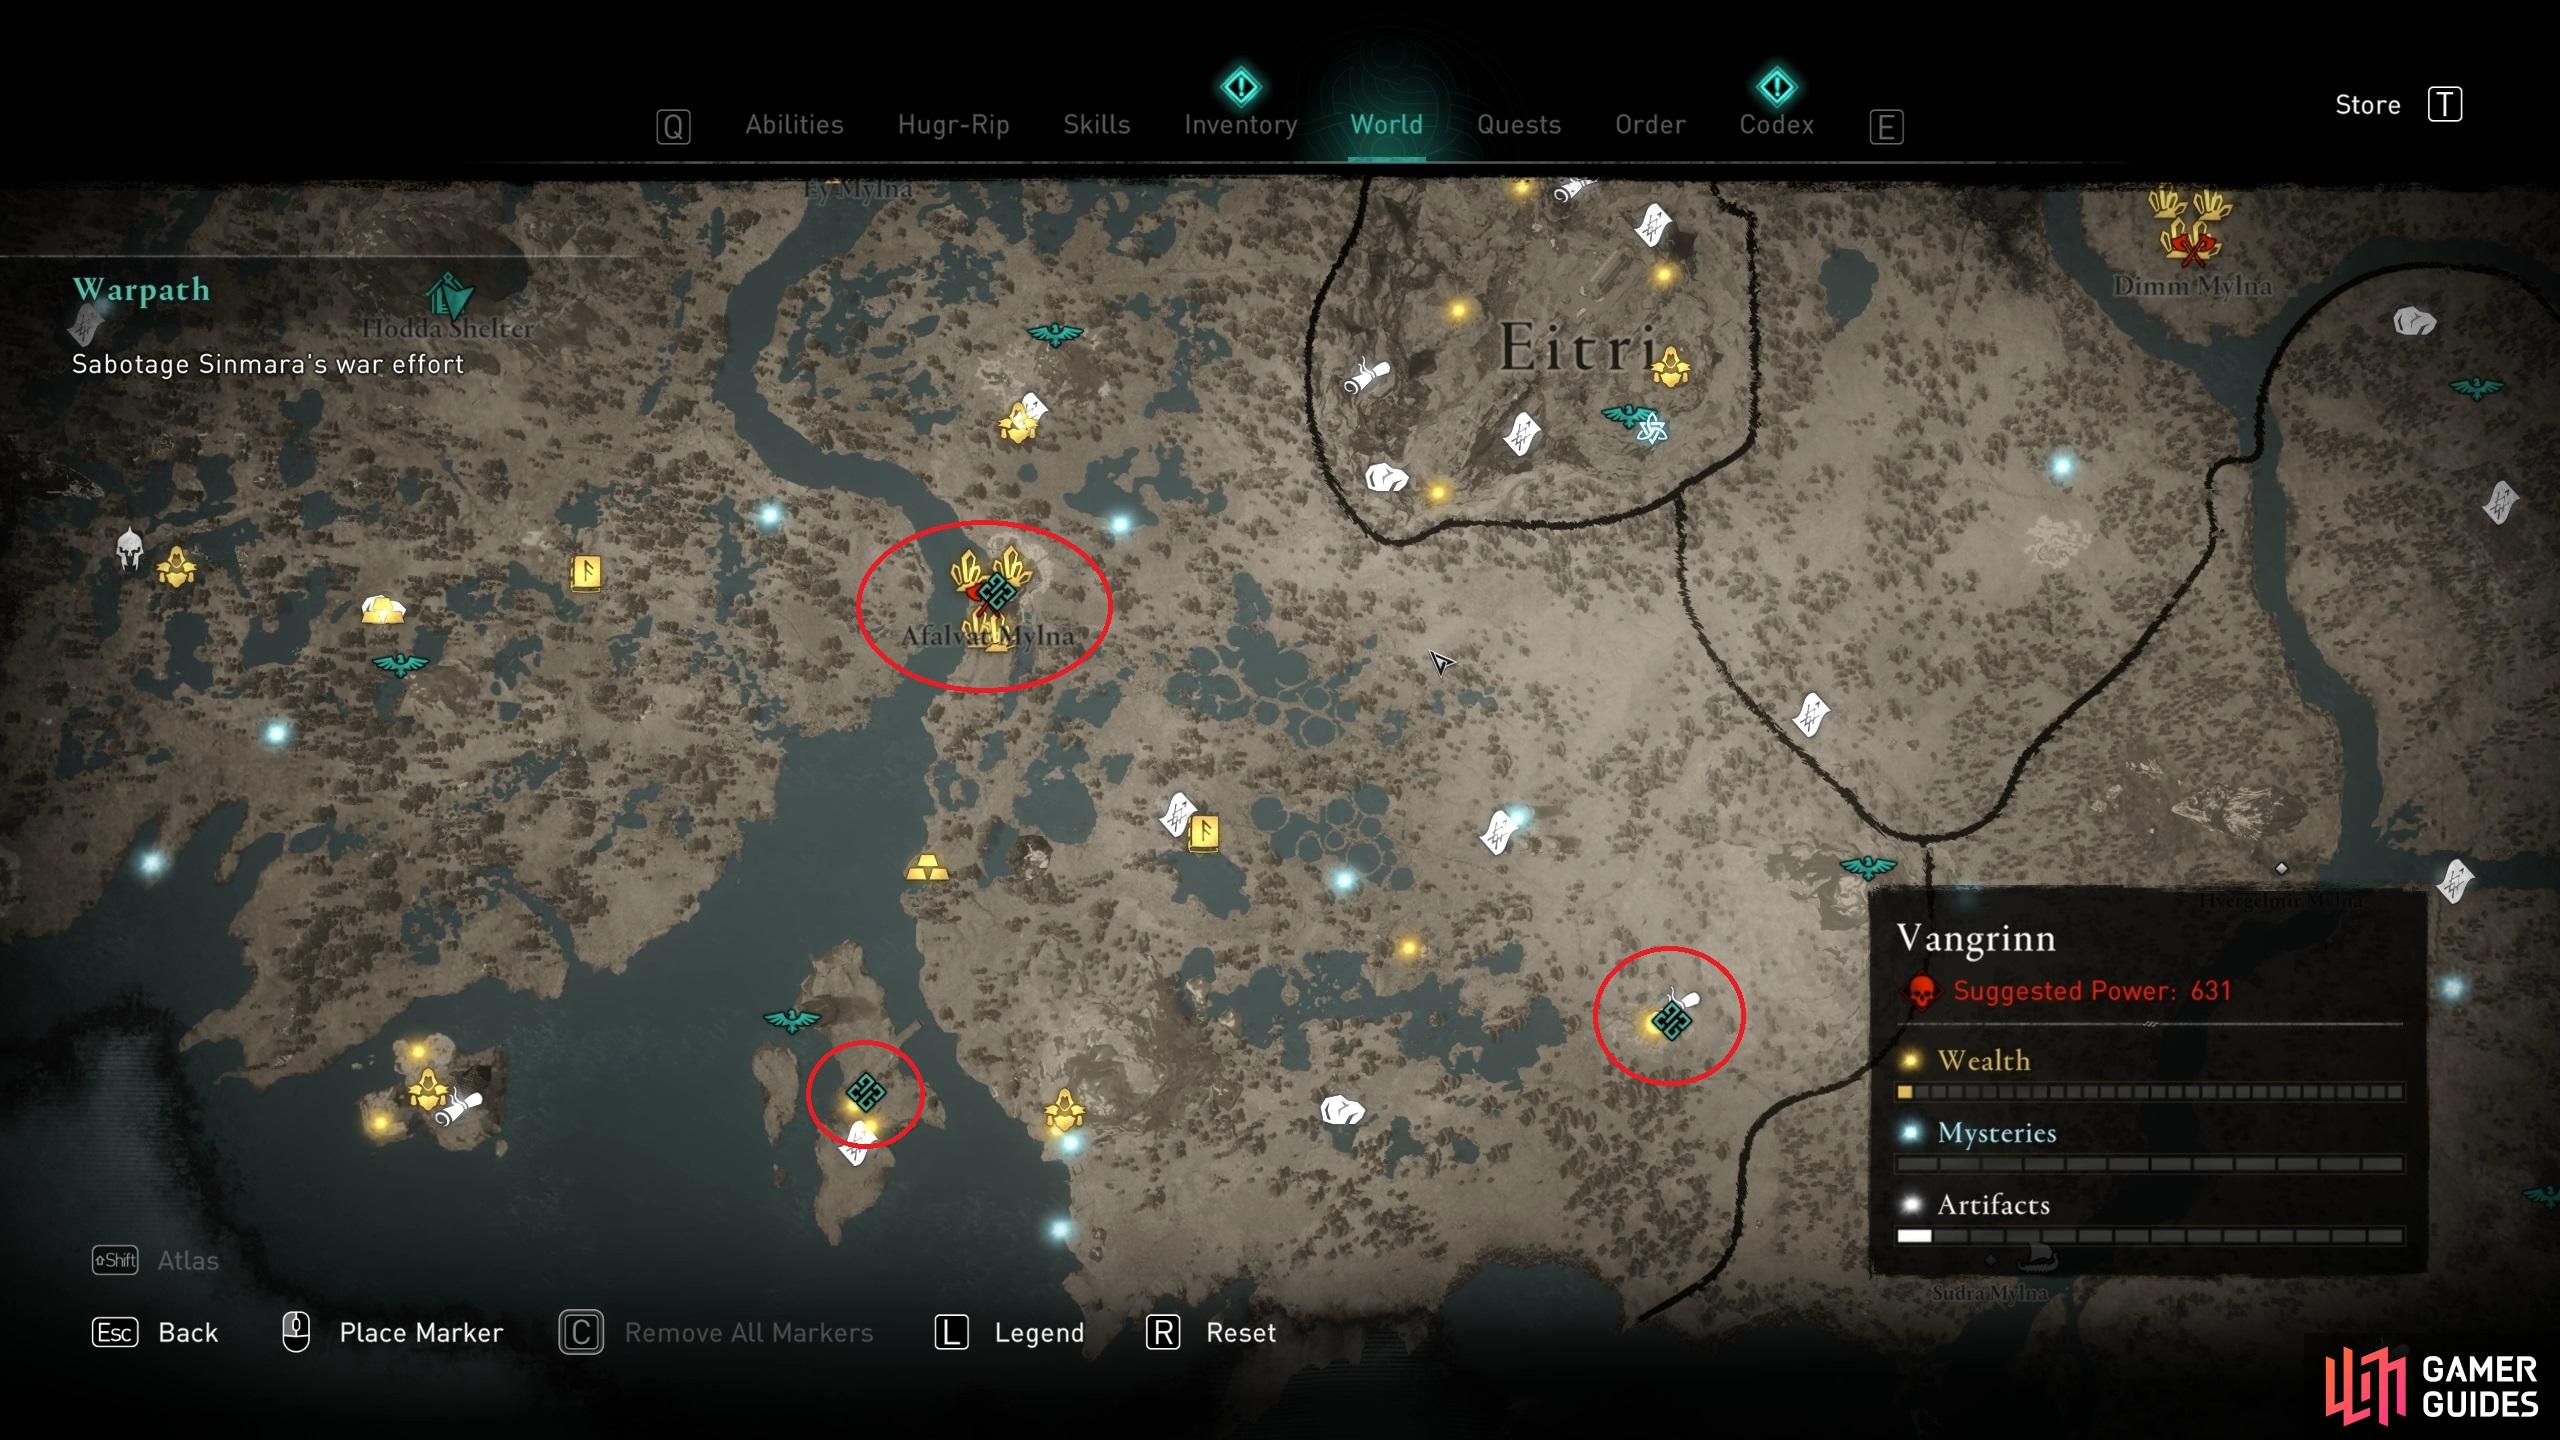
(1 of 4) The location of each of the Warpath objectives at Afalvant Myla, Drekathorp, and Jofurrsmida.
Drekathorp
Destroy the Muspel Supplies
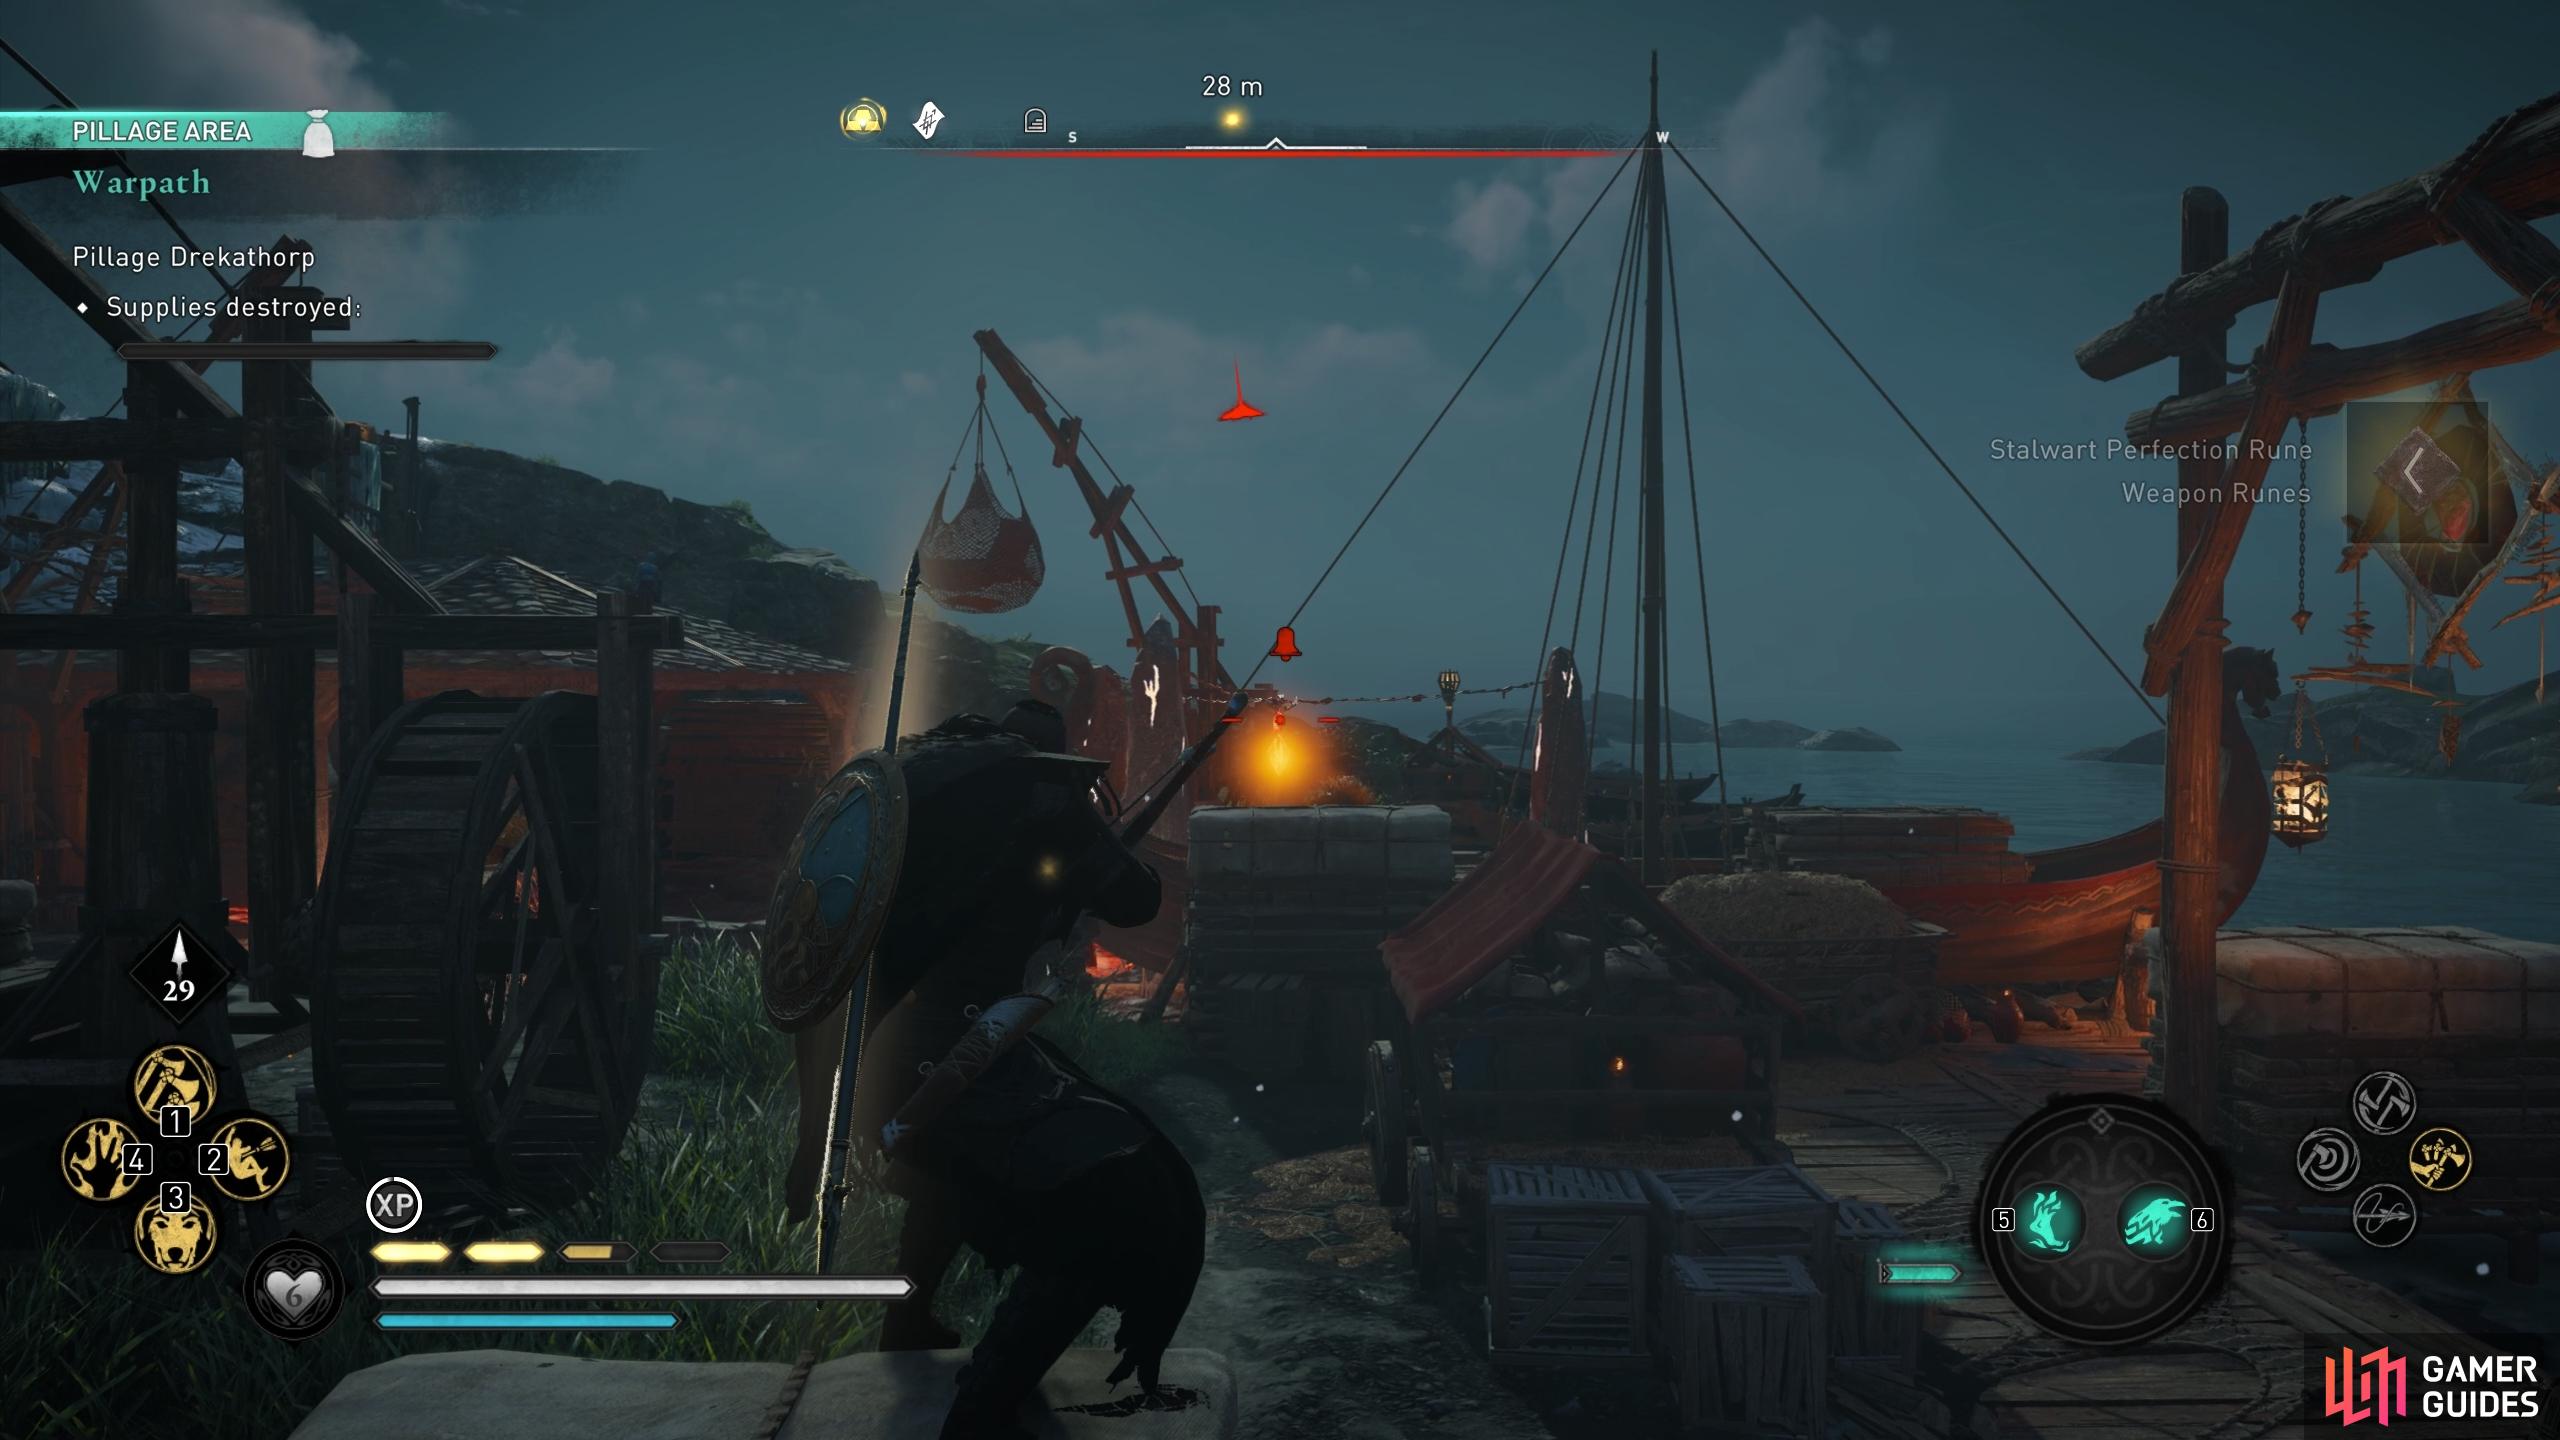
The next target is Drekathorp, a small settlement on an island directly south of Afalvat Mylna. Here you’ll find plenty more Jotnar and Muspel enemies, along with a number of supply carts that you wil need to destroy to complete the objective here. This is an incredibly simple task, and the most effective (and safest) way to destroy the carts is by firing at the fire pots within or beside them with your arrows. One of the first things you should do however is destroy the alarm bell, which can be found by the docks at the southwestern side of the settlement, unless you really want to fight a lot of enemies at once.
As you roam through the settlement to destroy the carts, it’s highly likely that you’ll be spotted by the Jotnar and Muspel enemies. There are numerous elite enemies in this area, so you’ll need to be careful not to attract too much attention. Try to deal with one group of enemies at a time, but also use the supply nets which are hoisted above by shooting the link, thereby sending them crashing into the enemies below. You can also shoot the carts tactfully to ensure that enemies are damaged by the subsequent explosion.
As you fight through the camp, you may encounter some destructive enemies known as Hel-Raisers. These will consistently use explosive special attacks to create areas wreathed in fire. The best way to counteract this is by using the Power of Muspelheim, which will make you immune to all fire damage as you take the enemies down. You’ll also need to watch out for the powerful Ash-Bringers and elite brute enemies. It shouldn’t take you too long to go through the relatively small camp and take out all the supply carts. You can just run out of the settlement without killing the remaining enemies once you’ve destroyed them all if you prefer.
Jofurrsmida
Find and Burn the Schematics
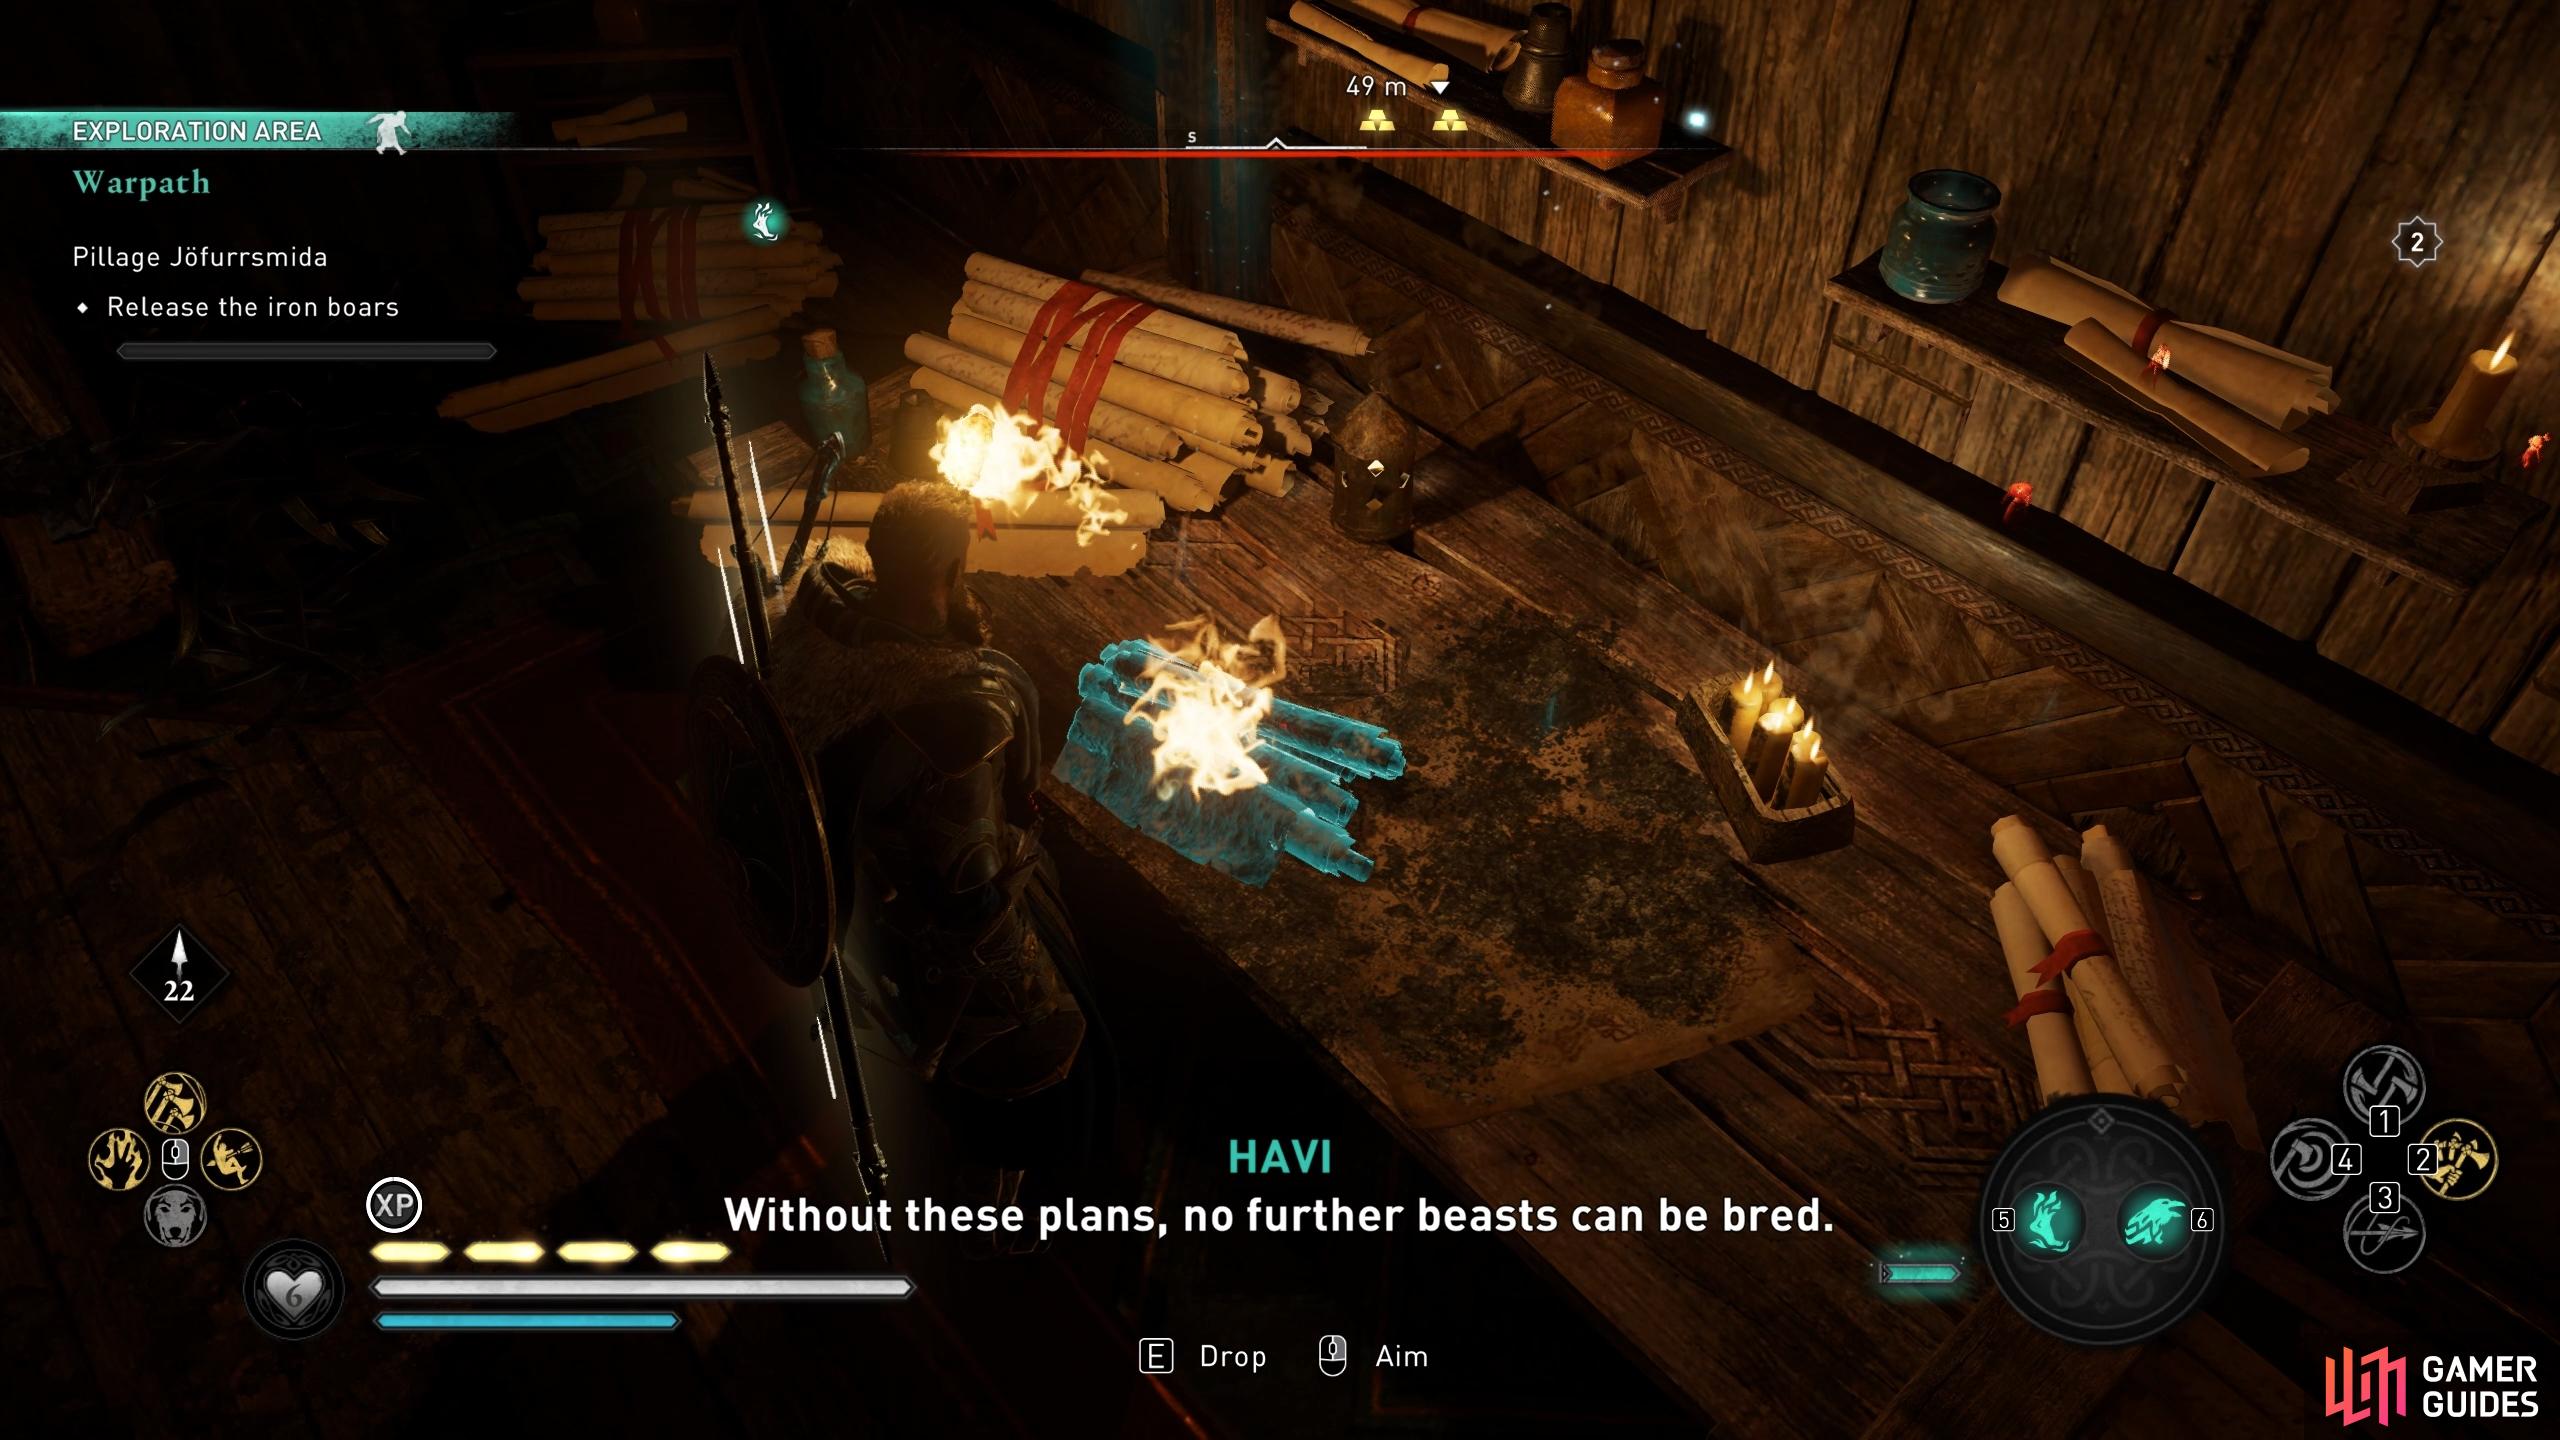
At Jofurrsmida, which is located in the mainland directly east of Drekathorp, you’ll need to destroy some schematics which detail how to create Iron Boars, a powerful type of enemy. You’ll also need to release these boars and, if you wish, kill them. We’ll deal with the schematics first.
You will only need to burn one set of schematics, and these are located in a building that you’ll encounter first if you approach the settlement from the northeast. You can use Odin’s Sight to highlight the exact location of the schematics within the building, but to enter it you’ll first need to acquire a key for the door. This key is being held by one of the enemies nearby, which can also be revealed when you use Odin’s Sight. Once you’re inside the building, you’ll find the schematics on a table upstairs. You can use your torch (accessed from the action wheel) to burn them just by stepping towards them.
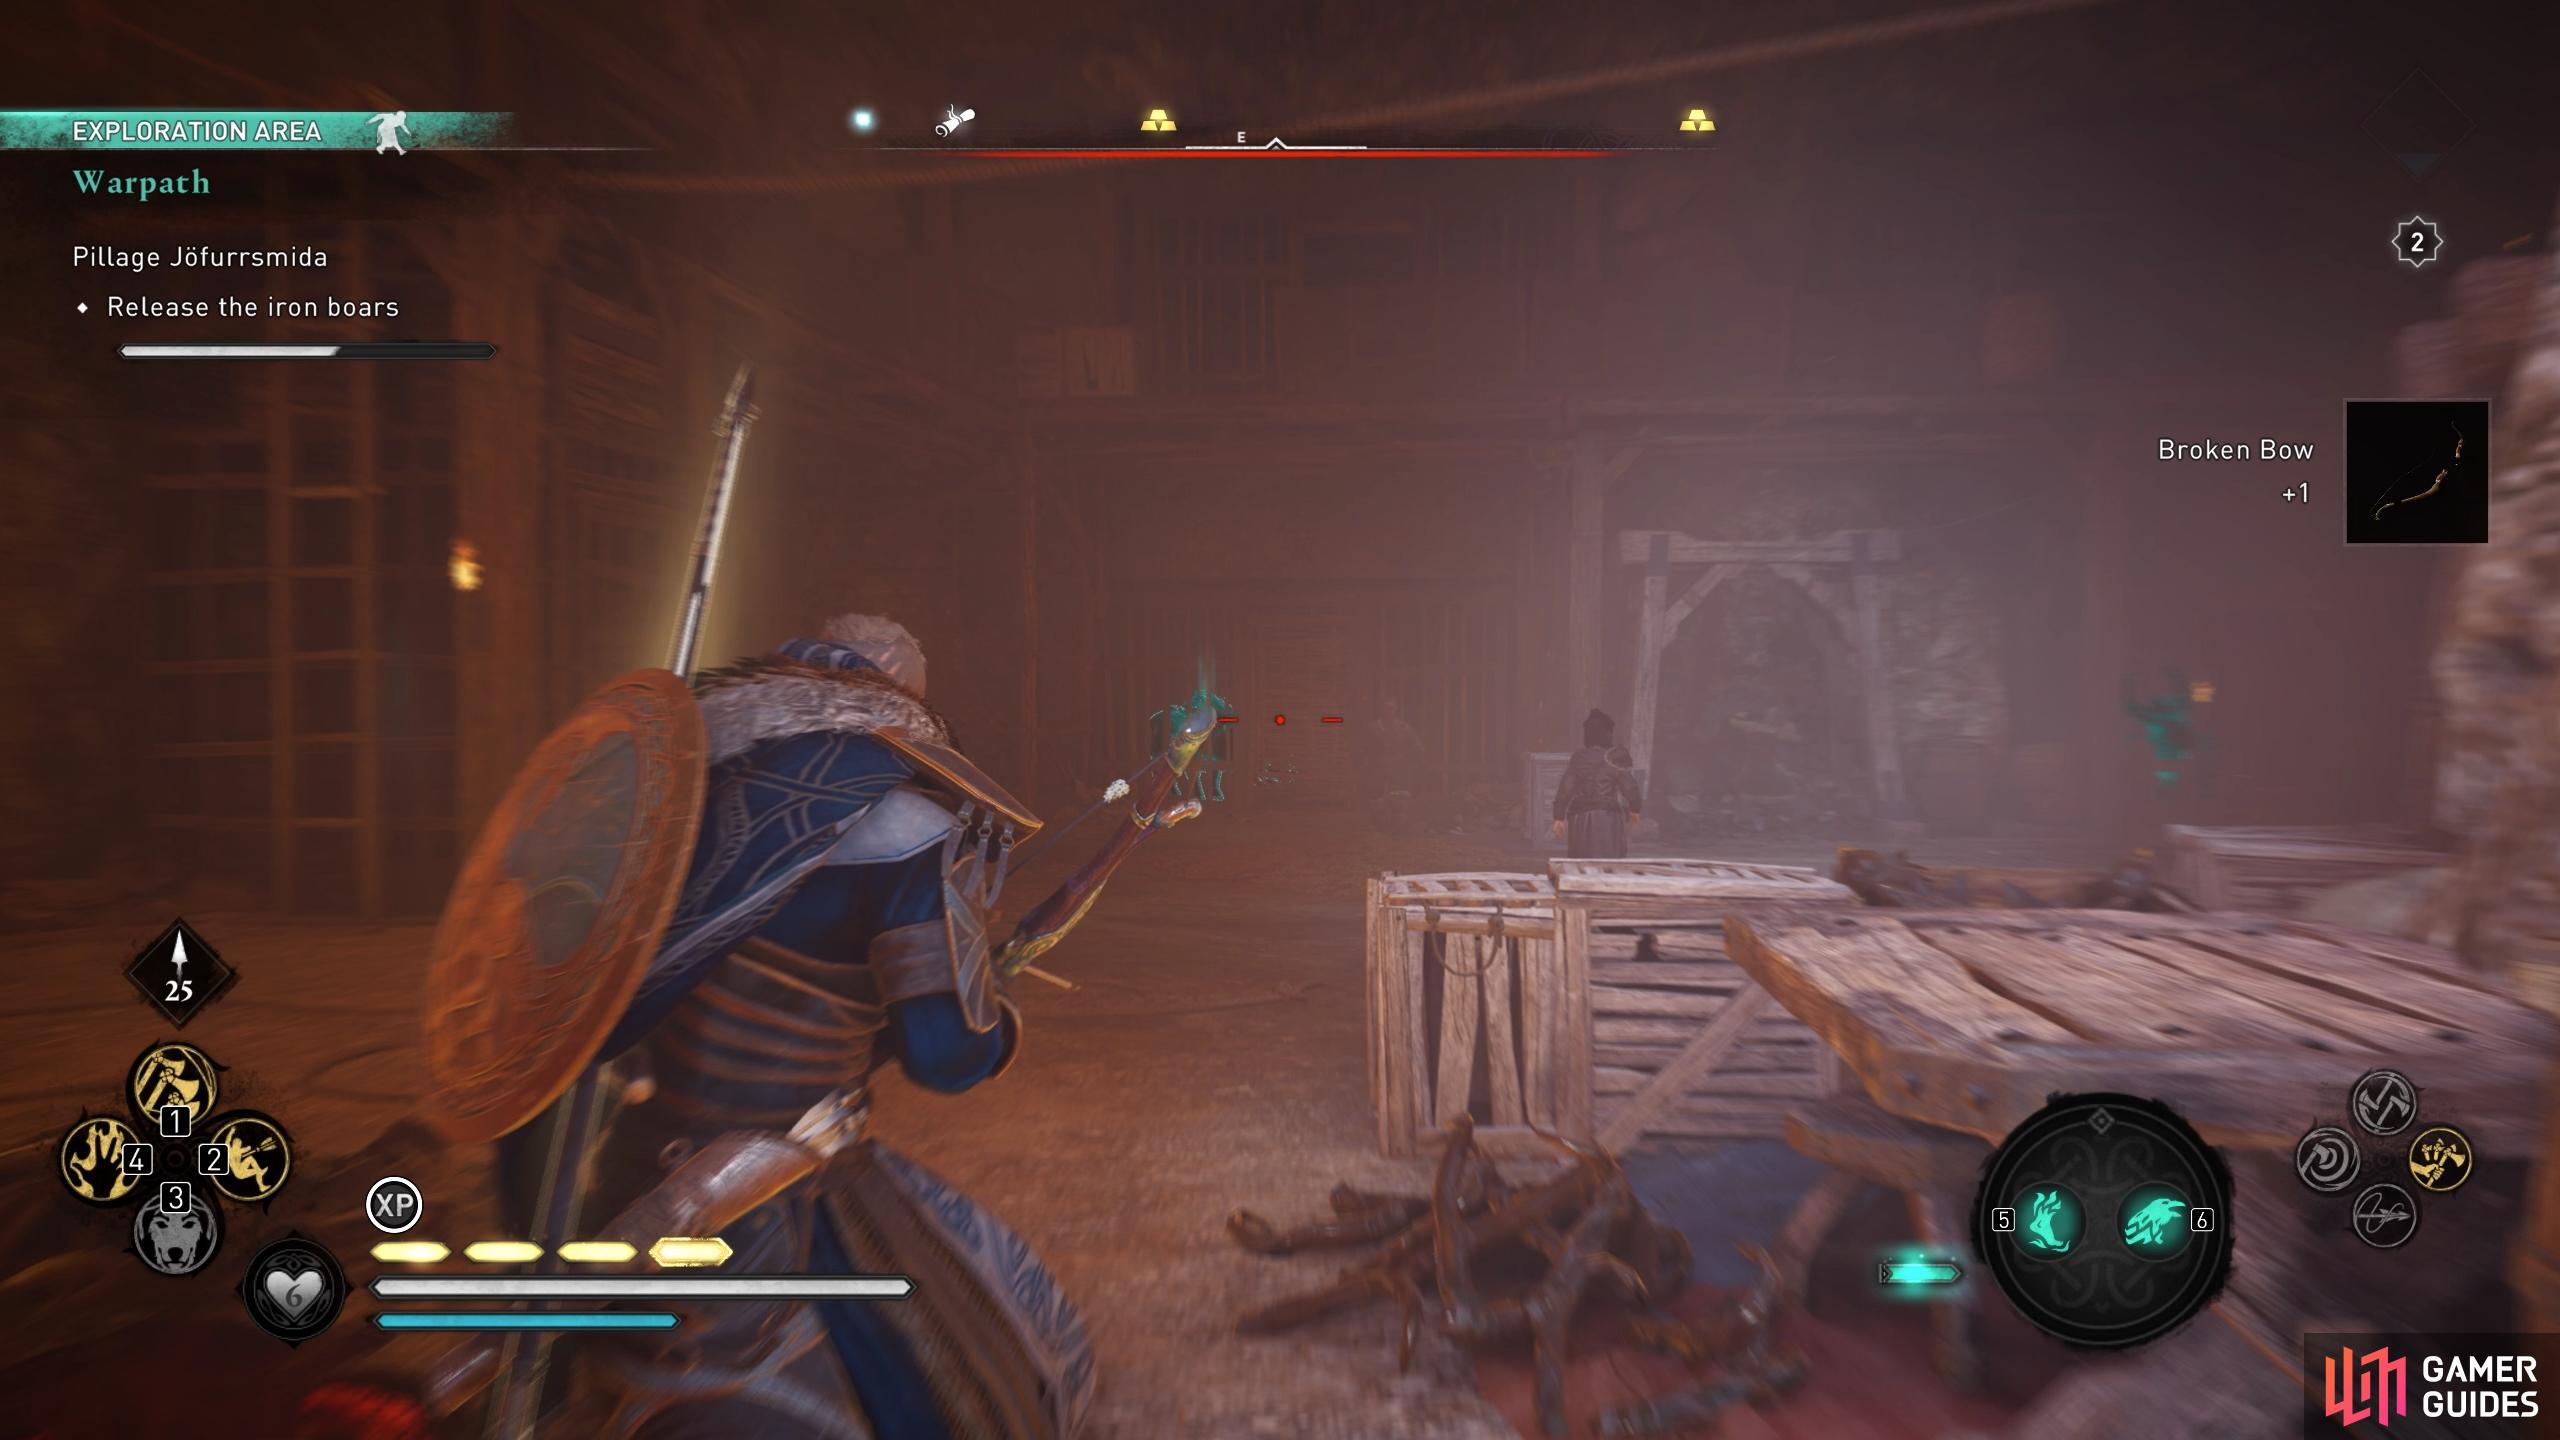
Release the Iron Boars
Now that you’ve destroyed the schematics, it’s time to release the Iron Boars. You’ll find these in cages in the lower depths of Jofurrsmida, most of them behind destructible wooden doors. It seems a bit odd that these powerful beasts couldn’t just break through these with ease, given the size of their tusks, but there you go. Here you can release them and kill them for a small amount of XP, their Boar Tusks and some Leather, or you can leave them to run wild and cause a big mess for the Muspels and Jotnar. Once you’ve released all of the boars, the quest will complete.
You’ll find the schematics inside the building once you open the door with a key from an enemy outside.
You’ll need to free all the Iron Boars in the area to complete the objective.
No Comments