

This quest begins immediately after Ringing Cyne Belle. If you didn’t start the assault immediately after that quest, you can begin from the same place by speaking with Geadric at the camp in the Derelict Shrine of Camulus.
Lower the Drawbridge
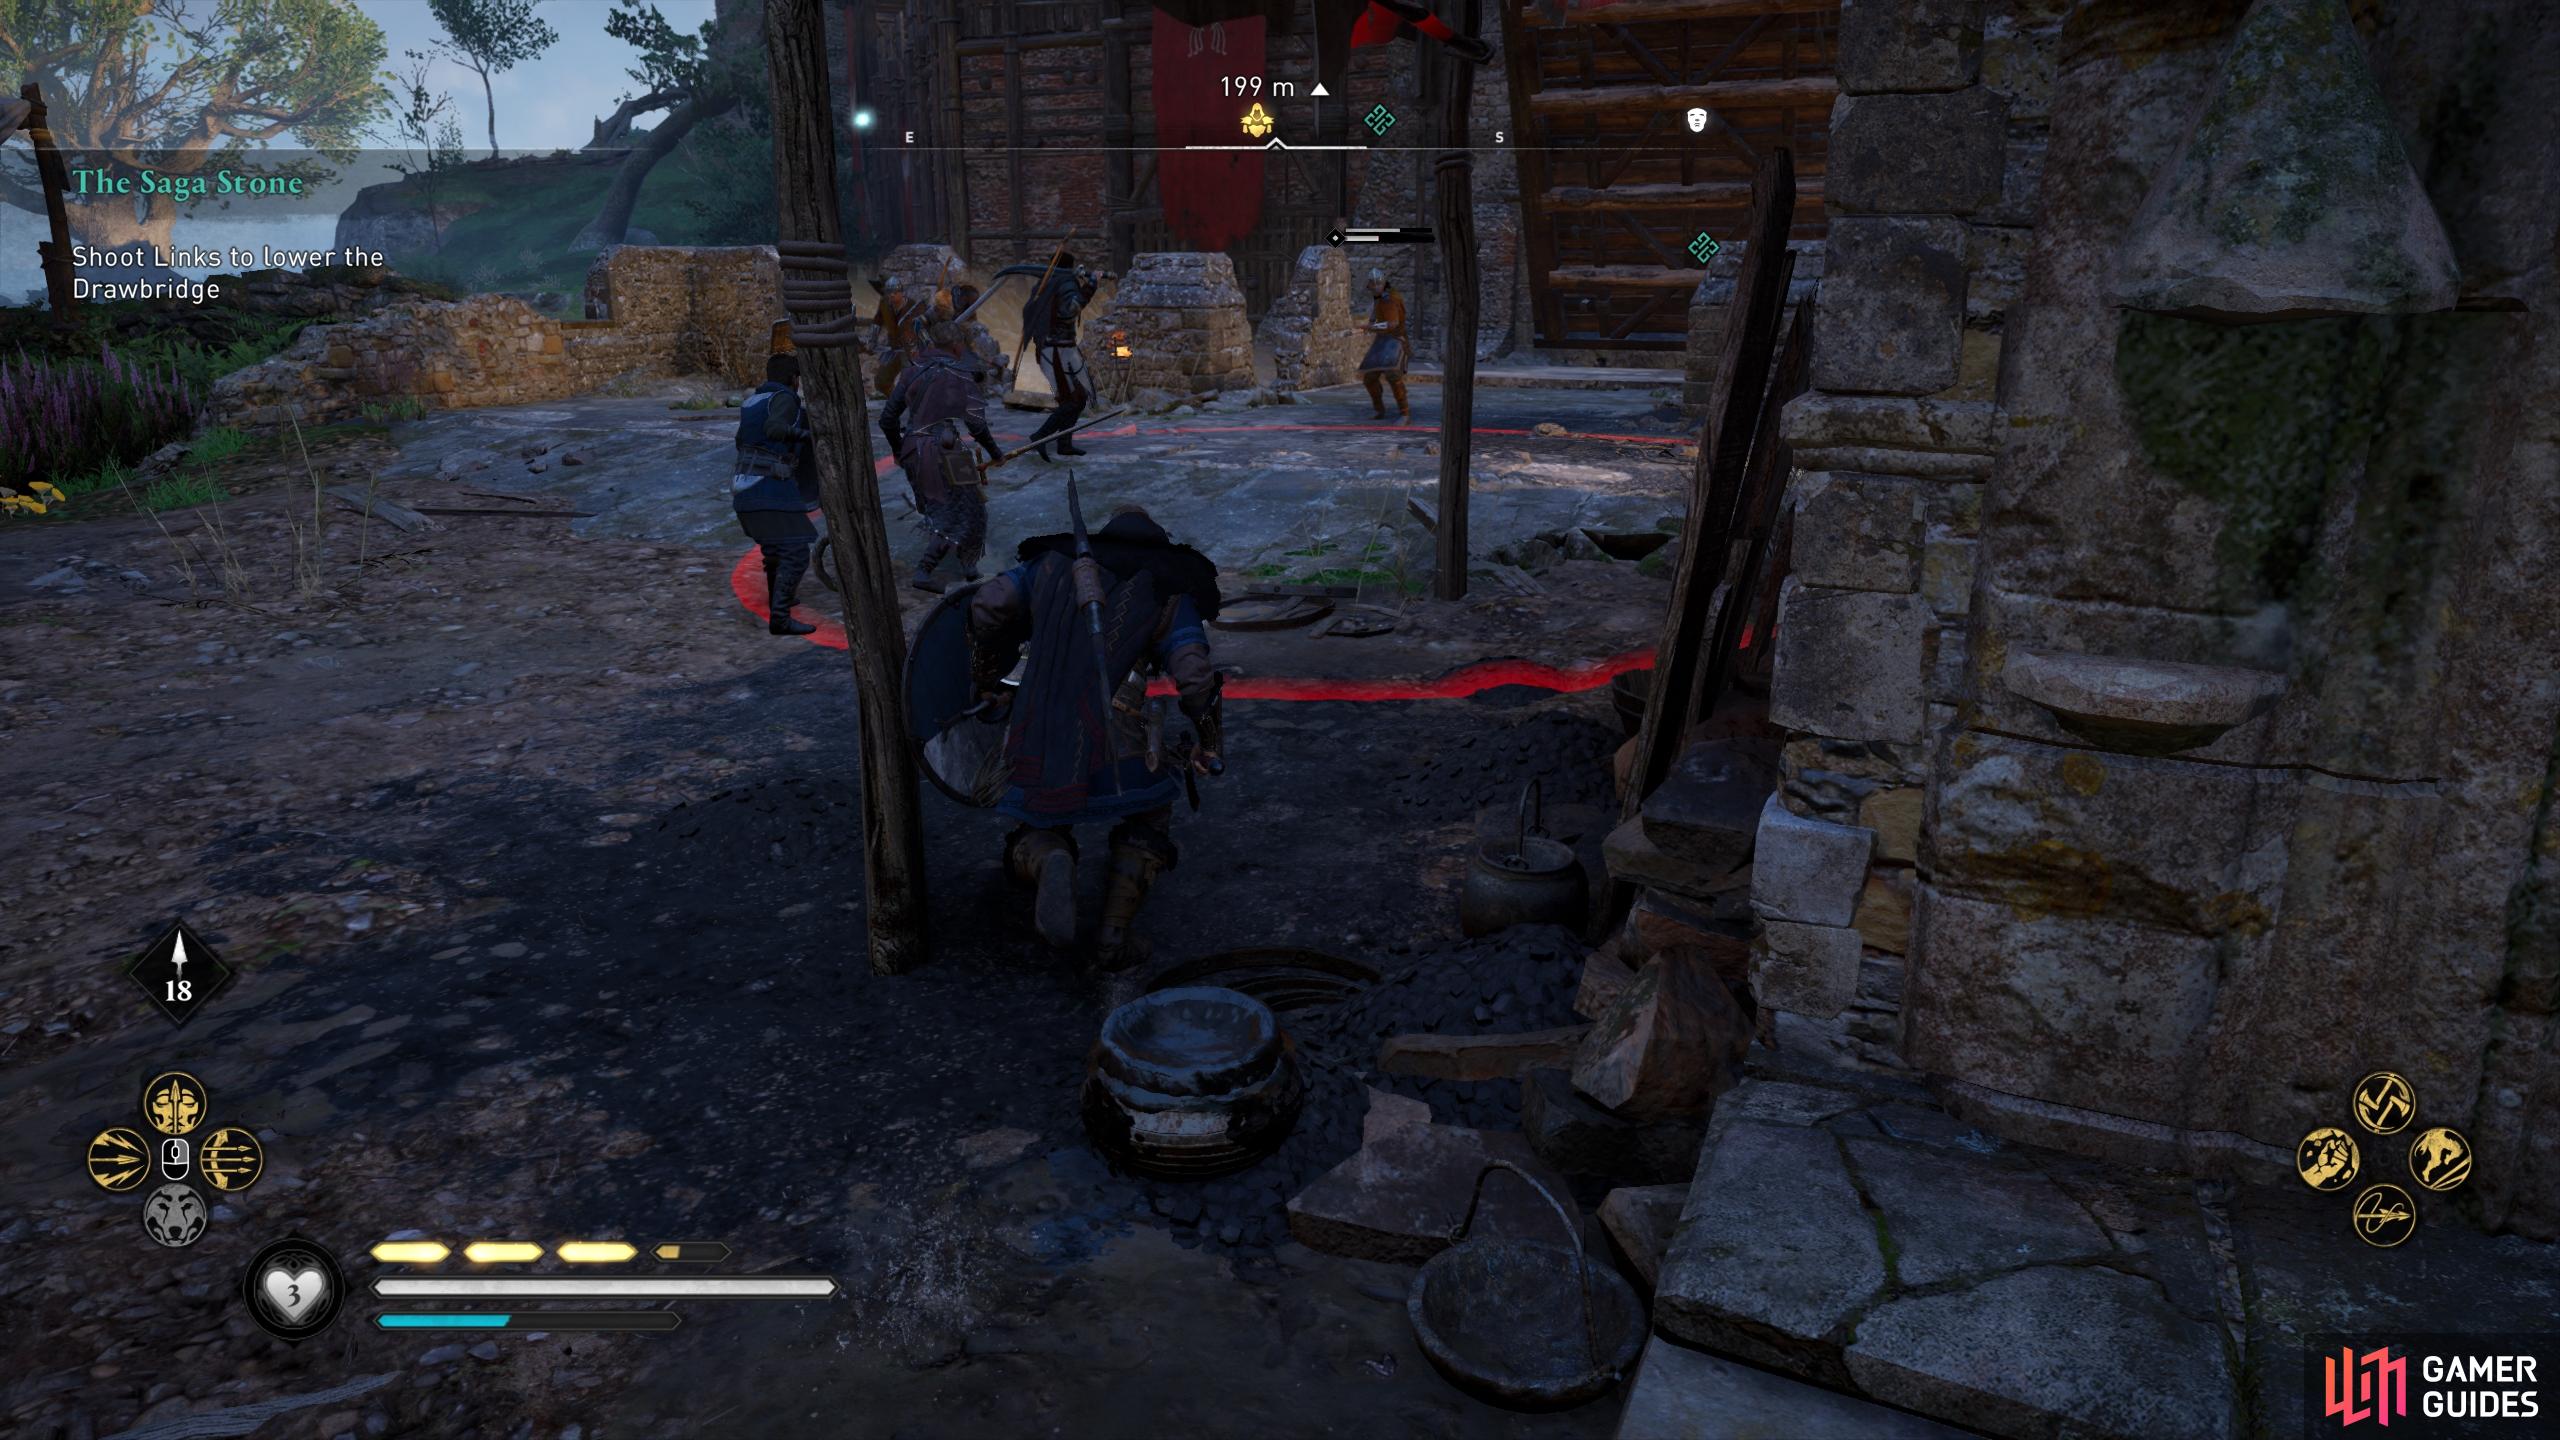
When the battle begins, you’ll spawn just north of the main gates of the castle. You can help to fight any of Eadwyn’s soldiers on your way to the drawbridge, but this isn’t necessary. You’ll want to avoid the arrow fire from the archers on the walls above the drawbridge, so it’s best to keep moving until you’re right next to it. You’ll find one Pikeman defending the bridge, so you should take them out before you shoot the links of the drawbridge. Shoot the links on either side to make the bridge fall, as shown below.
Open the Portcullis
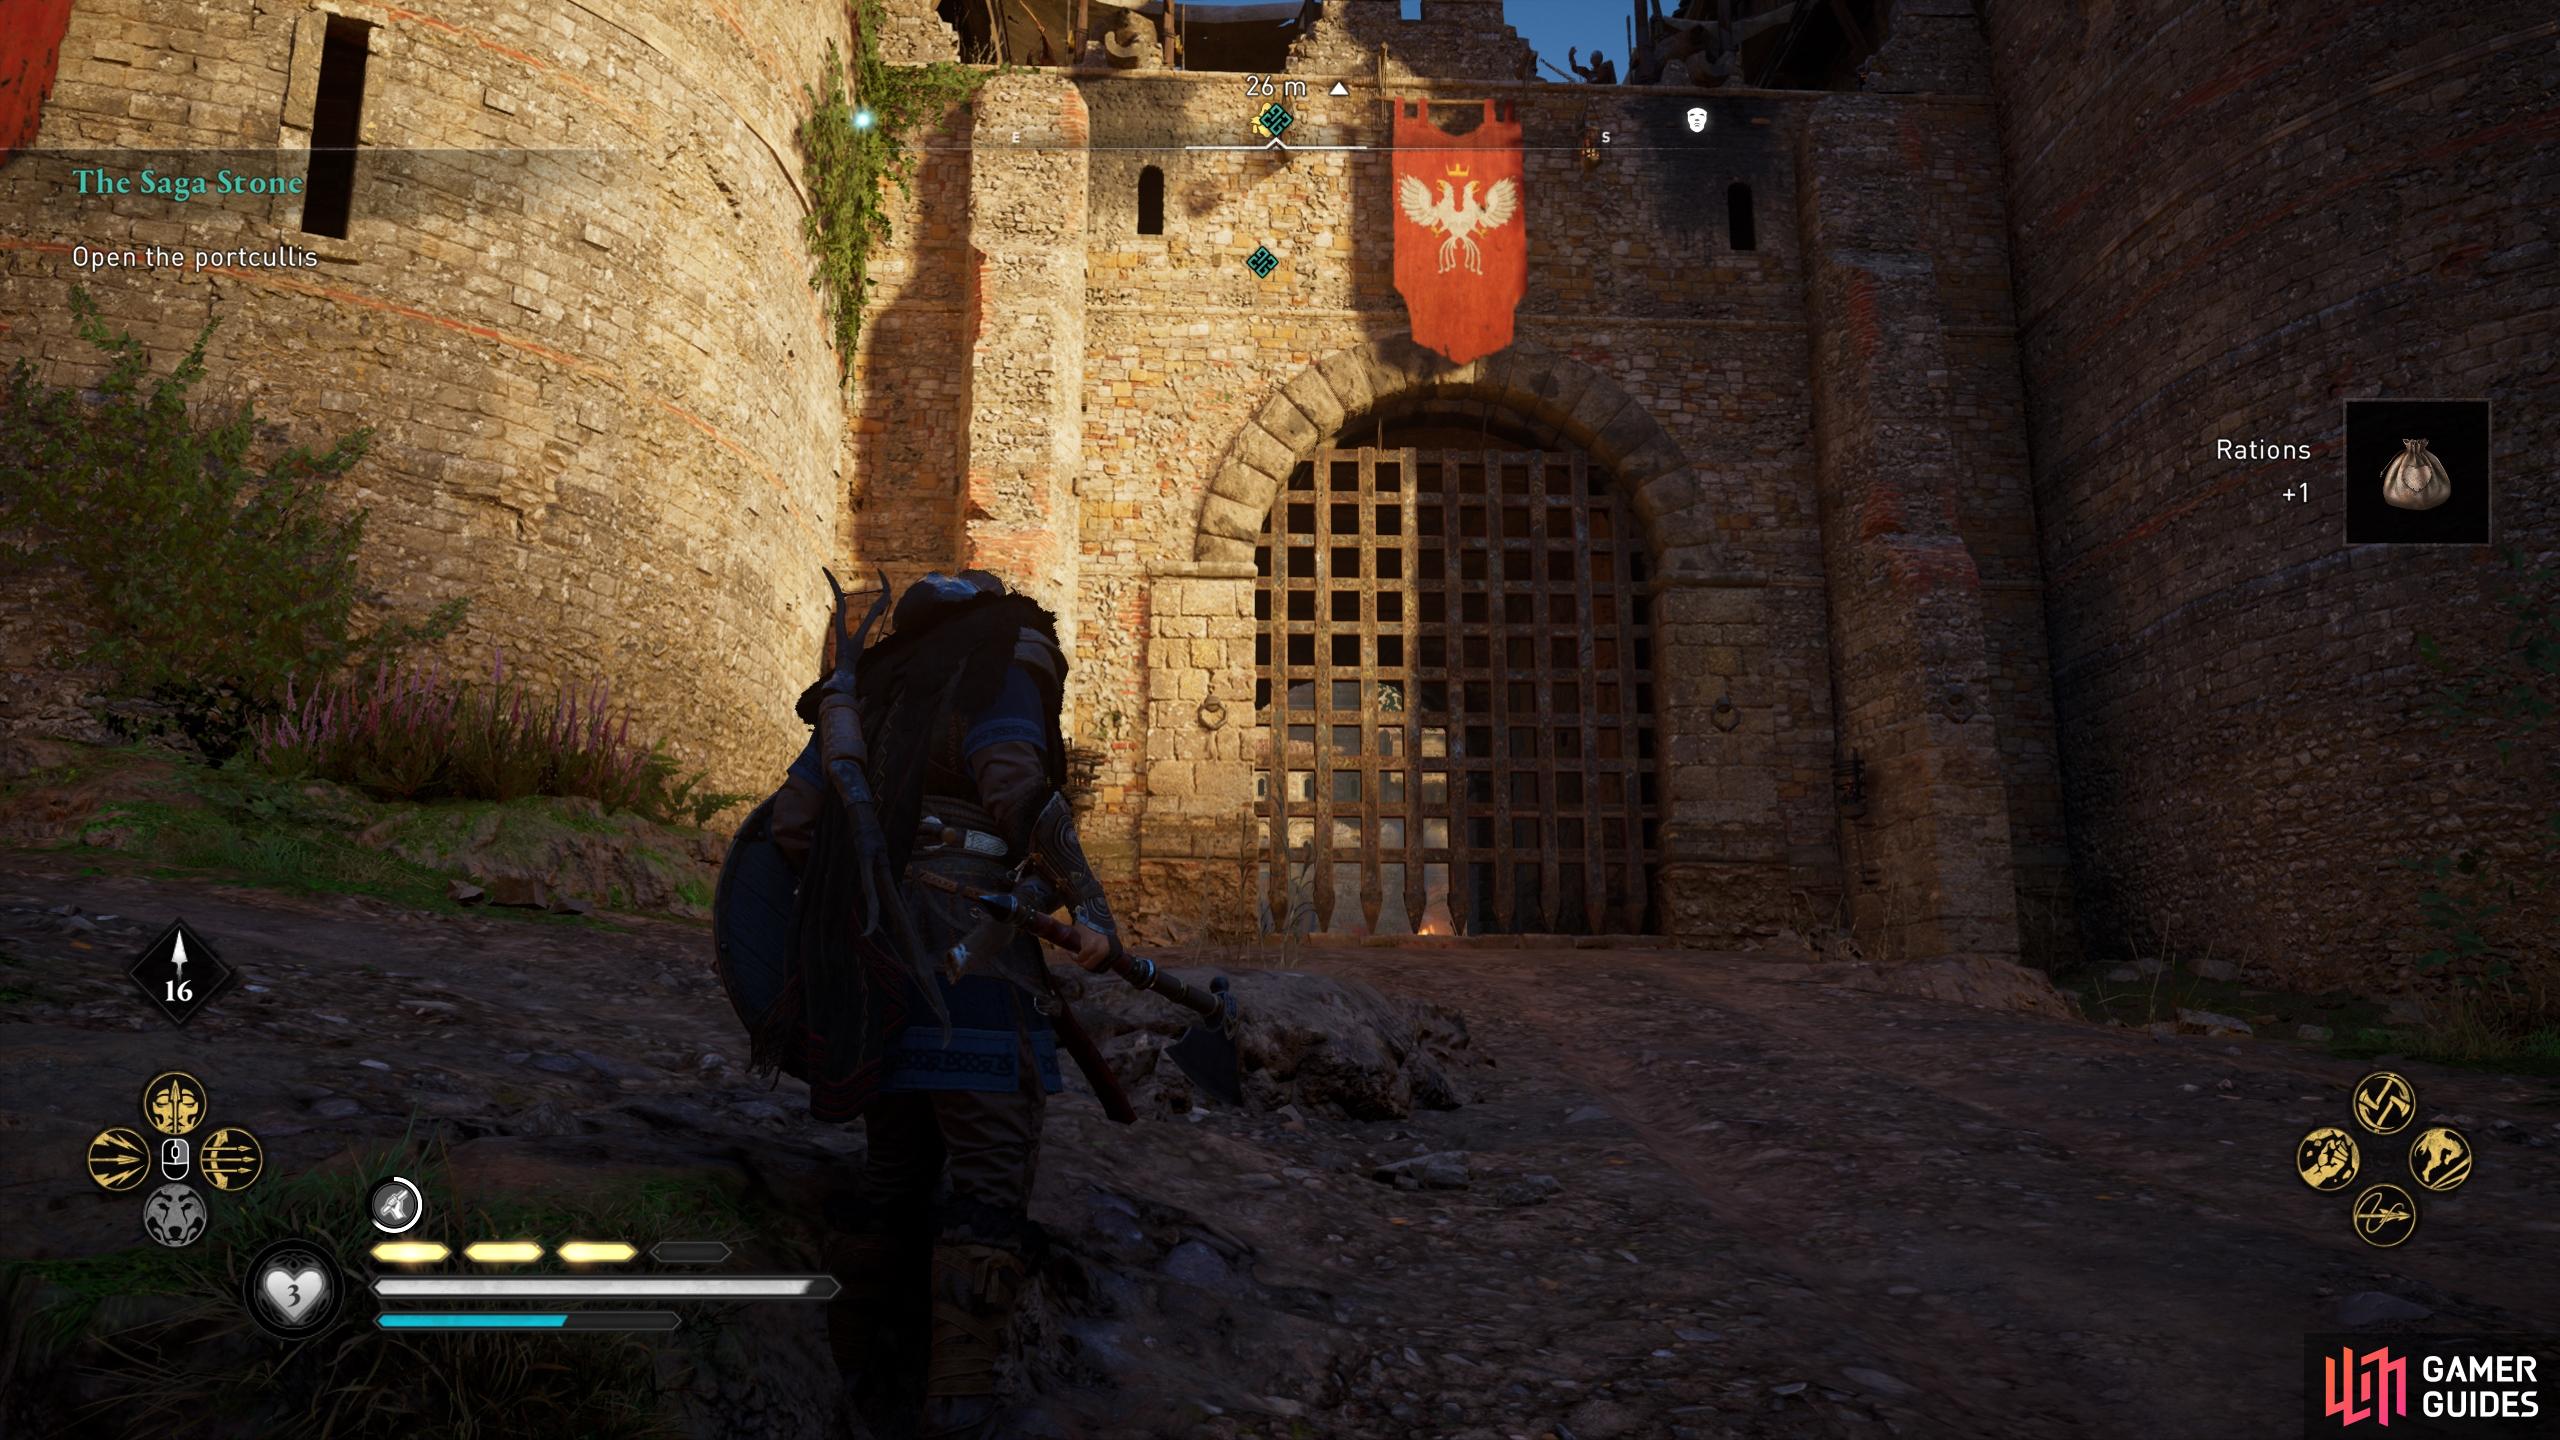
Once you’re inside the castle, your next objective is to open the portcullis. Don’t bother hanging around the drawbridge, and only help to defeat Eadwyn’s forces if you really just want to kill some soldiers for the fun of it. The only thing you need to do in terms of the quest objective is reach the portcullis and lower it. Make your way southeast and climb the walls at either side of the portcullis. You’ll want to avoid the oil cauldrons above it if you didn’t destroy these during Ringing Cyne Belle.
When you’ve scaled the walls, you’ll be met by the soldiers operating the oil cauldrons. Kill these and then make your way down the steps to the southwest, leading to the room where you’ll find the mechanism to raise the portcullis. You’ll find a few soldiers guarding this, but you should have Sigurd, Basim, Geadric, Fulke, and a few other warriors with you to help. If you don’t see them and you don’t want to fight the soldiers alone, just wait for them atop the walls. Once inside, hold the mechanism to raise the portcullis.
The next objective is to reach the inner courtyard. The quickest way to do this is by jumping down the hole in the portcullis room and then heading southeast. If you go any further here you will encounter Eadwyn, so make sure you’re ready for a boss fight.
Boss Fight: Eadwyn
The fight with Eadwyn can be difficult if you’re not prepared. She wields a powerful longspear and can move very quickly with it, so you’ll want to be on your guard at all times. You can parry her basic spear attacks, but she will often follow these up with a second spear attack (or flying kick!) soon after. This is a similar special attack to what Standard Bearers execute, only it deals much more damage. Brush with Death, as ever, will prove incredibly useful here, providing you with some time to breathe between each attack as time slows down. In addition, she will perform an unblockable heavy attack, indicated when she draws her spear back in preparation for a thrust attack. Since this can’t be blocked or parried, your best option is a dodge or a roll to escape its range.
In addition to the above attacks, Eadwyn will throw bombs at you. These are marked by a red circle on the ground as she’s throwing the bomb. Move away from these circles as soon as possible. If you’re caught in the fire, it’ll take a large chunk of health. Before you do anything else, you will benefit from hitting Eadwyn’s weak points, which can be found on her left leg and right arm. This will leave her vulnerable to stun attacks, which will deplete a large portion of her health. As you bring her down she’ll begin to take a drink. This will signal a heal, which is easily indicated by a white aura. You should interrupt this with an attack as soon as you see it to prevent her from healing.
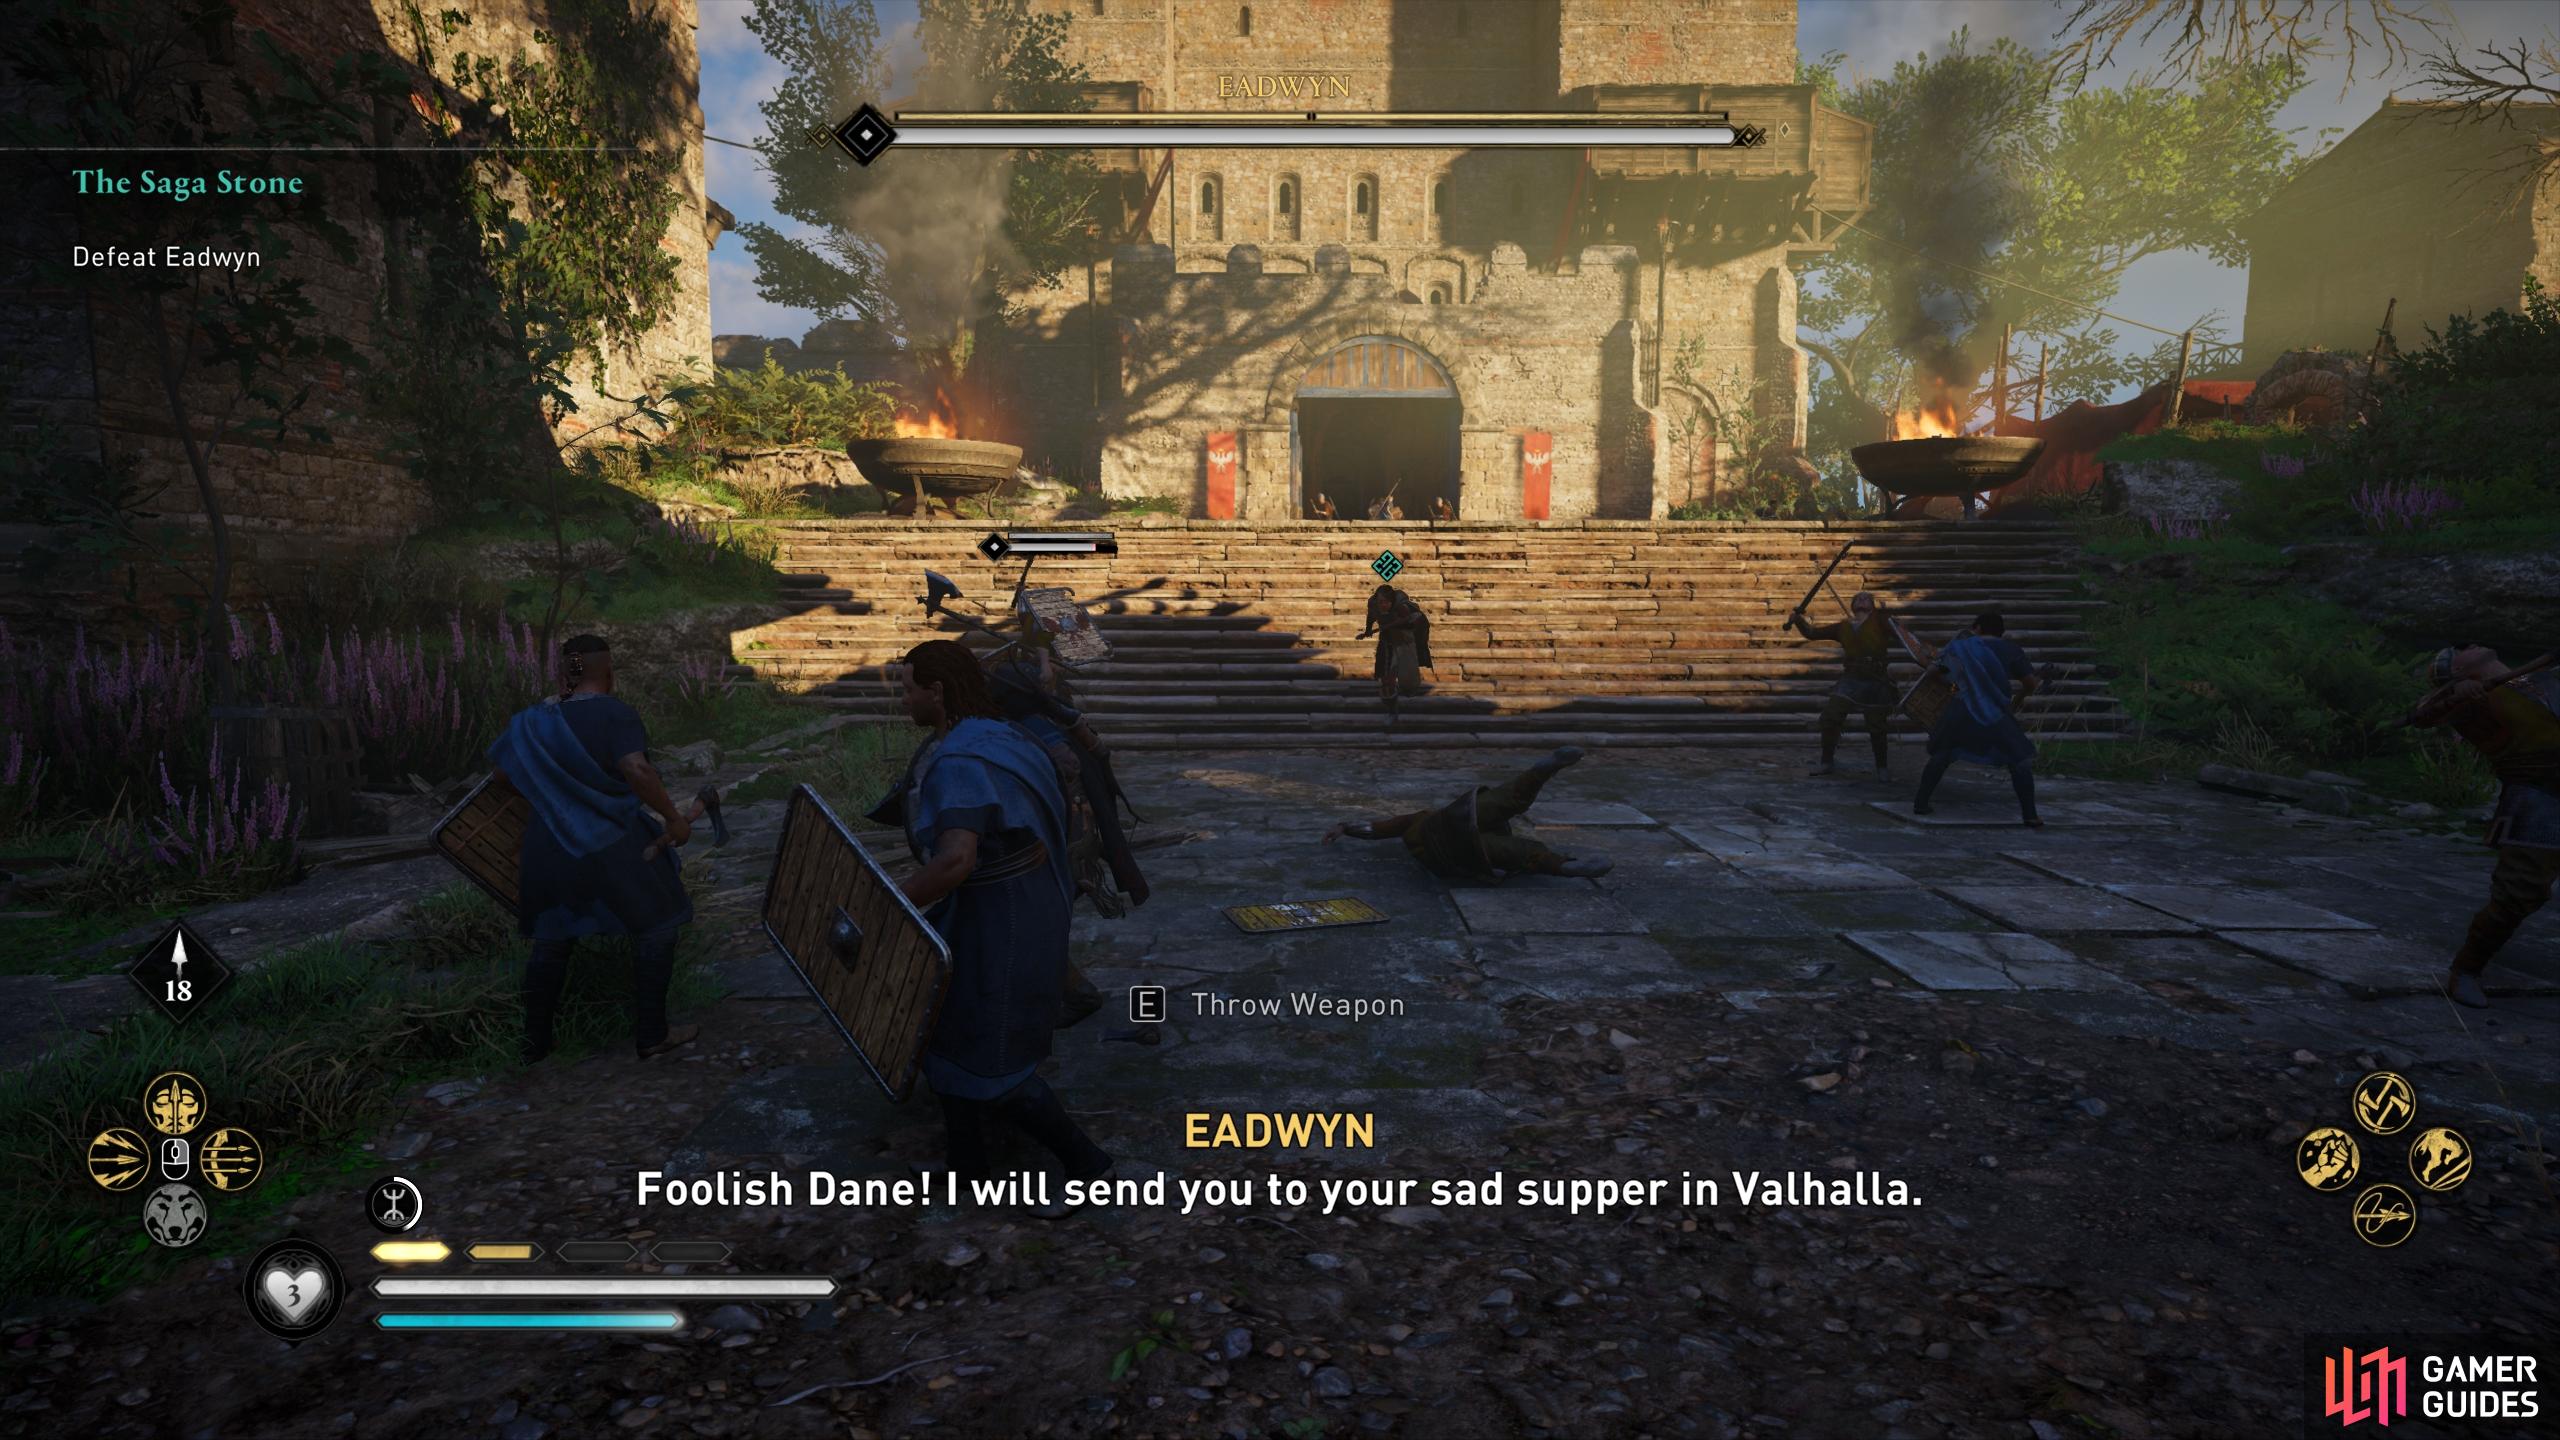
(1 of 7) When you reach the inner courtyard, Eadwyn will charge you if you go too far forward.
Ultimately, this fight will be made much easier by the presence of Sigurd, Basim, Fulke, and Geadric. If you bring Eadwyn close to them they will likely attack her, each inflicting large amounts of damage. When the fight is over, you’ll need to decide Eadwyn’s fate. Despite the implication, this doesn’t have any significant impact on the story, so just go with what feels best to you. When the decision is made, walk inside the keep. You’ll find a treasure chest immediately in front of you; loot it for the unique shield Shishi Guard. Once you’ve looted this, all that remains is to regroup with Sigurd, Basim, and Fulke. Head up the stairs to the southwest and through the door to find them. When the cutscene ends, the quest will complete.
No Comments