
This mystery can be found in northern Eurvicscire, just north of Jorvik.
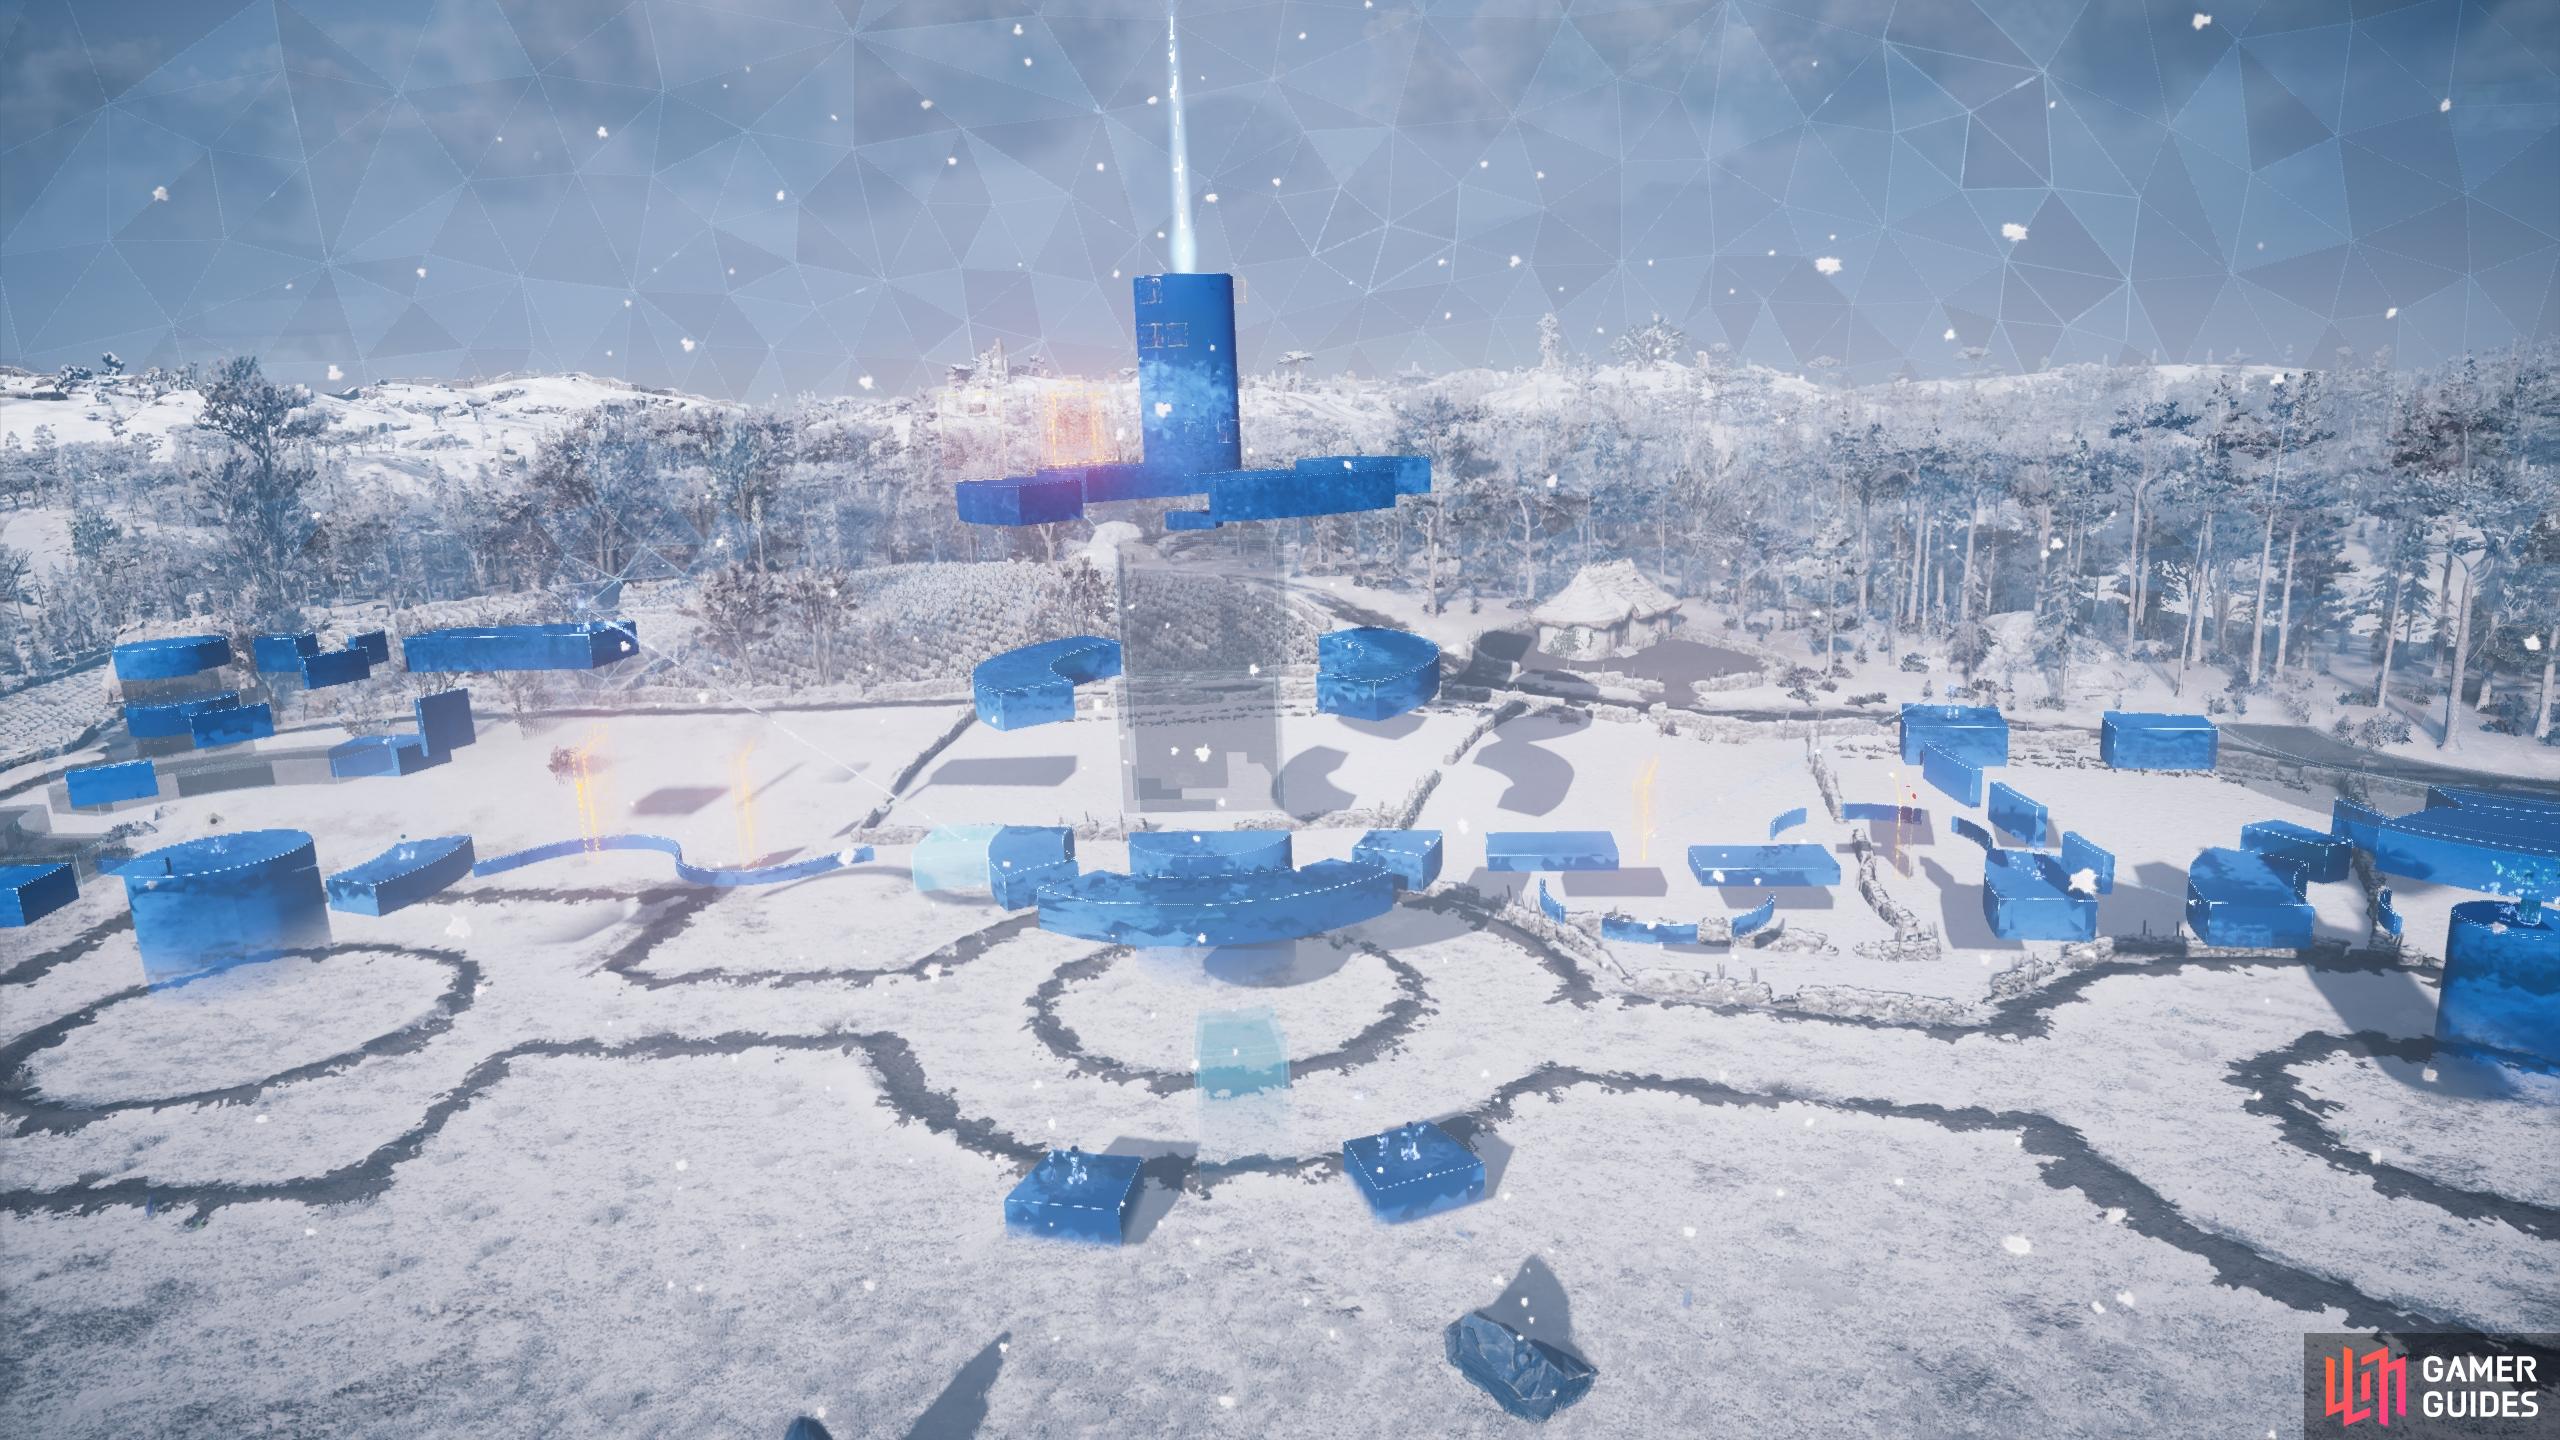
Thornburg Henges, Eurvicscire.
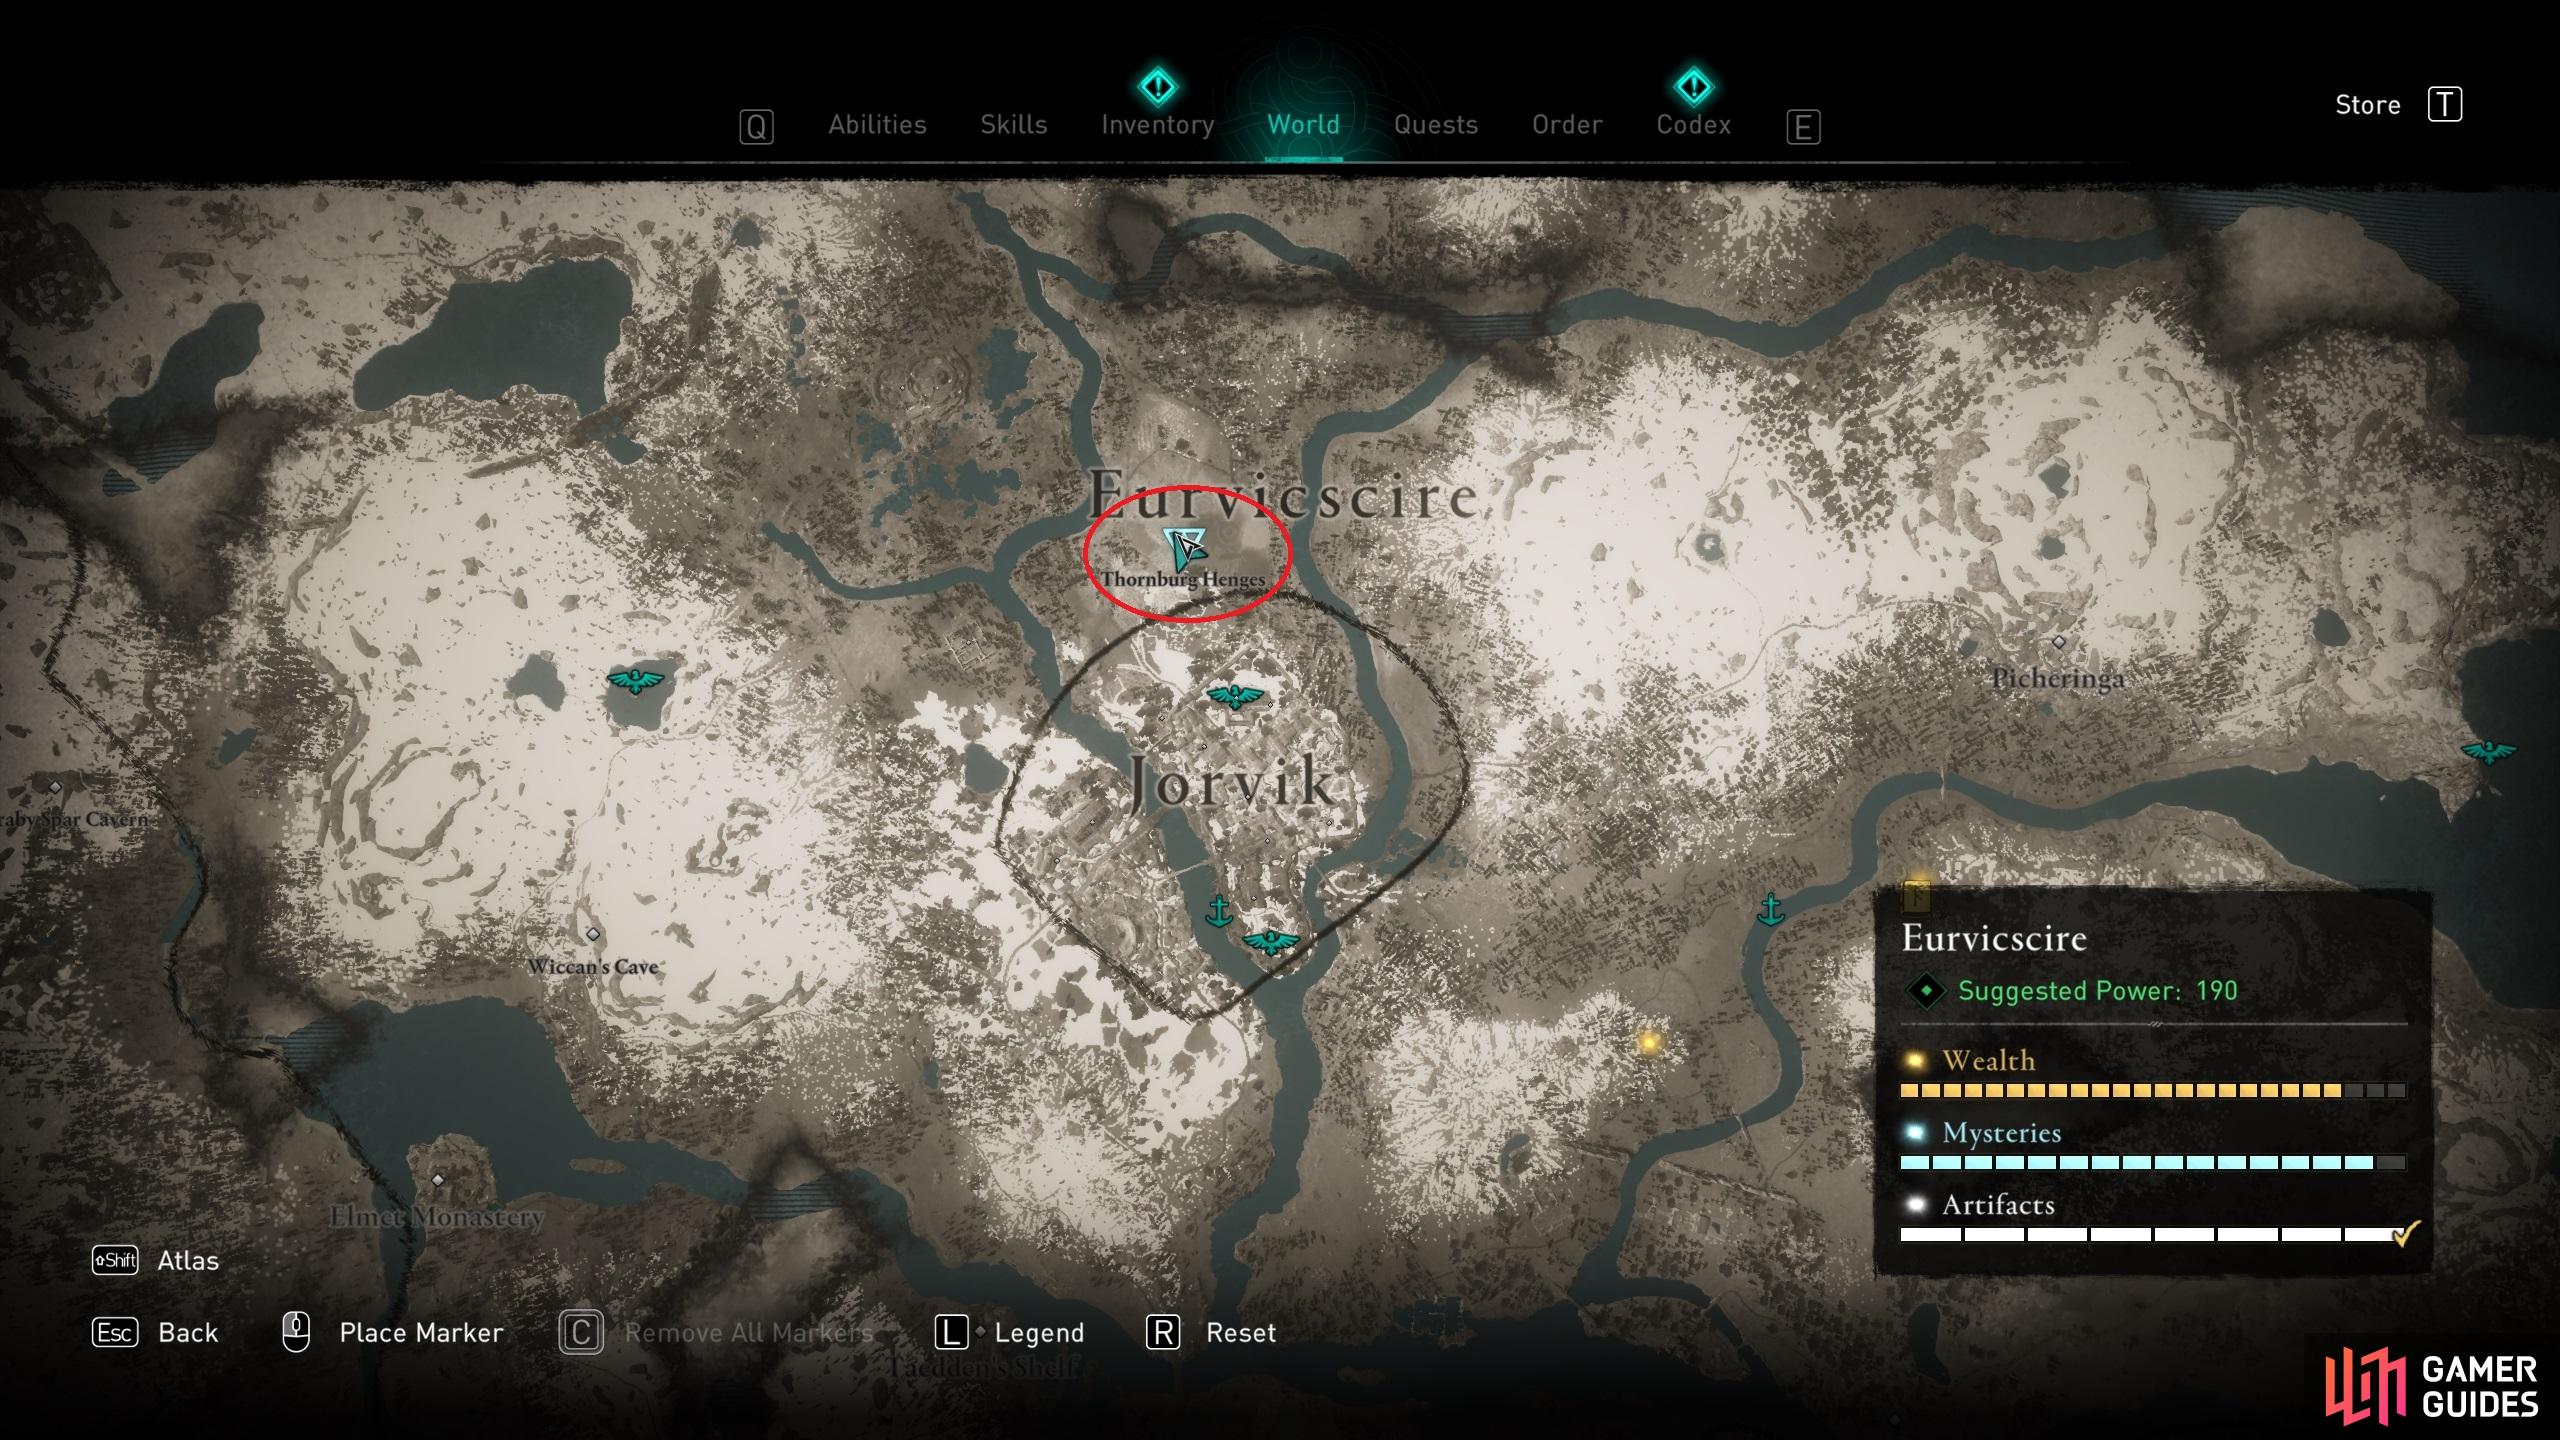
The location of the mystery, just north of Jorvik.
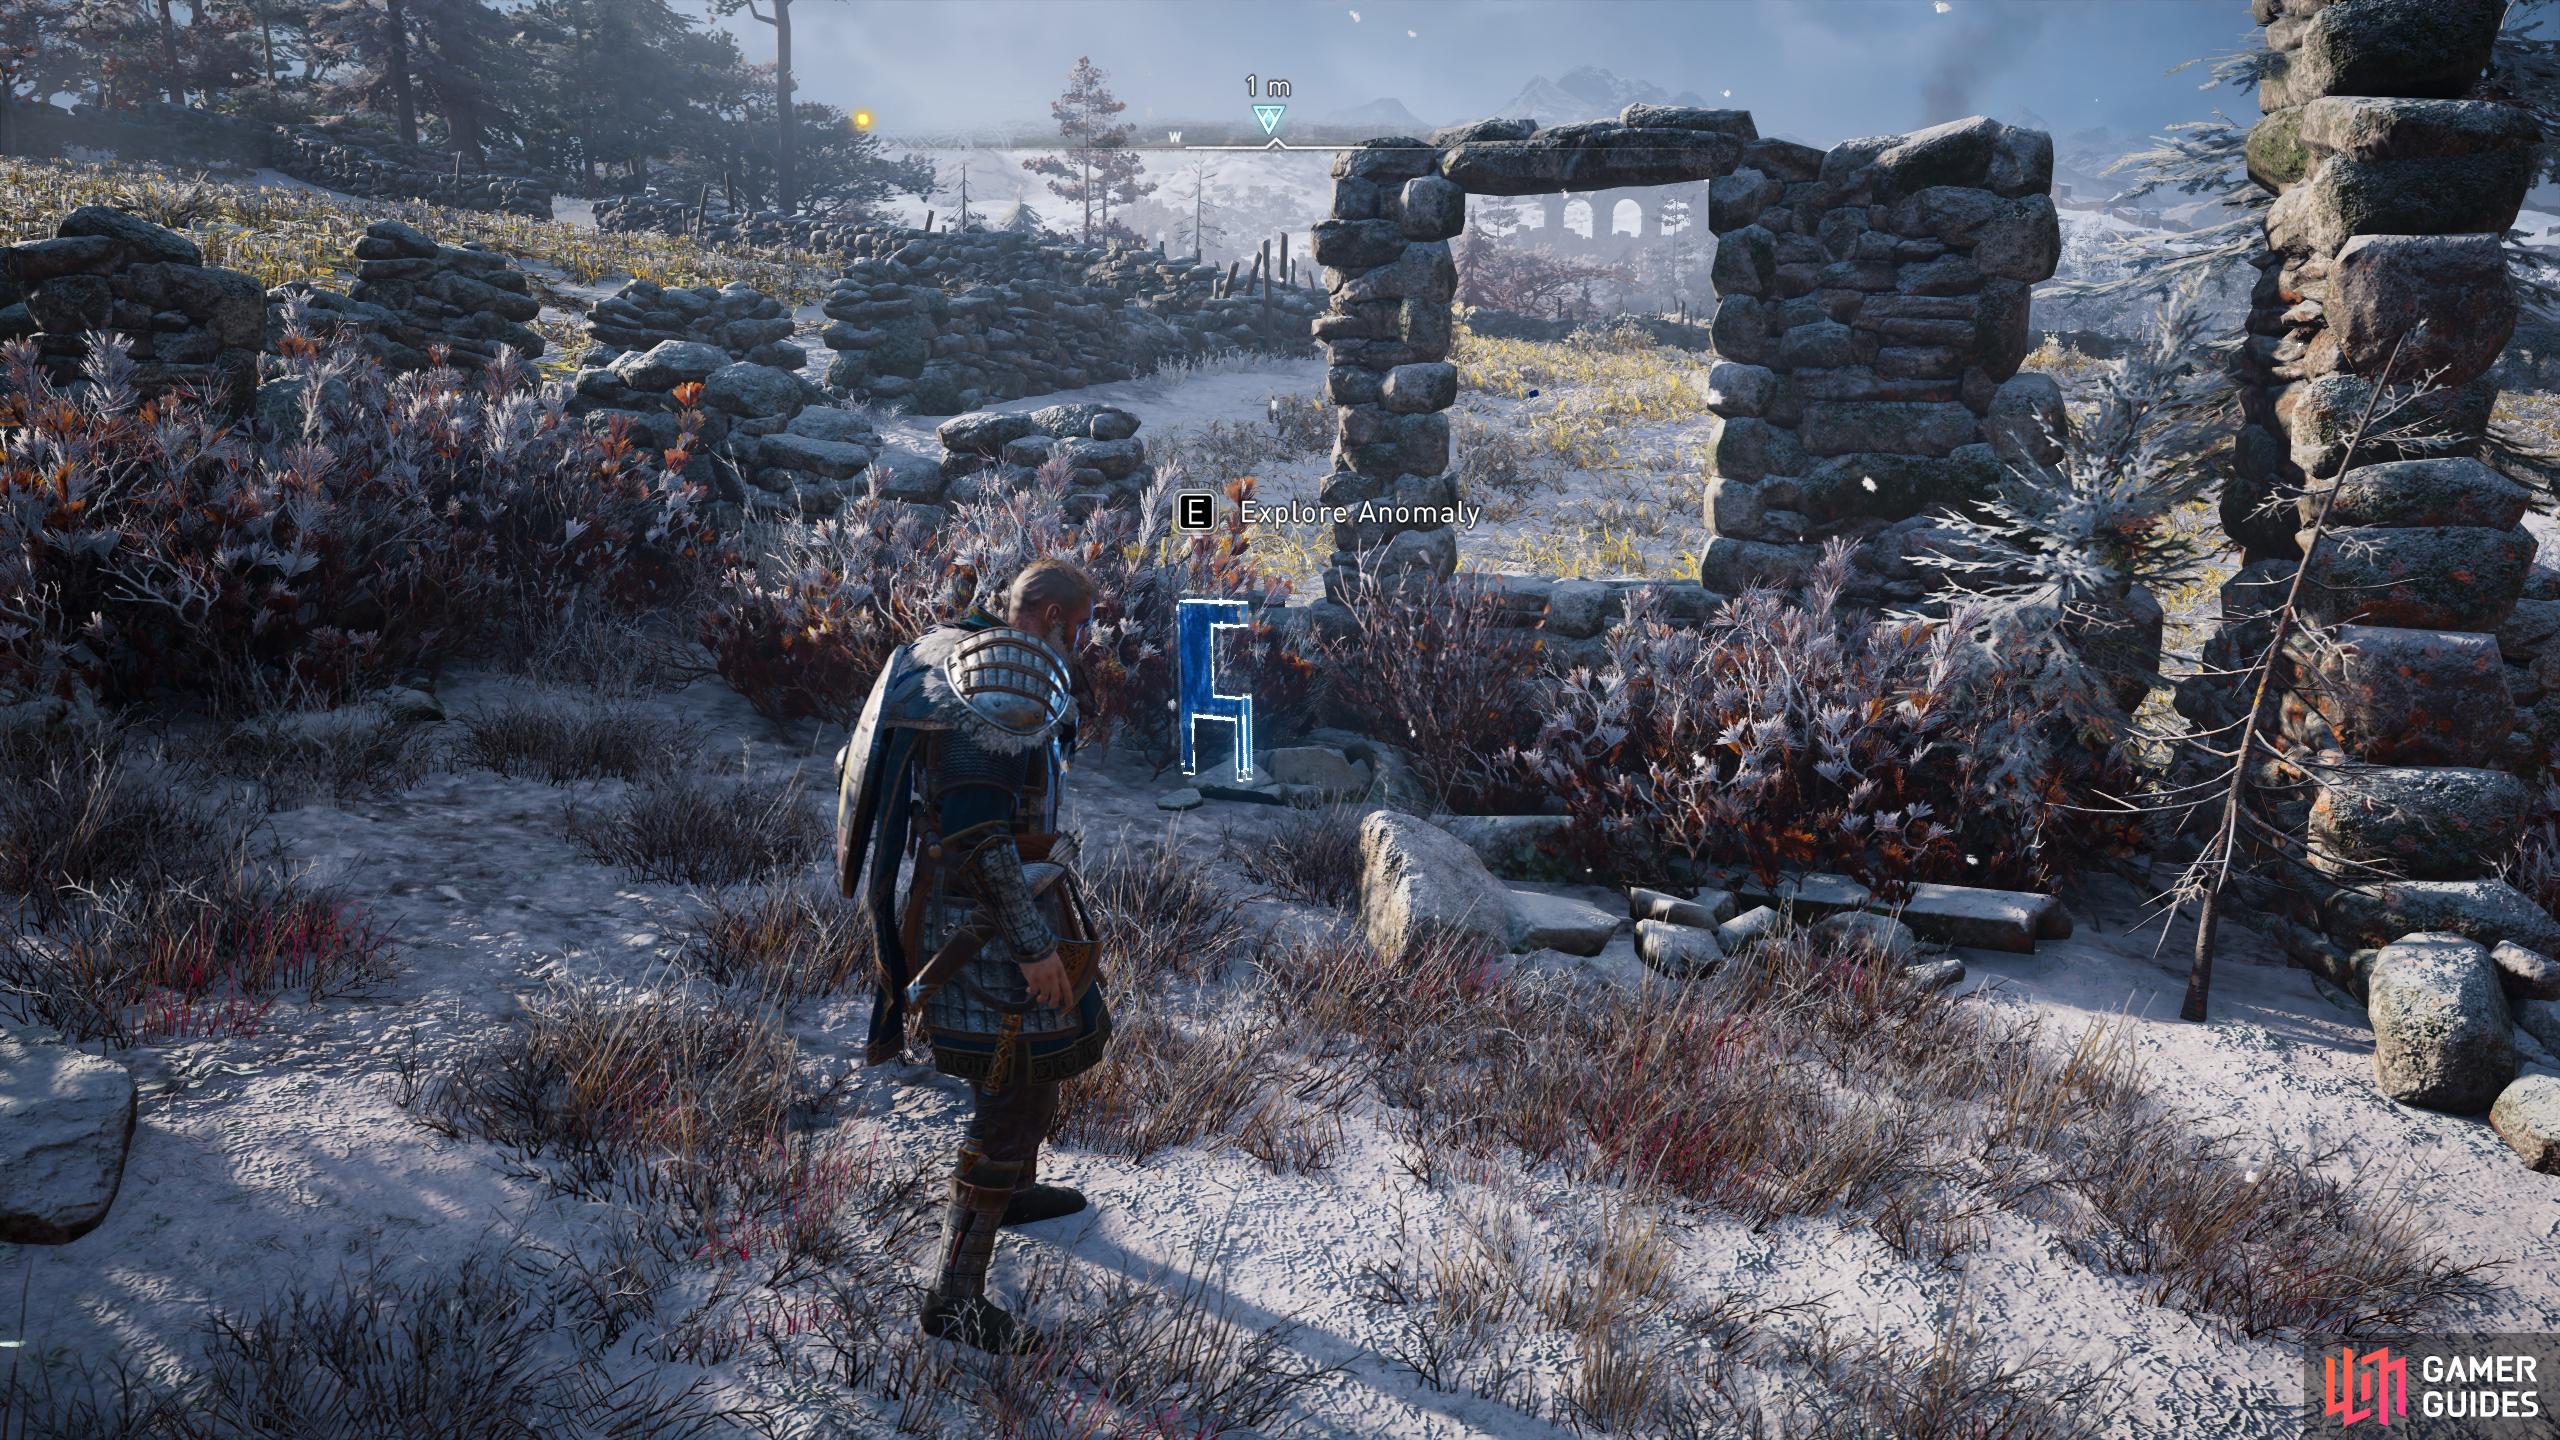
Interact with the anomaly to begin the mystery.
How to Complete the Thornburg Henges Anomaly
Light the Prism On the Right Side and Rotate the Unstable Structures
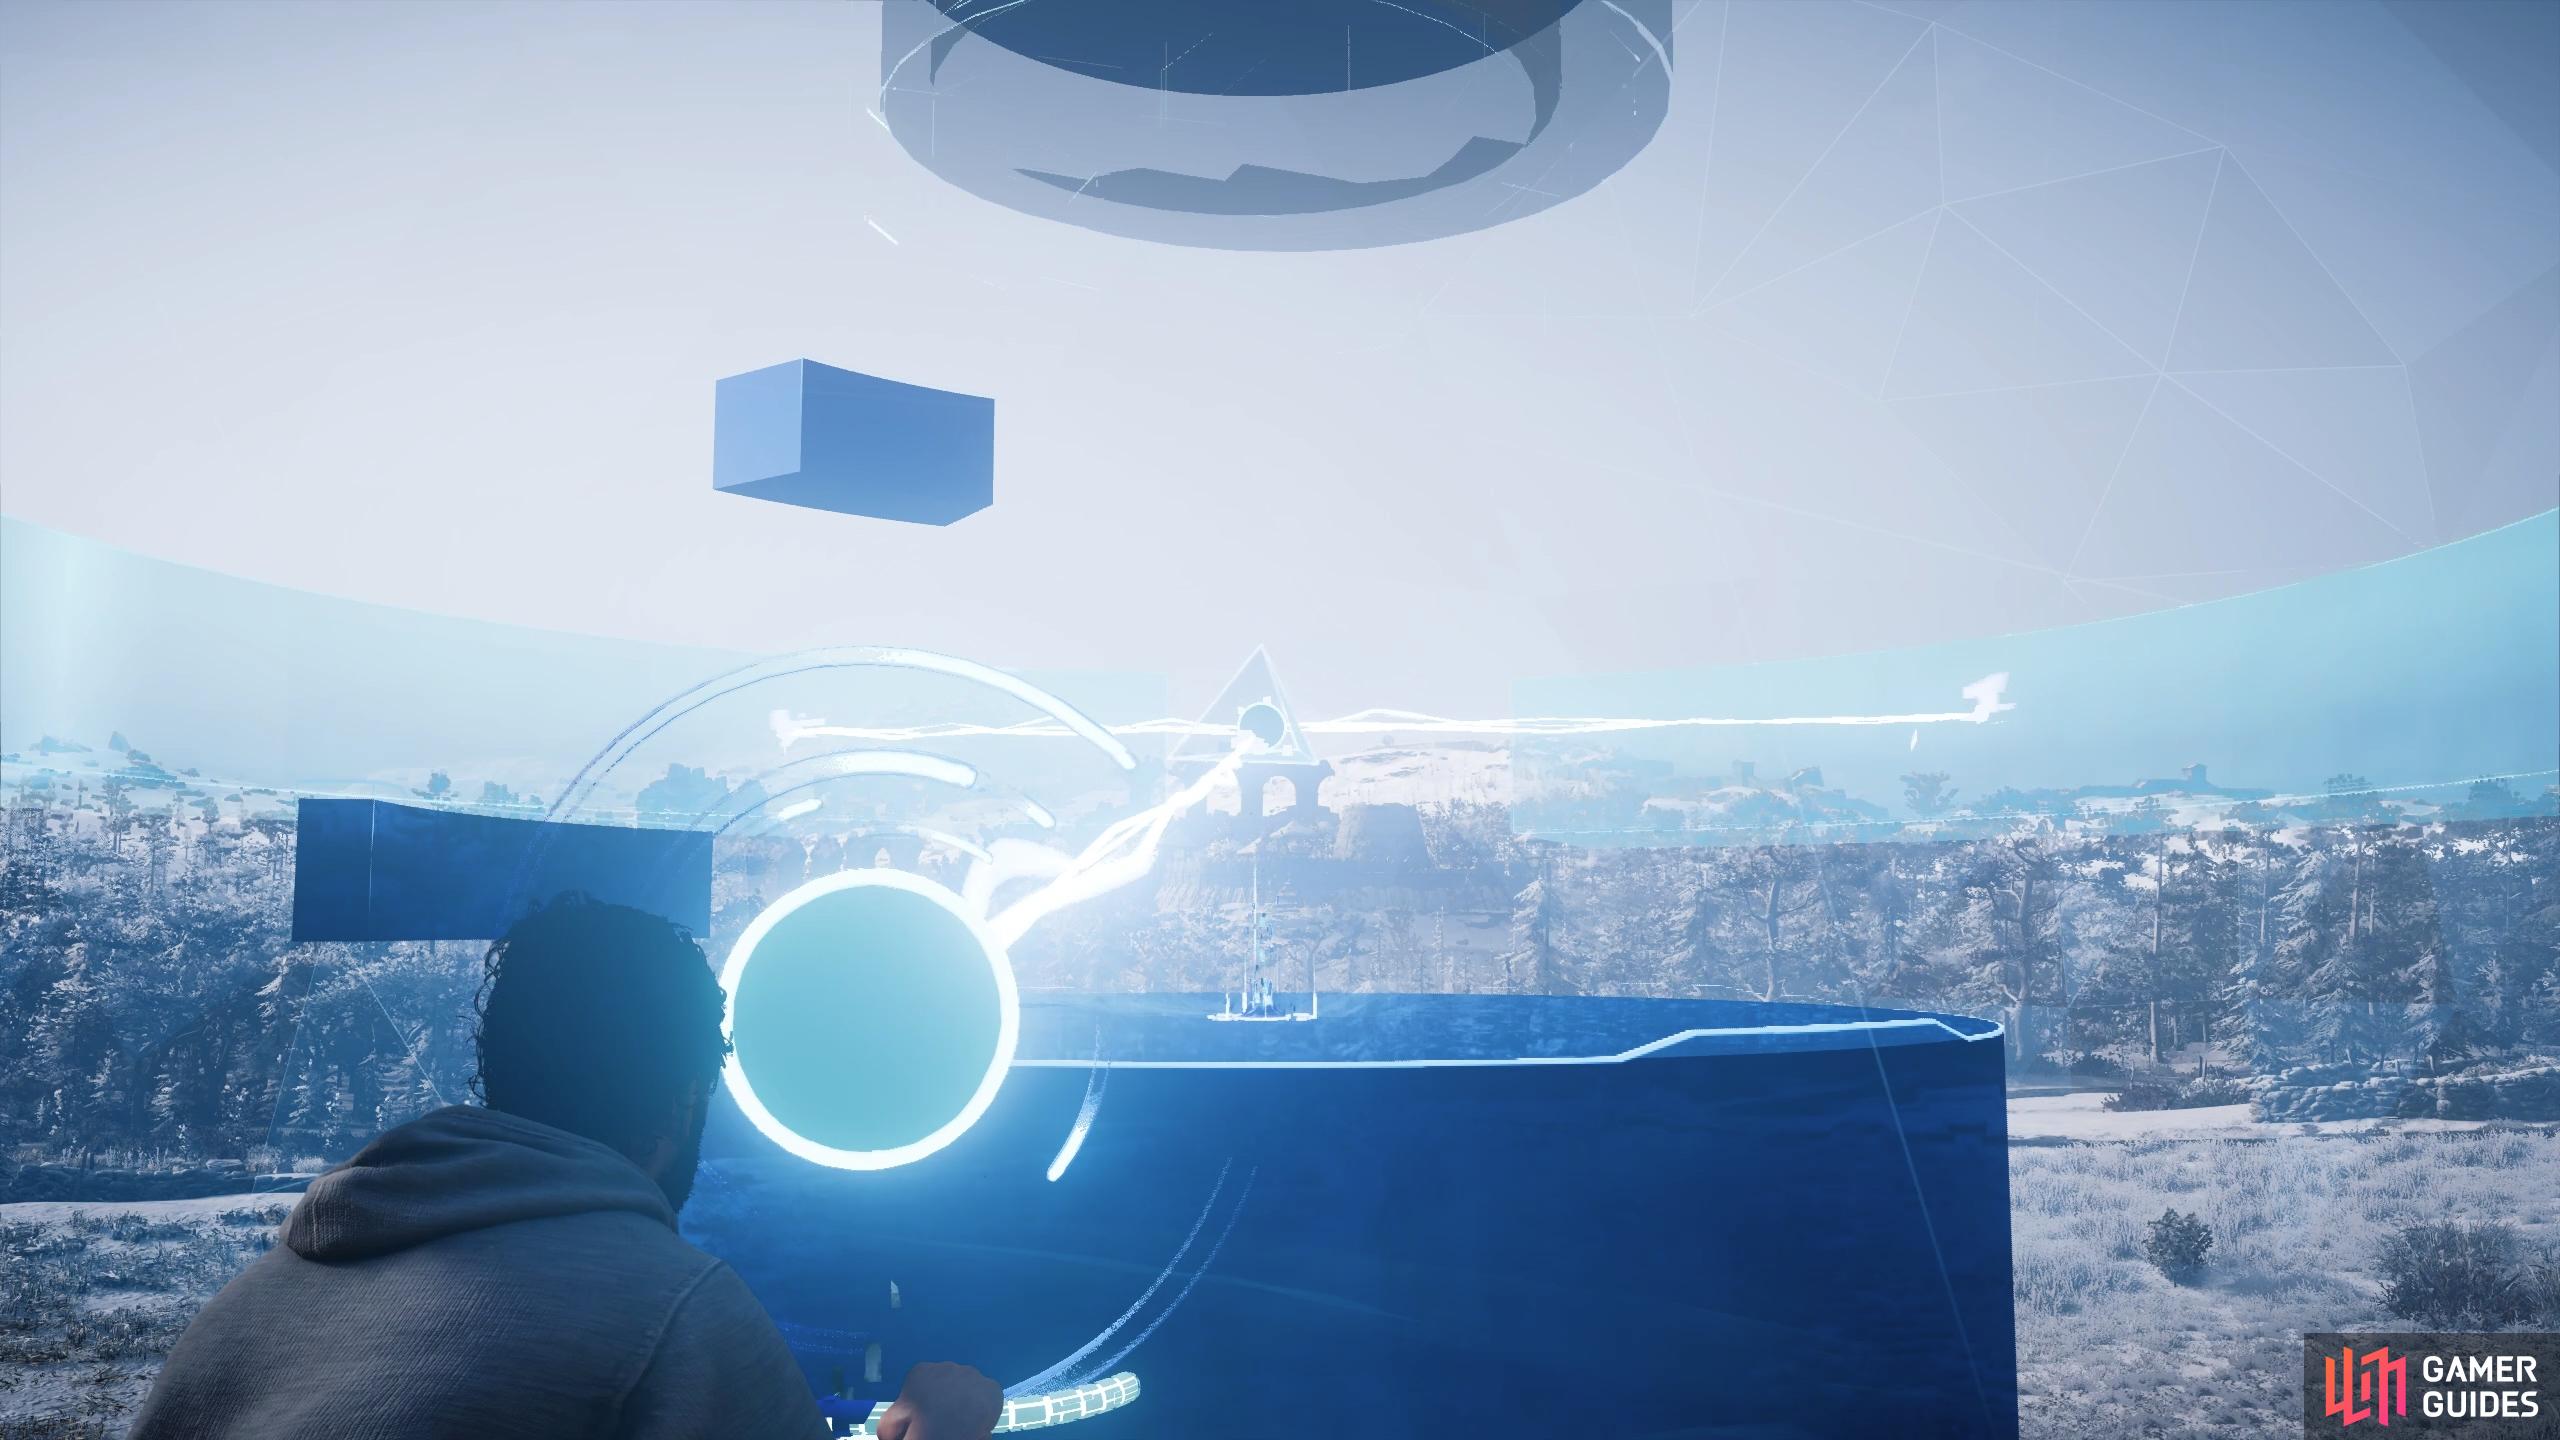
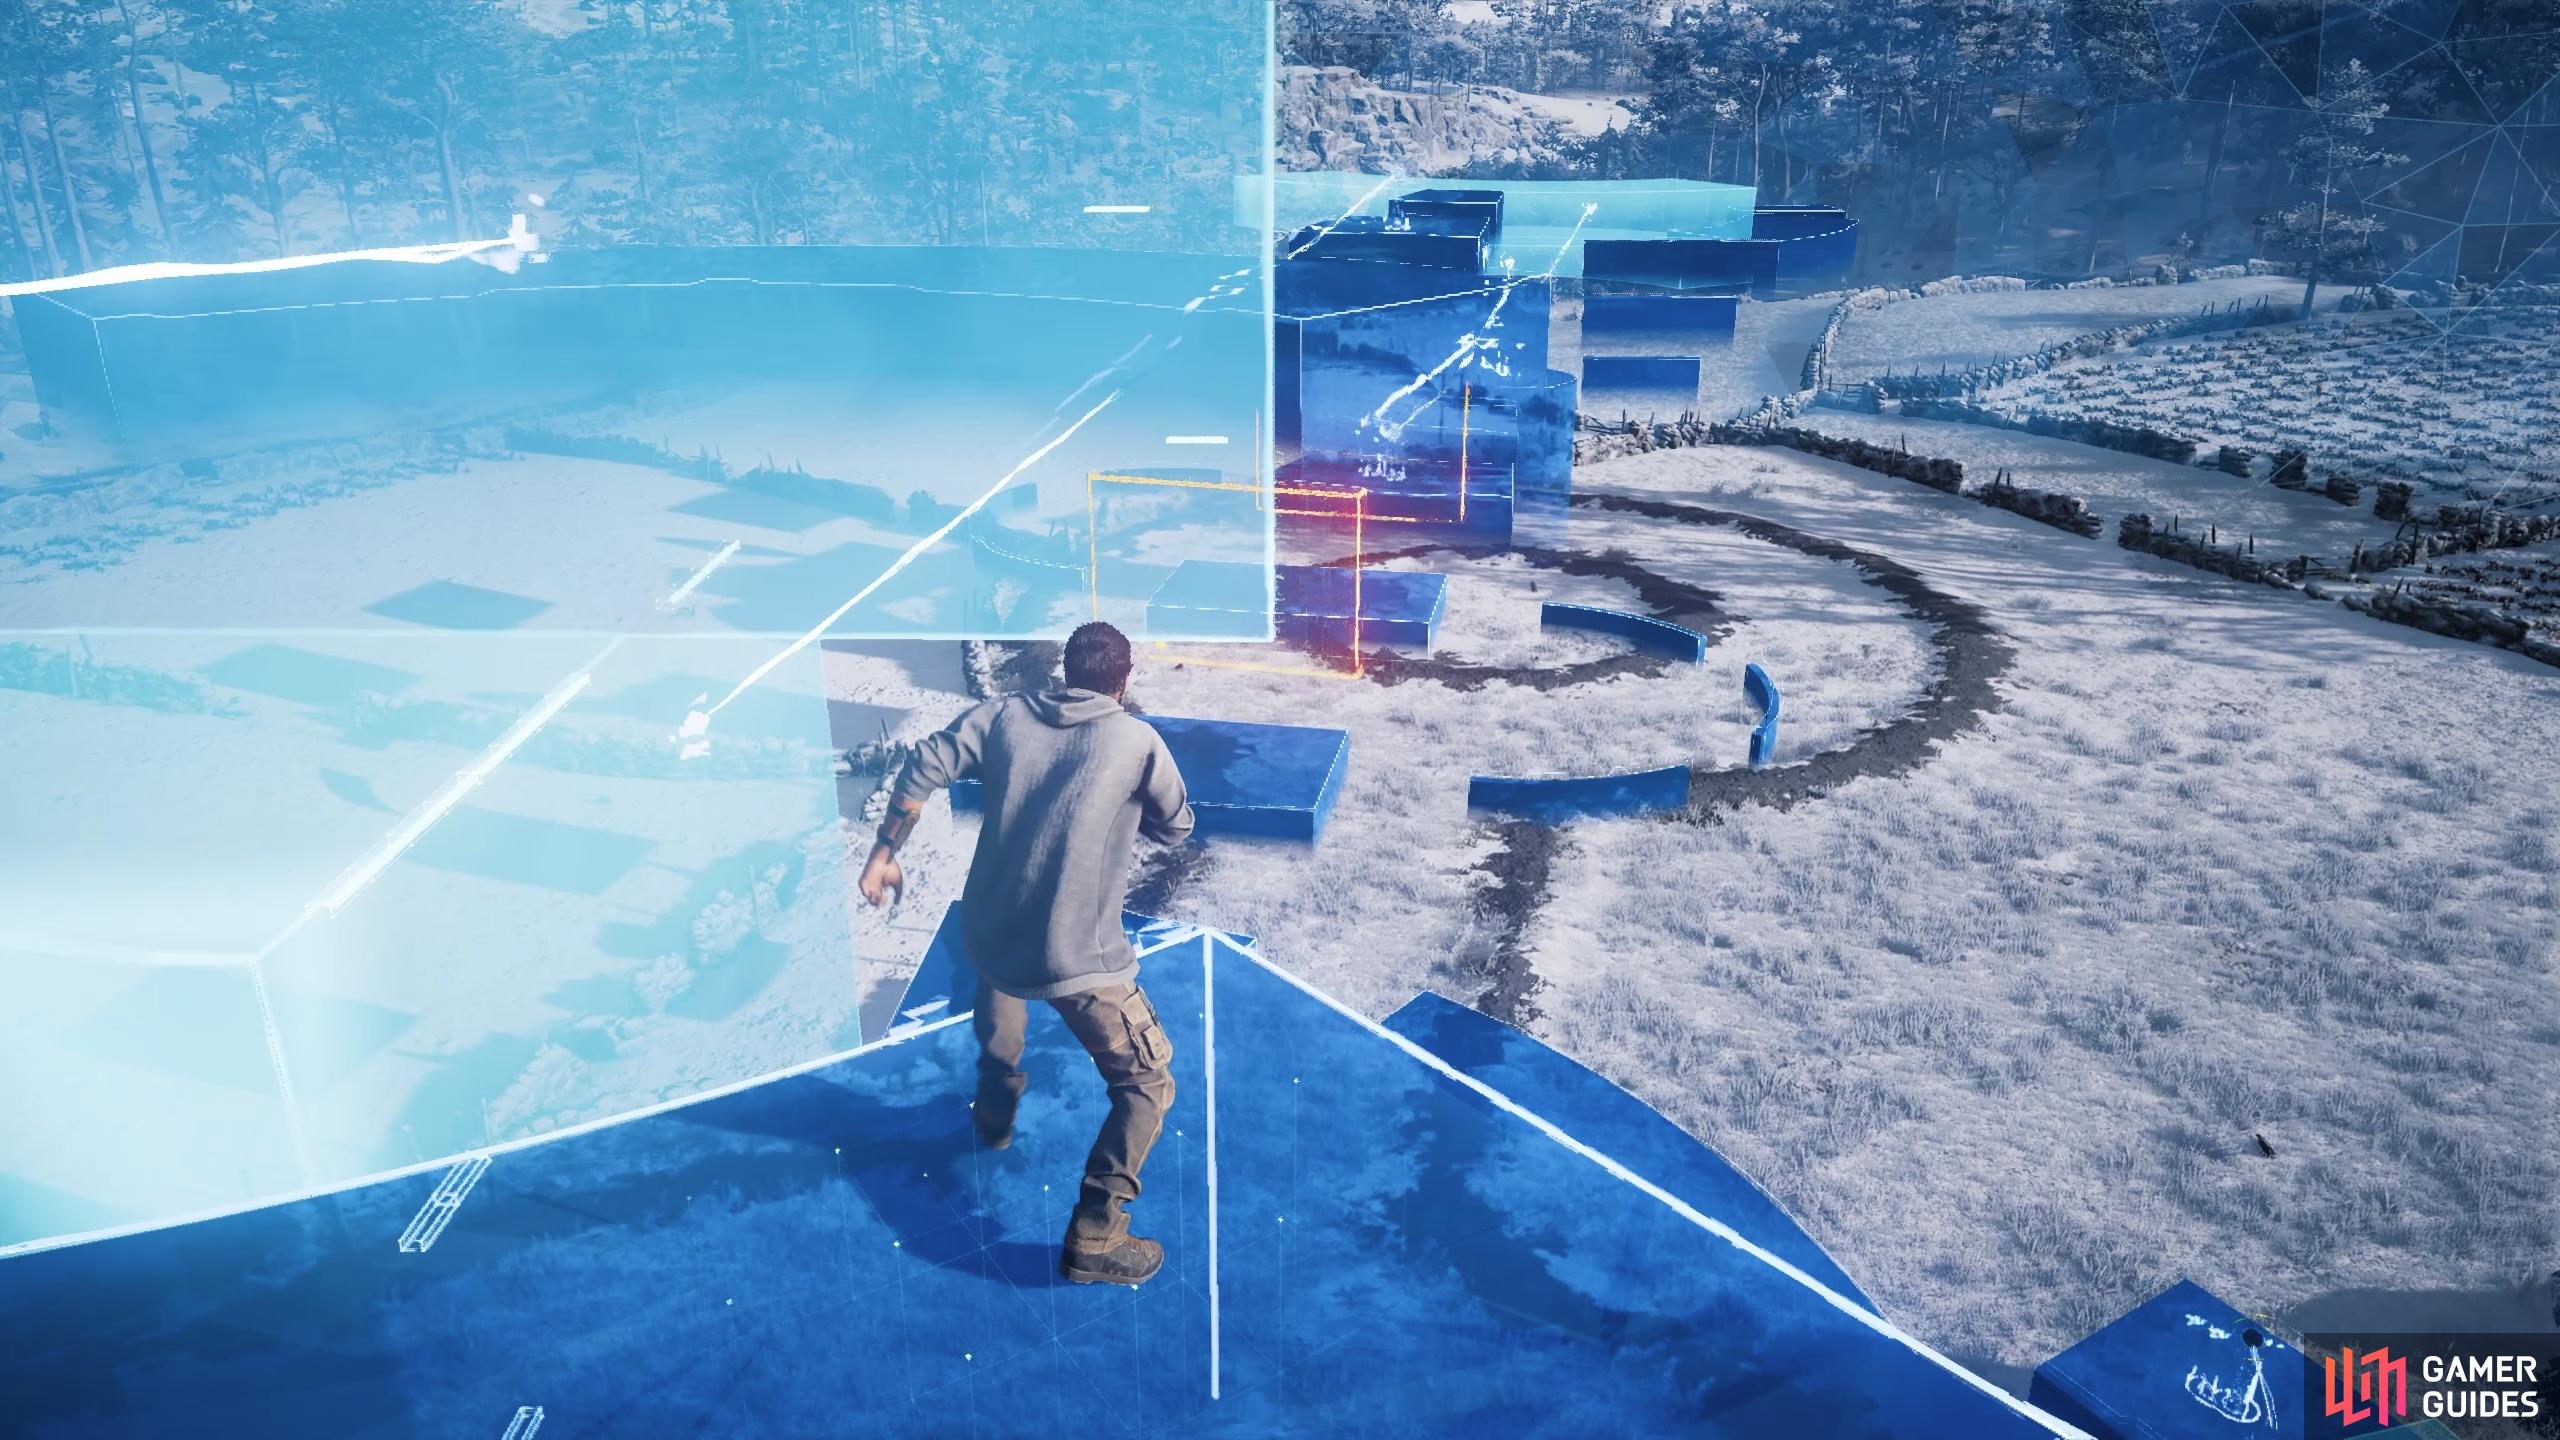
The first thing you should do when you begin the anomaly is use the first projector on the right and aim it at the unstable structure to its left. This, along with the projector to its left, will make the unstable structure permanently stable. You can now climb it and continue to the semicircular structure above. Turn right from here and hop along the moving structures onto the thinner structures, while avoiding the moving red hazards. When you’re at the other end, aim the projector at the prism to reflect a beam at the two unstable structures above.
Once you’ve got the prism reflecting light at the two unstable structures, go to the prism and turn the projection to allow the unstable structures to move slightly. Keep doing this until the unstable structures form a structure which is similar to a set of steps, as shown in the screenshot below. You can now jump up to the highest unstable structure, and on to the projector which is projecting a beam downward onto the red hazard. Adjust this beam so it projects at the unstable structure directly in front of you, but wait for it to be in the position shown in the below screenshot.
Navigate the Moving Red Hazards
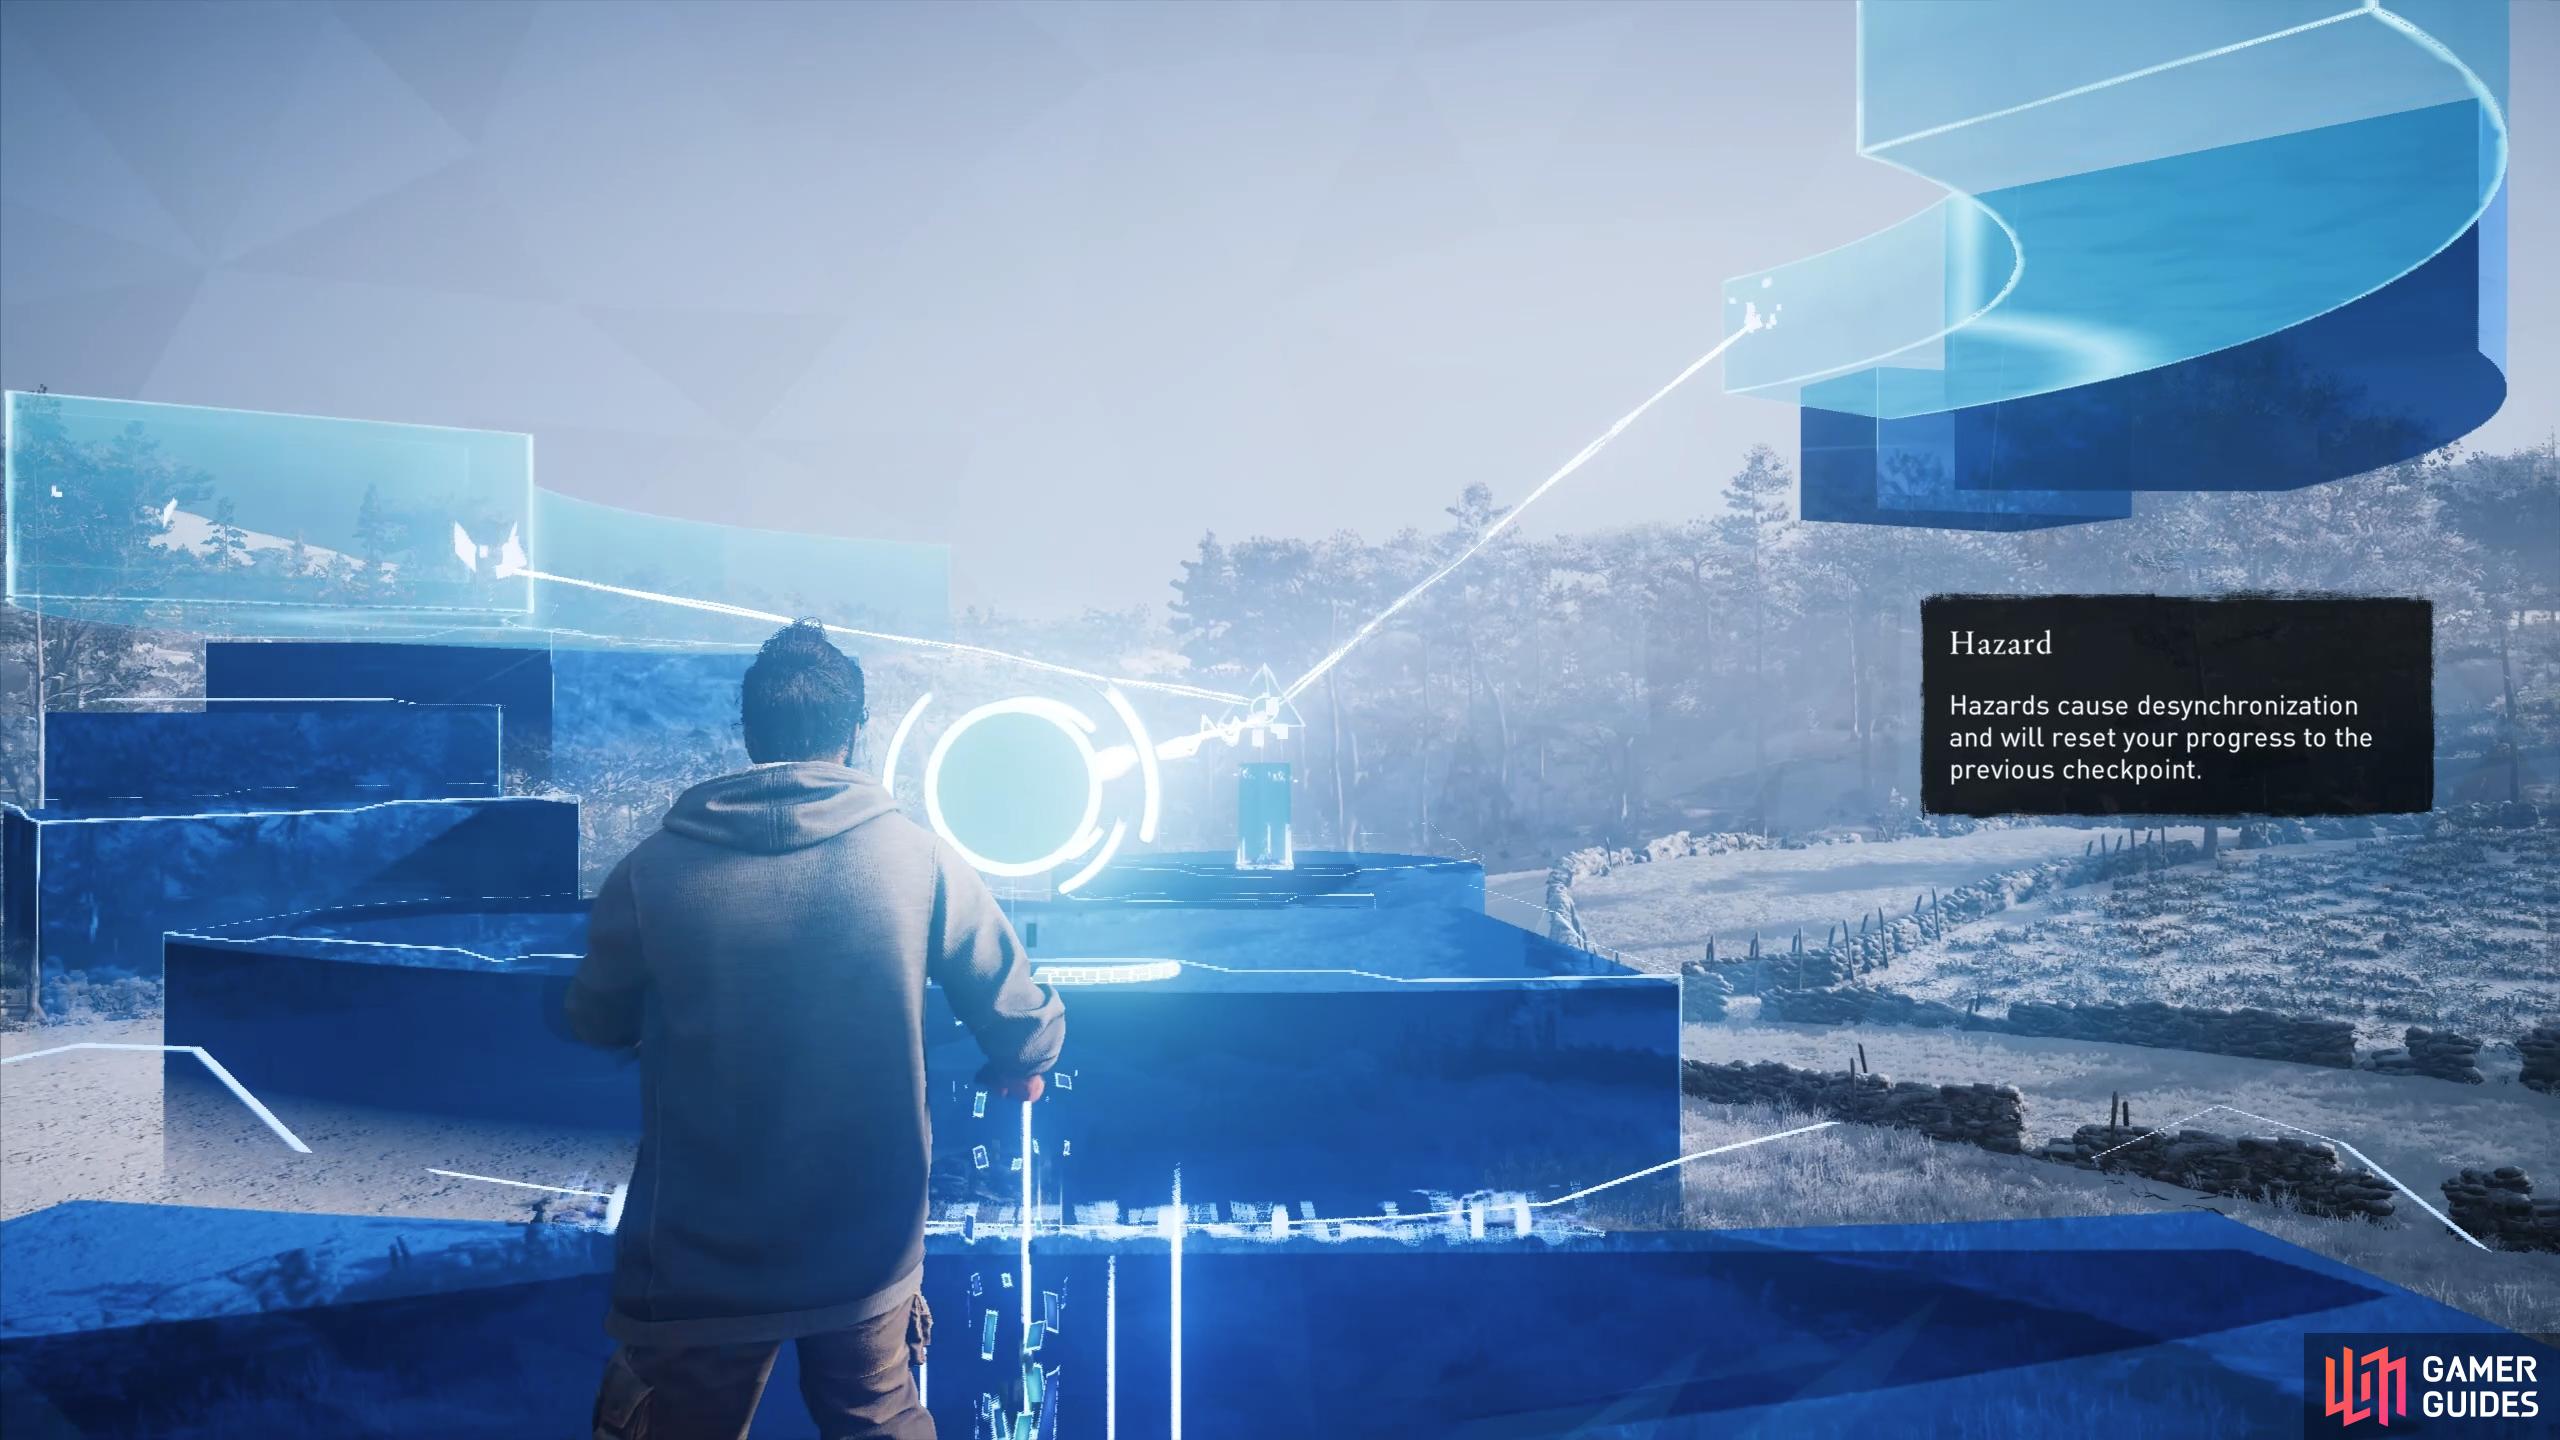
You can now jump down and hop back along the stable structures to the other side, where you’ll encounter some moving red hazards. These can be difficult to navigate across, but the trick is to get as close to the red line as possible (where the red hazard rotates), and move along the stable meandering structure as soon as the red hazard passes by. You’ll have a narrow window of time to get beyond the hazard before it rotates back around, but if you leave just as the red hazard passes and you’re as close to the red line as possible, you’ll make it without any issue. The second red hazard will be much easier, since you just need to follow it along.
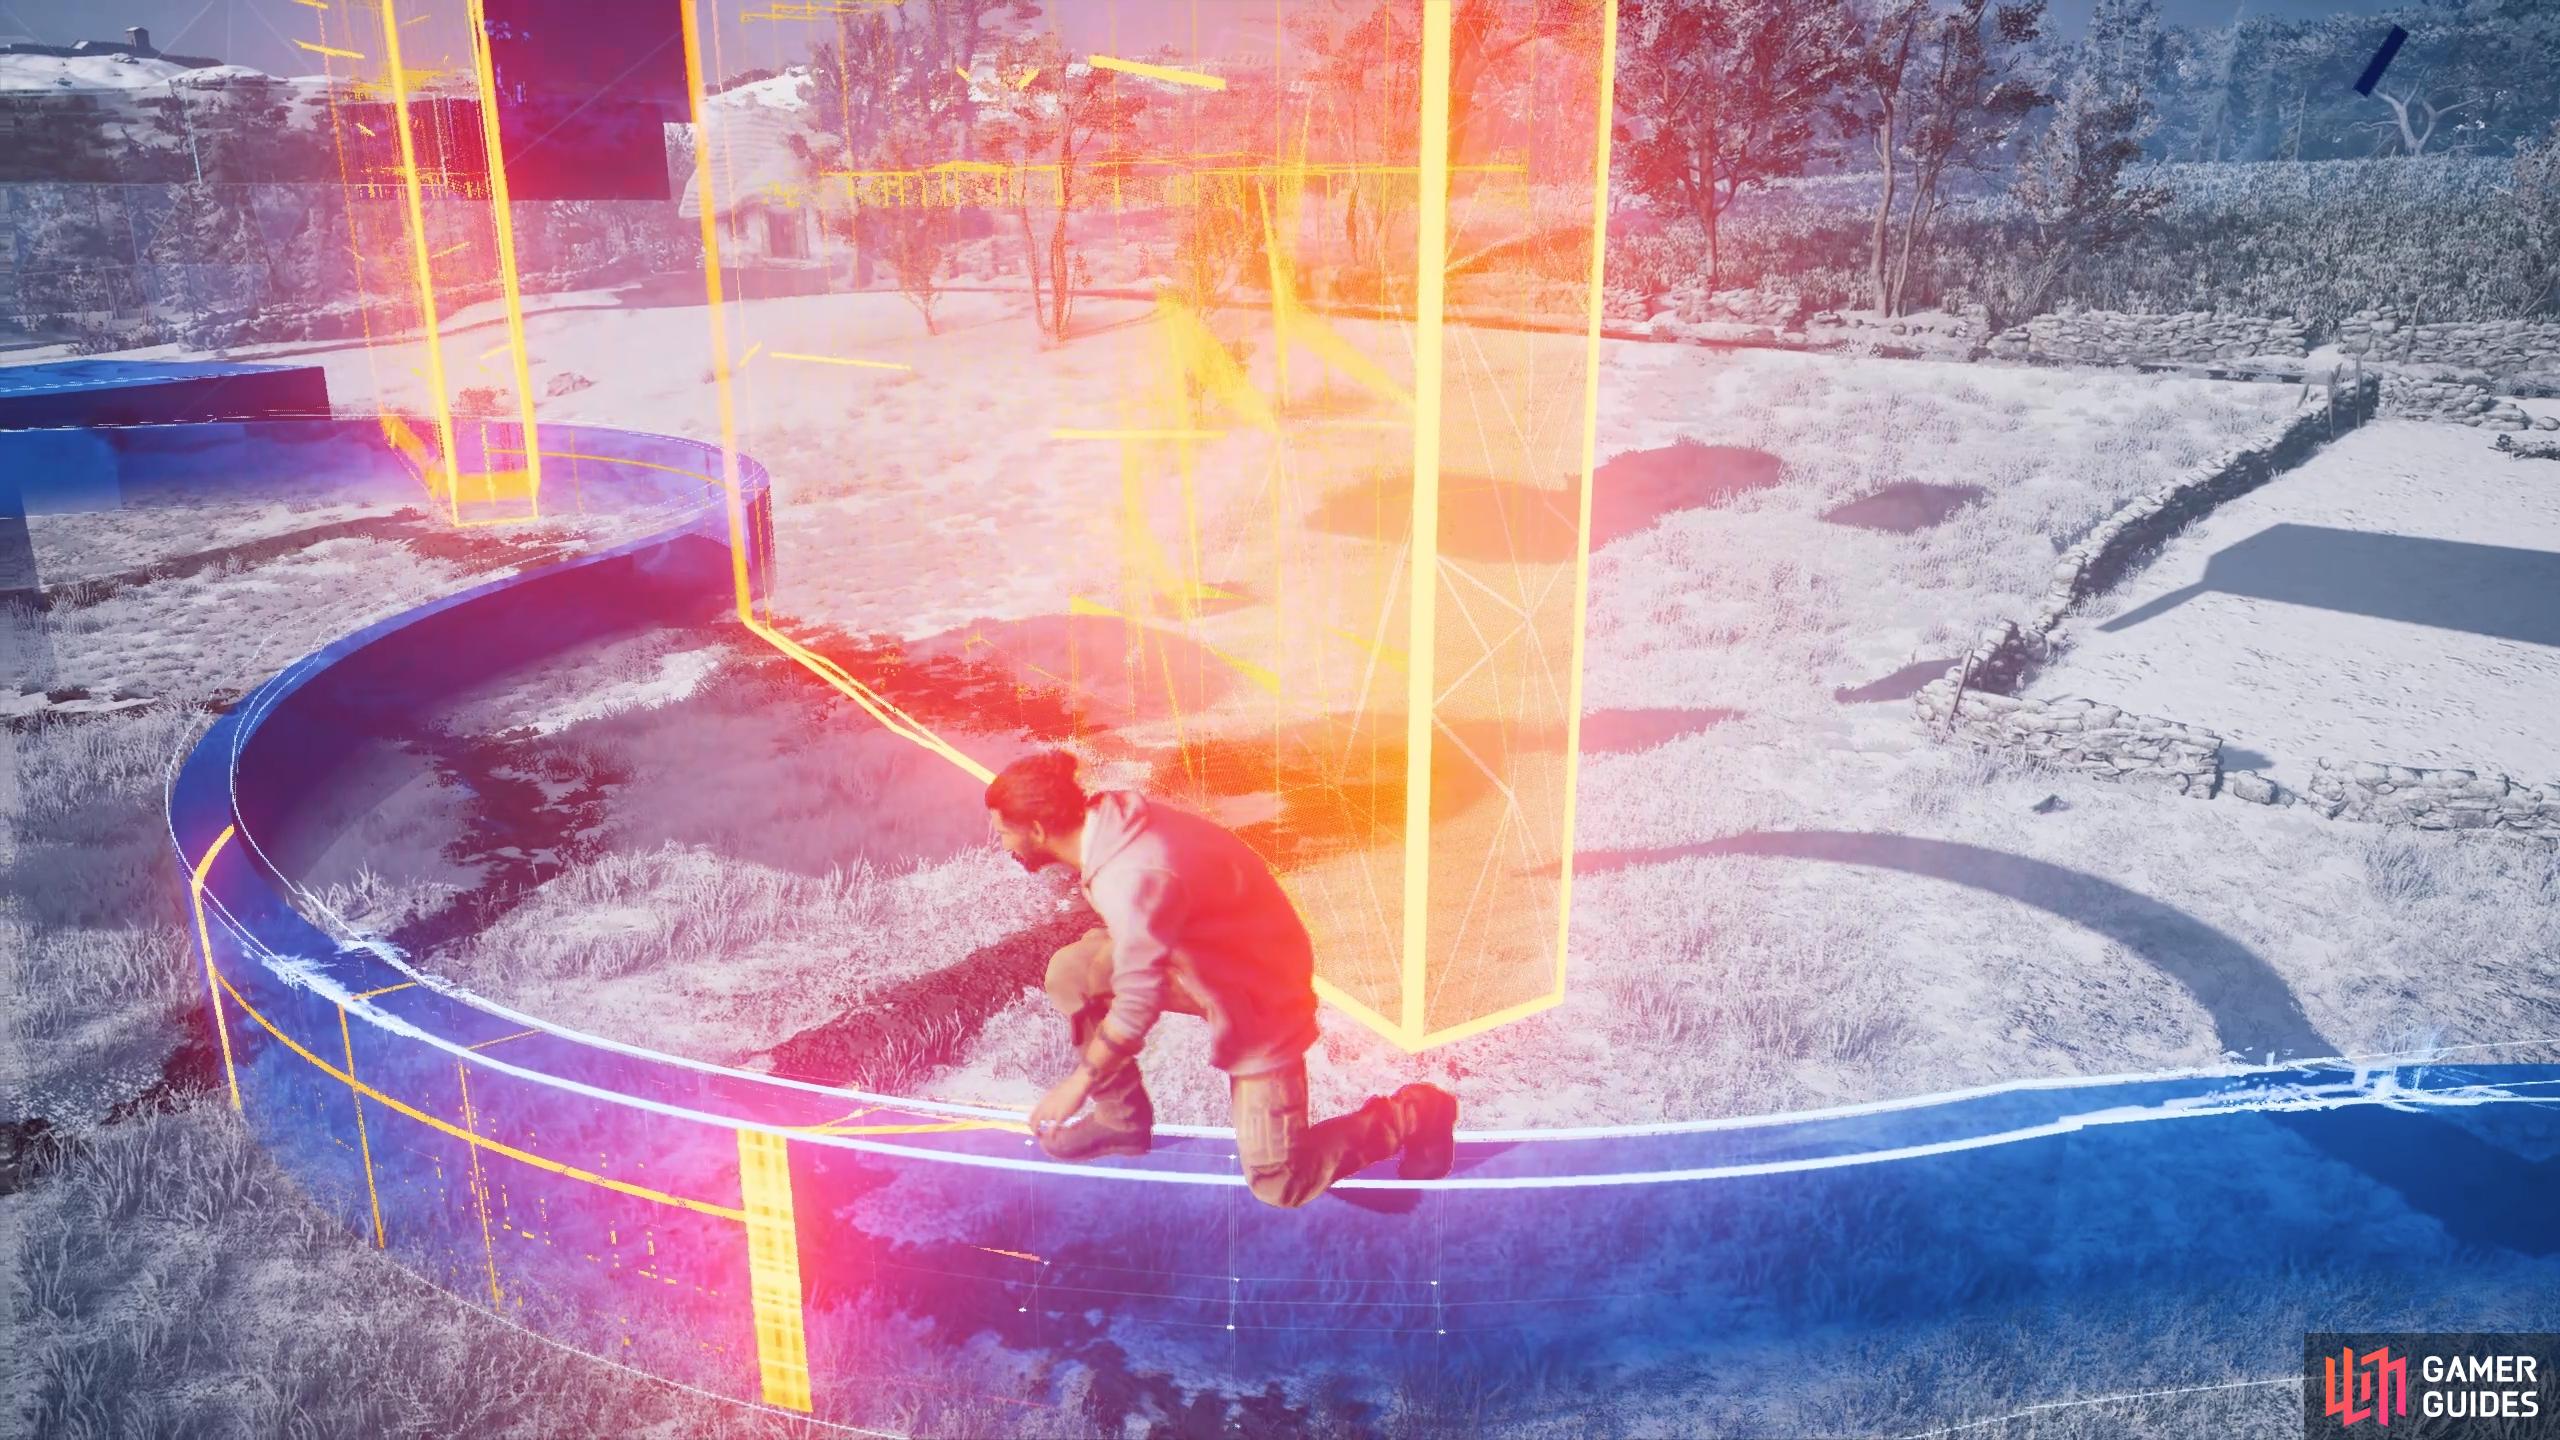
Wait at the edge of the red line for the rotating red hazard to pass by.
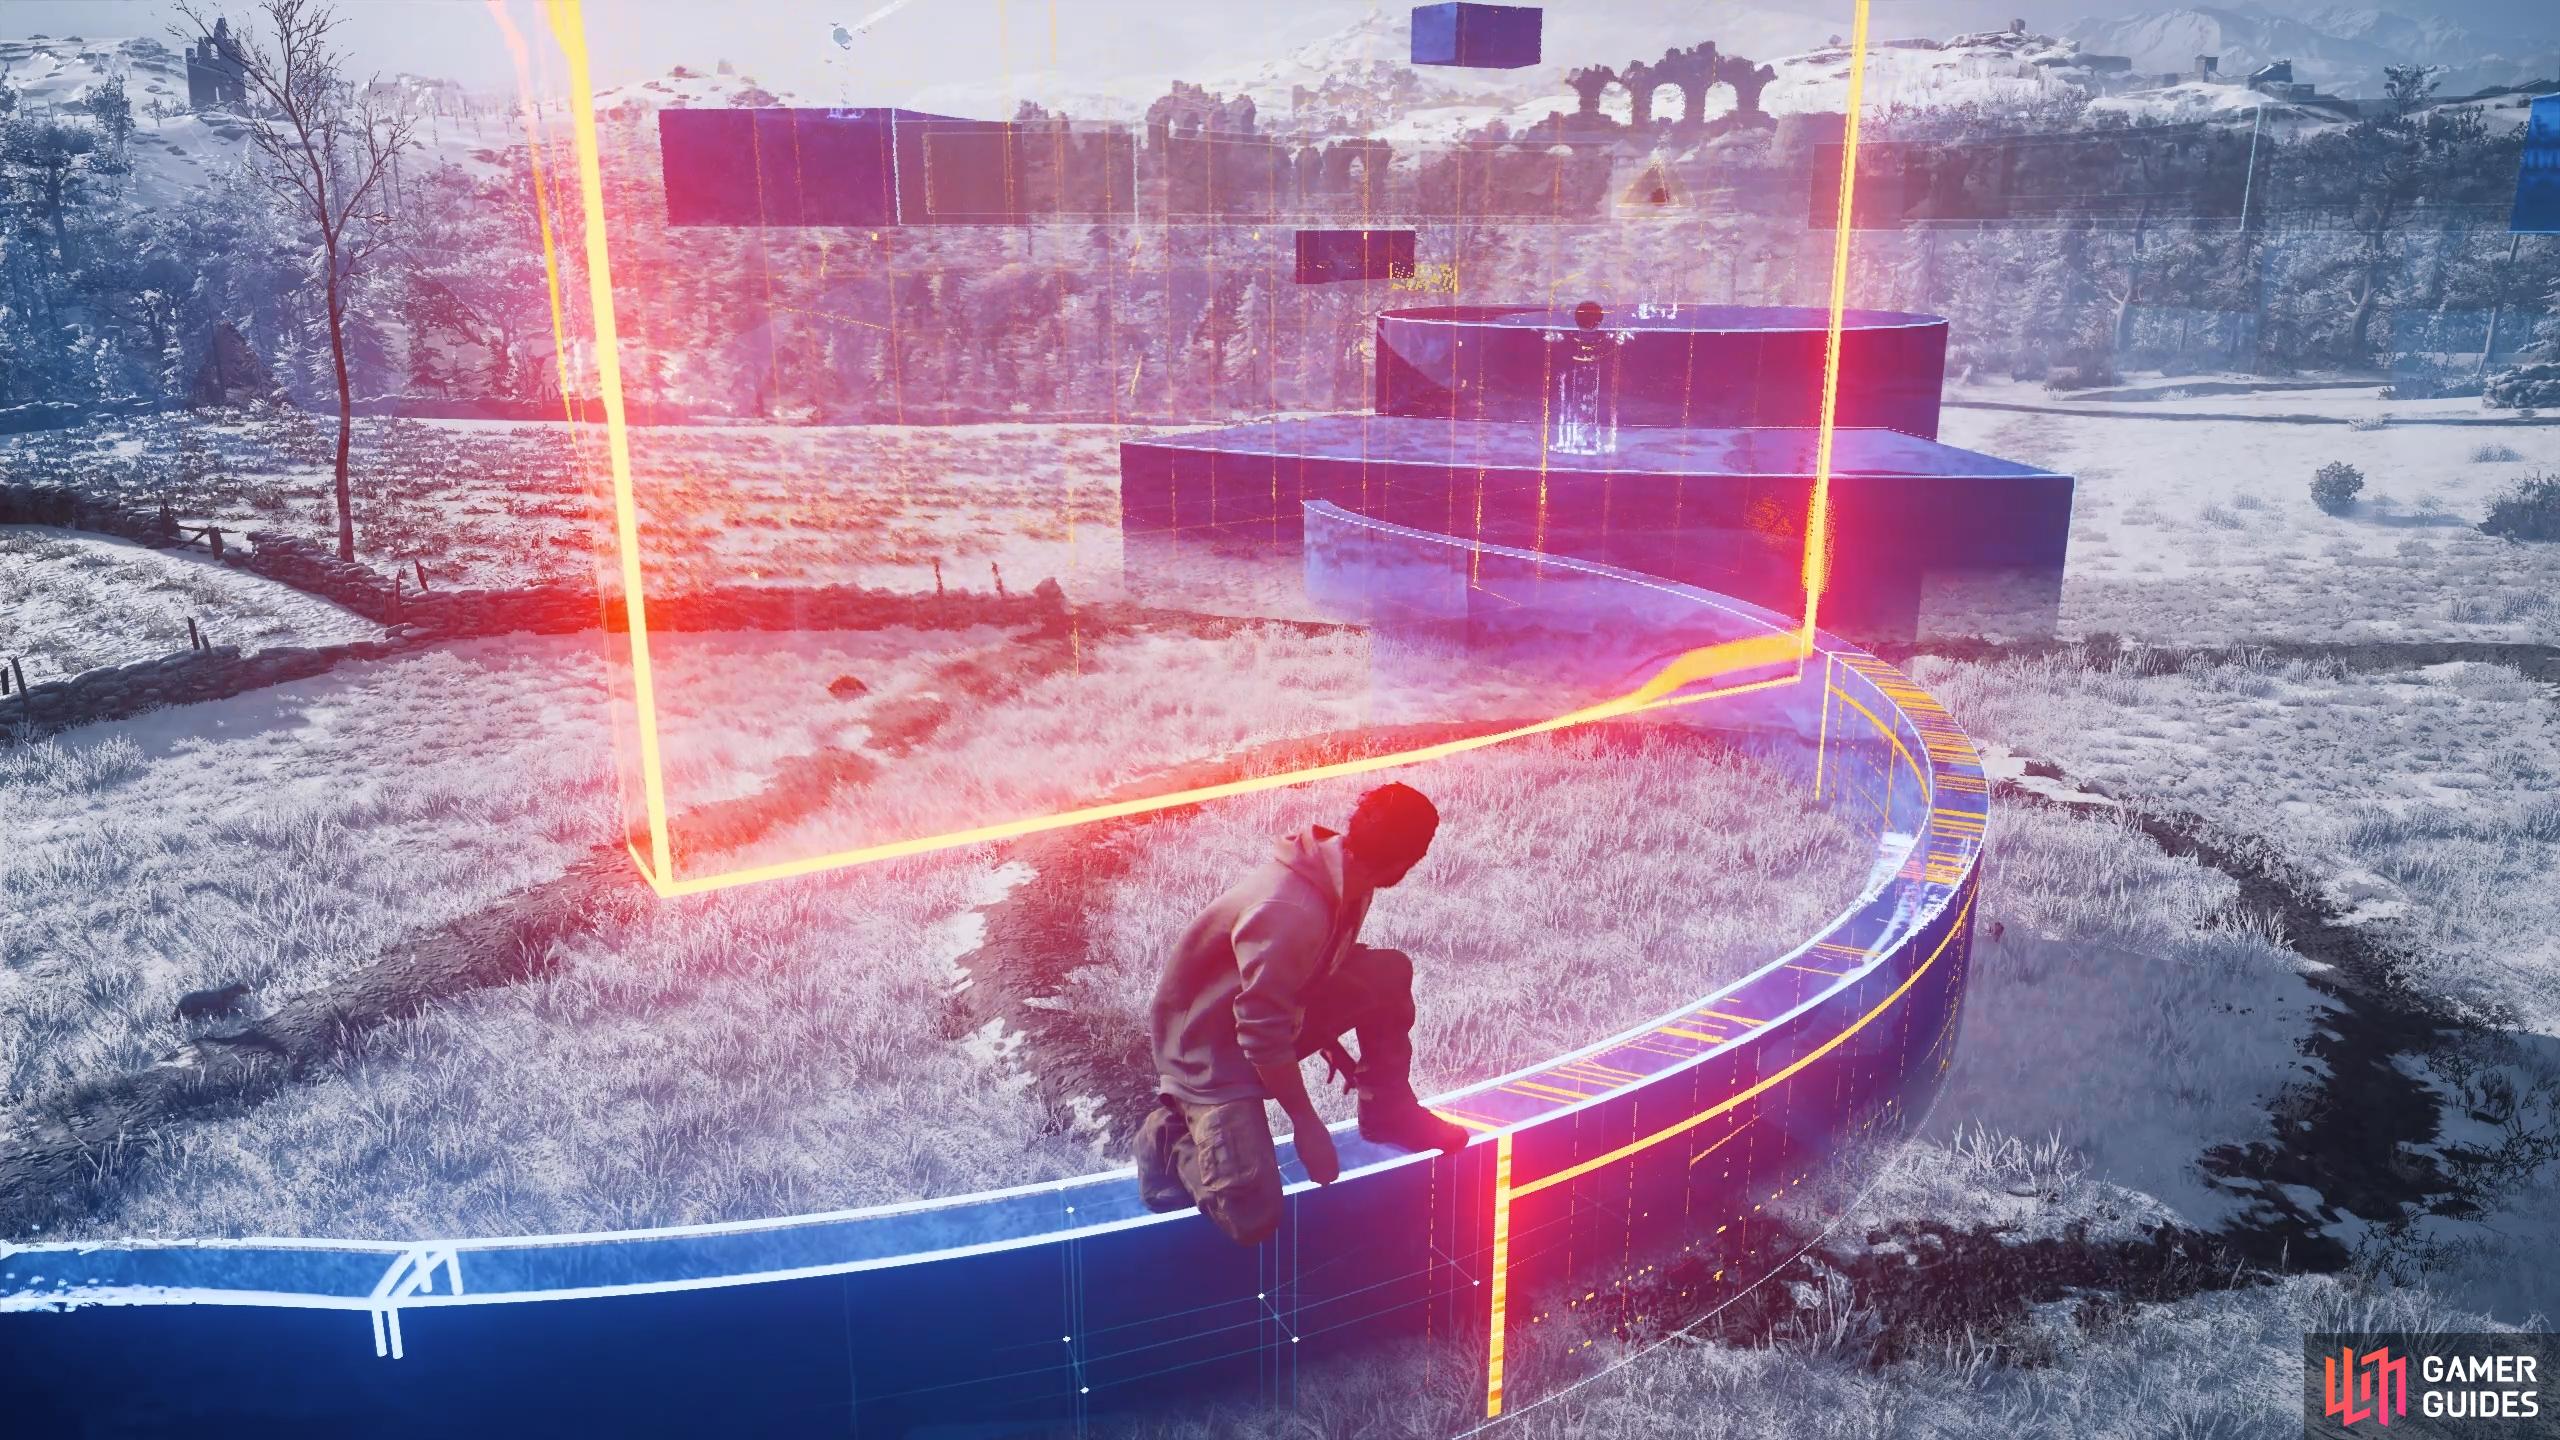
You can follow the second red hazard as it rotates around.
Stabilize the Unstable Circular Structures
When you reach the other side of the rotating red hazards, you’ll encounter an intermittent projector. Aim this at the prism directly in front of it, then jump up the unstable structure on the left side. Aim the projector next to it at the unstable structure opposite, then run along it to the projector on the other side. You can now aim this at the highest unstable circular structure above you. Next, go back to the other side and project the beam at the unstable structure directly in front of you, then go back to the first intermittent projector on this side and project the beam at the lowest unstable circular structure.
Climb the Circular Structures and Stabilize the Large Unstable Structures
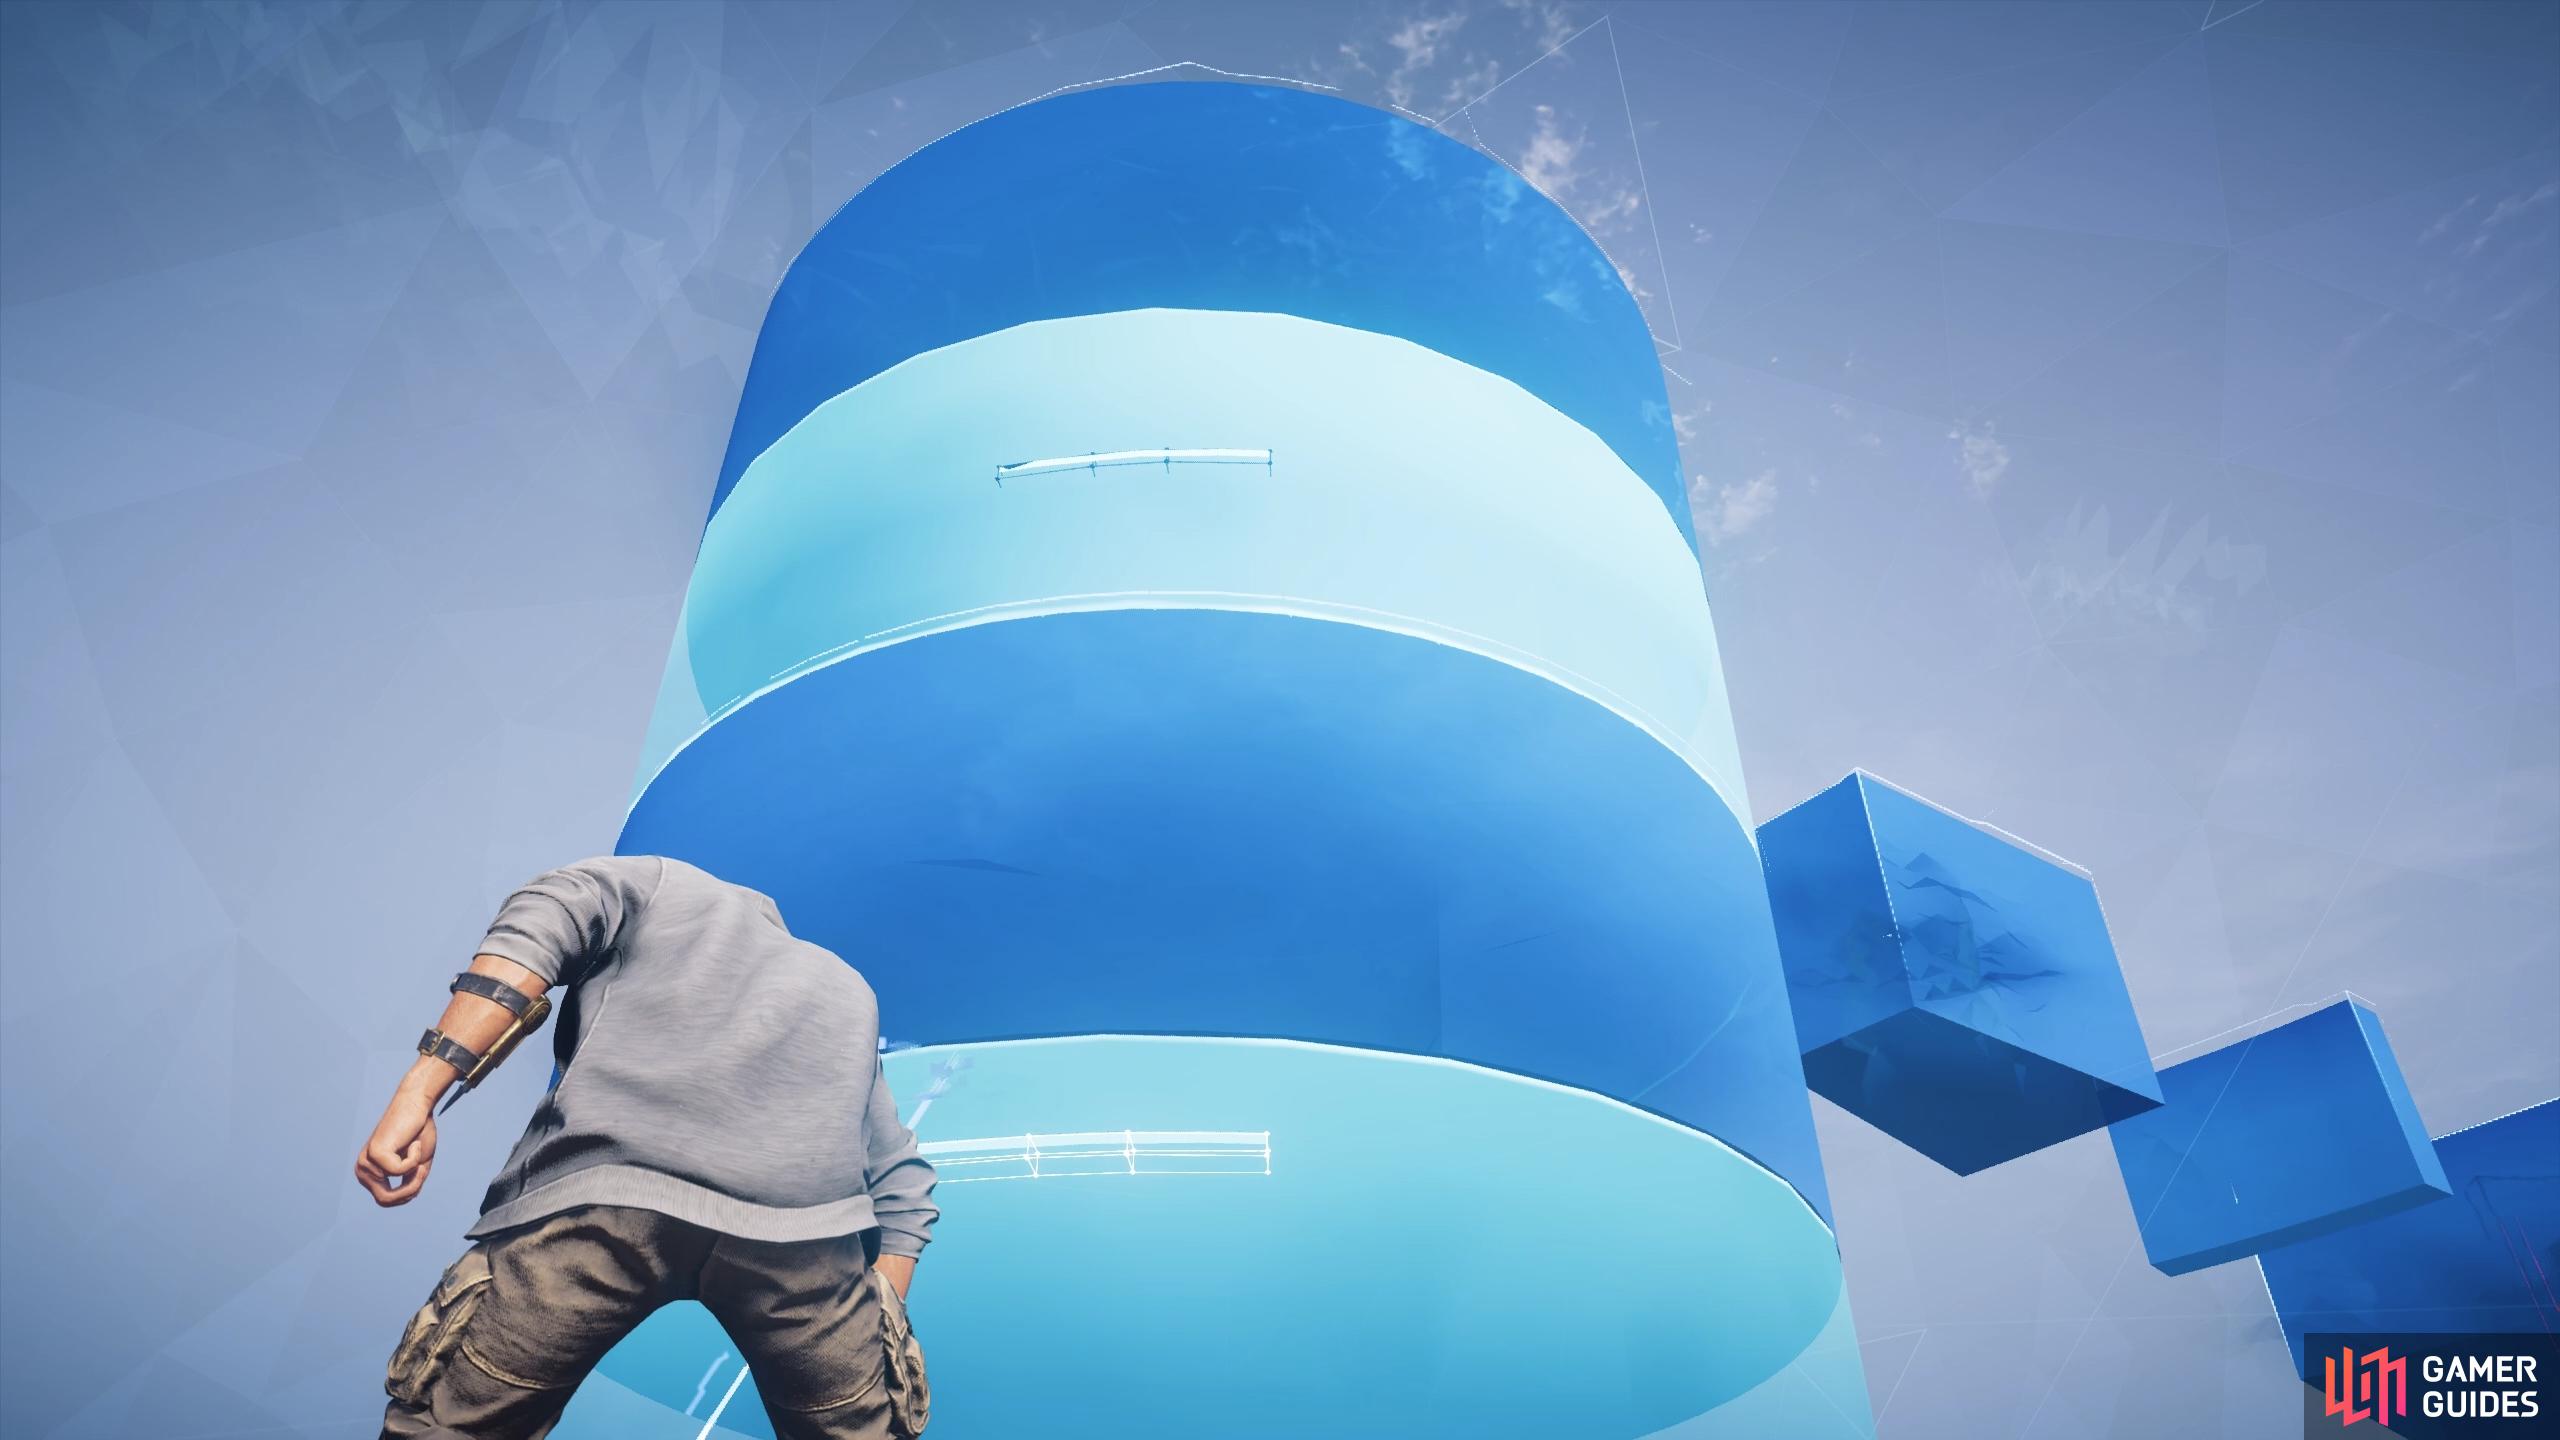
Now that you’ve got intermittent projectors momentarily stabilizing the circular structures, you can jump back up on the left side and use the hand holds to climb the circular structures. You’ll need to wait for the unstable structure directly in front of you to become stable, then run along it and jump to the isolated stable structure which serves as a ledge to the circular structures. Once you’re on the ledge, wait for the lowest circular structure to become stable, then immediately begin the climb.
Once you’re at the top of the circular structure, hop along the structures to the projector on this level, facing toward the other side of the anomaly. Aim this at the large unstable structure directly in front of it, then climb back down to the projector on the right (facing toward the other side of the anomaly) and aim this at the unstable structure beneath the large one that you just stabilized, as shown in the screenshot below. You can now jump down toward the prism (over the unstable structure), and go back to the other side of the anomaly, being careful to avoid the rotating red hazards.
(1 of 3) Once the beams are in place, climb the circular structure just as the lowest one becomes stable.
Climb the Large Unstable Structure and Navigate the Moving Red Hazards
Once you’re at the foot of the large unstable structure that you just stabilized, use the hand holds to climb it. As you do, the unknown voices will begin a dialogue. You won’t be able to jump to the second set of hand holds from the top of the first part of the unstable structure, so instead climb atop the moving stable structure and wait for it to pass near to the second set of hand holds. You can then jump to them and finish the ascent. At the top, turn left and jump up the ledge to the moving stable structures. Jump on to one and let it move you around the red hazards, keeping to the left side for the first one, and the right side for the second. You’ll need to crouch under the third red hazard.
Once you’re beyond the first set of red hazards in this final phase, you’ll need to navigate the red hazards in the form of moving red blocks. The trick here is to take your time, and try not to panic about the next set of moving red hazards hitting you. For the first set, you should jump on to the hand hold just as the two blocks pass by each other, then wait a moment for the next red blocks to pass. As they do, jump to the next hand hold and wait there while the next red blocks pass. Rinse and repeat for the highest hand hold. You may find this last phase a little tricky, and you may need a few attempts before you get it right, but each time you fail you’ll learn a bit more about how the blocks move. Be patient and take your time, and you’ll soon be at the top. Interact with the anomaly there to complete the mystery.
(1 of 5) Climb to the moving stable structure and wait for it to bring you close to the hand holds, then, jump to them.
No Comments