

This quest begins once you’ve completed both Firing the Arrow and Bleeding The Leech.
You should meet with Stowe and Erke at Saint Paul’s Cathedral, in the west of Lunden. As you approach the cathedral, you’ll notice residents of Lunden gathering outside, demanding justice for the death of Tryggr. They also suspect Stowe and Erke murdered The Arrow (Sister Frideswid) and The Leech (Avgos Spearhand), and they seem to know nothing about their true identity.
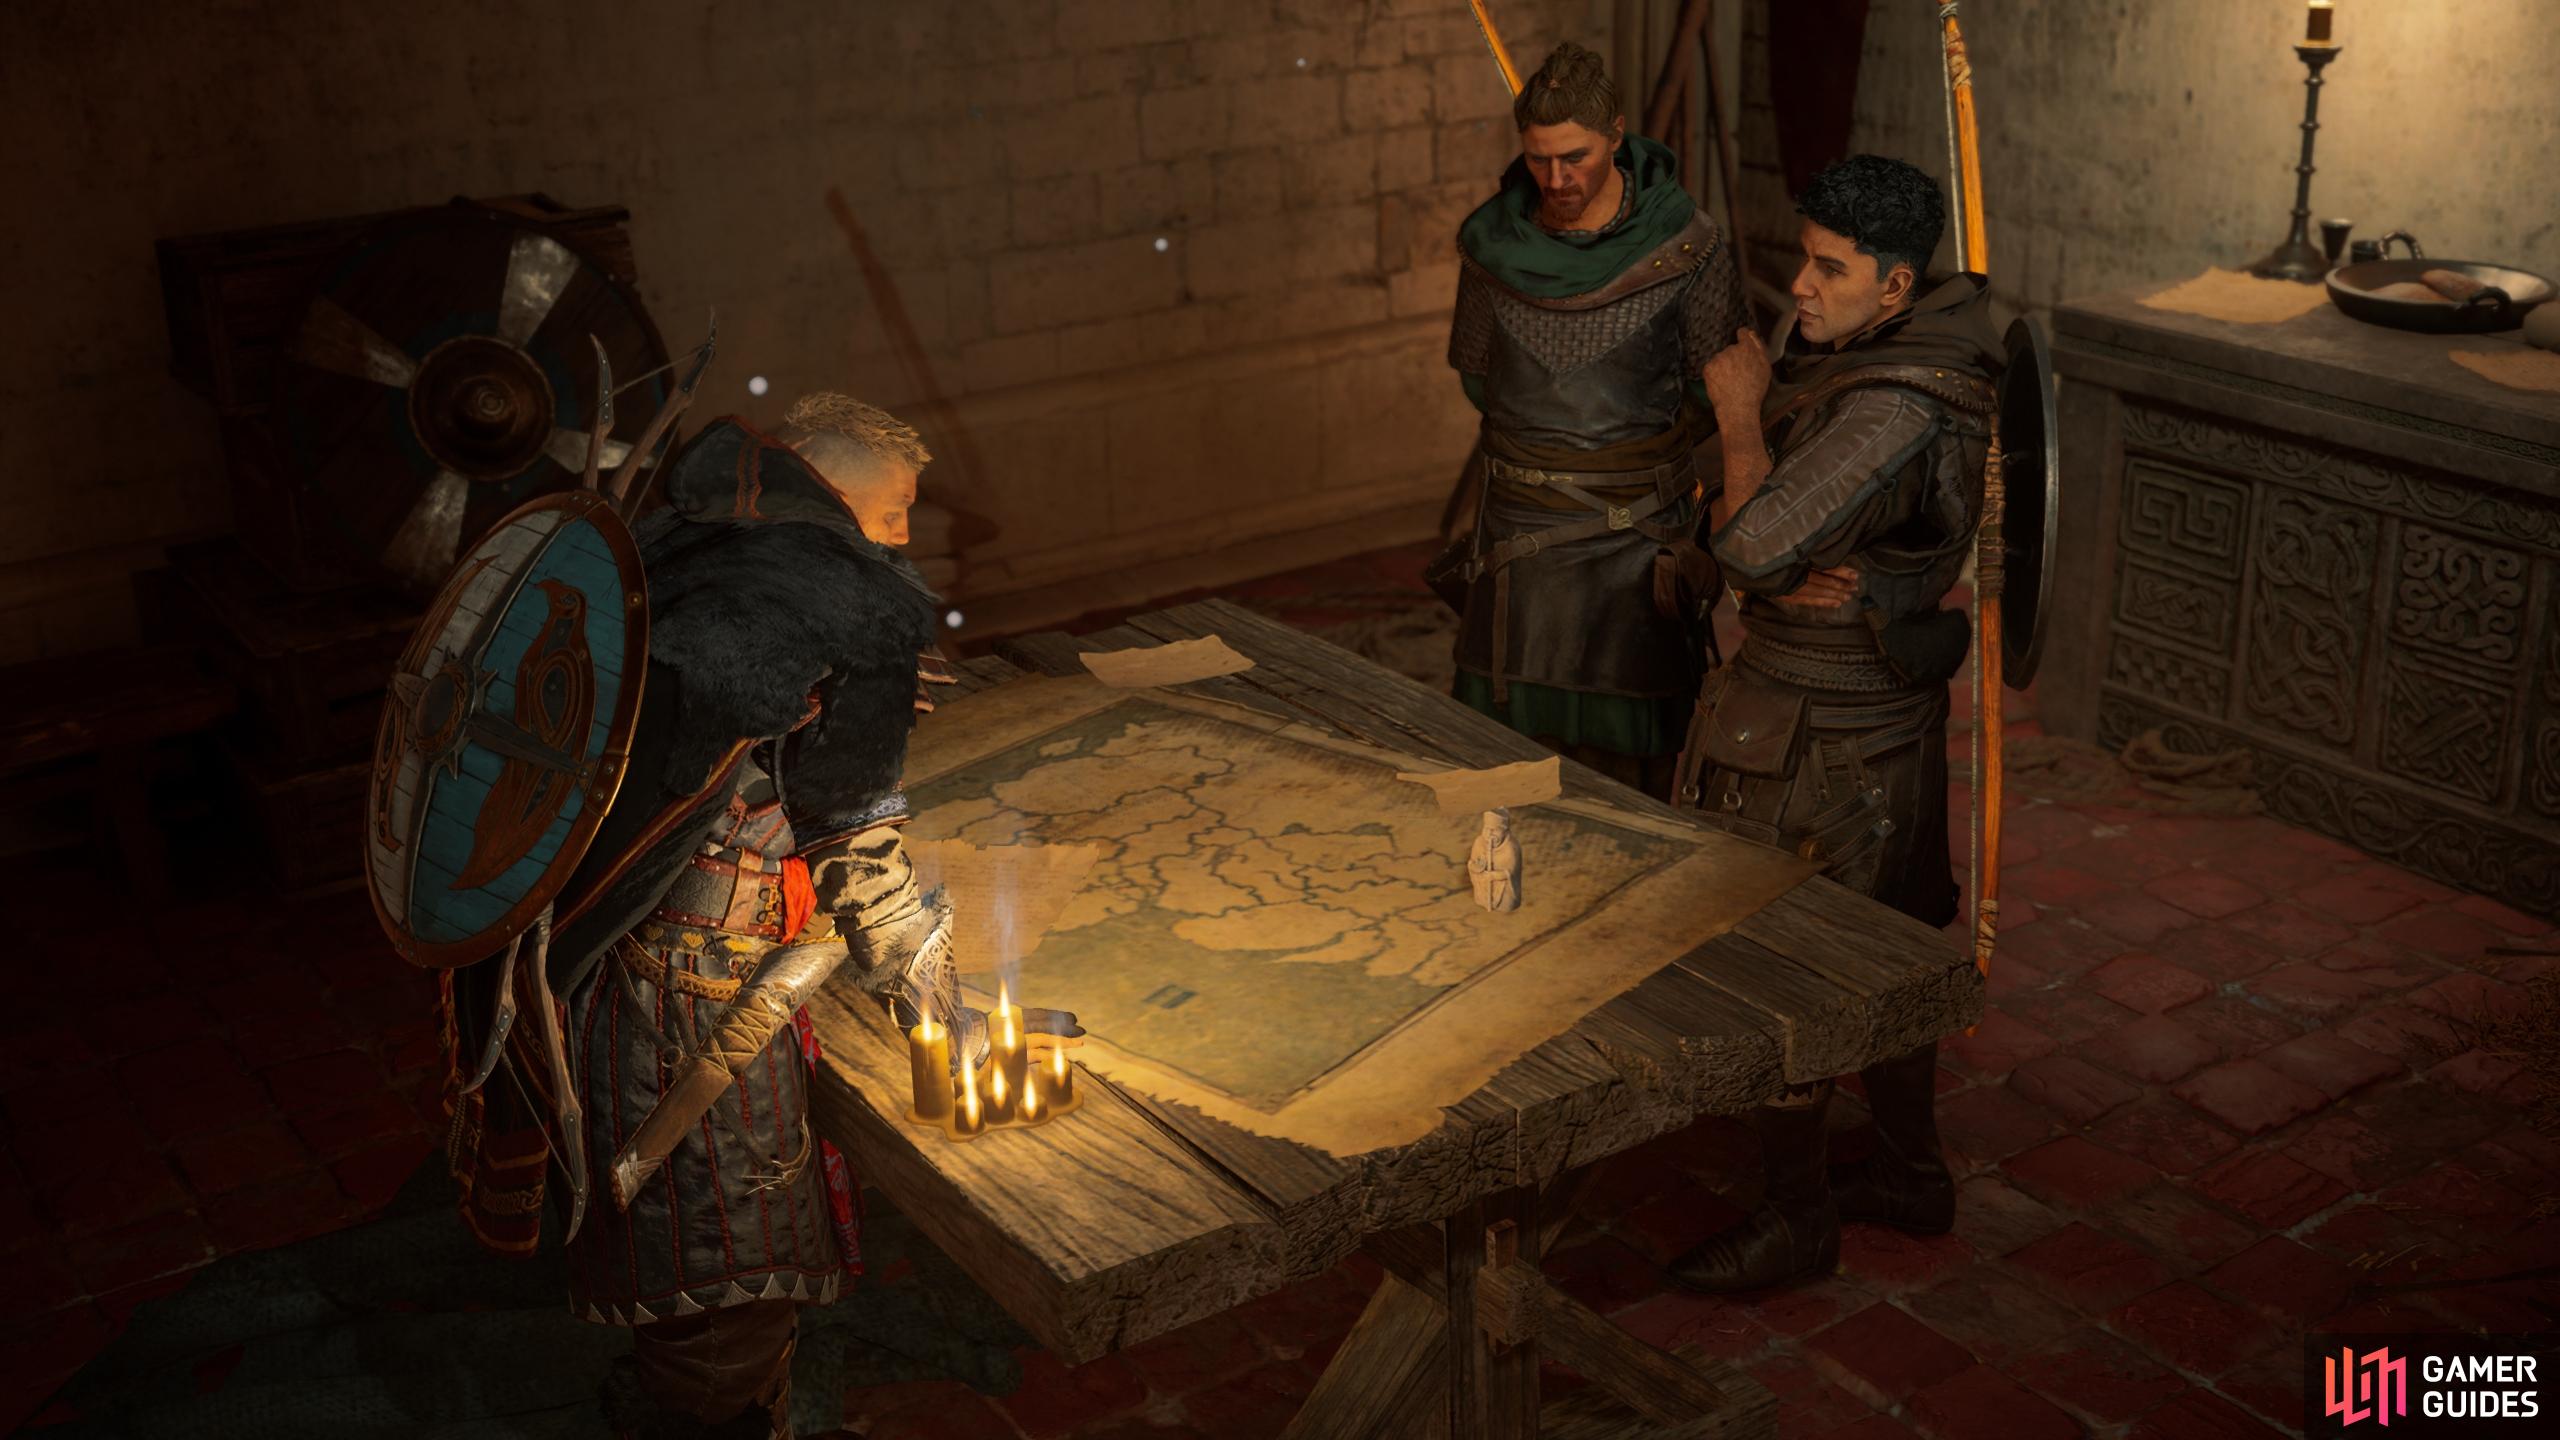
Enter the cathedral and approach Stowe and Erke at its eastern end. You’ll have a few dialogue options here, but it doesn’t matter which you choose. Go over the facts or discuss what you know about The Compass. A brief cutscene will then begin, after which you’ll need to escape the cathedral as it burns.
Escape the Cathedral
As pointed out during the scene, the only way out now is by climbing the scaffolding to your left, along the southern wall of the cathedral.
Once you’re atop the scaffolding, turn west and jump to the rope and wooden plank leading to the archway. Slide under the arch and then use the crates by the western wall to climb up it. Don’t go down the hole to your left; you’ll need to start from scratch if you do. Once you’re through the hole above you, you’ll see a breakable wooden barricade to the east. Destroy it to initiate another brief cutscene, revealing the surrounding devastation.
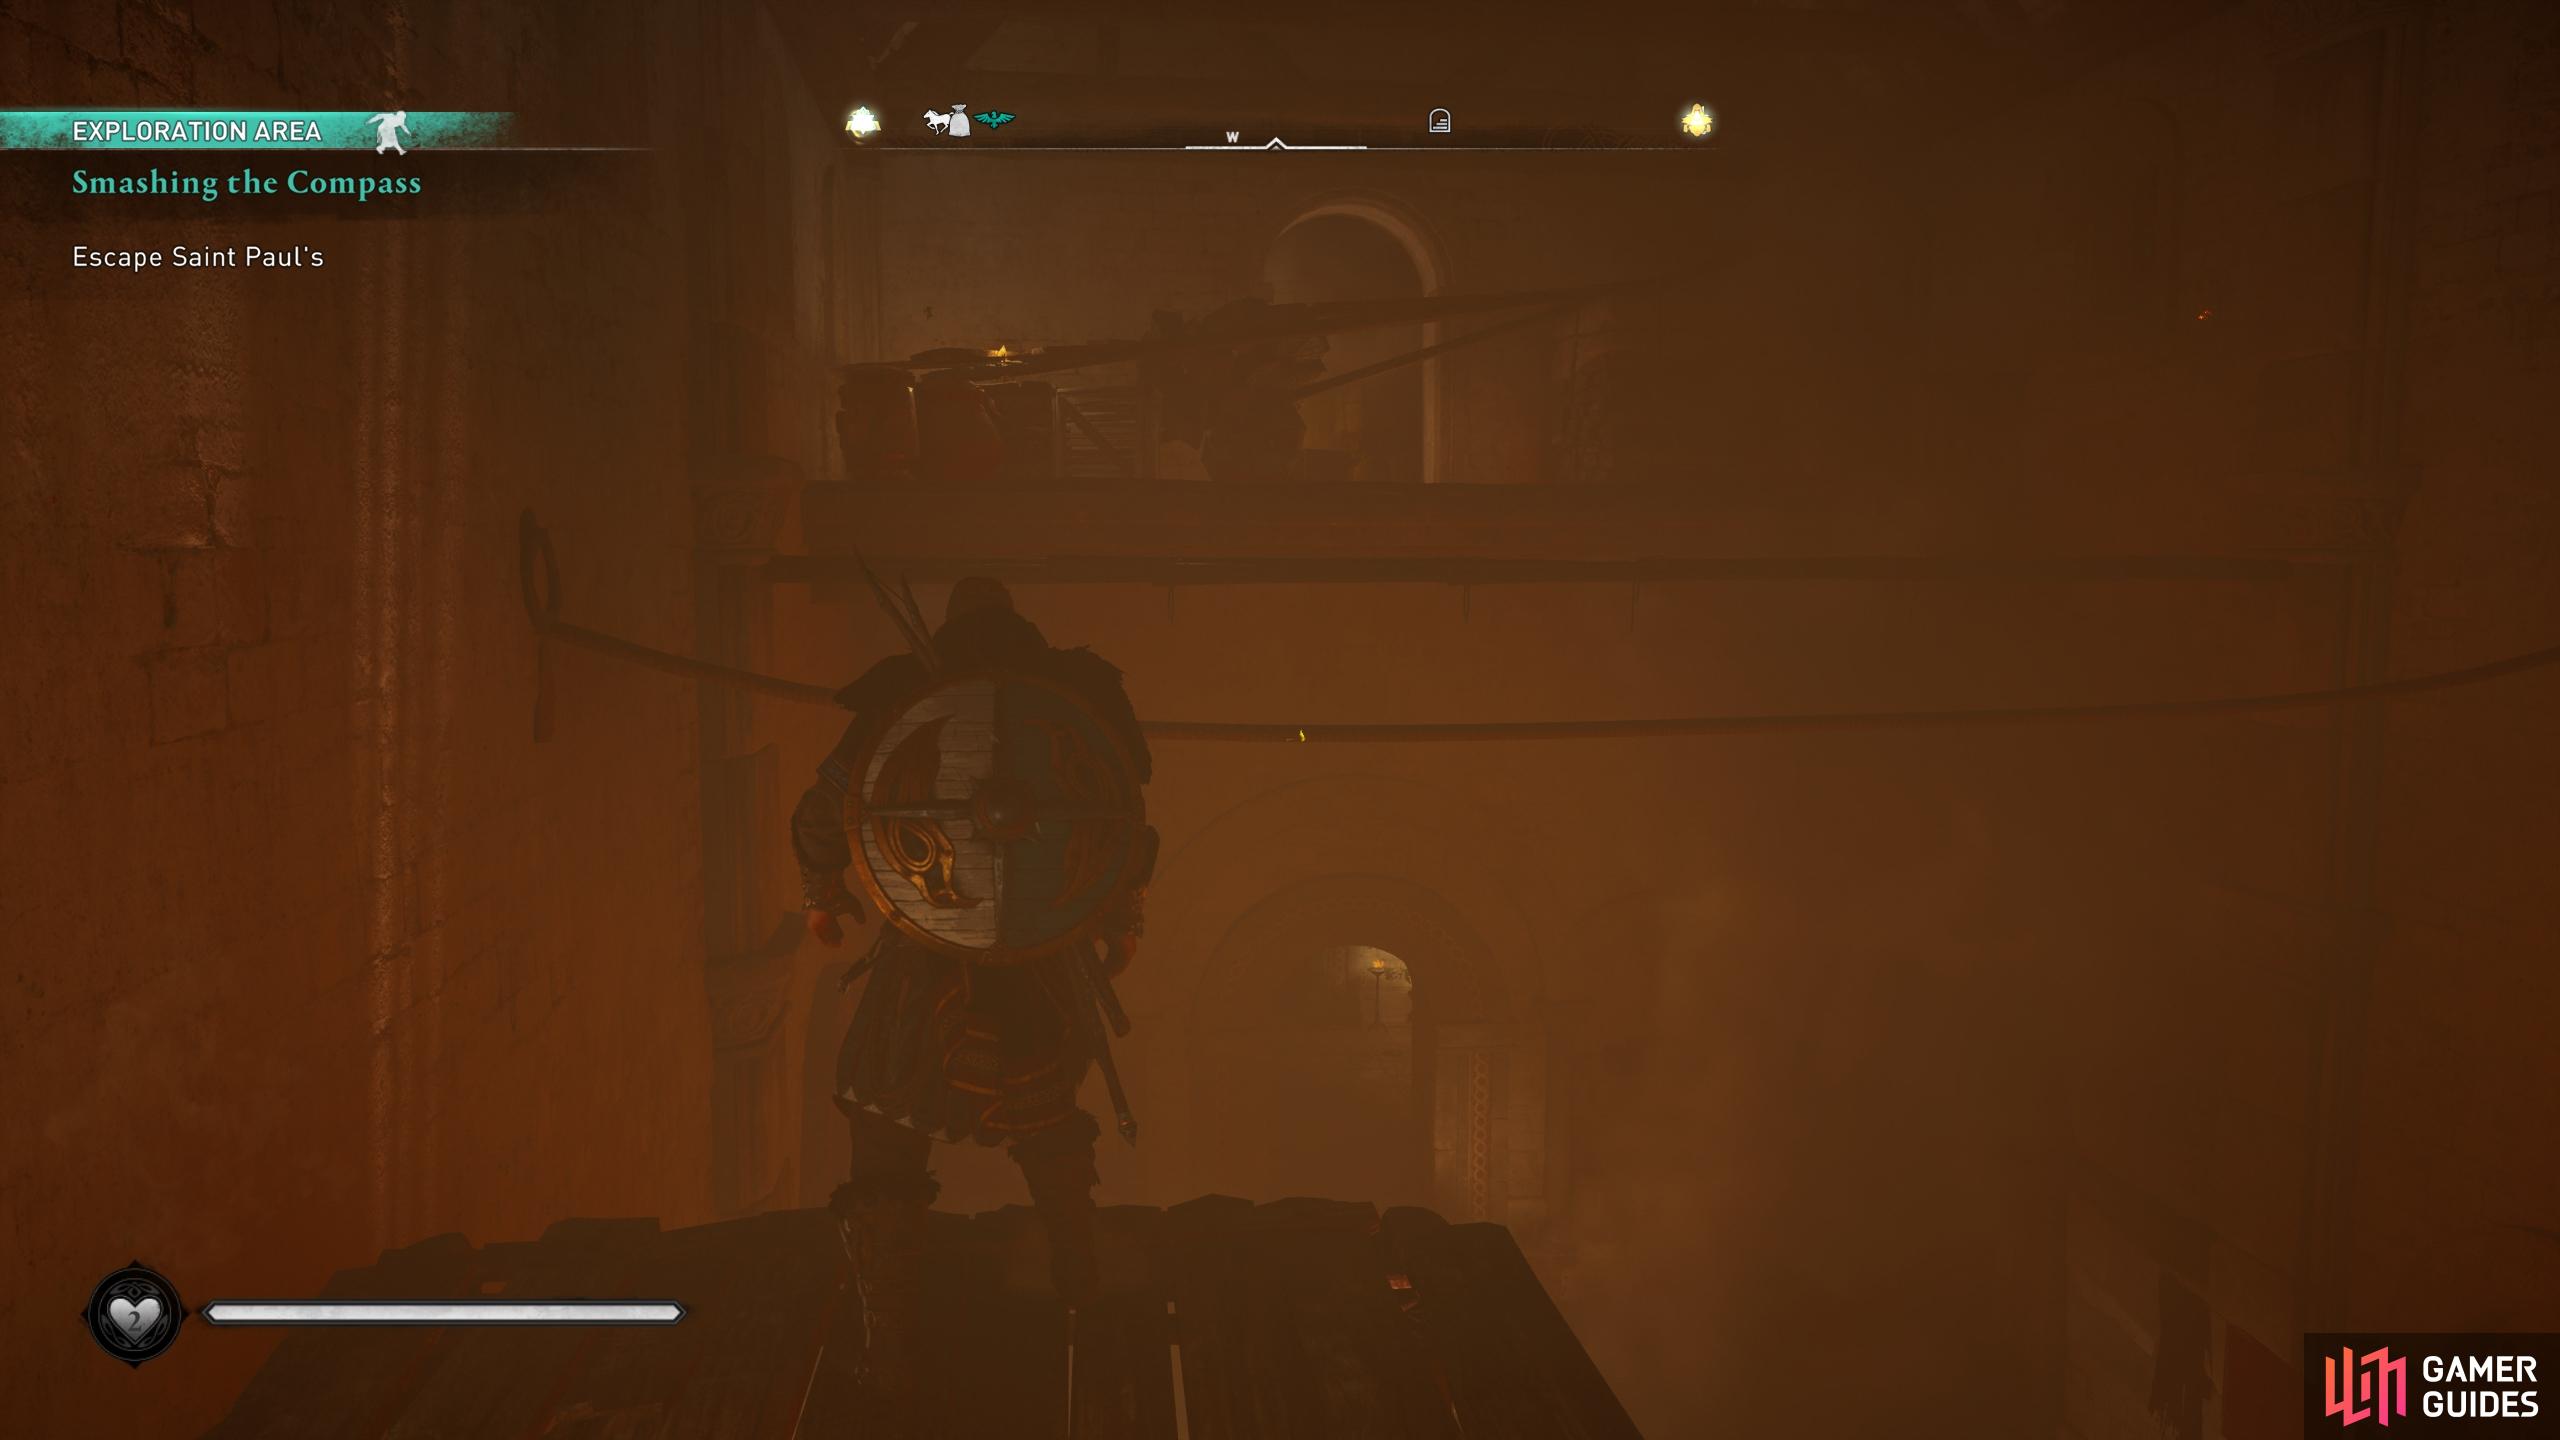
(1 of 7) Once you’re atop the scaffolding, you’ll need to jump to the arch on the western wall.
After the scene, you’ll need to rescue Stowe and Erke. Jump down the side of the building to your south, focusing on the teal objective marking a door. You’ll need to kill eight guards in front of this door before you can open it. Here you have the element of surprise, so you can begin with an assassination attack from above. After that, break the crates and the wooden barricade blocking the doorway to free Stowe and Erke, who will then help you fight the guards. Most are regular warriors, but you’ll have to contend with one Yeoman, so be sure to use heavy attacks to break through their defences.
When all the guards are dead, follow Stowe and Erke to safety. Another cutscene will follow, during which you’ll need to decide whether to go with Stowe to the springalds, or with Erke to flank the ship. You can also choose to go alone, which will involve you heading directly to the ship to take out The Compass in whatever way you see fit. We’ll cover the other two methods below.
Go with Stowe
After choosing to go with Stowe to the springalds, you’ll need to follow him to the ramparts. You’ll have a few guards to kill along the way, but nothing you and Stowe can’t handle. Keep close to him and use Odin’s Sight to highlight his location if you lose him. You’re heading to a small tower on the ramparts which has two springalds ready to go. Stowe will take the left one, leaving you to the one on the right. Interact with it to begin firing at the enemies below.
As powerful as the springalds are, they won’t be enough to stop the tide of enemies from the ships, and you won’t be able to aim at some of the springalds further to the west and south. Once you’ve destroyed the enemy springalds within view, head down to the docks to destroy the rest and find The Compass. You’ll find him far to the south through the water and the mess of ships.
Go with Erke
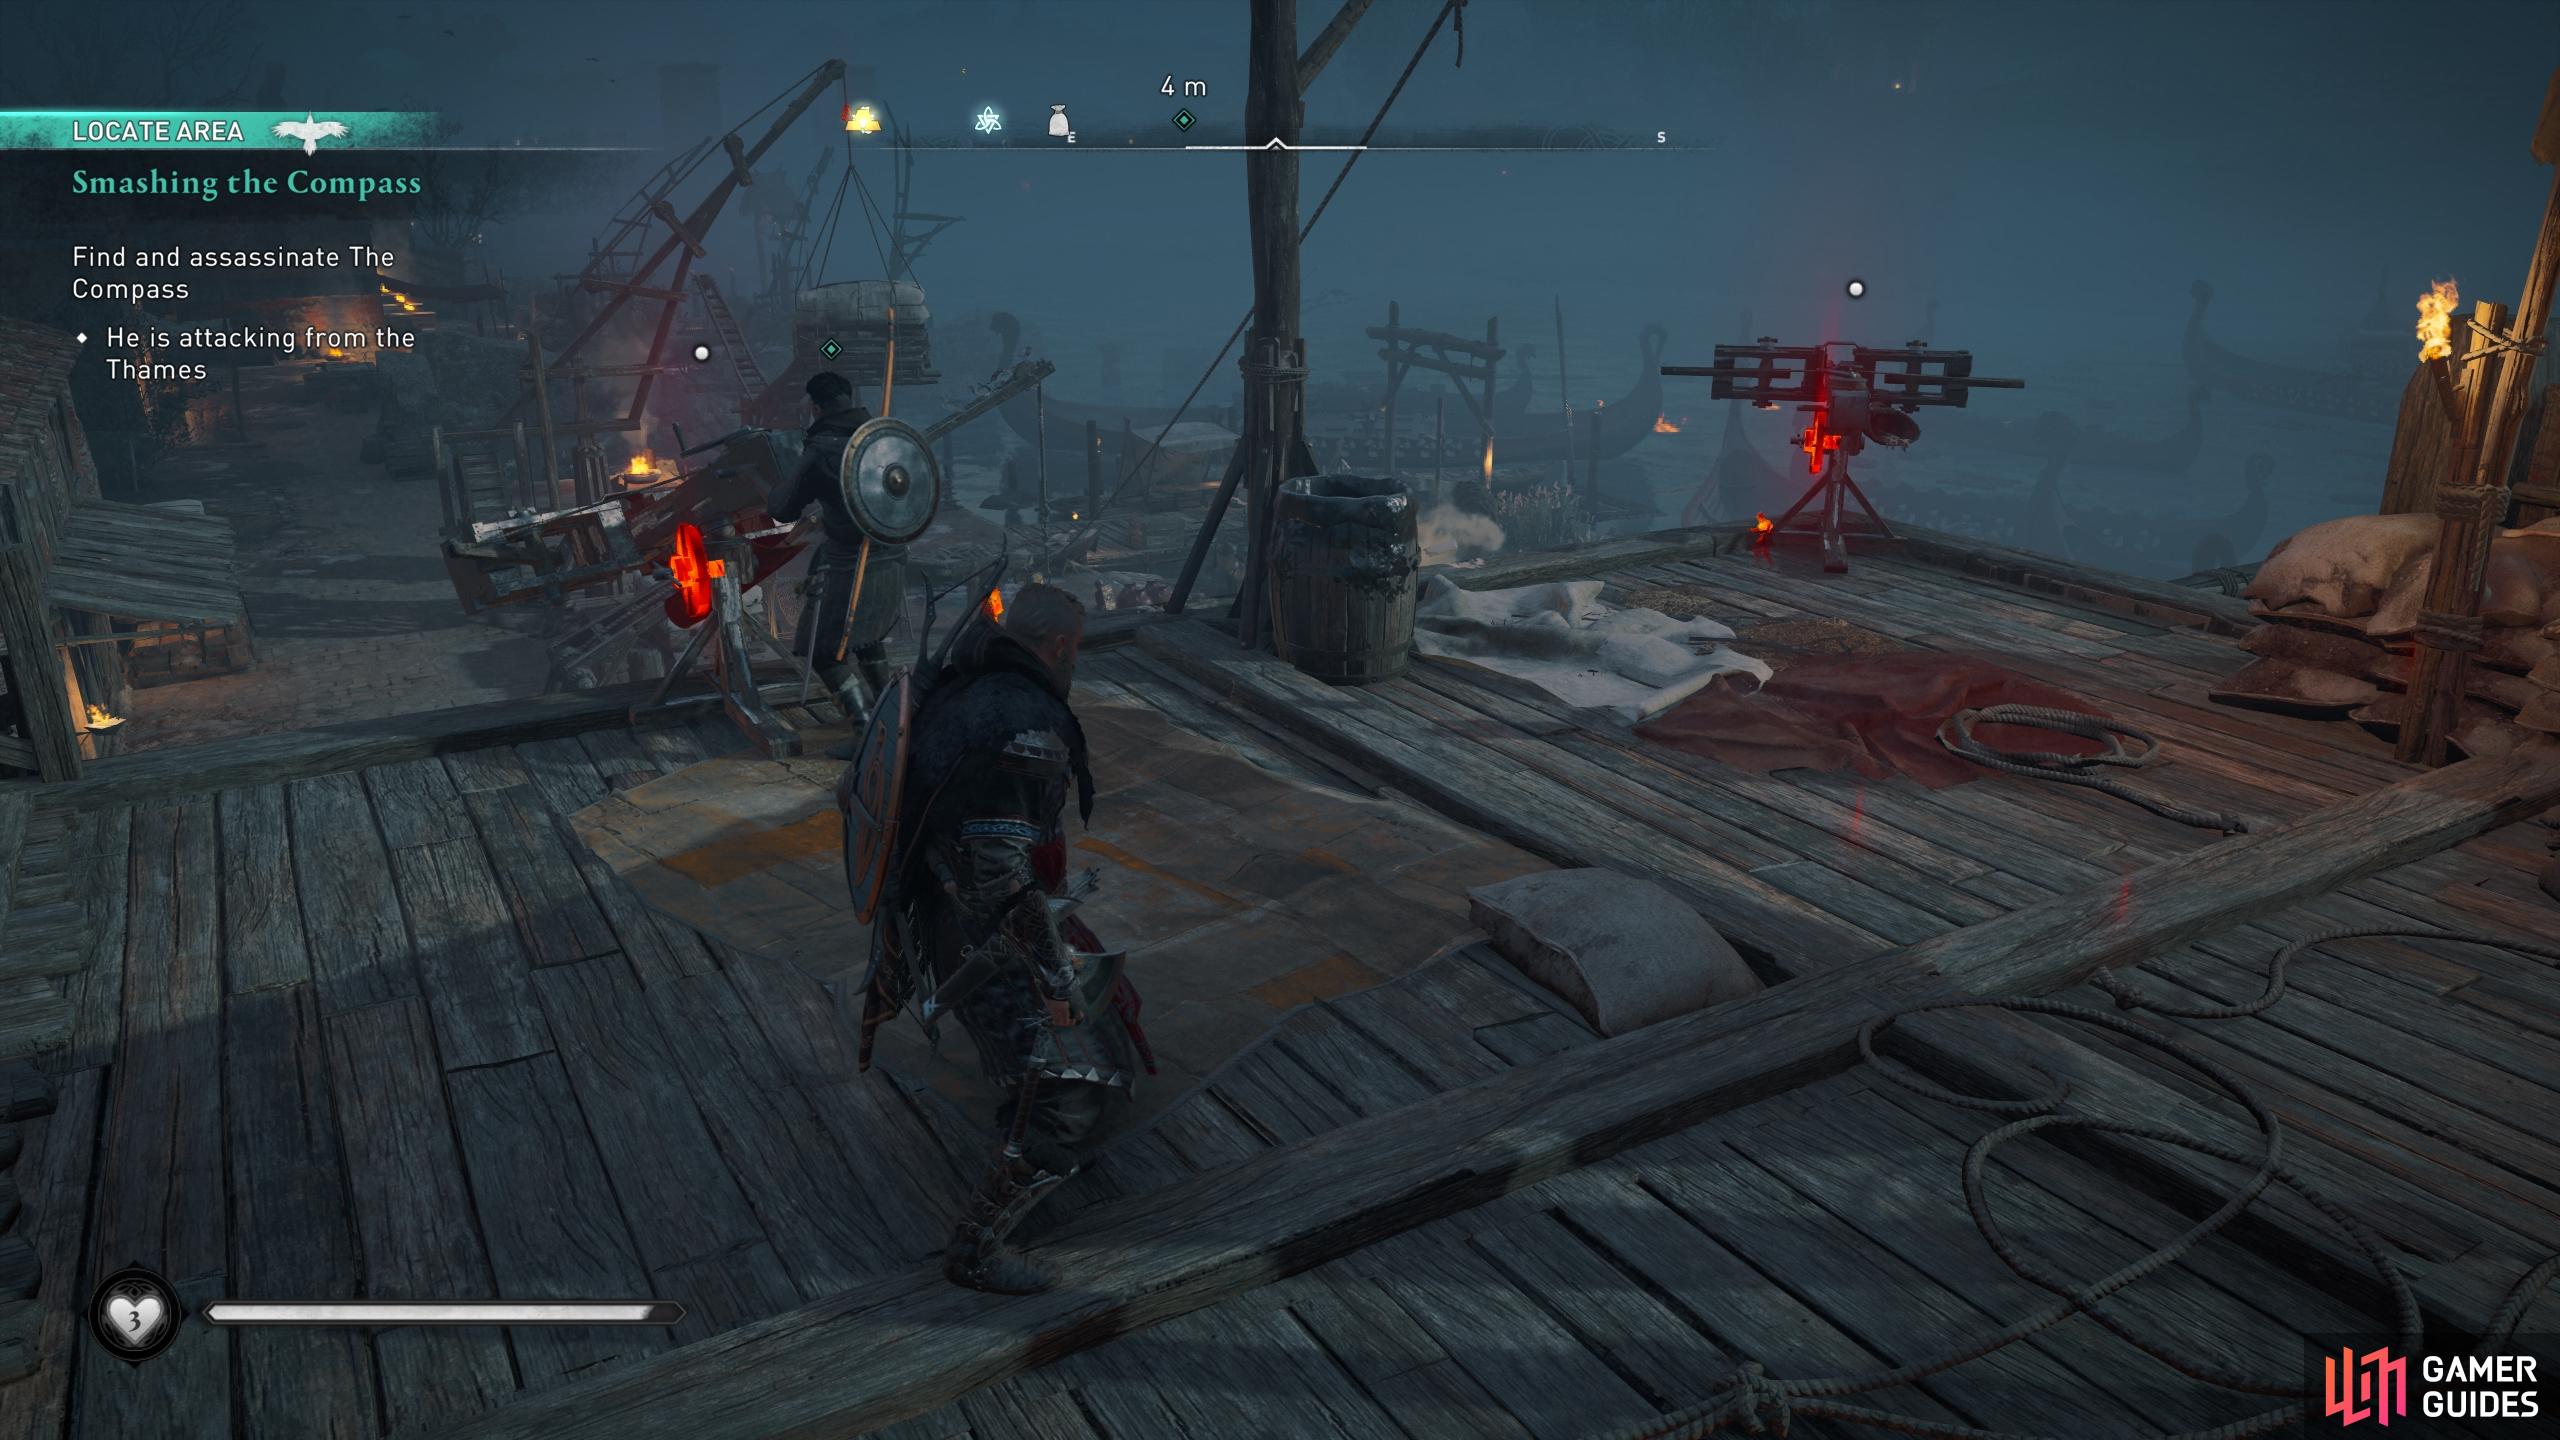
After choosing to go with Erke, follow him to the docks. This will involve climbing over some rooftops, and Erke won’t wait for you. If you lose sight of him, just continue south until you see him waiting by the docks. You can use Odin’s Sight to highlight his location if you’re having trouble finding him. Once you’re with him, you’ll be able to take the enemies using the springalds on the ships by surprise. Shoot those nearest to you and then continue through the water to the southwest and south. You’ll find 12 more operational springalds in these directions, so just keep going until all the enemies operating them are dead.
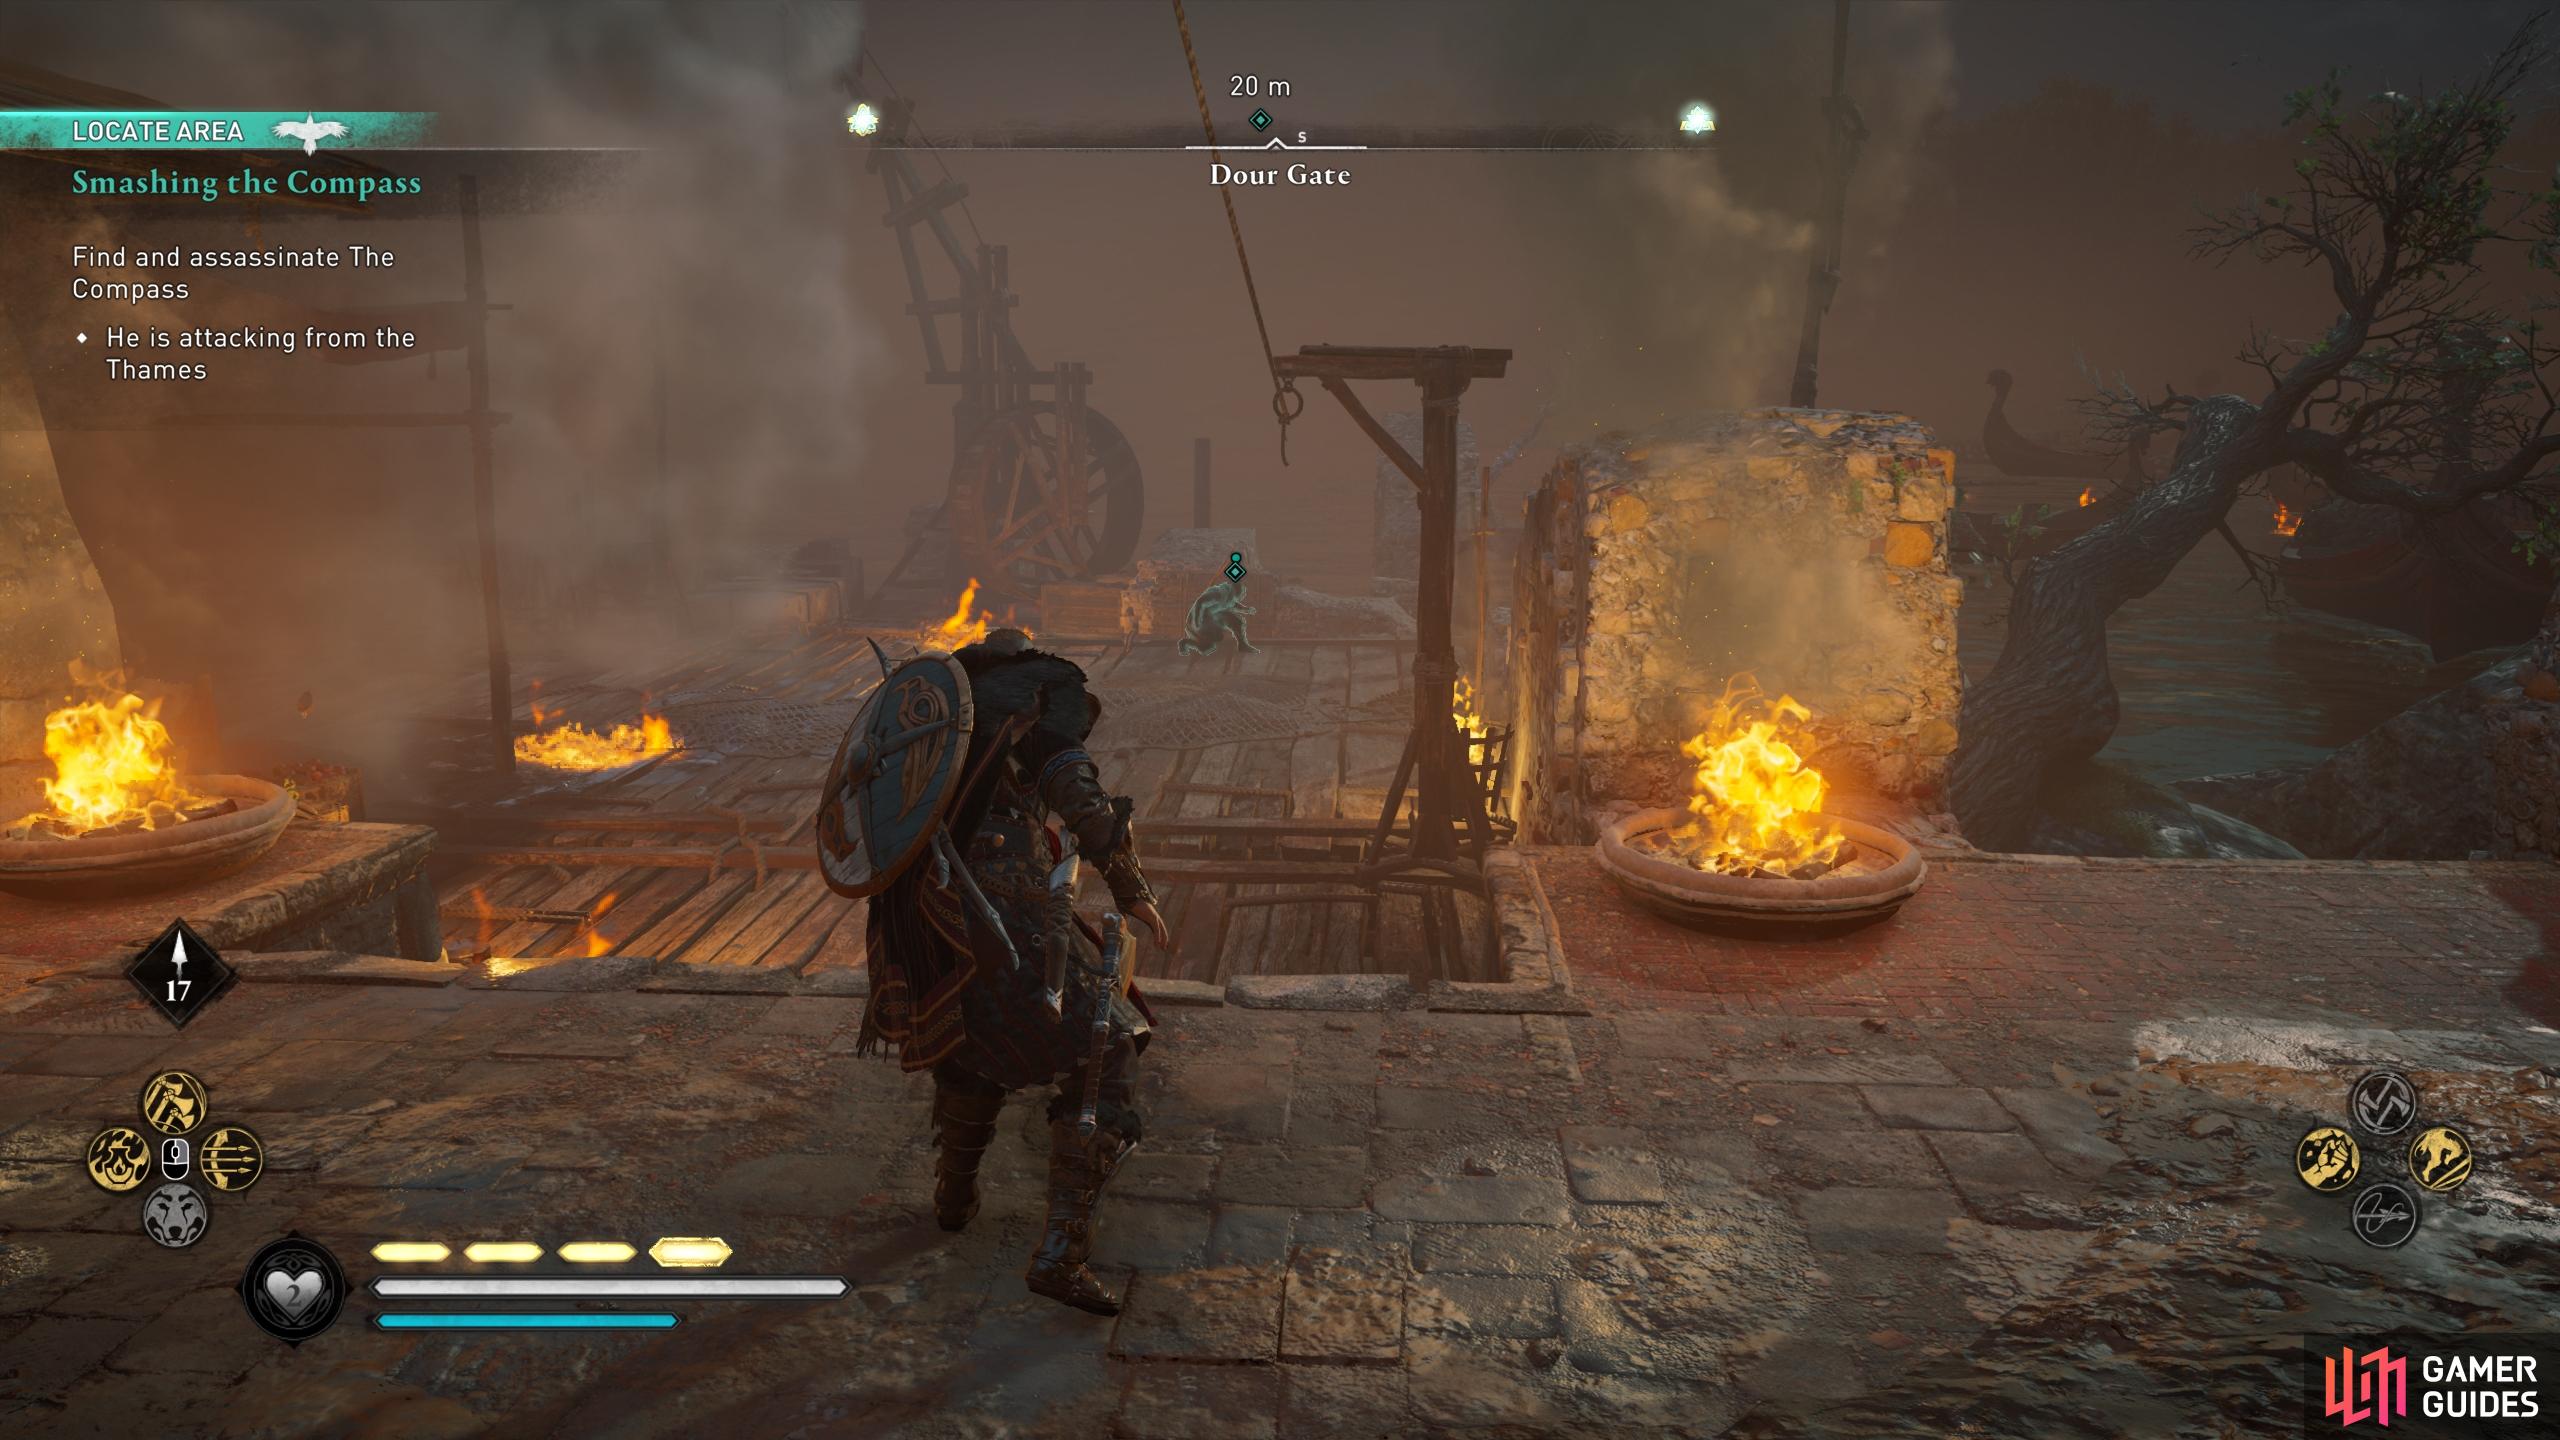
Once all the enemies operating the springalds are dead, turn your attention to the south and make your way through the water and the mess of ships, where you’ll find The Compass.
Defeat The Compass
The Compass, now revealed to be a member of the Order of Ancients named Vicelin, won’t attack you until you enter his ship or attack him first. This allows you to begin the fight on your terms, and with those springalds situated so close to his ship, it’d be a shame not to utilize one, right? You’ll find one facing him on the southwesternmost ship, so mount it quickly and begin the fight by taking a good chunk of Vicelin’s health from range.
There are a few things to keep in mind once you’re engaged in combat with Vicelin. First, you’ll need to look out for his flail moves. In the same way that Eivor uses their flail with multiple successive moves, Vicelin will strike multiple times after initiating an attack. This will be his normal method of attack which he will use most frequently, and can therefore be blocked or parried.
Vicelin will also use two unblockable / unparryable attacks. One of these is a flail attack which you’ll need to dodge or roll out of the way of, and the other is a grab attack. Both are marked by a red rune aura, so you’ll be able to identify when they’re incoming. Essentially, as soon as you see a red aura around Vicelin, get out of the way either by running around him, dodging, or rolling.
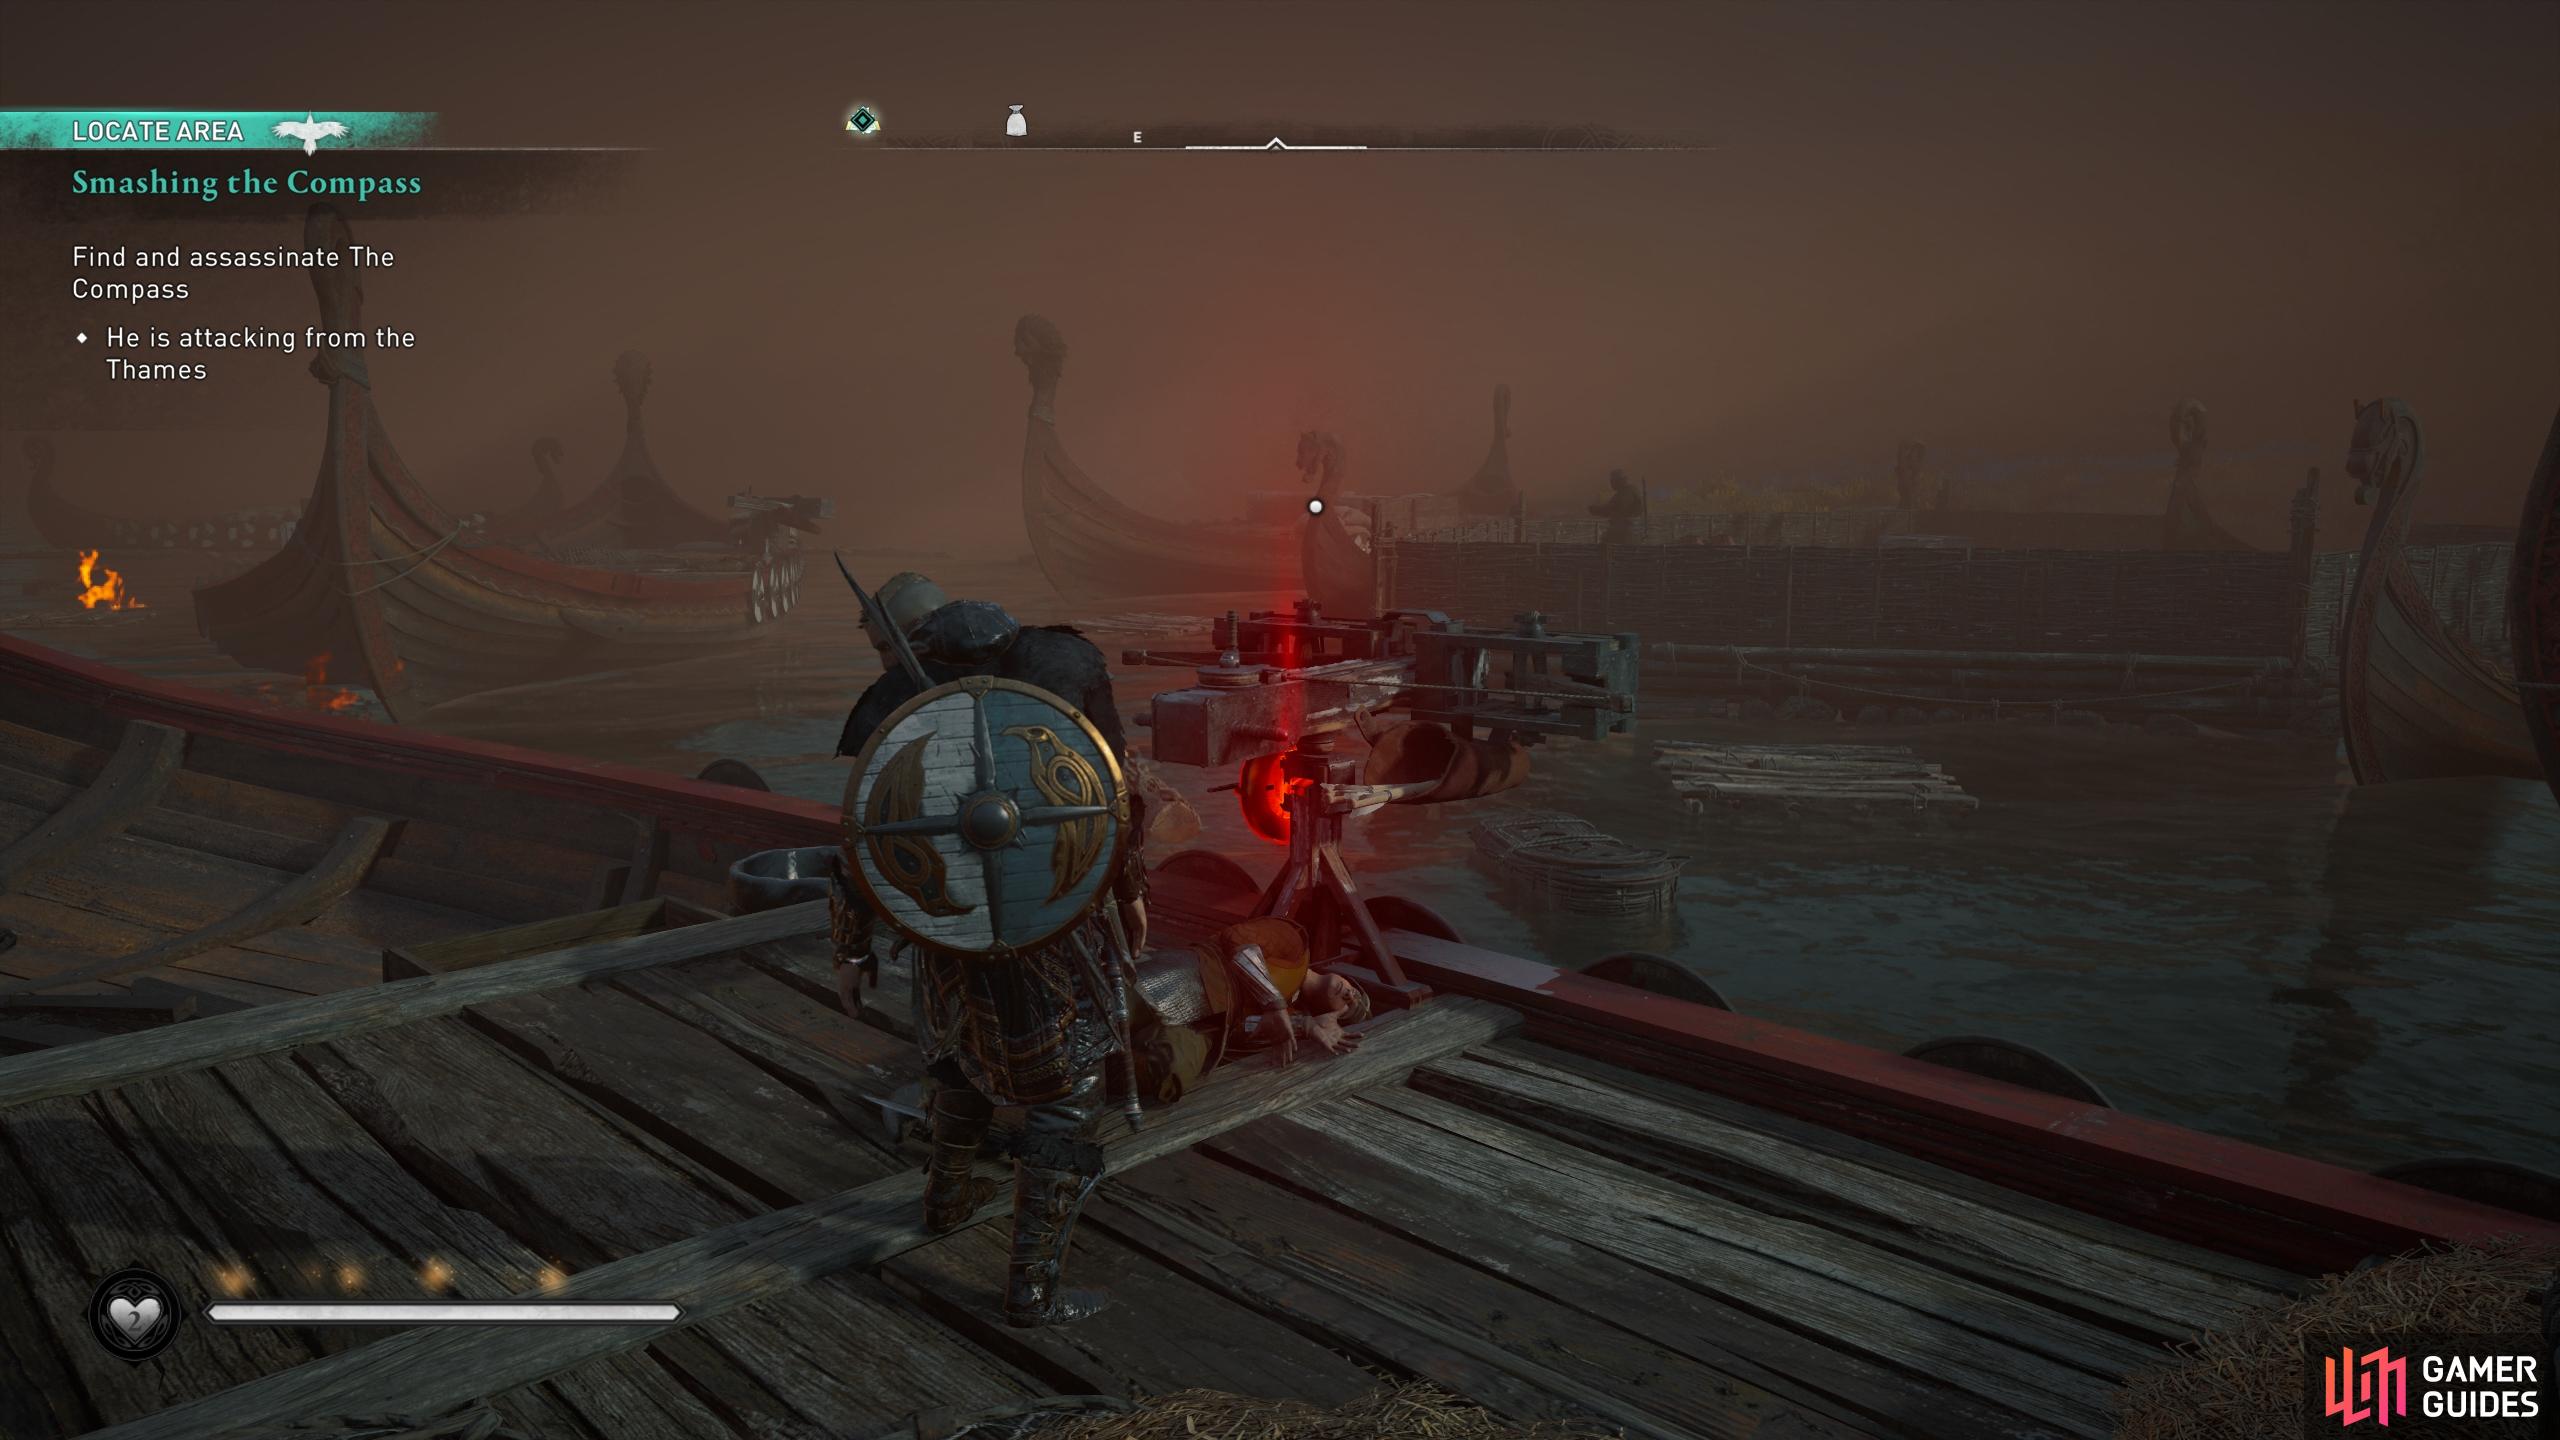
(1 of 5) Use the springalds near The Compass to begin the fight by taking a chunk of his health.
When you’re avoiding Vicelin’s attacks, the skill Brush with Death will prove incredibly useful, as with most boss fights. This will allow you to slow down time for a brief moment as you dodge, providing you with more time to plan your next attack. The flail attack will deal high damage if each hit lands, and will sometimes cause Eivor to fall to the ground. The grab attack will result in Vicelin throwing Eivor to the sides of the ship.
If you find yourself on the ground, you should dodge or roll immediately to avoid Vicelin’s follow up attack. This will sometimes come in the form of a basic or special flail attack, but he will also throw large rocks at you from afar occasionally. These won’t always inflict high damage, but they will interrupt any animation you might have been engaged in at the time. The rocks will also destroy springalds when you mount them.
Unlike most other boss fights, Vicelin doesn’t heal himself. His armor is also relatively weak, so you’ll find that he takes a lot of damage rather quickly, regardless of the weapon type that you use. To make him even more vulnerable, especially to stun attacks, you’ll find weak points on his left and right arm, and on his left leg. If all else fails, remember to use your high damage melee and ranged abilities to bring him down quickly.
When Vicelin falls, be sure to confirm the kill to begin the Order of Ancients cutscene.
Return to Stowe and Erke
Once you’ve killed Vicelin and gone through the cutscene, return to Stowe and Erke at the docks to the north. After speaking with them, the quest will complete.
No Comments